

Sartorius U 4100,U 4100 S,U 4800 P,U 6100,U 5000 D,U 6100 D,U 6100 S Instruction Manual
Sartorius Universal.
U 4100, U 4100 S,
U 4800 P, U 6100,
U 5000 D, U 6100 D,
U 6100 S.
Electronic Precision Balances
2
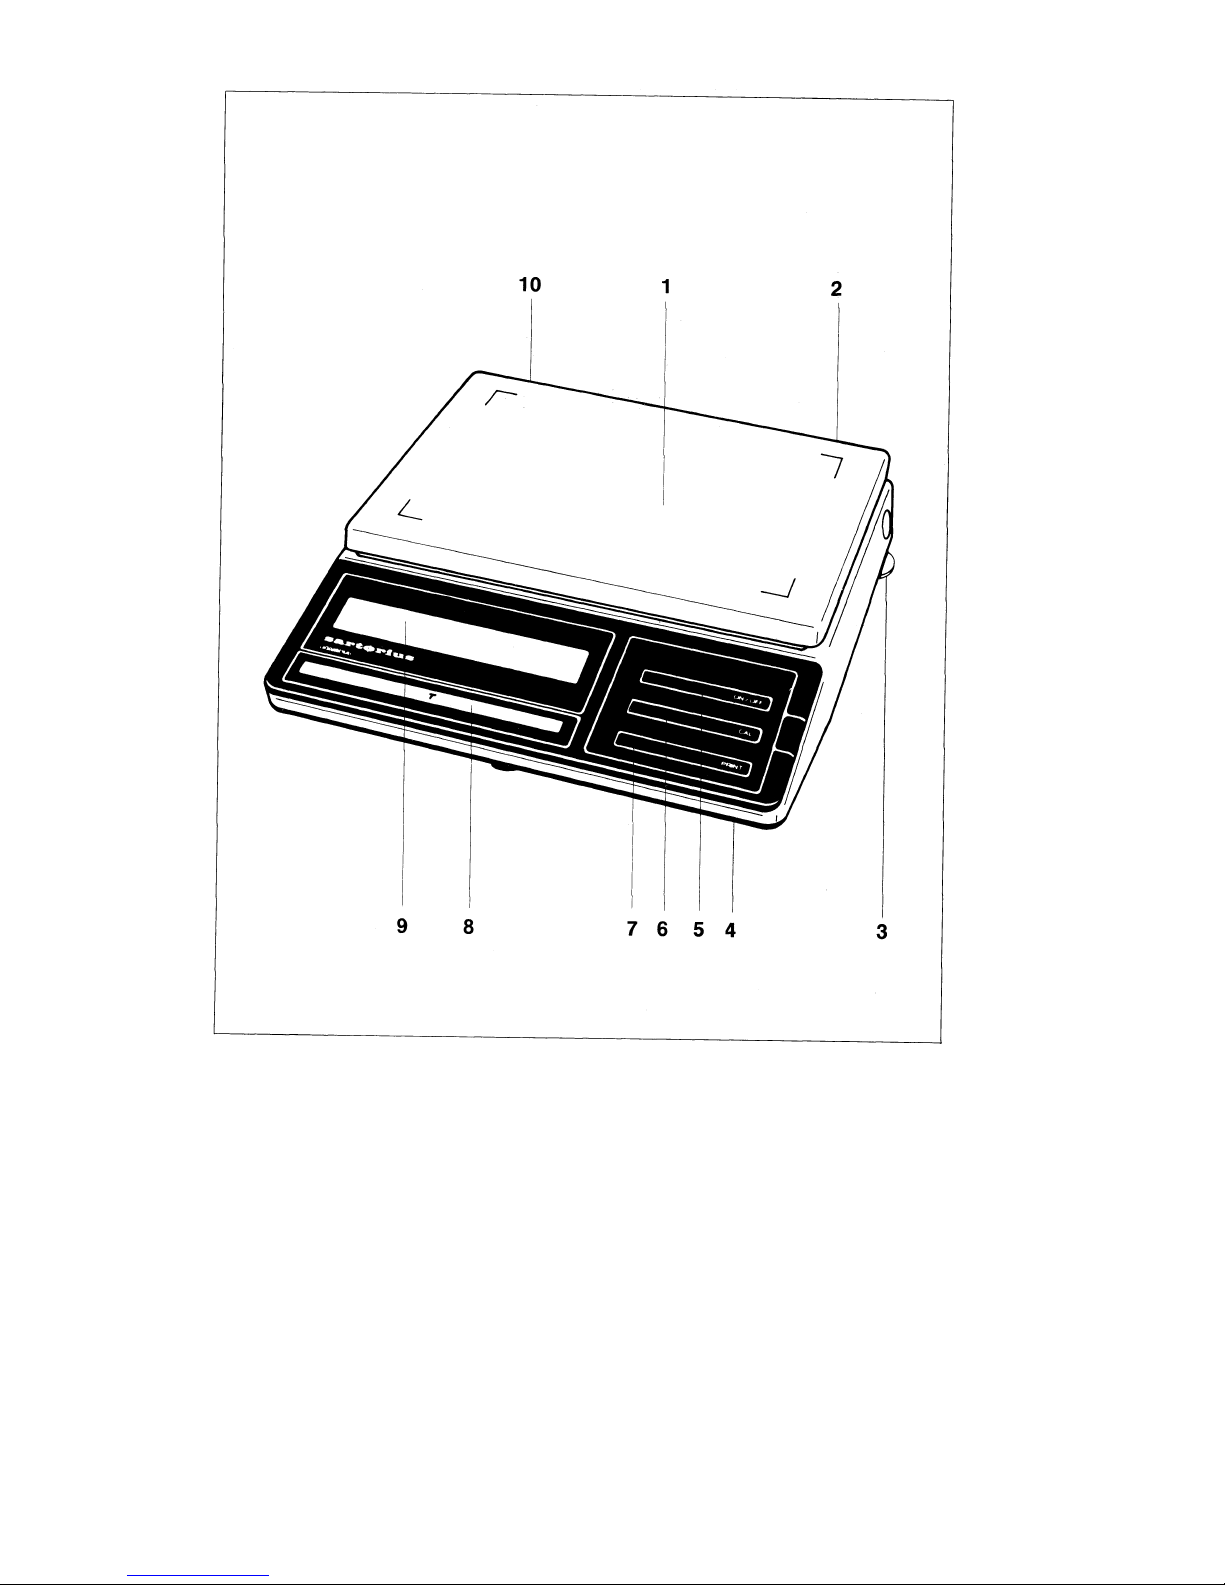
1 Pan
2 Power receptacle for line cord (power lead)
3 Leveling foot
(U 4100, U 6100, U 6100 D only)
4 Menu access switch (for balance operating program)
5 ON/OFF-Taste
6 CAL key
7 PRINT key (functions only if balance has a built-in interface)
8 Tare control
9 Weight display
10 Level indicator
(not by U 4100, U 6100, U 6100 D)

3
Contents.
Page
Equipment Supplied 5
Installation Instructions 5
Startup 6
Operation 7
Calibration 9
Balance Operating Program 10
Troubleshooting Guide 13
Accessories 14
Specifications 15

4
Sartorius Universal
U 4100, U 4100 S,
U 4800 P, U 6100,
U 6100D, U 6100S.
With this Sartorius Balance you have acquired a sophisticated,
top-of-the-line electronic weighing Instrument which will help
lighten your daily work load.
Please read these installation and operating instructions carefully before operating your new balance.
Pursuant to the German Directive for the Implementation of
Regulations for Prevention of Accidents "Elektrische Anlagen und Betriebsmittel (VBG 4)" [Electrical Installations and
Equipment] of April 1986,it is hereby certified that the
equipment delivered, "electronic precision balance, model
U 4100, U 4100 S, U 4800 P, U 6100, U 6100 D or U 6100
S," is manufactured and tested in compliance with the following DIN/VDE regulations
DIN IEC 348/VDE 0411:
Safety requirements for electronic measuring apparatus
DIN IEC 380/VDE 0806:
Safety of electrical y energized Office machines
DIN IEC 601 /VDE 0750:
Safety of medical electrical equipment
When you use electrical equipment in installations and
under ambient conditions requiring higher safety standards
you must comply with the provisions as specified in the
applicable regulations for installation in your country.
5
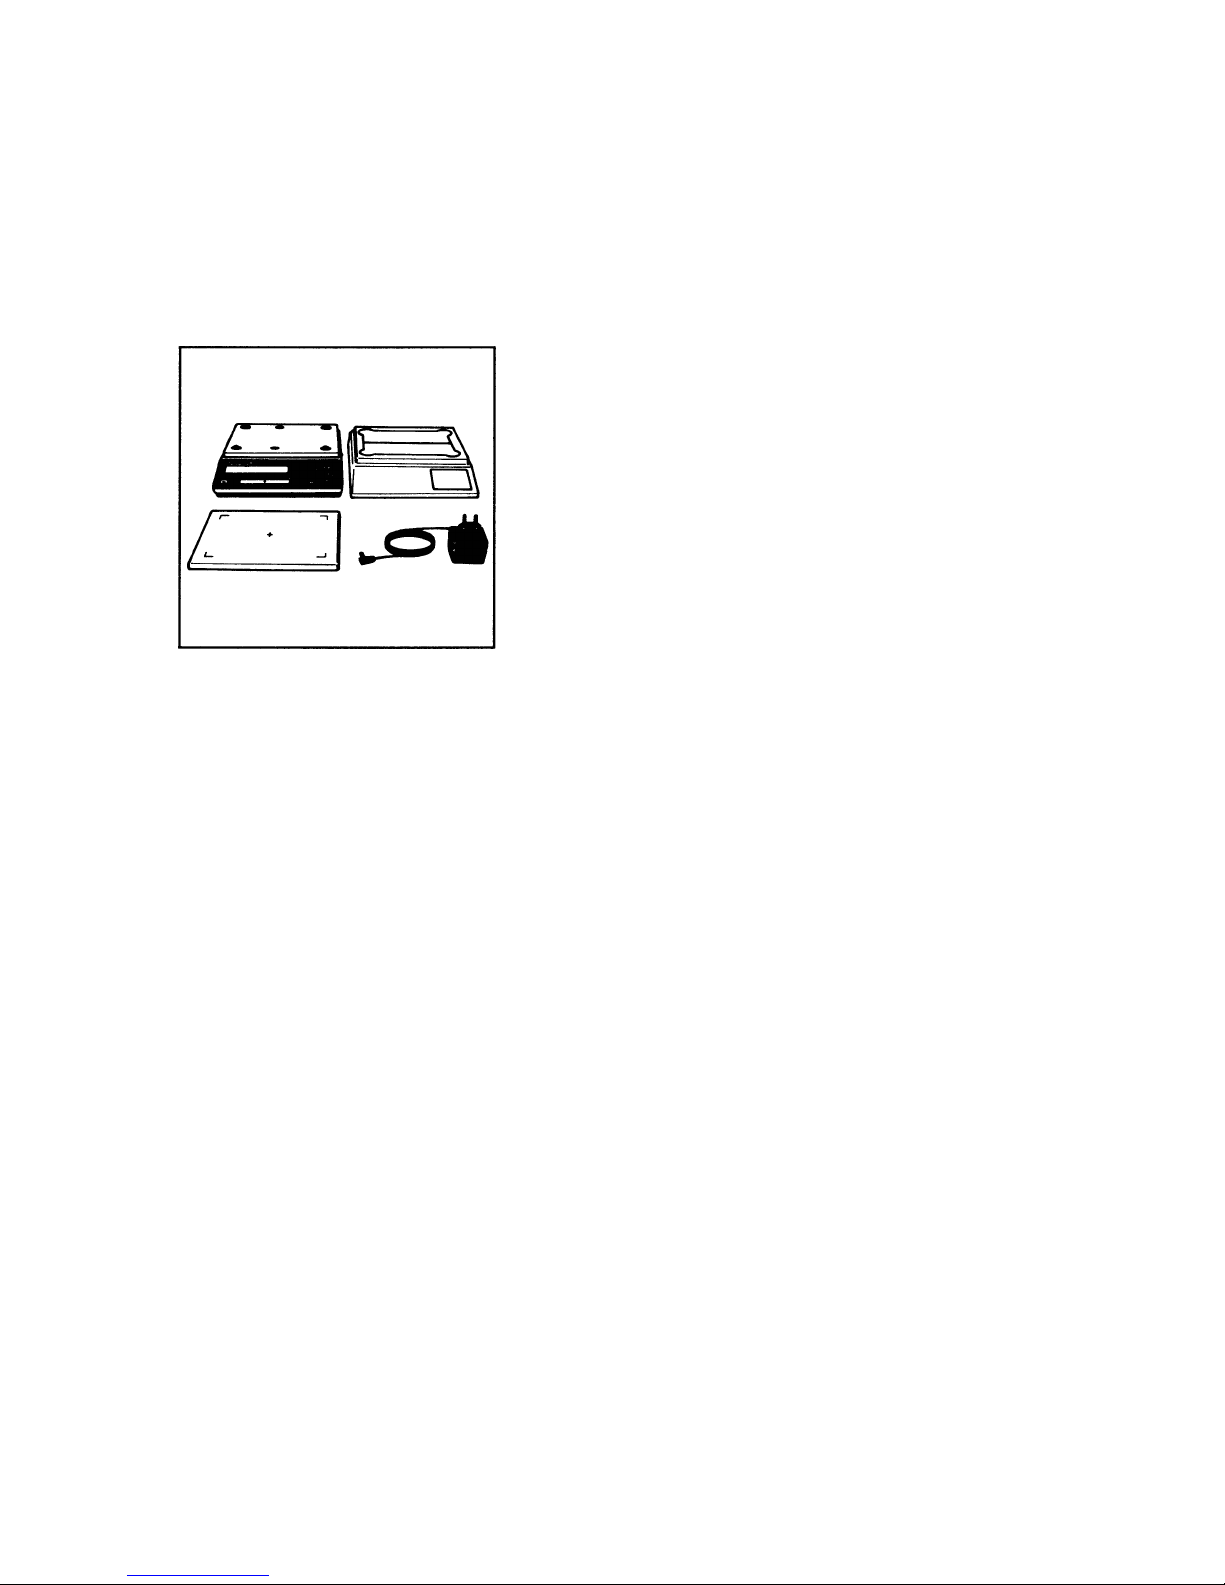
Equipment Supplied.
Do not miss out on the benefits of our warranty. Please fill out
the warranty card, indicating the date of installation, and return
the card to your Sartorius dealer.
The equipment supplied comprises the components shown on
the left.
Save the packaging material and the box for shipping your balance to prevent any damage caused during transportation.
Installation Instructions.
Choose a suitable place to set up your balance. lt should not be
exposed to the following:
- heat radiation
-aggressive/corrosive substances
-vibrations
-drafts.
Your Sartorius Balance will provide accurate readouts even
when it is exposed to unfavorable conditions. You can adapt it
to your requirements simply by changing the menu code settings of the balance operating program. For this purpose,
please read pages 10 through 12.
After you plug your balance into a wall outlet, allow for at least
30 minutes warmup.
Important Note
Unplug the AC adapter before you connect or disconnect peripherals.
6
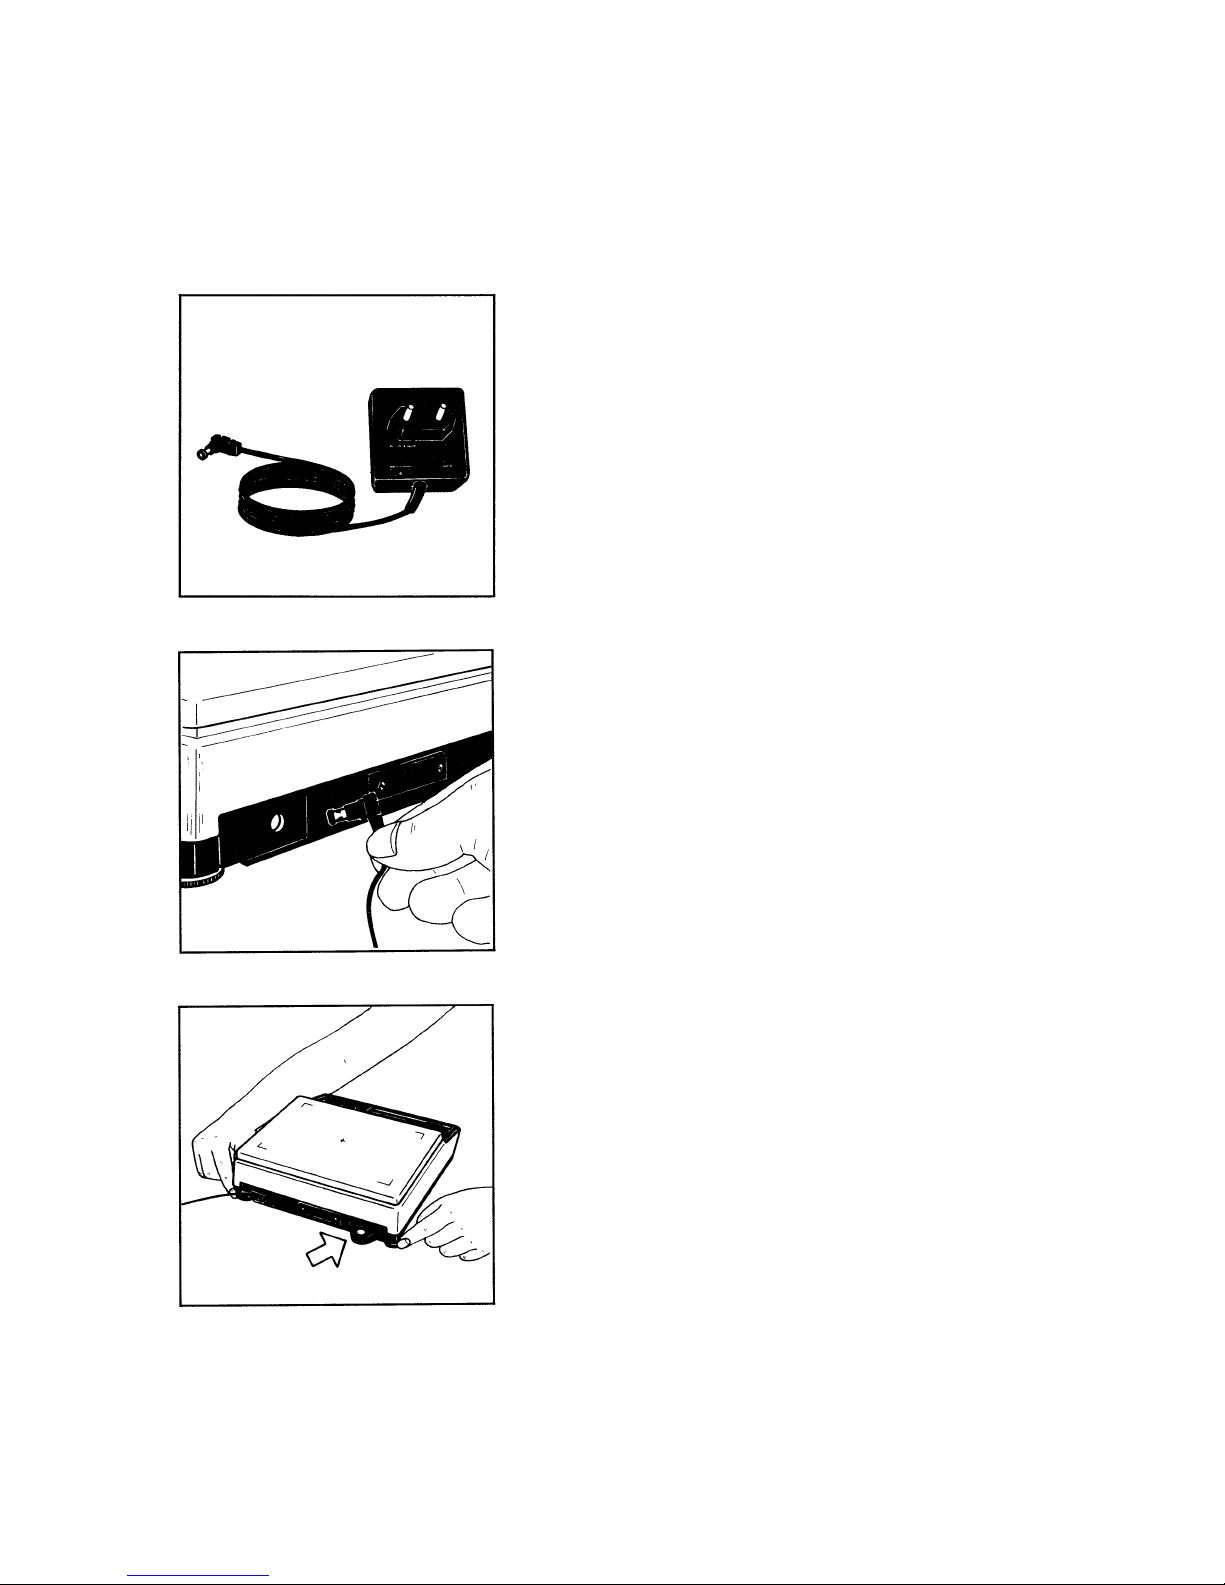
Startup.
Attach the dust cover by pressing down on the adhesive disks,
and install the pan (1) on the balance.
Your balance is powered by an AC adapter. Please make sure
that the voltage printed on this unit is identical to your local line
voltage rating.
Plug the line cord into the power receptacle of the balance and
plug the AC adapter into a wall outlet.
Level the balance using the leveling feet (3) such that air bubble
is centered within the circle on the level indicator (10) (not by
U 4100, U 6100 und U 6100 D).
 Loading...