


Sartorius Universal.
U 3600, U 3600 P.
U 3600 S-*F2
Installation and operating instructions

2
1 Pan
2 Power connection, fuse, voltage selector
3 Manufacturer’s label
4 Unlocking switch
5 Tare button
6 CAL button
7 ON/OFF button
8 Weight display

3
Contents.
Page
Complete Consignment 5
Startup 6
Operation 7
Calibration 9
Balance Operating Program 10
Technical data 13

4
Sartorius Universal
U 3600, U 3600 P.
Before reading these instructions, fold out the first page with the
exploded view drawing.
With this Sartorius toploader you have acquired a sophisticated,
top-of-the line electronic balance, which will help lighten your
daily workload.
Please read these Installation and operating instructions carefully before operating your new toploader.
Installation Instructions.
Choose a suitable place to set up your balance. It should not be
exposed to the following:
- heat radiation
-aggressive/corrosive substances
-vibrations
-drafts.
Your Sartorius Balance will provide accurate readouts even
when it is exposed to unfavorable conditions. You can adapt it
to your requirements simply by changing the menu code settings of the balance operating program. For this purpose,
please read pages 10 through 12.
After you plug your balance into a wall outlet, allow for at least
30 minutes warmup.
Important Note
Unplug the AC adapter before you connect or disconnect peripherals.
Accessories
Calibration weight 7072 08
Data output
Integratable keyboard
»Data Input« YDI 01 U-**&
with & = C for parts counting
= F for formulation and weight unit conversion
= A foe animal weighing
Printer »Data Print« 7279
Carrying case YDB 01 U
Theft prevention lock 6087
5
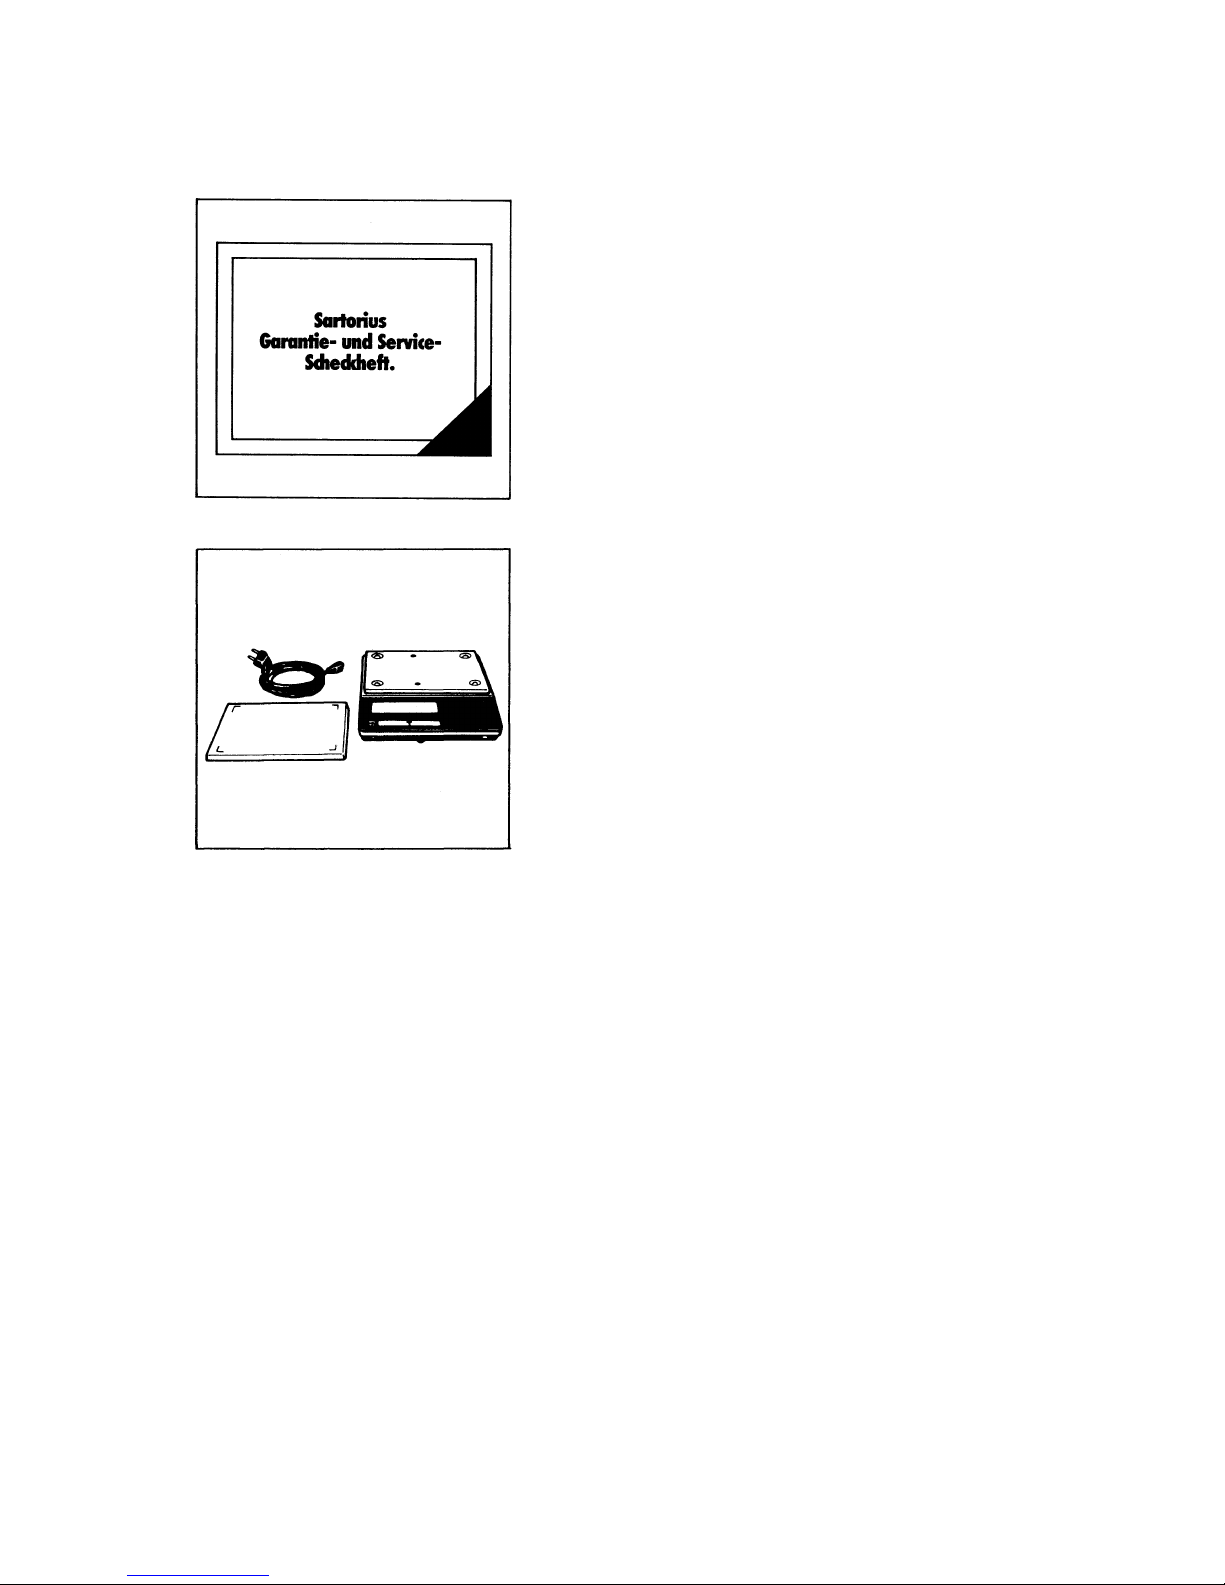
Complete Consignment.
Please complete the guarantee card, indicating the installation
date, and return to your Sartorius dealer.
Complete consignment
A complete consignment consists of the illustrated components.

6
Startup.
Install the pan on your toploader.
The operating voltage was set to 220 V at the factory.
Adaptation to your local line voltage:
set the voltage selector (2) to your line voltage.
Write the new setting on the manufacturer's label (3). W henever
you change the voltage to 100/120 you must switch fuses: exchange the T 160 mA fuse (2) for the T 315 mA fuse that is included in the toploader.
You will find this fuse plugged in the rear panel together with the
voltage selector:
100/120 V-T 315mA
220/240 V-T160mA
At the point of use, plug the line cord into a properly installed
line outlet.
lf you have to use a line outlet that lacks the ground wire,
make sure you ground the toploader itself.

7
Operation.
The weight display shows the following special
Status messages for your Information:
BUSY
The processor is still busy processing a function and will not accept any other commands to perform functions at this time.
STANDBY
The balance has been turned off with the ON/OFF key (5) and
is now in the STANDBY mode and ready to operate without
warmup.
POWER OFF
The balance was disconnected from line power (reconnection to
line power, power failure).
CAL
The calibration function has been called.
In addition to grams, this balance gives you a variety of
other international weight unit options to work with.
Select the weight unit you need from the table of the menu options for the balance operating program, and set the appropriate
code(s) as described in the section "Balance Operating Program."
8
Press the ON/OFF key (7) to switch the balance on or off. You
can also turn on the balance with the tare control (5).
After the adapter has been plugged into a wall outlet, the weight
display will go out when ever you turn off the balance. AII other
electronic circuits will remain energized (STANDBY state).This
means the balance is immediately ready to operate without requiring warmup the next time you switch it on.
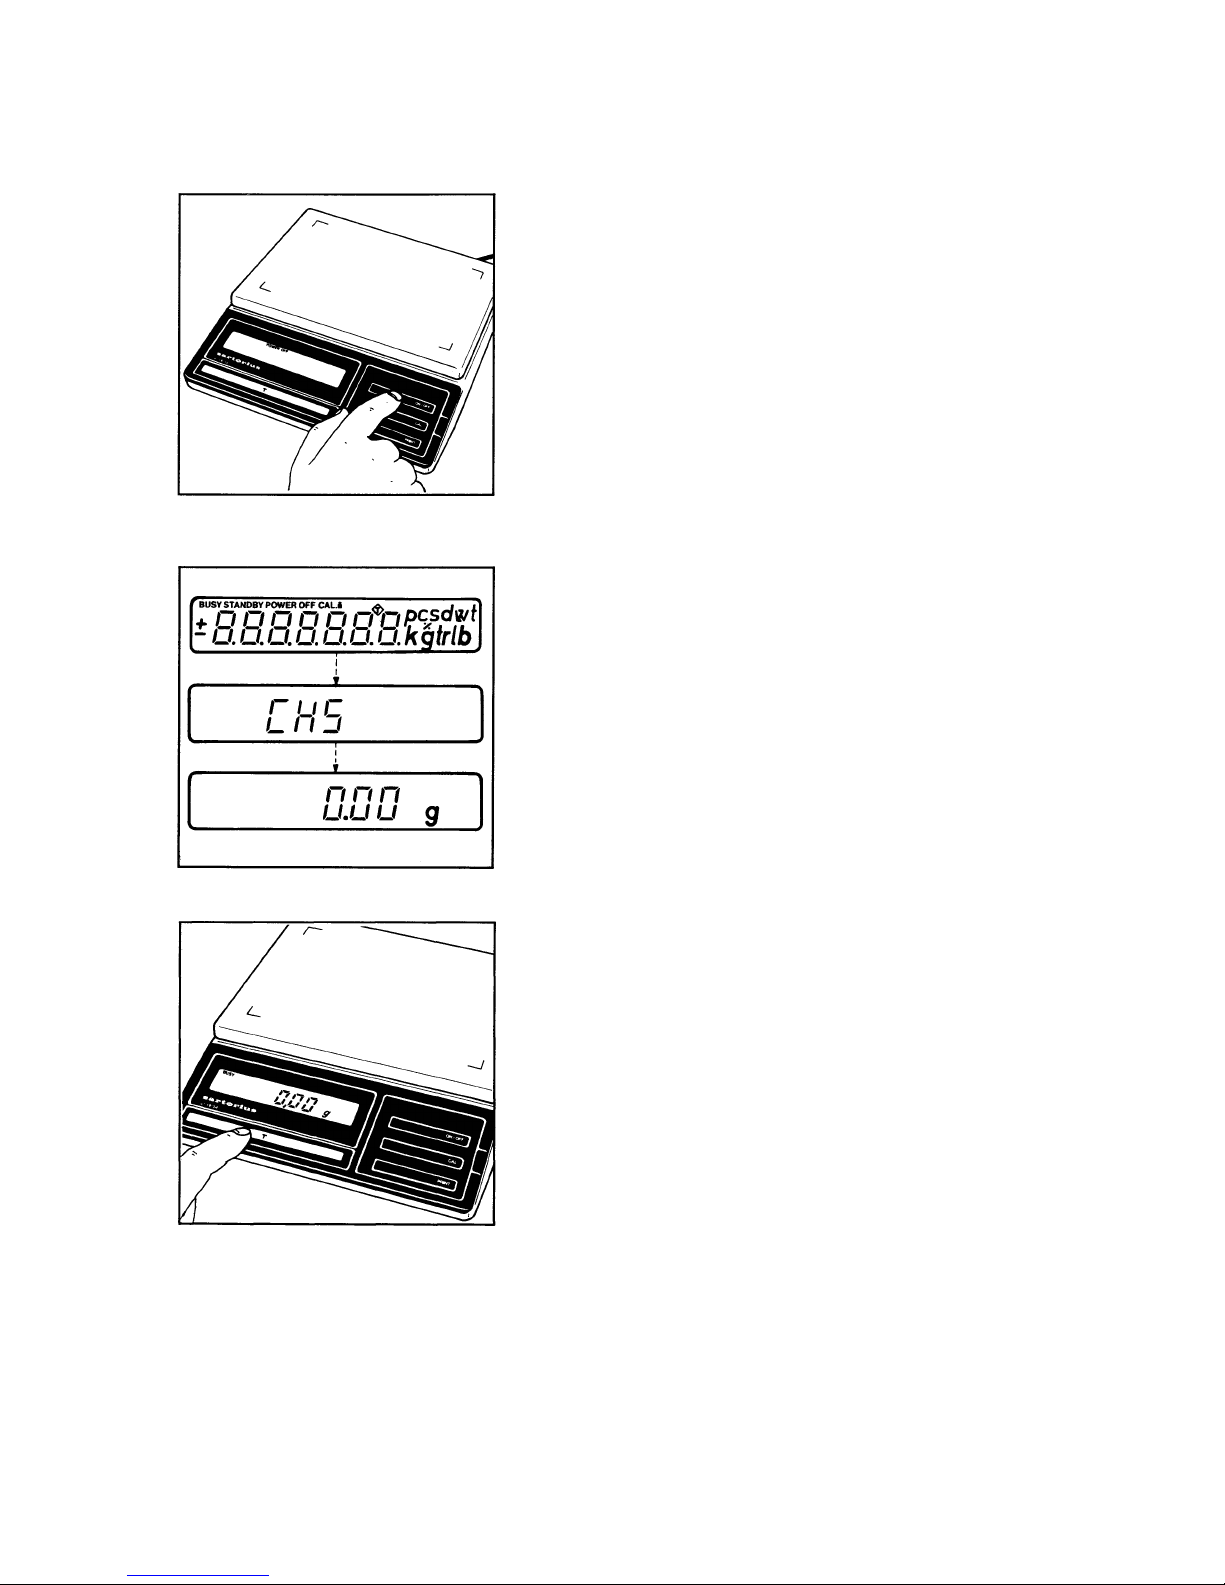
After the power is turned on, a test of all essential electronic
functions is run automatically.
The self-test ends with the readout 0.00 g/0.0 g (if the program
code setting 5 1 1 is used).
Now place your sample on the pan (1) to determine the weight.
Read off the weight in the display (8) as soon as the weight unit
(in this case ''g") appears as the stability symbol.
lf you wish to use a Container or if the weight display does not
indicate 0.00 g/0.0 g (or the equivalent with the weight unit of
your choice), press the tare control to zero the display.

9
Calibration.
- is only possible with an accurate calibration weight.
Please refer to "Accessories."
Clear the pan and depress the QAL button for at least three
seconds until the calibration weight appears in the display.
Place the calibration weight in the center of the pan.
Now the weight unit symbol appears, and a beeper Signals the
end of the calibration procedure.
You can disable the calibration function – see "Balance operating program". (The function is enabled whenever the balance
operating program is in the "C" mode).
10
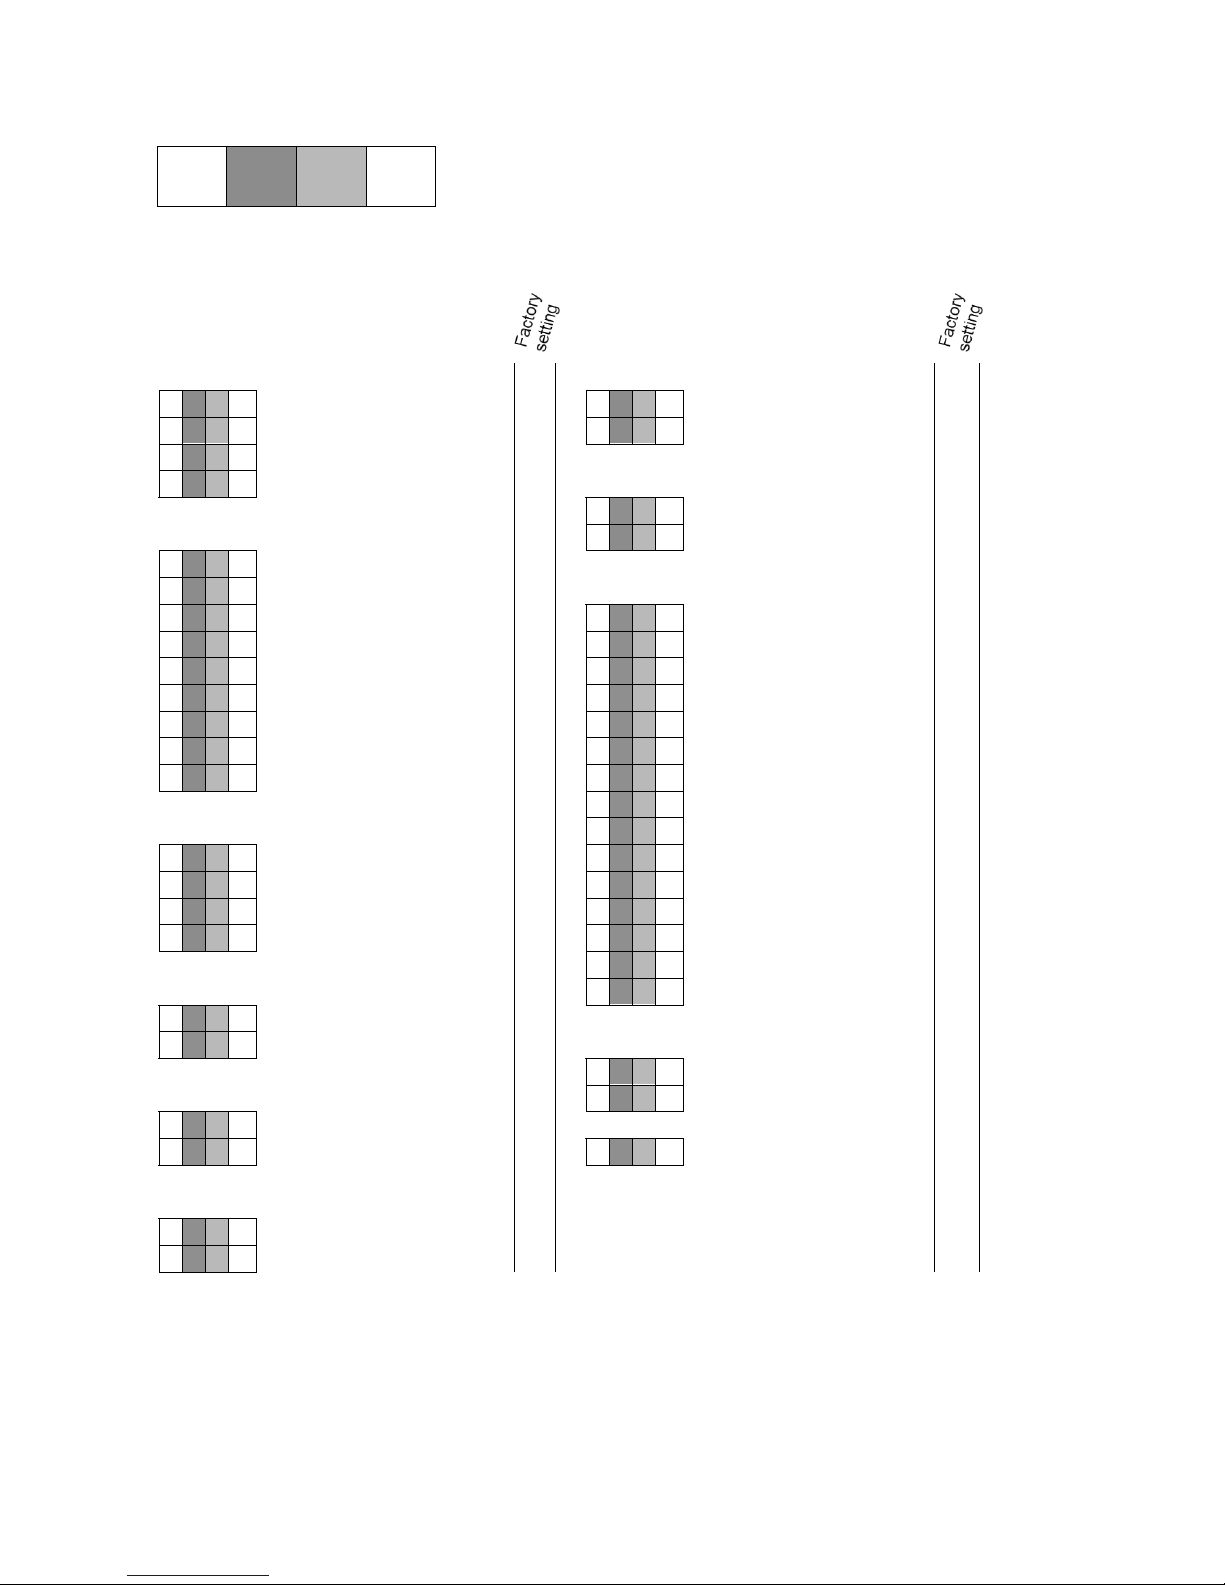
Balance Operating Program.
The balance operating program lets you adapt your balance to
various ambient conditions and to different weighing requirements and select the weight unit(s) commonly used in your
country. At the factory we have set the codes for a Standard
program, which is protected by a locking function to prevent accidental changes.
The
"code"
contains the information of the operating program,
It consists of three digits: one each for the page the line and the
word.
How to access the menu of the balance operating
program:
With the balance turned off (STANDBY state), hold down the
tare control (5) and simultaneously press the ON/OFF key (7).
Upon completion of the automatic self-test, release the tare
control as soon as "CH 5" is displayed. The Status of the balance operating program will be indicated in the weight display:
"L"
Stands for the list mode. In this mode you can check the
menu code settings, but you cannot program new menu codes.
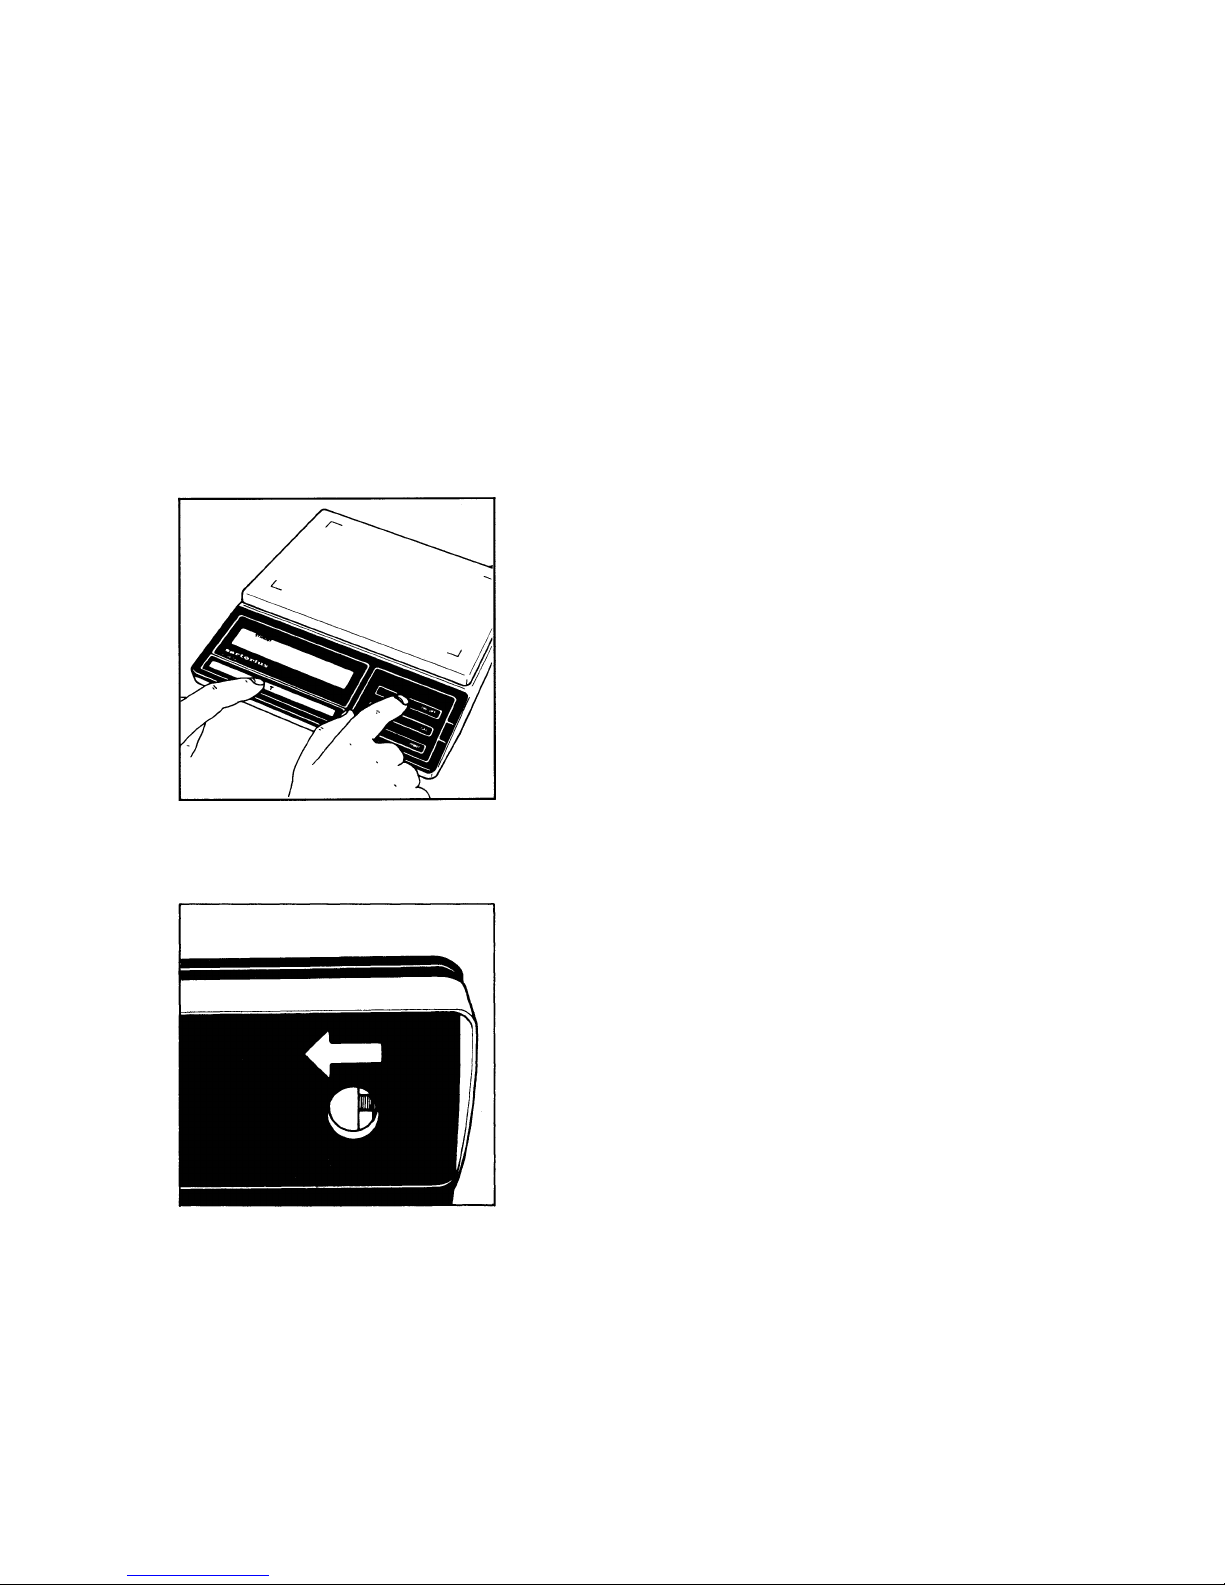
lf you wish to change a program menu code, you must first
unlock the menu access switch to access the menu.
To do so slide the menu access switch (4), located at the front
right of your balance, in the direction of the arrow.
The display will indicate
"C"
, which Stands for the change
mode, meaning you can now proceed to make the necessary
code changes.
11
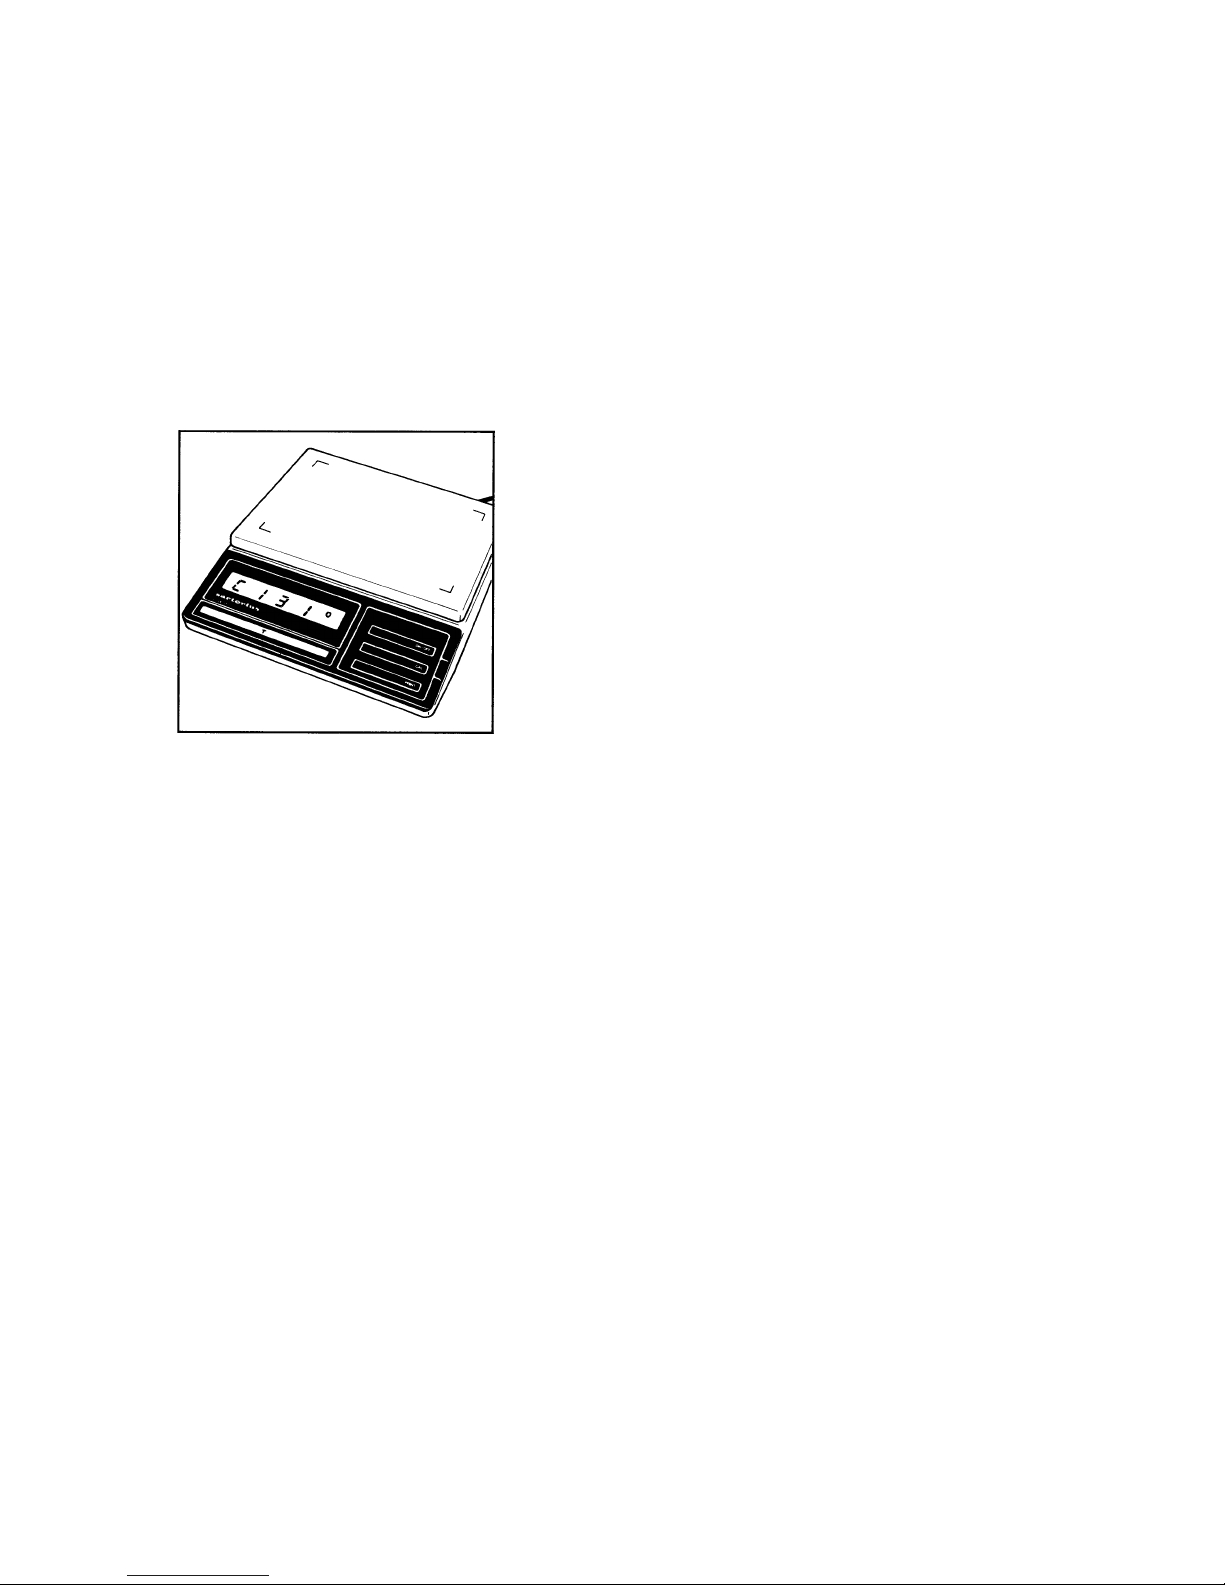
After the balance operating program has been called the display
will show a continuous numerical sequence from 0 to 5 representing the "page" selection, in addition to the Status code letter
''L" or "C.'' When the code number of your choice for the "page"
appears, press the tare control. The "page" code number now
stops in the display, and a series of numbers for the "lines'' will
begin to cycle. Again, press the tare control to stop the code
number of your choice in the display. Next the numbers for the
"word'' will cycle in the display. Repeat the procedure to enter
the last digit of the code.
The "o" symbol that appears indicates the actual setting.
To change any settings ("C" mode), press the tare control as
soon as the appropriate code appears.
Brief display of BUSY and the "o" symbol confirms your selection, followed by a return to ''zero" representing the "line."
To return to the weighing program:
press the tare control each time a 0 appears in the numerical
sequence (word, line, page). lf you have made code changes
your code entry will be stored as soon as the display returns to
the weighing mode. Lock the balance operating program using
the menu access switch (display ''L") and replace the protective
cap.
Auto Zero
This balance has an automatic zero tracking function, known as
"Auto Zero" (can be turned off by menu code).
Any changes off zero ≤ 0.5 of a digit per second will be set to
zero automatically.
Additional parameters for the data output format and for calculator programs are available on request.
Please refer to “Accessories”.
12
C 1 3 1
Page Line Word
Menu of the Balance Operating Program
(Active Parameters)
Code
Ambient Conditions
Code
Program Lock
C 1 1 1
Very stable U 3600
!
C 4 1 1
OFF
C 1 1 2
Stable U 3600 P
!
C 4 1 2
ON
!
C 1 1 3
Unstable
C 1 1 4
Very unstable
Code
Acoustic Signal
C 4 3 1
ON
!
Code
Stability Range
C 4 3 2
OFF
C 1 2 1
0,25 digit
C 1 2 2
0,5 digit
Code
Weight Units
1
)
"
C 1 2 3
1 digit
C 5 1 1
Grams g
!"
C 1 2 4
2 digits
C 5 1 2
Kilograms kg
"
C 1 2 5
4 digits
!
C 5 1 3
Carats ct
C 1 2 6
8 digits
C 5 1 4
Pounds lb
C 1 2 7
16 digits
c 5 1 5
Ounces oz
C 1 2 8
32 digits
c 5 1 6
Troy ounces ozt
C 1 2 9
64 digits
c 5 1 7
Parts/pound o
c 5 2 1
Hong Kong taels tl
Code
Display Format
c 5 2 2
Singapore taels tl
C 1 3 1
Last decimal ON
!
c 5 2 3
Taiwan taels tl
C 1 3 2
Last decimal OFF
c 5 2 4
Grains gr
C 1 3 3
Last decimal at stability
c 5 2 5
Pennyweights dwt
C 1 3 4
All decimals at stability
c 5 2 6
Mommes o
c 5 2 7
Milligrams o
Code
Tare parameter
C 5 2 8
Austrian carats o
C 1 4 1
Without stabilty
C 1 4 2
At stability
!
C 5 2 0
Call Program Line
Code
Auto Zero
C 5 0
Call Program page
C 1 5 1
ON
!
C 1 5 2
OFF
C 0
End of programming
Code
Calibration
C 1 6 1
Accessible
!
C 1 6 2
Accessible blocked
Additional Parameters for the data Output format at the interface port and for calculation programs are available on request.-Please refer to the “Accessories."
1)
You can choose any weight unit as long as it can be displayed in the particular weighing range you
selected (for example do not set the code for "kg" when you are using a 0.1 mg balance).

13
Technical data.
Model U 3600 U 3600 P
Capacity g 3640 600/1200/3640
Readability g 0,1 0,01/0,02/0,05
Tare range (by subtraction) g -3640 -3640
Standard deviation g
≤
±0,05
≤
±0,01/0,01/0,025
Max. linearity g
≤
±0,1
≤
±0,02/0,02/0,05
Stabilization time (typical) s 2
Display update s 0,1 – 0,8 (selectable)
Adaptation to ambient conditions
and application requirements
by selection of 4 optimized filter levels
Stability range d 0,25 ... 64 (selectable)
Ambient temperature range
K
273-313 (0o C ... +40oC)
Sensitivity drift
within 283 ... 303 K
/K
≤
±1∙10
-5/
/K
≤
±4∙10
-6/
/K
Deviation from result
when tilted 1 : 1000
g
≤
±0,1
≤
±0,02/0,04/0,1
Pan dimensions mm 235 x 180
Balance housing (W x D x H) mm 250 x 270 x 65
Net weight kg 5
Line voltages,
frequencies 50-60 Hz
100/120 V or 220/240 V
-15 % ./. + 10 %
Consumption VA 8
Interface
RS 232 C/V24 – 28, RS 423/V10; 7-bit;
parity: even, mark, odd, space;
transmission rate 150 ... 9600 Baud

Sartorius AG
B 37070 Göttingen
P Weender Landstraße 94–108, 37075 Göttingen
T (0551) 308-0, F (0551) 308-3289
Internet: http://www.sartorius.com
Copyright by Sartorius AG, Göttingen, Deutschland.
All rights reserved. No part of this publication may be
printed or translated in any form or by any means without
the prior written permission of Sartorius AG.
Sartorius AG reserves the right to make change to the
technology, features, specification and design of the equipment
without notice.
 Loading...