

Saris Bones EX Assembly Instructions Manual

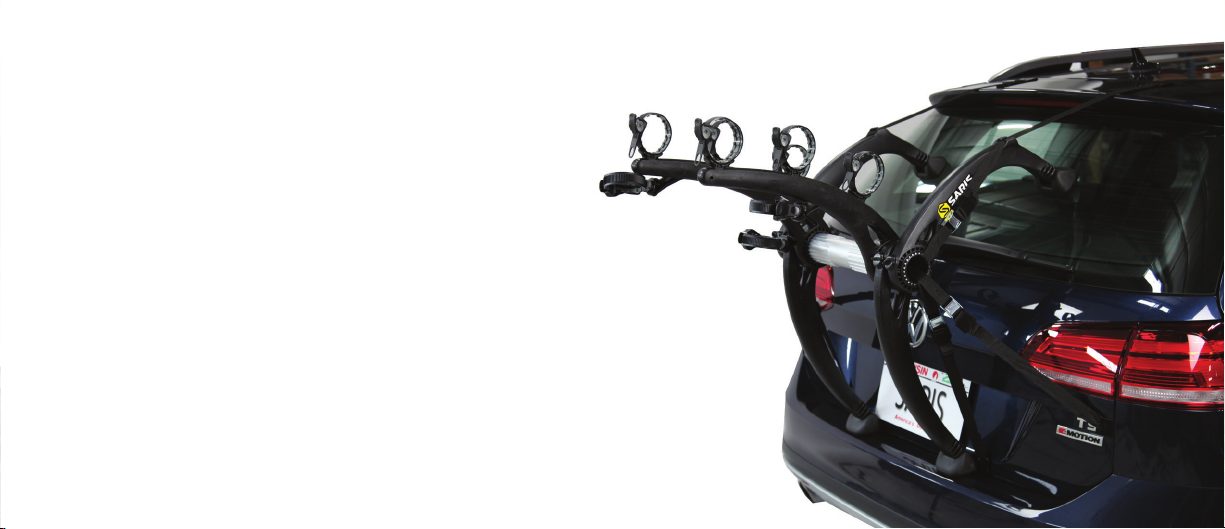
Bones EX
Assembly Instructions | Instrucciones de montaje | Instructions d’assemblage
TELL US WHAT YOU THINK
SARIS.COM/FEEDBACK
REGISTER YOUR PRODUCT FOR UPDATES
SARIS.COM/REGISTRATION
LONG FOR THE RIDE
Just as no garage is complete without a bicycle, at Saris, we believe no car is
complete without a bike rack.
Since setting off on this journey nearly 30 years ago, Saris racks
have freed millions of bike-lovers to explore new territory and terrain,
take part in group rides, bike pool to races, and commute to and
from work.
And we continue to do so in style.
As the all-time #1 best-selling bike rack, Saris Bones® continues to set the
standard for excellence in design. Today all Saris bicycle racks are intuitive to
load and secure, and guaranteed for life.
Built by cyclists for cyclists in Madison, Wisconsin,
we strive to create the world’s best bike racks.
Because cycling is what we live for.
MADE IN USA
3
Specifications: Bones EX
Customer Support
1-800-783-7257
support@saris.com
saris.com
Live
Chat
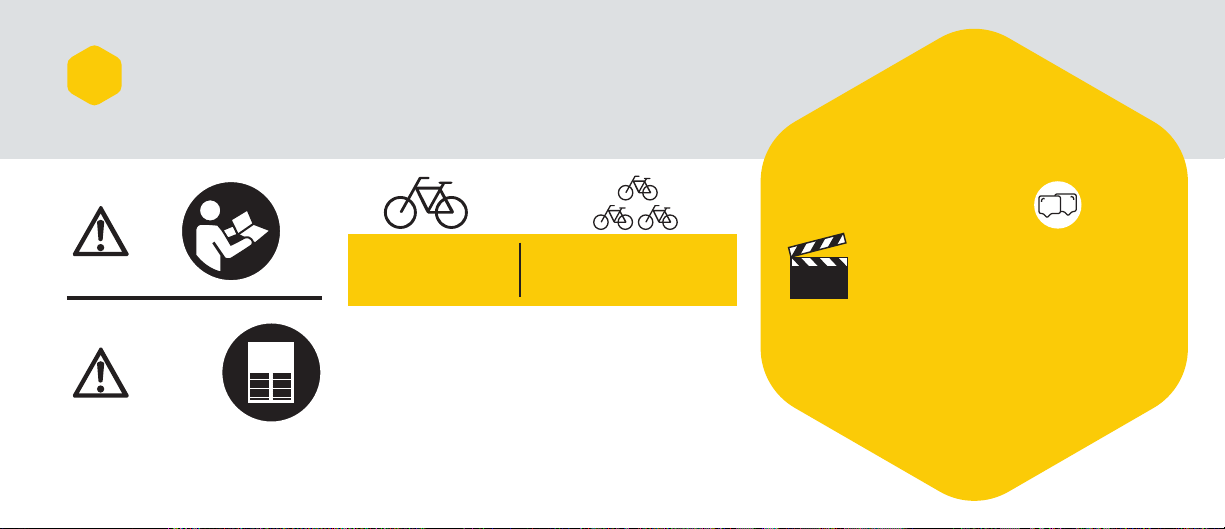
View our installation video at
http://www.saris.com/en/instructional-videos-1.html
Vea nuestro vídeo de instalación en
http://www.saris.com/en/instructional-videos-1.html
Visionnez notre vidéo d’installation à l’adresse
http://www.saris.com/en/instructional-videos-1.html
* Guía de
adaptación
* Guide de
compatibilité
Fit
Guide
Max = 35 lbs/16kg
Máx.= 16kg (35 libras)
Max = 35lb/16kg
Max = 105 lbs/48kg
3
Máx.= 48kg (105 libras)
Max = 105lb/48kg
BIKE
For relevant patents, see www.saris.com/patents
Para las patentes pertinentes, consulte www.saris.com/patents
Pour les brevets concernés, consultez www.saris.com/patents
1.800.783.7257
http://www.saris.com/en/vehicle-racks.html
4
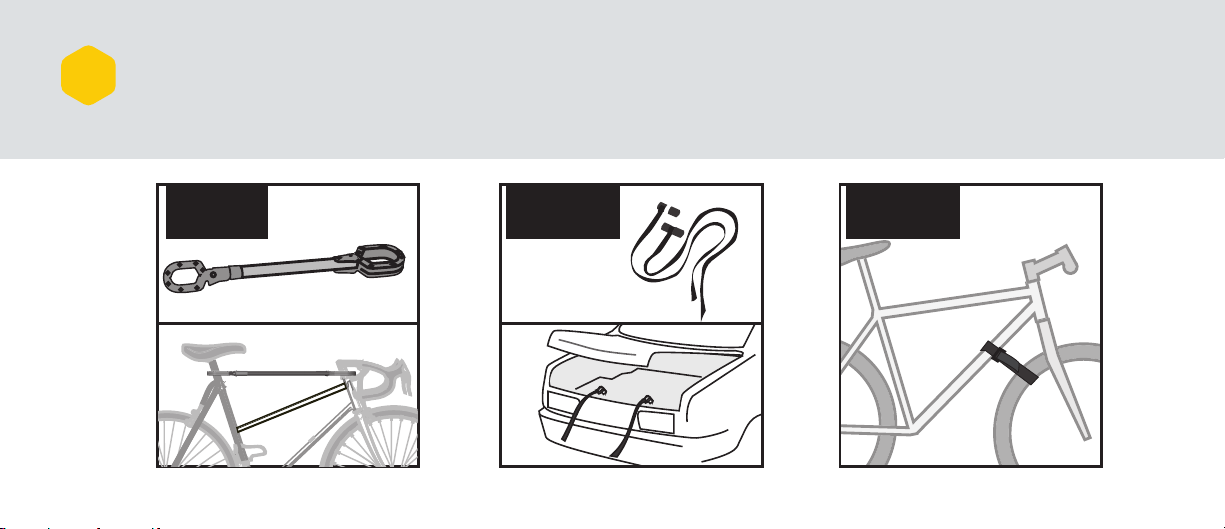
Optional Accessories:
11lbs/5kg
View our installation video at
http://www.saris.com/en/instructional-videos-1.html
VIDEO
For relevant patents, see www.saris.com/patents
F
ü
r relevent Patente siehe www.saris.com/patents
Accessories
Accesorios opcionales
Accessoires en option
#3037, 3040
Bike Beam
#3035
Hatch Huggers
#3033
Wheel Straps
5
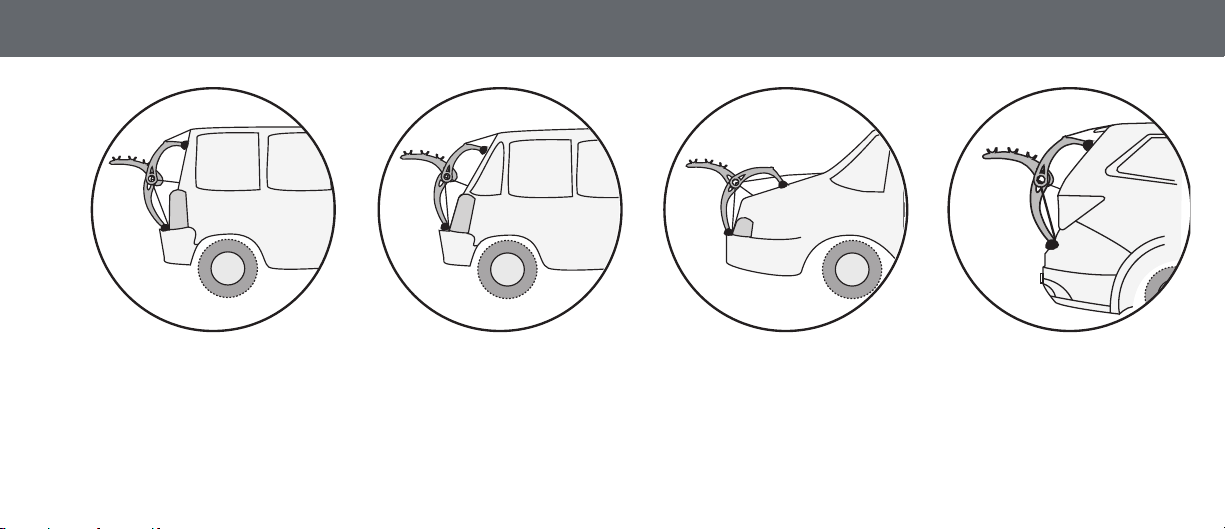
RACK ORIENTATION | POSICIÓN DEL PORTABICICLETAS | ORIENTATION DU PORTEVÉLO
Bones EX can be confi gured for different vehicle types, as shown.
EN
Bones EX se puede confi gurar para distintos tipos de vehículos como indican las ilustraciones.
ES
Le modèle BonesEX peut être confi guré pour différents types de véhicules, comme indiqué ci-dessus.
FR
6
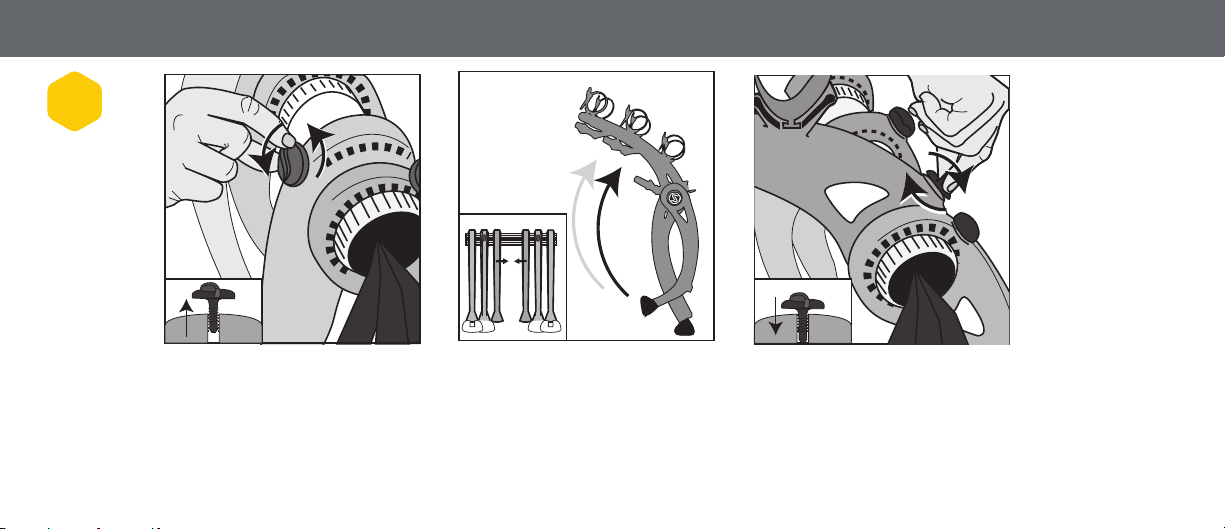
OPENING RACK | APERTURA DEL PORTABICICLETAS | OUVERTURE DU PORTEVÉLO
1
x 2
Turn knob on rack arm counterclockwise to loosen rack arm. Slide arm to center of aluminum tube and open arms as shown, slide arm back over aluminum tube
EN
spline. Tighten knob by turning clockwise.
Gire el pomo del brazo del portabicicletas en sentido contrario a las agujas del reloj para afl ojar el brazo del portabicicletas. Deslice el brazo hacia el centro del
ES
tubo de aluminio y abra los brazos como se indica, vuelva a deslizar el brazo sobre la ranura del tubo de aluminio. Apriete el pomo girando en el sentido de las
agujas del reloj.
Desserrez le bouton positionné sur le bras du porte-vélo en le tournant dans le sens inverse des aiguilles d’une montre. Faites glisser le bras au centre du tube
FR
en aluminium et ouvrez les bras comme indiqué, puis replacez le bras sur la rainure du tube en aluminium. Serrez le bouton en le tournant dans le sens des
aiguilles d’une montre.
7
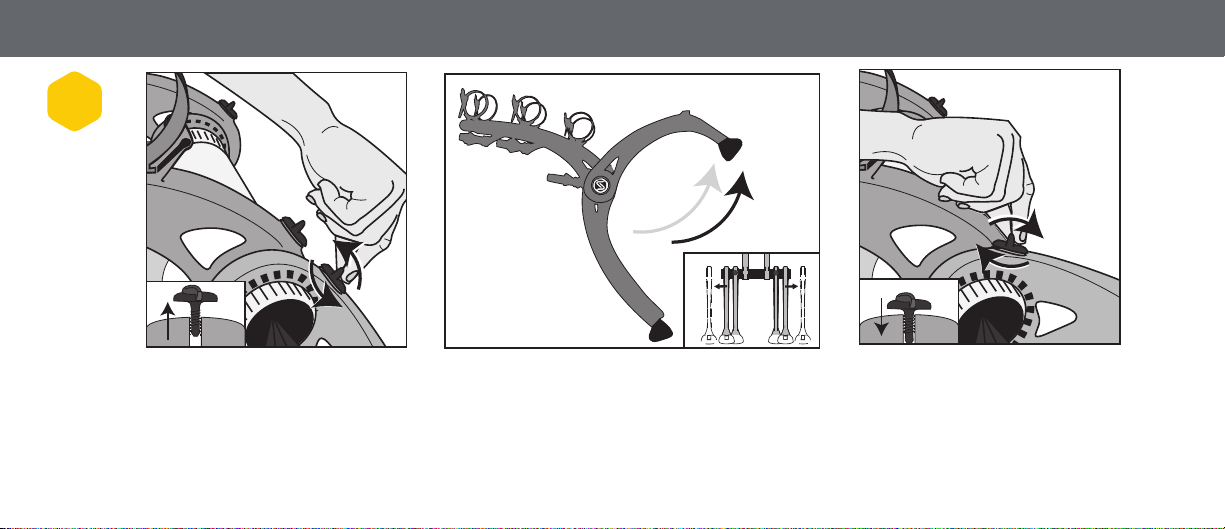
SETTING LEG POSITION | FIJACIÓN DE LA POSICIÓN DE LA PATA | POSITIONNEMENT DES PATTES
2
Turn knob counterclockwise on outer leg knob to loosen leg as shown. Remove leg from spline and reinstall on spline at desired position. Refer to page 6 to
EN
determine optimal rack orientation. Tighten knob.
Gire el pomo en sentido contrario a las agujas del reloj en el pomo de la pata exterior para afl ojarla como se indica. Saque la pata de la ranura y vuelva a
ES
colocarla en la ranura en la posición deseada. Consulte la página 6 para determinar la posición óptima del portabicicletas. Apriete el pomo.
Tournez le bouton de la patte externe dans le sens contraire des aiguilles d’une montre afi n de desserrer la patte comme indiqué. Retirez la patte de la rainure et
FR
réinstallez-la dans la position souhaitée. Reportez-vous à la page 6 pour déterminer l’orientation optimale du porte-vélo. Serrez le bouton.
8
x 2
 Loading...