

Sargent and Greenleaf 6124,6125 Set Up And Operation Manual

Model 6124 / 6125 Multiple User Access
Electronic Safe Lock
Setup and Operations Guide
I. General Information
a. About Your Lock
b. PIN Positions
c. Changing the Batteries
d. Quick Reference Tables
e. Keypad Tamper Indicator (Optional)
II. Management Reset Code (MRC) and Master Code (MC)
a. Management Reset Code
b. Master Code
III. Creating, Changing and Deleting Codes
a. Creating Supervisor Code
b. Creating User Codes
c. Changing Codes
d. Deleting Codes
e. Detecting Active User Positions
IV. Time Delay
a. Time Delay Duration
b. Opening Window Duration
c. Time Delay Override
d. Creating, Changing, Deleting the TDO Code
V. Management/Employee Access
VI. Duress Function
VII. Audit Trail Options
a. Event Audit Trail
VIII. Codes—General Information
VIII. Specifications and Warranty
Note: This lock has been Listed by Underwriters Laboratories for use with the following
S&G keypad(s):
6120-0XX, 6120-2XX, 6160-2XX (IP Series), 61KP-1XX, 61KP-2XX
Sargent & Greenleaf, Inc.
A Wholly Owned Subsidiary of Stanley Security Solutions, Inc.
PO Box 930
Nicholasville, KY 40356
Phone: (800)-826-7652 Fax: (800)-634-4843
Phone: (859)-885-9411 Fax: (859)-887-2057
Copyright© 2006, Sargent & Greenleaf, Inc.
page 1
Sargent & Greenleaf S.A.
9, chemin du Croset
1024 Ecublens, Switzerland
Phone: +41-21 694 34 00
Fax: +41-21 694 34 09
Document 630-656ENG
Revised 5/25/06

I. General Information
a. About Your Lock
Each time you press a number, letter, or other character on the keypad of your Model 6124 or 6125
electronic safe lock, it beeps and the red LED flashes. If it doesn’t, check your batteries to make sure they
are fresh and connected properly, then try again. (See Changing the Batteries, paragraph C.)
The lock responds with various beep () sequences to indicate different conditions. The symbols in
examples show the number of beeps you hear. Always wait for each set of beeps to end before entering
another number or letter, or you will interrupt the code sequence.
Important points:
• When programming, you enter new codes twice, to confirm their accuracy.
• Clearing the Lock: If you start to enter a code and make a mistake, you can press * to clear the lock,
or wait 10 seconds and it will clear itself. Note: Do not wait more than 10 seconds between entries
or the lock will clear.
• Error Beep: If you hear a long continuous beep during any programming sequence, you made an
error. Start the sequence over.
• Error Penalty: If you enter five incorrect codes in a row, the lock starts a ten minute penalty time. If
you enter another wrong code during this time, you’ll hear two long beeps, and the lock will not open.
You have no recourse other than to wait ten minutes before entering a valid code to open the lock.
b. PIN Positions
Each code created for use in your lock is assigned a personal identification number (PIN) position. The
Master Code is PIN 0 (zero), the Supervisor is PIN 1, Users are PINs 2 through 8.
duress feature enabled, User PINs 4 through 8 are automatically disabled and are not available. The Time
Delay Override Code uses PIN 9. If Time Delay Override is disabled, PIN 9 works like a standard User code.
c. Changing the Batteries
No codes or program settings are lost during battery replacement. Carefully remove the keypad housing
by first lifting the bottom edge (closest to the S&G logo) and then easing it off the base. Detach the old
batteries from the terminals. To prevent bending or breaking the holder, support the top of each battery
holder as you insert each fresh battery; Duracell® alkaline batteries are recommended. Note: If power is
removed from the lock in Management/Employee mode, the lock powers up in the disabled state.
If your lock has the
page 2
d. Quick Reference Tables
Command Reference: Each of the following commands (CMD) begins a code sequence to perform a
specific function.
CMD Function
2 2 * Change six-digit user code.
2 8 * Download the event audit trail.
3 2 * Set up the Management/Employee enabling/disabling of user codes.
3 8 * Enable/disable the duress function
4 3 * Identify the type of lock.
4 6 * Program the time delay override option.
5 5 * Enable/disable user codes (with Master or Supervisor Code, in Management/Employee mode).
5 6 * Set up user code disabling.
6 7 * Define and use the Management Reset Code.
Program functions (require Master Code)
- Define or change the time delay period (1-99 minutes)
- Define or change the opening window (1-10 minutes)
7 4 *
7 7 * Detect active PIN positions.
- Add/delete Supervisor Code
Program functions (require Master or Supervisor Code)
- Add user codes 2-8
- Delete user codes 1-8
- Create/delete a Time Delay Override Code (PIN 9)
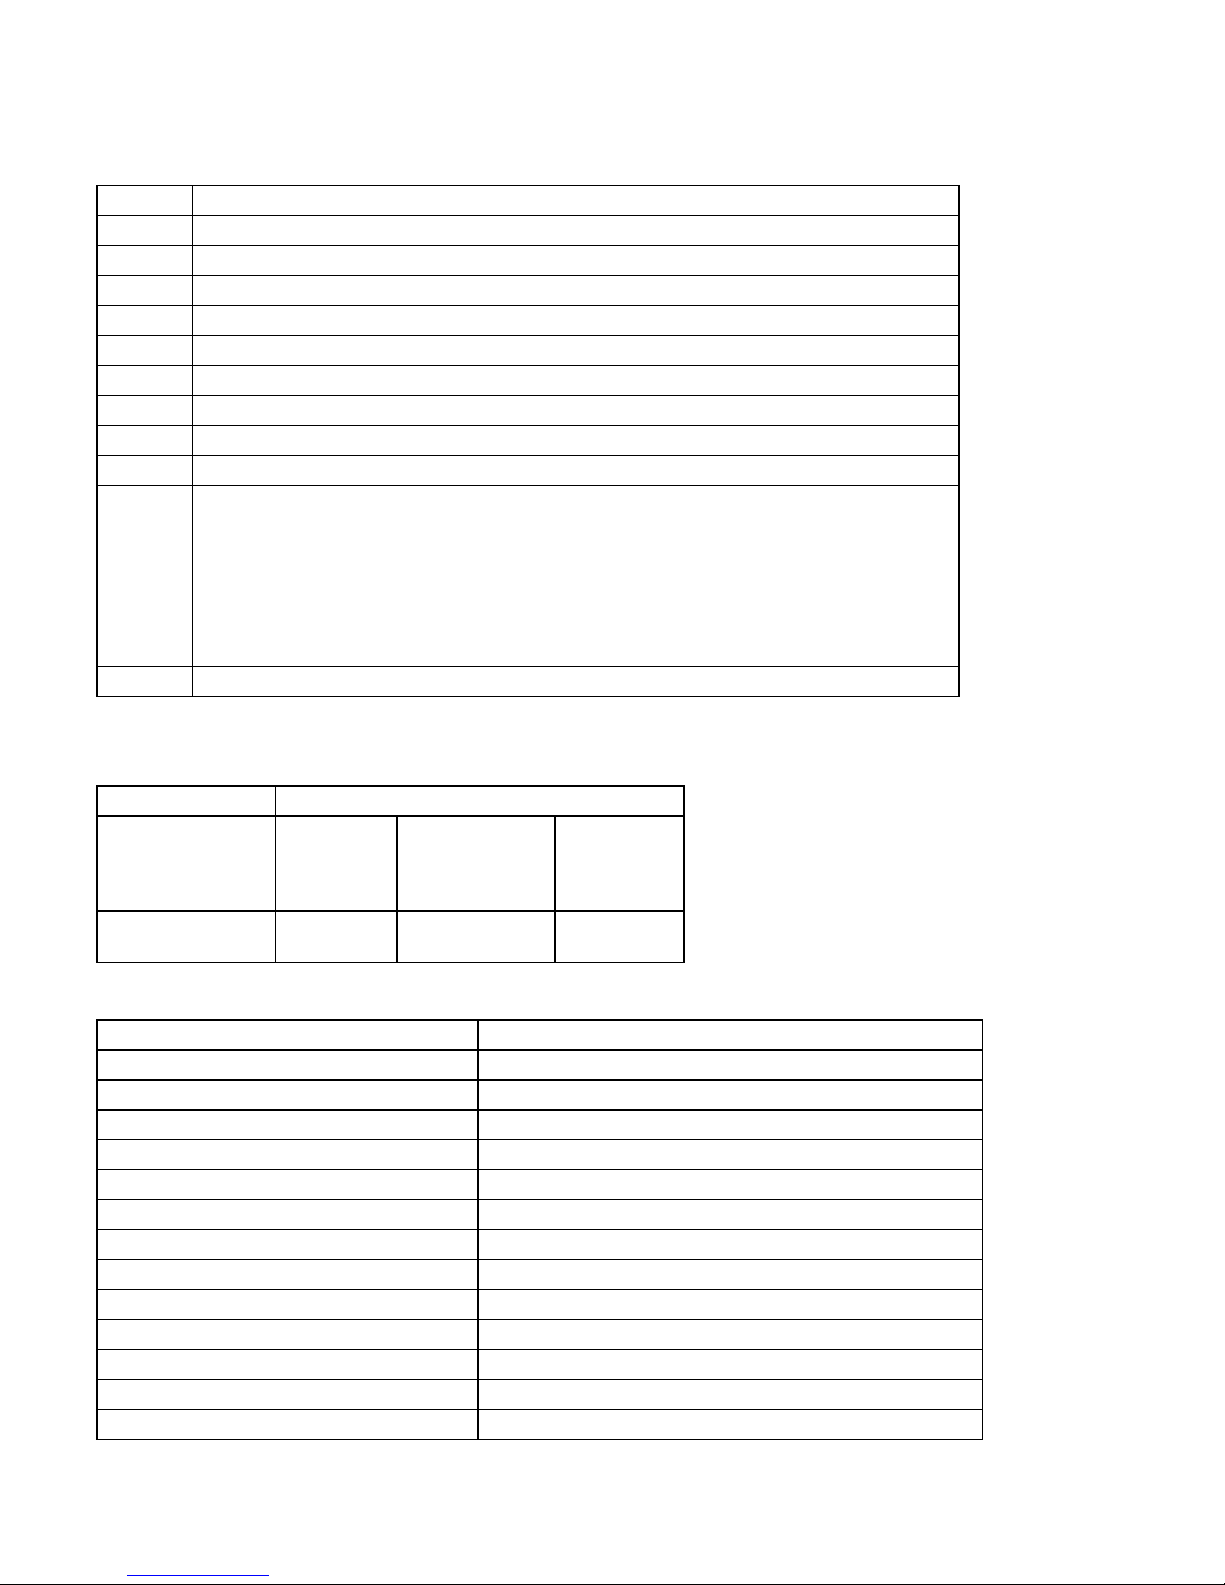
Lock Identification:
Enter 4 3 * and listen carefully for the lock identification beeps.
Beep Set Lock Identification: Number of Beeps
1st set (high/short):
Lock Model
2nd set (low/long):
Access Type
Deadlocking
motor
(6124)
4 beeps
Single User
1 beep
Push/pull motor
(6125)
5 beeps
Multiple User
2 beeps
---
Dual Control
3 beeps
Reference for Beep Patterns
Action/Condition What You Hear
Wrong code entered 1 long continuous beep
Code entered during error penalty time 2 long continuous beeps
User code entered to start time delay 3 short high-pitch beeps
Time delay countdown 1 short high-pitch beep every 10 seconds
Time delay expiration signal 10 short high-pitch beeps
Opening Window signal 2 short high-pitch beeps every 6 seconds
Low Battery Warning 5 sets of 2 short high-pitch beeps
Battery too low to perform functions 20 short high-pitch beep (code lockout)
Bolt extension indicator 1 low/high beep sequence
Keypad tamper signal (optional) 2 sequences of SOS (3 short-high, 3 short-low, 3 short-high)
End of Audit Trail download 3 high pitch beeps
Enable lock (Management/ Employee mode) 4 high pitch beeps
Disable lock (Management/ Employee mode) 2 low pitch beeps
page 3

e. Keypad Tamper Indicator—Required for VdS rating
ptiOnal: tamper-indicating keypad must be Ordered)
(O
If a tamper-indicating keypad is installed, the lock records each time the lock keypad housing is unseated
or removed from the base. If the housing is disturbed, the Keypad Tamper Indicator beeps an SOS warning
signal the next time you attempt to enter a valid access code. The lock will not open; it beeps the SOS:
3 short/high beeps, 3 short/low beeps, 3 short/high beeps. This signal is repeated twice. When it stops,
enter a valid code within one minute and the Keypad Tamper Indicator will reset and the lock will open.
Note: The keypad will not work when disconnected from the base.
II. Management Reset Code and Master Code
a. Management Reset Code
Set up a Management Reset Code (MRC) to use if you need to reset the lock in the future. Resetting the
lock deletes the time delay override code, supervisor code and user codes; you also create a new Master
Code at the same time. Resetting the lock does not affect the time delay or opening window durations,
duress, audit trail, lock access method or audit trail settings.
Important! The MRC must be set up prior to changing the Master Code for the first time. The factory-set
Master Code is 1 2 3 4 5 6. The first step in preparing for your lock operation is to decide if you want to
use a Management Reset Code (MRC). If you do, we suggest that you store this code off the premises as
an additional security measure. Note: The MRC may have been preset at the factory; a factory-set MRC can
be changed using this procedure if the Master Code has not been changed. The Management Reset Code
(MRC) must be a unique code with six digits; one of the digits must be 1/0 or 3/0. That is, when you enter
the code, you will press the 1 or 3 simultaneously with 0 (zero). Examples of valid MRCs would be either
of the following: 7 6 5 4 3/0 2 and 4 5 2 1/0 6 6. The combination of the two keys (1/0 or 3/0) provide
added security.
Be sure to listen for the beeps (*) as you enter the following:
6 7 * Factory-set Master Code #
MRC #
MRC #
For example:
6 7 * 1 2 3 4 5 6 #
9 1/0 8 9 2 7 #
9 1/0 8 9 2 7 #
1. Using the MRC
Use the MRC only when you know you have lost or forgotten the Master Code. Remember that the MRC
deletes the Time Delay Override Code, the Supervisor Code and User Codes. You also create a new Master
Code as you use the Management Reset Code (MRC).
Enter:
6 7 * MRC #
New Master Code #
New Master Code #
page 4

For example, to use the MRC of 9, 1/0, 8, 9, 2, 7 and create a Master Code of 6, 5, 4, 3, 2, 1:
6 7 * 9 1/0 8 9 2 7 #
6 5 4 3 2 1 #
6 5 4 3 2 1 #
2. MRC Audit Trail
This audit trail lets you know how many times the MRC has been used to reset the lock. Immediately after
the new Master Code is set with the MRC, the lock beeps once for each time the MRC has been used,
including the current usage. Note: Usage of the MRC is recorded in the event audit trail.
b. Master Code
The Master Code is used when entering commands for specific lock management functions. Once the
Management Reset Code (MRC) parameter has been set, you need to change the Master Code (from the
factory-set 1 2 3 4 5 6).
To create a new 6-digit Master Code, enter it where the example says New Master Code:
2 2 * Current Master Code #
New Master Code #
New Master Code #
For example, to change the factory-set Master Code to 654321:
2 2 * 1 2 3 4 5 6 #
6 5 4 3 2 1 #
6 5 4 3 2 1 #
III. Creating, Changing and Deleting Codes
a. Creating Supervisor Code
Using the Master Code, you can create a Supervisor level code (PIN 1). The Supervisor Code can be used
to manage the User Codes; it can add and delete User Codes, and enable and disable the lock operation in
Management/Employee Access (see Section V). Make up a 6-digit Supervisor Code and enter:
7 4 * Master Code #
1 #
Supervisor Code #
Supervisor Code #
page 5

b. Creating User Codes
Using the Master or Supervisor Code, create new User Codes. For each user, create a unique 6-digit code
and assign a PIN position (2 through 8). PIN position 9 is also available as a normal User Code if the Time
Delay Override feature is turned off. Note that PIN positions 4 through 8 are not available if the lock’s
duress function is enabled. For example, to create a new user in PIN position 3, you would enter:
7 4 * Master or Supervisor Code #
3 #
New User Code #
New User Code #
Security Note: After setting up a new User Code, it is recommended that each User change his/her code to
a unique 6-digit code of their choice.
c. Changing Codes
The Master, Supervisor, Users and TDO code holders can change their own 6-digit codes using command
2 2 * (or alphabetic characters C C, for “Change Code”). Enter:
2 2 * Old User Code #
New User Code #
New User Code #
d. Deleting Codes
To delete the Supervisor or a specific User (the Master Code may be changed but not deleted), you only
need to know the PIN position. The example below shows the deletion of the User in PIN 3.
7 4 * Master or Supervisor Code #
3 #
#
#
e. Detecting Active User Positions
You can identify active PIN positions for which codes are present (PIN 0-9). Each number on the keypad
corresponds to a PIN position. Enter:
7 7 * [ 0, 1, 2, 3, 4, 5, 6, 7, 8, 9 ] PIN position
If the lock beeps one high short beep when pressing a number key on the keypad, that PIN position is
active. If it beeps one low long beep, it is not active.
IV. Time Delay
Time Delay is a security feature that creates a period of time between the entering of a valid code and the
ability to open the safe door. Time delay can be set to delay opening from 1 to 99 minutes. Security Note:
If time delay has already been set, changes to the opening window and time delay durations can only be
made during the opening window period.
page 6
 Loading...