

Sargent and Greenleaf 3007 Direct Drive,3006 Pivot Bolt Operating Instructions Manual
Document: 630-888
Revised: 5.23.16
Sargent and Greenleaf®
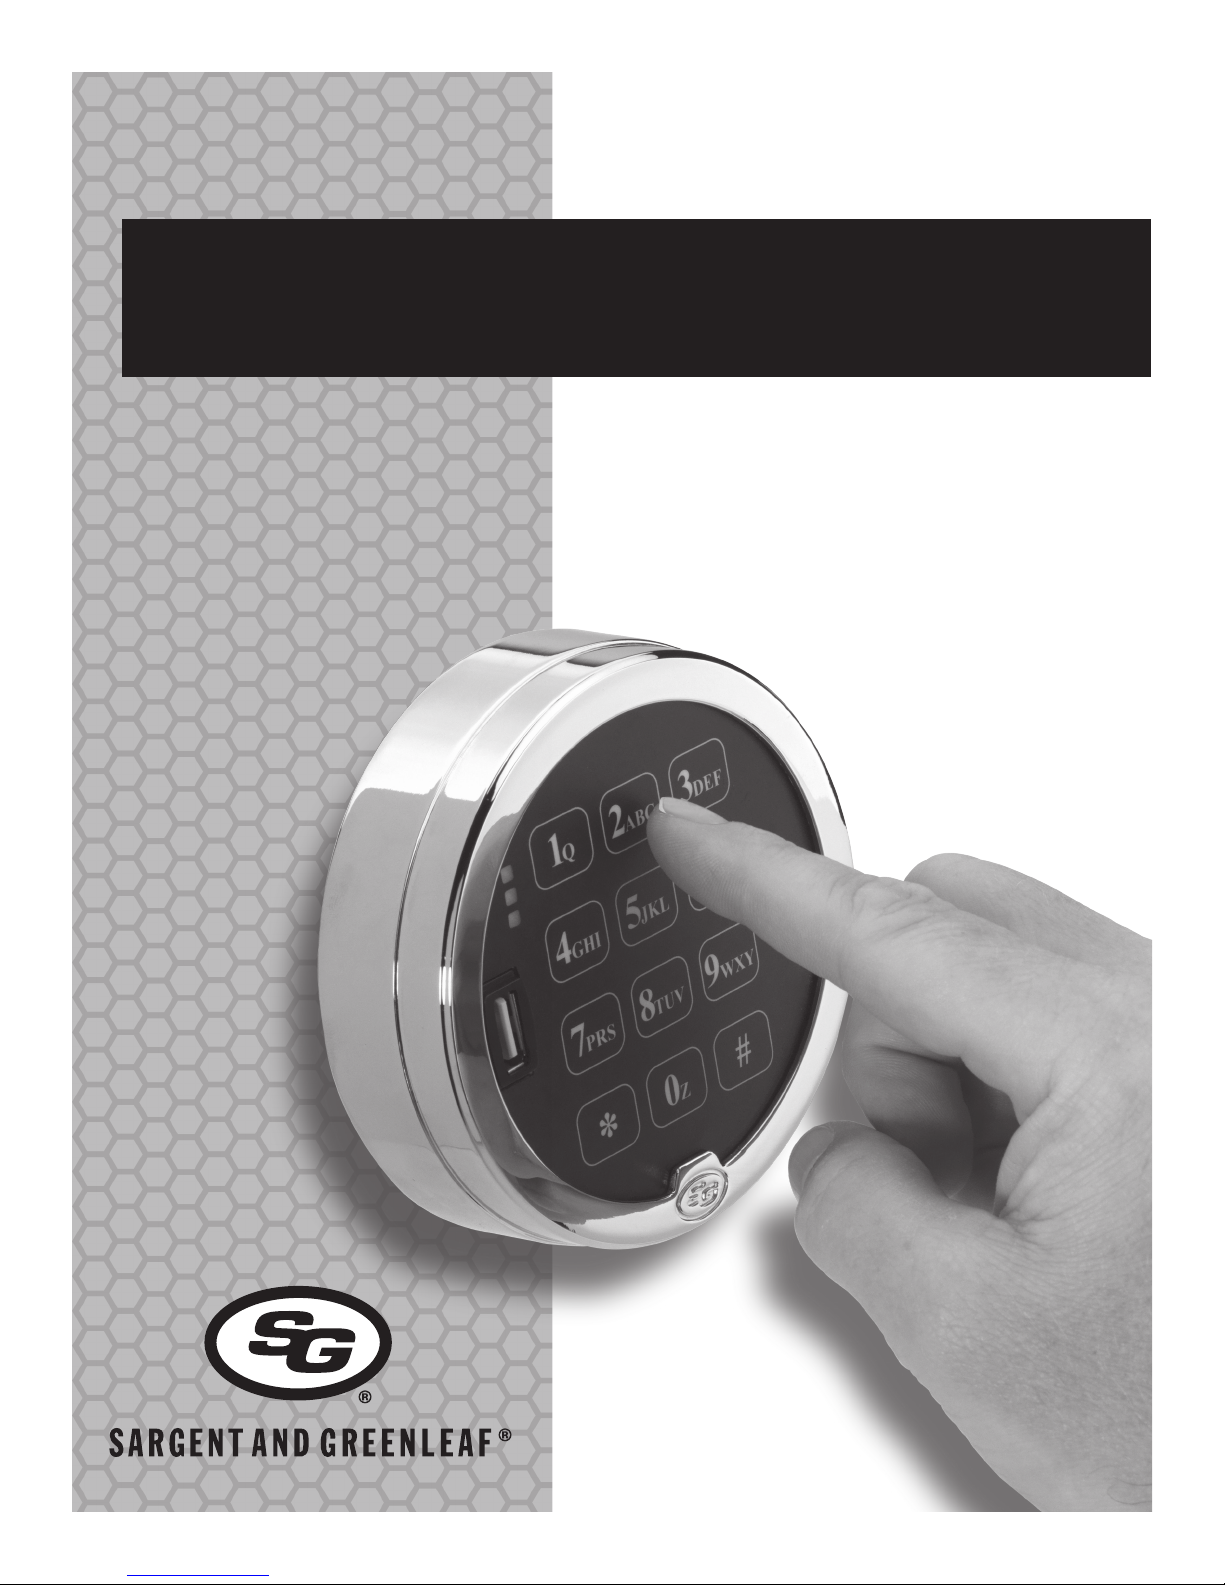
USB Audit Lock 2.0 Operating Instructions
3006 Pivot Bolt & 3007 Direct Drive
The Sargent & Greenleaf Audit Lock is designed to provide a high
level of security combined with exible features that allow multiple
levels of control over normal operations. Follow these instructions
carefully to get the best possible use from your lock.

Notes:
• The S&G USB Audit Lock 2.0 Operating System includes:
Model 3006 USB Pivot Audit Lock and 3007 Direct Drive Lock Systems
• The S&G USB Audit Lock 2.0 System is built using sophisticated electronic circuitry and is
suitable for indoor use only.
• The S&G USB Audit Lock 2.0 System can be used with the 31 KP Keypad Modules
• Please follow all installation instructions when installing the lock.
• The keypad should only be cleaned with a soft, dry cloth. Avoid solvents or liquids.
• Each time a button is pressed and the lock accepts the input, it emits a “chirp,” and the LED
on the keypad lights momentarily.
• All the letters of the English alphabet are displayed on the keypad. This allows you to devise
numeric, alphanumeric, or word-based codes. Use whatever approach works best for you.
• All codes end with #. This signals the lock that you have nished entering all digits of the code.
• This is a battery operated product. 9 Volt Alkaline Duracell Batteries recommended.
• Cables longer than 3 meters should not be connected to the keypad USB port
• A small musical note ( ) is used within these instructions to indicate the "beep"
that the lock makes.
• USB and Audit Trail was not evaluated by UL.
It is very important to note that all power should be removed from the lock
when the unit is mounted or removed.
Never attempt to lubricate the lock or keypad components.
Service should only be performed by a qualied technician.
Sargent & Greenleaf, Inc.
A Wholly Owned Subsidiary of Stanley Security Solutions, Inc.
PO Box 930
Nicholasville, KY 40356
Phone: (800)-826-7652 Fax: (800)-634-4843
Phone: (859)-885-9411 Fax: (859)-887-2057
Sargent & Greenleaf S.A.
9, Chemin du Croset
1024 Ecublens, Switzerland
Phone: +41-21 694 34 00
Fax: +41-21 694 34 09
2

Contents
1. GENERAL INFORMATION........................................................................................................................................................................ 4
1.1 — About Your Locking System......................................................................................................................................... 4
1.2 — Factory Default Settings.............................................................................................................................................. 4
2. OPERATING THE LOCK............................................................................................................................................................................. 4
2.1 — Operating Mode, PIN Positions, and User Codes.......................................................................................................... 4
2.2 — PIN Positions and Access Responsibilities.................................................................................................................... 4/5
2.3 — Beep Patterns............................................................................................................................................................. 5
2.4 — Opening the Lock........................................................................................................................................................ 6
2.5 — Keypad Input Errors and Clearing the Lock.................................................................................................................. 6
2.6 — Penalty Time................................................................................................................................................................ 6
2.7 — Bolt Extension Indicator.............................................................................................................................................. 6
2.8 — Low Battery Indicator.................................................................................................................................................. 6
2.9 — Changing the Batteries................................................................................................................................................ 6
2.10 — USB Flash Drive (optional – for audit trail download)................................................................................................ 6
3. PROGRAMMING THE LOCK....................................................................................................................................... 6
3.1 — Command 11: Set Date.................................................................................................................... 6
3.2 — Command 12: Set Time.................................................................................................................... 7
3.3 — Command 13: Start the Clock........................................................................................................... 7
3.4 — Command 22: Changing a PIN Code............................................................................................................................ 7
3.5 — Command 28: Audit Download................................................................................................................................... 7/8
3.6 — Command 32: Setting the Operating Mode................................................................................................................. 8
3.7 — Command 33: Changing a PIN Code............................................................................................................................ 8
3.8 — Command 42: Identify Lock Type................................................................................................................................. 8
3.9 — Command 43: Identify Lock Mechanics....................................................................................................................... 8
3.10 — Command 44: Identify Operating Mode..................................................................................................................... 8
3.11 — Command 46: Setting Up the Time Delay Override Options ....................................................................................... 8/9
3.12 — Command 47: Setting up the Time Delay.................................................................................................................... 9
3.13 — Command 48: Setting Up the Opening Window.......................................................................................................... 9
3.14 — Command 55: Enable / Disable the Lock (manager / employee mode)....................................................................... 9
3.15 — Command 56: Enable/Disable User Disable Feature (manager / employee mode)...................................................... 9/10
3.16 — Command 57: Enable/Disable Managers and Supervisors to Open the Lock in Manager / Employee Mode................ 10
3.17 — Command 67: Setting / Using MRC Function............................................................................................................... 10
3.18 — Command 75: Adding Code Positions.......................................................................................................................... 10/11
3.19 — Command 76: Deleting Code Positions........................................................................................................................ 11
3.20 — Command 77: PIN Position Verication....................................................................................................................... 11
3.21 — Command 79: Identify Firmware Version.................................................................................................................... 11
3.22 — Command 83: Disabling the Time Delay Override Feature.......................................................................................... 11
4. PIN Code Verication Worksheet.............................................................................................................................................................. 11
4.1— Flash Drive Specications ............................................................................................................................................ 12
Condentiality and Signature...................................................................................................................................................................... 12
3
1. General Information
1.1 About Your Locking System
To open the lock, use the factory setting for PIN position 10, with PIN Code
10101010. Enter: 10101010 # and the lock should open. (If lock does not open
and beep patterns were heard after pressing the # key, reference Section
2.3 “Beep Patterns” to identify condition.)
The S&G Audit Lock 2.0 Electronic Lock has the following hardware components:
• USB Audit Lock 2.0 – The motor driven lock body (direct drive / pivot
bolt) housed within the container.
• USB Keypad – The 12-key alphanumeric keypad, on the front of
the container, that is used to enter
PIN codes and programming commands. The keypad contain three LEDs (red,
green, yellow) and a beeper to indicate the dierent states of the lock. The
keypad also contains a USB connector that will allow a ash
drive to be connected for audit trail downloads.
Each time you press a number, letter, or other character on the keypad, it beeps
and the keypad’s red LED ashes.
If there is no beep or LED ash, check the batteries and try again (See section
2.10 - Changing the Batteries).
The "#" key acts as an enter function and must be used after each code entry.
The "*" key is used with Programming Command Codes. It may also be used to
clear the keypad if there is an input error, by entering the ‘*’ key twice.
IMPORTANT: The lock responds with dierent beep sequences
to indicate dierent conditions. The beeps are indicated in the
examples by the symbol Q. For example, ve beeps are
indicated by .
You should always wait for each set of beeps to end before entering
another number or letter or you will interrupt the lock’s instructions.
We recommend that Users change their PIN Codes immediately after the PIN
positions are assigned (Section 3.1).
2. Operating the Lock
2.1 Operating Mode, PIN Positions, and User Codes
The USB Audit Lock 2.0 has the code hierarchy of:
• Programmer (PIN position 00)
• Managers (PIN positions 01, 02, 03)
• Supervisors (PIN positions 04, 05, 06, 07, 08, 09)
• Users (PIN positions 10 through 29)
See Table A & Table B beginning on the next page for access privileges.
The lock can be congured to operate in three dierent User access modes:
• Multiple User mode - any valid code (Supervisor, Manager, or User)
can open the lock.
• Manager/Employee mode - the Managers or Supervisors enable/
disable the access privilege of individual User Codes. When in this
mode the Manager and Supervisor Codes do not open the lock.
• Dual Control mode - two independent User Codes are needed to
open the lock. Manager and Supervisor Codes can be used to open
the lock in this mode.
2.2 PIN Positions and Access Responsibilities
IMPORTANT: You must set the time (11*), set the date (12*)
and start the clock (13*) before audit trail data will contain
a valid time stamp. See Sections 3.1, 3.2 and 3.3. ALSO, the
time and date values must be set at the same time.
1.2 Factory Default Settings
The USB Audit Lock 2.0 is shipped from Sargent & Greenleaf with factory default
settings:
• Multiple User Mode - enabled
• Time Delay - zero (0) minutes
• Positions 00, 02, and 10 have default PIN Codes set at the factory:
- Programmer Code 00123456
- Manager Code 02020202
- User Code 10101010
The Programmer Code (PC) can only set-up the operating parameters of the
lock and download the audit trail data.
The Programmer Code cannot open the safe.
The USB Audit Lock 2.0 has the capacity for up to 30 PIN Code positions;
1 Programmer, 3 Managers and 6 Supervisors who manage the lock programs
and up to 20 Users who open and close the lock.
If the lock still has the original S&G factory default settings, you can open the
lock by entering a PIN position and PIN Code, which makes up an 8-digit User
code, followed by the # key.
This section denes each PIN position and the respective User functions as
summarized in Tables A & B.
PIN position 00, the Programmer position, can only congure the lock and
download the audit trail.
The Programmer cannot open any locks.
Each User is assigned a 2-digit PIN (Personal Identication Number) position
and an 8-digit PIN Code. The PIN position identies the type of User
(Programmer, User, etc.) The PIN Code allows the User to access the lock.
Please note that the PIN position is not part of the code that is entered.
Each User can change his own PIN Code but not his PIN position. Users will
always enter their PIN Code, followed by the # key.
Example: 0 2 0 2 0 2 0 2 #
See the following page for tables.
4
 Loading...