

Page 1
1
Page 2

2
WL617n user manual
WL617n util ity OS support...................................................................................... 5
Instal ling the software of USB Adapter ............................................................... 5
Configuri ng your wirel ess net work (wi t h Wireless Utilit y) ............................ 8
Pin I nput Conf ig (PI N) .................................................................................... 11
Push Button (PBC) .......................................................................................... 13
SoftAP ........................................................................................................................ 16
Uninst alling the sof t war e ...................................................................................... 22
Page 3

3
FCC Part 15.19 Caution:
1. This dev ice com plies with Part 15 of the FCC Rul es. Operation is subj ect to
the following two conditions:
(1) this dev ice may n ot caus e har mful int erfer ence and
(2) this dev ice must accept any in t erfer ence r eceived, inclu ding
int erfer ence th at may cau se undesir ed oper at ion
2. This device and its antenn a(s) mu st not be co-locat ed or operating in
con jun ction with any other antenn a or tr ansm itter .
3. Ch anges or modificat ion s to this un it not expressly appr oved by the party
responsible for compliance coul d v oid the user author ity to operate the
equipment.
IMPORTANT NOTE:
FCC Radiati on Exposure S t at em ent:
This equipment complies with FCC radiation exposure limits set forth for an
uncontrolled environment. This equipment should be installed and operated with
minimum distance 20cm between the radiator & your body.
This transmitter must not be co-locat ed or operat ing in con jun ction with any
other ant enna or transmit t er .
The ant ennas used for this tran sm itter mu st be in st all ed to provide a
separat ion dist ance of at least 20 cm from all persons and must not be
co-loc at ed or operat ing in conjun ction with any other antenna or transmitter .
FC C Stat emen t in User’s Manual (f or calss B)
FC C Section 15. 105
“Federal Communications Commission (FCC) Statement”
This equipment has been tested and found to comp ly with t he limits for a lass
B digital device, pursuant to Part 15 of the FCC Rules. These limits are
designed to provide reasonable protection against harmful interference in a
residential installation. This equipment generates uses and can radiate radio
frequency energy and, if not installed and used in accordance with the
instructions, may cause harmful interference to radio communications.
Howe ver, t here is no guarantee t hat i nterfere nce will not occ ur in a particular
installation. If this equipment does cause harmful interference to radio or
tel evision r eception, wh ich c an be det ermin ed by turnin g the equipment of f and
on, t he user is encouraged to try to correct the interfere nce by one or more of
the foll owin g measures:
-- Reorient or relocate th e receiving antenn a.
Page 4

4
-- In crease the separation bet w een the equipment and receiv er .
-- Conn ect th e equipment into an outl et on a circuit dif f er ent from that to wh ich
the receiver is connec t ed.
-- Con sult the dealer or an exper ienced r adio/TV techn ician for h el p.
Page 5

5
WL617n utility OS support
WindowsXP(32/64bit)、Vista(32/64bit)、Windows7(32/64bit) 、
Windows8(32/64bit)
Instal ling the software of USB Adapter
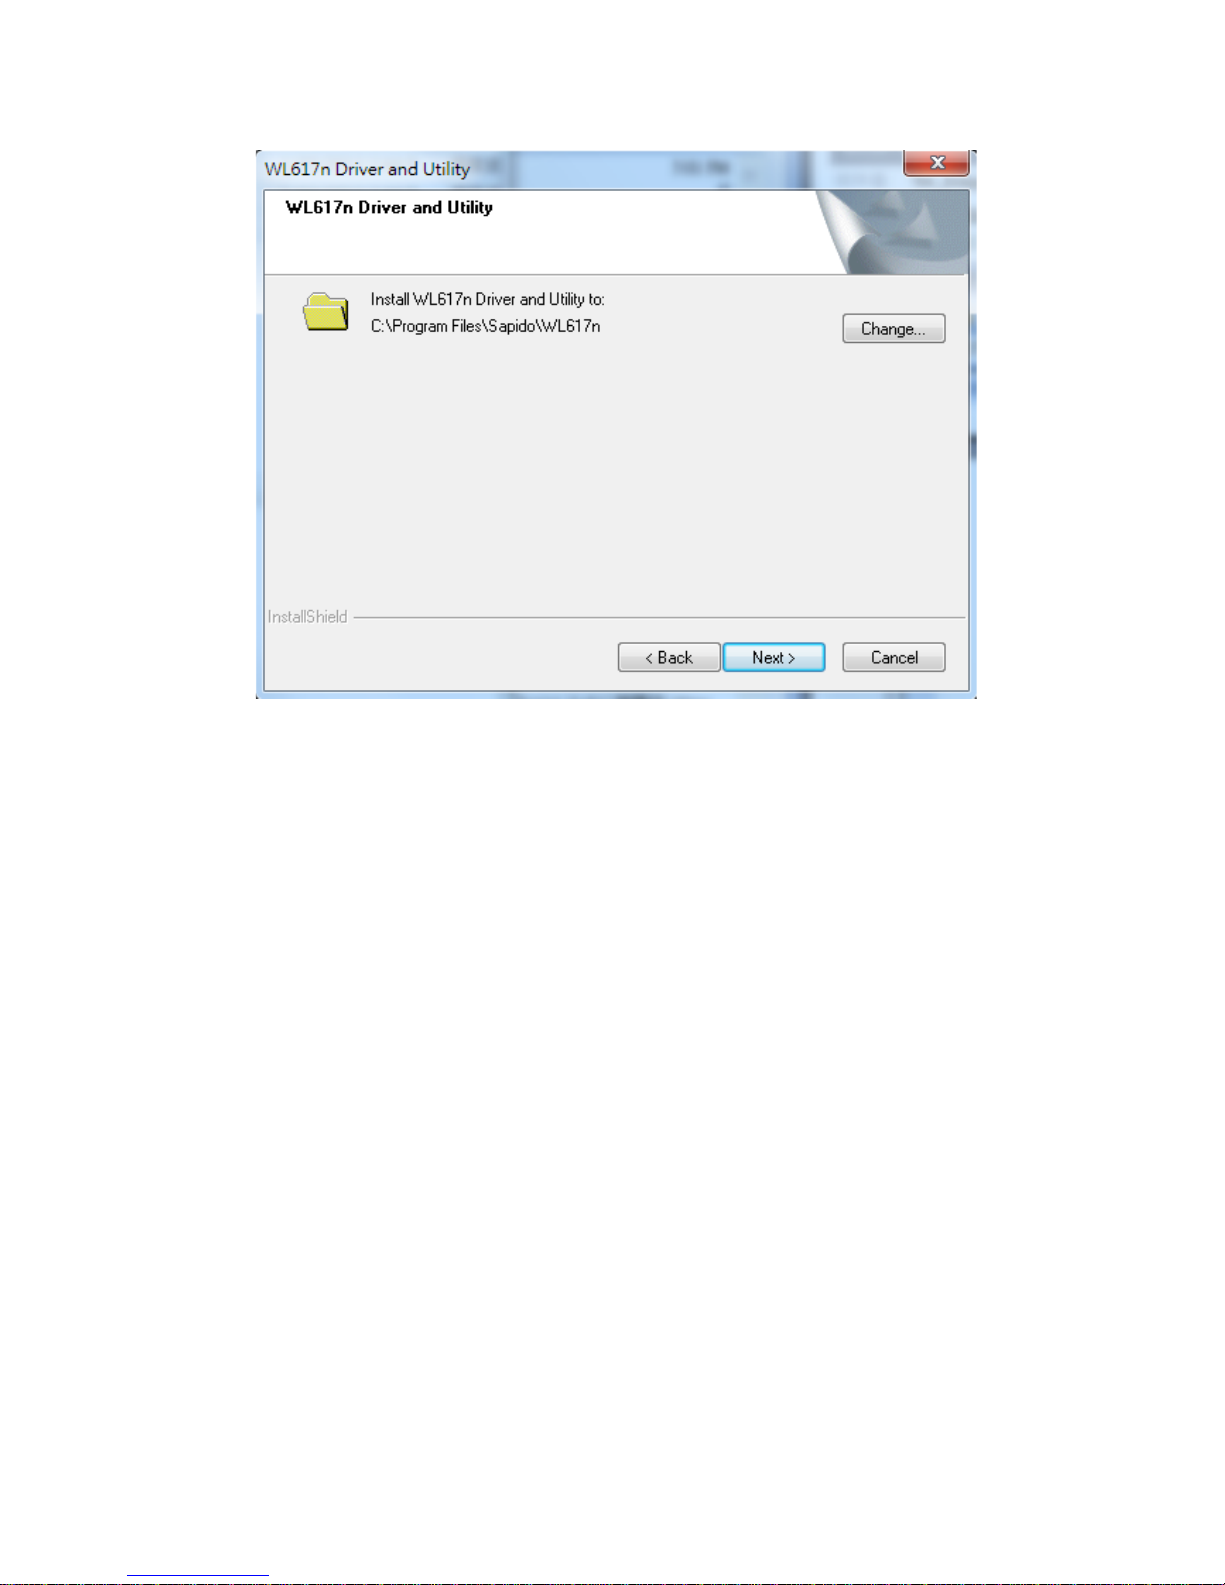
1. The setup program will install the driver and utility to computer. Please click the
“Next” button to continue.
2. Select the software to be stored in the path.
Page 6
6
3. The software installation should begin. This may take a few minutes.
4. Once the installation success, click “Yes” to restart your system (recommended).
Otherwise, click “No” to restart your system later.
Page 7

7
5. Once the installation complete, you may now configure your wireless network.
Page 8

8
Configuri ng your wirel ess net work (wi t h Wireless Utilit y)
1. Double click on the computer with wireless signal icon in your taskbar or the
shortcut icon on the desktop.
2. Status:Status page shows connection status.
3. Available Network:It display available wireless network. The “Refresh” button can
scan the area for wireless network(s). Once the scan completed, select the
desired wireless network from the list and double click it or click the “Add to
Profile” button,it should pop up the wireless Network Properties window for
security setting (WEP , WPA, WPA2, and etc.).
Page 9

9
Page 10

10
4. Profile:User can add、remove、edit, duplicate wireless connection profile in this
page.
Page 11

11
5. Wi-Fi Protect Setup (WPS)
WPS is an easy and secure setup solution for Wi-Fi network. Please click the Wi-Fi
Protect Setup tab. WL617N has two methods, PIN (Pin Input Config) and PBC (Push
Button Config), to setup the network.
Pin Input Config (PIN)
1. Click on the “Pin Input Config (PIN)” button, And then enter the PIN code into the
AP that you want to connect. For example, the AP uses BR360n to be the
connecting device. Enter the PIN code into client pin number and then clicks the
“Start PIN” button.
Page 12

12
Note:
Every time you click the tab to change the page, the PIN code will be
changed.
The PIN function in AP should be started before the WPS setup in
WL617N times out.
2. WL617N is waiting for the other AP to start the PBC function. The other AP starts
Page 13

13
the PBC function should be before WL617N WPS times out.
3. Once the WPS connected successfully, wireless utility will show the connection
status.
Push Button (PBC)
1. Click on the “Push Button Config (PBC)” button.
Page 14

14
Note: The PBC button can click the visual button on the page or push the physical
button on AP.
2. WL617N is waiting for the other AP to start the PBC function. The other AP starts
the PBC function should be before WL617N WPS times out.
3. Once WPS connected successfully, Wireless Utility will show the connection
status.
Page 15

15
Page 16

16
SoftAP
SoftAP can share y our networ k to oth er s. In ICS panel users can select which
n etwor k to be shared.
1. SoftAP Start
Enable softap function, “Disable Soft AP item” will be selected when disable this
item.
2. Setting Internet Connection Sharing(ICS)
Mouse click one interface for network sharing
3. IP Address
WL617n will assign IP address to other wireless client which connect to it.
4. SSID
Give a SSID to shared network.
5. Channel
Select a channel for shared network.
6. Wireless network security
Select authentication type for shared network and encryption key
PS:Recommend change softAP default IP address to avoid Sapido wireless dongle
may not get IP address from softAP
Page 17

17
How to WL617n SoftAP share PPPoE:
Setup PPPoE
Page 18

18
Page 19

19
Page 20

20
Setup WL617n SoftAP
Enable SoftAP and select PPPoE connection
Page 21

21
The wirel ess client can search WL617n softAP SSID an d connect to
WL617n,aft er get I P addr ess from WL617n,the wirel ess client can surf
internet by WL617n softAP which share PPPoE connect ion
Select PPPoE
connection
Page 22

22
Uninstalling the sof t ware
1. Click on your start menu. Next go to “Programs” or “All Programs”. Next go to
the folder “Wireless”. Next select “Uninstall”.
2. The uninstall window should pop up. Click on “Yes” button.
1. The uninstall process should begin and may take a few minutes. Once completed,
click “Finish” to close the uninstall window.
2. Once it’s complete, click the “Finish” button to exit the uninstall program.
Page 23

23
 Loading...