

Page 1
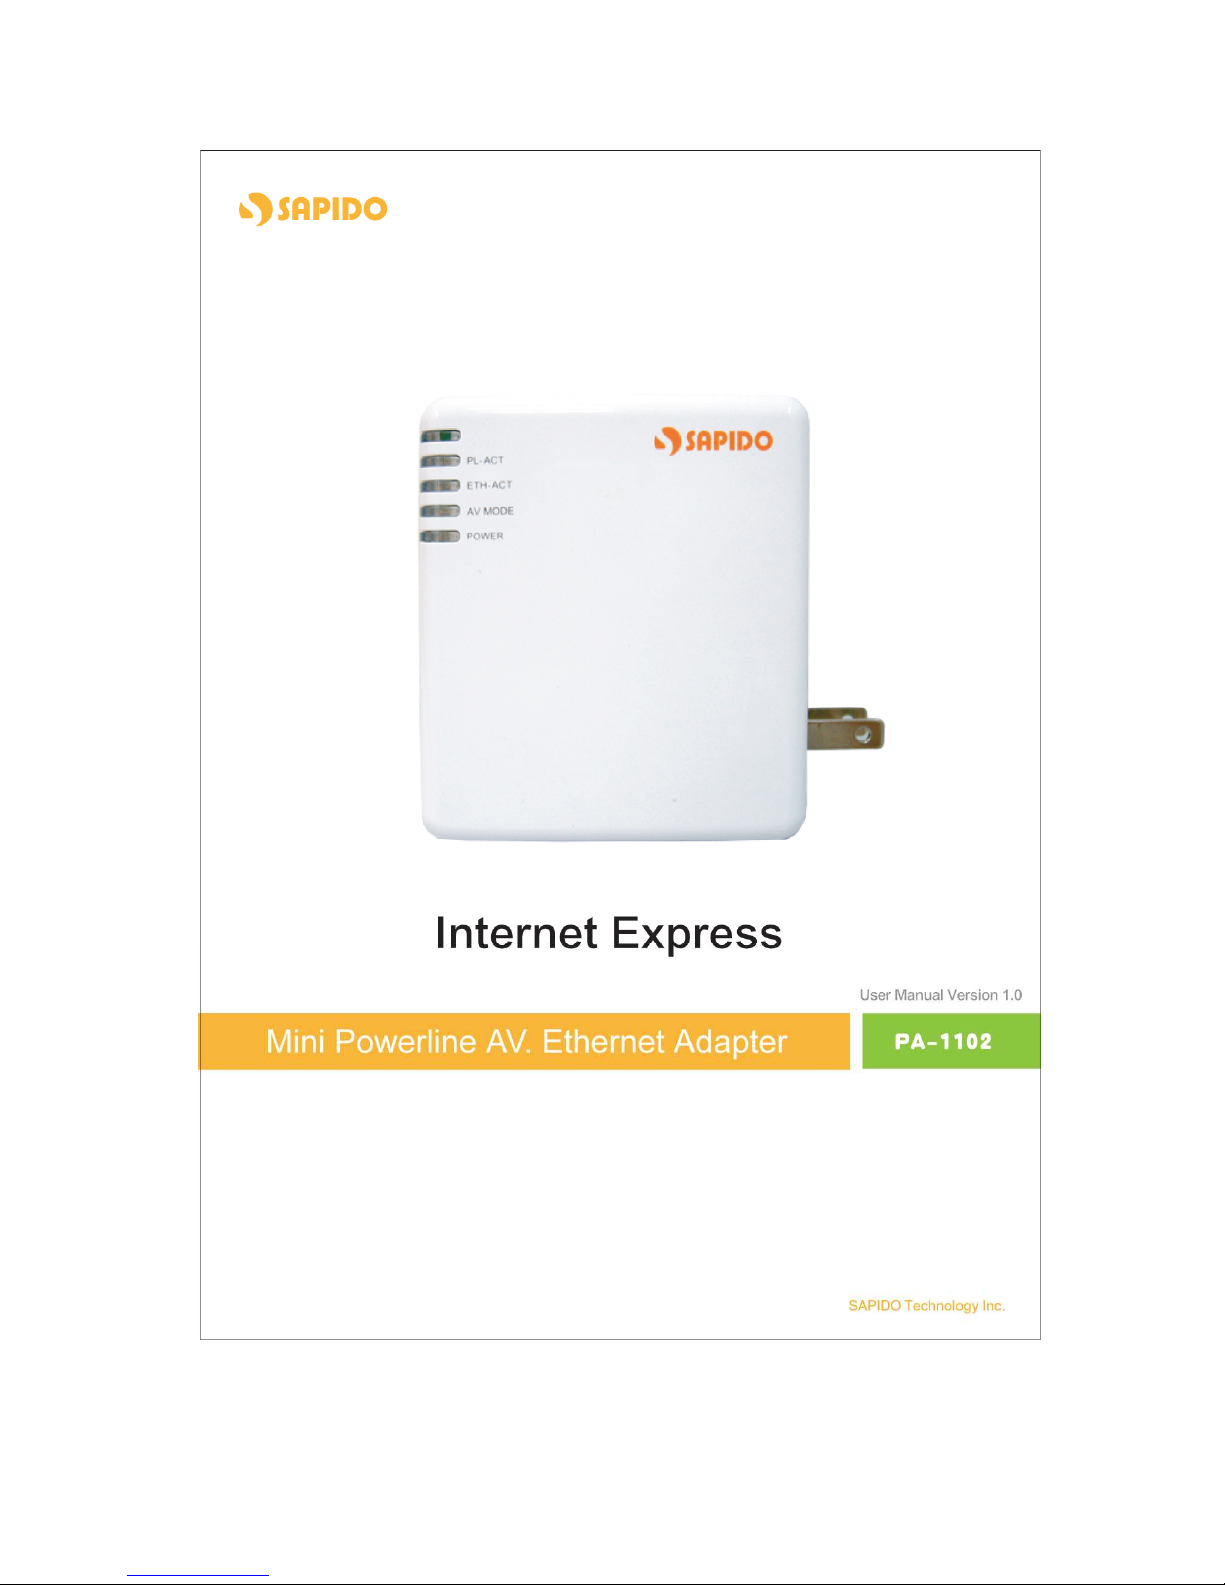
1
Page 2

2
Table of Contents
1.1 INSTRUCTION OF PA-1102 UTILITY ………………………………….3
1.2 INSTALLATION OF UTILITY …………………………………………………4
1.3 MAIN PAGE ……………………………………………………………………….7
1.4 CONNECTION INFORMATION PAGE …..………………………………….8
1.5 DEVICE INFORMATION PAGE ……………………………………………….9
1.6 DEVICE ENCRYPTION SETTING PAGE .………………………………….10
1.7 QOS SETTING PAGE …………………………………………………………. 12
1.8 ABOUT PAGE …………………………………………………………………… 15
Page 3

3
1.1 Instruction of PA-1102 Utility
The Sapido PA-1102 Configuration Utility for Windows OS enables the users to
identify PA-1102 devices on the powerline network, measures data rate
performance, ensures privacy by setting user defined Network Password for the
powerline network. Furthermore, users are allowed to set application priority on
the transmission by QoS setting, including utility default mode and advance
mode.
Page 4
4
1.2 Installation of Utility
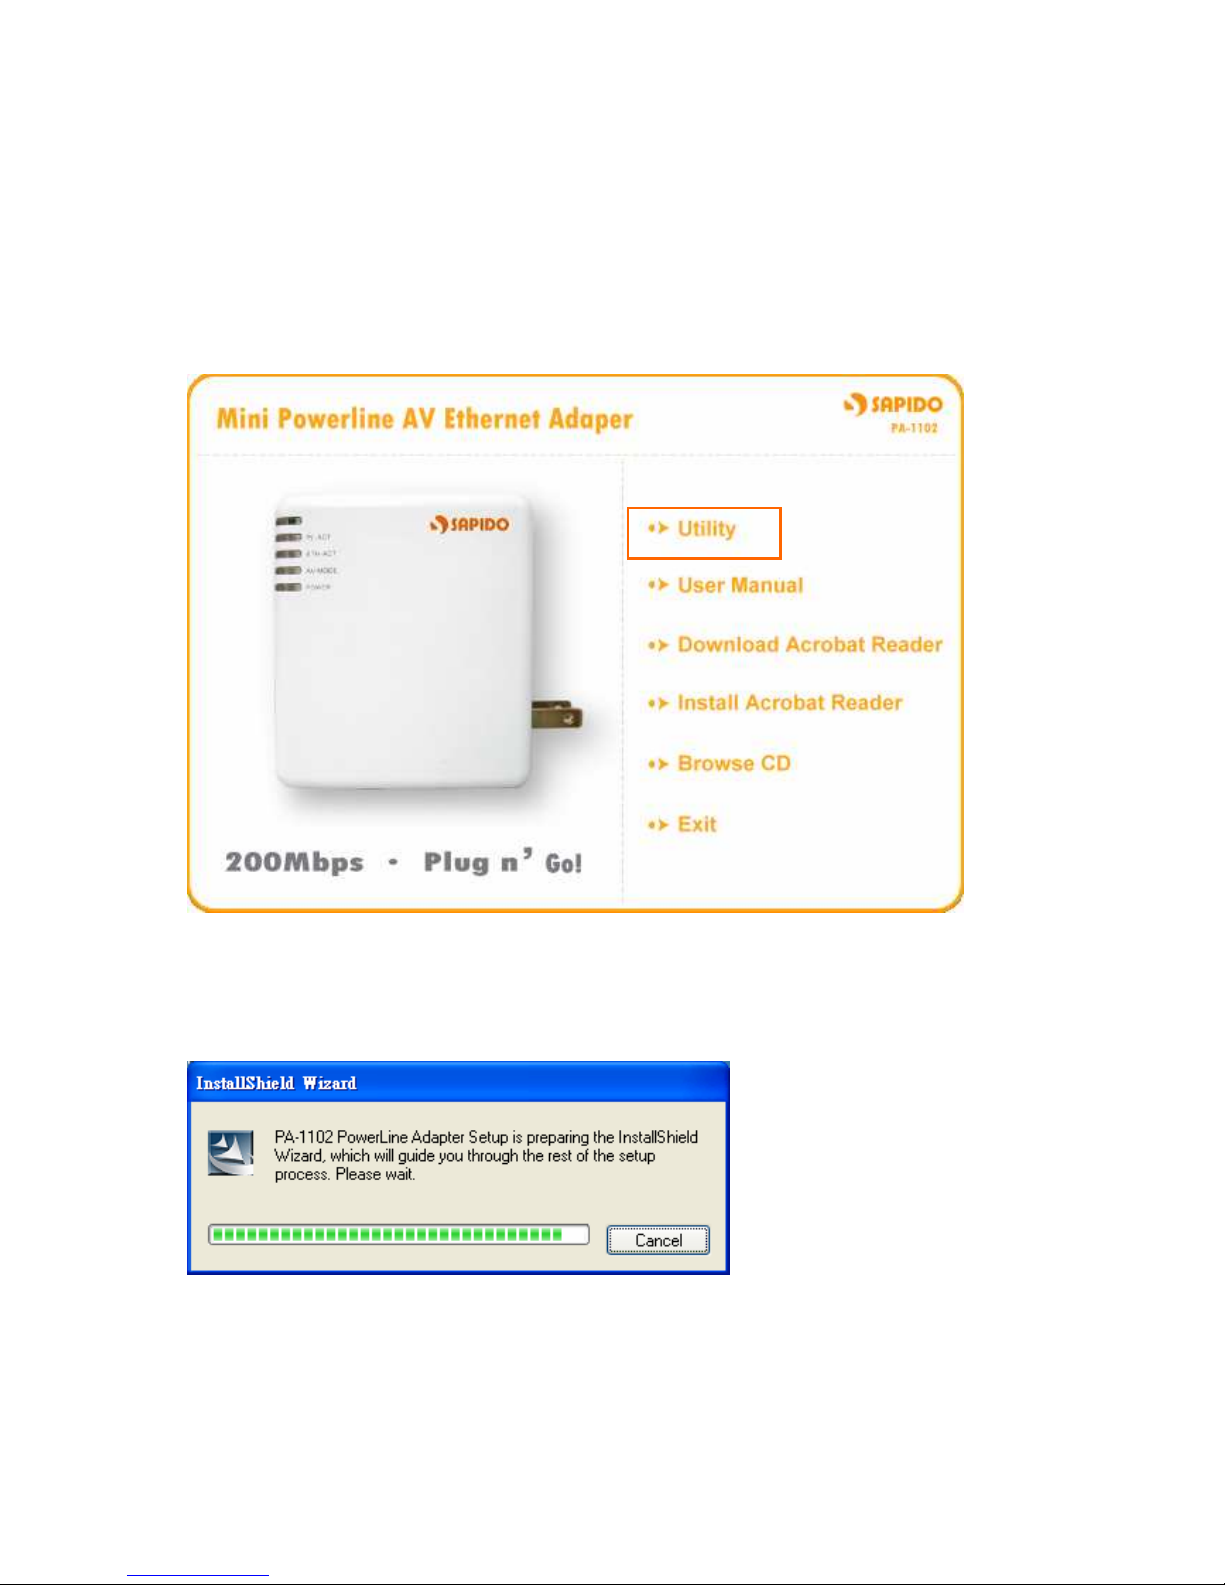
Step 1.
Please insert the PA-1102 enclosed CD-ROM into the computer’s CD-ROM drive.
The Setup Main Page shall run automatically. Please click on Utility on the main
page to start the Utility installation process.
Step 2.
After clicking on Utility to start the installation process, the Install Shield Wizard
will be preparing and guide you through the rest of the setup process.
Page 5
5
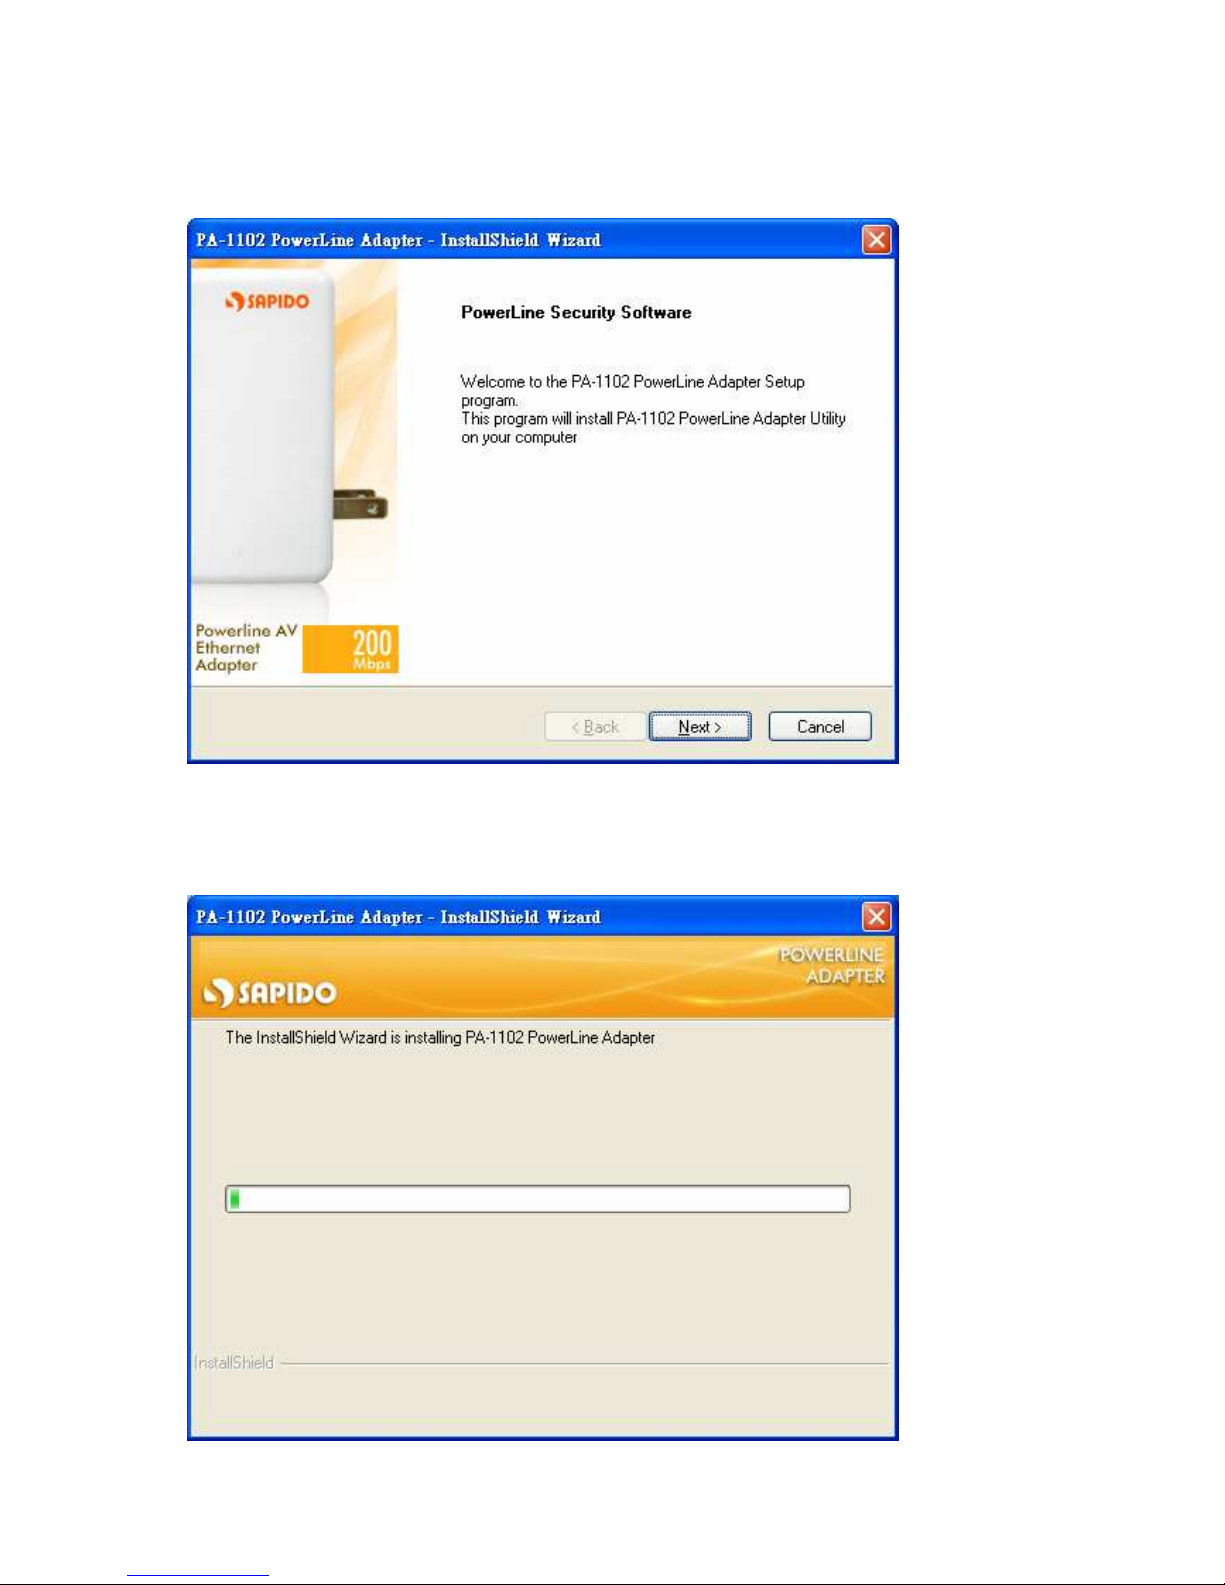
Step 3.
Please Click on Next to start installing PA-1102 Utility on your computer.
Step 4.
Please wait for the executing process.
Page 6

6
Step 5.
Once below window appearing, PA-1102 Utility has installed successfully, please
click on Finish to close the setup wizard.
Step 6.
PA-1102 Utility icon will be created on your desktop automatically. Please click
on PA-1102 icon to start the Utility.
Page 7

7
1.3 Main Page
The Main page provides a list of all PA-1102 devices which connected to the
computer.
Utility could be closed by clicking on Close button at the bottom of any page.
Page 8

8
1.4 Connection Information Page
This page shows PA-1102 powerline network connection information. Please
select the network card which connects to the local PA-1102 device, and then all
remote PA-1102 devices with same network password will be listed on below
area of the window. (Network password setting will be explained in Chapter 1.6)
The information of remote PA-1102 devices includes:
“Device Name” column shows the name of device, which may be default or
customer re-defined.
“Device MAC Address” column shows the MAC address of device.
“Remote Devices” group column shows the TEI, MAC Address, Bridged MAC
Address and the transmit (Tx) and receive (Rx) Coded and Raw PHY rates for all
nodes on the network.
Page 9

9
1.5 Device Information Page
The Device Information page allows the user to define the device name. Please
input the name in the column of “Device Name”; then click on “Write” button,
and it will be recorded.
After clicking on Write button, new device name will be applied and shown on
Device Name column. And click on “Read” button to see the recorded name in
the column.
Page 10

10
1.6 Device Encryption Setting Page
This Device Encryption Setting page is for setting or changing the network
password on the local or remote device identified by its Device Access Key, which
can be found on the device label. Only PA-1102 devices with same Network
Password can be grouped and connected together, and be listed on the Remote
Device area of Connection Information window; other PA-1102 with different
Network Password would not be able to communicate each other.
1.6.1 Set Network Password to Local PA-1102
When you want to set Network Password to one PA-1102 device only which is
connected on this computer, please input the decided password between 8 to 64
characters into the Network Password column, and click on Set Encryption
button. For instance, sapidosapido is the password decided for the Network
Password, after clicking on Set Encryption button, the set of Network Password –
sapidosapido will be applied for one PA-1102 device only.
Page 11

11
1.6.2 Set Network Password to Remote PA-1102
On the other hand, if you want to set Network Password to other remote PA-1102
device, please input the decided password between 8 to 64 characters into the
Network Password column, for instance, sapidosapido is the password decided
for the Network Password. And then put a tick on the checkbox of “Set the
encryption for remote device”, input Device Access Key of remote PA-1102
device, which can be found on the device label. Click on Set Encryption button to
apply the Network Password for remote PA-1102 device.
Page 12

12
1.7 QoS Setting Page
QoS requirements are different for various data types such as streaming video or
music, voice and raw data. To provide higher QoS for streaming data, priority
levels can be set by using tags at the beginning of data frames. You can select the
standard mode including Default, Video, VoIP and Data Transfer, the priority
will be set by the utility according to your selection; or for the advance mode by
clicking on “Advance Mode” button to enter its setting page.
The following window is “Advance Mode”. Virtual Local Area Network (VLAN)
802.1p priority tags on Ethernet frames are used to specify 8 (0 – 7) levels of ‘user
priority’. PA-1102 allows for 4 levels of Channel Access Priority (CAP (0 – 3)).
Therefore, the 8 levels of VLAN Ethernet tags must be mapped to the 4 levels of
CAP priority, where CAP 3 is the highest priority and CAP 0 is the lowest. CAP 3
priority might be used for voice and network management frames, CAP 2 is used
for streaming video and music while CAP 1 and CAP 0 are used for data. Mapping
VLAN tags or TOS bits to CAP levels is easily done using the VLAN Priority Mapping
function on the QoS window.
Page 13

13
List Views
The QoS page includes two list views to provide simple channel access priority
(CAP) classification for individual MAC addresses and IP Ports. There is a collective
limit of eight across both lists. No delimiters, colons, or dashes are allowed in the
MAC address format.
Priority Mapping
The ‘Priority Mapping’ group contains both VLAN and TOS Bit mapping capability.
When selected, packets matching the VLAN or TOS Bit priority will be assigned the
Powerline contention priority (Channel Access Priority, CAP) as set in the
corresponding dropdown box. If a packet has both VLAN and TOS in it, VLAN will
override TOS.
Page 14

14
Default CAP
The “Default CAP” group allows for default priority mapping of packets that do not
have a VLAN or TOS bit (or if these are disabled). Settings are available for Unicast
(directed to a host).
• IGMP - (default CAP 3) - sets the channel access priority for IGMP frames - these
are the group management frames, not the stream data
• Unicast - (default CAP 1) - sets the default channel access priority for unicast
frames not matching any other classification or mapping.
• IGMP managed Multicast Stream (Fixed to CAP 2) - sets the default channel
access priority for stream data belonging to a snooped IGMP multicast group.
• Multicast/Broadcast - sets the default CAP for multicast frames not in a snooped
group and for broadcast frames.
After making CAP settings, clicking the Apply button will commit these, along with
the values from the Configuration tab, to NVRAM on the connected device.
IGMP
The “IGMP” group includes controls to disable the query timeouts. Checking the
‘Override Defaults’ box will enable the other boxes as choices.
Priority TTL Value
The “Priority TTL Value” determines the life span (Time to live) of each packet in
the buffer of the AV device that will be sent over the powerline subsequently. This
value can be varied from 10 msec to 65000 msec which can be mapped to different
levels of Channel access priority traffic. The default values used are stored in the
PIB file as shown below:
CA0 traffic: 2000 msec (used for TCP data traffic)
CA1 traffic: 2000 msec (used for TCP data traffic)
CA2 traffic: 300 msec (used for UDP video/music traffic)
CA3 traffic: 300 msec (used for VoIP traffic)
The default settings of 300 msec and 2000 msec are recommended that keeping
the same value, because those are optimized for the above stated traffic.
Page 15

15
1.8 About Page
The About Page shows the device version and utility version; it also shows the
website of Sapido company, which you can check further information and
Sapido series products.
 Loading...