

Page 1
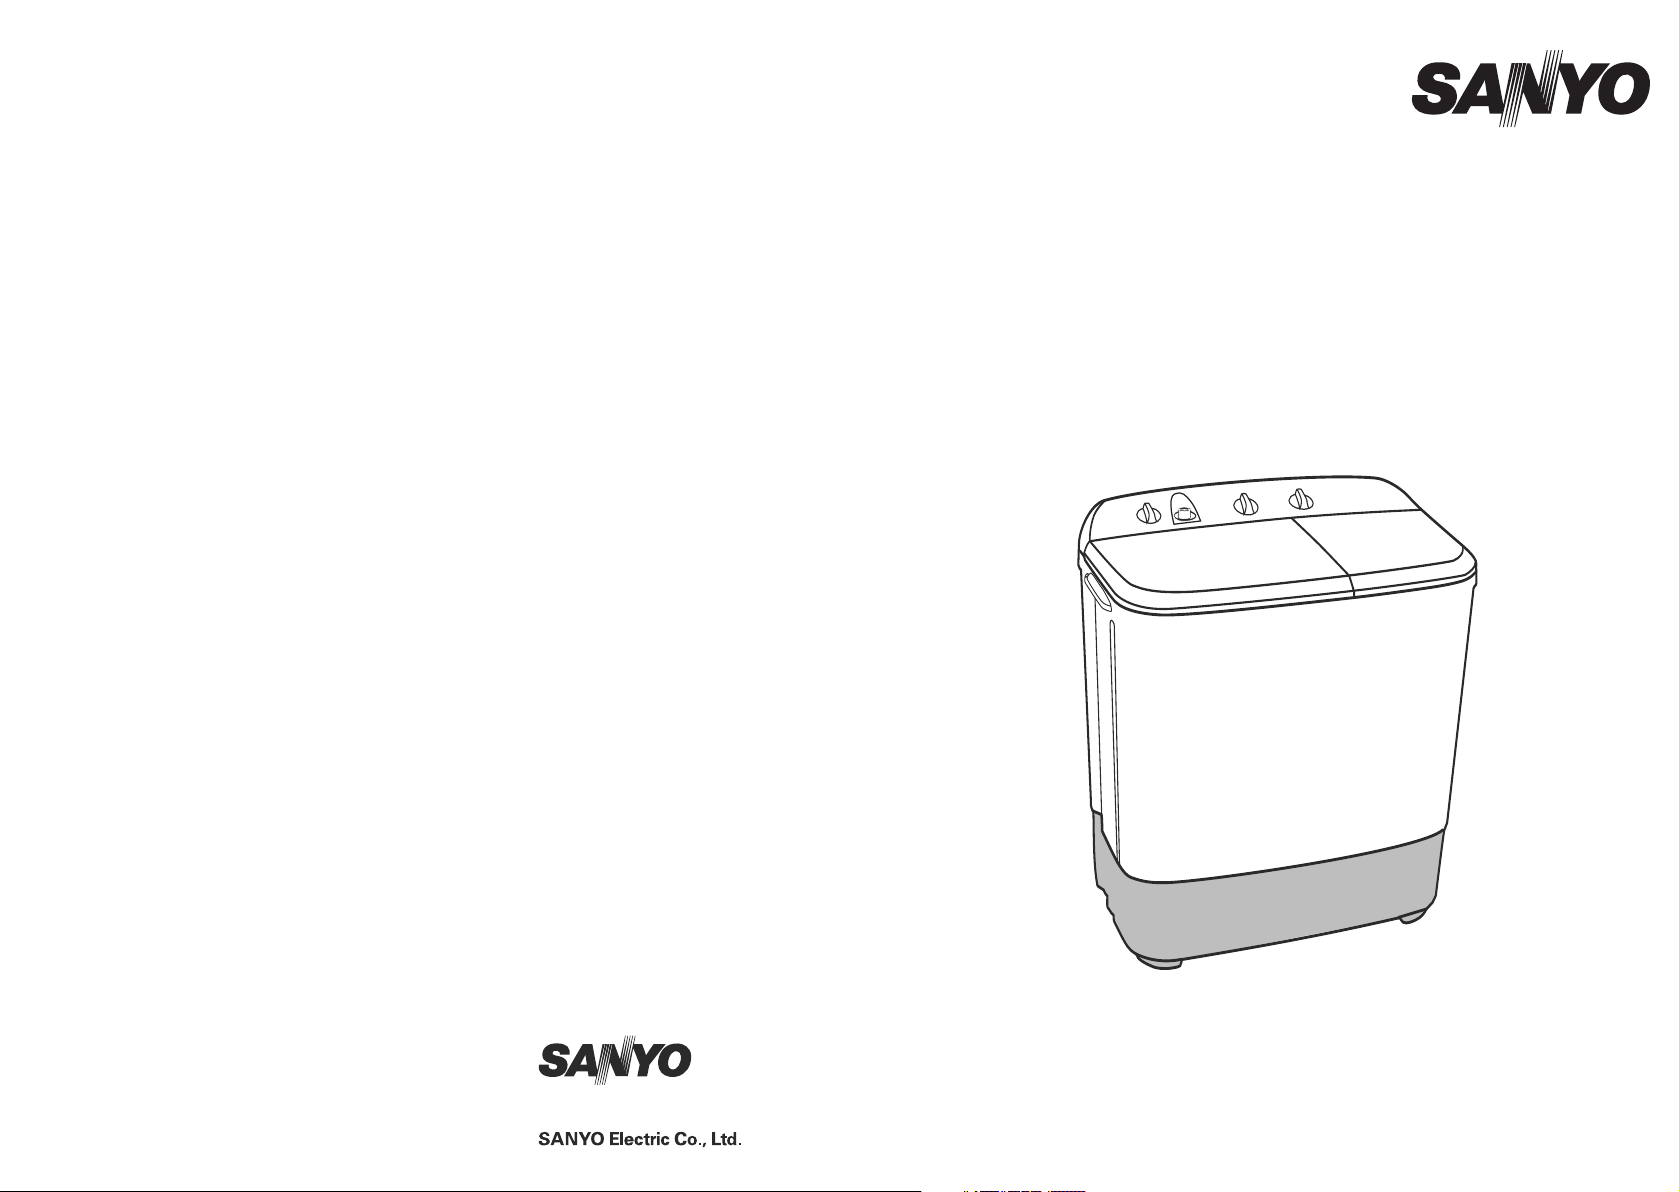
INSTRUCTION MANUAL
TWIN TUB WASHING MACHINE
SW-830XT
SW-830XTP(With pump)
Page 2
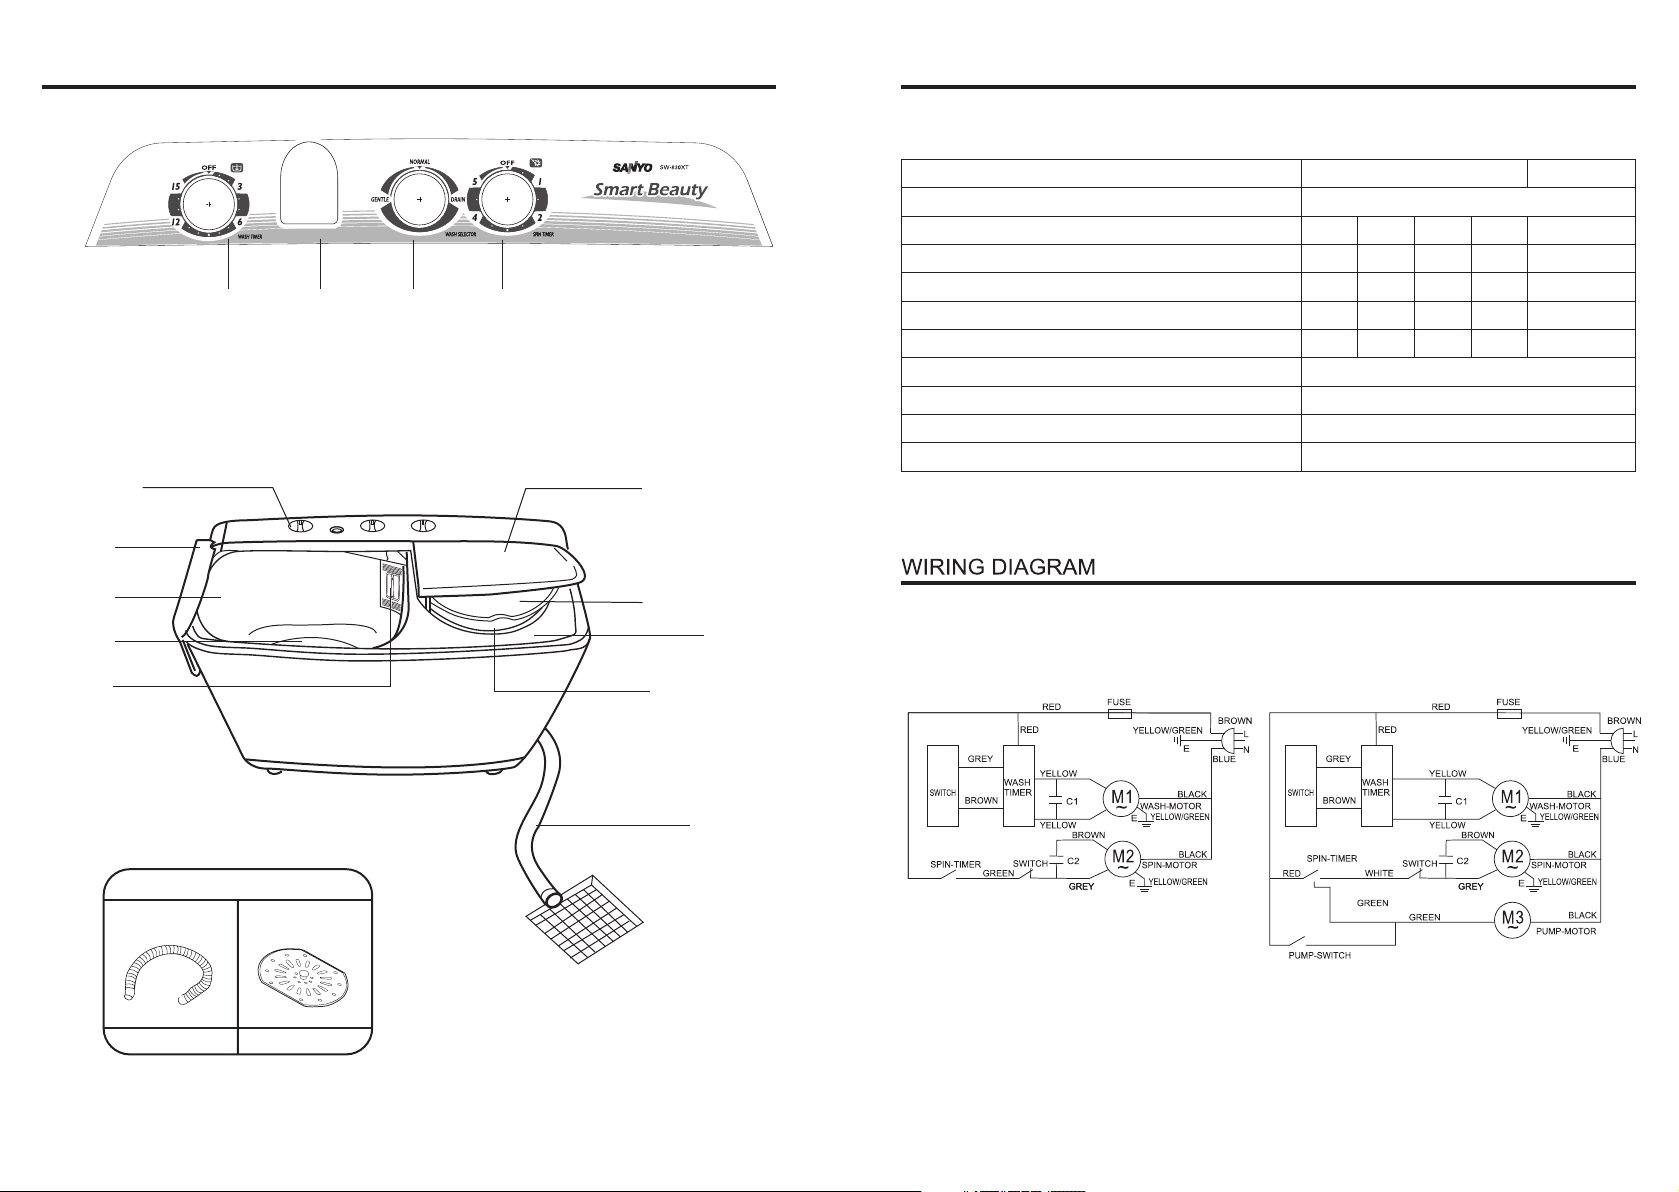
CONTROL PANEL
SPECIFICATIONSNAMES OF PARTS
CONTROL PANEL
WASH LID
WASH TUB
PULSATOR
LINT FILTER
1 2 3 4
1. WASH TIMER
3. WASH SELECTOR 4. SPIN TIMER
2. WATER SUPPLY PORT
OUTER SPIN DRYER LID
INNER SPIN DRYER LID
SPIN TUB
SPIN-DRY BASKET
Model
Unit size
Rated wash input power
Rated spin-dry input power
Rated pump input power
Rated voltage
Rated frequency
Net weight of the product
Maximum water pressure permitted in the water inlet
Minimum water pressure permitted in the water inlet
Water capacity
SW-830XT
SW-830XT
SW-830XTP
760mmx445mmx898mm
380W 380W 380W 380W 380W
165W 165W 165W 165W 165W
_ _
__
240V230V230V220V
50Hz60Hz50Hz50Hz
30W
220V
50Hz
20kg
0.3Mpa
0.02Mpa
60L
SW-830XTP
DRAIN HOSE
ACCESSORIES
INLET HOSE
1 set 1 set
1
SPINNER CAP
6
Page 3

IMPORTANT SAFEGUARDS INSTALLATION
Do not allow your washer to be
repaired by an unqualified service
person.
It may cause a risk of accidental
fire.
If the washer operates abnormally,
it may cause injury.
If the power cord is damaged, in
order to avoid danger, please ask
a technical person to repair it.
Be sure not to bring any type of
flame near the washer or put lit
cigarettes or volatile materials on
the top of the washer.
It may deform the washer or
catch fire, because this washer
has a large number of plastic
parts.
Do not install the washer in the bathroom or very humid place.
It may cause a malfunction
or an electric shock.
Be sure not to splash or pour
water on the CONTROL PANEL.
It may cause a malfunction or
an electric shock.
WAR NINGS
!
Be sure to connect POWER PLUG and
POWER CORD properly.
Be sure to plug the POWER CORD
into a proper outlet for the washer.
An improperly attached plug may
catch fire.
Never disconnect by pulling the
cord. Hold the plug as you pull it out.
Never use a damaged POWER CORD.
Never connect and/or disconnect the
POWER PLUG with wet hands, it may
cause an electric shock.
This appliance is not intended for use by
persons(including children) with reduced
physical, sensory or mental capabilities,
or lack of experience and knowledge,
unless they have been given supervision
or instruction concerning use of the
appliance by a person responsible for their safety.
Never wash items stained with
benzine, kerosene, thinner or
gasoline.
It may cause a risk of fire or
explosion.
Never put your hand(s) into the
WASH or SPIN TUB, while the
washer is operating.
If you reach into the WASH or
SPIN TUB, it can cause injury.
This washing machine has ventilation openings in the base. Do not obstruct the holes with a carpet or towel.
Install on a stable level surface
Install the washing machine on a stable,
level surface.(oblique angle should be
within 2°
)
Keep the washing machine more than 5cm
apart from the wall to prevent a noisy sound
while spinning.
Connect the DRAIN HOSE
<Without pump model>
<With pump model>
Extension of DRAIN HOSE.
Shorter than 1m
Lower than 15cm
Not higher than 1m
Never let the end of the DRAIN HOSE be
immersed in the water.
The new hose-sets supplied with
the appliance are to be used and
!
that old hose-sets should not be
reused.
PREPARATION BEFORE WASH
Do not allow the wash load to stick
out from the WASH or SPIN TUB.
Do not wash, rinse or spin
waterproof clothes or sheets.
Push evenly thick clothes or bulky
wash items completely down into the
WASH or SPIN TUB. Otherwise, it
may deform or damage the washer.
Do not put your hand(s) under
the washer during operation.
Rotating parts may cause
injury.
5
CAUTIONS
!
Do not use water hotter than
50℃.
It may deform plastic parts
in the washer and cause a
malfunction.
Do not get on the washer or
put any heavy things on the
washer.
It may deform or damage the
washer, and it may cause
you injury.
Be sure to remove things such as
keys, pins and coins from the laundry.
Was h fuzz y laun dry by tu rning i t
ins ide out .
Wash oily or dyed laundry
separately.
Wash delicate clothes in a
nylon net.
Plug the POWER CORD
into the outlet.
Let down the DRAIN
HOSE.
Connect the INLET HOSE
2
Page 4

OPERATING INSTRUCTIONS
MAINTENANCE
Washing
1. Set the WASH SELECTOR to GENTLE or NORMAL
position.
2. Turn on the water tap, let water flow into the WASH TUB
in accordance with the amount of laundry to be washed.
(The marks H, M, L in tub are High, Medial, Low water
level.)
3. Add proper amount of detergent.
4. Put laundry into the WASH TUB.
5. Turn the WASH TIMER knob to the desired wash time
position, and washing action will start.
6. When finished, make sure the WASH TIMER is at
the “OFF” position, then turn WASH SELECTOR to
DRAIN position.
Kinds of laundry
Synthetic(thin)
Delicate fabrics
Cotton
Linen
Heavily soiled clothes
Thick clothes
Blanket
Washing
Time
2 to 5 min.
5 to 10 min.
10 to 15 min.
5 min.
Rinsing
1. Transfer the laundry to the SPIN TUB, and place the SPINNER CAP on the top of laundry.
2. Close the INNER and OUTER SPIN TUB LID.
3. Turn the SPIN TIMER to 1 minute position.
4. Transfer the laundry to the WASH TUB after spin drying.
5. Set the WASH SELECTOR to GENTLE or NORMAL position.
6. Let water flow into the WASH TUB and rinse for another 3 to 5 minutes. Repeat it 2 to 3 times.
7. When finish washing, make sure the WASH TIMER is at the “OFF” position, then turn WASH
SELECTOR to DRAIN position.
Spin drying
1. Transfer the laundry to the SPIN TUB and place
the SPINNER CAP on the top of the laundry.
2. Close the INNER and OUTER SPINNER LID.
3. Turn the SPIN TIMER knob to the desired dry time
position. Then spin-dry will start.
Kinds of laundry Spin-drying time
Wool articles 30 seconds
Thin articles(synthetic)
Sweater(synthetic)
Blanket(synthetic)
Underwear(cotton)
Sheet(towel fabric)
1 minute
1 to 3 minutes
3 minutes
3 to 5 minutes
5 minutes
Make sure water is turned off when spin-drying for safety reason.
Unplug the POWER CORD
after operation.
TROUBLESHOOTING
Troubles
Not washing
Not spinning
Not drainning
15
WASH TIMER is in
the "OFF"position.
5
4
SPIN TIMER is in
the "OFF"position.
DRAIN HOSE is not laid
down correctly.
Wipe the washer clean and dry with
a soft cloth.
Cleaning of the WASH and SPIN TUB
is necessity after bleaching or starching,
otherwise, undesireable deposit will left over.
Remove the LINT FILTER for cleaning.
Check list
OFF
5
10
OFF
1
2
3
LID not closed properly.
DRAIN HOSE is
twisted.
Power failure.
Fuse blown.
PULSATOR maybe
clogged.
Laundry not distributed
evenly.
DRAIN HOSE frozen.
Drainning
<Without pump model>
1. Lay down the DRAIN HOSE and turn the WASH SELECTOR to DRAIN.
<With pump model>
1. Position the DRAIN HOSE to a wash-basin or drain outlet at the height of lower than 1 meter.
2. Turn the WASH SELECTOR to DRAIN position, and the PUMP will then begins to work to drain away the water.
3. If you wish to drain the water while spinning, turn the SPIN TIMER, and the SPIN TUB will starts rotating and
the pump will starts working at the same time.
4. If you find the PUMP is working but there is no water drained away, lay down the DRAIN HOSE once, and it
will start draining away the water. Hook the DRAIN HOSE again at the wash-basin or drain outlet.
5. When draining is over, turn off the power.
3
Too much .
Over load
Power voltage too low.
Notes for spinning
Distribute laundry evenly in the
SPIN TUB as shown below.
X
O
laundry in the tub
Put the SPINNER CAP inside
the tub as shown below.
Laundry
SPIN TUB
O
X X X
4
 Loading...