

Page 1
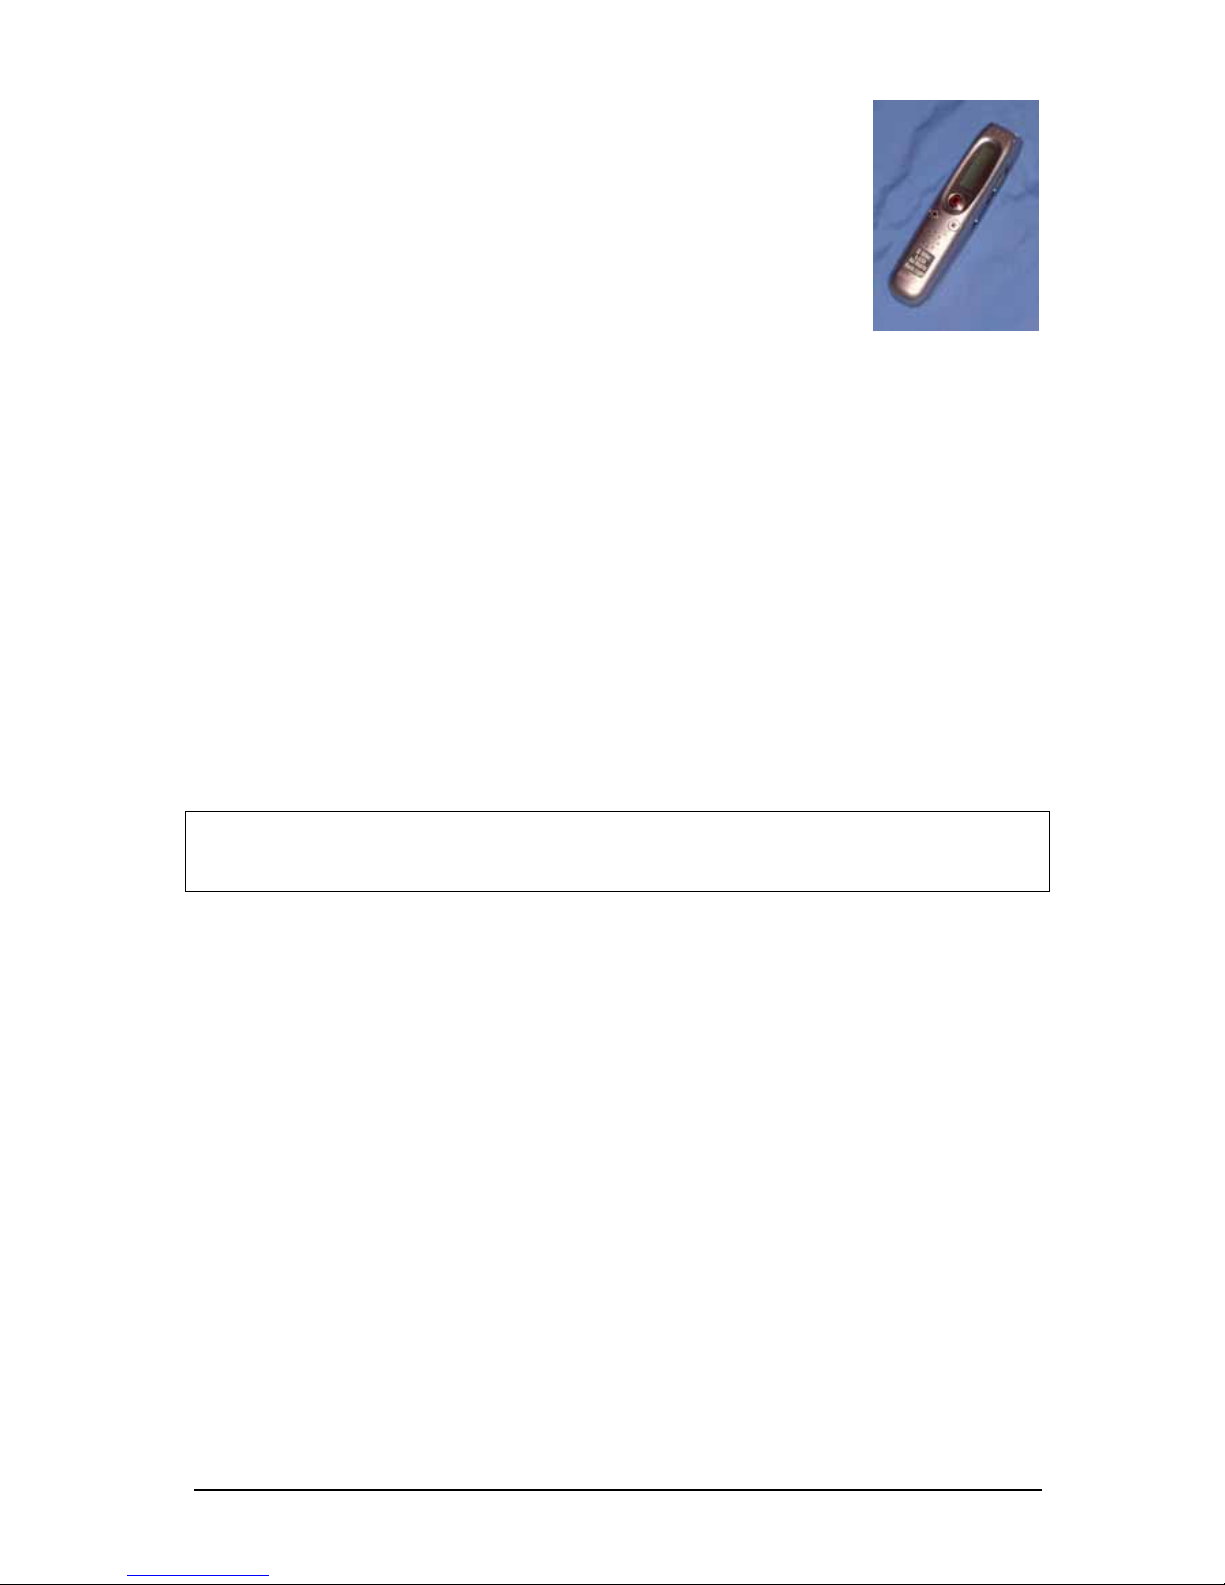
Using the Sanyo Digi-Recorder
Model: Sanyo ICR-A190M (Silver)
Ralph Cullimore, e-Learning Co-ordinator
Devon ACL
May 2007
Introduction
The Sanyo ICR-A190M is a digital voice recorder that can be used to record speech and
then play it back again. The speech is recorded ‘digitally’ to the built-in electronic memory
in the form of ‘MP3’ files. A large number of MP3 files can be stored on the recorder and
then found again easily for playback. The ICR-A190M has 4 ‘folders’ within its memory,
labelled A, B, C and D to allow recorded files to be grouped together to make finding them a
little easier. Files can be readily transferred from the recorder to a computer from where
they can be burned onto a CD, emailed to someone or simply kept for future reference. As
well as A, B, C and D, there is also a fifth folder reserved just for ‘music’ files copied across
from a computer for playback via the ICR-A190M.
The recorder itself is small– about 11cm x 3cm x 2cm – and powered by two AAA batteries.
It has 128 MB of memory and each of the 5 folders can hold up to 99 separate recording
files. The maximum total length of the recordings on the recorder is around 4¼ hours at
‘High Quality’ or around 7 hours at ‘Standard’ recording quality. There is a small built-in
speaker which is useful for giving immediate reassurance that the recording was successful.
There is also an ‘earphone’ socket which can be used for individual listening or used to
connect the device to larger, powered, speakers for playback to a group.
Part A - Setting it Up
A1. Inserting the Batteries
Turn the recorder over and slide the battery cover off in the direction shown under the word
‘OPEN’. Insert two AAA alkaline batteries as indicated by the markings in the battery
compartment (ie flat ends of batteries against springs) then slide the battery cover back on.
A2. Turning On and Off
There is via a slider switch on the back of the recorder labelled POWER/HOLD.
Sliding this switch one way turns the unit ON.
What happens when you slide the switch the other way depends on what you are doing at
the time. If the recorder is doing nothing, then sliding the switch simply turns it OFF.
However, if you are recording something, or playing something back, the switch puts the
recorder into ‘Hold’ mode – see next section. To get out of Hold mode, slide the switch
back again.
Auto-off. If you leave the recorder on but don’t do anything for around 15 minutes it will
automatically turn itself off, although the slider switch remains in the same position. Slide
the switch back then forwards and the unit should return to normal.
R Cullimore - Using Sanyo icr-a190 digi-rec v4 - 1 May 07.doc Page 1 of 8
Page 2

A3. HOLD mode
Sliding the POWER/HOLD switch whilst recording, or playing back, puts the recorder into
‘Hold’ mode which disables all buttons (so you can handle the recorder without accidentally
stopping the recording/playback). To get back to normal, slide the POWER/ HOLD switch
back again.
A4. Setting the time & date:
The recorder puts a very useful ‘time-date stamp’ on all recordings so it is important to have
the time & date set correctly. If you have just received the recorder then you need to work
through the following procedure to check that the time and date are correct – or change
them if not. Once set up, the time & date should remain correct from then on (unless you
leave the batteries out for a long period).
1. Switch on, if you haven’t already
2. Press the STOP/MENU button for 3-4 seconds until the display changes
(it will probably come up with the word ‘VOICE’, and will be back-lit for a short while)
3. Press the SKIP/SEARCH button once or twice at one end until the word ‘COMMON’
appears in the display
4. Press PLAY (to see options that are common to both ‘voice’ and ‘music’ functions)
5. Press the SKIP/SEARCH button at one end until the words ‘DATE & TIME’ appear
6. Press PLAY to move into the year and use the SKIP/SEARCH button to change this
7. Press PLAY to move into the month and use the SKIP/SEARCH button if necessary
8. Press PLAY to move into the day-of-month and use SKIP/SEARCH if necessary
9. Press PLAY to move into the 24hr-12hr option
10. Use the SKIP/SEARCH button to change from 24hr to 12hr if required
11. Press PLAY to move into the hour and use SKIP/SEARCH if necessary
12. Press PLAY to move into the minutes and use SKIP/SEARCH if necessary
13. Press PLAY to finish, then press STOP twice to get out altogether
A5. Setting the Recording Mode
The ICR-A190M has 4 recording modes (see table below) of which HQ or SP are the most
useful for ordinary speech. For normal use, HQ is recommended but if you need smaller file
sizes (eg to send by email) then SP is more appropriate.
To see what the Mode is currently set to, look on the main display when the recorder is on
but not doing anything. It should show SP, HQ, XHQ or LP in small letters. To change:
1. Press the STOP/MENU button for 3-4 seconds until the display changes
2. If necessary, press the SKIP/SEARCH button at one end until ‘VOICE’ appears
3. Press PLAY (this gives you access to the ‘voice’ options)
4. Press SKIP/SEARCH at one end until the words ‘REC MODE’ appear
5. Press PLAY – the current mode should be shown at the end of the display
6. Press SKIP/SEARCH to change between modes – select the one you want
7. Press PLAY to finish, then press STOP twice to get out altogether
What the modes mean:
Mode Meaining Max recording hours Comments
XHQ Extra High Quality 2.1 V large files but excellent sound
HQ High Quality 4.25 Large files, good sound
SP Standard 6.8 Medium files, OK sound
LP Long play 17.1 Small files but very poor sound
R Cullimore - Using Sanyo icr-a190 digi-rec v4 - 1 May 07.doc Page 2 of 8
Page 3

A6. Setting the Microphone Sensitivity
The built-in microphone has 3 sensitivity levels. Which you use will depend on where you
are using the recorder.
• In particularly noisy places use ‘Low’ or ‘Middle’ sensitivity, with the recorder very
close to the speaker.
• In normal situations use ‘High’ sensitivity and hold the recorder not quite so close.
You can change the sensitivity at any time:
1. Press the STOP/MENU button for 3-4 seconds until the display changes
2. If necessary, press the SKIP/SEARCH button at one end until ‘VOICE’ appears
3. Press PLAY (this gives you access to the ‘voice’ options)
4. Press SKIP/SEARCH at one end until the words ‘MIC SENSE’ appear
5. Press PLAY – the current sensitivity should be shown at the end of the display
6. Press SKIP/SEARCH to change as required
7. Press PLAY to finish, then press STOP twice to get out altogether
Note that recorder has three microphones – Left, Right and Centre. The Centre mic can be
turned On or Off by repeating the steps above but selecting CENTER MIC at step 4.
However it makes almost no difference to sound quality so can be safely ignored.
Part B – Recording & Playback
This section assumes that you are a tutor making recordings of learners in one way or
another. Most of the information applies to other situations as well.
B1. Recording
1. Select the folder you want to use by pressing the FOLDER/REPEAT button until
the letter for that folder is shown at the top of the display (with a square round it)
The ICR-A190M has 4 folders labelled A-D for recording. You might choose each
folder for a different purpose (eg all initial assessments go into folder A, all oncourse reflections into folder B). Or if you have more than one group of learners you
might want to use each folder for a different group (eg Tuesday’s class in A,
Wednesday’s in B). There is also a fifth folder labelled with a ‘musical notes’ sign.
This is not available for recording purposes – see B2 and C4 below
2. Check that the recorder is in HQ or SP mode (shown in the display) – see A5 above
3. Press REC/PAUSE (the red light should go on) – you are now recording
4. Press STOP when finished
5. You may then want to press PLAY to check that what you just recorded sounds OK
If it is too quiet or muffled you may need to change the sensitivity – see A6 above
Notes
The recording is automatically given the next available ‘track’ number in that folder. So if
you already have 16 recordings in the folder then the new recording becomes track 17.
If you want to pause whilst making a recording, press the REC/PAUSE button. Then press
it again when ready to resume.
R Cullimore - Using Sanyo icr-a190 digi-rec v4 - 1 May 07.doc Page 3 of 8
Page 4

B2. Playback - basics
1. Select the folder you want to play back from - by pressing the FOLDER/REPEAT
button until the letter for that folder is shown at the top of the display
(Note that you can play back from folders A-D or from the music folder)
2. Select the track that you want to play - by using SKIP/SEARCH to move through
the numbers.
3. Press PLAY to hear the track
4. Adjust the volume if necessary using the VOL (+ and -) buttons
5. Press STOP/MENU when finished (otherwise it plays the next track, if there is one)
B3. Playback – tricks & tips
The following apply during playback.
Note: elapsed time is shown at the bottom of the recorder’s display during playback.
To pause a track: press STOP/MENU. Then press PLAY to continue
To return to the start of a track: press << side of SKIP/SEARCH at any point
To jump straight to the start of the next track: press >> of SKIP/SEARCH at any point
To search for a recording aurally; listen to 3-4 seconds of first track, press >>, listen to 3-
4 seconds of next track, press >> and repeat till you find the one you want!
To fast forward (in jumps) through a track: press
and hold >> whilst watching the elapsed
time counter on the display; then release to listen
To rewind (in jumps): press
and hold <<, watch the elapsed time counter, then release
To listen repeatedly to a 5 second segment: listen to the recording as normal, then, at
the appropriate point, press FOLDER/REPEAT and the last 5 seconds will be repeated
again and again. To carry on as normal, press FOLDER/REPEAT a second time.
To hear a recording a bit slower, or a bit faster: press PLAY again during playback (once
for slower, twice for faster, third time to get back to normal)
To see duration details before deciding which track to play: from ‘doing nothing’ press
STOP twice – the display should now show the track’s number and its duration. Use >> to
look at each track in turn. To get back to normal, press STOP twice more, or press PLAY to
hear the track.
To see recording-date info before deciding which track to play: from ‘doing nothing’
press STOP three times – the display should now show the track’s number and the date it
was recorded (along with a flashing ‘R’). To get back to normal, press STOP again, or
press PLAY to hear the track.
B4. Erasing an unwanted recording
1. Select the appropriate folder
2. Find the recording you want to erase.
Just to be sure, press PLAY, listen to the first couple of seconds, then press STOP
3. With that track number on display, briefly press ERASE
(If you made a mistake at this stage, just leave the buttons alone for a few seconds
and the recorder will abandon erasing this track and leave it untouched)
R Cullimore - Using Sanyo icr-a190 digi-rec v4 - 1 May 07.doc Page 4 of 8
Page 5

4. Press ERASE a second time and hold down for 3-4 seconds to confirm
5. The recording has now been erased
Important!
• When you erase a recording (unless it’s the very last one) all the recordings after it
‘shuffle back one’. So if you have 17 recordings and erase track 14, you magically get a
new track 14 in its place - which is actually the ‘old’ track 15 that has simply shuffled
back one. Similarly the ‘old’ 16 shuffles back to be track 15 and the old 17 shuffles back
to be 16. Sounds confusing but easy to get used to.
• At step 3, only press ERASE briefly. If you hold it for 2 seconds or more you end up
erasing everything in that folder – which can be useful, but only if you intended to do it.
B5. How much time left?
To find out how much free space/time there is left on the recorder, simply look at the display
when the recorder is doing nothing. The remaining free time is shown in the lower half of
the display. It will vary according to the recording mode currently selected – see the table in
section A5.
R Cullimore - Using Sanyo icr-a190 digi-rec v4 - 1 May 07.doc Page 5 of 8
Page 6

Part C – Copying across to a PC Computer
The audio files on the ICR-A190M voice recorder can be copied over onto a PC computer
and moved around just like any other type of file. The computer will need to have a ‘USB’
port (socket) to plug the recorder in to, and have Windows 2000/ME or later as its operating
system. It may also work with Windows 98 but for that requires a downloadable driver (see
Sanyo instruction booklet or website). It may not work on Apple computers.
The instructions below assume you are using Windows XP.
C1. Plugging in to the PC
It doesn’t matter whether the recorder is On or Off before you start.
A standard lead (supplied with the recorder) is required to connect to the PC.
1. On the side of the recorder is a flexible grey cover with ‘I/O’ written on it (this stands
for Input/Output in case you are wondering). Using a fingernail or similar, lift the end
nearest the letter O; you should see a small socket underneath.
2. Plug the appropriate end of the lead into this socket.
3. Assuming the computer is already powered up and running normally,
plug the other end of the lead into the USB port on the computer.
The recorder screen should then show symbols which indicate it is connected.
If you know how to copy files from a USB device (eg a ‘pen’ or ‘flash’ drive) you can do so in
the normal way. If you’re not sure, look at sections C2 and C3 below.
C2. Locating the recordings
When you plug the recorder into the USB port, one of two things will normally happen:
• a small window headed ‘Removable Disk’ appears on the computer screen OR
• it doesn’t.
If the small window appears:
1. Click on the option saying ‘Open folder to view files using Windows Explorer’
2. Click OK to do this
You should end up with a list of three folders (DATA, MUSIC, VOICE) in the right
hand part of the window
3. Click on the word Folders (or an icon for this) at the top of the window
You should now see the same three folders in the left of the window too
4. In the left of the window, click on the VOICE folder
You should see four ‘sub-folders’ (A, B, C, D) below it
5. In the left of the window, click on each of these four folders (A-D) in turn
You should see their contents (files) in the right of the window.
If the small window did not appear:
1. Start up My Computer (eg click the Start button, then click on ‘My Computer’)
2. Click on the word Folders (or an icon for this) at the top of the window
R Cullimore - Using Sanyo icr-a190 digi-rec v4 - 1 May 07.doc Page 6 of 8
Page 7

3. In the left of the window, click on the words ‘Removable Disk’
You should see three folders (DATA, MUSIC, VOICE) under it
4. In the left of the window, click on the VOICE folder
You should see four ‘sub-folders’ (A, B, C, D) below it
5. In the left of the window, click on each of these four folders (A-D) in turn.
You should see their contents (files) in the right of the window.
Each of the recordings has its own file name, such as IC_A_009, and if you point to a
recording file with your mouse you should get an information box appear next to it telling
you about that file (including Duration and size in KB). Each recording also has an ‘INX’ file
associated with it which holds any index information but which can be safely ignored.
If the PC has sound set up on it, double-clicking a recording file should allow you to hear it.
C3. Copying the recordings
First, decide where you want to copy the files to on the PC.
For example, you may want to create a separate folder on the PC for each learner, or each
topic, or each class, then copy the recordings into the appropriate folders.
Creating folders on the PC
This follows on from C2 above.
1. In the left of the window, click once on the location where you want the new folder to
be - eg click ‘My Documents’
2. At the top of the window click File + New + Folder
You should then see a new folder appear in the right of the window with its title
(probably ‘new folder’) highlighted in blue
3. Type in an appropriate name for this new folder and press Enter on the keyboard
This new name should replace the one highlighted in blue
4. Repeat the process to create more folders if required
Copying files from the recorder to the PC
1. In the left of the window, click on the recorder folder (A, B, C or D) which contains
the files you want to copy. The folder’s contents should appear in the right side.
2. Check that you can see the destination folder in the left side; if not, scroll up or down
until it comes into view (but don’t click it). The files in the right side should still be
the same as at step 1.
3. In the right side, click once on the first file then hold down the Ctrl key on the
keyboard and click on the other files you want to copy (if any). Ignore the INX files.
4. Grab the highlighted files in the right side by pointing at one of them with the tip of
the mouse-arrow and holding down the left mouse button.
5. Keep the mouse button held down and drag the files across to the left side and ‘into’
the folder where you want them to go; then release the mouse button.
6. In the left of the window, click on the folder to which you have just copied the files
and check they are now there (they should appear in the right side)
R Cullimore - Using Sanyo icr-a190 digi-rec v4 - 1 May 07.doc Page 7 of 8
Page 8

Renaming files on the PC
You may want to rename the recorded files to help you remember what each contains.
To rename the files on the PC:
1. Click once on the name of the file, pause, then click a second time
2. Type in an appropriate name, press the Enter key on the keyboard and the name
should be changed
Warning. Do not rename the files on the recorder itself as this means they can no longer be
played back on the recorder.
C4. Copying TO the recorder
You can copy any ‘WMA’ or ‘MP3’ audio file (eg music or other track ‘ripped’ from a CD)
from the PC to the recorder and then play it back on the recorder later on. This could be
useful if you have powered speakers to plug in to the recorder to allow play-back to the
whole class – but remember to observe any copyright limitations.
To copy a file to the recorder simply drag it from where it is kept on the PC and put it into
the MUSIC folder in the recorder. This leaves the original file exactly as it was and makes a
copy of it on the recorder.
You can also use the recorder as a portable memory device by copying files across to its
DATA folder. Note that, once unplugged from the PC, there is no way of seeing the DATA
folder on the recorder itself until you plug it back in to a PC again.
C5. Safely removing the recorder
To avoid damaging data files, you should:
1. Make sure that the recorder display is not showing any moving/flashing symbols
2. Click on the ‘Safely Remove Hardware’ icon (or similar), normally at the bottom-right
of the computer screen
3. Click on the ‘Safely remove USB Mass Storage Device’ option that should pop up
4. Wait till you see the ‘Safe to Remove Hardware’ message
5. Unplug the recorder cable from the PC and from the recorder
What to do if ‘device cannot be stopped right now’ message appears at step 4:
First, wait 30 seconds or so then try again. If the message still comes up, the safest thing to
do is to shut down the PC completely, then unplug the recorder.
R Cullimore - Using Sanyo icr-a190 digi-rec v4 - 1 May 07.doc Page 8 of 8
 Loading...