

Page 1
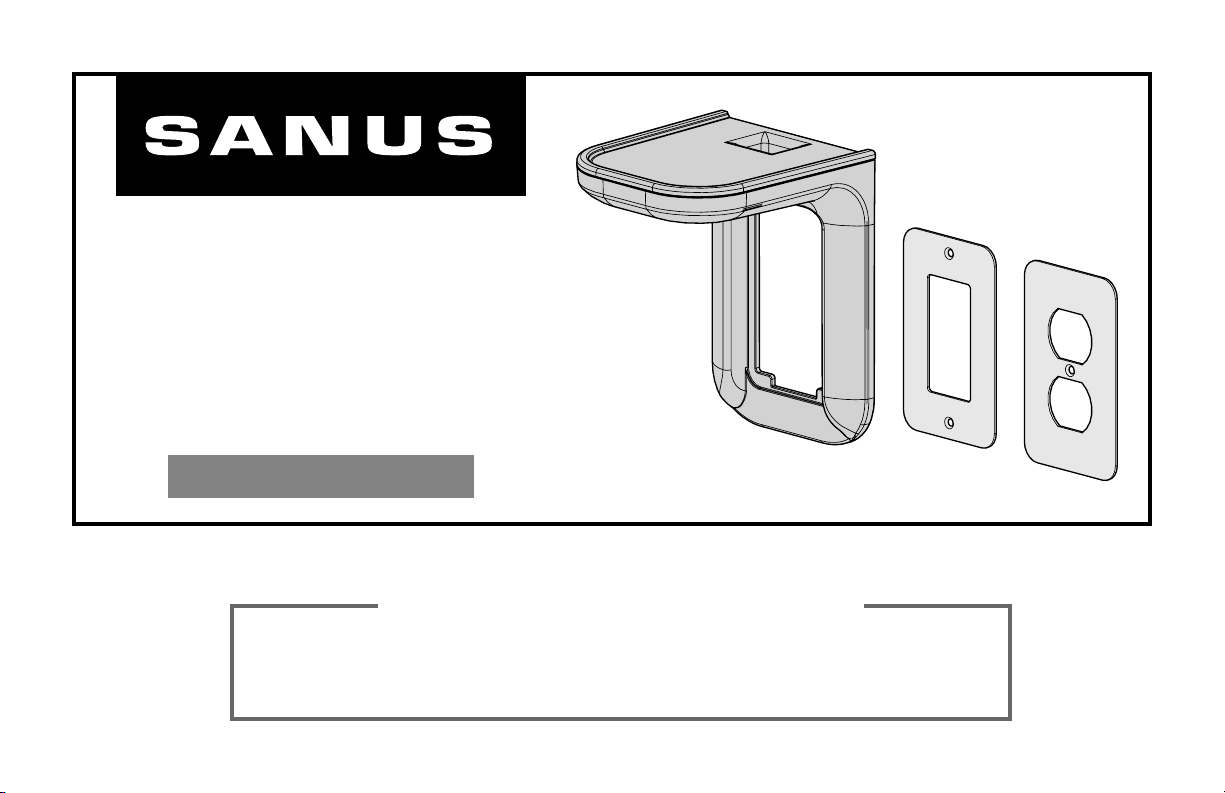
OUTLET SHELF
WSOS1
INSTRUCTION MANUAL
Para Español ver página 7
We’ll Make It Stress-Free
If you have any questions along the way, just give us a call:
1-800-359-5520 We’re ready to help!
Page 2
IMPORTANT SAFETY INSTRUCTIONS – PLEASE READ MANUAL PRIOR TO USE – SAVE THESE INSTRUCTIONS
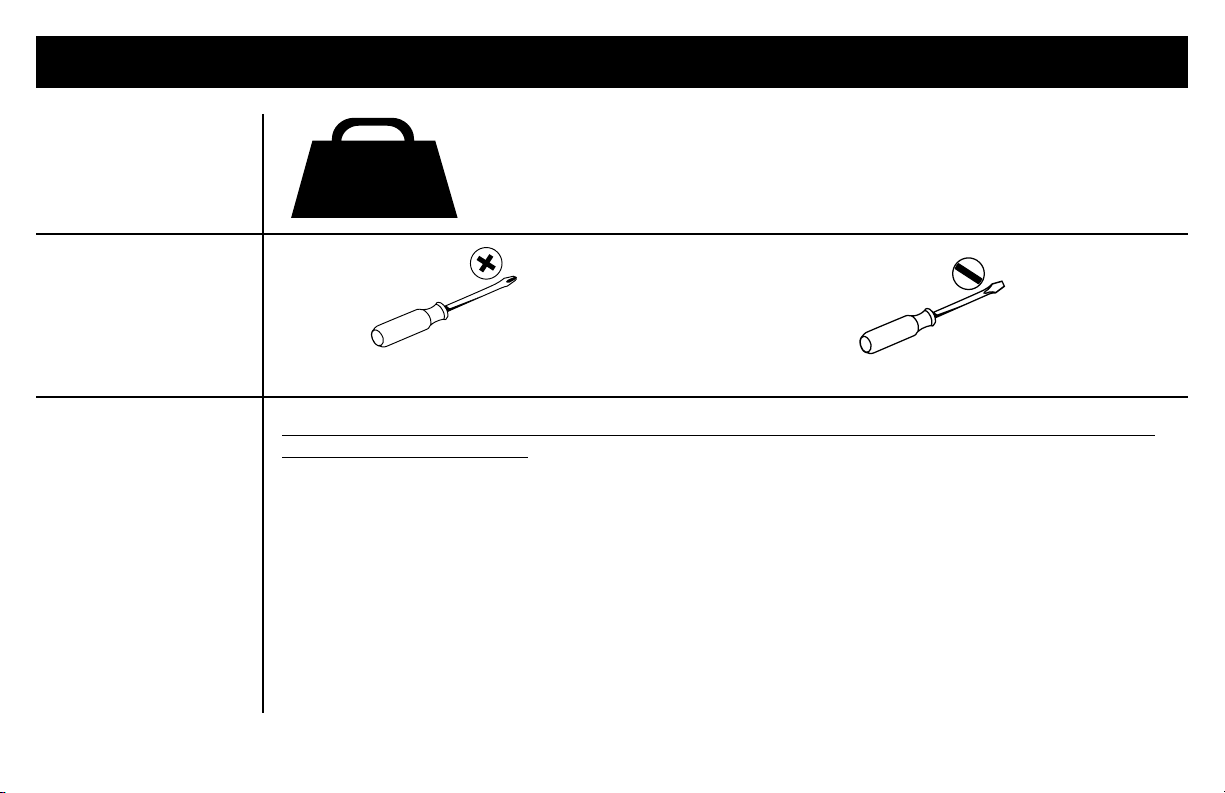
Weight
1
Restrictions
10 lbs.
DO NOT EXCEED 10 lbs. (4.5 kg) for this shelf.
(4.5 kg)
Grab
2
Your
Tools
Phillips Screwdriver Slotted Screwdriver
Ready to
3
begin?
2
Check your speaker owner’s manual to see if there are any special requirements for
mounting your speaker.
Please read through these instructions completely to be sure you’re comfortable with this easy install process.
This product is for household use only. Do not use this product for any purpose not explicitly specified by manufacturer.
Manufacturer is not responsible for damage or injury caused by incorrect assembly or use.
The wall must be capable of supporting five times the weight of the speaker and mount combined.
For use only with UL/CUL/CN Listed receptacles (round or rectangular faces) installed in UL/CUL/CN Listed single gang
receptacle outlet boxes mounted in minimum 1/2" thick gypsum wall board.
If you do not understand these instructions or have doubts about the safety of the installation, assembly or use of this
product, contact Customer Service (see back page).
Page 3
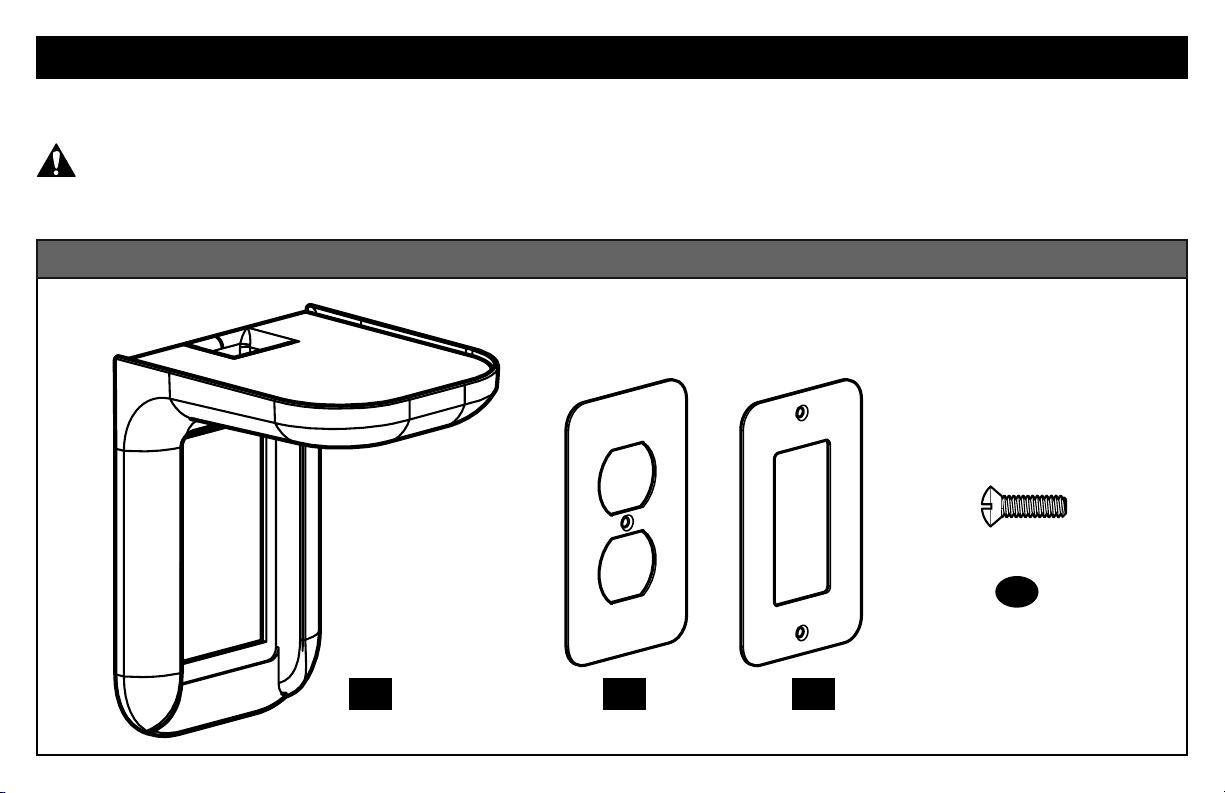
Supplied Parts and Hardware
Before starting assembly, verify all parts are included and undamaged. If any parts are missing or damaged, DO NOT return
the damaged item to your dealer; contact the Customer Service (see back page). Never use damaged parts!
WARNING: CHOKING HAZARD — This product contains small items that could be a choking hazard if swallowed.
PARTS FOR STEP 2
Outlet Cover Plates
Outlet Cover Plate
Screw
6-32 x 1/2 in.
04 x2
Shelf
01 x1 02 x1 03 x1
3
Page 4
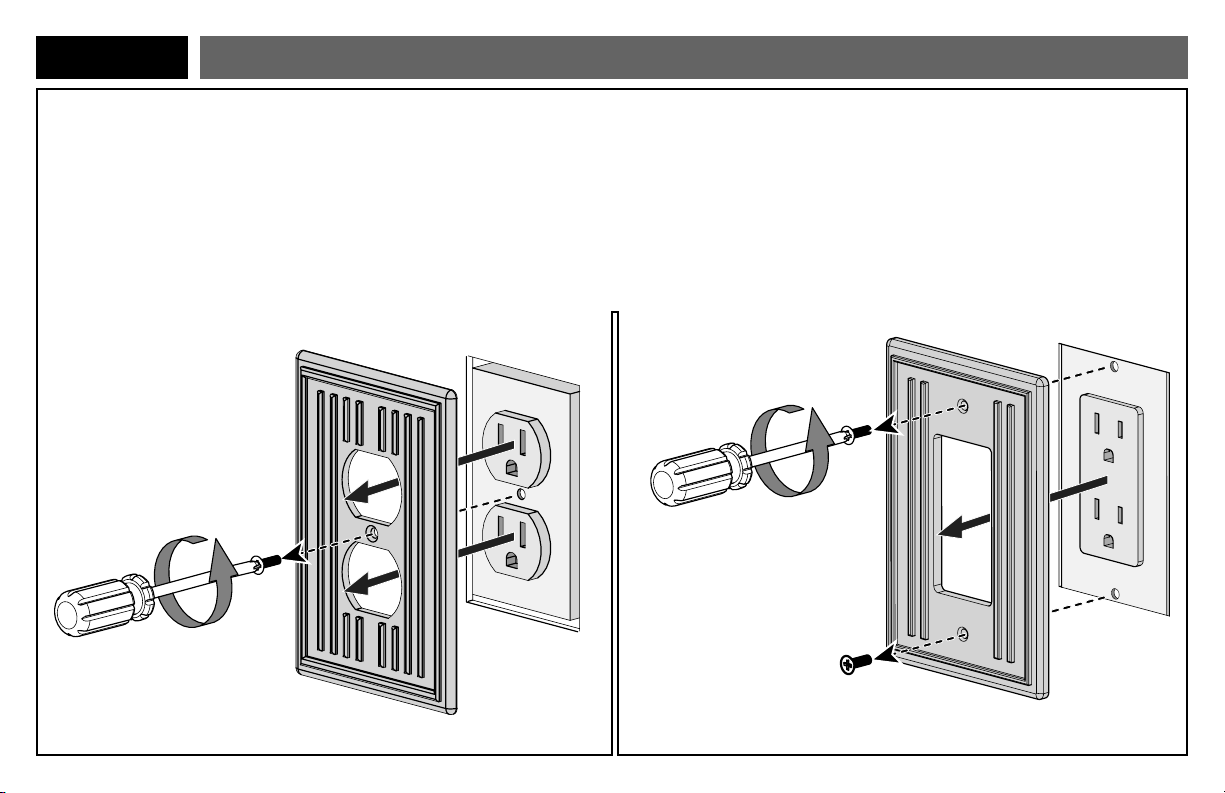
STEP 1
Prepare The Outlet Area
Remove your existing outlet cover plate.
4
Page 5

STEP 2
Install The Shelf
Position shelf
over your duplex outlet and secure it with the outlet cover plate
01
using outlet cover plate screw(s)
04
02
or
03
.
0101
0302
04
04
5
Page 6

STEP 3 STEP 4
Thread Cord Position Device
Slip your power cord through shelf
connect to your device.
01
01
and
Rest your device
on the shelf and
plug the cord into
the outlet.
6
Page 7

INSTRUCCIONES DE SEGURIDAD IMPORTANTES – LEA EL MANUAL ANTES DE UTILIZAR
ESTE PRODUCTO – CONSERVE ESTAS INSTRUCCIONES
Restricciones
1
de peso
10lb
NO EXCEDA 10 lb (4.5 kg) para este estante.
(4.5 kg)
Tome sus
2
herramientas
Destornillador Phillips Destornillador plano
ESPAÑOL
¿Listo para
3
comenzar?
Consulte el manual del usuario de su altavoz para ver si existe algún requisito especial
para instalar el altavoz en la pared.
Lea estas instrucciones en su totalidad para sentirse seguro y cómodo con este fácil proceso de instalación.
Este producto está diseñado sólo para uso doméstico. No utilice este producto para ningún otro propósito que
nosea el explícitamente especificado por el fabricante.
El fabricante no se responsabiliza por ningún daño o lesión resultante del montaje incorrecto o del uso indebido.
La pared debe soportar cinco veces el peso del altavoz y del soporte juntos.
Para utilizar solamente con receptáculos que cumplen con la norma UL/CUL/CN (caras redondas o rectangulares)
instalados en tomacorrientes de una sola caja en una pared de yeso con un espesor mínimo de 1/2".
Si no entiende las instrucciones o si tiene dudas acerca de la seguridad de la instalación, del ensamblaje o del
uso del producto, póngase en contacto con el Servicio de atención al cliente (consulte la última página).
7
Page 8

ESPAÑOL
Piezas y elementos de sujeción suministrados
Antes de iniciar el ensamblaje, compruebe que todas las piezas estén incluidas y en buenas condiciones. Si faltan piezas
o alguna está dañada, NO devuelva el artículo al distribuidor. Póngase en contacto con el Servicio de atención al cliente
(consulte la última página). Nunca utilice piezas deterioradas.
ADVERTENCIA: PELIGRO DE ASFIXIA—Este producto contiene piezas pequeñas que, en caso de ser tragadas,
podrían producir asfixia.
PIEZAS PARA EL PASO 2
Tapas del tomacorriente
Tornillo para la tapa
del tomacorriente
6-32 x 1/2 in.
04 x2
Estante
01 x1 02 x1 03 x1
8
Page 9

ESPAÑOL
PASO 1
Quite la tapa del tomacorriente existente. (ver página 4)
PASO 2
Coloque el estante
más tornillos
PASO 3
Pase el cable de alimentación por el estante
PASO 4
Apoye el dispositivo sobre el estante yenchufe el cable altomacorriente. (ver página 6)
Prepare el área del tomacorriente
Instale el estante
sobre el tomacorriente doble y sujételo con la tapa
01
. (ver página 5)
04
Pase el cable
y conéctelo al dispositivo. (ver página 6)
01
Apoye el dispositivo
02
o
con uno o
03
Lo haremos sin estrés
Si tiene preguntas mientras realiza la instalación, llámenos.
1-800-359-5520 Estamos listos para ayudarlo.
9
Page 10

10
Page 11

Dimensions/ Dimensiones
6.78 in.
[172.15mm]
4.77 in.
[121.10mm]
4.54 in.
[115.30mm]
2.79 in.
[70.85mm]
2.79 in.
[70.9mm]
1.32 in.
[33.6mm]
2.65 in.
[67.3mm]
3.81 in.
[96.8mm]
4.54 in.
[115.3mm]
5.23 in.
[132.95mm]
11
Page 12

Thank you for choosing Sanus! Please take a moment to let us know how we did:
Call us: 1-800-359-5520
Email us: info@sanus.com
Leave a review: sanus.com
Milestone AV Technologies and its aliated corporations and subsidiaries (collectively, “Milestone”), intend to make this manual
accurate and complete. However, Milestone makes no claim that the information contained herein covers all details, conditions,
or variations. Nor does it provide for every possible contingency in connection with the installation or use of this product.
The information contained in this document is subject to change without notice or obligation of any kind. Milestone makes no
representation of warranty, expressed or implied, regarding the information contained herein. Milestone assumes no responsibility
for accuracy, completeness or suciency of the information contained in this document.
Sonos and Sonos product names are trademarks or registered trademarks of Sonos, Inc.
Designed and engineered in USA. Made in China.
©2018 Milestone AV Technologies. All Rights Reserved. SANUS is a division of Milestone. SANUS and the SANUS logo are
registered trademarks.
Milestone Global Headquarters • 6436 City West Parkway • Eden Prairie, MN 55344 USA
Find us on Facebook: SANUS
Follow us on Twitter @sanussystems
6901-602263 00
 Loading...