

Page 1
a
b
c
d
g
h
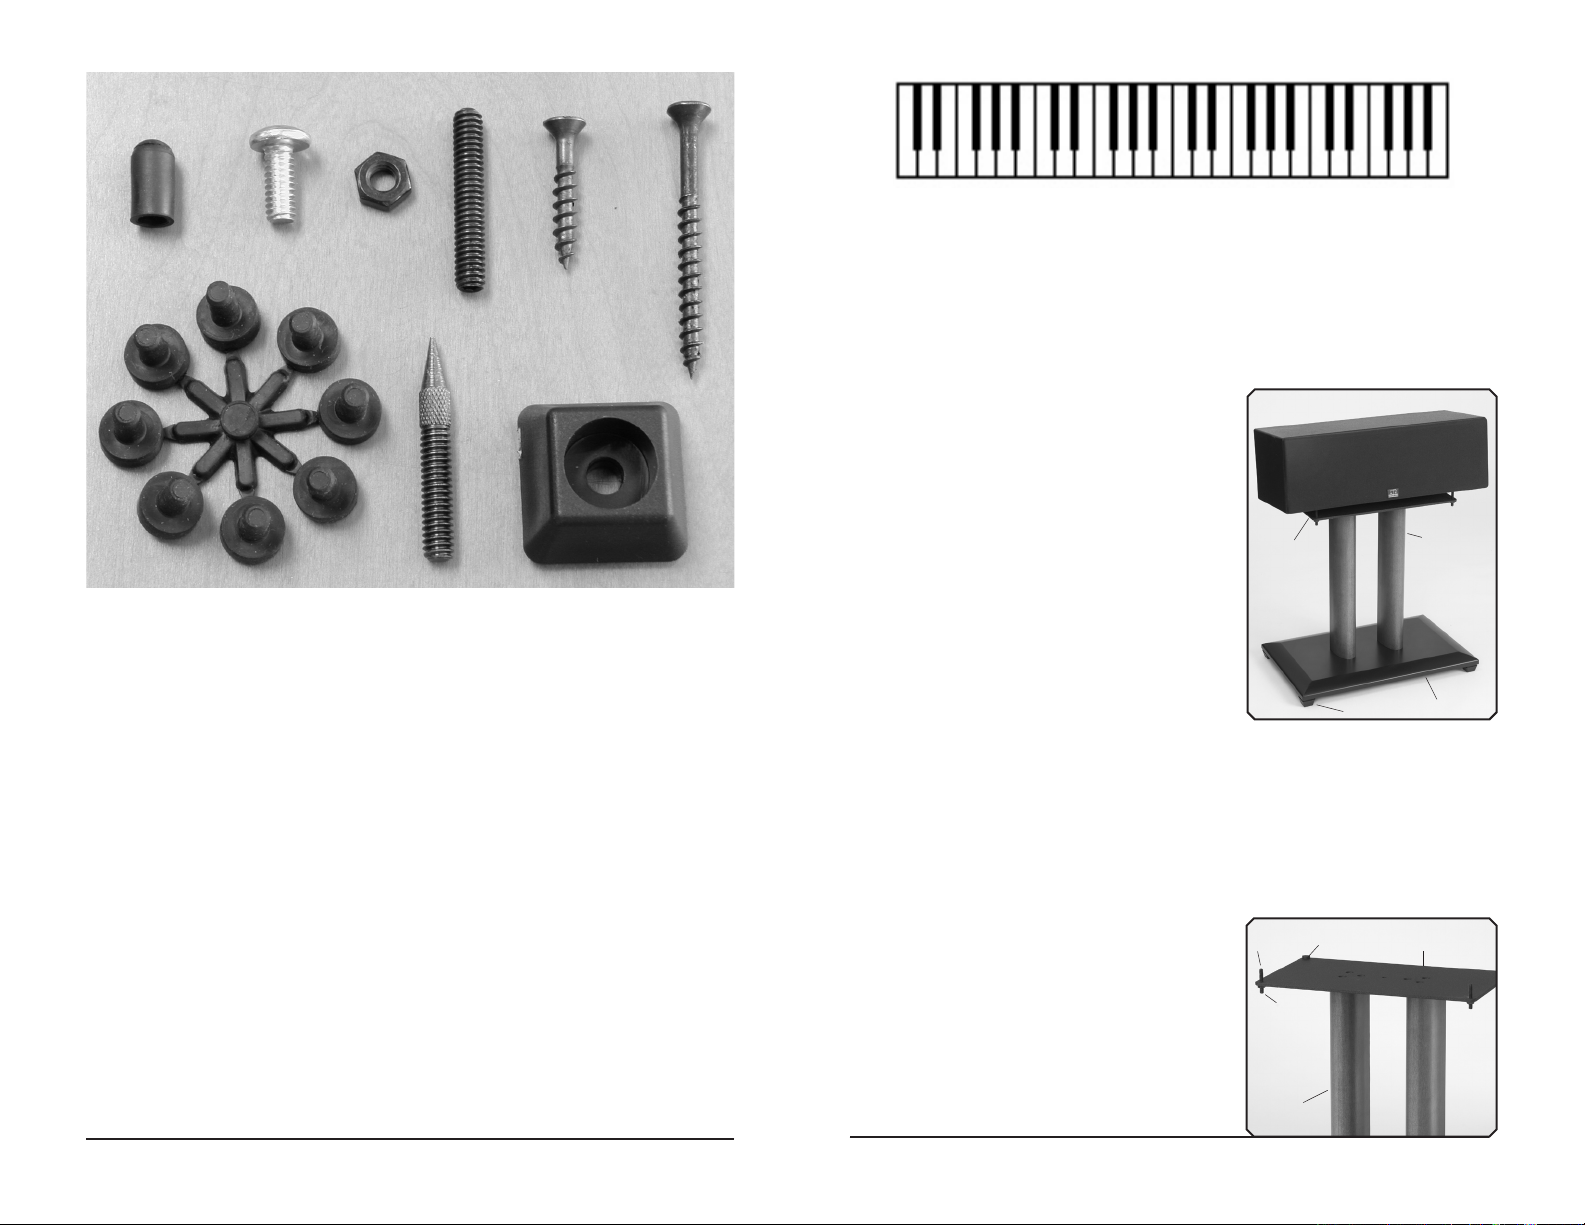
Parts List
NFC18
Adjustable Speaker Stud Cap -a 2
5/8” Pan Head 1/4-20 Bolts -b 4
Lock Nuts -c 6
Adjustable Speaker Stud -d 2
1.25” Base Screws -e 4
2.25” Base Screws -f 4
Rubber Pads (wheel of 8) -g 2
Adjustable Spiked Feet -h 4
Plastic Isolation Feet (set of 4) -c 1
Steel Top Plate 1
Wood Base Plate 1
Pillars 2
13.5” Wire Cover 2
1] Remove all parts from package. Damaged
or missing parts can be quickly obtained
e
f
by contacting Sanus Customer Service
at (800) 359-5520 or www.sanus.com.
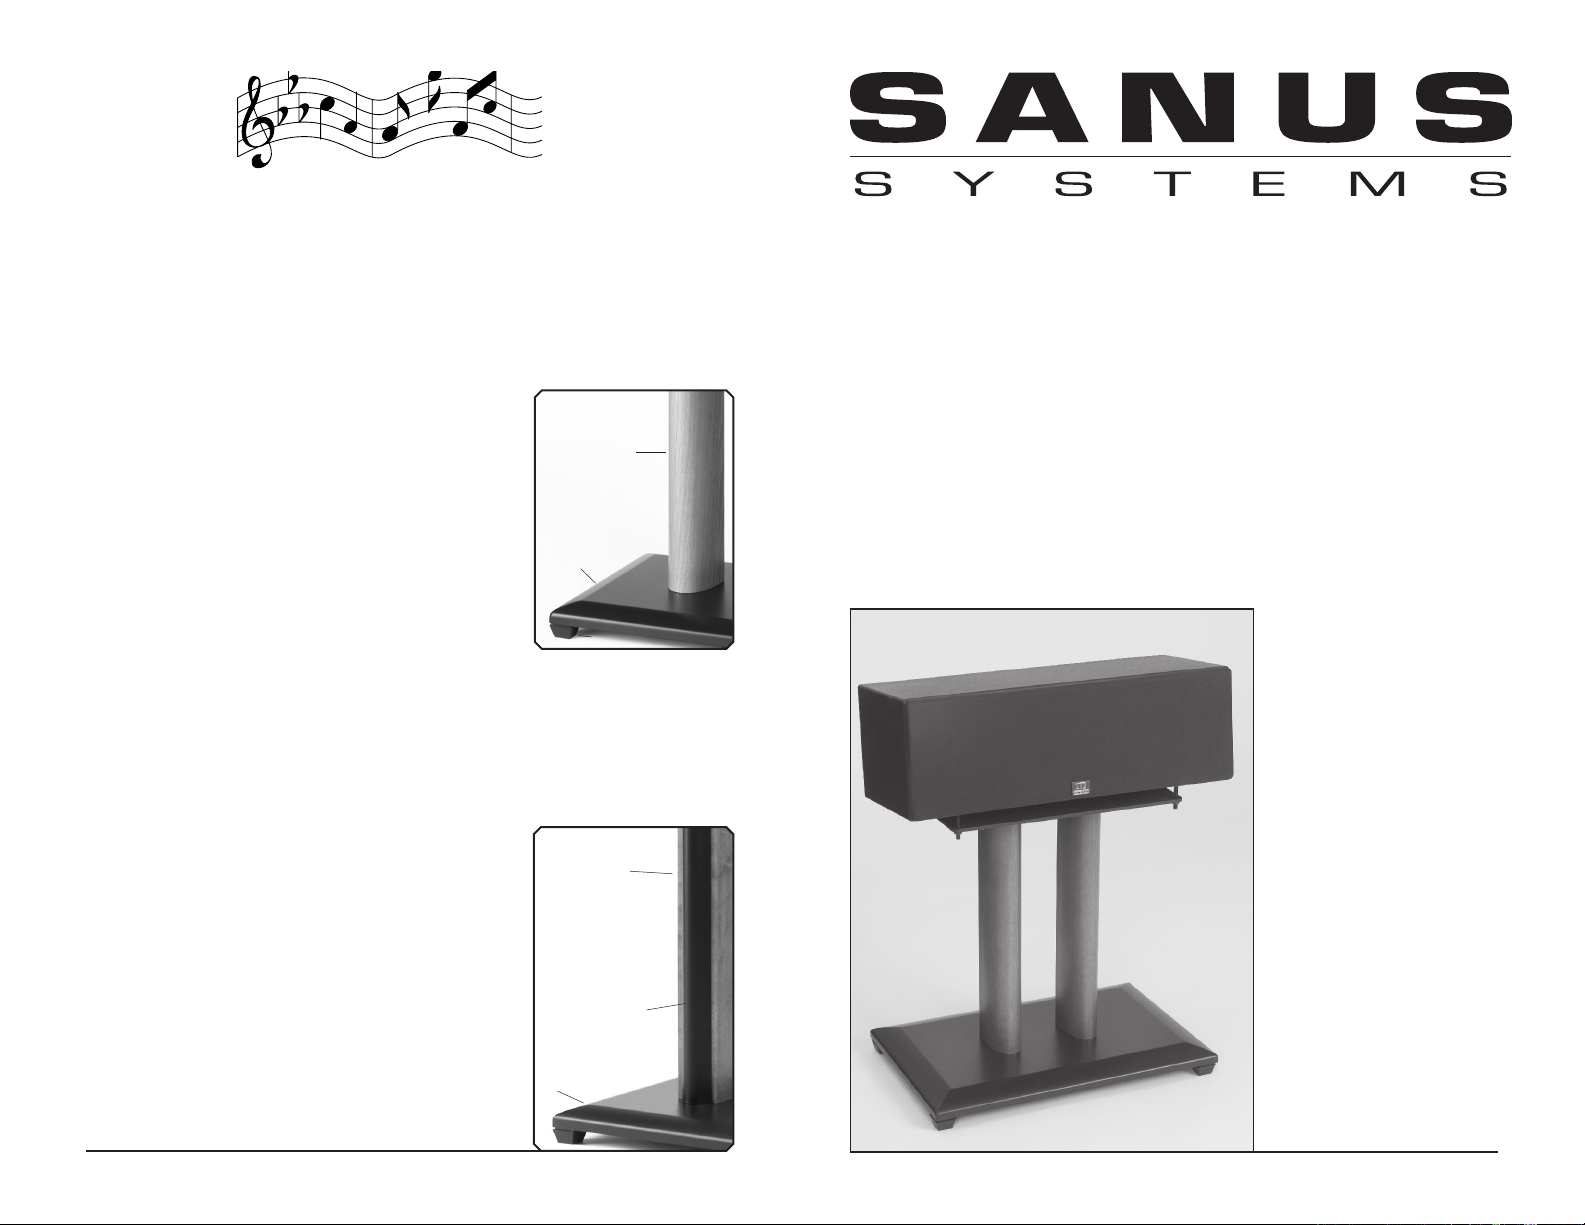
2] Group the top plate and base with the pil-
lars. The speaker cable hole in the base
Front View NFC18c
a] Plastic Feet
b] Base
c] Pillar
d] Top Plate
and the bolt mounting hole in the top plate
i
should be to the rear of the pillar.
3] Using the 2.25” base screws, align
countersunk holes in the base plate with
corresponding holes in either end of each
pillar. Tighten screws with a large tipped
d
c
Phillips screw driver. A little hand soap on
the threads may make the screws easier
to turn. Using the 1.25” top plate screws,
align countersunk holes in the top plate
with corresponding holes in each pillar
and tighten. Make sure that each screw
is following the pilot hole. To avoid strip-
a
b
ping the screw holes, donʼt use a power
screwdriver.
Top Plate & Pillars
4] Two forms of speaker mounts are pro-
vided, adjustable speaker studs and
rubber pads. If you do not wish to angle
the speaker upwaerd, twist a rubber pad
into each corner of the top plate. To angle
the speaker use the adjustable speaker
a] Adjustable Front
Studs
b] Lock Nuts
c] Top Plate
d] Rear Rubber Pads
e] Pillars
a
d
c
studs in the front corners of the top plate
and rubber pads in the rear corners. When
the required angle is achieved, lock the
stud in place by threading a nut against
the bottom of the top plate. Place a cap
over each stud.
b
d
e
a
b
c
Page 2 Page 3 * PLEASE READ THE NOTE ON PAGE 4 OF THIS MANUAL!
Page 2
5] A choice of steel adjustable spiked feet and
plastic feet are included to provide stability
and to reduce resonance.* The spiked feet
are preferable for performance and stability on
carpeted surfaces. Thread a nut on to the end
of each spike, and thread the spikes into the
Base Plate
a] Pillar
b] Wood Base Plate
c] Plastic Foot
holes in the base of the stand. Lock the spikes
by tightening the nut against the base. The
plastic feet may be attached to the base with
a
the 5/8” pan head bolts. Optionally, the spiked
feet and plastic feet may be used together by
threading the nut all the way down the spike
and attaching the plastic foot with the spike. A
7/16” socket is recommended to tighten the nut
b
securely against the plastic foot.
6] The extra holes in the top plate may be used to
c
attach speakers that accomodate bottom bolt
mounting. Bolts are not provided. Position the
stands in the exact spot they will be used. If you
are using the adjustable spikes, make sure they
are level and that the stand does not rock. Set
the speaker on the stand and run the speaker
Wire Cover
a] Pillar
b] Wire Cover
c] Wood Base Plate
wire down the back of the pillar and through the
hole in the base. Snap the plastic wire covers
into the grooves in the pillar. Slide the covers
a
down until they touch the base.
*NOTE: The end of the spikes and the studs are sharp
and may scratch floors or furniture. All sharp and
small objects can be hazardous to children. For this
reason rubber pads and plastic feet are provided as
an option. The decision to use steel spiked feet and
speaker studs is yours; Sanus Systems is not liable
for damage or injury.
c
b
Page 4 2221 highway 36 W St. Paul MN 55113 800-359-5520 www.sanus.com
INSTRUCTION MANUAL FOR
NATURAL FOUNDATIONS®
The job of the speaker stand is to raise the loudspeaker to ear height. When this
is done correctly, most aspects of the listening experience benefit. Bass is tighter,
mids and highs are clearer, and imaging detail improves. Taking your speakers off
your Foundations and listening to them on the floor for a few minutes quickly dem
onstrates the importance of speaker mounting and positioning.
The speaker stand needs to be competent in many areas in order for your loud
speakers to achieve optimum performance. Well engineered speaker stands like
Natural Foundations® rigidly hold speakers perfectly still and are free from reso
nance and diffraction problems. When set up correctly, Natural Foundations® will
greatly enhance your audio
video systemʼs acoustic per
formance and visual appeal.
Where you locate your speak
ers in your listening room will
greatly affect sound quality.
All speakers are placement
sensitive; moving them a few
inches can noticeably change
the sound. Take the time to
find the ideal speaker loca
tions for your room. The easi
est way to find the optimum
speaker locations is with
educated trial and error. Your
Sanus trained audio consul
tant can get you started in the
right direction, but in the end
you need to trust your ears.
Happy Listening!
Page 1 11.19.04
-
-
-
-
-
-
-
-
 Loading...