

Page 1
EXP100 Setup
Overview
Supported Phones
Included Contents
Physical Overview
Installation
Configuration
Quick Start Guide
Overview
The Sangoma EXP100 Expansion Module is used to extend the functionality of Sangoma Phones by providing programmable hard keys to be
used for things like BLF (Busy Lamp Field), speed-dial, call transfer, extensions..etc. This allows users to deliver single-button access to contacts
/ extension. The EXP100 can be physically attached to the Sangoma phone, standalone beside the phone or wall mounted. Connect up to 6
EXP100s to add up to 240 programmable keys (up to 50 can be BLFs).
Supported Phones
The EXP100 Expansion Module is supported on Sangoma S500 and S700 IP Phones.
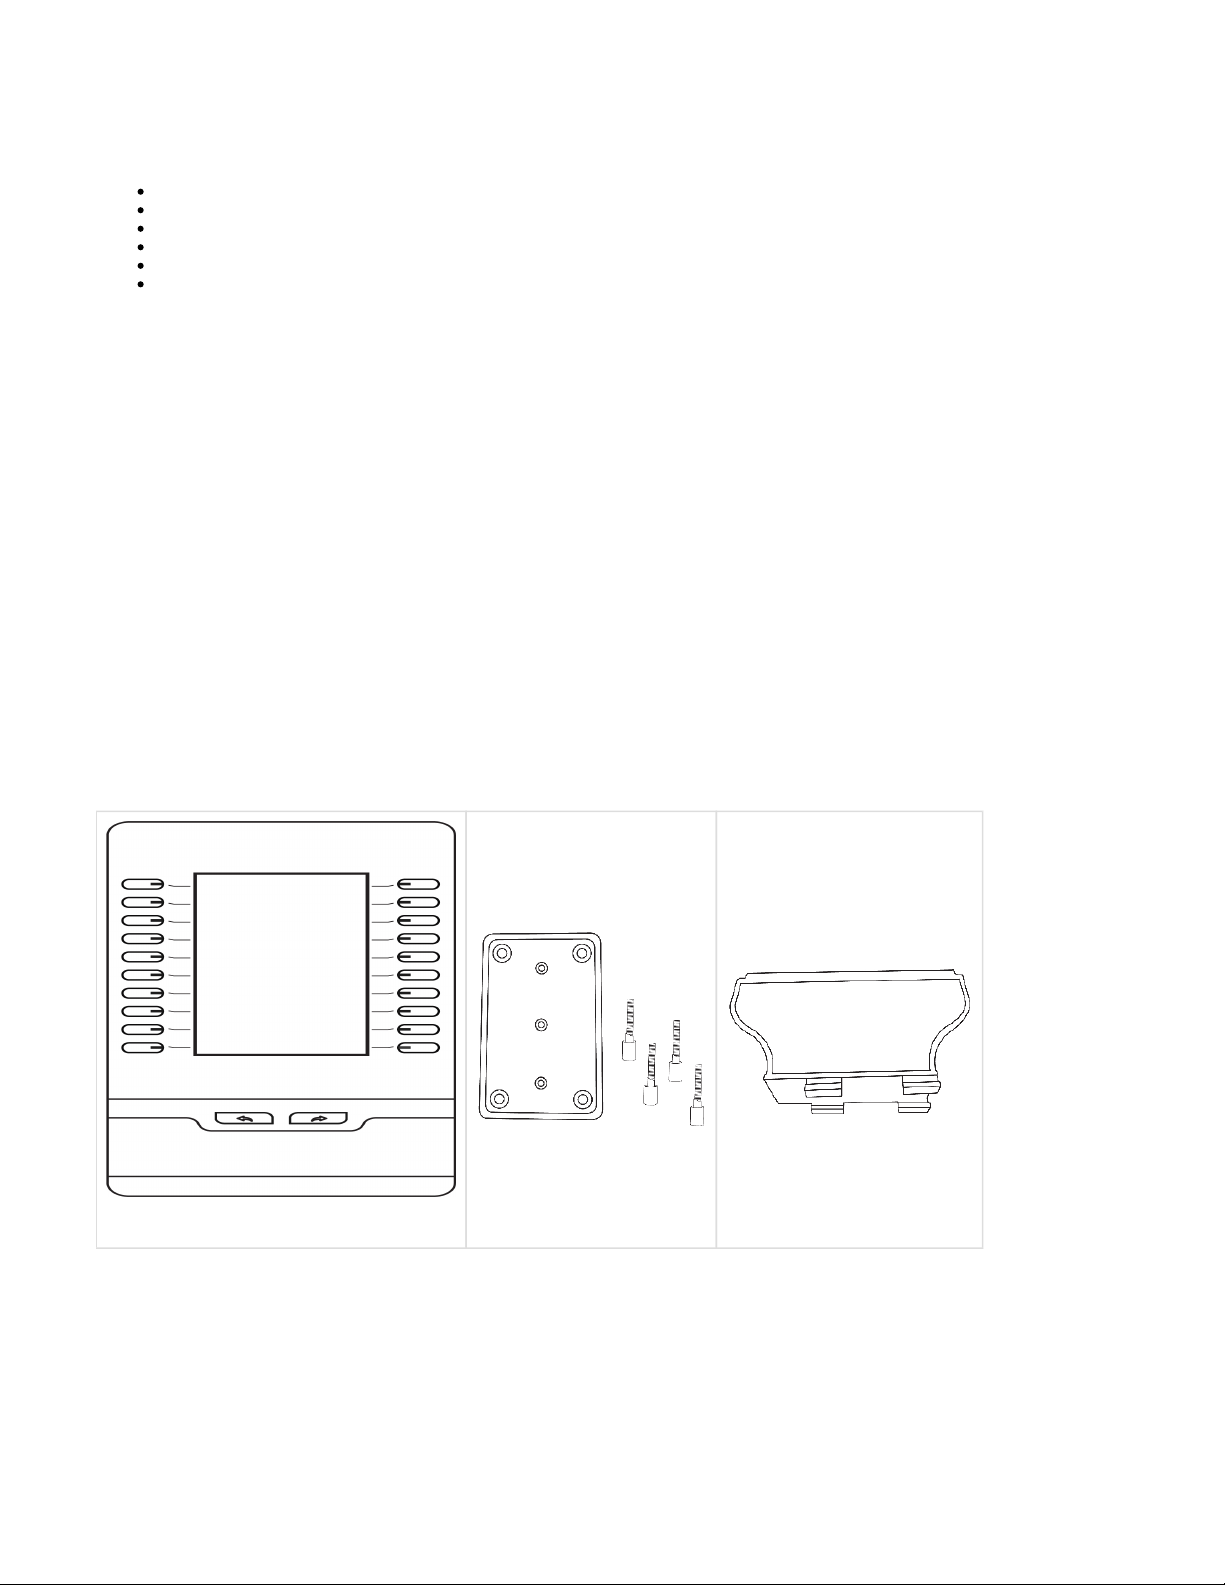
Included Contents
Expansion Module
Connecting Sheet with Screws
Stand
Page 2
1.
2.
3.
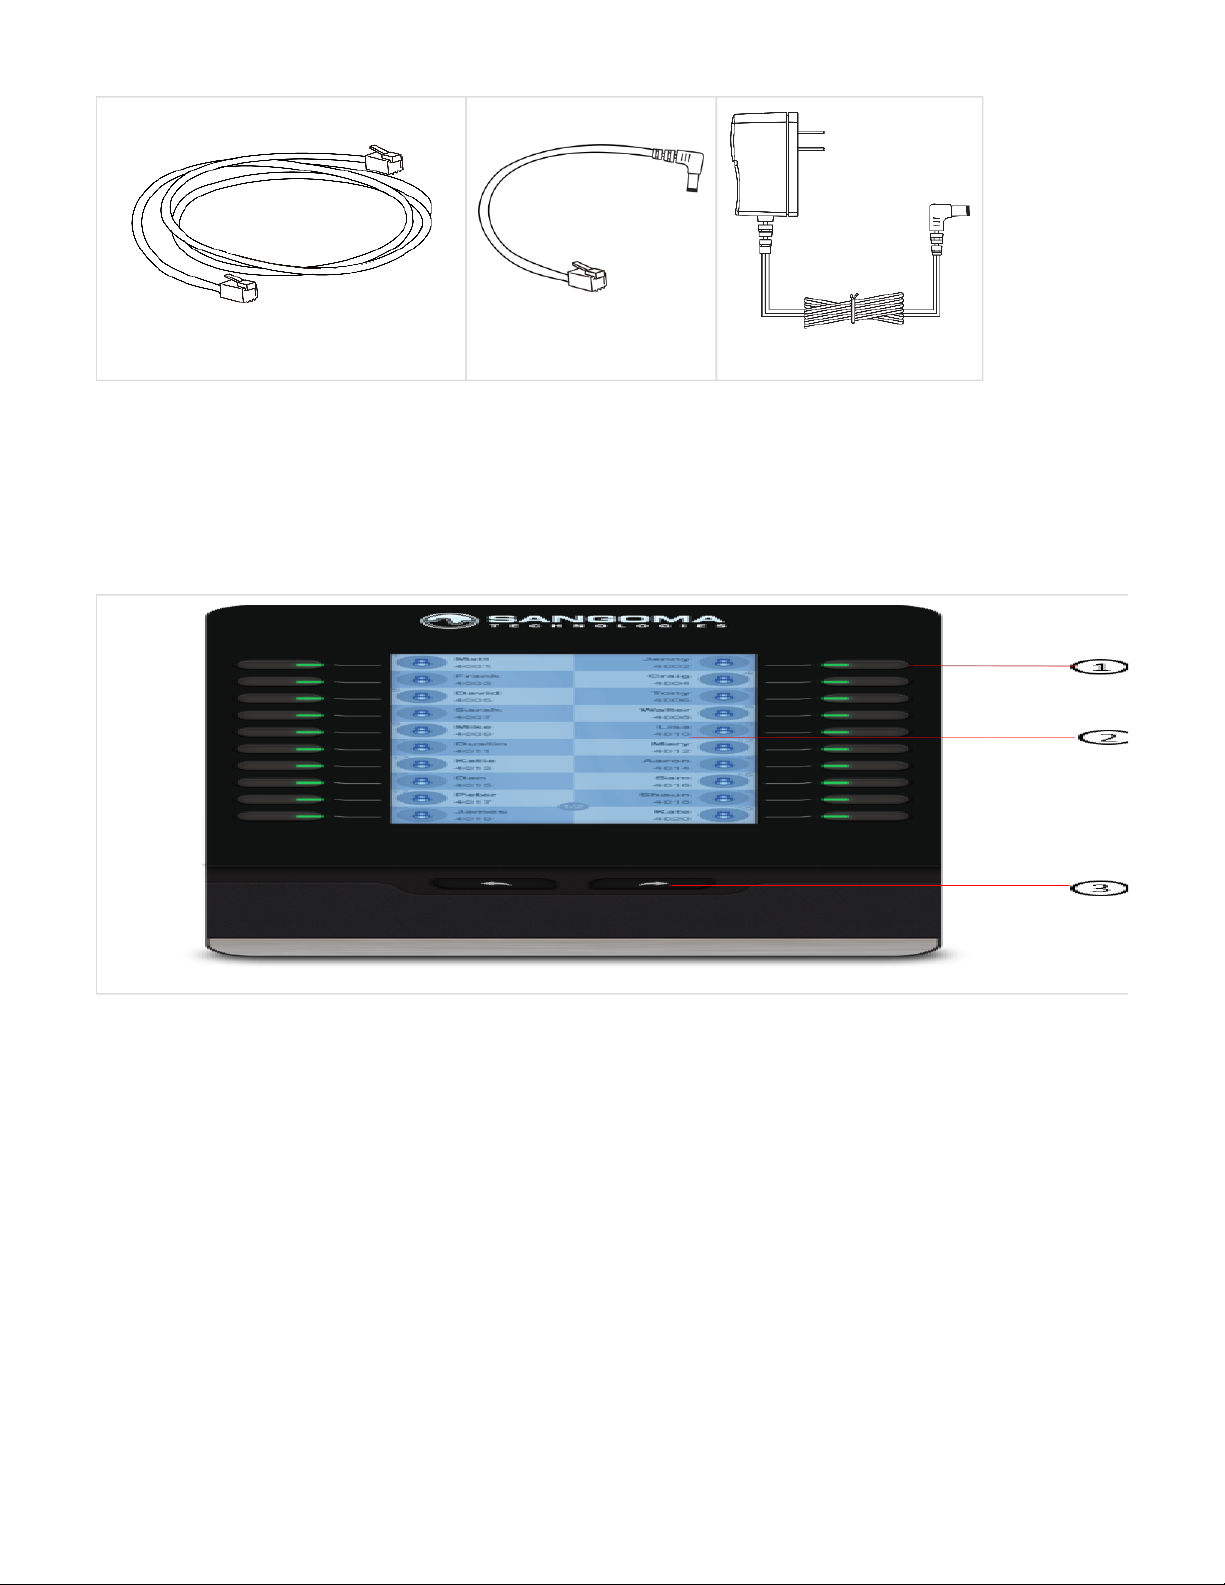
Ethernet Cable
Power Connector
Power Adaptor (Sold Separately)
Physical Overview
Front
: 20 programmable with dual-colour displayHard Keys
: Graphical Backlit (320 x 160 pixels)LCD Display
: Navigate between 2 pagesDedicated page keys
Back
Page 3
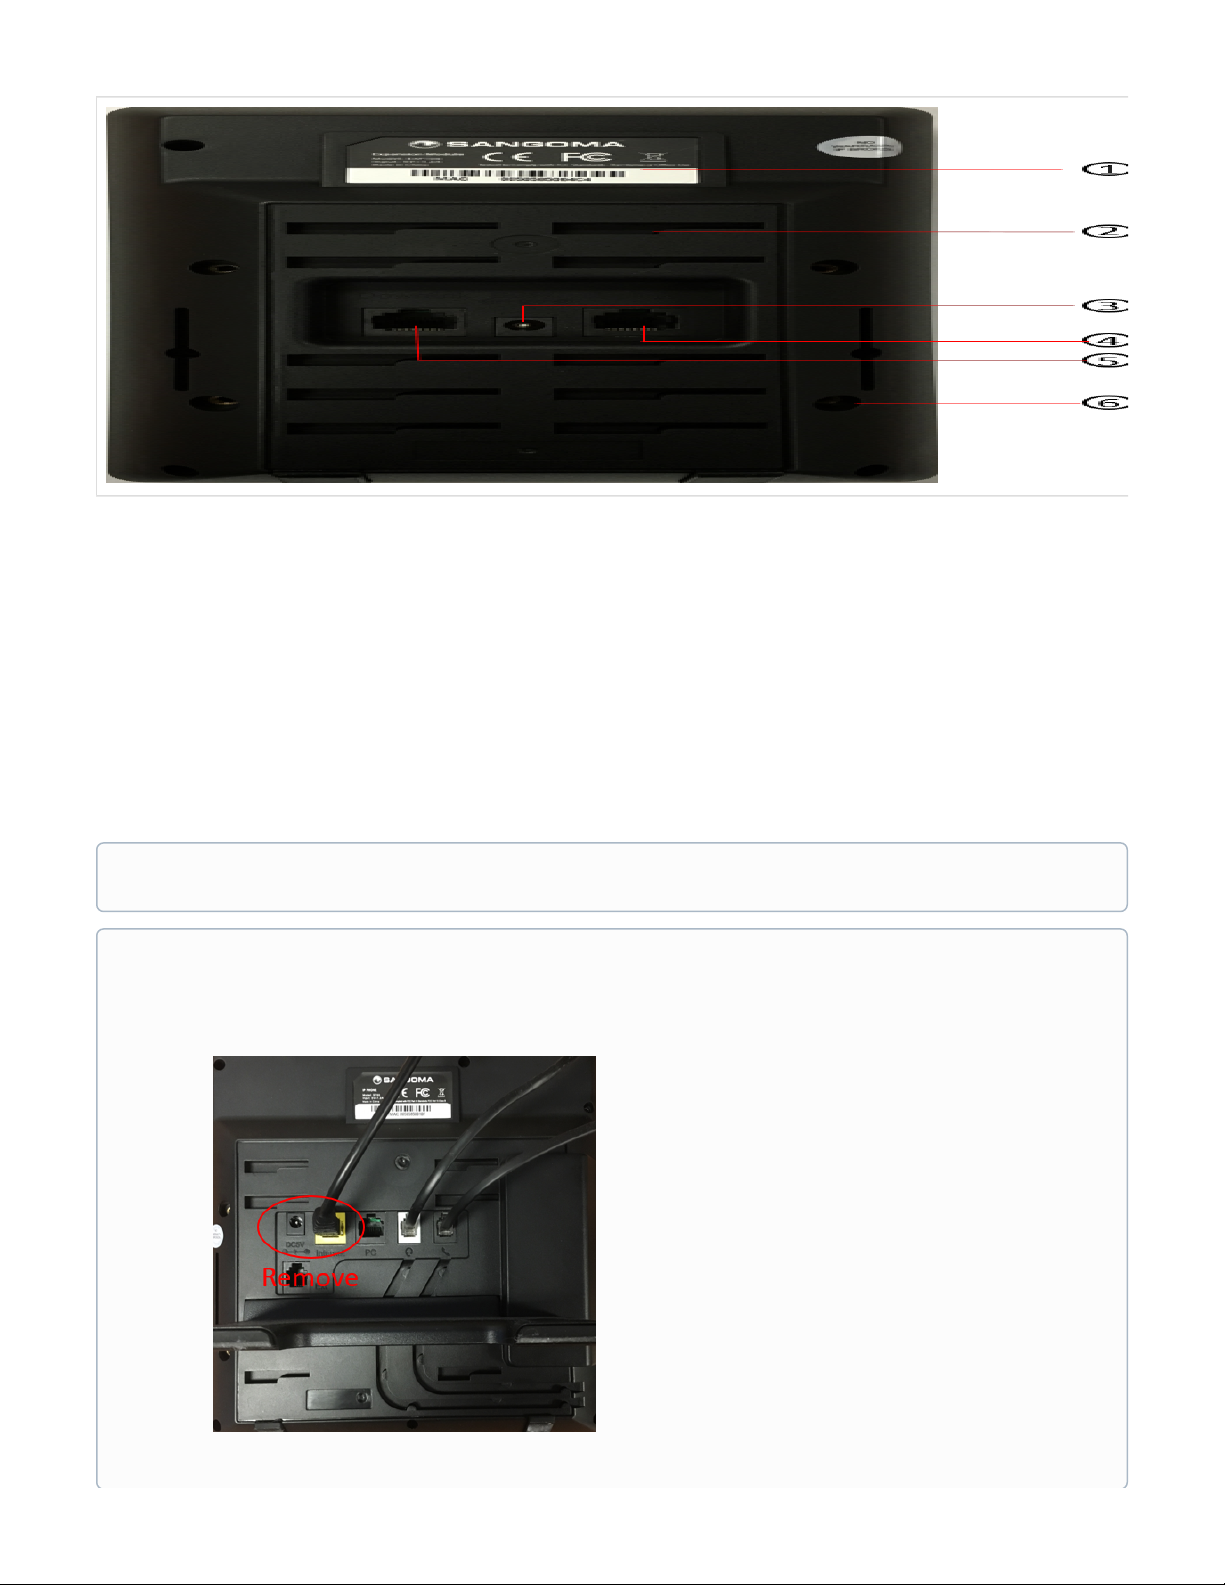
1.
2.
3.
4.
5.
6.
Certification Sticker
- 5 possible positionsStand mounting point
(DC 5 V) - Connect power supply and/or power connector cablePower connector
- To connect EXP100 to Host phone using supplied Ethernet cable1 x Uplink Port
- To connect multiple EXP100 modules1 x Downlink Port
- To connect EXP100 to Host phone using sheet connector4x screw holes
Installation
The following Instructions illustrate how to mount the EXP100 directly to the Sangoma Phone.
If you wish to position the EXP100 in Stand-alone mode (detached from phone), simply skip the below hardware mounting instructions
and follow the cabling connection details
1.
2.
3.
If your Sangoma Phone is already in use, follow the instructions below to prepare it for the EXP100 (otherwise skip this section):
Remove the handset from your Sangoma Phone and lay it on a flat surface
Lay the Sangoma Phone down on a flat surface with the back of the phone facing up towards you
Remove the power cable (if used) and Ethernet Cable from the phone
Page 4

1.
2.
3.
Lay your Sangoma Phone face-down on a flat non-scratch surface
Lay the EXP100 face-down to the left side of the Sangoma Phone
The connector sheet mounting screws should line up, as seen in the image below
Place the supplied over the screw holes until it slides into place. Using the supplied secure the Connector Sheet thumb screws
Connector Sheet.
Tighten the screws finger tight. Do not use any tools to avoid damage
Page 5

4.
1.
2.
3.
5.
Connect the to the EXP100. stand
Line up the with the stand of the Sangoma phone. (This will ensure stability during regular operation)stand
Place the stand into the left most slots of the EXP100
Press down slide to the right to lock the stand in place
Stand
Slide stand into position
Final Locked Position
Insert the supplied cable into the EXP100 Power connector hole and the Sangoma Phone Portpower connector
Ext
This will provide power to the EXP100 once the Sangoma Phone is powered on
Power Connector Cable
If you are connecting multiple EXP100s to your Sangoma Phone,follow the same procedure indicated above- Line up the
Connector sheet between the EXP100s and use the thumb screws to tighten
If the EHS port on your Sangoma Phone is already occupied by an EHS adaptor, you will not be able to provide power to your
EXP100 in this way. You will need to, instead, plug the (sold separate) directly into the power port on the Power Adapter
EXP100
Page 6

6.
7.
Insert the supplied into the EXP 100's and the Sangoma Phone's Ethernet cable Uplink Port PC port
This will provide the expansion module with data from the Sangoma Phone
Ethernet Cable
Connect the and Power Adapter Cable (if used) back into the Sangoma Phone to power it back upEthernet Cable
If you are connecting multiple EXP100s you cannot use the above method to provide power to the 2nd-6st EXP100. You will
need to connect the (sold separately) directly into each EXP100Power Adapter
If you are connecting multiple EXP100s insert an Ethernet cable from t on the previous EXP100 to the
Downlink Por Uplink port
of the next EXP100
Page 7

8.
9.
Place the Sangoma phone back in operating position on a flat surface.
The Expansion module will indicate 'Initializing' on the LCD screen and then is ready to be configured from FreePBX / PBXact UC
Configuration
The below instructions detail how to configure the EXP100 expansion module for use with your Sangoma IP Phone
The EXP100 will not be usable until fully configured from the EndPoint Manager within FreePBX / PBXact UC.
Page 8

1.
2.
3.
4.
Go into End Point Manager in your PBX and select the brand in the menu.Sangoma
Click on the template that you want to enable the EXP100 for. In the below example we will select the template
default-sangoma
Click on the tab and then select the expansion module you wish to configure. If you only have one expansion module, select Models
EX
P100-1
You will be presented with the Line Key configuration window to customize each button for the EXP100. From here, configure what you
want each button to do and display
Page 9

1.
2.
5.
6.
To configure BLFs follow: Setting up BLF in End Point Manager
To configure Phone Apps follow: Enabling Phone Apps on a Sangoma Phone
Navigate to Extension Mapping in EPM so we can pair specific phones to Expansion Modules
Click on the Edit Icon next to the extension you want to pair with 1 or more Expansion Modules
Page 10

7.
8.
You can paired up to 6 expansion modules to each phone.
Press the Apply button for Save, Rebuild Configs and Update Device
Once the EXP100 is configured, the LCD display will show BLFs, Phone Apps or other features similar to the image below:
 Loading...