

Page 1
381R20S-A
20070425_HDT-1&HDT-1X_381R20S-A_«Ê-±.p65 2007/4/27, ¤U¤È 03:581
HD RadioTM Component Tuner
User Manual
Page 2

HD Radio™ Technology Manufactured Under License From iBiquity Digital Corporation.
iBiquity Digital and the HD Radio and HD logos are registered trademarks of iBiquity Digital
Corporation. HD Radio
20070425_HDT-1&HDT-1X_381R20S-A.p65 2007/4/30, ¤U¤È 01:434
TM
is a trade mark of iBiquity Digital Corporation. U.S. a nd Foreign Patents.
Page 3

Important Safety Instructions
1. Read these instructions.
2. Keep these instructions.
3. Heed all warnings.
4. Follow all instructions.
5. Do not use this apparatus near water.
6. Clean only with dry cloth.
7. Do not block any ventilation openings. Install in accordance with
the manufacturer’s instructions.
8. Do not install near any heat sources such as radiators,
heat registers, stoves, or other a pparatus (including amplifiers)
that produce heat.
9. Protect the power cord from being walked on or pinched particularly
at plugs, convenience receptacles, and the point where they exit
from the apparatus.
10. Only use attachments/accessories specified by the manufacturer.
11. Use only with the cart, stand, tripod, bracket or table specified by
the manufacturer or sold with the apparatus. When a cart is used,
use caution when moving the cart/apparatus combin ation to avoid
injury from tip-over.
12. Unplug this apparatus during lightning storms or when unused for
long periods of time.
13. Refer all servicing to qualified service personnel. Servicing is
required when the apparatus has been damaged in any way,
such as power-supply cord or plug is damaged, liquid has been
spilled or objects have fallen into the apparatus, the apparatus has
been exposed to rain or moisture, does not operate normally ,
or has been dropped .
14. To reduce the Risk of Fire or Electric Shock. Do not expose this
appliance to rain or moisture.
15. The Shock Hazard marking and Associated Graphical Symbol is
provided on the rear panel of unit.
16. Apparatus shall not be exposed to dri pping or splashing and no
objects filled with liquids, shall not be placed on the apparatus.
20070425_HDT-1&HDT-1X_381R20S-A.p65 2007/4/30, ¤U¤È 01:435
2
Page 4

Main Unit Controls
Unit Button
1
2
3
4
5
6
7
8
9
10
11
12
Remote Button
A
C
N/A
N/A
G
H
D
B
E
F
N/A
(Front & Remote Control)
Action/Combination
Turns unit on/off
10 Digit Keypad
FREQ
Preset
Clock Set
Remote Sensor
LCD Display
Tuning
Advanced Menu Options
Seek Tuning
I
HD Seek Tuning
BAND
INFO
2 sec. hold
FREQ
PRESET
Standby LED Indicator
Function
Programs Memory Presets
Allows Direct Entry of Cha nnel Frequency
Allows recall of memory presets
Allows Direct Time Entry for Clock
Step Tunes Up/Down
Activates/Deactivate s Settings
Seeks to next detectable frequency
Seeks to next detectable HD Radio Broadcast Signal
Selects AM/FM Bands
Toggles through Display Modes
Provides Access to Advanced Menu Options
Prepares Tuner for Direct Frequency Entry Using #2, Remote Keys “C”
Prepares Tuner to Recall Memory Presets Using #2, Remote Keys “C”
Indicates if Unit is On or Off
3
20070425_HDT-1&HDT-1X_381R20S-A.p65 2007/4/30, ¤U¤È 01:436
Page 5

20070425_HDT-1&HDT-1X_381R20S-A.p65 2007/4/30, ¤U¤È 01:437
4
Page 6

Main Unit Controls
(Rear)
13.
External FM antenna socket
14.
External AM loop antenna socket
15. 16.
Line Out socket
SPDIF Optical Connection (Optional on HDT-1X)
17.
AC power cord socket
18.
5
20070425_HDT-1&HDT-1X_381R20S-A.p65 2007/4/30, ¤U¤È 01:438
Page 7
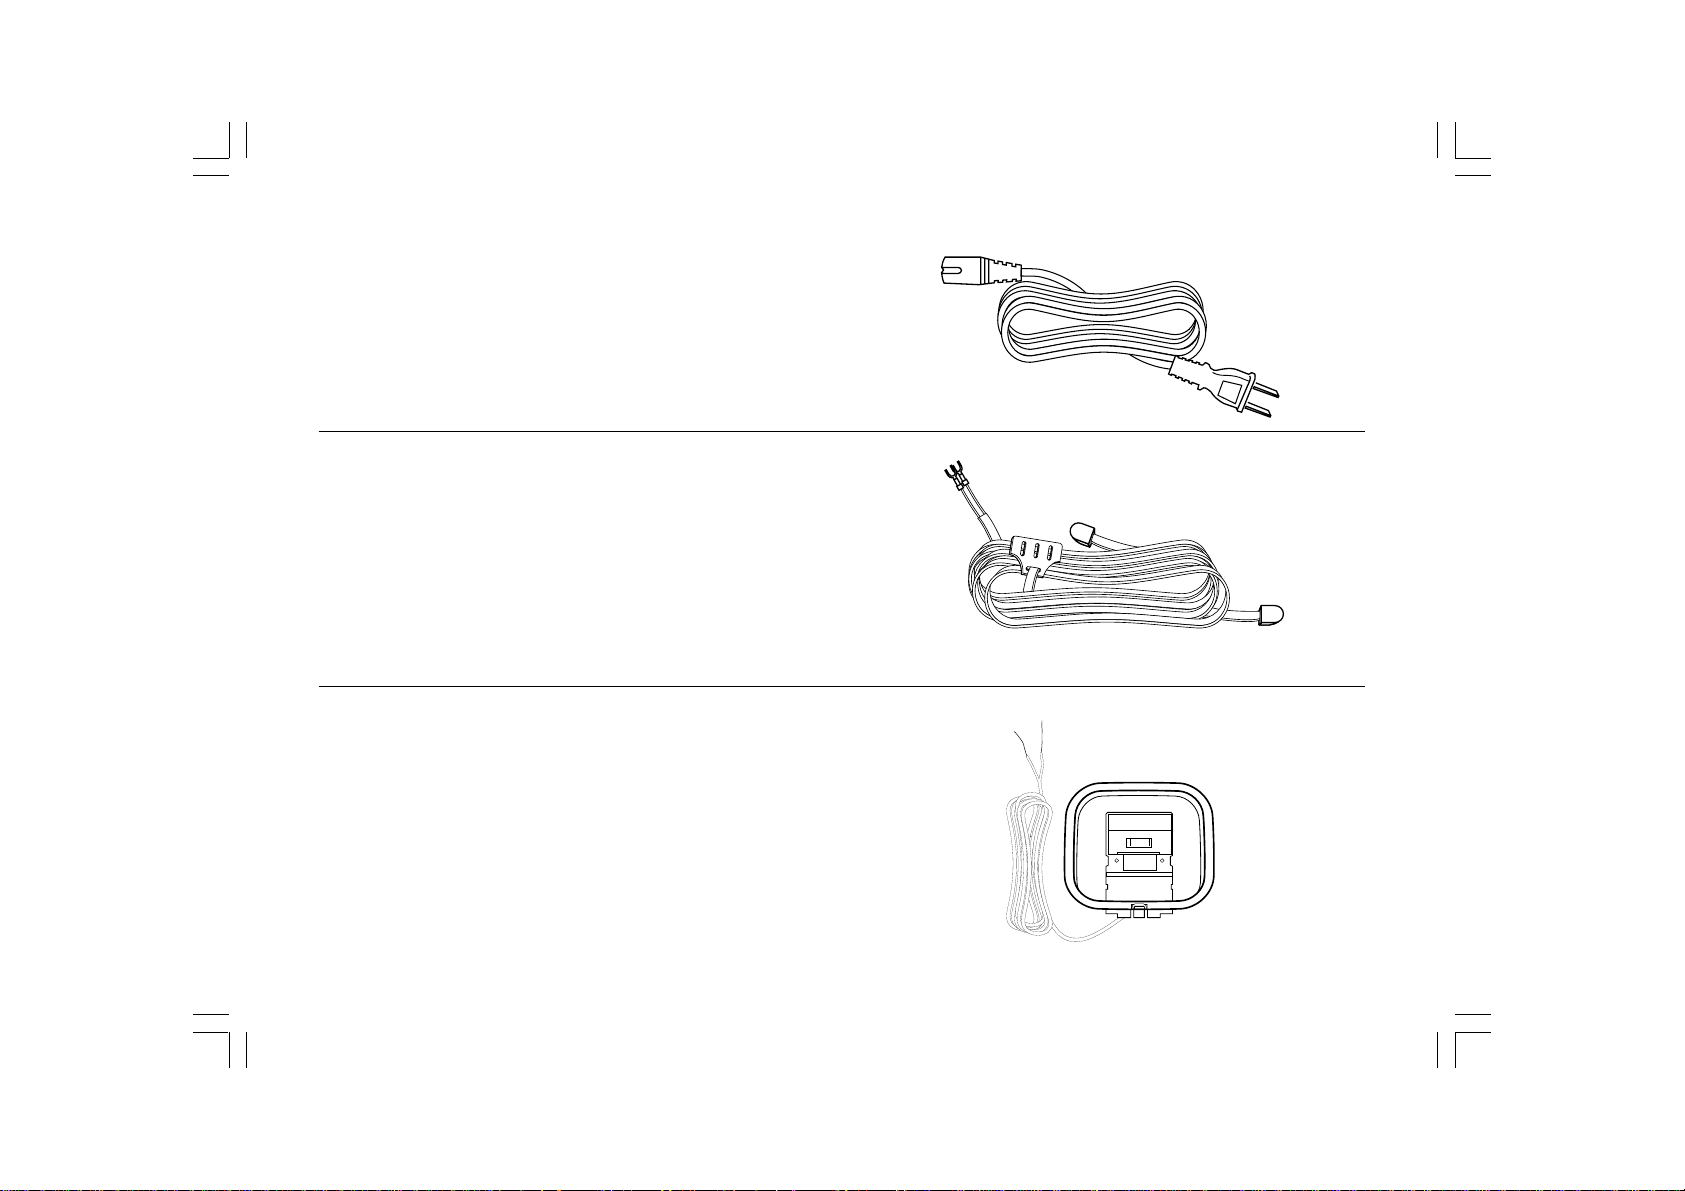
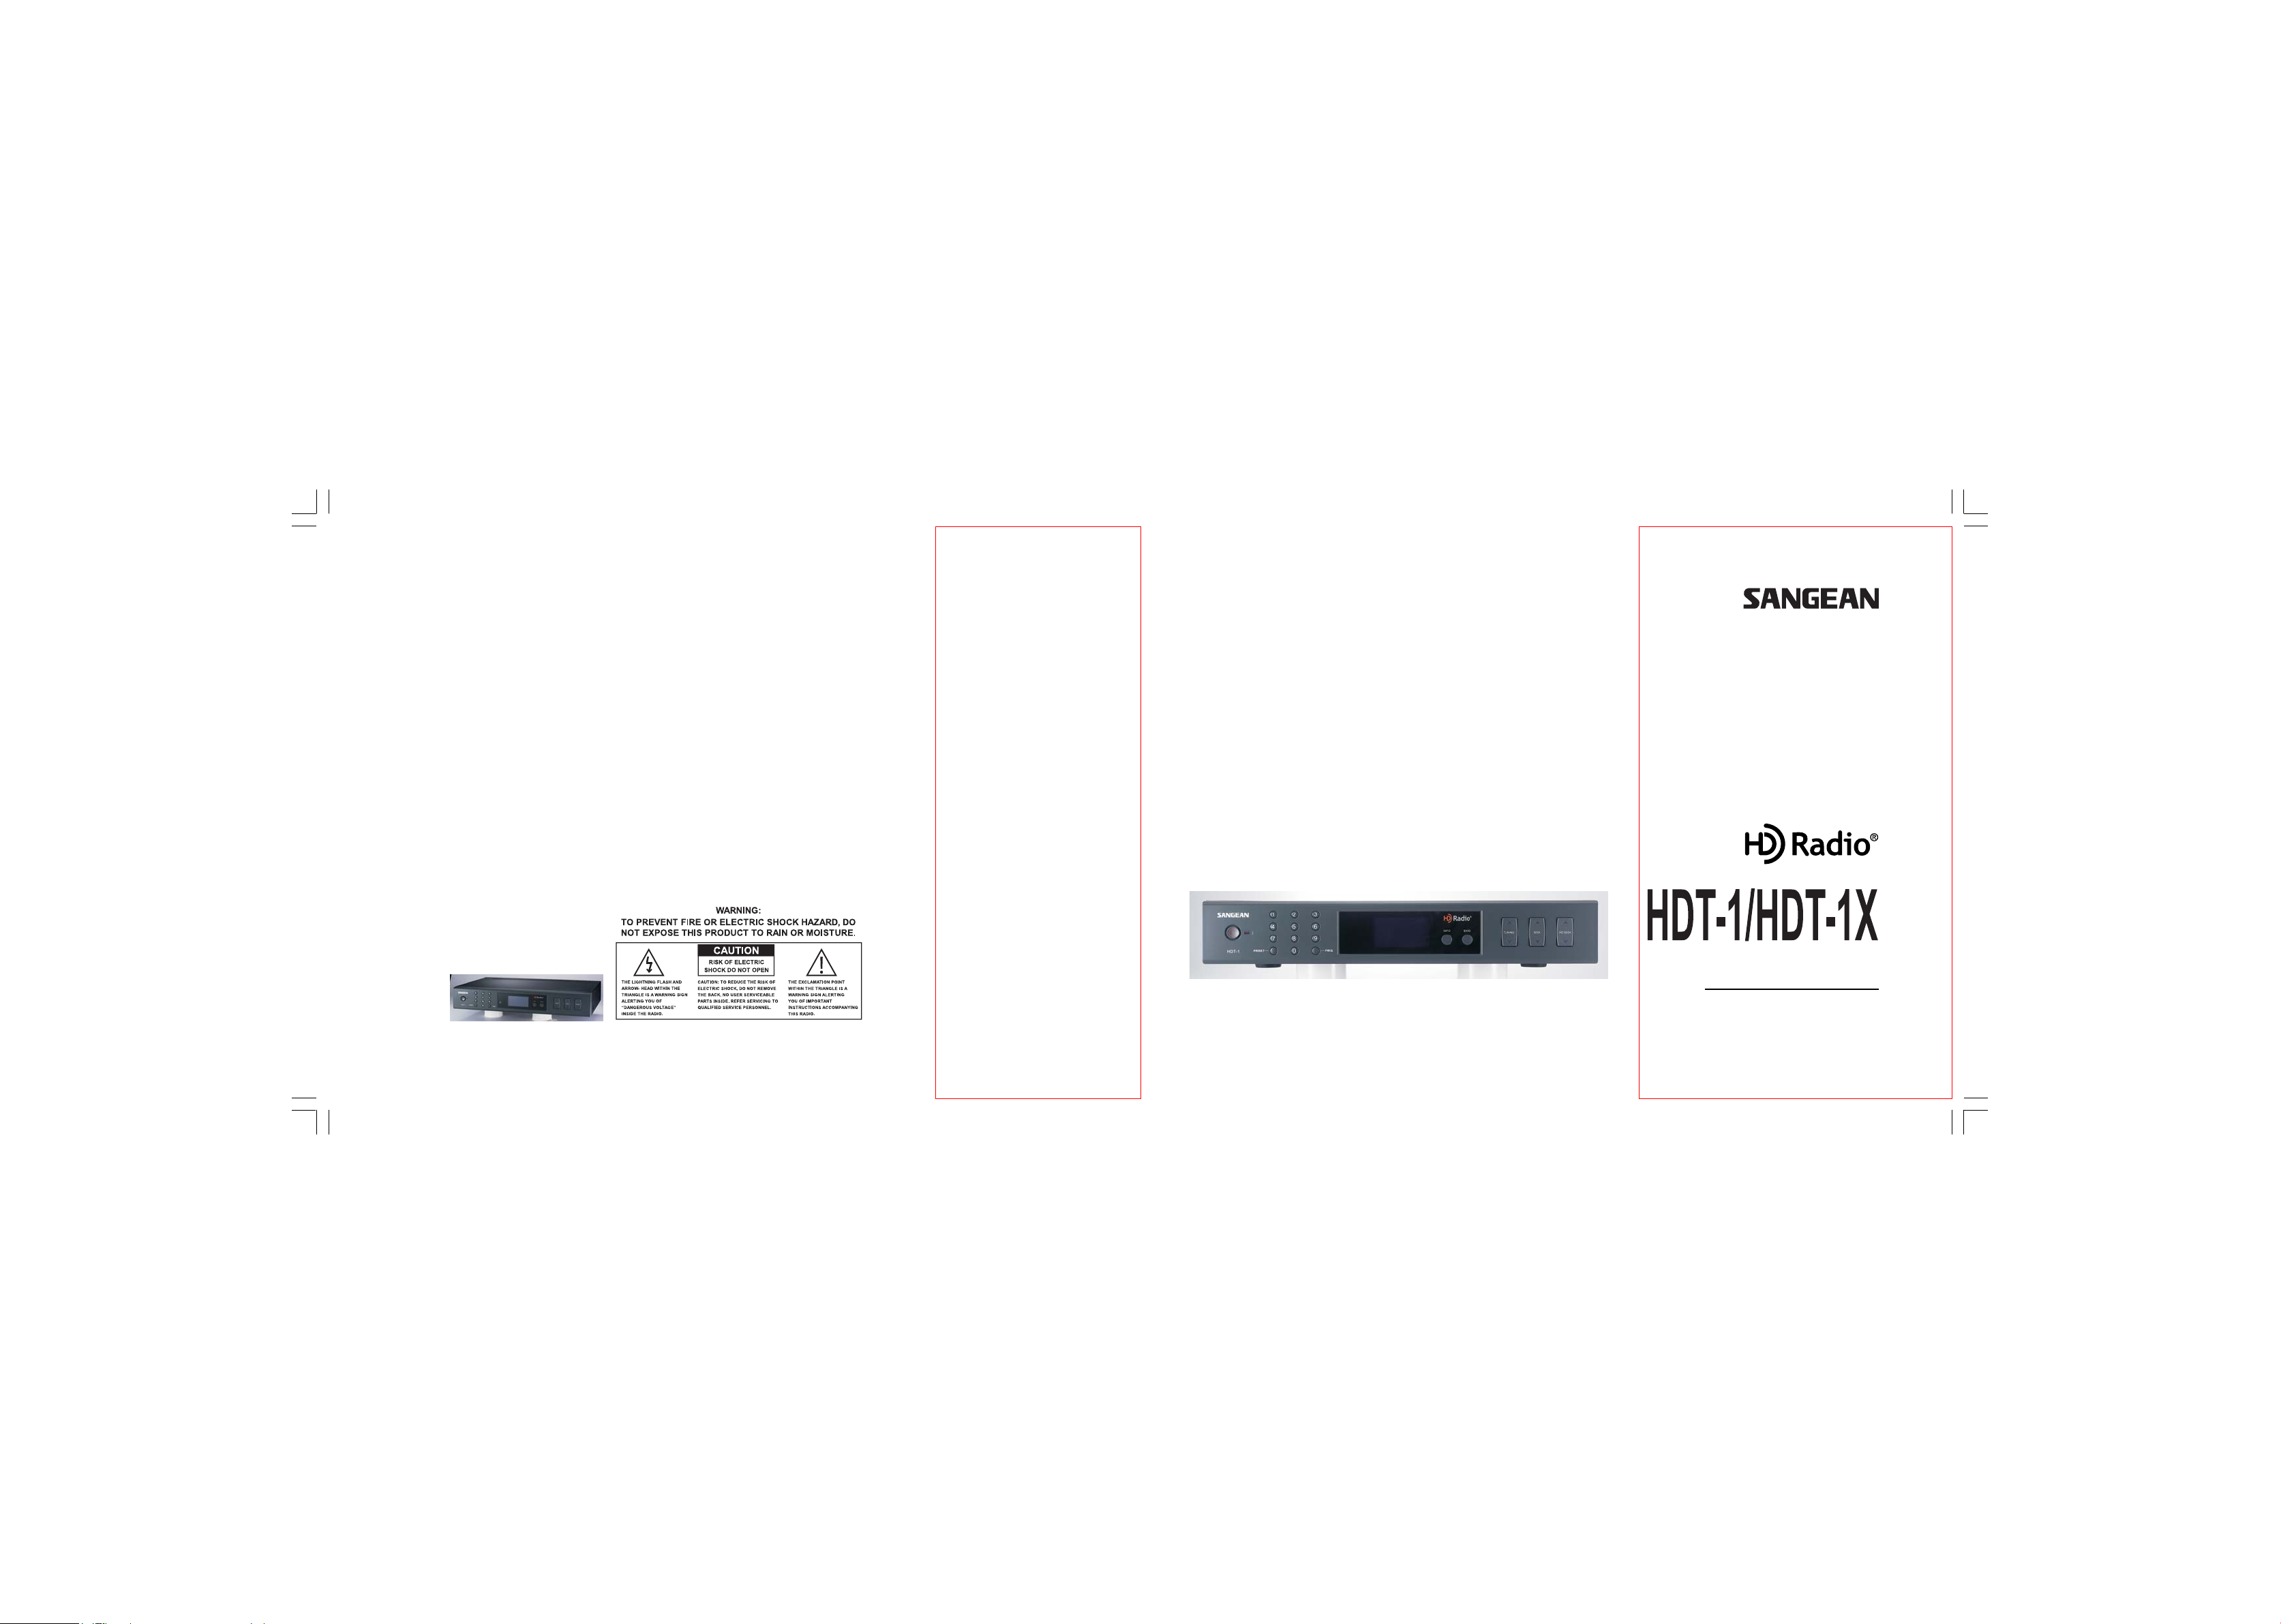
Accessorie s
Detachable power Cord x 1
FM Dipole Antenna x 1
AM Loop antenna x 1
20070425_HDT-1&HDT-1X_381R20S-A.p65 2007/4/30, ¤U¤È 01:449
6
Page 8

RCA type audio cable x 1
Remote control unit x 1
Instruction manual x 1
Warranty cardSeek Function
To seek to another clear station, use the SEEK toggle button . Press
7
20070425_HDT-1&HDT-1X_381R20S-A.p65 2007/4/30, ¤U¤È 01:4410
Page 9

Getting started
Step 1.
Inspect pack age to in sure that all parts & accessories are included.
Step 2.
Find a proper location for your new HDT-1/HDT -1X HD Ra dio T uner
following the guidelines on table 1.1.
Step 3.
Connect the included or other external FM antenna to Figure 2, #13.
Step 4.
Connect the included or other external AM antenna to Figure 2, #14.
NOTE:
TO IMPROVE RECEPTION AND DECREACE INTERFEARANCE FROM
YOUR NEW HDT-1/HDT -1X PLACE THE AM LOOP ANTENNA A T
LEAST 50MM AWAY FROM UNIT.
Step 5.
Connect your new HDT-1/HDT-1X to your A V system using e ither the
RCA Connection or Optional SPDIF Connection (On HDT -1X Model
Only). Always connect to your AV system first, then to your new
HDT-1/HDT-1X Tuner.
NOTE WHICH INPUT YOU ARE USING WHEN CONNECTING THE
HDT-1/HDT -1X TUNER TO YOUR A V SYSTEM FOR LA TER
REFERENCE.
a. Using RCA Cables
i. Connect included or premium RCA cables to your AV system.
ii. Connect opposite end of the included or premium RCA cables to
your new HDT-1/HDT-1X HD Radio T uner to Figure 2, #15 & #16.
b. Using Optional SPDIF connection (On HDT -1X only). Always prevent
excessive bending of the optical cable as this may distort audio
and/ or cause damage to your AV system or HDT-1/HDT-1X HD
Radio Tuner.
i. Connect optical cable to your AV system according to the cables
manufacturers directions.
ii. Connect opposite end of the optical cable to your new
HDT-1/HDT-1X using connectors in Figure 2, #17
Step 6.
Connect the AC power cable to the HDT-1/HDT-1X using connector in
Figure 2, #18. Connect the opposite end into an AC outlet located near
the unit.
20070425_HDT-1&HDT-1X_381R20S-A.p65 2007/4/30, ¤U¤È 01:4411
8
Page 10

Navigating the Display
There are many display functions. This will help you understand what
the display is telling you, making navigation a nd setup e asier.
(A)Radiotext, (B)Time, (C)Signal quality, (D)Frequency,
(E)and Audio spectrum.
: HD RADIO Indicator
: Siqnal Indicator
: Station Name-MulticastSetIndex
: Artist
: Title
: Program Type
: Sterei Indicator(For HDT-1X only)
: RDS Indicator
: Program Station
: Program Type
: Callsign
: Radio Text
9
20070425_HDT-1&HDT-1X_381R20S-A.p65 2007/4/30, ¤U¤È 01:4412
Page 11

Setting up and Programming your HDT-1/HDT-1X
Setting the clock
Clock setting can be done when the tuner is in Standby (power off)
1. Press and hold “INFO” button for approx. 2 seconds until display
flashes “clock set “to enter Clock Set mode.
2. Press Tuning UP or Down button to select AM or PM.
3. Press number keys to set required clock time.
4. Press INFO button again to complete clock time set.
e.g. to set 9.45 AM
a. Press INFO to enter clock set mode.
b. Press Tuning UP to get AM.
c. Press 0,9,4,5.
d. Press INFO again to complete clock time set.
Display will appear ERROR if the input is incorrect.
20070425_HDT-1&HDT-1X_381R20S-A.p65 2007/4/30, ¤U¤È 01:4413
10
Page 12

Radio Controls
To turn the radio on, press the Standby button. Pressing the Sta ndby
button again will put the unit into standby. In standby , the tuner will
display the time, dim the backlight and standby LED will be on.
Selecting the radio ba nd
Press the BAND button to sele ct the appropriate band . At each press of
the BAND button, the band switches from AM1 AM2 FM1 FM2.
When you switch from one band to another, the radio will return to the
last tuned station used in the band.
11
20070425_HDT-1&HDT-1X_381R20S-A.p65 2007/4/30, ¤U¤È 01:4414
Page 13

Manual Tuning
Press the TUNING rocker switch UP or DOWN to tune up or down to
select a radio station. Tuning step per press for AM band is 10 kHz
and 100 kHz for FM ba n d.
Direct Tuning
By using numbered key pad, you can directly tune to a ra dio station.
For example, to tune to station 93.30 FM, press BAND button to
select FM band f ollowed by pre ssing FREQ button a nd numbered
buttons 9-3-3. To tune to 1120 AM, press BAND button to select
AM band, followed by pressing FREQ button a nd buttons 1-1-2-0.
Display will appe ar ERROR if the input frequency is incorre ct or out
of coverage.
20070425_HDT-1&HDT-1X_381R20S-A.p65 2007/4/30, ¤U¤È 01:4415
12
Page 14

Receiving HD ra dio stations
When the radio is tuned to a station broadcasting HD radio signal,
the LCD will display a blinking “HD “logo. Once the tuner acquires the
HD radio signal, the “HD” logo will stay on and a Signal Strength
indication will appear in the top right hand corner.
Receiving Multicast Stations
When the radio is tuned to an HD radio compatible station and it
determines that one or more Multicast stations are available,
the Frequency or the Call Letters will be followed by a “-1” designator,
indicating that there is at lea st one Multicast station available.
The TUNE UP button will tune up from a station’s Main Program Service
Station to the Multicasting programs.
13
20070425_HDT-1&HDT-1X_381R20S-A.p65 2007/4/30, ¤U¤È 01:4416
Page 15

Seek Function
HD SEEK function
To seek to another clear station, use the SEEK toggle button.
Press and rele ase the SEEK UP or DOWN will go to the next available
station with good signal. Press any key to stop SEEK function.
Using AM a nd FM pre sets
Preset stations
There are 20 preset stations for FM (10 x FM1, 10 x FM2) and 20 pre set
stations for AM (10 x AM1, 10 x AM2). First select the AM/FM using the
band selection button ( AM1, AM2, FM1, FM2 ) , then press and hold for
3 seconds for the number 0-9 of where you would like to store this
station until display indicating the station is stored.
For HDT-1 only:
Note:
If presets are full, the display will appear FULL. Press and hold the
number key for more than 5 seconds, the current station will re place
the previous memorized station. And the display will show
PRESET – X stored.
Using the HD SEEK button, the tuner will seek to the next available HD
station. This function will also scan to the Multicast program if available.
Press and release HD SEEK UP or DOWN will go to the next availa ble
HD station with good signal. Press any key to stop HD SEEK function.
20070425_HDT-1&HDT-1X_381R20S-A.p65 2007/4/30, ¤U¤È 01:4417
14
Page 16

Recall preset stations
To recall preset stations, select required band by pressing BAND
selection button. Press PRESET button to enter PRESET recall mode.
Display will show “GO TO PRESET”. Then followed by using one of the
following methods to recall the stations.
1. Press and release the number station you like to recall.
2. Press TUNING UP or DOWN button to select required preset station.
Note:
If the preset station you like to recall has no preset station, display will
show EMPTY.
Exchange pre set station s position
Y ou may use the Pre sets exchange function to change the position of
the preset stations.
E.g. preset 1: 93.10 MHz and preset 2: 100.70 MHz
If you like to exchange preset 1 to be preset 2. First to recall Preset 1
station, then long press number button 2 for more than 2 se conds until
display indicating the new preset has been stored.
For HDT-1 only:
Note: If memory is full during preset station exchange, display will
appear FULL, then press number button 2 for more than 5 seconds until
display indicating the new preset has been stored.
15
20070425_HDT-1&HDT-1X_381R20S-A.p65 2007/4/30, ¤U¤È 01:4418
Page 17

Advanced Information
Long press INFO button for 2 seconds to enter Adva nced Inf ormation.
Press and release INFO button will cycle through information of RESET,
LCD Contrast Adjust, Ba cklight Brightne ss Control, (For HDT-1X:
Stereo/Mono Mode, Analog Mode, Split Audio Mode), Bit Error Rate,
The carrier to noise ratio, FUSE Bit Check , Transmission Mode,
Station ID a nd Software version.
a. RESET –
in RESET mode, press PRESET button to RESET the tuner.
The tuner setting will be reset to its initialized factory setting.
b. LCD Contrast –
pressing TUNING UP or DOWN button to adjust LCD contrast.
c. Back Light Setting –
pressing TUNING UP or DOW N button to adjust Back Light.
(for HDT-1X only)
d. Stereo/Mono Mode –
pressing TUNING UP or DOW N button to adjust Stereo/mono.
(only for HDT-1X )
e. Analog Mode –
pressing TUNING UP or DOWN button to turn on/of f HD.
(for HDT-1X only)
f. Split Audio Mode –
pressing TUNING UP or DOWN button to split audio on/off.
(for HDT-1X only)
g. Bit Error Rate
h. The carrier to noise ratio
i. Fuse Bit Check
j. Transmission Mode ,
k. Station ID a nd HDT-1/HDT -1X
l. Software version are for factory a nd after sales service reference.
20070425_HDT-1&HDT-1X_381R20S-A.p65 2007/4/30, ¤U¤È 01:4419
16
Page 18

Advanced Menu Options
Menu Option
Backlight
Mono/Stereo Mode
Analog Mode (HD OFF)
Split Audio Mode
Bit Error Rate
Carrier to Noise Ratio
Fuse Bit Check
Tra nsmission Mode
Station ID
Software Version
Function
Controls Backlight Brightness
Mono/Stereo switch
Eliminated HD Radio Signal Tuning
Provides Digital Sign al in Left Audio Channel
Provides Analog Sign al in Right Audio Channel
The number of bits incorrectly received to the total number of bits sent during a
specified time interva
A measure of the received carrier strength relative to the strength of the received noise
Used for Di agnostic Purpose s Only
This indicates the digital mode being used to tran smit the audio
Used for Di agnostic Purpose s Only
Used for Di agnostic Purpose s Only
Controls
Tuning Up to a ctivate option
Tuning Down to dea ctivate
Tuning Up to a ctivate option
Tuning Down to dea ctivate
Tuning Up to a ctivate option
Tuning Down to dea ctivate
17
20070425_HDT-1&HDT-1X_381R20S-A.p65 2007/4/30, ¤U¤È 01:4420
Page 19

Troubleshooting
Issue
Power Won’t Turn On
Remote Doesn’t Work
I don’t hear any audio
I only hear audio in one speak er
I only hear static
Poor audio quality
Possible Causes
AC Power Cable is not properly connected
AC Outlet power not turned on
Defective/Malfunctioning U nit
Remote Battery Not Activated
Battery is Dead
IR Sensor Obstructed
IR Sensor Malfunctioning
Remote is Defective
Power is not on
Audio cables are not properly connected
AV Rece iver is not powered on
AV Receiver is not set to proper input
Speakers improperly connected
Antenna not connected properly
Tuner not tuned to a station
Station is temporarily not broadca sting
Bad/Improper Connections
Possible Solutions
Check AC power cord connection
Check circuit breakers/fuses
Call Sangea n Service Department at 888-SANGEAN
Remove plastic pie ce located at bottom of remote
Replace battery
Check the area of the IR sensor and ensure there are no
obstructions and the area surrounding it is clea n by using a
glass or all purpose cle aner
Call Sangea n Service Department at 888-SANGEAN
Call Sangea n Service Department at 888-SANGEAN
Check “Power won’t turn on”
Check to make sure audio cables are properly connected.
Make sure Left is Left, and Right is Right.If using optical,
make sure cable is not bent or kinked.
Check to make sure power is connected and retry
Make sure to set your AV Receiver to corresponding in puts
used during installation
Check speakers to make sure that they are all properly
connected
Check all antennas to ensure proper connection
Check to see that you are on a frequency that is broadca sting
in your area
Call station engineer, or try another station
Check to make sure you are using the proper cables f or the
inputs you chose.
Check to verify that all connections are to sa me format (RCA is
to RCA, Coaxial is to Coaxial, Antenna to Antenna input, etc.)
20070425_HDT-1&HDT-1X_381R20S-A.p65 2007/4/30, ¤U¤È 01:4421
18
Page 20

Poor audio quality
(Cont.)
HD Signal Keeps Fading in and Out
Stange sound when radio is off
Antenna not correctly installed or oriented
Radio station is broadcasting poor signal
Antenna not correctly installer or oriented
Poor environmental conditions
Malfunctioning component
Using the signal strength indicator or the Carrier to Noise
indicater, try different position s a nd orientations of the antenna
Contact radio broa dcaster to inquire about poor audio quality
See above
There are certain environmental factors that will effect
radio reception. You should always try your tuner in a
different location, alter the orientation of the antenna ,
and check all connections.
If all else fails, in the advanced menu on the HDT-1X, adjust turn
“Force Analog” setting to “ON”
If the HDT-1/HDT-1X is making a stange but detecta ble when the
unit is on and off disconnect power i mmedi ately and contact
Sangea n Service Department at 888-SANGEAN
19
20070425_HDT-1&HDT-1X_381R20S-A.p65 2007/4/30, ¤U¤È 01:4422
Page 21

Specifications
Power:
Mains: AC 120 Volts 60 Hz only, 10 Watt maximum
Battery ( remote control ): 3.0V CR 2025
Frequency coverage:
FM 87.50 - 108.10 MHz
AM 520 - 1710 kHz
HD FM 87.50 - 108.10 MHz
HD AM 520 - 1710 kHz
Antenna System:
FM - Dipole type ( supplied )
AM - Loop type ( supplied )
Dimension ( W x H x D ): 430x70x256 mm
Weight: 2.6 kg.
20070425_HDT-1&HDT-1X_381R20S-A.p65 2007/4/30, ¤U¤È 01:4423
20
Page 22

HDT-1/HDT-1X Brief User Interface:
NO
1
2
3
4
5
Button
standby
Band
Info
Info
Info
Action
short
short
short
long 2s
(To use info key to jump next status)
short(To use number key and tune
select clock time, then to press Info
button finish setting)
long 2s(To use info key to jump next
status,when the status is RESET,
to press Preset button reset)
long 2s(To use info key to jump
next status, when the status is
LCD Contrast Adjust, to press tune
adjust contra st)
UI KEY function
Function Status
StandBy /
PowerOn
PWR ON
PWR ON
PWR ON
PWR OFF
PWR ON
PWR ON
Function
PowerOn / StandBy toggle
FM1 FM2 AM1 AM2
RT CT SSI Freq Spectrum
System Reset Contrast
Bit Error Rate Carrier To Noise Ratio
Fuse Bit Check Transmission Mode
Station ID SW version & DSP version
& SDK version
System Reset Contrast
Back Light Setting Stereo/Mono Mode
Analog Mode Split Audio Mode
Bit Error Rate Carrier To Noise Ratio
Fuse Bit Check Transmission Mode
Station ID SW version & DSP version
& SDK version
To modify clock time
Reset system
LCD Contra st Adjust
Note
recall the last station
on last ba nd
for HDT -1 only
for HDT -1X only
21
20070425_HDT-1&HDT-1X_381R20S-A.p65 2007/4/30, ¤U¤È 01:4424
Page 23

6
7
8
9
10
Preset
Tune
Seek
HD Seek
Freq
1.To press preset button then to
press number button finish setting
2.To press number button long 2s
store channel
3.When preset memory is full. To press
number button long 5s store channel
short
short
Push and Hold
Push and Hold
short
short
To press Freqt button then to press
number button select frequency
PWR ON
PWR ON
PWR ON
PWR ON
PWR ON
PWR ON
PWR ON
PWR ON
Recall Preset 0~9
Recall Preset 0~9
Store to Preset 0~9
Store to Preset 0~9
Store to Preset 0~9
"Tune up/down" for services up/down
Turn up or down to next Freq
"Tune up/down" for services up/down
Fast tuning up or down, 8 steps per sec
Auto scan to next strongest station
Auto scan to next HD station
Frequency tune
FM1 BFM2
AM1 BAM2
FM1 BFM2
AM1 BAM2
for HDT-1 only
20070425_HDT-1&HDT-1X_381R20S-A.p65 2007/4/30, ¤U¤È 01:4425
22
 Loading...