

Sandstrom SKET311 Instruction Manual
GB-4 GB-5
Instruction Manual
Brushed Stainless Steel Kettle
SKET311
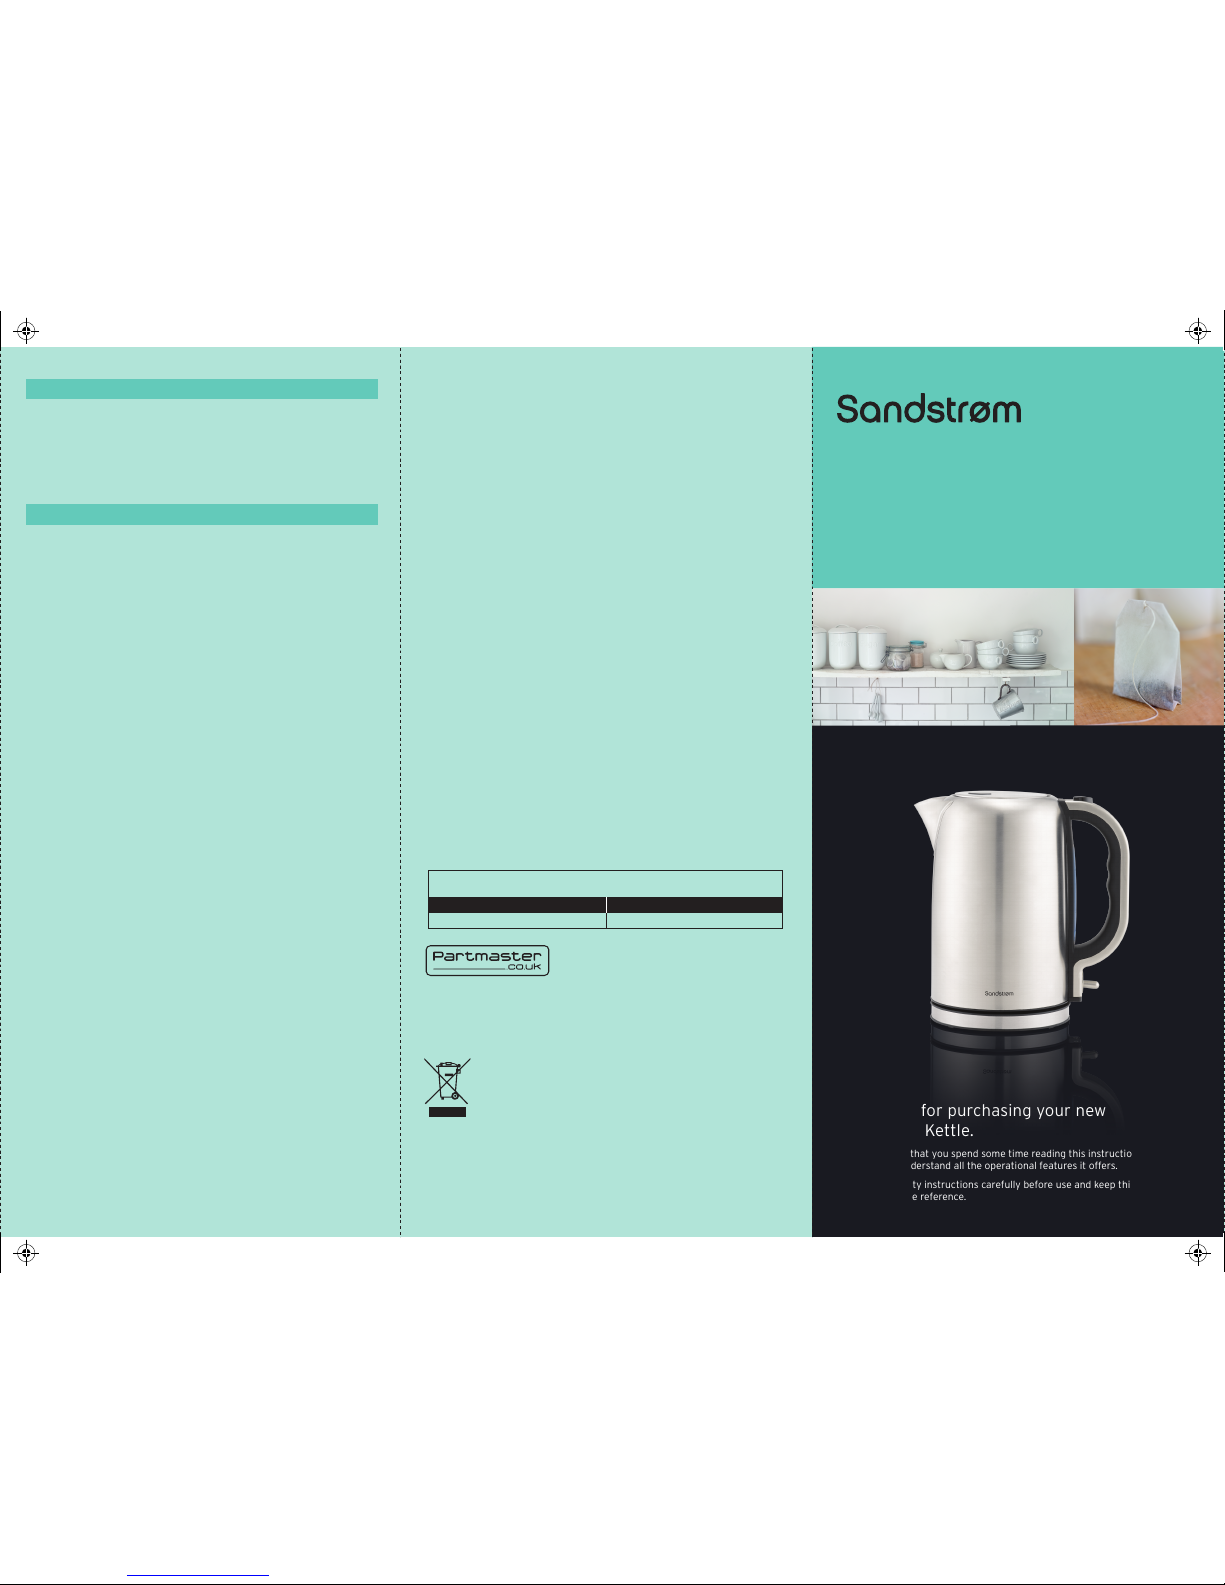
Thank you for purchasing your new
Sandstrøm Kettle.
We recommend that you spend some time reading this instruction manual in
order to fully understand all the operational features it offers.
Read all the safety instructions carefully before use and keep this instruction
manual for future reference.
DSG Retail Ltd • Maylands Avenue • Hemel Hempstead
Herts • HP2 7TG • England
Visit Partmaster.co.uk today for the easiest way to
buy electrical spares and accessories. With over 1
million spares and accessories available we can
deliver direct to your door the very next day. Visit www.partmaster.co.uk or call
0844 800 3456 (UK customers only) Calls charged at National Rate.
This symbol on the product or in the instructions means that your
electrical and electronic equipment should be disposed at the end
of its life separately from your household waste. There are separate
collection systems for recycling in the EU. For more information,
please contact the local authority or your retailer where you
purchased the product.
(P.N. SKET311-001)
SAFETY FIRST!
For your continued safety and to reduce the risk of injury or electric shock,
please follow all the safety precautions listed below.
• Read all the instructions carefully before using this appliance and keep
them for future reference.
• Retain the manual. If you pass the appliance on to a third party, make
sure to include this manual.
• Unplug the appliance from the mains socket when not in use, or before
cleaning any part of the appliance.
• Allow the appliance to completely cool down before cleaning.
• Never immerse the appliance in water and always keep the electrical
contacts dry.
• Never place the appliance on or near a source of heat such as a cooker
ring or gas flame.
• Always place the appliance on a dry, flat and stable surface.
• Avoid contact with the steam from the appliance’s spout. Take care when
pouring or refilling after boiling.
• To prevent the appliance from boiling dry, do not fill with water less than
the minimum level indicated.
• Do not use the appliance to heat anything other than water.
• Do not interfere with the normal working of the switch.
• Always keep the appliance out of the reach of small children. Children
should be taught about the dangers of boiling water.
• This appliance is not intended for use by persons (including children) with
reduced physical, sensory or mental capabilities, or lack of experience and
knowledge, unless they have been given supervision or instructions
concerning the use of the appliance by a person responsible for their
safety.
• Children should be supervised to ensure that they do not play with the
appliance.
• If the mains cable is damaged it must be replaced by the manufacturer, its
service agent, or similarly qualified persons in order to avoid a hazard.
• Do not let the mains cable overhang the edge of the work surface or
allow it to touch hot surfaces or sources of heat or flame.
• This appliance is intended to be used in households and similar places
such as:
- Staff kitchen areas in shops, offices and other work places.
- By clients in motels, hotels and Bed & Breakfast establishments.
SPECIFICATIONS
Mains supply : 230V-240V ~ 50Hz
Power consumption : 2200-2400W
We continually strive to improve our products. Specifications may change
without prior notice.
Replacement Part Part Number
NOTE: If you require a replacement for any of the items listed below, please
quote their corresponding part numbers:
Scale Filter SKET311-SF-002
SKET311_110323.pdf 1 3/23/11 5:20 PM
GB-1 GB-2 GB-3
UNPACKING
Remove all packaging from the unit. Retain the packaging. If you dispose of it
please do so according to local regulations.
The following items are included:
FIRST TIME USE
Clean your kettle by boiling a full kettle of water twice and then discarding
the water.
KEEPING THE MAINS CABLE TIDY
Extend the mains cable in the kettle
stand to the required length. Locate the
mains cable in the slot in the stand. For
safety it is recommended that the length
of the exposed mains cable is kept as
short as possible.
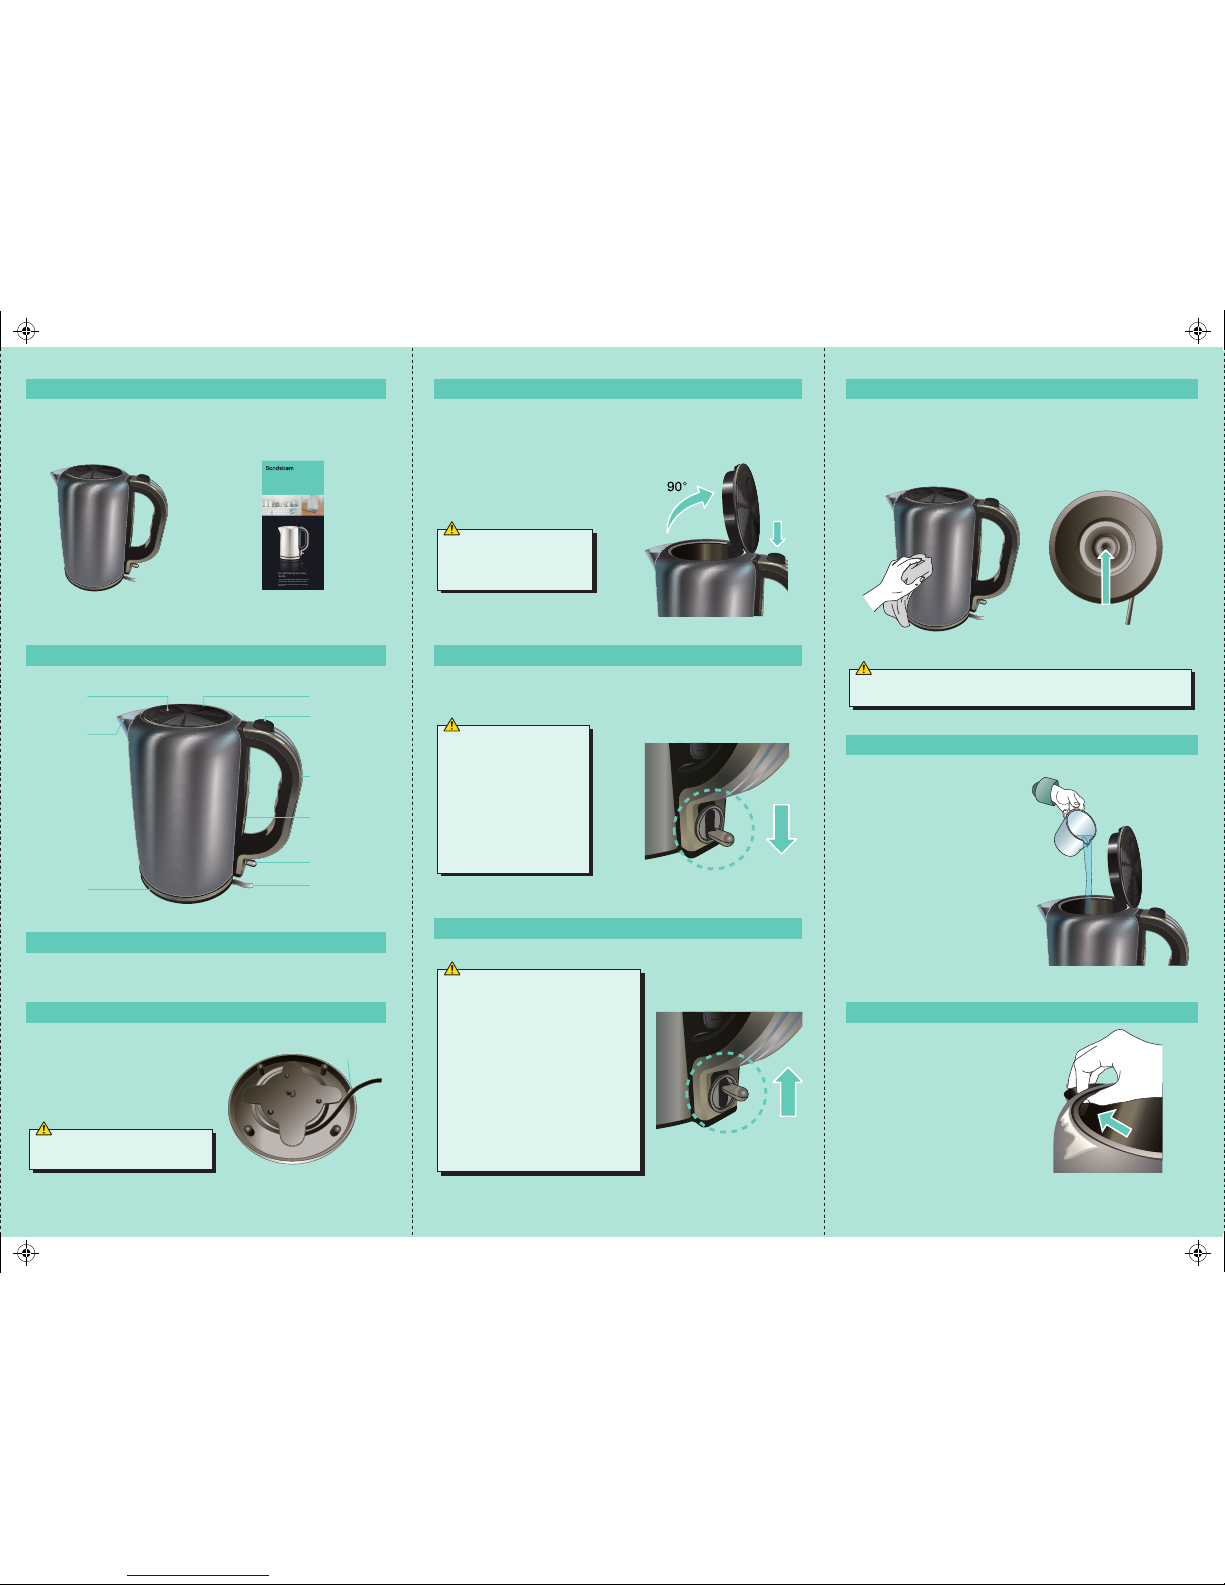
FILLING THE KETTLE
Press the open button to open the lid and fill the kettle with the required
amount of water.
Do not exceed the maximum fill level (Max 1.7L) as indicated inside the kettle
and not less than the minimum fill level (Min 0.5L).
SWITCHING ON
Place the kettle on the stand. Connect the stand’s mains cable to the mains
socket. Press the power switch to the ON position (indicated by the symbol ‘I’).
The indicator will illuminate to indicate that the kettle is operating.
WHEN THE WATER HAS BOILED
The kettle will automatically switch off. (indicated by the symbol ‘0’)
CLEANING THE KETTLE
The kettle exterior should be cleaned with a soft damp cloth. Do not use
abrasive cleaners or scouring pads which may damage the finish of the
kettle.
Never immerse the kettle or the stand in water and always keep the
electrical contacts dry. Always disconnect from the mains before cleaning
the stand.
DESCALING THE KETTLE
Depending on the hardness of the
water in your area, limescale may
be deposited on the heating
element and the inside of the
kettle. This normal build-up is not
harmful to health but an excessive
amount of scale may affect the
performance of the kettle.
To descale, fill the kettle with
distilled water up to
three-quarters of the Max level
and bring the water to boil. After
the kettle has switched off, add a
descaling solution following the
manufacturers instructions. Never
attempt to descale the kettle by
chipping or scraping with a sharp
implement.
CLEANING THE REMOVABLE SCALE FILTER
To prevent loose particles of
limescale being poured into your
beverage, your kettle is fitted with
a filter. You may remove the filter
to clean it.
To remove the filter, simply push
the filter towards the spout.
To refit the filter align the filter
with the filter holder and press
towards the kettle’s body.
PRODUCT OVERVIEW
• The Main Unit
Cool Touch
Area
• Instruction Manual
(P.N.: SKET311-001)
Open Button
Lid
Spout
Water Fill Level
and Indicator
Handle
Kettle Stand
Power Switch
Mains Cable
This kettle must only be used with
the stand provided.
If the kettle is overfilled,
boiling water may be ejected
from the spout and cause
scalding.
• Never open the lid while the
water is boiling. The steam
coming out from the kettle is
very hot.
• If there is insufficient water
in the kettle, the automatic
safety cut-out will operate. If
this happens, allow the kettle
to cool for ten minutes before
refilling with cold water and
re-boiling.
• Ensure that the switch is not obstructed
and the lid is firmly closed. The kettle will
not turn off if the switch is obstructed or
if the lid is open.
• If you lift up the kettle from the kettle
stand before boiling is complete, the
power switch will remain in the “l” on
position. It will remain on when you
return the kettle to the kettle stand.
• After removing the kettle, there may be
some water on the surface of the stand.
This is condensation from the steam that
causes the kettle to automatically switch
off after boiling. This is normal and
should not be a cause for alarm.
Do not insert any foreign objects or allow any liquid to spill into the
Power Connector Hole.
Power Connector Hole
0
1
0.5
0
1
0.5
slot
Instruction Manual
Brushed Stainless Steel Kettle
SKET311
Thank you for purchasing your new
Sandstrøm Kettle.
We recommend that you spend some time reading this instruction manual in
order to fully understand all the operational features it offers.
Read all the safety instructions carefully before use and keep this instruction
manual for future reference.
SKET311_110323.pdf 2 3/23/11 5:20 PM
 Loading...