

ASSEMBLY INSTRUCTIONS
P R O F I L E M I R R O R
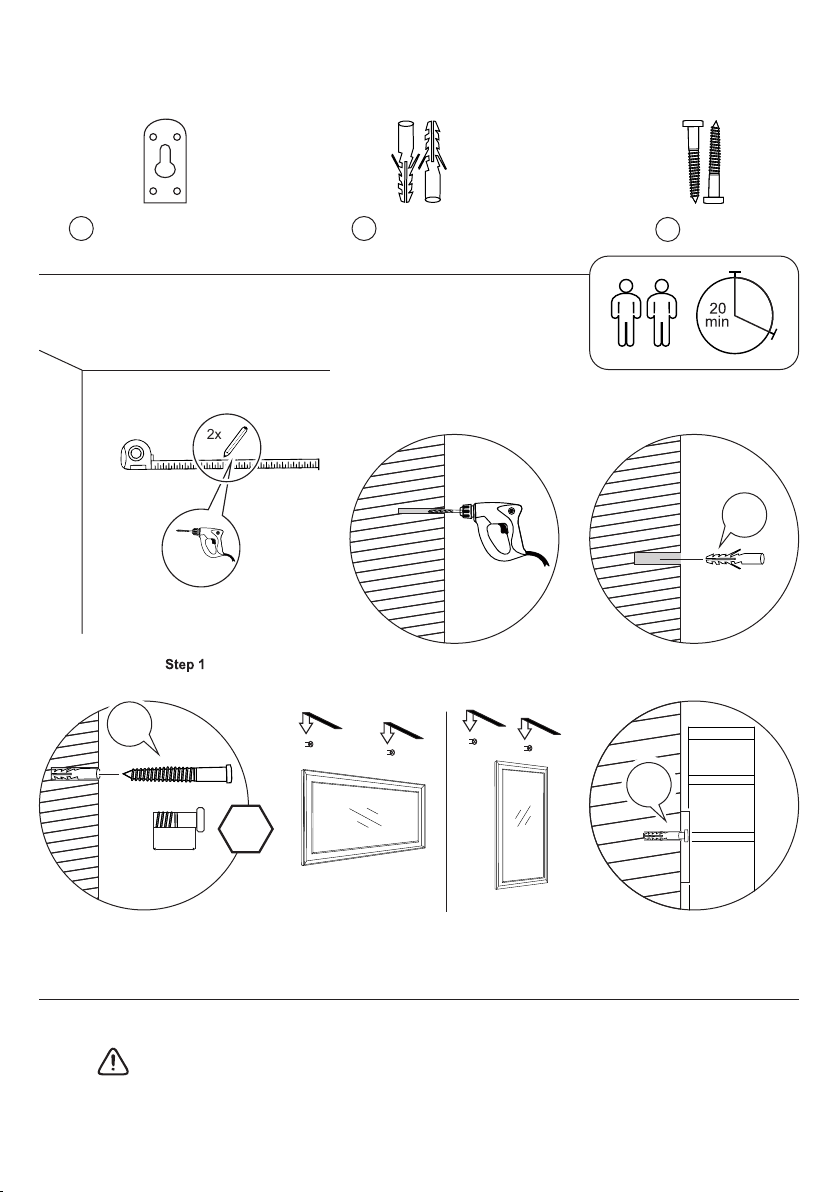
4x Wall Brackets Located
A
on Backside of Product
2x
2x C
Max.
7mm
(9/32”)
2x
STOP
4x Fischer Plugs
B
2x
Step 2
C
C
Step 3
4x Screws
2x B
Step 4
WA R N I N G
Landscape
Always use the proper tools during assembly. Follow the assembly steps in order. DO NOT skip any steps. Be sure to
check all packing materials carefully for assembly hardware. If any parts are missing, contact the retailer from which
you purchased the product to obtain any missing parts. DO NOT USE SUBSTITUTE PARTS. During assembly
tighten screws first by hand. Once all screws are in place use the tool provided to tighten. Periodically check to
ensure that all hardware (bolts, screws, etc.) are tight. DO NOT stand on the product during assembly. Where
assembly instructions state that assembly requires two or more people, DO NOT attempt to assemble by yourself as
there is a risk of injury.
Step 5
Portrait
Step 6
 Loading...