


Ozonizer XT2000
User Guide EN

Troubleshooting
High voltage malfunction
Insucient airflow
Air
12006000
[L/h]
0
3
100500
[%]
If airflow through the ozonizer drops below
75 litres per hour, ozone production will shut
down to prevent overheating. Please provide
sucient airflow to the ozonizer, removing any
blockages.
High temperature shutdown
If there is insucient ventilation for cooling or
insucient airflow, both combined with highlevel ozone production, the temperature in the
ozonizer may exceed its limit (70 °C). In this
event, the ozonizer will shut down to prevent
damage. Please provide sucient circulation of
air, in particular if the ozonizer is mounted in
a cabinet. The ozonizer will resume operation
once the temperature has dropped to be within
limits.
Air
12006000
[L/h]
0
3
[%]
Water or dirt particles entering the ozone
generator may cause damage, creating a faulty
voltage potential inside the ozonizer. In this
event, please disconnect the ozonizer from
the power supply immediately, removing the
wall plug from the mains socket. Blowing air
through the ozonizer may remove any water
that has entered. Please cleanse the ozone
generator as described above. If the problem
persists, please send the ozonizer in for
inspection at Sander company headquarters
(see address on back cover page).
HV-ERROR
100500
Disposal
Packaging is made from eco-friendly
materials that may be disposed of at
any local recycling facilities.
Should you need to dispose of the
ozonizer, please do not place it into
your regular domestic waste. In the
interest of environmental protection,
please use an appropriate disposal facility for
electrical equipment. Your local (municipal)
government will provide you with the locations
and opening times of such facilities.
Specifications
⇒ Ozone output: 2000 milligrams per hour
⇒ Power supply: 100–240 volts AC (50/60 Hz)
⇒ Current consumption: 1,5 ampères
⇒ Operating voltage: 24 volts DC

Cleansing and maintenance
of the ozone generator
Humidity and dust contamination in the inlet air
cause ozone output to be reduced substantially.
With this in mind, the ozone generator has
been designed for easy maintenance and
cleansing.
With continuous operation, it is recommended
that the ozone generator be examined for
contamination about once every 3 to 6 weeks.
Before cleansing the ozonizer, please set the
ozone output to zero, but keep it running for a
few minutes. This will cause any residual ozone
to be removed from the ozone generator.
Opening and cleansing of the ozone generator
Reassembly to resume operation
aer cleansing
⇒ Reattach the ozone generator cover (5),
taking care that the insulating o-ring is
seated firmly in its groove.
⇒ Tighten the hex-tip screws (4) crosswise
until they are hand-tight.
⇒ Reattach the tubing for inlet air and ozone.
⇒ Reconnect the 24 volts plug into the power
supply socket (7).
⇒ Reinsert the wall plug into the mains socket.
⇒ Turn on the ozonizer (
I/O button).
Display cleansing
⇒ To clean the display,
use a microfiber cloth only.
⇒ Turn o the ozonizer (
⇒ Allow the ozone generator (5) to cool down.
⇒ Disconnect the power cable from the mains
socket.
⇒ Remove the plug from the power supply
connector (7).
⇒ Disconnect the tubing for inlet air and ozone.
⇒ Remove the screws (4) holding the ozone
generator cover (5) in place using the
supplied hex-tip tool.
⇒ Remove the ozone generator cover (5).
⇒ Wipe the ozone generator’s ceramic plates
with a sponge (if necessary, by using
household scouring agent). Please make
sure to remove any deposits from the
connection nipples as well.
⇒ Allow to dry.
I/O button).
⇒ Cleansing only with hand gloves,
eye protection, and proper clothes.
Caution with acid residues.
⇒ Dry immediately.

Operating the ozonizer
As soon as the power supply is connected, the
ozonizer starts up automatically.
Both bar graphs consist of two parts: a thick
center bar with two thin bars above and below.
The thin bars indicate the set value, while
the thick bar indicates the actual (current)
measured value.
Using a redox controller
During startup, the display (2) briefly shows
the Sander logo, and then changes to the main
control interface:
Air
12006000
[L/h]
The upper bar graph (»Air«) indicates the
amount of airflow through the ozonizer in litres
per hour.
While ozone production is o, the display
shows the label »OZON OFF«.
Use the center button (
production on or o.
I/O ) to turn ozone
Air
12006000
[L/h]
0
3
100500
[%]
When using a redox controller, ozone
production is turned o automatically once
the target redox potential set on the redox
controller has been reached. When the redox
potential drops below the set value, ozone
production is resumed.
Ozone output throttling with
insucient airflow
If airflow drops below 250 litres per hour,
the ozonizer will reduce ozone production
proportionally to prevent overheating.
Example: If airflow is 125 litres per hour, and
ozone production is set to 100 %, the ozonizer
will operate with a throttled output of 50 %.
Air
12006000
[L/h]
0
3
100500
[%]
The lower bar graph (»O«) indicates the ozone
output as a percentage.
Use the
ozone output stepwise from 0 percent (o) to
100 percent (full power).
– and + buttons to reduce or increase
The minimum required airflow is 75 litres per
hour. In the event that airflow drops below
this limit, ozone production is shut down
completely to protect against overheating.

Determining and setting the
Operation with the Sander Redox Controller
appropriate ozone output
As a rough guide, use about 10 mg of ozone per
hour for every 100 liters of salt water, or about
5 mg of ozone per hour for every 100 liters of
fresh water.
When first using the ozonizer, we recommend
slowly increasing the ozone output over
a timespan of about 14 days, so that the
aquarium may gradually adjust to the enhanced
water quality.
For precise management of your setup’s ozone
requirement, we recommend using the ozonizer
in combination with a redox controller (Sander
redox potential detector and controller, part
number 7.1C). This device automatically turns
the ozonizer on or o, depending on a set value
for the redox potential.
To connect the redox controller, remove the
dummy plug from the 4-pin socket (8) on the
ozonizer, and replace it with the single plug on
the supplied redox controller adapter cable.
Then connect the two plugs on the other end of
the cable with the redox controller.
The actual value for the redox potential, as well
as the controller state, are displayed on the
redox controller’s top panel.
For further instructions, please refer to the
redox controller’s user guide.
Ozonizer
XT2000
Sander
Redox Controller
Power
supply

Ozonizer XT2000
123 456789
1 Air inlet for cooling
2 Display
3 Cooling fan
4 Hex-tip (Allen™) screws
for the ozone generator cover
5 Ozone generator cover
6 Ozone outlet
(connector for 6/8 mm tubing)
7 3-pin connector for power supply (24 volts)
8 4-pin connector for Sander Redox Controller
(with dummy plug)
9 Air inlet for ozone generation
(connector for 6/8 mm tubing)

Introduction
Intended use
Congratulations on your purchase of this
Sander quality product. We are confident
that you will be satisfied with this ozonizer.
Our many years of experience in aquarium
technology will benefit you in every detail.
Please familiarize yourself with the ozonizer
before using it for the first time — by reading
this user guide and paying particular attention
to the safety instructions. The ozonizer may
only be used for the specific purposes described
below. Please keep this user guide handy for
future reference, and include this guide when
handing the ozonizer over to a third party.
Package contents
Immediately aer unpacking, please make sure
the following items are included in the package,
and in flawless condition:
⇒ Ozonizer XT2000
⇒ Power supply
for aquariums and ponds
The ozonizer is a device for generating ozone
from air. It was developed specifically for use
with aquariums and ponds.
When operated with dry air, the ozonizer has
a rated output of 2000 milligrams (2 grams;
0,07 oz.) of ozone per hour. When using
ambient air (40 – 80 % humidity), ozone output
is reduced by about half.
Ozone must be released into the water at a
depth of no less than 20 cm (8 in).
We recommend using a skimmer, such as our
Helgoland series devices (for salt water), or
Fresh-Skim (for fresh water).
Other uses or device modifications are
considered non-intended use and may result
in injuries and/or damage to the ozonizer. The
manufacturer assumes no liability for damages
resulting from non-intended use.
The device is not intended for commercial use.
⇒ Power cable
⇒ Adapter cable for connecting the
Sander Redox Controller
⇒ Hex-tip (Allen™) tool
⇒ Mounting hooks (2×)
⇒ Mounting dowels (2×)
⇒ User guide
Notification and hazard symbols
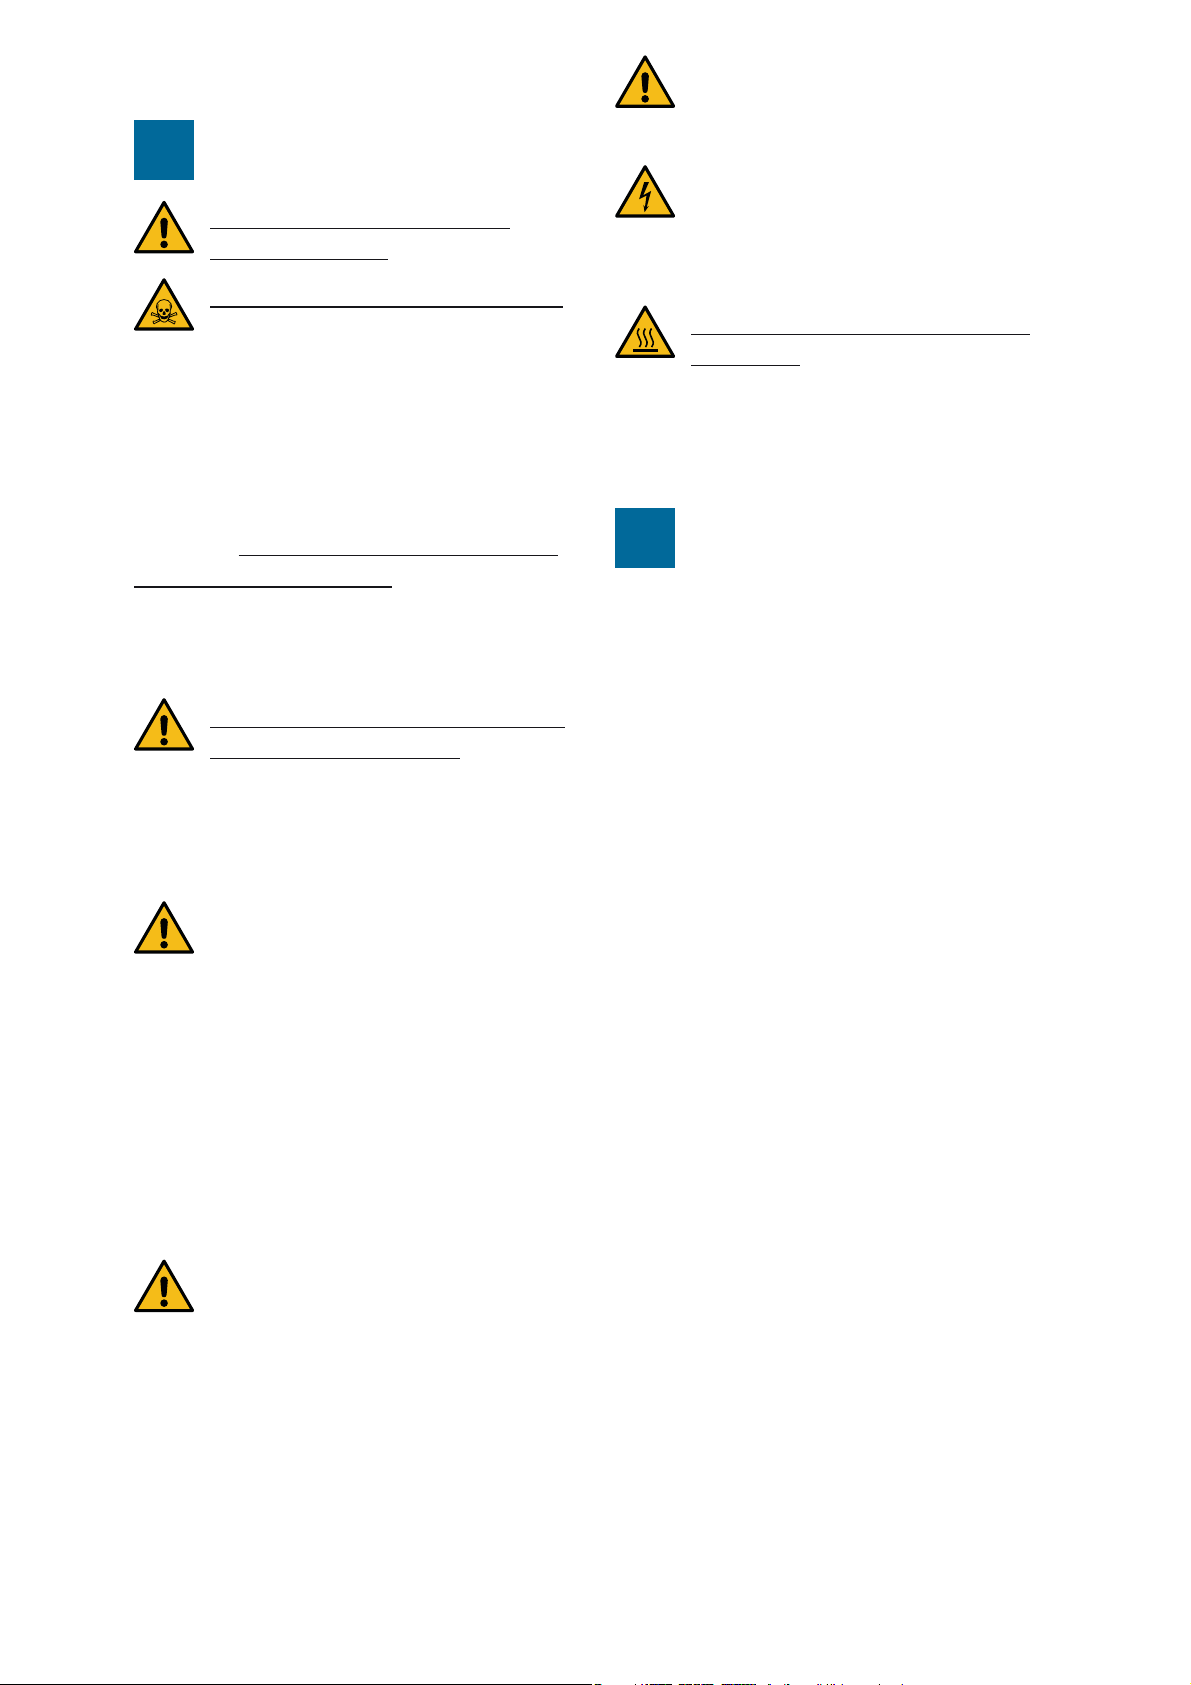
!
Important information
Caution — Danger
Caution — Electric shock hazard
Caution — Hot surfaces
Caution — Hazardous substances
Safety instructions
The use of the ozonizer occurs at your
!
own risk.
The ozonizer may not come into
contact with water.
Free ozone is hazardous by inhalation.
To avoid release of excess ozone, it
must only be produced in the quantity required
by the application. The threshold limit value
(TLV, or maximum acceptable workplace
concentration) for ozone is 0.1 ppm (200 µg/
m³). However, the odour detection threshold
for ozone is 5 to 10 times lower (about
0.02 ppm). Detection of ozone odour is a sign
of excess ozone generation. Excess ozone (eg.
from a skimmer’s exhaust) must be released
into the outside air or fed into a residual ozone
absorber.
The ozonizer requires an airflow of no
less than 75 litres per hour. Reduced
airflow may cause the ozone generator to
overheat. The ozonizer will detect insucient
airflow and automatically shut o ozone
production to avoid overheating.
The ozonizer may be used by children
from age 8 — as well as by persons
with reduced physical, sensory or mental
capabilities, or insucient experience and
knowledge — only under supervision, or if
instructed on the safe use of the ozonizer,
and if they are aware of and understand the
potential hazards. Children may not play with
the ozonizer. Maintenance and cleansing tasks
may be performed by children only under
supervision.
Do not open the ozonizer’s casing.
Improper repair work or other
modifications may create considerable hazards.
In the event that your ozonizer requires
repair or other servicing, please contact your
specialist supplier or refer directly to the
manufacturer.
Do not operate the ozonizer if it is
damaged. Damaged ozonizers may
pose considerable hazards to the user.
The ozonizer may only be operated
with the original power supply unit
(item designation GS60A24-P1J, 24 volts,
2.5 ampères, 60 watts).
The surfaces of the ozone generator
may be hot. Before performing any
maintenance or cleansing tasks, please allow
the ozonizer to cool.
Warranty and liability
!
exclusion
There is a 24-month warranty for all Sandermanufactured ozonizers. During this time, all
parts that fail due to material or manufacturing
defects are replaced at no cost.
Please note that the warranty does not cover
the following types of failure or damage:
⇒ Failure or damage due to unintended use.
This specifically includes any use not covered
by these instructions.
⇒ Failure or damage due to improper repair
work, modifications, cleansing, opening of
the ozonizer casing, etc.
⇒ Failure or damage due to improper transport,
drop or shock, etc. aer the date of
purchase.
The warranty and liability oered
by the manufacturer (Erwin Sander
Elektroapparatebau GmbH) only covers the
package contents.

Installation
Connecting the ozonizer for skimmer
operation with airstones
Wall mount
XT
2000
Ozone
Air
There are two fastening clips on the reverse
side of the ozonizer. These may be used
for wall mount. It is recommended that the
ozonizer be mounted above the water level.
This will prevent water from flowing back into
the ozonizer, eg. in the event of a power failure.
Connect the air inlet (9) to an air pump using
6/8 mm tubing. Connect the ozone outlet (6)
to the airstone in the skimmer using ozoneresistant tubing.
If ozone production is turned o while the
ozonizer is still connected to the skimmer, the
air supply must remain on. This will prevent
water from entering the ozone generator.
Connecting the ozonizer for skimmer
operation with an injector
Connect the injector with the ozone outlet (6).
In this setup, airflow through the ozonizer is
provided automatically. To keep the inlet air
free of contaminants (including dust), it is
recommended to use a filter at the air inlet (9).
Cabinet installation
Tubing loop
Ozone
XT
2000
Air
The ozonizer may be installed in an equipment
cabinet. If the ozonizer is operated in a
small enclosed space such as a cabinet, it is
essential to provide sucient ventilation to
avoid overheating. If the ozonizer is installed
below the water level, provide a loop of tubing
extending above the water level to avoid water
flowing back into the ozonizer.
Setup
1 Mount the ozonizer and power supply in a
dry environment.
2 Connect the tubing for inlet air and ozone.
3 Connect the power suppy: first, insert the
24 volts plug from the power supply into the
socket (7) on the ozonizer, then connect the
power cable with the power supply. Finally,
insert the wall plug on the power cable into
the mains socket.

For more information, expert advice and orders, please contact us at:
+49 51 73 97 10
aqua-sander.de
Erwin Sander Elektroapparatebau GmbH
Am Osterberg 22
31311 Uetze-Eltze
Germany
Phone +49 51 73 9 71-0
Fax +49 51 73 9 71-197
E-mail info@aqua-sander.de
Web www.aqua-sander.de
© 2/ 2018 Erwin Sander Elektroapparatebau GmbH Design: ngin.de
 Loading...