

Instruction Manual
Simple to use Instant Intercom system
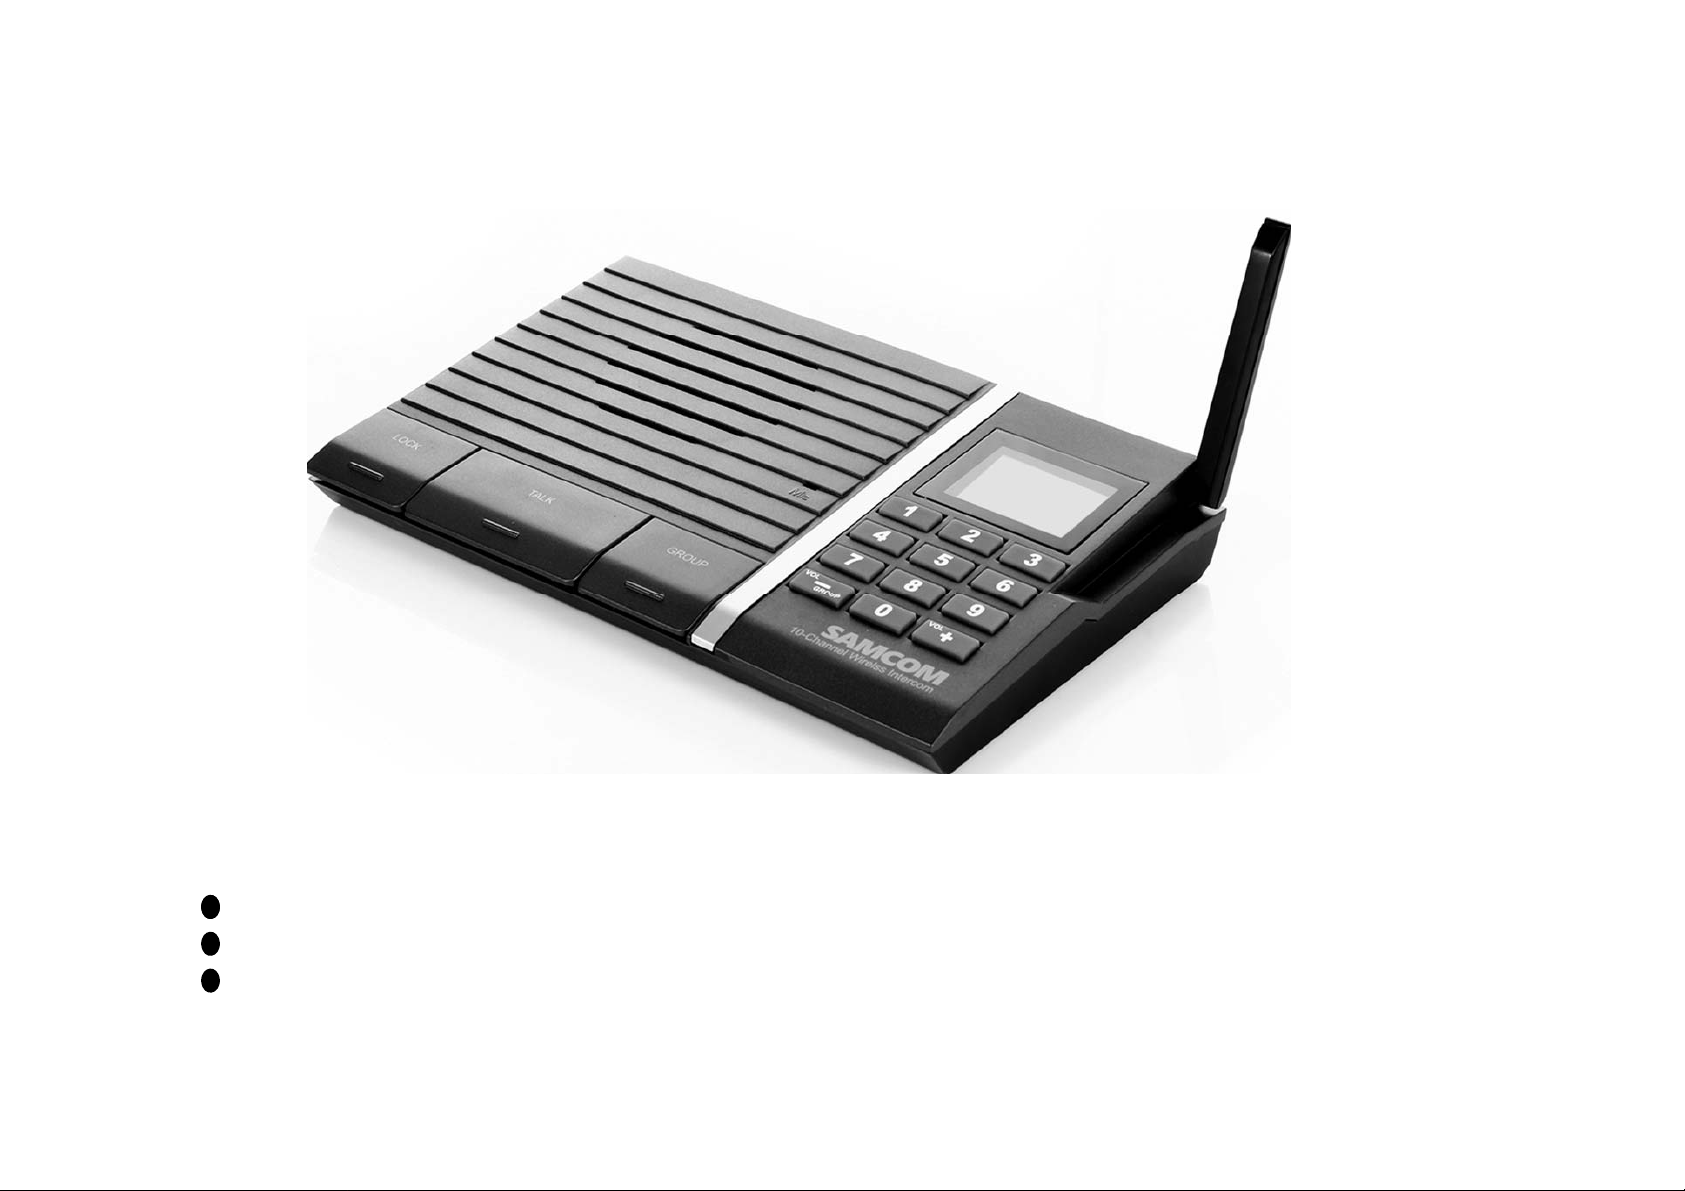
Digital Wireless Intercom SAMCOM FTAN10A
Features of Model FTAN10A
"
Individually call and Group call function.
Connect ability to other hand held two way radio.
"
.
Sancon Inc.

SANCON
p
p
q
Set Channel
5
g
gp
Sancon Inc. assumes no responsibility of any damages or loss resulting from use of this Manual
Sancon Inc. assumes no responsibility for any loss or claims by third partly which may arise
through the use of Wireless Intercom FTAN10A
Sancon Inc. assumes no responsibility for any damage or loss caused by repair or failure of
non
ower connection
CONTENTS
1. Get Acquaint
Description of Buttons and Keys 3
Display Symbols and Icons 4
2. Set INTERCOM channel and function
Set Group channel 6
ABC Switch function 7
3. Basic Operation
Power up and standby 8
Reception from other intercom 9
Talk to other intercom 10
Talkin
Group call operation 13
lock operation 12
Monitor operation 14
4. Important precaution 15 2
1. Get Acquaint
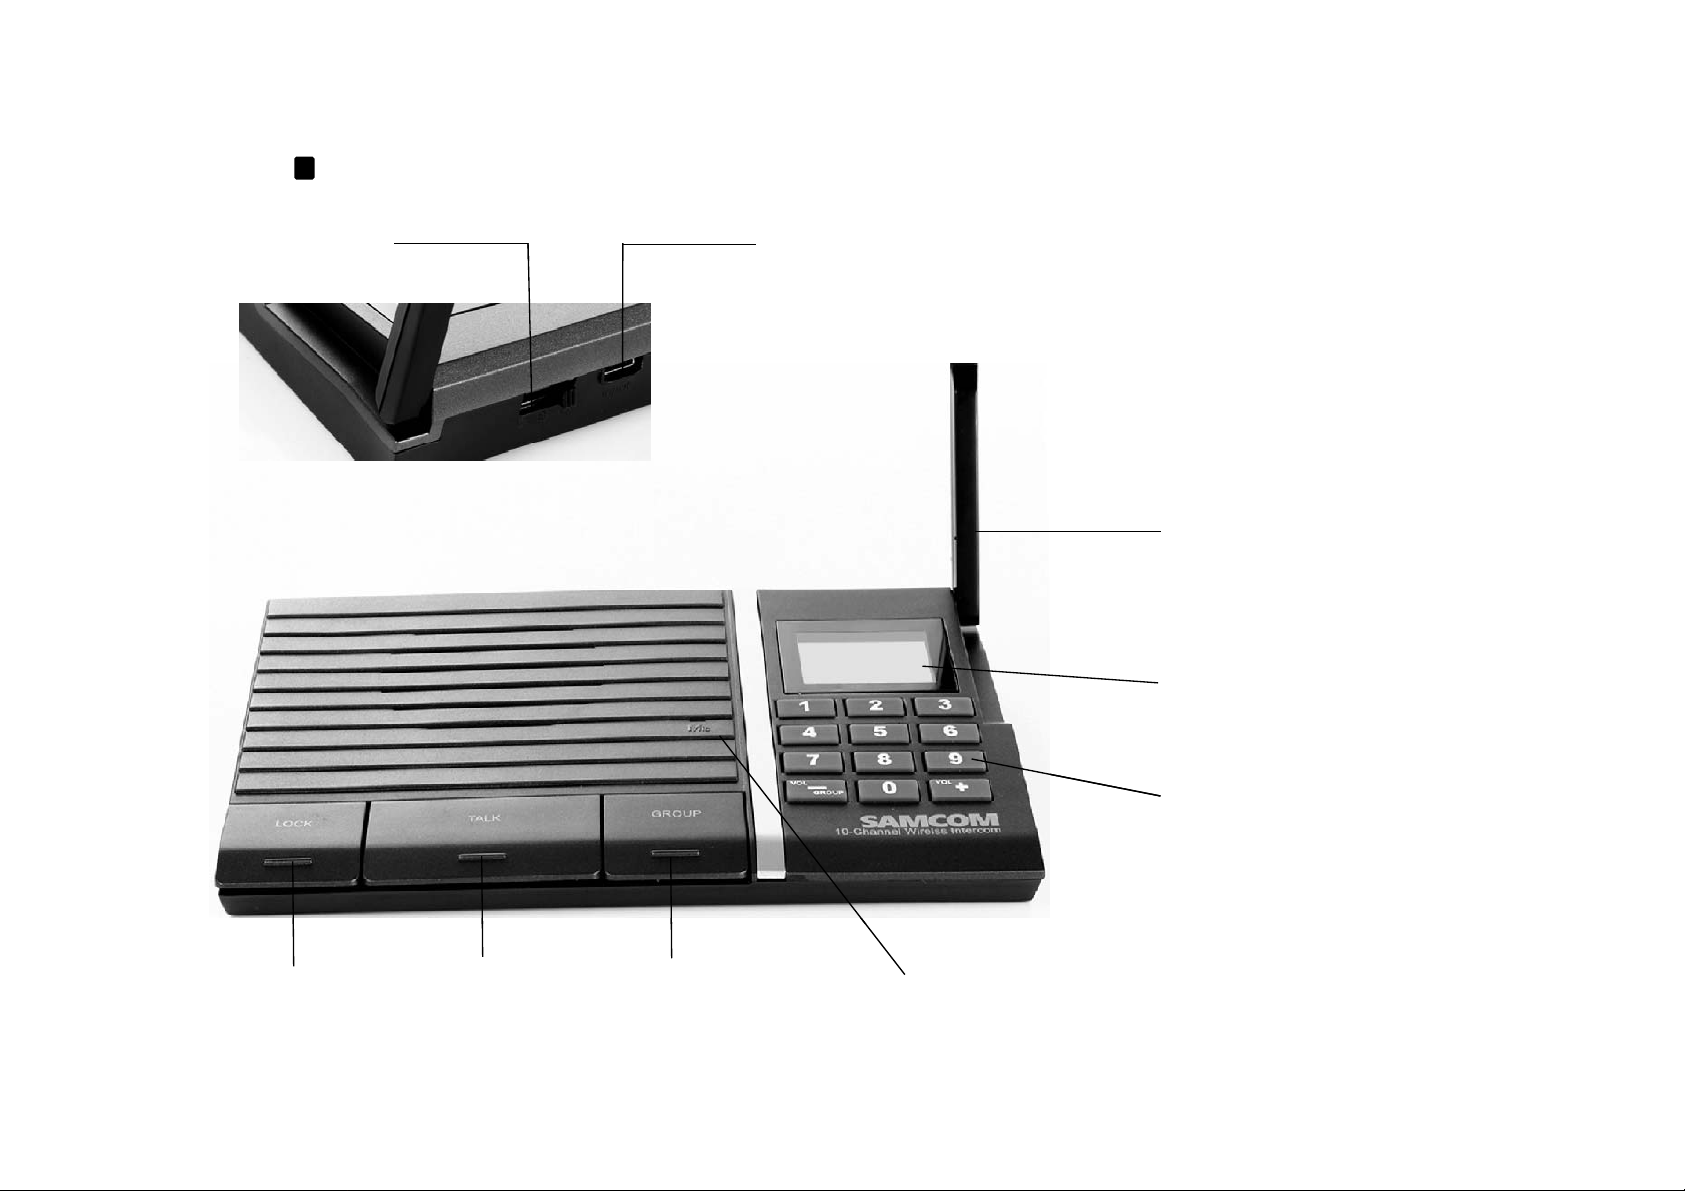
ABC Switch
DC Input (Mini USB)
Description of Buttons and Keys
Antenna
LCD Unit
10 Keys Unit
LOCK KEY TALK KEY GROUP KEY Mic
3
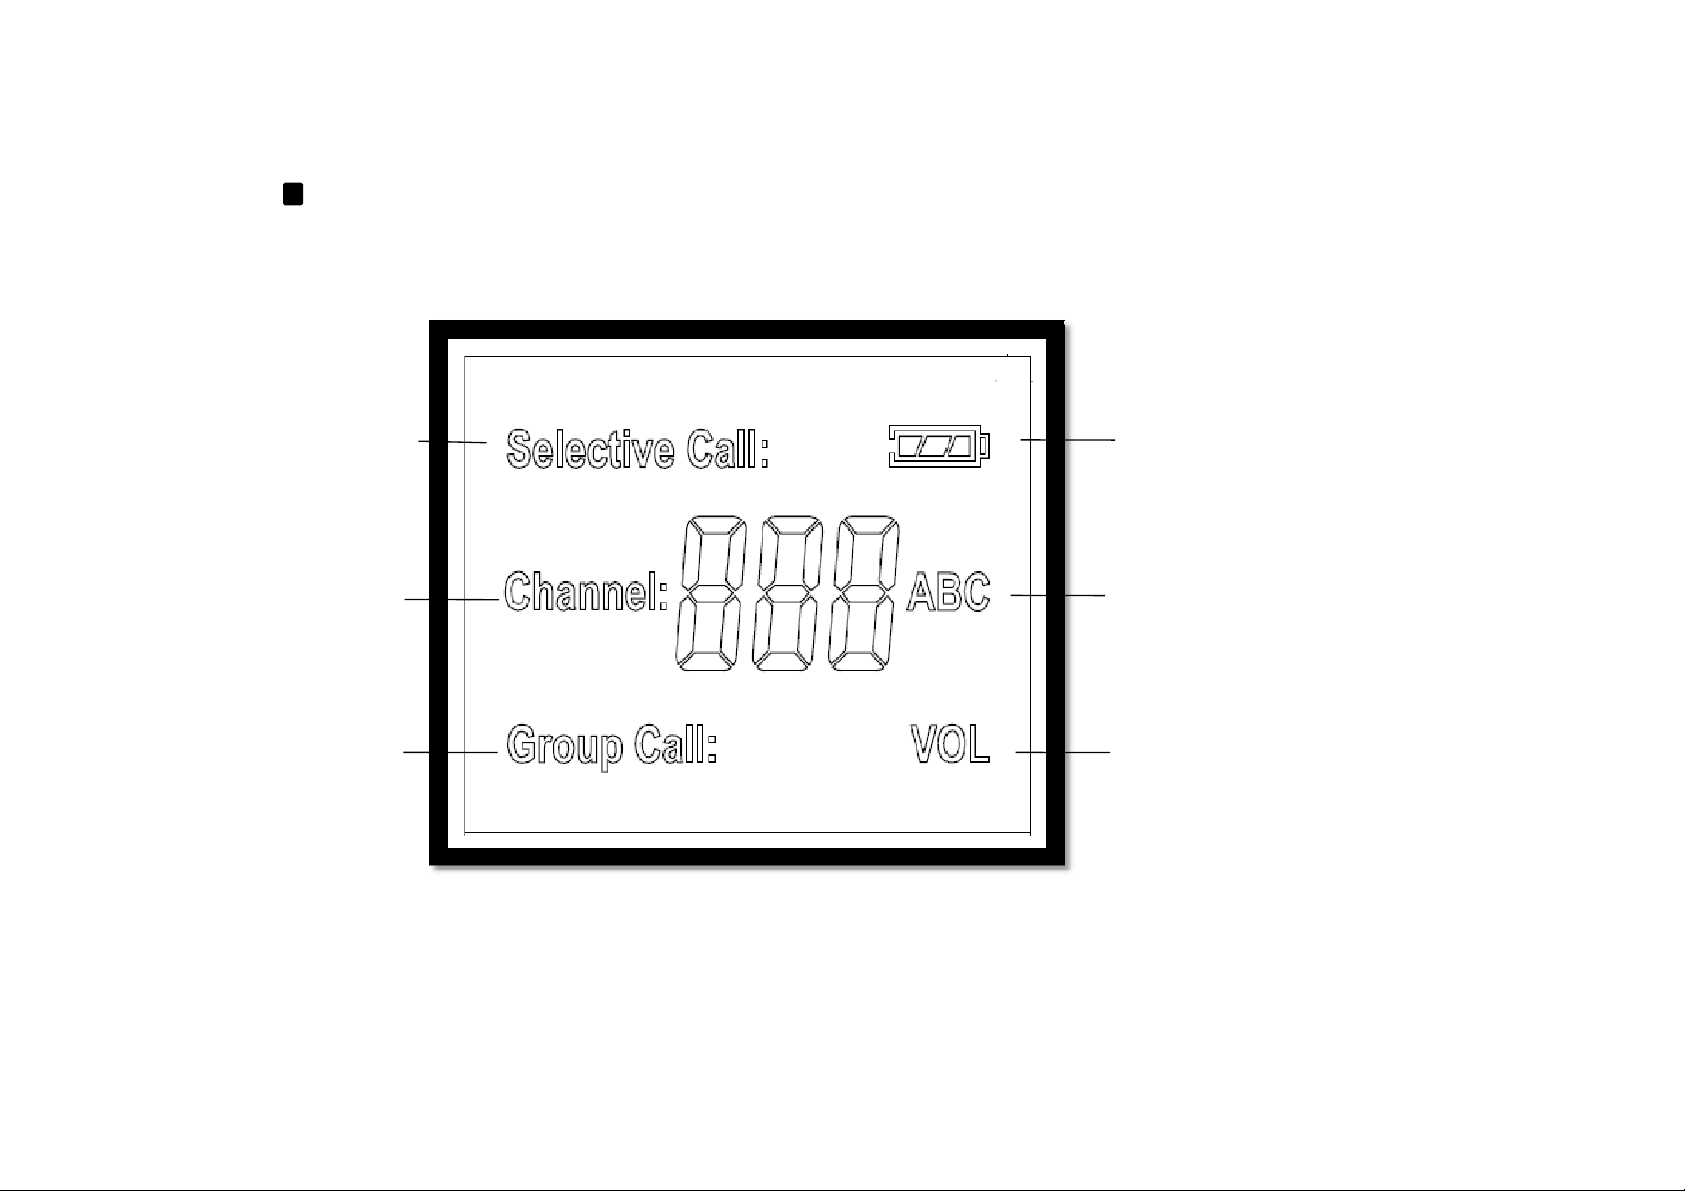
Display symbols and icons
Selective icon Power On icon
Channel icon ABC icon
Group icon VOL icon
4

2. Set INTERCOM channel and function
Fact
tti
INTERCOM ch
1
p
Channe
Set Channel
ory se
ngs for all
annel is
Each INTERCOM should have own channel to be called other INTERCOM individually.
To set INTERCOM channel, select number from 1 to 9 and depress for 8 seconds
After 8 seconds, short beep sound will be generated and
New set channel will be displayed in LCD unit automatically.
For example
Your room
Your room
Your room
Your room
Kitchen room
Living room
Channel 6Channel 6
Channel 6Channel 6
Channel 2
l2
Channel 4
5

Set Group channel
neighbor system need not be resetted
Note:
r
Factory settings for all Group channel is 0, if no interference sound or interface from the
.
To set new Group channel for each INTERCOM, following are the step:
1. Press "-" key for 15 seconds
2. After the beep, Group call icon will flash
3. Input new group channel number.
4. New group channel will be displayed in LCD unit.
Press key Group call icon Input new group New group channel
for 15 seconds will flash channel
If you change Group call channel you should change all INTERCOM in your hand to same numbe
otherwise group call does not function.
6

ABC switch function
All the ABC
iti
"A"
iti
FTAN10A has special ABC selection switch.
switch should set in the same pos
If you find some interference sound or interface from the neighbor system,
you can change to ABC switch to other position "B" or " C" to avoid such problems.
on such as
pos
on.
ABC Switch
7

3. Basic Operation
Power up and standby
Connect USB power cable to INTERCOM, small beep alert will be heard and
icon will be appeared to indicate the INTERCOM is in the standby mode.
While standby mode, you can see INTERCOM channel number in the LCD unit display.
In this standby mode you will be called by other INTERCOM automatically without depressing
any keys
Channel 8 standby display
8
Reception from other intercom
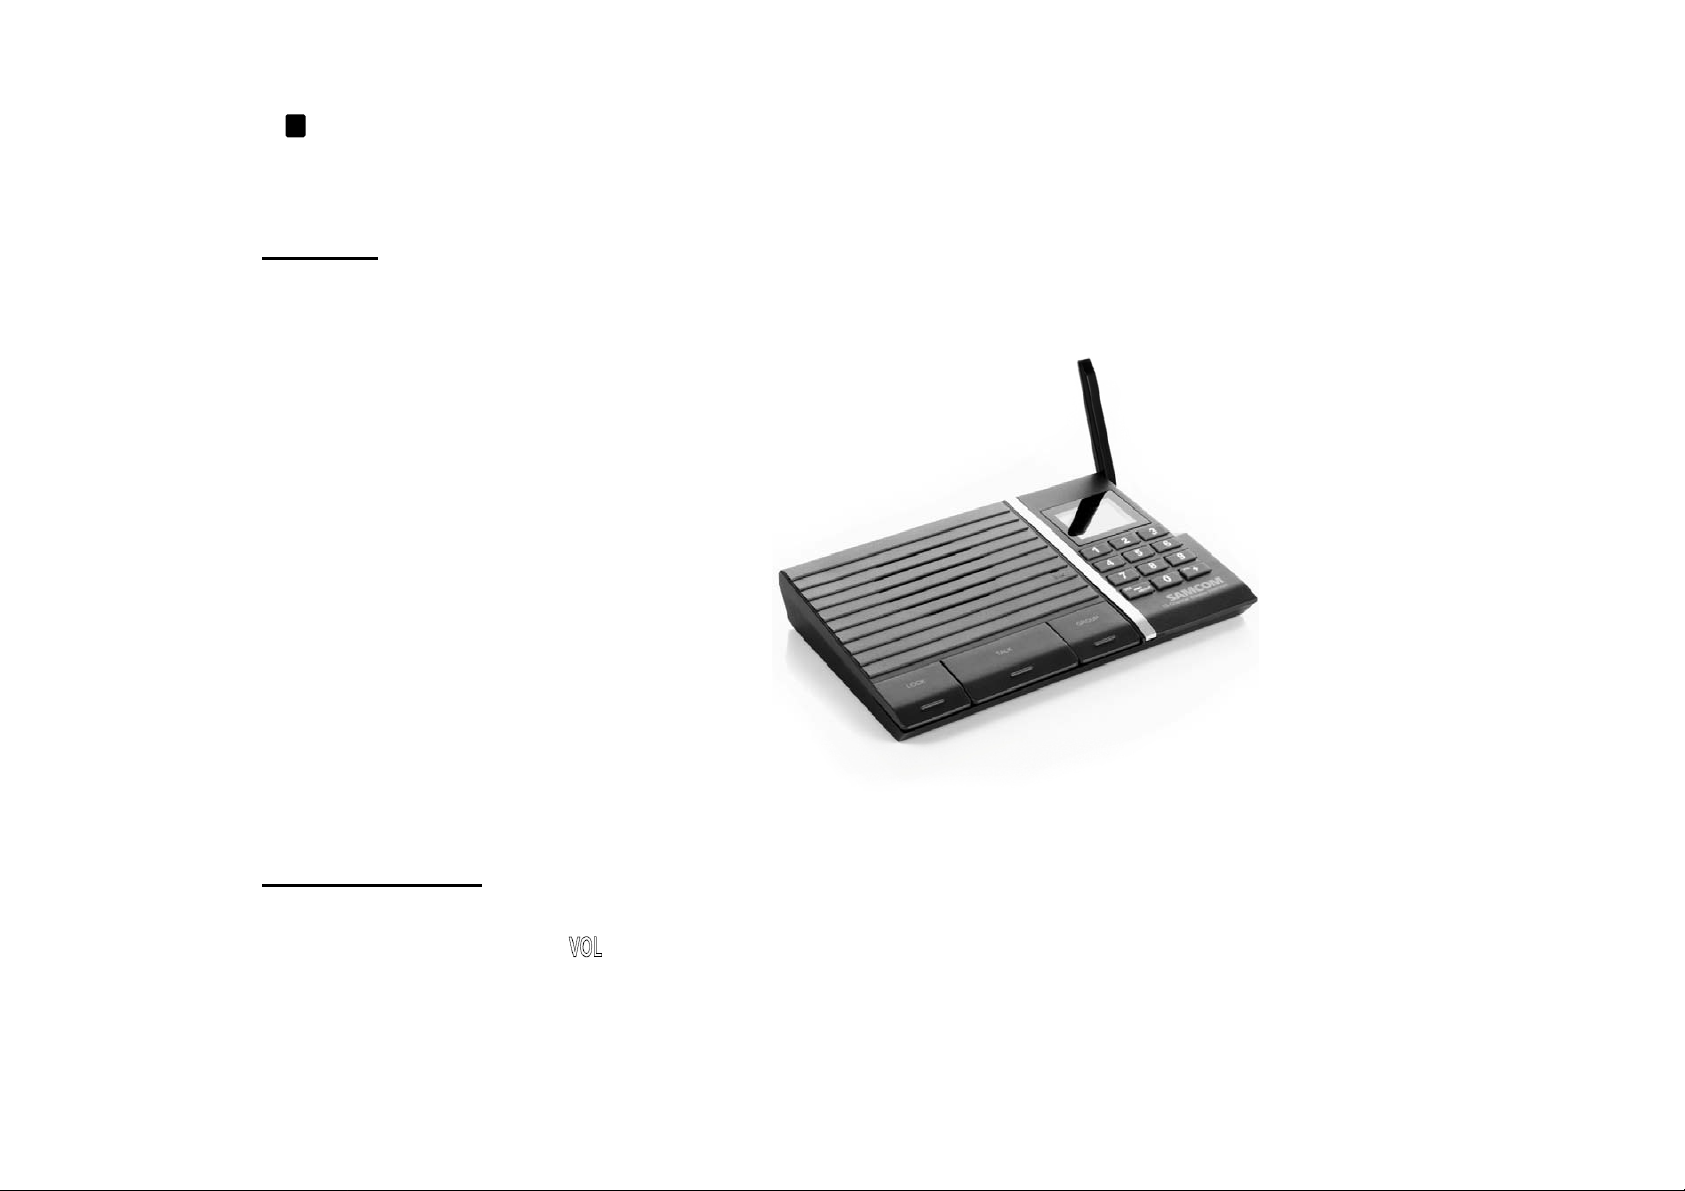
Antenna
You can adjust the volume by pressing + key or
key
You will be called by other INTERCOM automatically.
INTERCOM has the external Antenna
To get better communication range it would be recommend to pull up the Antenna as picture.
Volume control
While volume adjusting icon will be appeared to indicate volume is under adjusting.
"+""-"key to increase/reduce volume from 1 to 8
"+"
"-"
.
9

Talk to other intercom
While talking to other INTERCOM, Selective call icon and selected channel number will
To talk to other INTERCOM. Press 10 key unit to select which INTERCOM to be talked with.
then press TALK key to start to speak.
appear in the LCD
LCD when selected channel 6 as a selective call
TALK key 10

Note:
15 seconds after the last reception or last transmission. INTERCOM will return channel
to own channel automatically (standby mode)
LCD when selected channel 6 as a selective call Channel 8 standby display
NOTE:
When press the TALK key then LCD back light color will change from white
to red to indicate that INTERCOM is under transmissions mode.
11

Talking lock operation
When press LOCK key at once. INTERCOM will enter the transmission
NOTE:
INTERCOM has the LOCK key to make you hands free speaking mode.
mode continuously. So you can speak to other INTERCOM without any
pressing keys. To release the mode. Press LOCK key again.
LOCK Key
When press the LOCK key then LCD back light color will change from white
to red to indicate that INTERCOM is under transmissions mode.
12

Group call operation
call operation you can speak to all the INTERCOM simultaneously
y,
When release the GROUP key, INTERCOM come back to own channel.
INTERCOM has a unique GROUP call function. When under the group
.
Or you will be called by other INTERCOM on GROUP call and your
INTERCOM will change channel from own channel to GROUP channel
automatically.
When pressing GROUP key, you can enter the group call mode.
When release the GROUP ke
When INTERCOM is in the group mode. Group call icon will be appeared.
INTERCOM come back to own channel.
GROUP key
GROUP icon and group channel display
13

Monitor operation
INTERCOM also has unique application for Monitor operation.
You can listen other rooms voice continuously to use LOCK key.
INTERCOM in the monitor room, select your own channel and press
LOCK key.
Your room
Channel 6
Channel 6
Monitor room
Channel 8
Channel 8
Press 6 key and LOCK
14

4. Important precaution
during use storage, and do not subject it to strong impact
ping
from the cloth before wiping the INTERCOM. Never use thinner, benzene, or other volatile
Channel
CTCSS (Hz)
Frequence (MHz)
67.5625
7
467.5625
Note the following important precautions before using INTERCOM for the first time.
This INTERCOM contains precious electronic components, Avoid temperature extremes
.
Avoid using it in area where it might come into direct contact with liquids and avoid very
high humidity.
Never try to open the INTERCOM or take it apart. Doing so can lead to serious damage
and malfunctions
Clean the unit by wiping it with a soft dry cloth. You can also use a soft cloth moistened
with a weak solution of a mild neutral detergent and water. Wiping as much liquid as possible
from the cloth before wi
agents. or alcohol to clean the unit.
Do not use allow the unit to be exposed to direct sunlight, heat from the heaters, or
other source from heat (greater than 60 degree C).
1
2
3
4
5
6
7
8
9
0
the INTERCOM. Never use thinner, benzene, or other volatile
467.7125
467.6875
467.6625
467.6375
467.6125
467.5875
4
462.7125
462.6875
462.6625
A
B
C
110.9
136.5
186.2
15

THE FCC WANTS YOU TO KNOW
Your intercom might cause TV or radio interference even when it is operating properly. To
determine whether your intercom is causing the interference, turn off the stations, if the
interference goes away, your intercom is causing the interference. Try to eliminate the interference
by:
Moving your stations away from the receiver.
Connecting your stations to an outlet that is on a different electrical circuit from the receiver.
If you cannot eliminate the interference, the FCC requires that you stop using your intercom.
Changes or modifications not expressly approved by the party responsible for compliance could v
oid the user’s authority to operate the equipment.
The antennas used for this transmitter must be installed to provide a separation distance of at least
20 cm from all persons and must not be co-located
for operating in conjunction with any other antenna or transmitter.
Important: Do not hold down CALL for more than 10 seconds. The FCC does not allow you to
send a continuous tone for more than 10 seconds at a time on FRS frequencies.
 Loading...