

Page 1
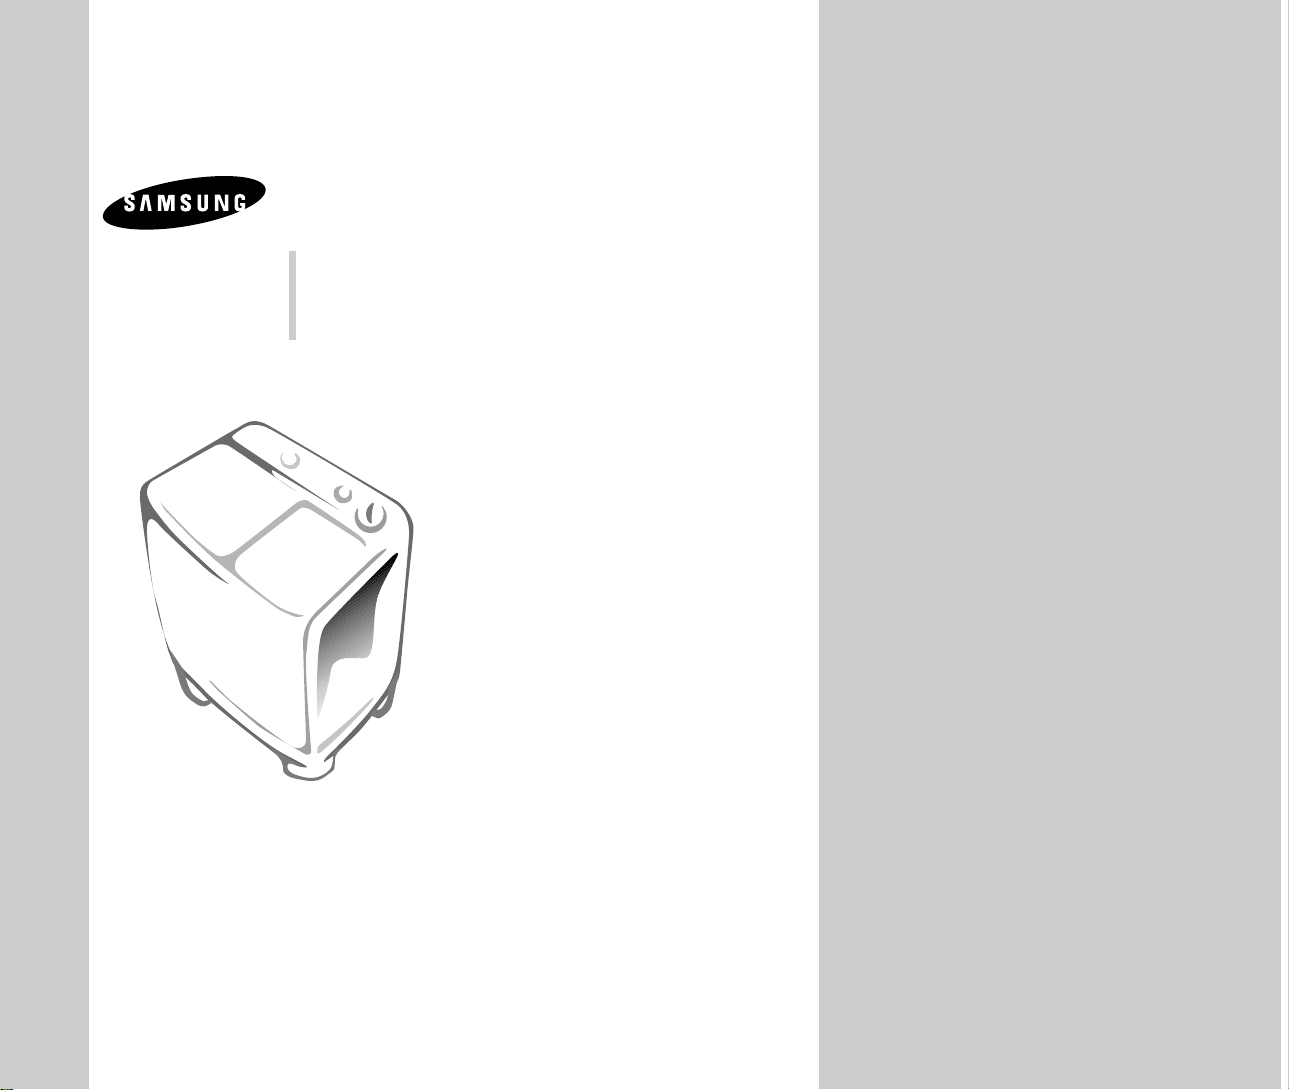
WASHING MACHINE
Owner’s Instructions
WT6500/WT6700/WT7800WT8600/WT8700
PRECAUTIONS 1
CONTROL PANEL 1
DESCRIPTION AND CLEANING OF PARTS 2
INSTALLATION 2
Location 2
Connecting the drain hose 2
WASHING PROCEDURE 3
To Wash 3
To Spin dry 3
To Rinsing 3
Overflow rinse 4
Additional rinse 4
LAUNDRY GUIDE 4
MAINTENANCE 4
TROUBLE SHOOTING 4
SPECIFICATIONS
Before operating the washing machine, please read this manual
thoroughly, and retain it for future reference.
Making use of the Owner's Instructions is dependent on your washing machine model.
The Owner’s instructions is for normal use.
Page 2

IF YOU NEED HELP.
Do not hesitate to call your local Samsung Service Center.
They will be pleased to help you. Be sure to give them your name,
address, telephone number and the purpose of the call.
SPECIFICATIONS
WT6500/ WT6700
DIMENSIONS (WxDxH)
WATER PRESSURE
WEIGHT
EXTRACTION EFFICIENCY
STANDARD QUANTITY
OF WATER
RATING TIME
776 x 434 x 920mm
0.05~0.3 MPa
(
0.5 ~ 3.0kg ●f/cm2)
25 kg
50 %
50l
Washing 1 Hour /
Spinning 15 minutes
WT7800
799 x 476 x 926mm
0.05~0.3 MPa
(
0.5 ~ 3.0kg ●f/cm2)
29 kg
50 %
54l
Washing 1 Hour /
Spinning 15 minutes
WT8600/ WT8700
820 x 490 x 980mm
0.05~0.3 MPa
(
0.5 ~ 3.0kg ●f/cm2)
30 kg
50 %
65l
Washing 1 Hour /
Spinning 15 minutes
Code No. DC68 -01783A
Page 3

PRECAUTIONS
0
3
1
4
2
5
SPIN DRY TIMER
Wash/Rinse
Drain
CYCLE SELECTOR
Wash/Heavy
DrainNormal
CYCLE SELECTOR
WATER SELECTOR
Wash
Spin
WATER SELECTOR
Wash
Spin
• Don't use adapter or extension cord to
supply power to your washing machine.
• Don't allow electrical parts to come into contact
with water.
(This may risk electric shock.)
• Don't attempt to repair or reconstruct your
washing machine unit in case of malfunction.
(Ask the nearest Samsung authorized
service center to undertake repairs.)
• Don't expose your washing machine to high
heat (direct sun light) and high humidity.
(Heat can damage the external surfaces.)
• Don't open inner lid until spin tub has
come to a compete stop. Even if spin
tub rotation slows down it can still cause injuries.
• When spinning, always ensure that the the
spinning cap is pressed tightly against the
clothes, maintaining horizontal level.
• Don't put clothes with gasoline, benzene,
thinner, alcohol or other inflammable
substances into the wash tub and the spin tub.
• Don't put hot objects, lighted candles or any
flaming objects on or near the washing machine
as these are fire hazards.
• Don't let sprays (insecticide, perfume etc.)
come in contact with the switch controls.
(It might cause timers to warp or damage
plastic parts.)
• Don't use vinyl chloride covers.
• Don't use detergent in excess of amount
indicated in the package. (This will result in
insufficient rinsing.)
• While the washing machine is in operation, don't
insert hand, foot, or anything under the base.
• Don't step on the washing machine or put heavy
things on it.
• Don't allow children to peep into the wash tub
or spin tub, as it could result in their falling in
and getting injured.
• Don't allow cord to be clamped by the unit or by
other heavy objects.
• When power cord and plug are damaged, contact
the nearest authorized service center to undertake
repairs.
• Unplug the washing machine when not in use.
Pull out the plug and not done by pulling the cord.
Always make sure that your hands are dry.
• Don't use the washing machine if the power cord is
damaged or if the wall mount socket is loose.
• Don't severely twist, bundle, bend or do
anything else that can damage the power cord.
CONTROL PANEL
1
.WASH
This is used to select wash action.
2.
This is used to set the
This is used to set
wash time,1-35 minutes
SELECTOR
WT6500/6700/7800
WASH TIMMER
WT6500/6700/7800
wash time, 1-15 minutes.
WT8600/8700
1
3.CYCLE SELECTOR
WT6500/6700/7800
This is used to set the
Washing or Draining.
WT8600/8700
This is used to set the
Washing or Draining,
and to select wash action.
4.
SPIN DRY TIMER
This is used to set the
spin time, 1-5 minutes.
5.WATER
SELECTOR
WT6700/7800/8600/8700
During washing,
WATER SELECTOR KNOB
should be selected to Wash.
During spin rinsing,
WATER SELECTOR KNOB
should be selected to Spin.
Page 4

DESCRIPTION AND CLEANING OF PARTS
CLEANING THE LINT FILTER
• If the dregs are piled up in the
lint filter after finishing the wash,
push down and pull it
out as shown in the figure.
• Wash the filter net
in water.
OVERFLOW FILTER
• Pull the upper side
of the overflow filter with
two fingers inserted into
hole ‘A’ in the
direction of arrow
as shown in the figure.
A
gathering the dregs
INNER LID
LINT FILTER
This is used for
made during
SPIN DRYER LID
When you open this
lid while the spin basket is
spinning,the spinning will
be stopped by the break
system.
SPIN DRYER BASKET
POWER CORD
The plug’s shape
may not be similar to that
shown in this drawing.
washing.
INSTALLATION
LOCATION
Leave some space
Space at least 15cm between the
washing machine and the wall.
Place the washing machine on a sturdy
flat surface.
If the washing machine is placed on an
uneven or weak surface, noise or
vibration may occur. (Allowable is 2˚)
Never install the washing machine
near water.
Do not place the washing machine in
steamy room or where the washing
machine is directly exposed to rain.
Moisture may damage electrical
insulation and cause an electrical shock
to occur.
Avoid direct sunlight or heating
devices.
As plastic and electrical components are
affected by direct heat, never place the
washing machine near heaters, boilers,
etc., or under direct sunlight.
WASH TUB LID
Be sure to keep the lid
closed during washing
and spinning.
WASH TUB
PRECAUTIONS WHEN INSTALLING.
1. Place the washing machine on a sturdy
surface.
2. never support the washing machine with
a brick or a piece of wood for leveling.
During spinning, the may start to vibrate
excessively and even fall down.
CONNECTING THE WATER DRAIN HOSE
1. Fit the water drain to the drain outlet.
2. Push it with force further to the bottom of the
drain outlet.
3. Check the drain hose for not getting apart
from the outlet by drawing it.
PULSATOR
CLEANING THE WASH TUB
First, fill water in the wash tub to “L”
level(a level that wash tub is almost filled
with water about 4/5) then drain water
from the wash tub simultaneously with
operating wash cycle for 1~2 minutes.
•Close the wash tub lid.
CLEANING THE WASHING MACHINE
Wipe off stains on the cabinet and
operation pane with a soft cloth.
Neither use benzene, thinner, cleanser,
or wax, nor scrub the washing machine
with a brush. Painted surfaces or
plastic parts will be damaged.
2
Page 5

W ASHING PROCEDURE
WATER SELECTOR
Wash
Spin
0
3
1
4
2
5
SPIN DRY TIMER
0
9
3
12
6
15
WASH TIMER
Wash/Rinse
Drain
CYCLE SELECTOR
Drain
CYCLE SELECTOR
Drain
CYCLE SELECTOR
TO WASH
1. Before starting to wash, proceed as follows.
Connect the water supply
hose and open the water tap.
WT6500
(connect the hose to the Wash Water Inlet.)
• Lay the drain hose down toward
a sinkhole.
• Connect the power cord to the power
supply outlet.
WT6500/6700/7800
2.
• Set the WASH SELETOR KNOB to the
desired mode.
• Set the CYCLE SELECTOR KNOB to
“Wash/Rinse”
WT8600/8700
• Set the CYCLE SELECTOR KNOB to
the desired mode.(“Normal” or “Wash/Heavy”)
3.
WT6700/7800/8600/8700
Set the WATER SELECTOR
KNOB to WASH.
4. Load laundry in the
WASH TUB.
5. Fill water in the WASH TUB
and add the detergent.
6.
WT6500/6700/7800
• Set the WASH TIMER
1~15 minutes.
- Although the machine may stay still,
maximum 5 minutes. If the WASH TIMER
indicates in excess of 15 minutes, it is
just in the process pof soaking and not a
breakdown.
SOAK FUNCTION
WT8600/8700
• If the WASH TIMER is set to a point
between “15” to “35”, the washing machine
start the wash(15min), after the soak(2~20)
is completed.
• The Soak function sill turn the wash load
for 1.5~2.0 minutes before festing for 5
minutes. This routine will be repeated
3times over 20 minutes.
7. After washing, set the CYCLE
SELECTOR KNOB to
'DRAIN' for drain.
TO SPIN DRY
1. Transfer the clothes into the
spin basket and arrange the
clothes evenly.
2. Be sure to replace
the safety cover
and close the
inner lid.
3. Close the spin
dryer lid.
4. Set the SPIN DRY
TIMER 1-5minutes.
TO RINSE
1. Set the CYCLE SELECTOR KNOB to
“Wash/Rinse” or
“Wash/Heavy”
CYCLE SELECTOR
2. Supply the proper amount of water
so as not to delete one space
overflow the top of the
washing tub.
3. Set the WASH TIMER to
2~3 minutes.
Wash/Heavy
DrainNormal
WT8600/8700
• Set the WASH TIMER
1~35 minutes.
(Set the WASH TIMER
to a point between “15” to
“35” for SOAK fuction)
4. Drain the water.
Set the delete one space
CYCLE SELECTOR KNOB
to ‘DRAIN’.
5. Repeat this cycle until drain
water is clean. (2~3 cycles)
3
Page 6

WATER SELECTOR
Wash
Spin
Drain
CYCLE SELECTOR
Drain
CYCLE SELECTOR
0
9
3
12
6
15
WASH TIMER
0
9
3
12
6
15
WASH TIMER
0
3
1
4
2
5
SPIN DRY TIMER
LAUNDRY GUIDE
MAINTENANCE
OVERFLOW RINSE
1. Keep supplying water
(adjust water pressure
to ensure that the
amount of water
supplied does not exceed
the amount of water drained.)
2. Set the WASH TIMER
6~8 minutes.
3. As soon as the WASH
TIMER shuts off, turn off
the water tap.
4. Set the CYCLE
SELECTOR KNOB
to ‘DRAIN’.
ADDITIONAL RINSE
1 After rinsing you can select this
course for more effective rinse
(Don't just select this course for
rinse.) Load the laundry evenly
into the spin basket.
WT6700/7800/8600/8700
2
Set the WATER SELECTOR
KNOB to SPIN and
CYCLE SELECTOR
KNOB to ‘DRAIN’.
WT6500
Connect the water supply hose
to the SPIN WATER INLET.
3 Supply water for about 1 minute.
Adjust the water flow to prevent
overflow from the wash tub.
4 After completing the water
supply, cover the laundry
with safety cover and close
the inner lid.
5 Close the spin dryer lid.
6 Set the SPIN DRY
TIMER 2~3 minutes.
Wash/Rinse
CYCLE SELECTOR
safety
cover
Drain
inner lid
Wash/Heavy
CYCLE SELECTOR
WASHING TIME
DrainNormal
TYPE OF CLOTHING
Extremely soiled
heavy fabric
Linen cotton, etc.
Ordinary clothes
(underwear,etc)
Slightly soiled
synthetic fiber
100% wool, mixed
wool knitting,
thin synthetic fiber with
tags indicating
hand washing
WASHING TIME
(minutes)
10 ~15
8 ~15
7
2 ~ 5
2 ~ 5
WASHING
SELECTION
HEAVY
NORMAL
SPIN DRY TIME
TIME
1 min.
1~2 min.
3~5 min.
5 min.
TYPE OF FABRIC
Thin (synthetic fiber)
wool
cotton
thick (cotton)
DETERGENT
WT8600/WT8700 WT7800 WT6500/WT6700
AMOUNT
DETERGENT
OF
WATER
LEVEL
45g
Medium
55g
65g
The amount of detergent is average. Follow the
instructio printed on the package for amount of
detergent.
Choose the amount of detergent according to the fabric
type.
Low
(45l )
(55l)
High
(65l )
AMOUNT
OF
DETERGENT
37g
45g
54g
4
WATER
LEVEL
Low
(37l )
Medium
(45l)
High
(54l )
AMOUNT
OF
DETERGENT
34g
42g
50g
WATER
LEVEL
Low
(34l )
Medium
(42l)
High
(50l )
TO LOAD THE LAUNDRY INTO
THE SPIN BASKET.
Press the laundry
evenly and put the
safety cover into the
spin basket as
shown in the figure.
TO RETRIEVE THE CLOTHING THAT HAS
FALLEN BETWEEN THE BASKET AND TUB.
For safety reason, pull the power supply plug out
of the socket.
1. Unscrew from the spin dryer hatch.
2. The spin dryer hatch is
fixed to the brim by the
concave and convex
parts at two places.
Expand the concave and
convex parts, and pull
up the spin dryer hatch
to remove it.
3. Retrieve the clothing.
4. Close the spin dryer hatch. Push the hatch
firmly until the catch at the front is securely attached.
TROUBLE SHOOTING
TROUBLE CHECK POINT
The washing
machine does
not work.
Clothes do
not move freely.
Incomplete
spinning
Incomplete
draining
The spin dryer
basket will not
run.
Check that the power cord is
properly connected to a power
outlet. Is there a power failure?
Is the machine overloaded?
Is the laundry arranged
evenly?
Is the filter clogged with lint?
See cleaning of parts.
Is the spin dryer lid closed
completely?
Are laundry items (socks, etc.) falling
out of the spin dryer basket and
clinging to the axle?
• See “To retrieve..."on page 4.
 Loading...