

Samsung UN46F7100AFXZA, UN46F6300AFXZA-UU03, UN75F7100AFXZA, UN60F7100AFXZA, UN60F6400AFXZA Owner’s Manual
...
E-MANUAL
Thank you for purchasing this Samsung product.
To receive more complete service, please register
your product at
www.samsung.com/register
Model
Serial No..

Screen Position
Screen Menu > Picture ) Picture Size ) Position
The screen position can be adjusted if Picture Size is set to Zoom1, Zoom2, Wide Fit, or Screen Fit. In
DTV mode, the screen position cannot be adjusted if the Picture Size is set to Screen Fit.
PDP 5500, LED 6400 series and above
To adjust the screen position, select Position and then Position from the popup window.
2, Drag on the touch pad to move the screen. Once done, select Position and then Close. Select
Reset to reset the screen position.
LED 4300 - 6300 series
To adjust the screen position, select Position and then Position from the popup window.
2, Press the arrow buttons on the remote to move the screen. Once done, select Position and then
Close. Select Reset to reset the screen position.
Picture Off
Screen Menu > Picture > Picture Off
Turns off the screen and plays audio only. To turn the screen back on, press any button except TV and
volume buttons.
Reset mmage Settings
Screen Menu > Picture > Reset Picture
Reset all image settings for the current Picture Mode to the default settings. This does not affect other
Picture Modes.
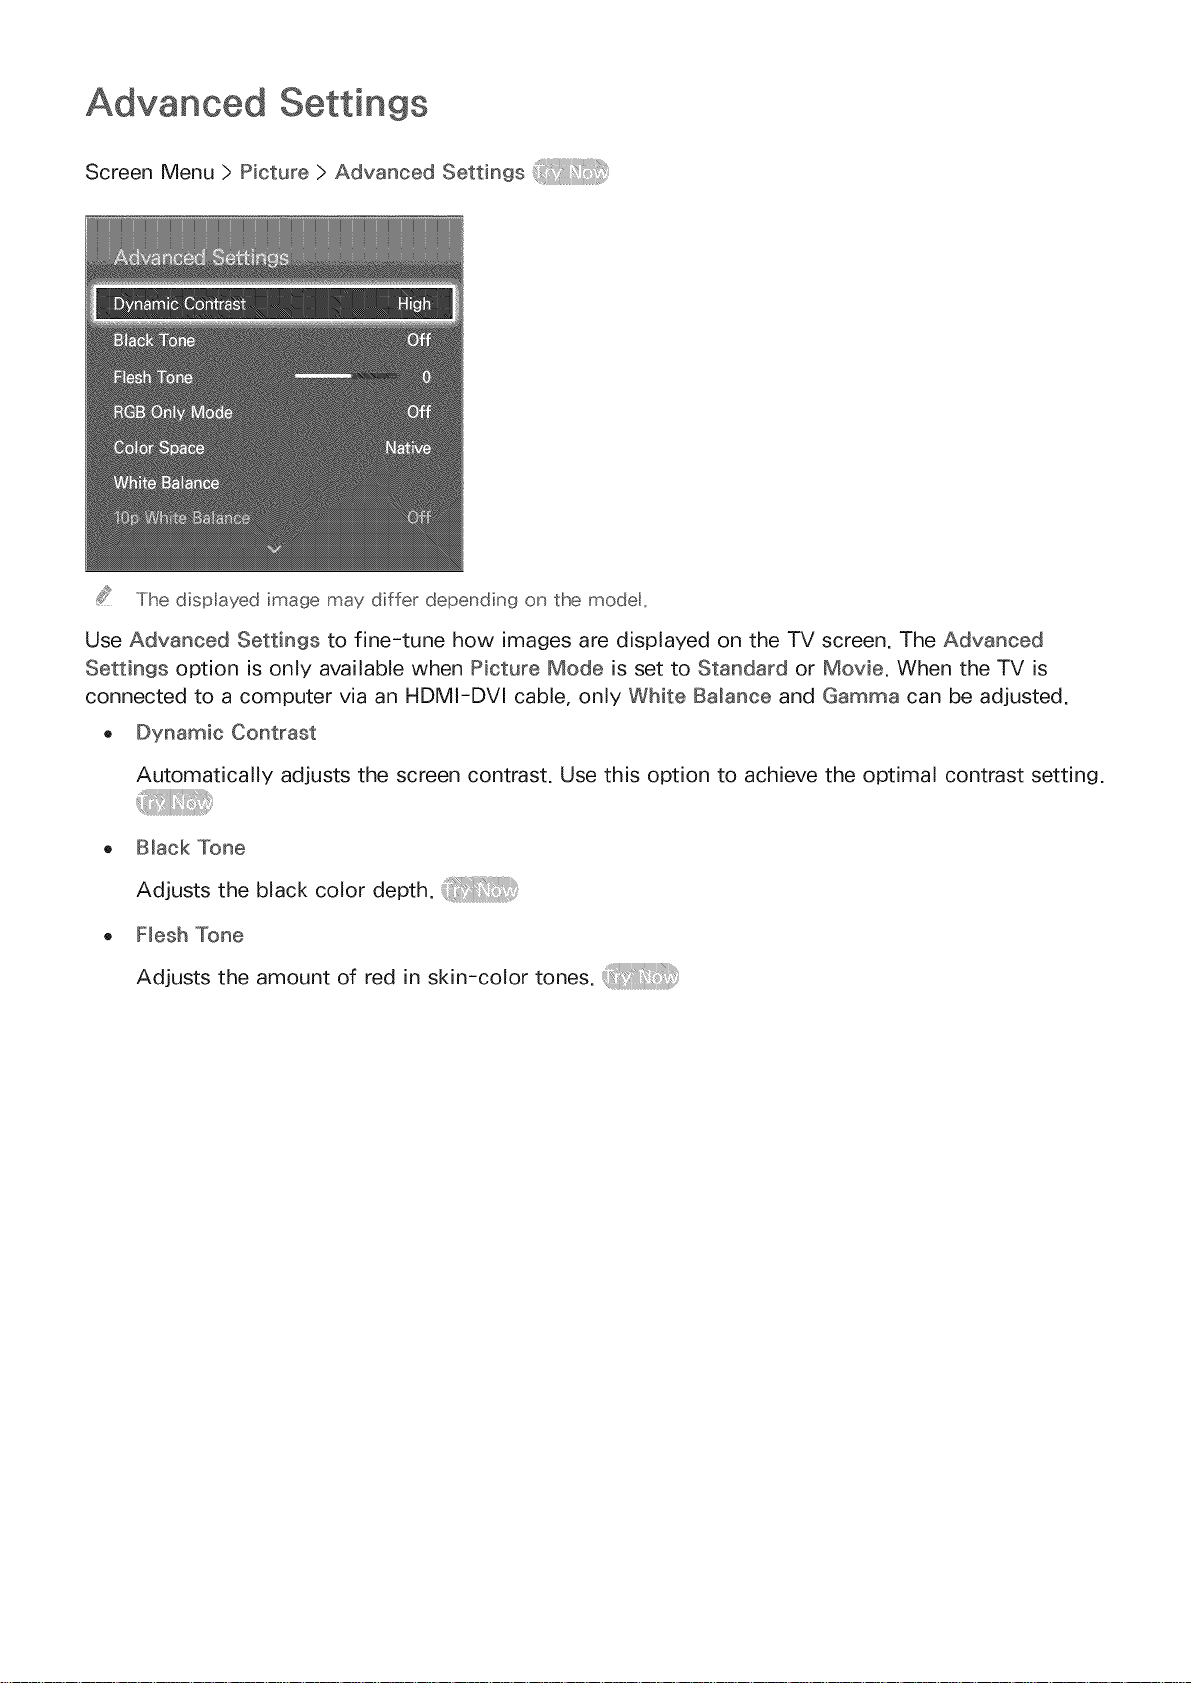
Advanced ngs
Screen Menu > Picture > Advanced Settings
The disp ayed image may differ depending on the mode,
Use Advanced Settings to fine-tune how images are displayed on the TV screen. The Advanced
Settings option is only available when Picture Mode is set to Standard or Movie. When the TV is
connected to a computer via an HDMI-DVl cable, only White Balance and Gamma can be adjusted.
o Dynamic Contrast
Automatically adjusts the screen contrast. Use this option to achieve the optimal contrast setting.
o Black Tone
Adjuststheblackcolordepth.
o Flesh Tone
Adjusts the amount of red in skin-color tones.

o RGBOnlyMode
Adjuststhered,green,andbluelevelsindividually.
e Color Space
Adjusts the range of colors that can be expressed on screen. Auto automatically adjusts the
color space depending on the input signal, and Native applies a range that is wider than the input
signal. Custom allow the user to manually adjust a range of the desired color in the colors of the
input signal.
Custom mode s O_y ava labe wth 6300 se_es and above
White Balance
Adjusts the color temperature of the picture to make white objects look white and the overall
picture appear natural. Adjust each color's luminosity with the offset menu and the brightness
with the gain menu. To restore the default values, select Reset. _i_! i::!:i::
10p White Balance
This function is not available with LED 4300, 5500 series and PDP 5500 series.
Adjusts the white balance by adjusting the brightness of the red, green, and blue elements in
10-point intervals. This option is only available when Picture Mode is set to Movie and may not
be supported by some external devices.
Gamma
Adjusts the primary color intensity.
Expert Pattern
This function is not available with LED 4300, 5500 series and PDP 5500 series.
Displays picture calibration patterns on the screen without using a separate pattern generator or
filter. Pattern1 is used to calibrate the contrast, and Pattern2 is used for calibrating the color and
color saturation. If the screen menu disappears or a different menu is activated while the screen
is being calibrated, this option will save the changes up to that point and automatically deactivate
that menu. This feature is enabled in Component and HDMI modes only.
Motion Lighting
Adjusts the picture brightness depending on the on-screen movements for reduced power
consumption. This feature is only available when Picture Mode is set to Standard and is not
available in 3D mode. In addition, adjusting Contrast or Brightness automatically deactivates this
feature.

Picture Options
Screen Menu > Picture > Picture Options
The displayed image may differ depending on the model,
Use Picture Options to further improve the picture quality. When connected to a computer via an
HDMI-to-DVl cable, users can only change Color Tone.
,, Color Tone
Adjusts the color tone. The setting is applied on an individual Picture Mode basis. When Picture
Mode is changed, the corresponding setting will apply automatically. If Picture Mode is set to
Dynamic, users can only choose between Cool and Standard. _ :!/:_
,, Digital Clean View
Reduces static and ghosting caused by weak signals. This feature is only available for ATV
channels. Selecting Auto Visualization displays the signal strength on the screen. Green indicates
the best possible sign aI.
,, MPEG Noise Filter
Reduces MPEG noise and improves the video quality.
o HDM_BlackLevem
Thisisavailableonlyfor videoinputviaan HDMIcable.Usethis to reduceimageretentionthat
mayoccurwhenwatchingvideofrom anexternaldevice.Chooseoneof the blacklevels.
FilmMode
Optimizesthe picturequalityfor movies.Selectthe modefor watchingmovies.Thisfeatureis
only availablewhenwatchingTVor whenthe inputsignal isAV,Component(480i,1080i),or
HDMI(1080i).TheCinemaSmoothoption is only activewhenthe TV inputsan HDMI24Hzsignal.
TheCinemaSmoothoption is only availablefor PDP5500series.
Blackoptimizer
Thisfunction is availableonly with PDP5500seriesandLED6800series.
Adjust overallblackcolor depthto givea changeto picturedepth.Thisis notavailablewhen
playinga mediafile or usingthe TVas a computerdisplay.
Auto Motion Plus
Use this to reduce blur and judder from scenes with rapid movement. If you select Custom, you
can configure the afterimage and screen trembling removal ratio and you can view a sharper
image through the LED Clear Motion function. This feature is only available for LED 6300 series
and above.
While Auto Motion PJus s runninf/:_ seect the vrtual remote panel s or the _eg_ a_ remote s INFO button
todispaythereso_,donandfleq_encyofthe ncomingvdeosignal(60Hz)Iihedispayedfrequency s
not the same as the freq_ ency of the p ct_ re the IiV ;s disp ay;ng when A_to Motio _ P_s ;s activated
Cinema Black
This function is only available on the LED 7050/7100 series, except 75-inch TVs. In Movie mode,
this feature dims the top and bottom areas of the video image to provide a more immersive
viewing experience.
LED Clear Motion
Removes drag from fast scenes with a lot of movement to provide a clear picture. This function is
only available for the LED 4300, 5500 series.

Basic Sound ngs
Screen Menu > Sound
The dispIayed image may differ depending on the modet,
Use the Sound Settings to change the sound mode, enable/disable surround sound, adjust the
equalizer, and optimize the TV's sound.
Changing the Sound Mode
Screen Menu > Sound > Sound Mode
Sound modes make adjustments to the sound output. However, Sound Modes are not available when
using external speakers only.
o Standard: This is the normal sound mode.
o Music: This mode emphasizes normal music instead of voices.
o Movie: This mode is calibrated to provide the best sound for movies.
o Clear Voice: This mode emphasizes voices.
o Amplify: This increases the overall intensity of high-frequency sounds for a better listening
experience. It is designed for hearing-impaired listeners.
o Stadium: This is chosen automatically when Sports Mode is turned on under the Smart Features
menu. This function is not available on U.S.A. and Canada.
Adjusting the Sound Settings
Screen Menu > Sound > Sound Effect
Use sound effects to alter how the TV projects sound. These options are available only when Speaker
Sebct is set to TV Speaker and Sound Mode is set to Standard.
. DTS TruSurround: Produces sound that will make you feel like you are sitting in a movie theater
or concert hall.
- DTS TruDiab9: Increases the voice intensity to make dialog clearer.
- Equalizer: Adjusts the speaker balance and makes bandwidth adjustments. Select Reset to reset
the settings. _:_
Auto Volume
Screen Menu > Sound > Speaker Settings > Auto VoBme
Because each station has its own set of broadcasting conditions, the volume may fluctuate as the
channel changes. The Auto Volume function automatically adjusts the volume of a channel by lowering
or raising the sound output. Normal applies a normal level of volume adjustment, whereas Night
applies a slightly lower volume level than Norman and is ideal for nighttime TV viewing. To use the
volume control of a connected source device, deactivate the Auto Volume function. When using the
Auto Volume function with a source device, the device's volume control may not function properly.
TV mnsta Mation Type
Screen Menu > Sound > Speaker Settings ) TV _nstaIBtion Type
Select the TV's installation type. Choose between Wall Mount and Stand to optimize the TV's sound
automatically.
Resetting the Sound
Screen Menu > Sound > Reset Sound
This resets all sound settings to the factory defaults.
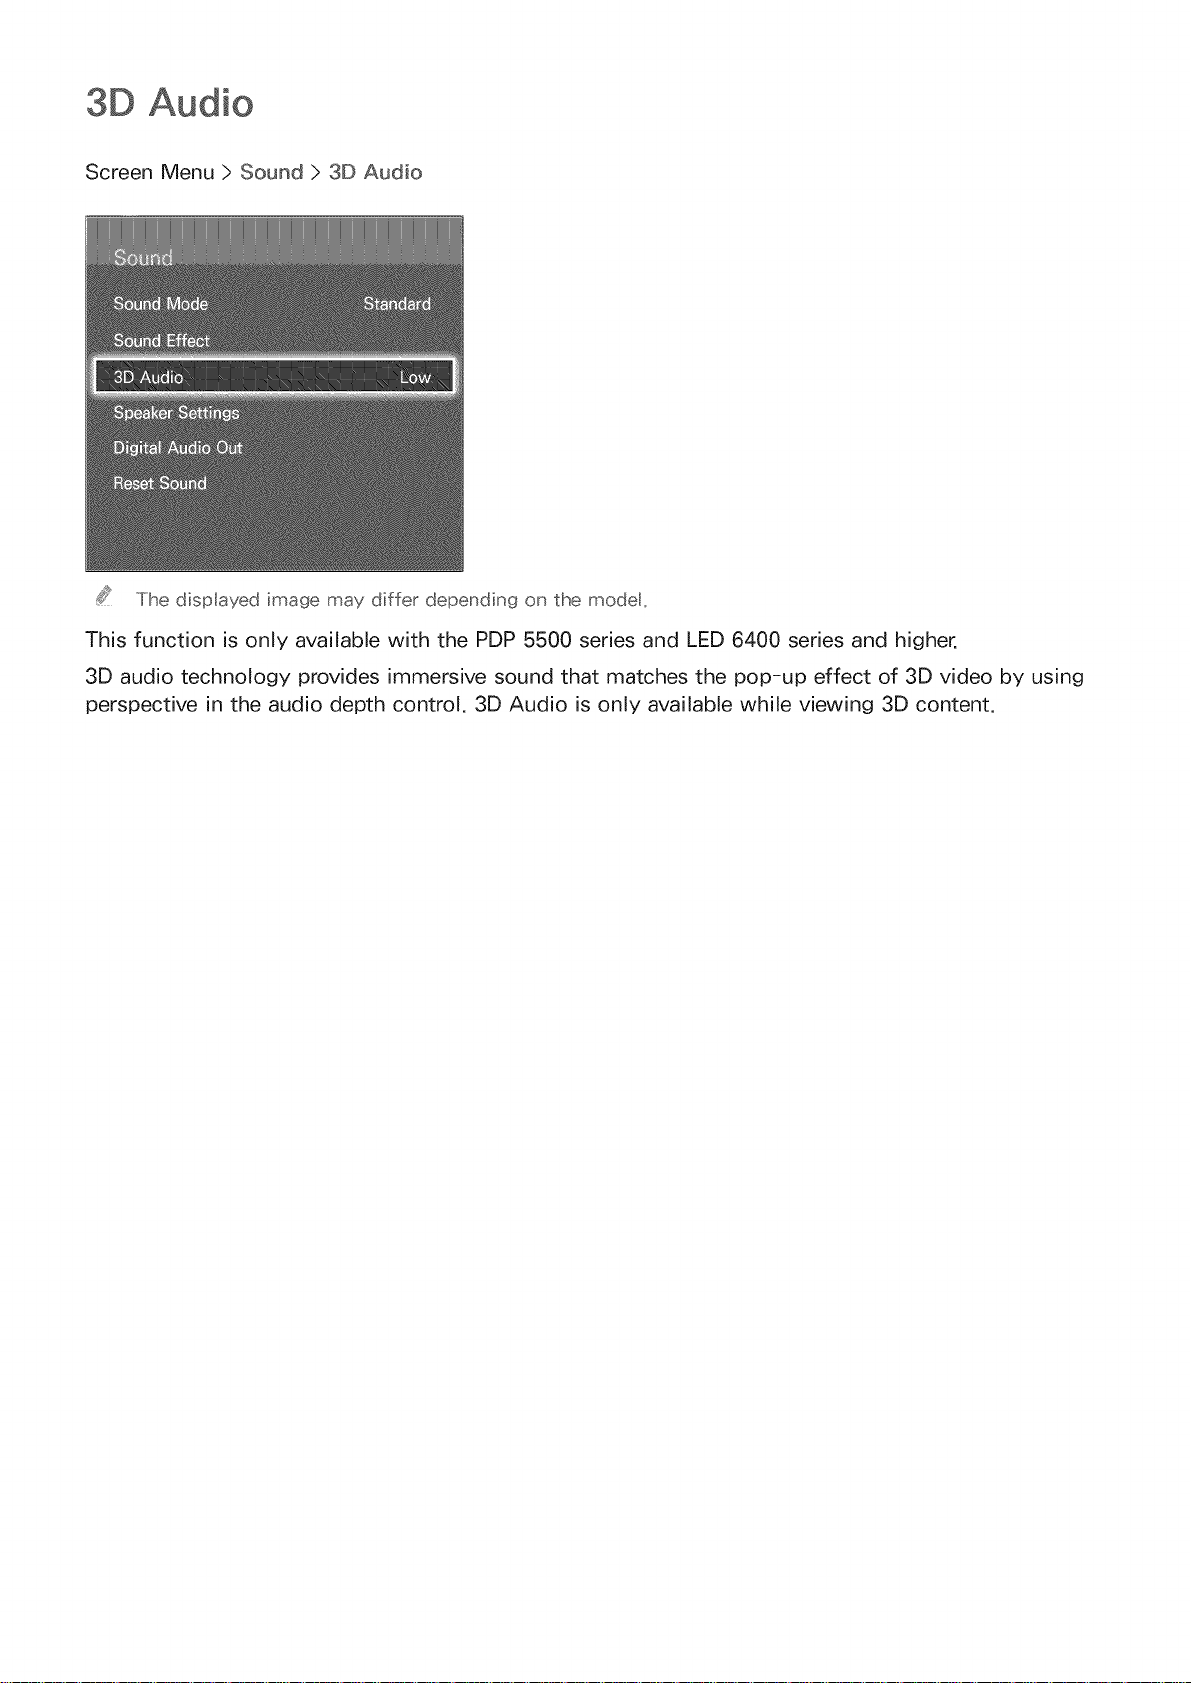
3D Audio
Screen Menu > Sound > 3D Audio
The displayed image may differ depending on the modet,
This function is only available with the PDP 5500 series and LED 6400 series and higher.
3D audio technology provides immersive sound that matches the pop-up effect of 3D video by using
perspective in the audio depth control. 3D Audio is only available while viewing 3D content.
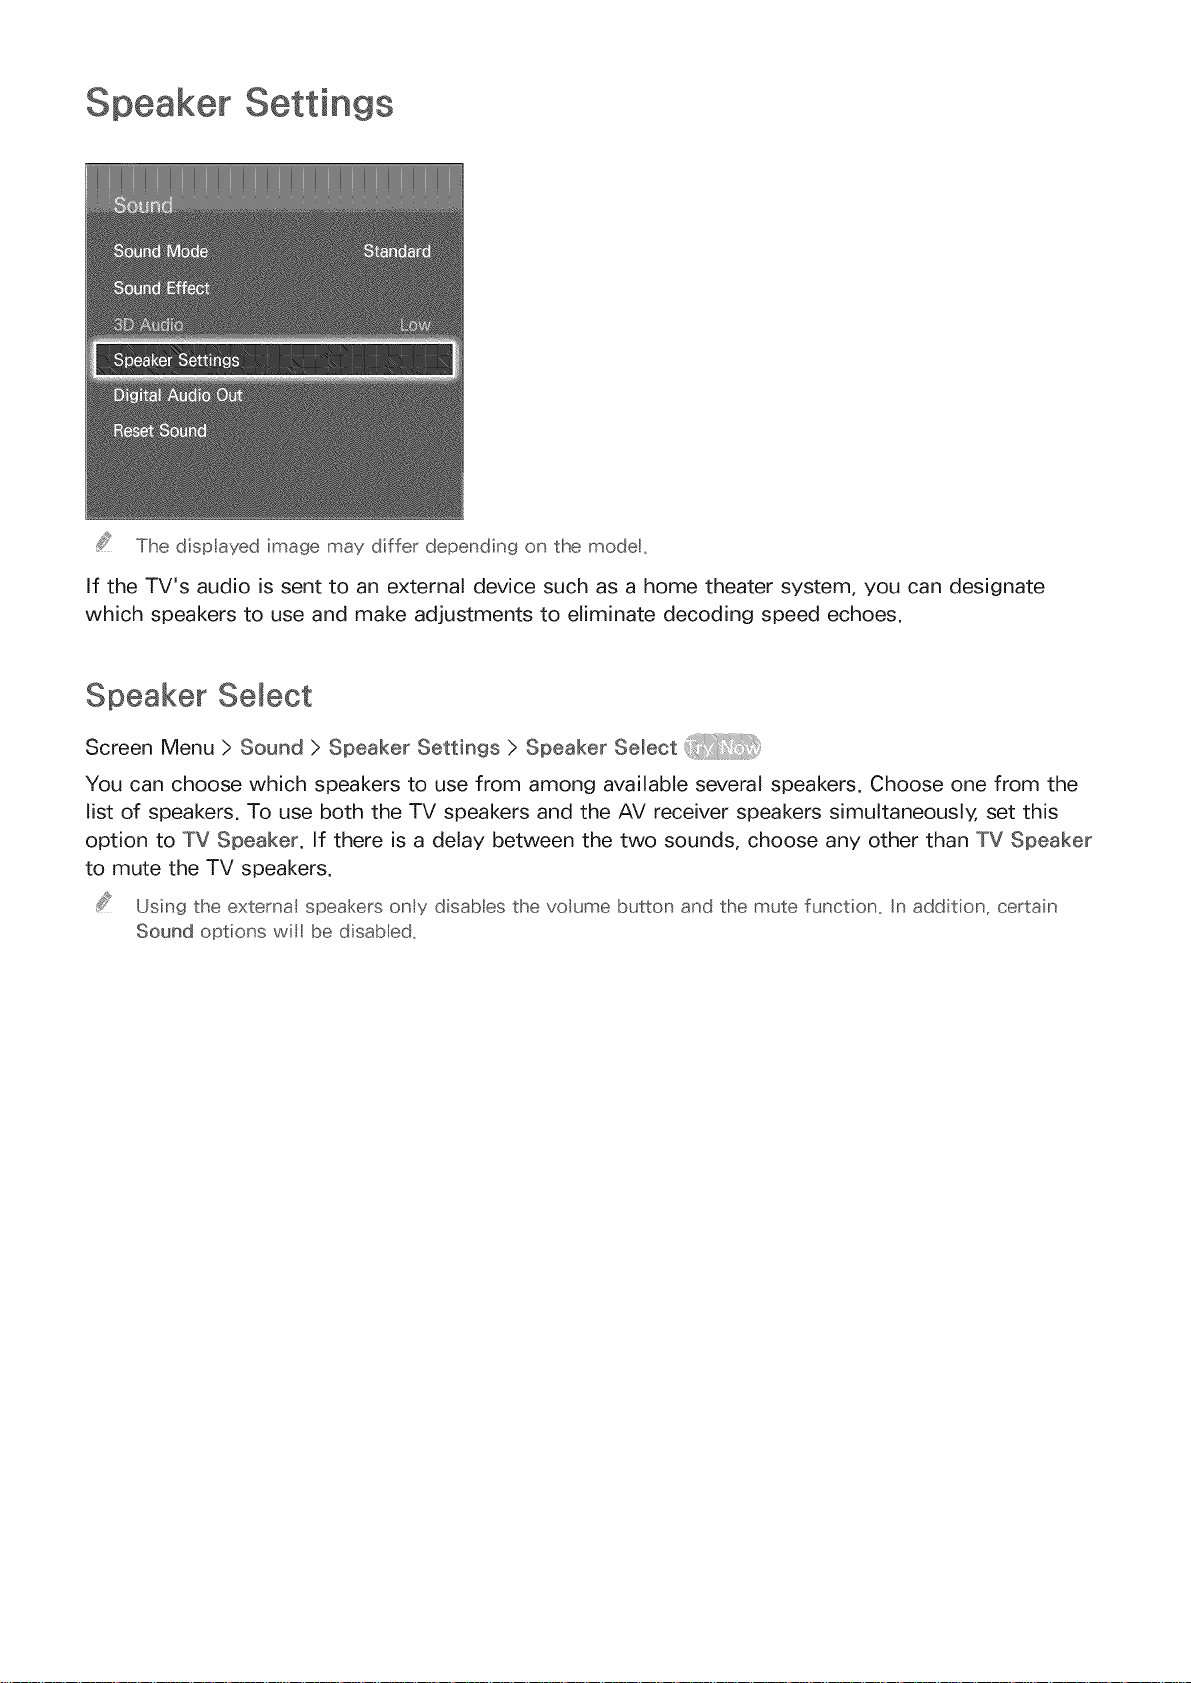
Speaker Settings
The dispIayed image may differ depending on the modet,
If the TV's audio is sent to an external device such as a home theater system, you can designate
which speakers to use and make adjustments to eliminate decoding speed echoes.
Speaker Select
Screen Menu > Sound > Speaker Settings > Speaker SeLect
You can choose which speakers to use from among available several speakers. Choose one from the
list of speakers. To use both the TV speakers and the AV receiver speakers simultaneously, set this
option to TV Speaker. If there is a delay between the two sounds, choose any other than TV Speaker
to mute the TV speakers.
Using the extema speakers only disables the volume button and the mute function_ In addition, certain
Sound options wi be disabed,

Digital Audio Output
Screen Menu > Sound > DigitaN Audio Out
This TV is SPDIF-enabled. The Sony Philips Digital Interface (SPDIF) provides digital audio output to
speakers and various digital devices, including A/V Receivers and home theaters. This feature reduces
interference and distortion.
o Audio Format: Selects the Digital Audio output (SPDIF) format. The available Digital Audio output
(SPDIF) formats may vary depending on the input source.
Audio Demay: This setting helps correct timing mismatches between the audio and video tracks
when watching TV and listening to audio through a digital audio device. Enabling the feature
displays a slide bar that you can use to adjust the delay by up to 250ms.
Samsun9 Audio Device Connection
Screen Menu > Sound > Speaker Settings > SoundShare Settings
This function is available only with PDP 5500 series and LED 6400 series or higher.
Connect the TV to a Samsung audio device for a richer, clearer sound. This function is available for
Samsung Audio Device supported the SoundShare function.
Pair the Samsung audio device using the TV's Bluetooth function. Refer to the Samsung audio device's
operating manual for more information on pairing.
Add New Device
Enables/disables SoundShare. Connection signals from new devices are ignored if they are set to
Off.
Samsun9 Audio Device List
Displays a list of paired Samsung audio devices. Select a device to display its menu options.
Activate/deactivate the audio device or remove it from the list.
When t_sing a B uetootlit audio de4ce, a sight mismatch between the a_dio and video may occt¢
depending o_ the co _tent

C ock and Timer
The displayed image may differ depending on the modet,
Use the clock and timer to make scheduled use of the TV easier and more efficient. Once the clock
has been set, you can select the virtual remote panel's or the regular remote's IINIFObutton to check
the current time. The clock must be reset every time the power is disconnected.
Setting the Time
Screen Menu > System > Time > Clock
Set the clock manually or automatically.

Automaticallydownloadthe correcttime from adigital channel.Toenablethis option,anantenna
cablehasto beconnectedto the TV.Theaccuracyof thetime informationreceivedmayvary
dependingon the channelandsignal.Set ClockModeto Auto.
Time Zone and DST may not be supported depend ng on the country_
o DST: Set the DST (Daylight Savings Time).
Time Zone: Choose your time zone.
Time Offset
Screen Menu ) System ) Time ) Clock ) Time Offset _:_
If the set time is not accurate, users can set the time offset to adjust the time difference hourly from
-12 to +12 hour. Changing Time Offset is only available, when the Time is set to auto, and is set
through a network.
The current time will be set through a network, if the TV fails to receive the time information including
the broadcast signal from TV stations. (ex: Watching TV via set-top box, Satellite receiver, or etc)
Manually enter the time. Set Clock Mode to Manual and then select Clock Set to enter the current
time and date.
Sleep Timer
Screen Menu ) System ) Time ) S_eep Timer
This function automatically shuts off the TV after a preconfigured period of time. You can set the timer
up to 180 minutes in 30 minute increments.

On Timer
Screen Menu > System > Time > On Timer
Set the On Timer so that the TV turns on automatically at a chosen time. Only three On Timer settings
can run concurrently. The clock must be set for the On Timer to work.
o Setup: Specify the dates and duration. Use Manual to specify the days of the week.
Time: Specifies the on time.
Volume: Specifies the volume when the TV turns on.
Source: Selects a signal source from the list. Specify a channel or source to be displayed when
the TV turns on. To specify a USB device, a USB device must first be connected to the TV. To
playback media from an HDMI or Component source such as a DVD player or Blu-ray player, the
device must already be turned on and playing the media when the TV is turned on.
Antenna: Set Source to TV to select a broadcast signal.
Channel" Set Source to TV to select a channel.
Music / Photo: Set Source to USB to specify a USB device folder containing music and image
files. Selecting both music and image files plays the music files and displays the images at the
same time.
This feature wl not funct on properly f the seected USB device does not conta n meda ftes or a foder
has not been spec f ed,
The sideshow wil not start f there s only one mage fte on the USB device,
Fo ders with long names cannot be seected,
Always use d fferent foder names for mut pie USB devices,
Use a USB memory stick or mult-card readec On Timer may not work wth certain battery-powered USB
devices, MP3 players, or PMPs because the TV may take too long to recognize the device,
Off Timer
Screen Menu > System > Time > Off Timer
Set the Off Timer to turn the TV off automatically at a specific time. Only three Off Timer settings can
be entered concurrently. The clock must be set for the Off Timer to work.
Setup: Specifies the date or period to run the function. Use Manual to specify the days of the
week.
Time: Sets the time for the TV to automatically turn off.

Screen Protection and Maintenance
The dispIayed image may differ depending on the modet,
Several onboard functions exist that help maintain the TV beyond its useful lifespan and decrease
power consumption.
Eco Solution
Screen Menu > System > Eco Solution
Eco Solution adjusts the TV's brightness level and prevents overheating to reduce overall power
consumption,
o Energy Saving
Select a brightness setting from the list to reduce the TV's power consumption. _:!/_
, Eco Sensor
Automatically adjusts the TV's brightness level based on the ambient light level to reduce the
TV's power consumption. If the Eco Sensor has adjusted the screen's brightness level, you can
manually adjust the screen's minimum brightness level by adjusting Mino BacMight or Min Cell
Light (applicable models). If Eco Sensor is enabled and the Picture menu's BacMight or Cell Light
(applicable models) value is changed, Eco Sensor is automatically disabled.
This function is not available LED 4300 series.
,, No Signal Power Off
Select a time from the list. If no signal is received for the specified duration, the TV will
automatically cut off the power to reduce power consumption.
, Auto Power Off
If the TV remains turned on for four hours without any user input, the TV will automatically turn
off to prevent overheating.

Screen Burn Protection
Screen Menu > System > Screen Burn Protection
This feature is only available for PDP TVs.
To reduce the possibility of screen burn, the TV uses Pixel Shift screen burn prevention technology.
Pixel Shift moves the picture slightly on the screen to avoid over-using some elements and under-
using others. The PixeN Shift Time setting allows users to program the time between picture
movements, in minutes.
The TV also has the following additional screen burn protection functions:
o Pixel Shift
Auto Protection Time
o
Side Gray
Pixel Shift
Screen Menu > System > Screen Burn Protection > Pixel Shift
Set the TV to very slightly shift pixels on the PDP screen in a horizontal or vertical direction to
minimize burned-in after-images.
The PixeN Shift value may differ depending on the monitor size and mode. It is not available in Screen
Fit mode.
Settings:
Horizontal: Available Settings: 0 - 4 (pixels), Optimum settings for TV/AV/Component/HDMl: 4
Vertical: Available Settings: 0 - 4 (pixels), Optimum settings for TV/AV/Component/HDMl: 4
Time (minutes): 1 - 4 min, Optimum settings for TV/AV/Component/HDMl: 4 min
Auto P_"otection _ime
Screen Menu > System > Screen Burn Protection > Auto Protection Time
If the screen displays a still image for a certain period of, the TV activates the screen saver to prevent
the formation of burnt-in ghost images.

Scro ing
Screen Menu > System > Screen Burn Protection > Scrolling
This removes after-images on the screen by illuminating all the pixels on the PDP according to a set
pattern. Use this when there are after-images or symbols on the screen, especially when a still image
was displayed on the screen for a long time.
The after-image removal function has to be executed for approximately 1 hour to effectively remove
after-images. If the after-image is not removed the first time, repeat the process.
Press any button to cancel this process.
Side Gray
Screen Menu > System > Screen Burn Protection > Side Gray
This allows selection of colors for the sidebars the TV displays when the screen size is set to 4:3. The
default color is gray.
Auto Protection Time
Screen Menu > System > Auto Protection Time
Select a time from the list. If a still image is shown on the screen for the specified duration of time,
the TV will automatically activate the Screen Burn Protection function to prevent burnt-in ghost
images. This feature is only available for LED TVs.

Thedisplayedimagemaydifferdependingonthemodel,
ThisTV requiresa passwordto lock out channelsandto resetits settingsto thefactory default,
Change Password
Screen Menu > System > Change P_N
Change the TV's password,
Run Change P_N and then enter the current password in the password field. The default password
is 0000.
2. Enter a new password and then enter it again to confirm it. The password change is complete.
If you forget the PIN code, press the buttons in the following sequence which resets the PIN to "0-0-
0-0":
For Standard Remote Control:
In Standby mode: IMUTIE _ 8 _ 2 _ 4 _ IPOWIER(on)
For Smart Touch Control:
When the TV turnes on: IMUTIE _ Volume up _ RIETURN _ Volume down _ IRIETURII__ Volume up
IRIETURN
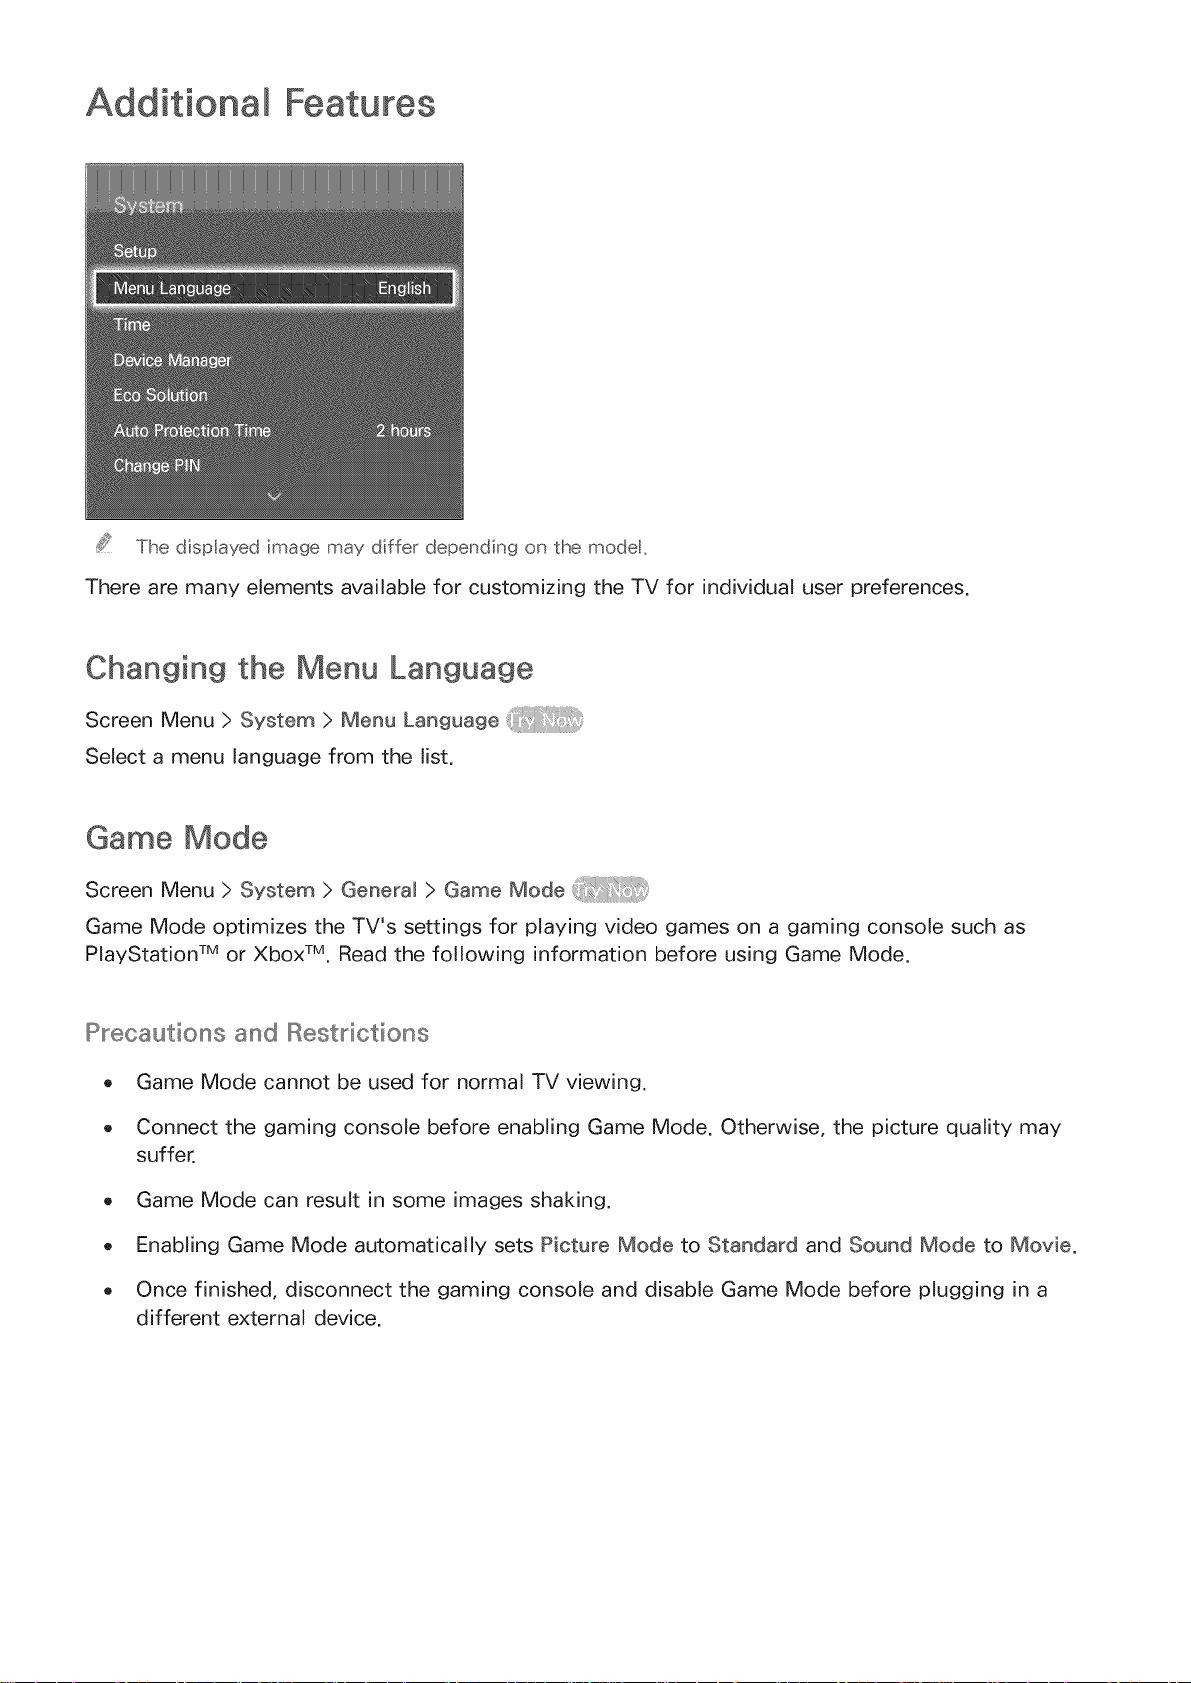
Additional Features
The dispIayed image may differ depending on the modet,
There are many elements available for customizing the TV for individual user preferences.
Changing the Menu Language
Screen Menu > System > Menu Language
Select a menu language from the list.
Game Mode
Screen Menu > System > General > Game Mode
Game Mode optimizes the TV's settings for playing video games on a gaming console such as
PlayStation TM or Xbox TM, Read the following information before using Game Mode.
Precautions and Restrictions
o Game Mode cannot be used for normal TV viewing.
o Connect the gaming console before enabling Game Mode. Otherwise, the picture quality may
suffer,
o Game Mode can result in some images shaking.
o Enabling Game Mode automatically sets Picture Mode to Standard and Sound Mode to Movie.
o Once finished, disconnect the gaming console and disable Game Mode before plugging in a
different external device.

BD Wise
Screen Menu > System > General > BD Wise
This function is available only with PDP 5500 series and LED 6300 series and above.
Connecting a Samsung DVD player, Blu-ray player, or home theater system that supports BD Wise
enables you to enjoy the richest colors and picture quality possible. Enabling BD Wise automatically
optimizes the TV's resolution. This feature is only available when the external device is connected via
an HDMI cable.
Menu Transparency
Screen Menu > System > General > Menu Transparency
Adjust the menu screen's transparency.
Sound Feedback
Screen Menu > System > General > Sound Feedback
Adjust the sound feedback volume or disable it entirely. Sound feedback is an audio cue that plays
when you move the focus or make a selection.
Panel Locking
Screen Menu > System > General > Panem Lock {_ _i/!:11i_
Lock or unlock all the keys on the front panel. The panel keys are located at the back of the TV and
can be used to select options, to change the channel, and to adjust the volume.
Booting Logo
Screen Menu > System > General > Boot Logo _:_i!i_:i::::
Enable/disable displaying the logo while the TV starts up.
DivX@ Video On Demand
Screen Menu > System > DivX® Video On Demand
Product registration is required to play back videos protected with DivX® DRM. Visit the DivX website
and register the code displayed on the screen.
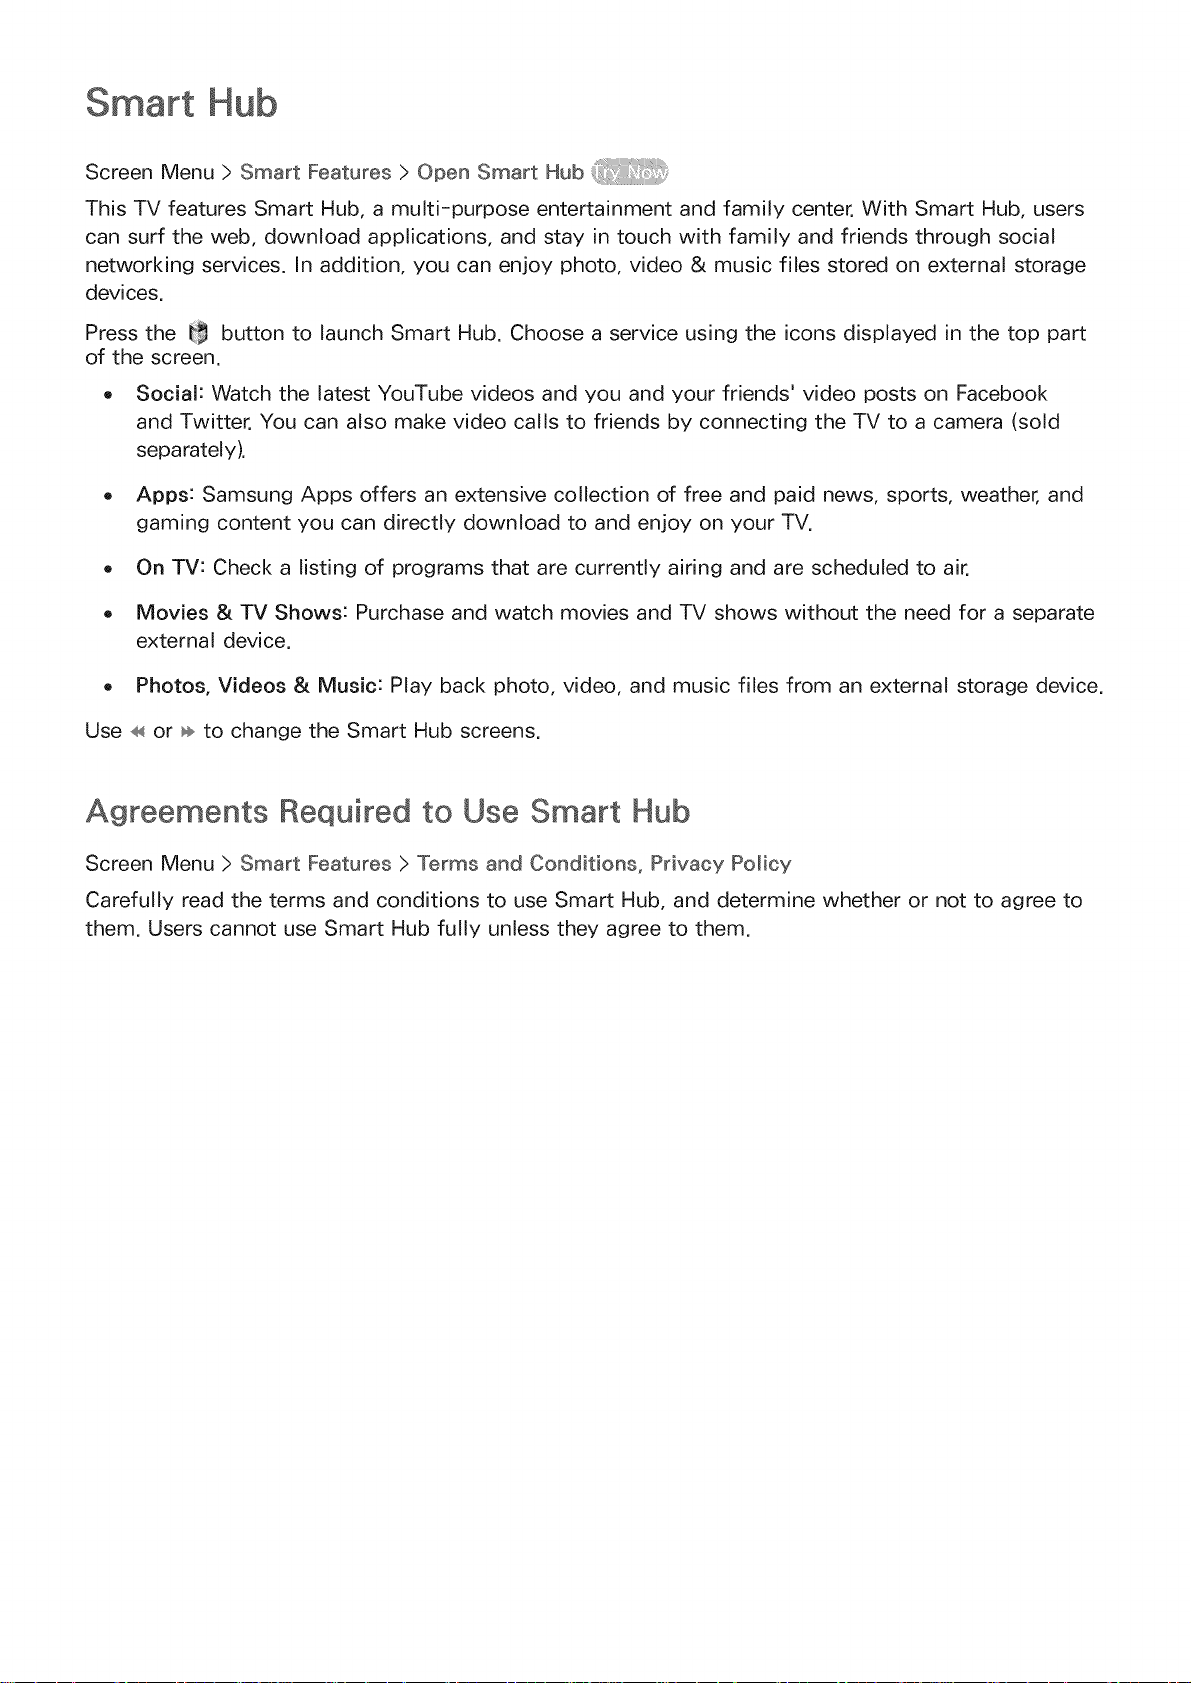
Smart Hub
Screen Menu > Smart Features > Open Smart Hub
This TV features Smart Hub, a multi-purpose entertainment and family center. With Smart Hub, users
can surf the web, download applications, and stay in touch with family and friends through social
networking services. In addition, you can enjoy photo, video & music files stored on external storage
devices.
Press the _ button to launch Smart Hub. Choose a service using the icons displayed in the top part
of the screen.
o Social: Watch the latest YouTube videos and you and your friends' video posts on Facebook
and Twitter. You can also make video calls to friends by connecting the TV to a camera (sold
separately).
o Apps: Samsung Apps offers an extensive collection of free and paid news, sports, weather, and
gaming content you can directly download to and enjoy on your TV.
o On TV: Check a listing of programs that are currently airing and are scheduled to air.
o Movies & TV Shows: Purchase and watch movies and TV shows without the need for a separate
external device.
o Photos, Videos & Music: Play back photo, video, and music files from an external storage device.
Use _ or _ to change the Smart Hub screens.
Agreements Required to Use Smart Hub
Screen Menu > Smart Features > Terms and Conditions, Privacy Policy
Carefully read the terms and conditions to use Smart Hub, and determine whether or not to agree to
them. Users cannot use Smart Hub fully unless they agree to them.
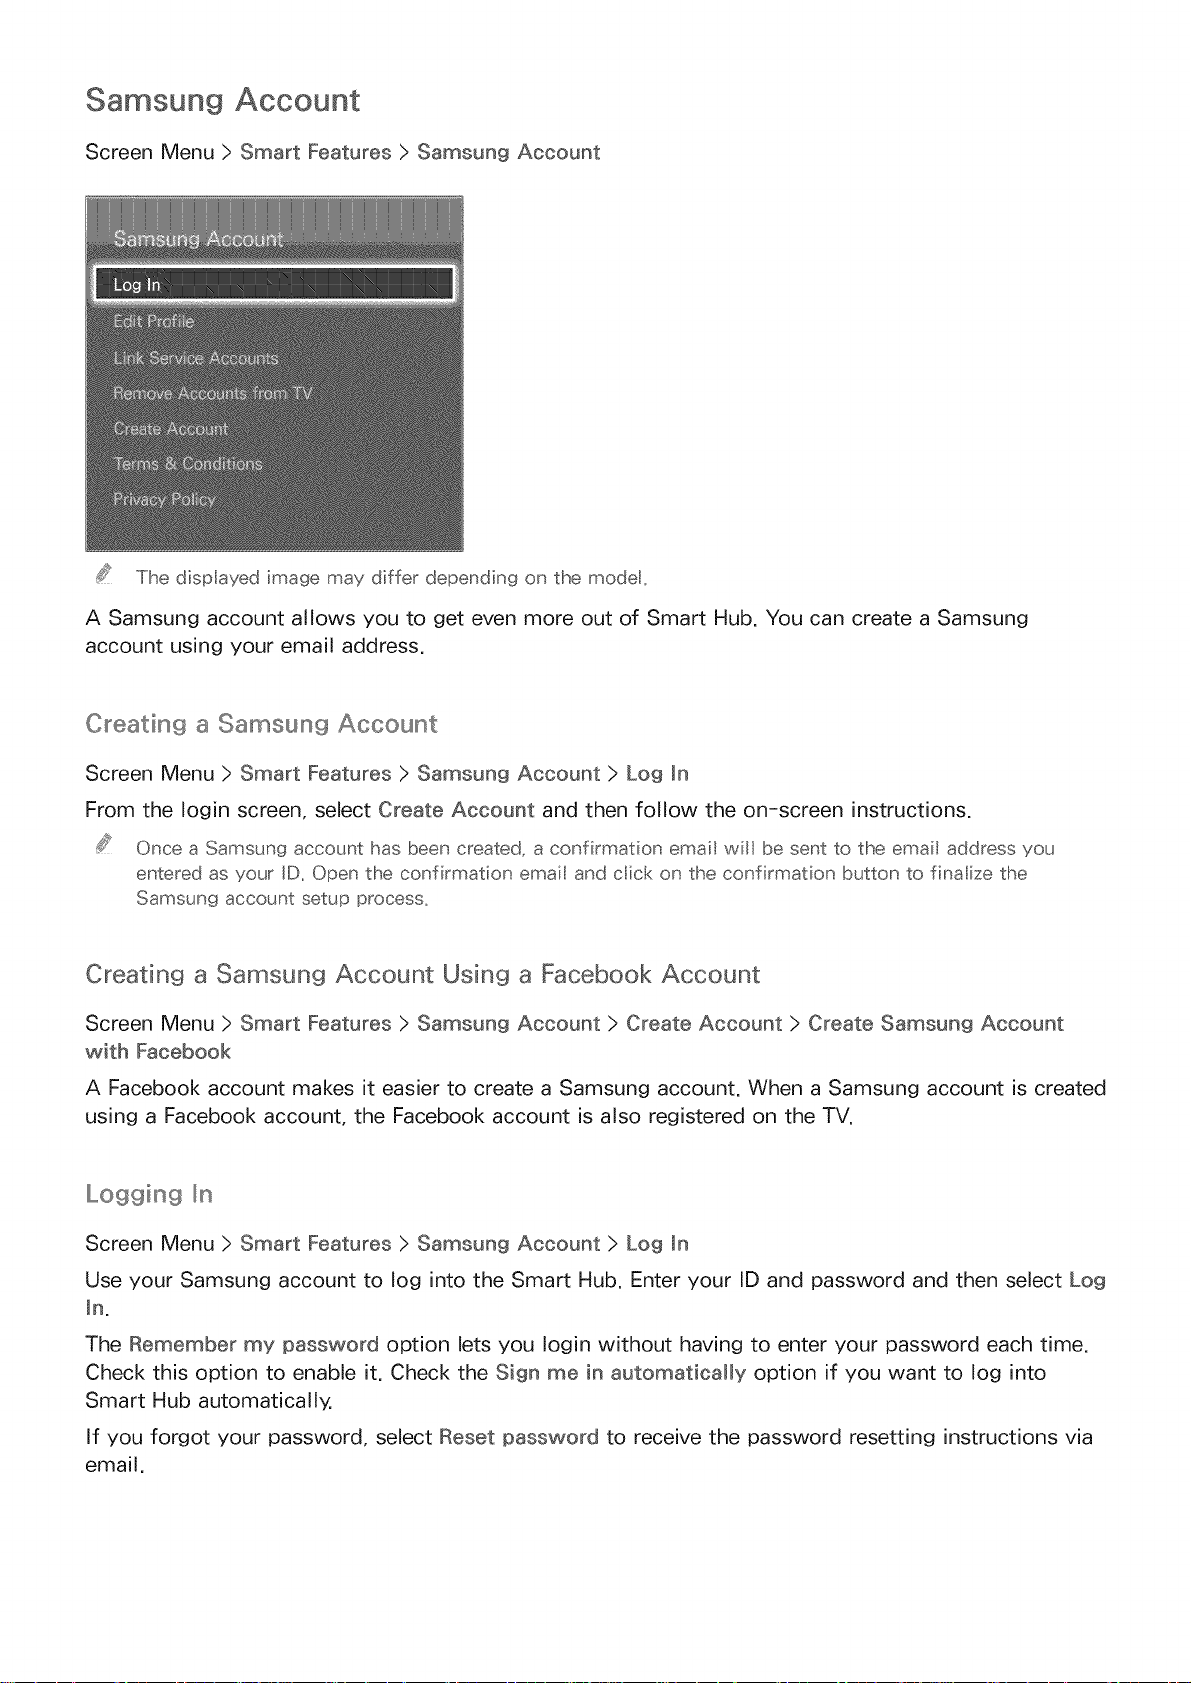
Samsun9 Account
Screen Menu > Smart Features > Samsun9 Account
The dispIayed image may differ depending on the modet,
A Samsung account allows you to get even more out of Smart Hub. You can create a Samsung
account using your email address.
Creating a Samsung Account
Screen Menu > Smart Features > Samsun9 Account > Log _n
From the Iogin screen, select Create Account and then follow the on-screen instructions.
Once a Samsung account has been created, a confirmation emait will be sent to the email address you
entered as your ID. Open the confirmation emait and cic< on the confirmation button to finalize the
Samsung account setup process_
Creating a Samsung Account Using a Facebook Account
Screen Menu > Smart Features > Samsun9 Account > Create Account > Create Samsun9 Account
with Facebook
A Facebook account makes it easier to create a Samsung account. When a Samsung account is created
using a Facebook account, the Facebook account is also registered on the TV.
Logging _n
Screen Menu > Smart Features > Samsun9 Account > Log Jn
Use your Samsung account to log into the Smart Hub. Enter your ID and password and then select Log
in.
The Remember my password option lets you Iogin without having to enter your password each time.
Check this option to enable it. Check the Sign me in automatically option if you want to log into
Smart Hub automatically.
If you forgot your password, select Reset password to receive the password resetting instructions via
email.

Terms and Conditions, Rrivacy Ro_icy
Screen Menu > Smart Features > Samsung Account > Terms & Conditions / Privacy PoNicy
Carefully read the terms and conditions to use Samsung Account, and determine whether or not to
agree to them. Users cannot use Samsung Account fully unless they agree to them. However, you can
only view the entire terms and conditions after signing in with your Samsung account and you can use
your Samsung Account after agreeing to the terms and conditions.
Linking a Samsung Account to Othe Accounts
Screen Menu > Smart Features > Samsung Account > Link Service Accounts
Linking your Samsung account to other accounts lets you automatically log into your linked accounts
when you log into your Samsung account. For example, you can download the Facebook application
and link your Facebook account to your Samsung account. Logging into your Samsung account then
automatically logs you into your Facebook account as well.
Log into your Samsung account and select Link Service Accounts to view a list of applications that
require Iogin information.
o Register Service Account: Select an application, select Register, and then provide the ID and
password.
Edit: It is possible to change a registered account. Select an application, select Edit, and enter the
ID and password for the new account.
Remove: Select an application to which an account has been registered and then select
Managing Accounts
Screen Menu > Smart Features > Samsung Account
Using the Samsung Account menu, you can manage your Samsung account. You can only use this
function after signing in with your Samsung account.
Edit Profile: You can change the basic user information and register your photo and credit card
information.
Remove Accounts from TV: The Samsung account used to sign into the Smart Hub is
automatically saved on the TV. You can delete your account information from among the saved
accounts on the TV.

Resettin9 Smart Hub
Screen Menu > Smart Features > Smart Hub Reset
It is possible to remove Samsung accounts and everything linked to them, including apps, from the TV.
Enter the password when accessing this menu. To use Smart Hub fully again after resetting it, users
are required to agree to the terms of conditions. Open the System menu, choose Setup, and then
follow the initial setup process.
Users can search many apps and their contents on the TV as well as the Web.
Keyword Search
For U.S.A. and Canada
Press the RECOIMIM._/ SEARCH button. The list appears at the bottom of the screen. Press the
IRIECOIMIM._/ SEARCH button again. Enter search criteria using the on-screen keyboard that appears,
and then select Done. A list of search results appears. Select a desired item from a list of search
results. The selected item's page appears.
For the other countries
Press the HISTORY / SEARCH button. The list appears at the bottom of the screen. Press the HISTORY
/ SEARCH button again. Enter search criteria using the on-screen keyboard that appears, and then
select Done. A list of search results appears. Select a desired item from a list of search results. The
selected item's page appears.
Setting Search Scope
Select _ icon on the Search result screen. User can set up the desired search range in the scope list.

Status and Notification
A notification message window appears at the top of the screen when important messages concerning
application updates and Samsung account Iogins are available. This message window notifies the user
of the TV's operating status.
Show Status and Notification Banner
PDP 5500, LED 6400 series and above
Press the MORE button on the Smart Touch Control and then select STATUS on the virtual remote
panel that appears on the screen. The status and notification banner is shown at the top of the screen.
LED 4300 - 6300 series
Press the STATUS button. The status and notification banner is shown at the top of the screen.
Voice Recognition & Motion Contro_ Configu_"stion
Enable/disable the status and notification banner's Voice Recognition and Motion Control functions.
It's also possible to perform the Motion Control Environment Test.
Samsung Account Configuration
Select My Account from the status and notification banner to manage your Samsung account, For
more information, refer to "Managing Accounts",
Hetwork Config_£ation
Select Network Settings from the status and notification banner to configure the network.
For details on how to connect to a wired network, see "Wired Network Setup".
For details on how to connect to a wireless network, see "Wireless Network Setup".
Check Notifications
If you were not able to check the notification message, you can see a list of unread notification
messages in the status and notifications banner. You can also check notifications from Notifications
(Smart Features > Notifications).
Selecting a notification from the list allows you to perform corresponding actions with ease. To delete
all notifications, select Delete All.
Selecting Service Notice launches WebBrowser to display the notification webpage of the Samsung
website.

Socia
The d splayed image may differ depend ng on the mode,
Watch the latest YouTube videos and you and your friends' video posts on Facebook and Twitter. You
can also make video calls to friends by connecting the TV Camera (sold separately).
Social Settings
Screen Menu > Smart Features > Social Settings
Checkin9 the Application
Certain applications need to be installed on the TV in order to use the Social feature. If a selected
application has not been installed on your TV, you will need to install it first. For more information on
installing applications, refer to "Samsung Apps".
Connectin9 a Service to a Samsun9 Account
Social service accounts need to be linked to a user's Samsung account first. If you do not have a
social service account, create one by visiting the website of that service. For more information on
connecting to a social service, refer to "Linking a Samsung Account to Other Accounts".
 Loading...