

Samsung SYNCMASTER 2053GW, SYNCMASTER 2253GW User Manual

LCD MONITOR
quick start guide
953GW/2053GW/2253GW
ii
Introduction
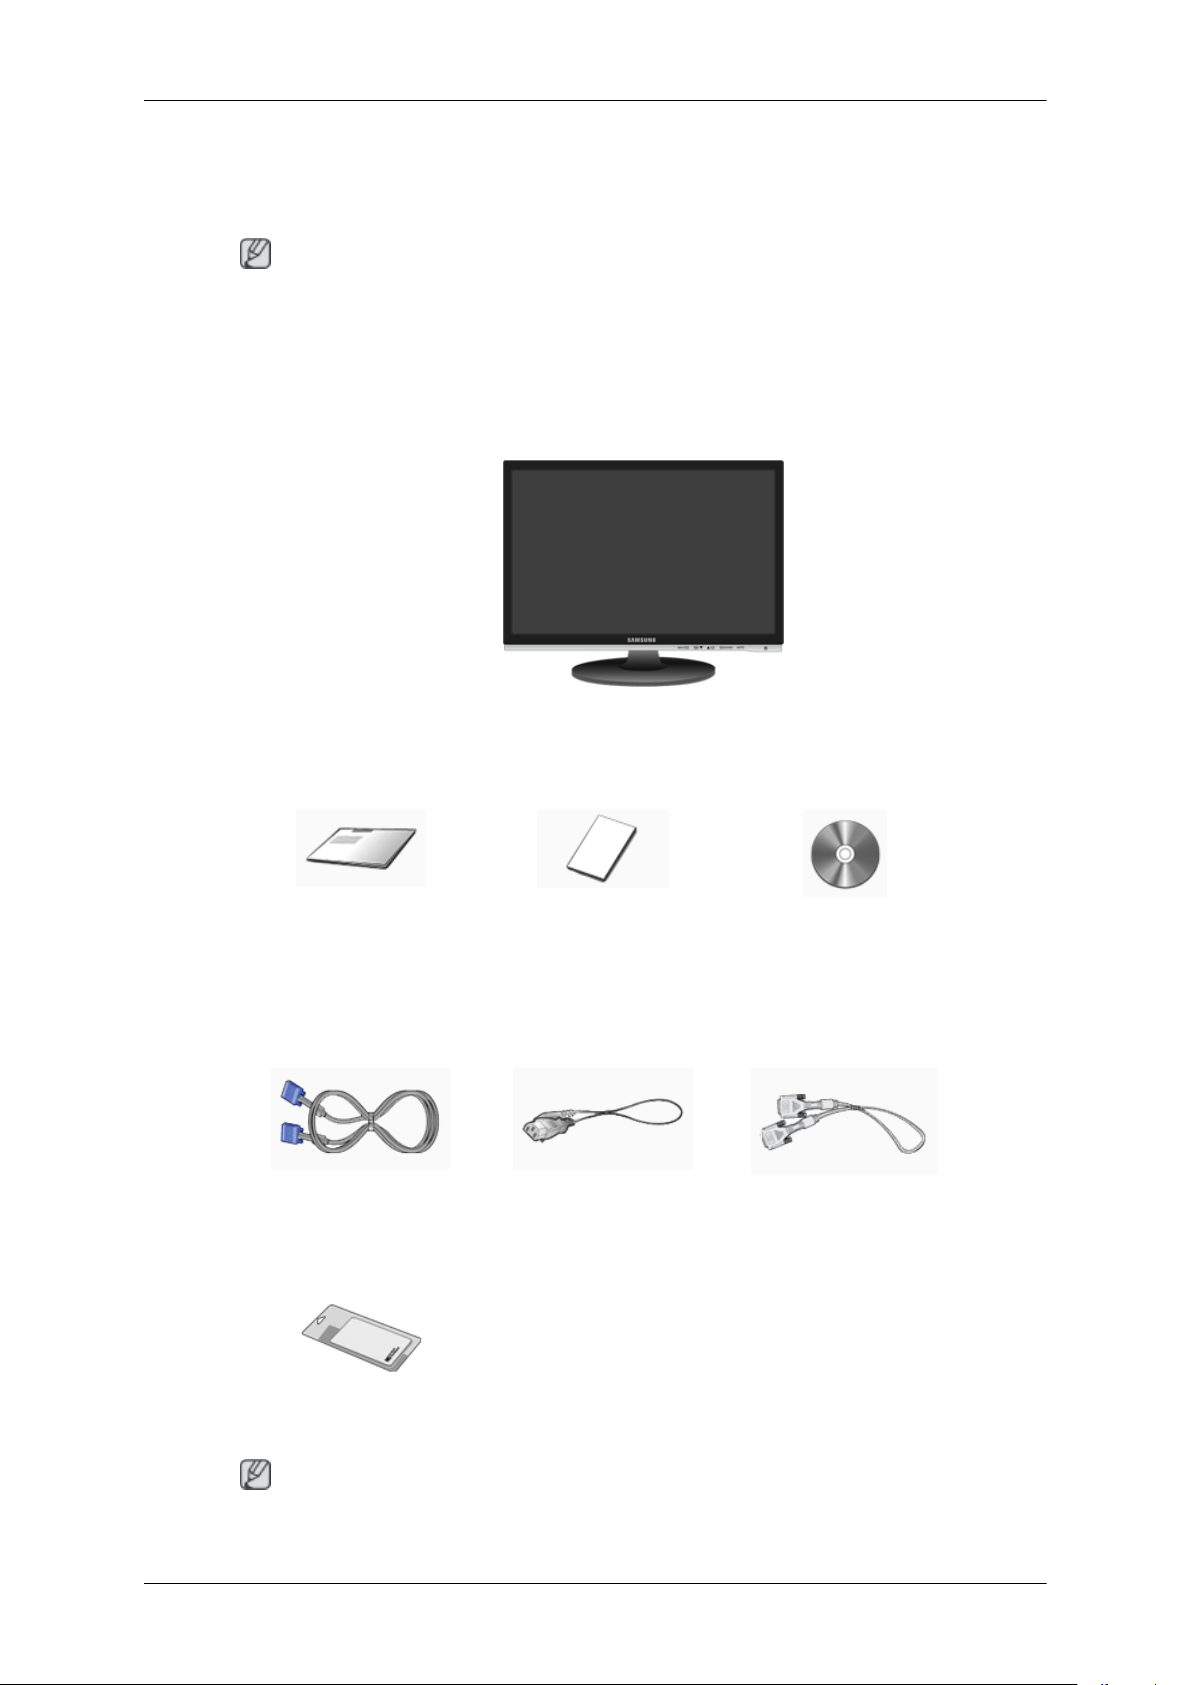
Package Contents
Note
Please make sure the following items are included with your monitor.
If any items are missing, contact your dealer.
Contact a local dealer to buy optional items.
Unpacking
Monitor
Manuals
Quick Setup Guide Warranty Card
(Not available in all loca-
Cables
D-Sub Cable Power Cord DVI Cable (option)
Others
User's Guide
tions)
Cleaning Cloth
Note
This is only provided for highly polished black products as a product feature.
Your Monitor
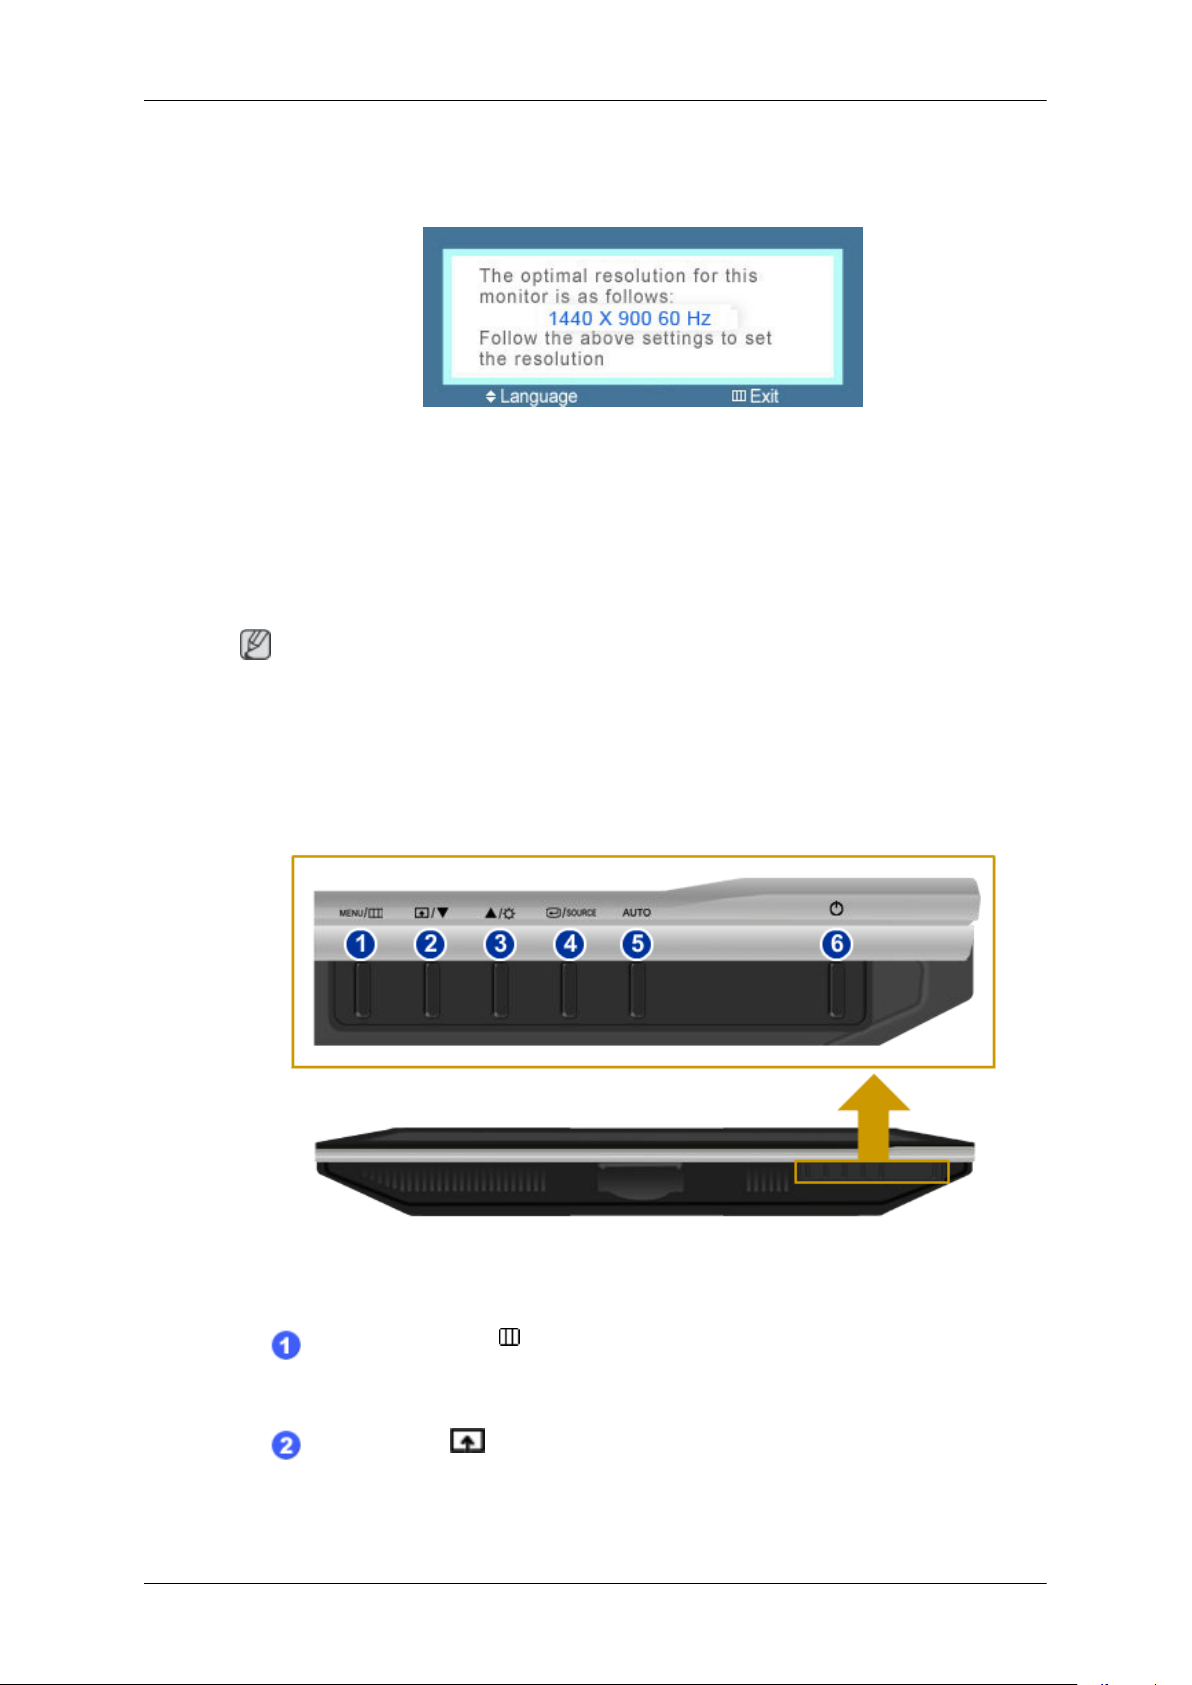
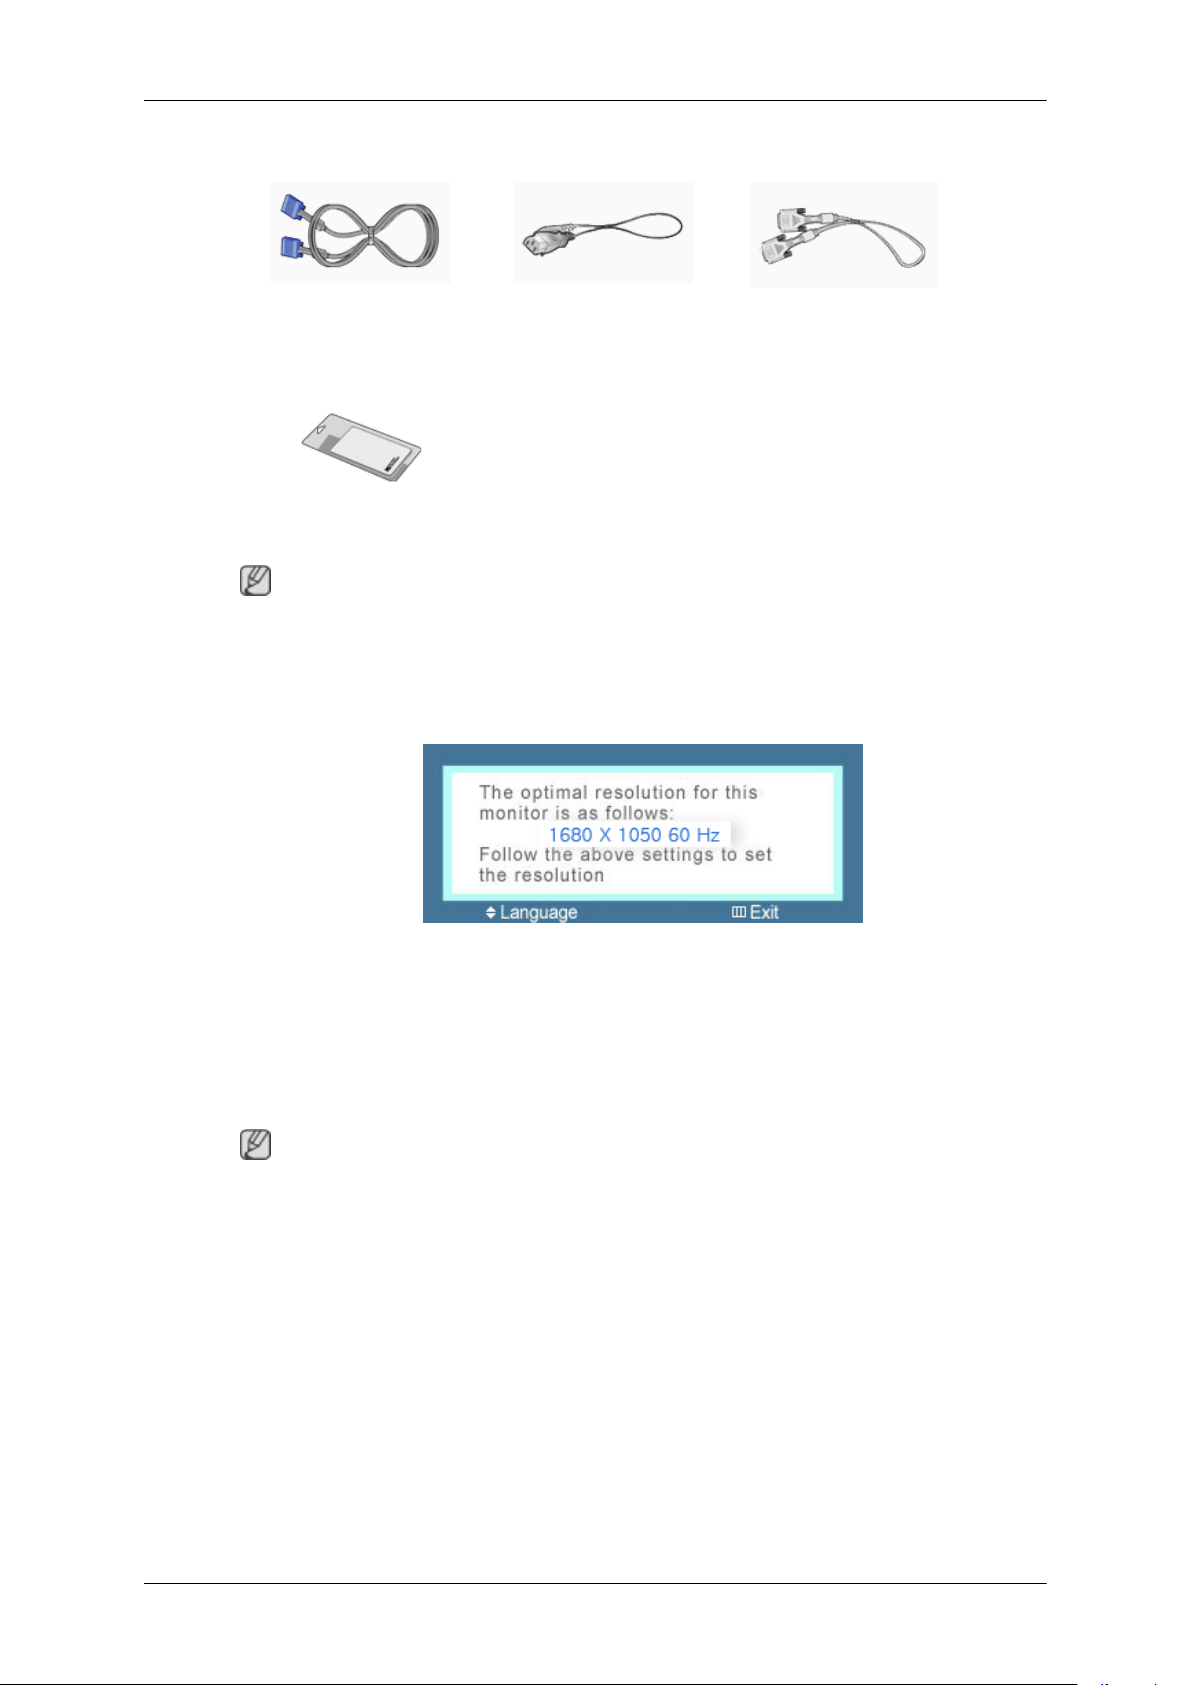
Initial Settings
Select the language using the up or down key.
The displayed content will disappear after 40 seconds.
Turn the Power button off and on. It will be displayed again.
It can be displayed up to three (3) times. Make sure to adjust the resolution of your PC before reaching
the maximum count.
Note
Introduction
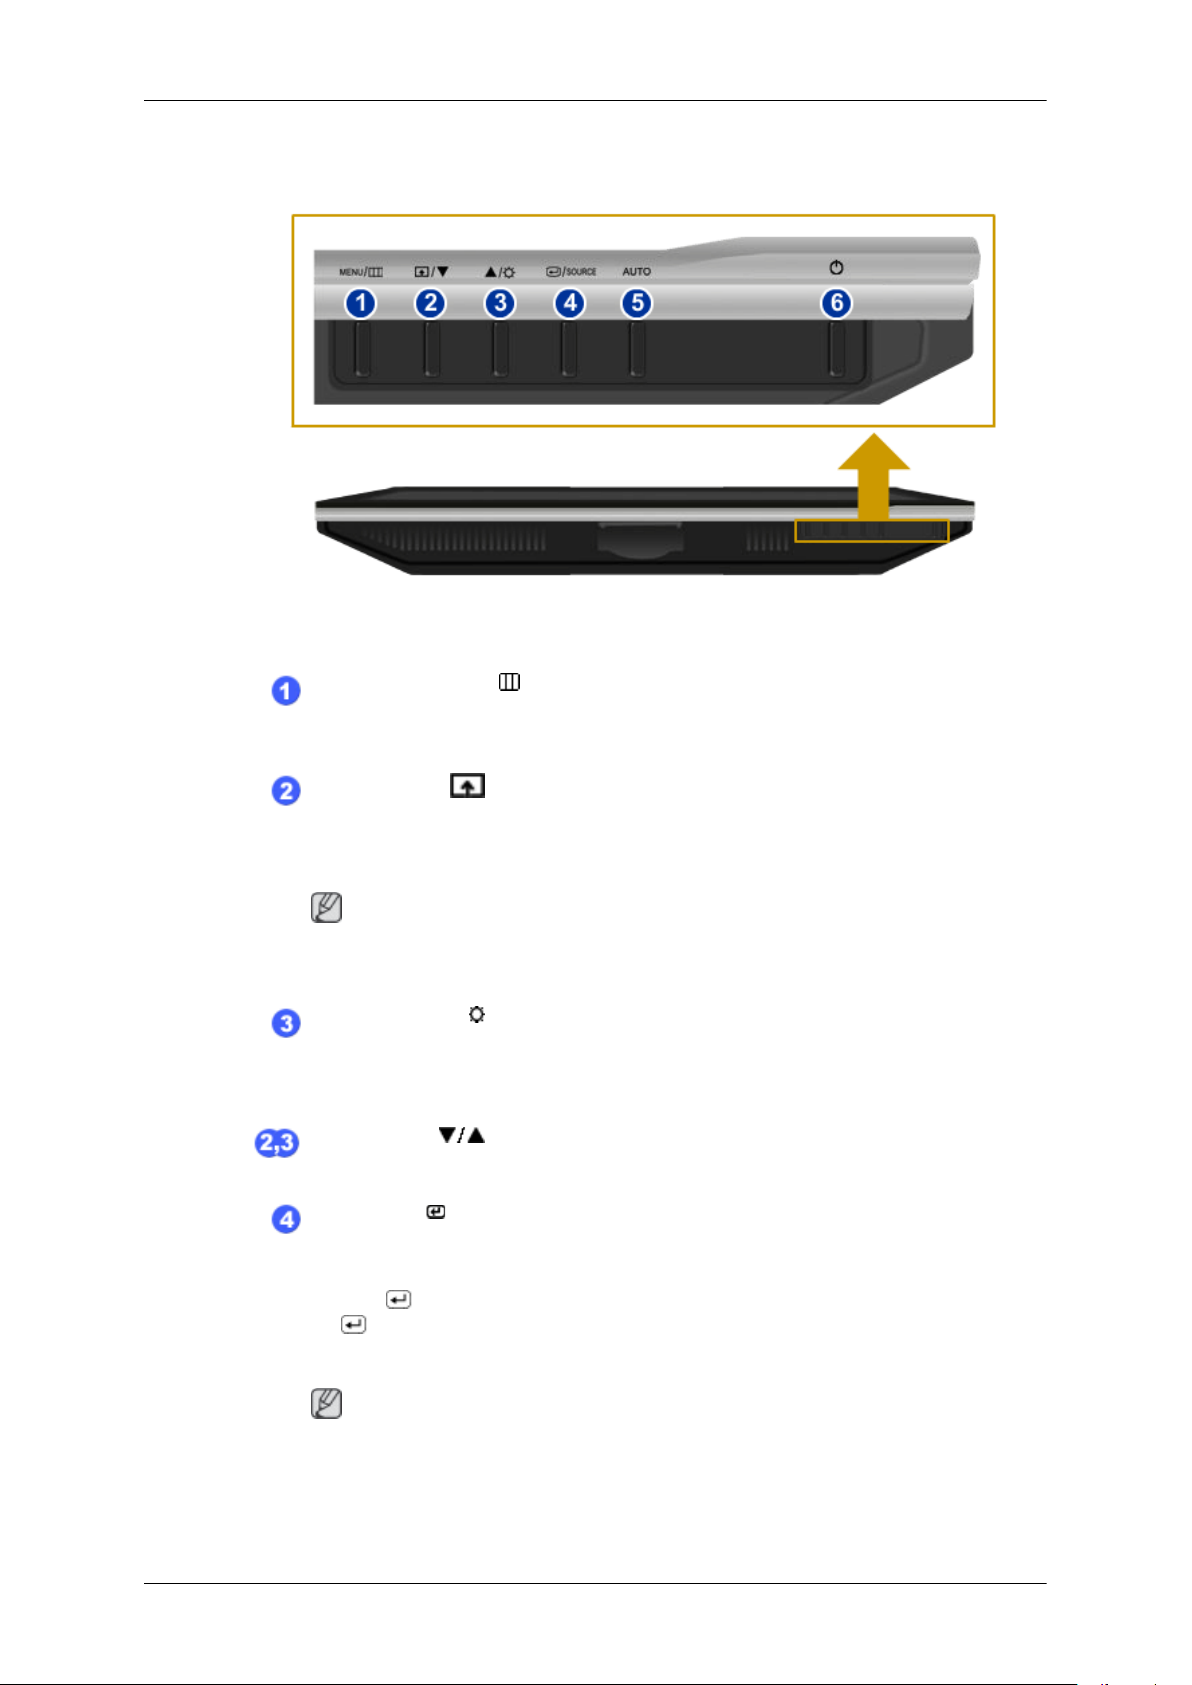
Front
The resolution displayed on the screen is the optimal resolution for this product.
Adjust your PC resolution so that it is the same as the optimal resolution for this product.
MENU button [MENU/ ]
Opens the on-screen menu and exits from the menu. Also use to exit the OSD menu
or return to the previous menu.
Customized Key[ ]
You can customize key assignment for the Custom button according to your pref-
erences.
Introduction
Note
You can configure the customized key for a required function via Setup > Customized Key.
Brightness button [ ]
When OSD is not on the screen, push the button to adjust brightness.
>> Click here to see an animation clip
Adjust buttons [ ]
These buttons allow you to adjust items in the menu.
Enter button [ ] / SOURCE button
Activates a highlighted menu item.
Push the ' /SOURCE', then selects the video signal while the OSD is off. (When
the /SOURCE button is pressed to change the input mode, a message appears
in the upper left of the screen displaying the current mode -- analog or digital input
signal.)
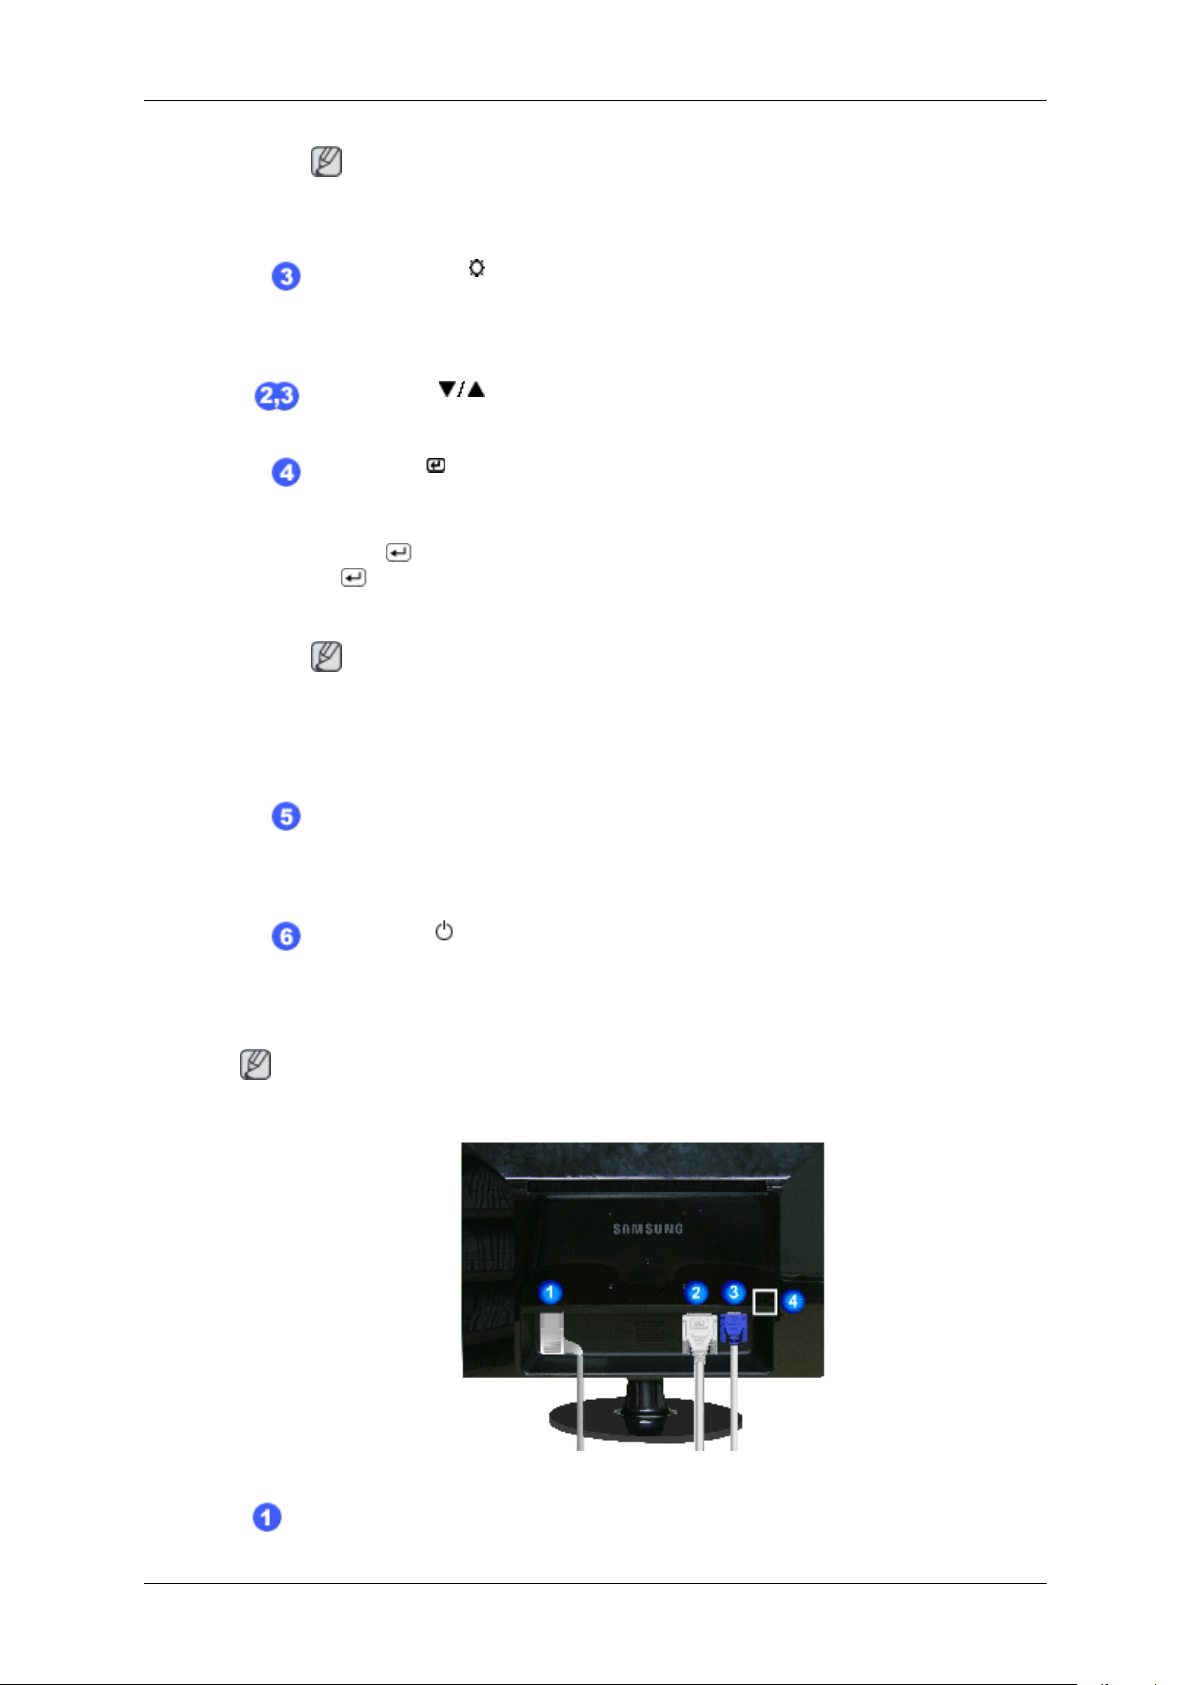
Rear
Note
If you select the digital mode, you must connect your monitor to the graphic card's
DVI port using the DVI cable.
>> Click here to see an animation clip
AUTO button
Use this button for auto adjustment.
>> Click here to see an animation clip
Power button [ ]
Use this button for turning the monitor on and off.
Note
The configuration at the back of the monitor may vary from product to product.
POWER port
Introduction
Connect the power cord for your monitor to the POWER port on the back of the
monitor.
DVI IN port
Connect the DVI Cable to the DVI IN port on the back of your monitor.
RGB IN port
Connect the D-sub cable to the 15-pin, RGB IN port on the back of your monitor.
Kensington Lock
The Kensington lock is a device used to physically fix the system when using it in a
public place. (The locking device has to be purchased separately.) For using a locking
device, contact where you purchase it.
Note
See Connecting Cables
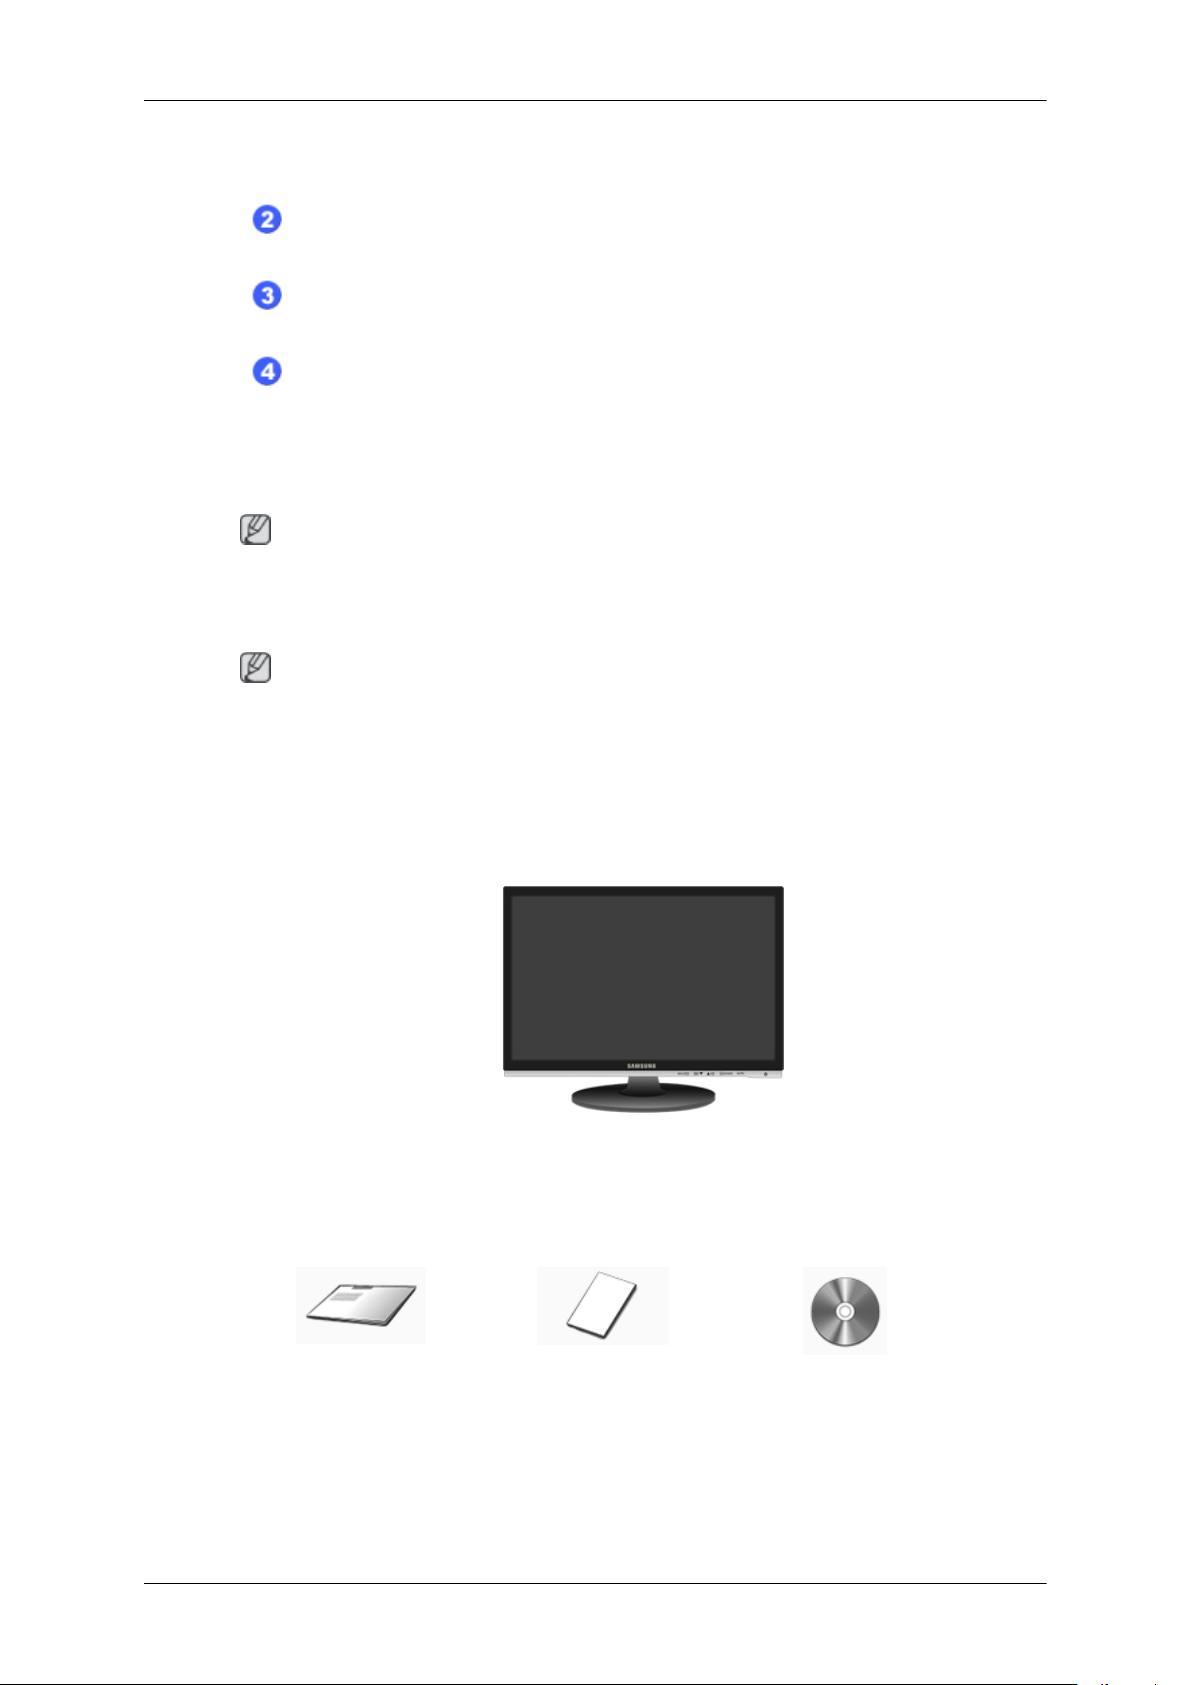
Package Contents
Note
Please make sure the following items are included with your monitor.
If any items are missing,
Contact a local dealer to buy optional items.
Unpacking
for further information regarding cable connections.
contact your dealer.
Manuals
Quick Setup Guide Warranty Card
(Not available in all loca-
Monitor
User's Guide
tions)
Introduction
Cables
D-Sub Cable Power Cord DVI Cable (option)
Others
Cleaning Cloth
Note
This is only provided for highly polished black products as a product feature.
Your Monitor
Initial Settings
Select the language using the up or down key.
The displayed content will disappear after 40 seconds.
Turn the Power button off and on. It will be displayed again.
It can be displayed up to three (3) times. Make sure to adjust the resolution of your PC before reaching
the maximum count.
Note
The resolution displayed on the screen is the optimal resolution for this product.
Adjust your PC resolution so that it is the same as the optimal resolution for this product.
Front
Introduction
MENU button [MENU/ ]
Opens the on-screen menu and exits from the menu. Also use to exit the OSD menu
or return to the previous menu.
Customized Key[ ]
You can customize key assignment for the Custom button according to your pref-
erences.
Note
You can configure the customized key for a required function via Setup > Customized Key.
Brightness button [ ]
When OSD is not on the screen, push the button to adjust brightness.
>> Click here to see an animation clip
Adjust buttons [ ]
These buttons allow you to adjust items in the menu.
Enter button [ ] / SOURCE button
Activates a highlighted menu item.
Push the ' /SOURCE', then selects the video signal while the OSD is off. (When
the /SOURCE button is pressed to change the input mode, a message appears
in the upper left of the screen displaying the current mode -- analog or digital input
signal.)
Note
If you select the digital mode, you must connect your monitor to the graphic card's
DVI port using the DVI cable.
>> Click here to see an animation clip
 Loading...