

Samsung SyncMaster 943BT, SyncMaster 2243SN, SyncMaster 943SN, SyncMaster 943BWT, SyncMaster 2243BWT User Manual
...Page 1

SyncMaster 943SN/943SNX/2043SN/2043SNX/
2243SN/2243SNX/2243LNX
LCD Monitor
User Manual
Page 2
Safety Instructions
Notational
Note
These safety instructions must be followed to ensure your safety and prevent property damage.
Make sure to read the instructions carefully and use the product in the correct manner.
Warning / Caution
Otherwise, it may result in death or personal injury.
Otherwise, it may result in personal injury or property damage.
Notational Conventions
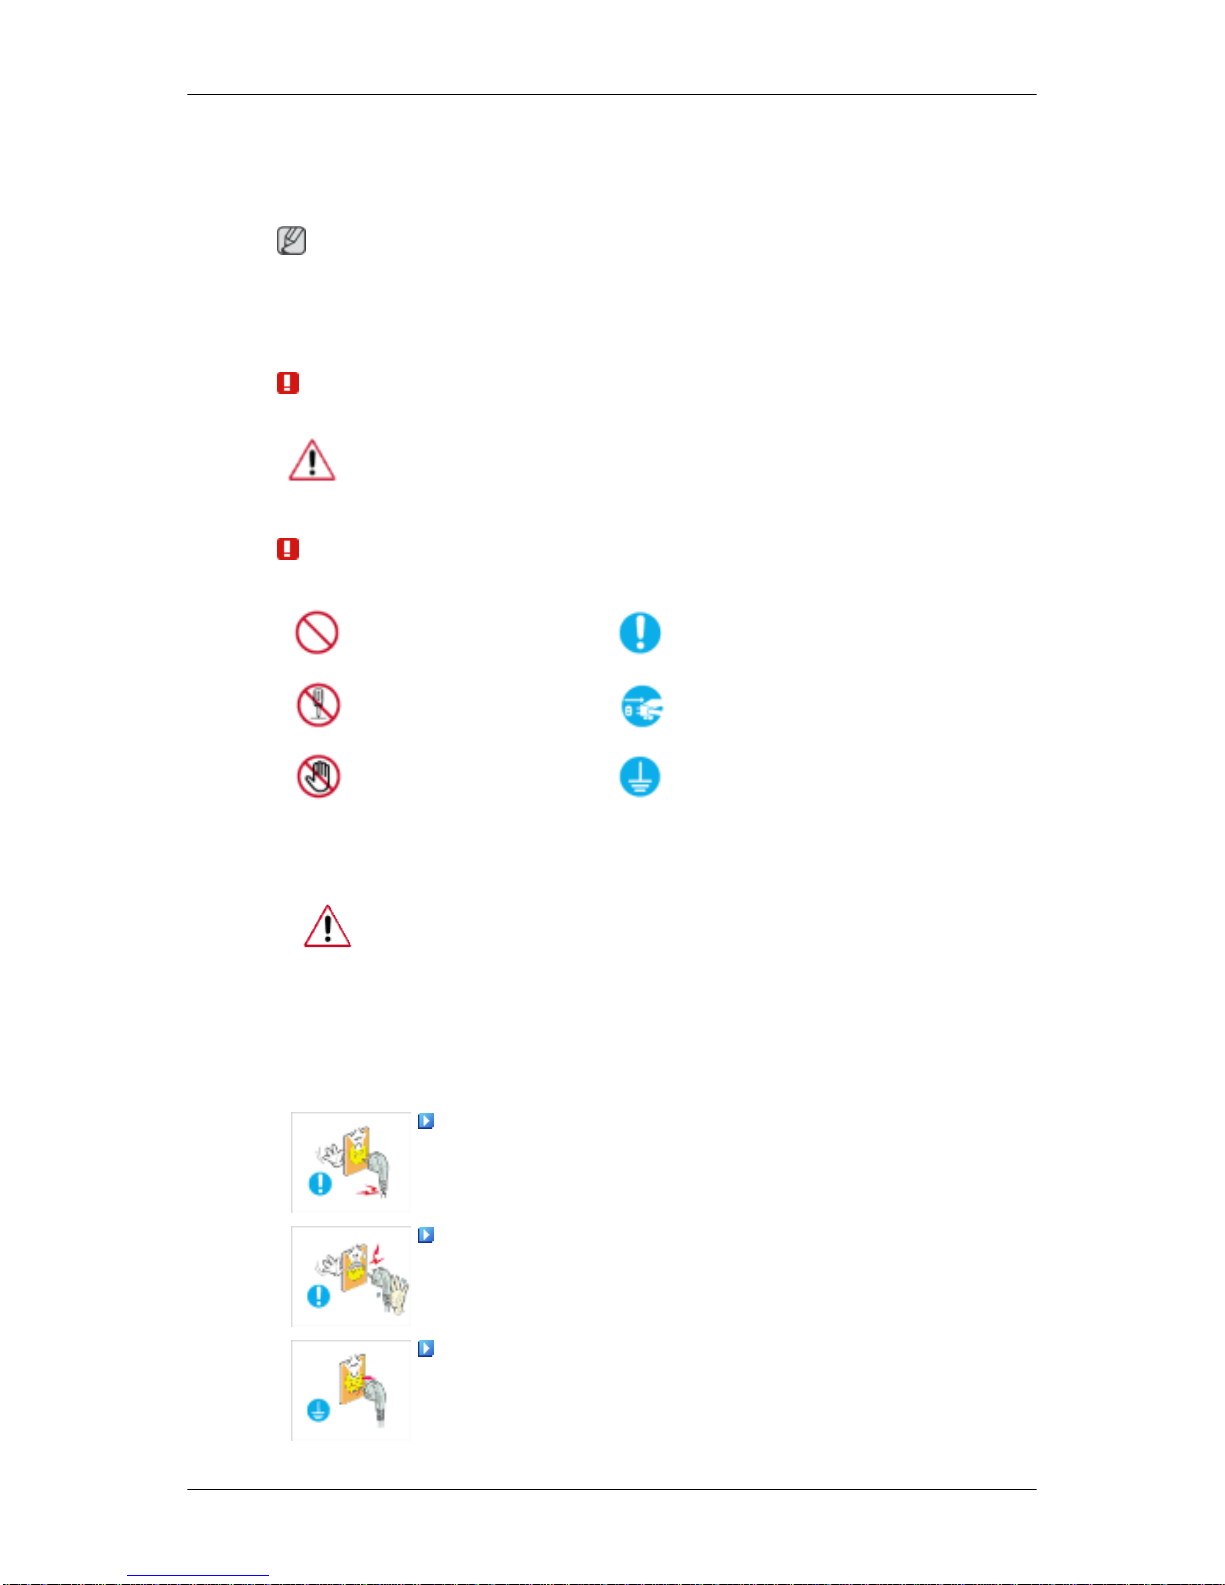
Prohibited
Important to read and understand at all times
Do not disassemble
Disconnect the plug from the
outlet
Do not touch
Ground to prevent an electric
shock
Power
When not used for extended period of time, set your computer to DPM.
If using screen saver, set it to active screen mode.
The images here are for reference only, and are not applicable in all cases
(or countries).
Shortcut to Anti-Afterimage Instructions
Do not use a damaged power cord or plug or a damaged or
loose power outlet.
• Otherwise, this may result in electric shock or fire.
Do not touch the power plug with wet hands when removing or
plugging the plug into the outlet.
• Otherwise, this may result in electric shock.
Make sure to connect the power cord to a grounded power out-
let.
• Otherwise, it may result in electric shock or personal injury.
Page 3
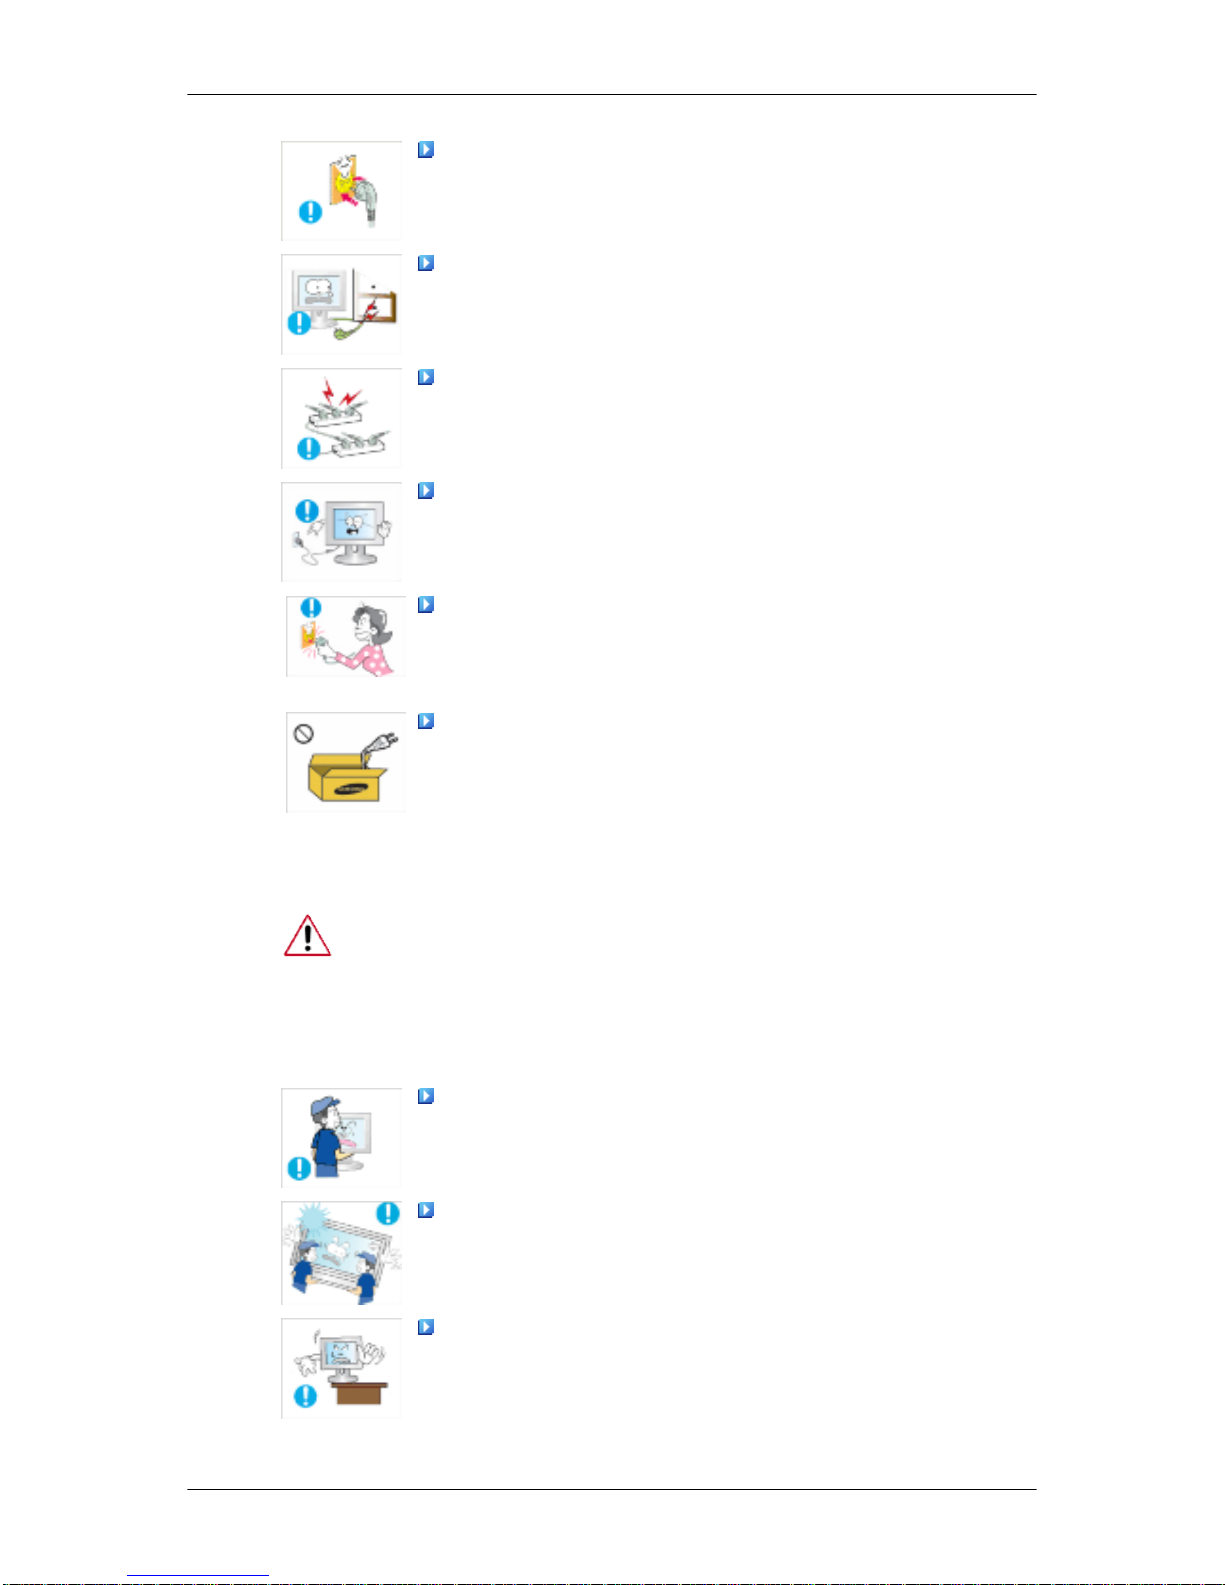
Ensure that the power plug is plugged into the power outlet
firmly and correctly.
• Otherwise, this may result in fire.
Do not forcefully bend or pull the power plug and do not place
any heavy material on it.
• Otherwise, this may result in fire.
Do not connect multiple appliances to the same power outlet.
• Otherwise, this may cause fire due to overheating.
Do not disconnect the power cord while using the monitor.
• Otherwise, this may result in damage to the product due to
electric shock.
To disconnect the apparatus from the mains, the plug must be
pulled out from the mains socket, therefore the mains plug shall
be readily operable.
• This may cause electric shock or fire.
Use only the power cord provided by our company. Do not use
the provided power cord of another product.
• Otherwise, this may result in fire or electric shock.
Installation
Be sure to contact an authorized Service Center when installing your
monitor in a location with heavy dust, high or low temperatures, high humidity, and exposed to chemical substances and where it operates for 24
hours such as at airports, train stations etc.
Failure to do so may cause serious damage to your monitor.
Do not drop the monitor when moving it.
• This may cause damage to the product or the person carrying
it.
Ensure that at least two persons lift and move the product.
• Otherwise, it may be dropped and cause personal injury, and/
or damage the product.
When installing the product in a cabinet or rack, make sure that
the front end of the bottom of the product does not project out.
• Otherwise, it may fall or cause personal injury.
• Use a cabinet or rack of a size appropriate to the product.
Safety Instructions
Page 4
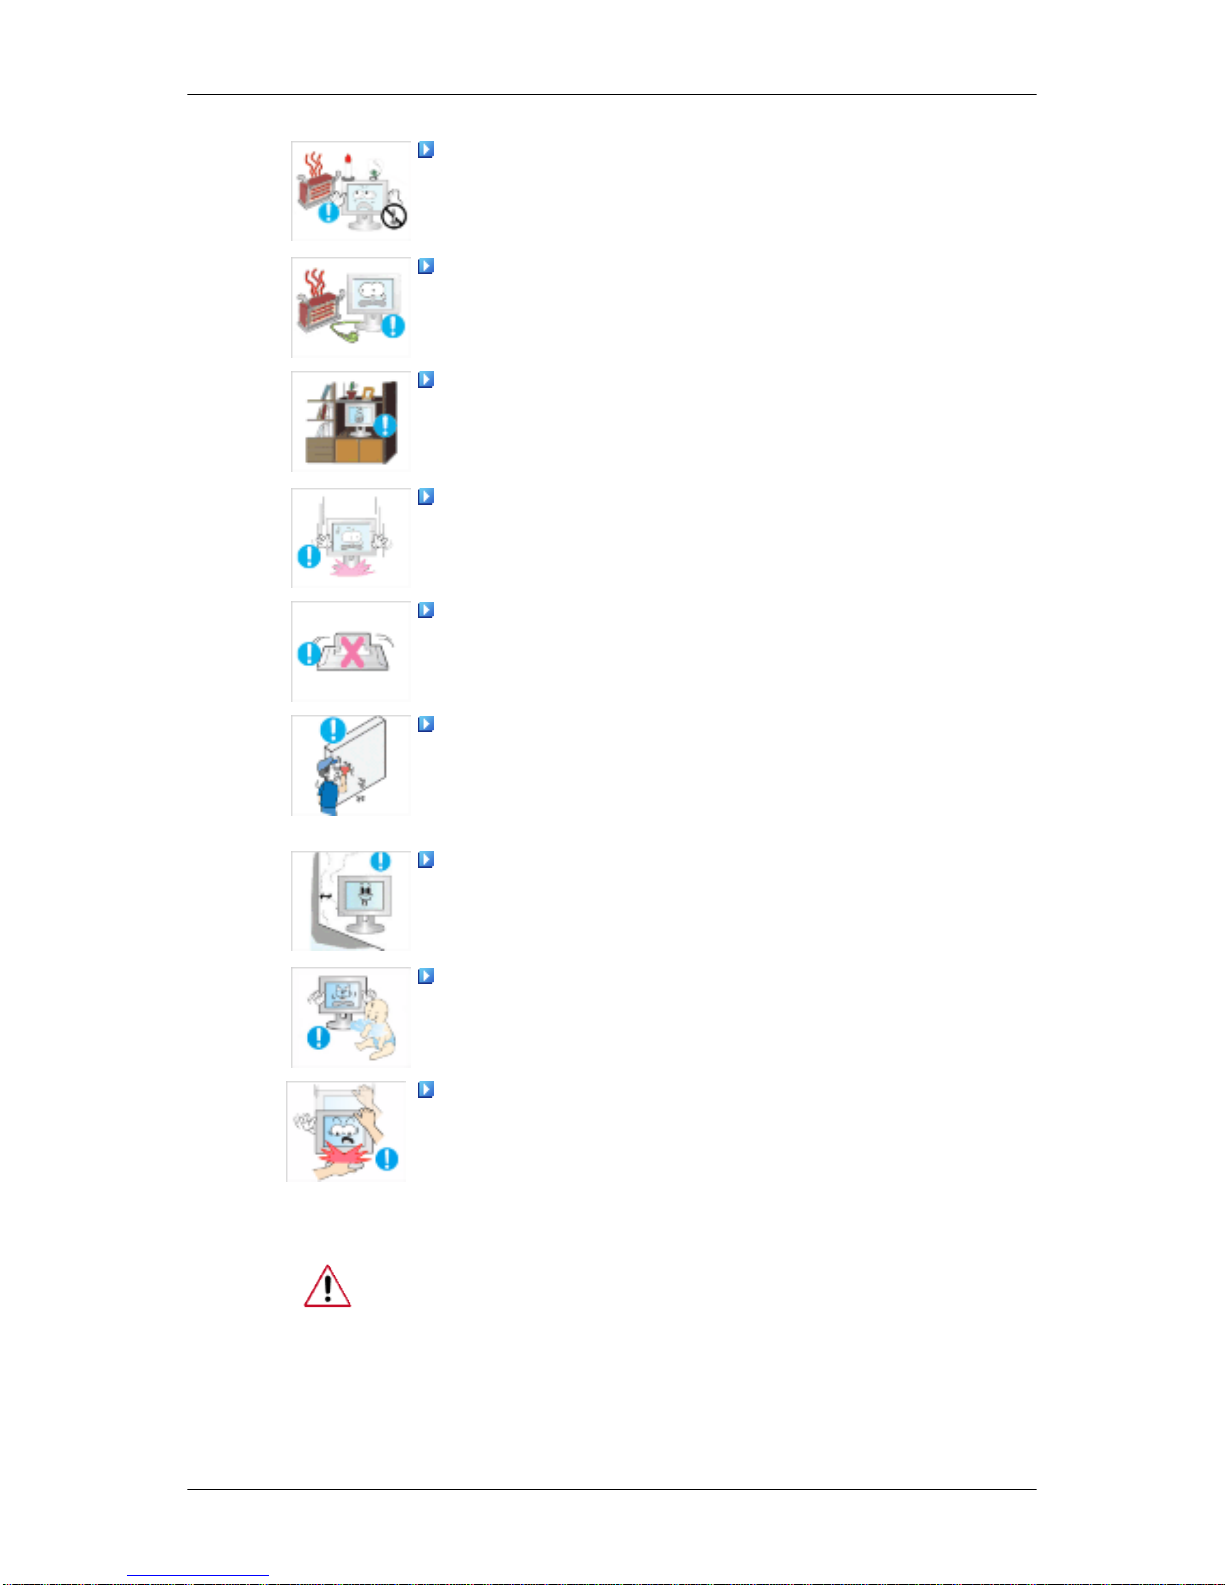
DO NOT PLACE CANDLES,MOSQUITO REPELLANT,CIGARETTES AND ANY HEATING APPLIANCES NEAR THE PRODUCT.
• Otherwise, this may cause fire.
Keep heating appliances as far away from the power cord or the
product as possible.
• Otherwise, this may result in electric shock or fire
Do not install it in a badly ventilated location such as a bookcase
or closet.
• Otherwise, this may result in fire due to an increase in the in-
ternal temperature.
Put down the monitor carefully.
• Failing to do so may damage the monitor.
Do not place the front of the product on the floor.
• Otherwise, this may result in damage to the screen display.
Ensure that an authorized installation company installs the wall
mount.
• Otherwise, it may fall and cause personal injury.
• Make sure to install the specified wall mount.
Install your product in a well ventilated location. Ensure that
there is a clearance of more than 10 cm from the wall.
• Otherwise, it may result in fire due to an increase in the internal
temperature.
Ensure that the packaging vinyl is kept away from children.
• Otherwise, it may result in serious harm (suffocation) if children
play with it.
If the height of your monitor is adjustable, do not place any object or part of your body on the stand when lowering it.
• This may cause damage to the product or the person carrying
it.
Clean
When cleaning the monitor case or the surface of the TFT-LCD screen,
wipe with a slightly moistened, soft fabric.
Safety Instructions
Page 5
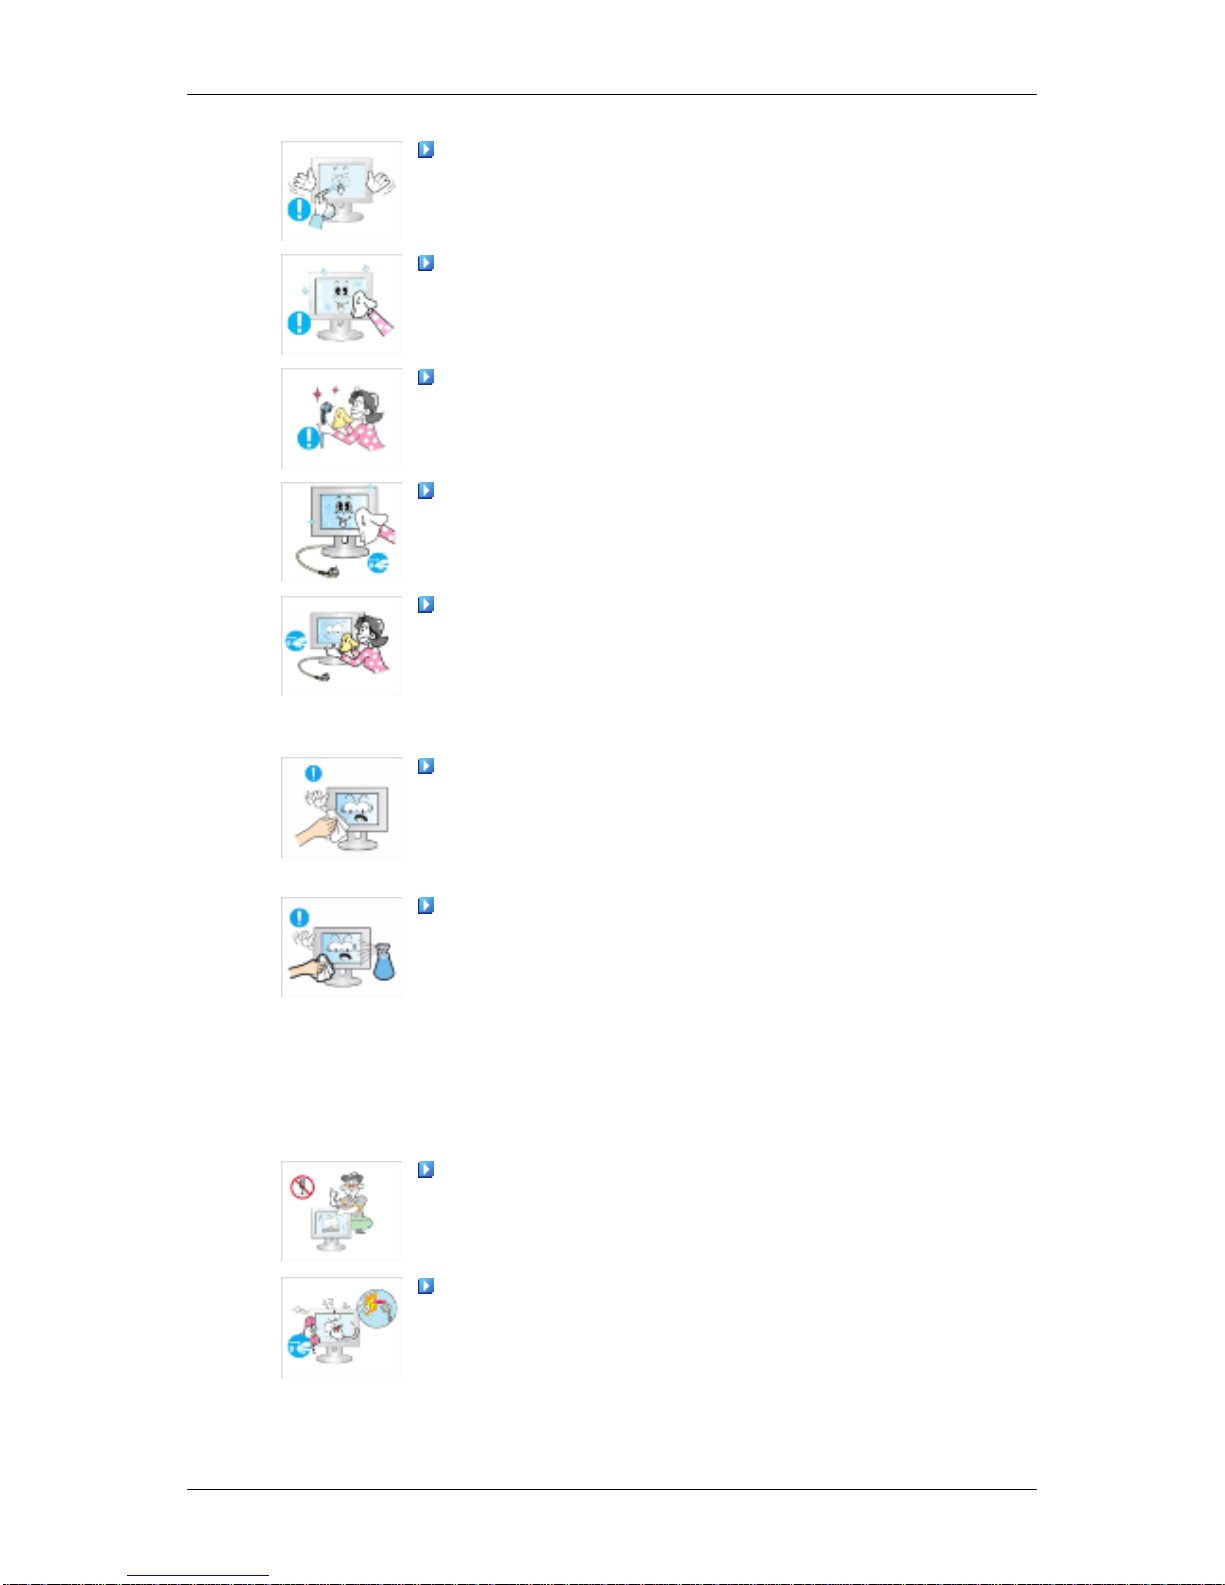
Do not spray cleaner directly onto the surface of the product.
• Otherwise, this may result in the discoloration and distortion of
the structure and the screen surface may peel off.
Clean the product using a soft cloth with a monitor cleaner only.
If you must use a cleaner other than the monitor cleaner, dilute it
with water at a ratio of 1:10.
When cleaning the power plug pins or dusting the power outlet,
clean it with a dry cloth.
• Otherwise, it may result in fire.
When cleaning the product, make sure to disconnect the power
cord.
• Otherwise, it may result in electric shock or fire.
When cleaning the product, disconnect the power cord and
clean it softly with a dry cloth.
• (Do not use chemicals such as wax, benzene, alcohol, thinner,
mosquito repellant, lubricant, or cleaner.) These may change
the appearance of the product surface and peel off the indication labels on the product.
Since the product housing is easily scratched, make sure to use
the specified cloth only.
• Use the specified cloth adding only a little water. As the product
may be scratched if there is any foreign material on the cloth,
make sure to shake it thoroughly before using it.
When cleaning the product, do not spray water directly onto the
main body of the product.
• Ensure that water does not enter the product and that it is not
wet.
• Otherwise, this may result in electric shock, fire or a malfunc-
tion.
Others
The product is a high voltage product. Ensure that users do not
disassemble, repair or modify the product themselves.
• Otherwise, this may result in electric shock or fire. If the product
needs to be repaired, contact a Service Center
If there is a strange smell or a strange sound or smoke is coming
from the product, disconnect the power plug immediately and contact a Service Center.
• Otherwise, this may result in electric shock or fire.
Safety Instructions
Page 6
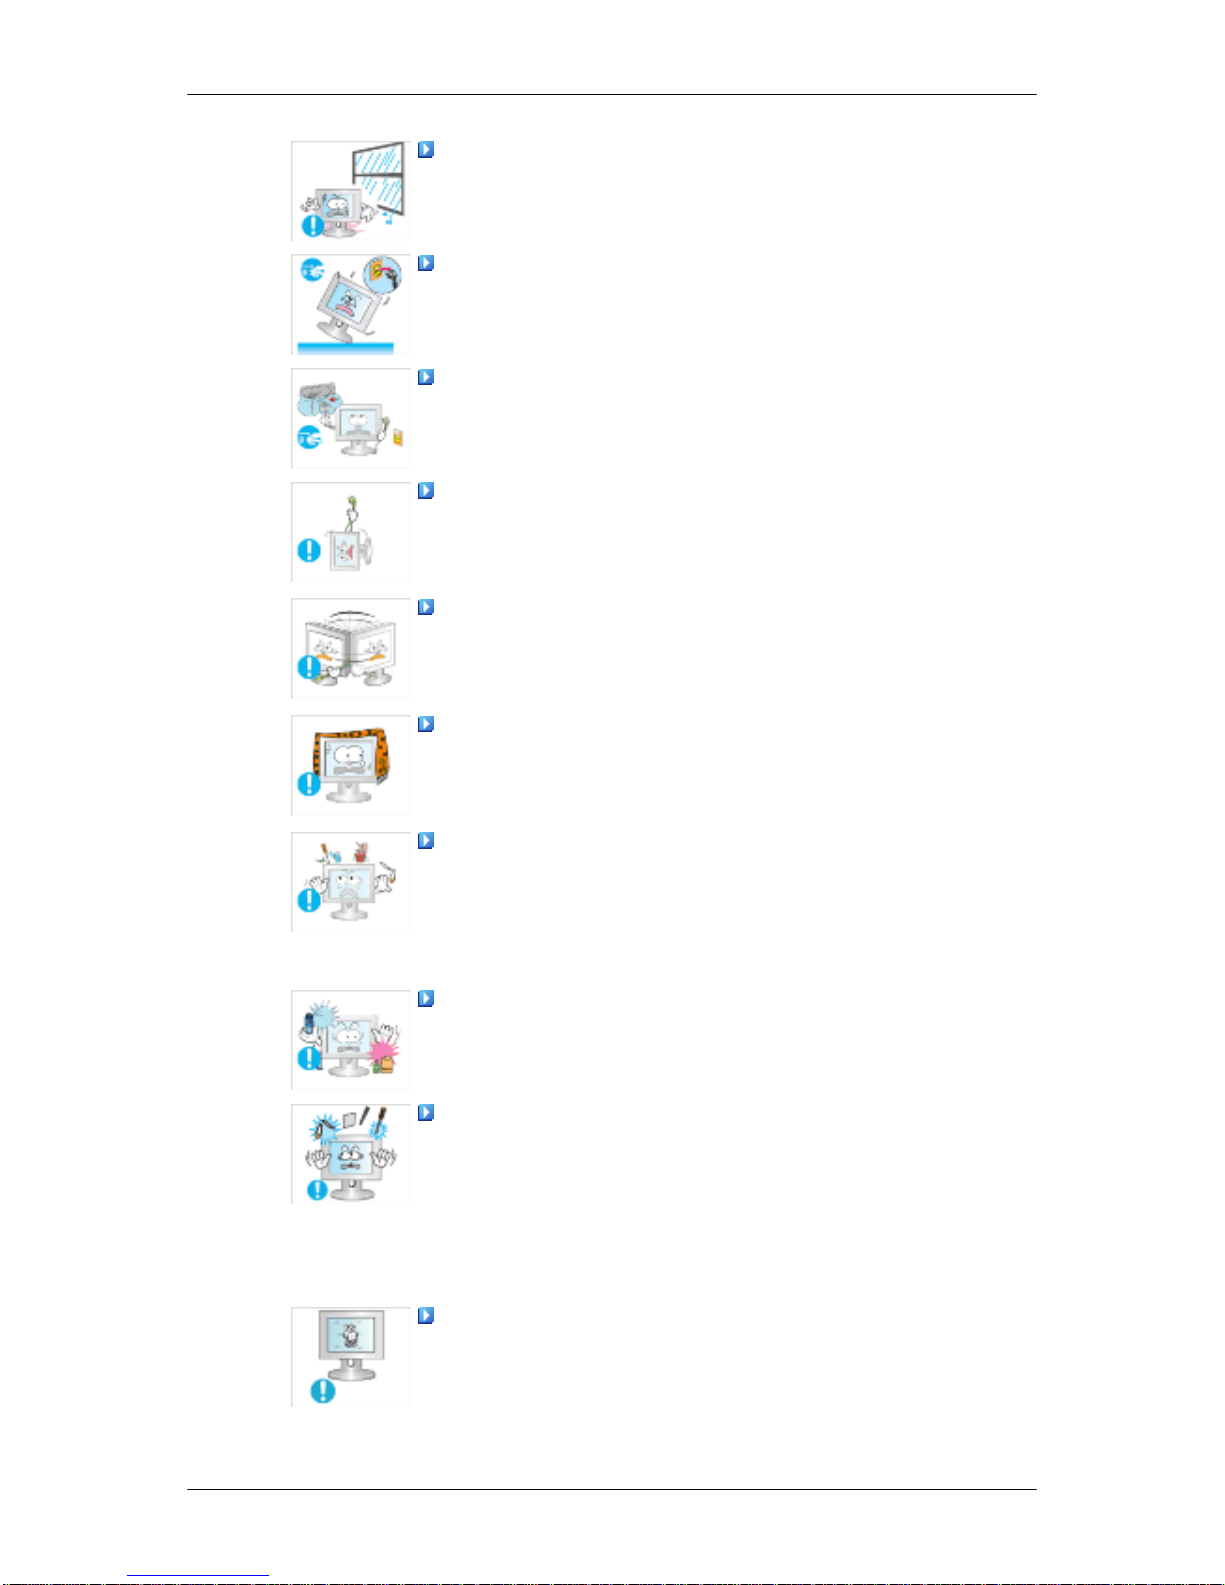
Do not place this product in a location exposed to moisture, dust,
smoke, water, or in a car.
• Otherwise, this may result in electric shock or fire.
When you drop the product or the case is broken, turn the power
off and disconnect the power cord. Contact a Service Center.
• Otherwise, this may result in electric shock or fire.
If thunder or lightening is occurring, do not touch the power cord
or antenna cable.
• Otherwise, this may result in electric shock or fire.
Do not try to move the monitor by pulling only the wire or the
signal cable.
• Otherwise, it may fall and result in electric shock, damage to
the product or fire due to damage to the cable.
Do not lift or move the product back and forwards or right and
left while only holding the power cord or signal cables.
• Otherwise, it may fall and result in electric shock, damage to
the product or fire due to damage to the cable.
Make sure that the ventilating opening is not blocked by a table
or curtain.
• Otherwise, it may result in fire due to an increase in the internal
temperature.
Do not place any containers containing water, vases, flowerpots, medicines as well as any metal on the product.
• If water or a foreign material enters the product, disconnect the
power cord and contact a Service Center.
• This may result in a product malfunction, electric shock, or fire.
Do not use or keep combustible spray or flammable material
near the product.
• Otherwise, this may result in an explosion or fire.
Do not insert any metal, such as chopsticks, coins, pins and
steel, or flammable objects, such as matches or paper, inside
the product (through the ventilating openings, input and output
terminals, etc).
• If water or foreign material enters the product, disconnect the
power cord and contact a Service Center.
• Otherwise, this may result in electric shock or fire.
When using a fixed screen for a long time, an afterimage or stain
may occur.
• If you are not using your product for a long period of time, put
it into sleep mode or use a moving screen saver.
Safety Instructions
Page 7
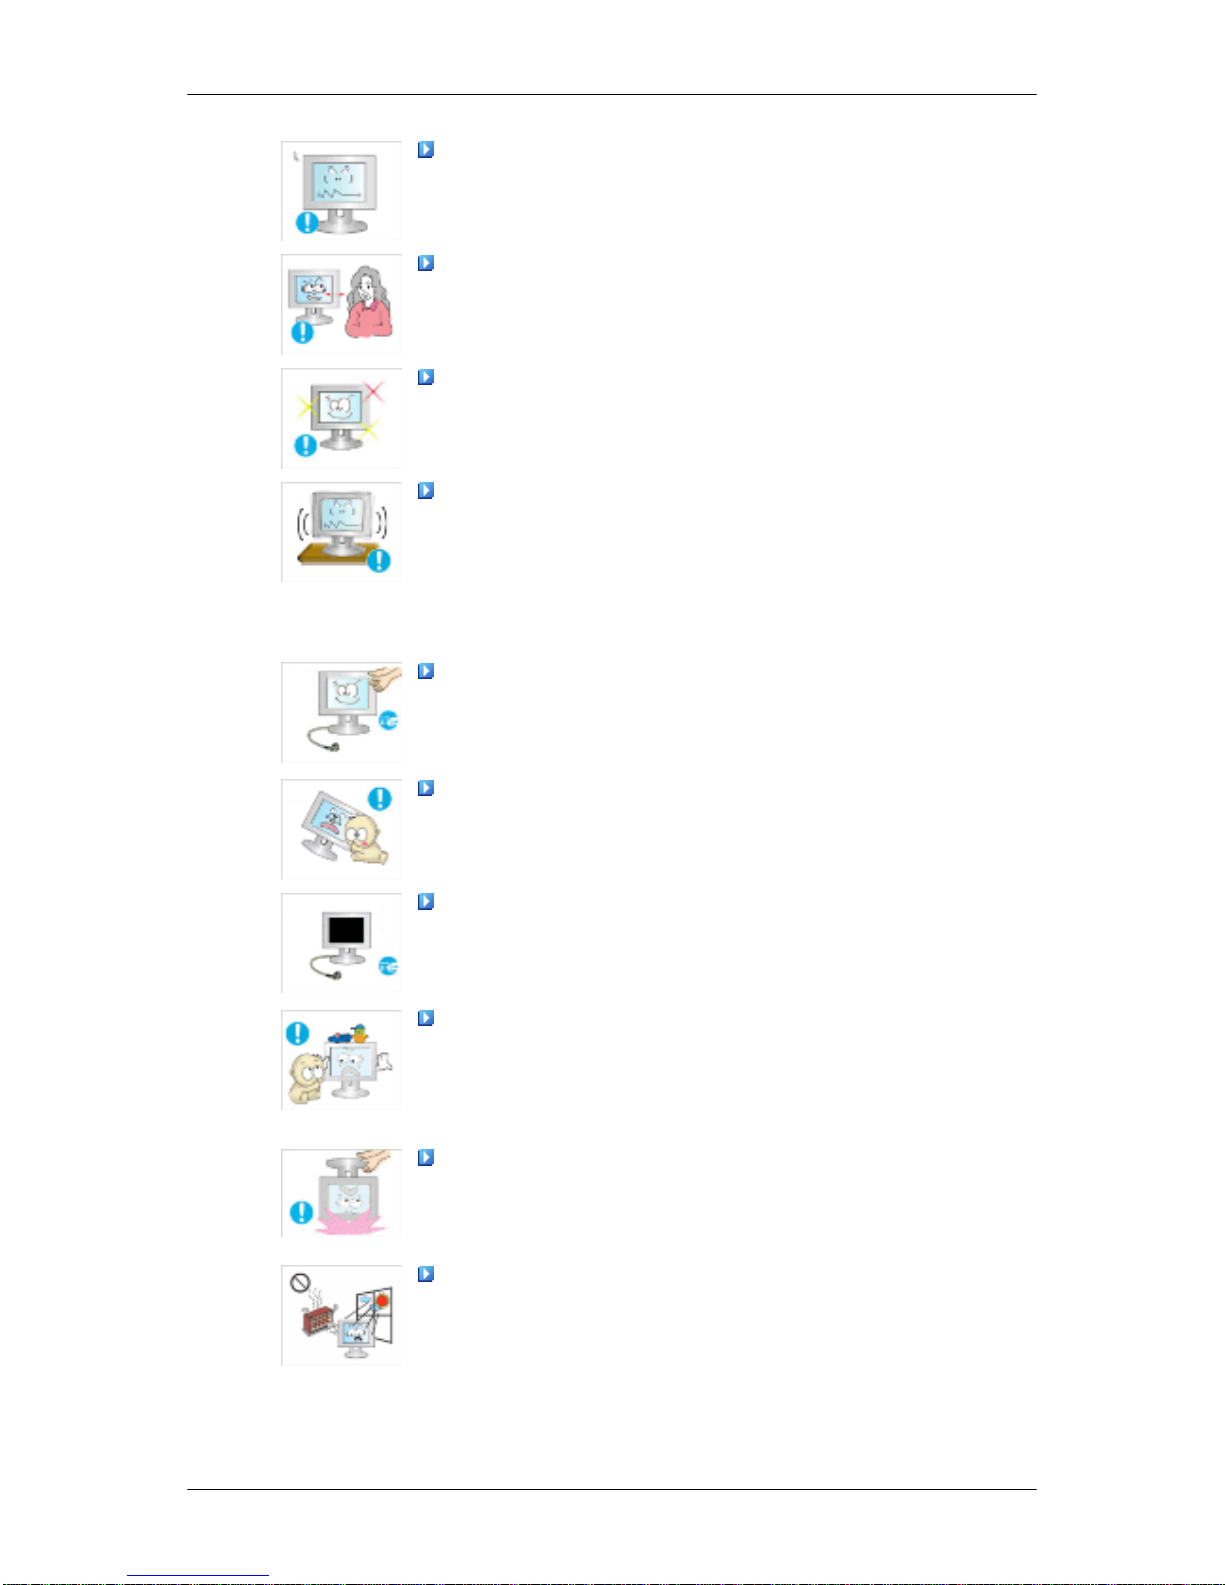
Set a resolution and frequency appropriate to the product.
• Otherwise, your eyesight may be damaged.
If you continually move closer to the product screen, your eyesight may be failing.
To ease eye strain, take at least a five-minute break after every
hour of using the monitor.
Do not install it in an unstable location such as an unstable rack
or uneven surface or a location exposed to vibrations.
• Otherwise, it may fall and cause personal injury and/or damage
the product.
• If you use the product in a location exposed to vibrations, it may
damage the product and result in fire.
When moving the product, turn the power off and disconnect
the power plug, antenna cable, and all the cables connected to the
product.
• Otherwise, it may result in electric shock or fire.
Ensure that children do not hang onto the product or climb up
onto the product.
• The product may fall and cause personal injury or death.
If you do not use the product for a long period of time, disconnect
the power cord from the power outlet.
• Otherwise, this may result in overheating or fire due to dust,
and may result in fire due to electric shock or leakage.
Do not place any heavy items or toys or confectionery, such as
cookies etc. that may attract the attention of children and to the
product.
• Your children may hang onto the product causing it to fall and
this may result in personal injury or death.
Do not turn the product upside down or move it while holding
only the stand.
• Otherwise, it may fall and result in personal injury and/or dam-
age to the product.
Do not place the product in a location exposed to direct sunlight
or near any heat such as a fire or heater.
• This may reduce the lifetime of the product, and may result in
fire.
Safety Instructions
Page 8
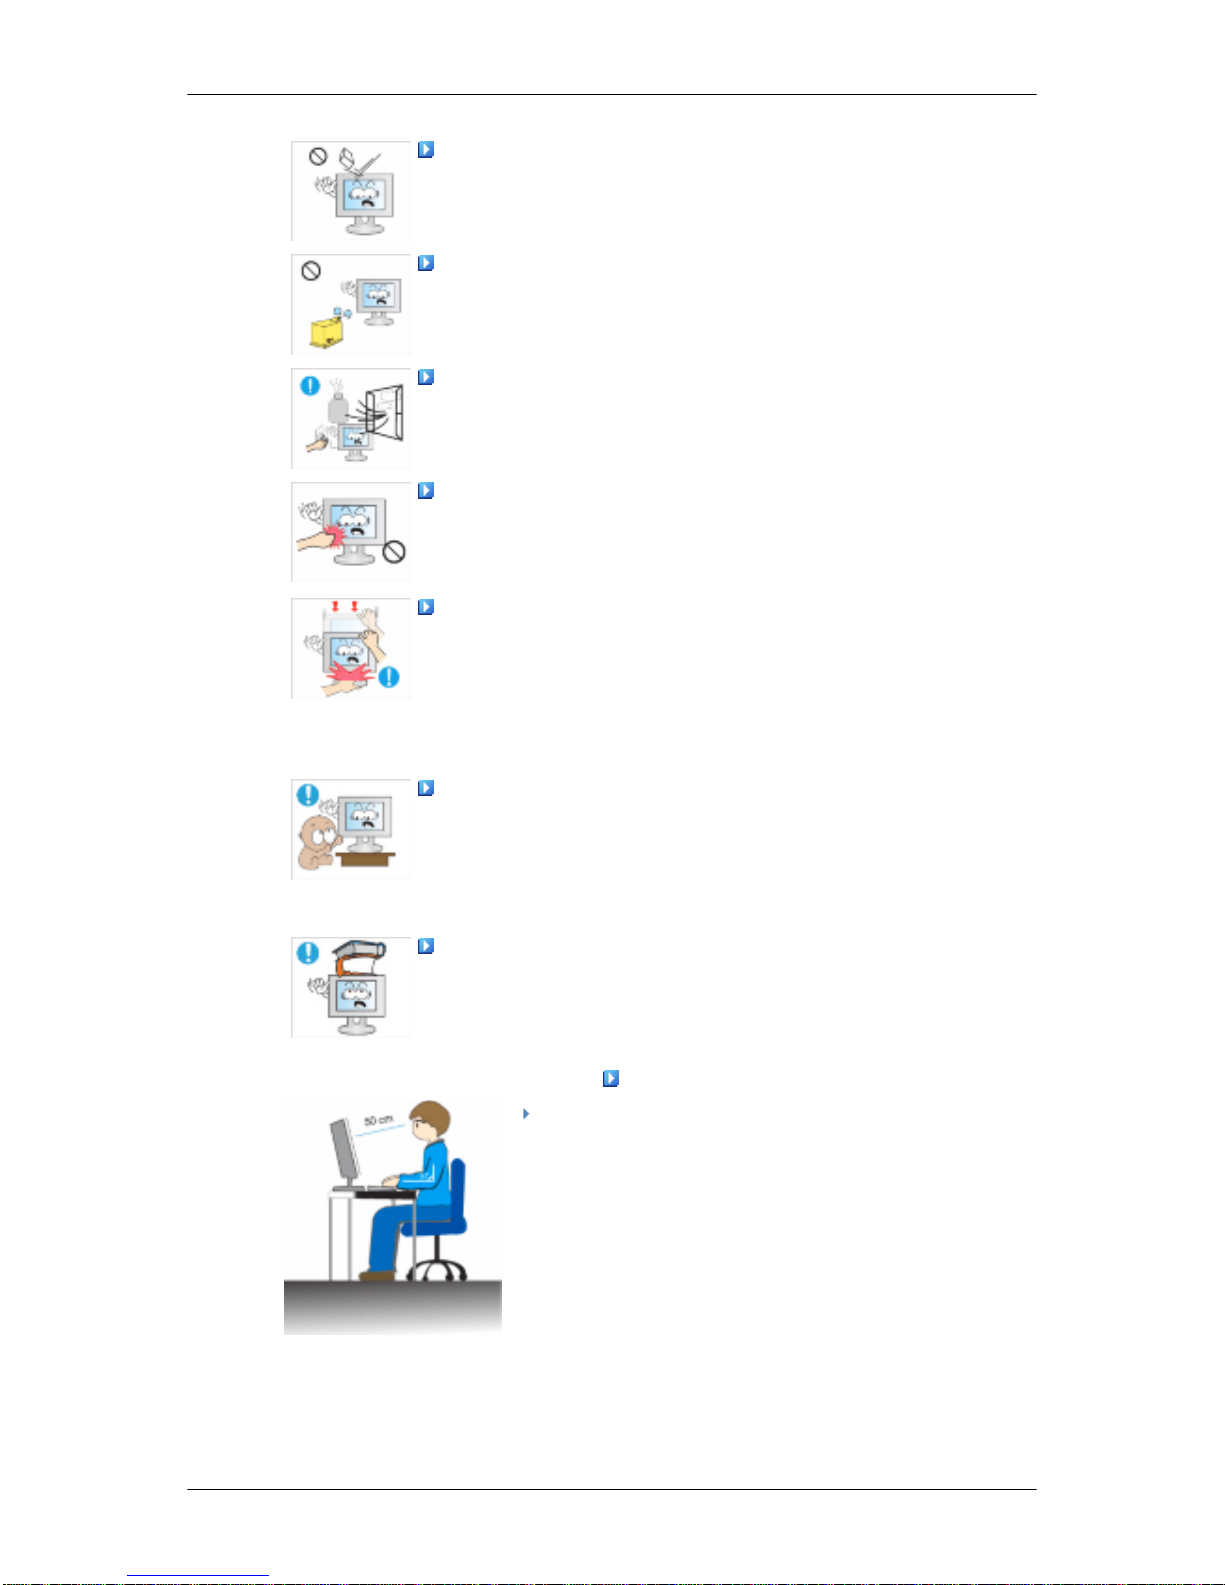
Do not drop any objects onto the product or cause any impact
to the product.
• Otherwise, this may result in electric shock or fire.
Do not use a humidifier or kitchen table near the product.
• Otherwise, this may result in electric shock or fire.
When there is a gas leak, do not touch the product or the power
plug but ventilate immediately.
• If a spark occurs, it may cause an explosion or fire.
If the product has been turned on for a long time, the display
panel becomes hot. Do not touch it.
• Keep the small accessories in a location out of the reach of
children.
Be careful when adjusting the angle of the product or the height
of the stand.
• This may result in personal injury as your hand or fingers may
become caught.
• Also, if you tilt the product too far, it may fall and cause personal
injury.
Do not install the product in a location low enough for children
to reach.
• Otherwise, it may fall and result in personal injury.
• Since the front part of the product is heavy, install the product
on a level and stable surface.
Do not put any heavy objects on the product.
• This may result in personal injury and/or damage to the prod-
uct.
Good Postures When Using the Monitor
When using the product, use it in the correct posi-
tion.
• Keep your back straight while looking at the product.
• The distance between your eyes and the screen
should be between 45 to 50 cm. Look at the screen
from a slightly higher location than the height of the
screen.
• When using the product, use it in the correct position.
Safety Instructions
Page 9

• Adjust the angle so that light is not reflected on the
screen.
• Place your arms perpendicular to your sides and
allow your arms to be level with the back of the
hand.
• Keep your elbow at 90 degrees.
• Keep your knees at greater than 90 degrees, and
keep your heels firmly on the floor. Keep your arms
lower than your heart.
Safety Instructions
Page 10
Introduction
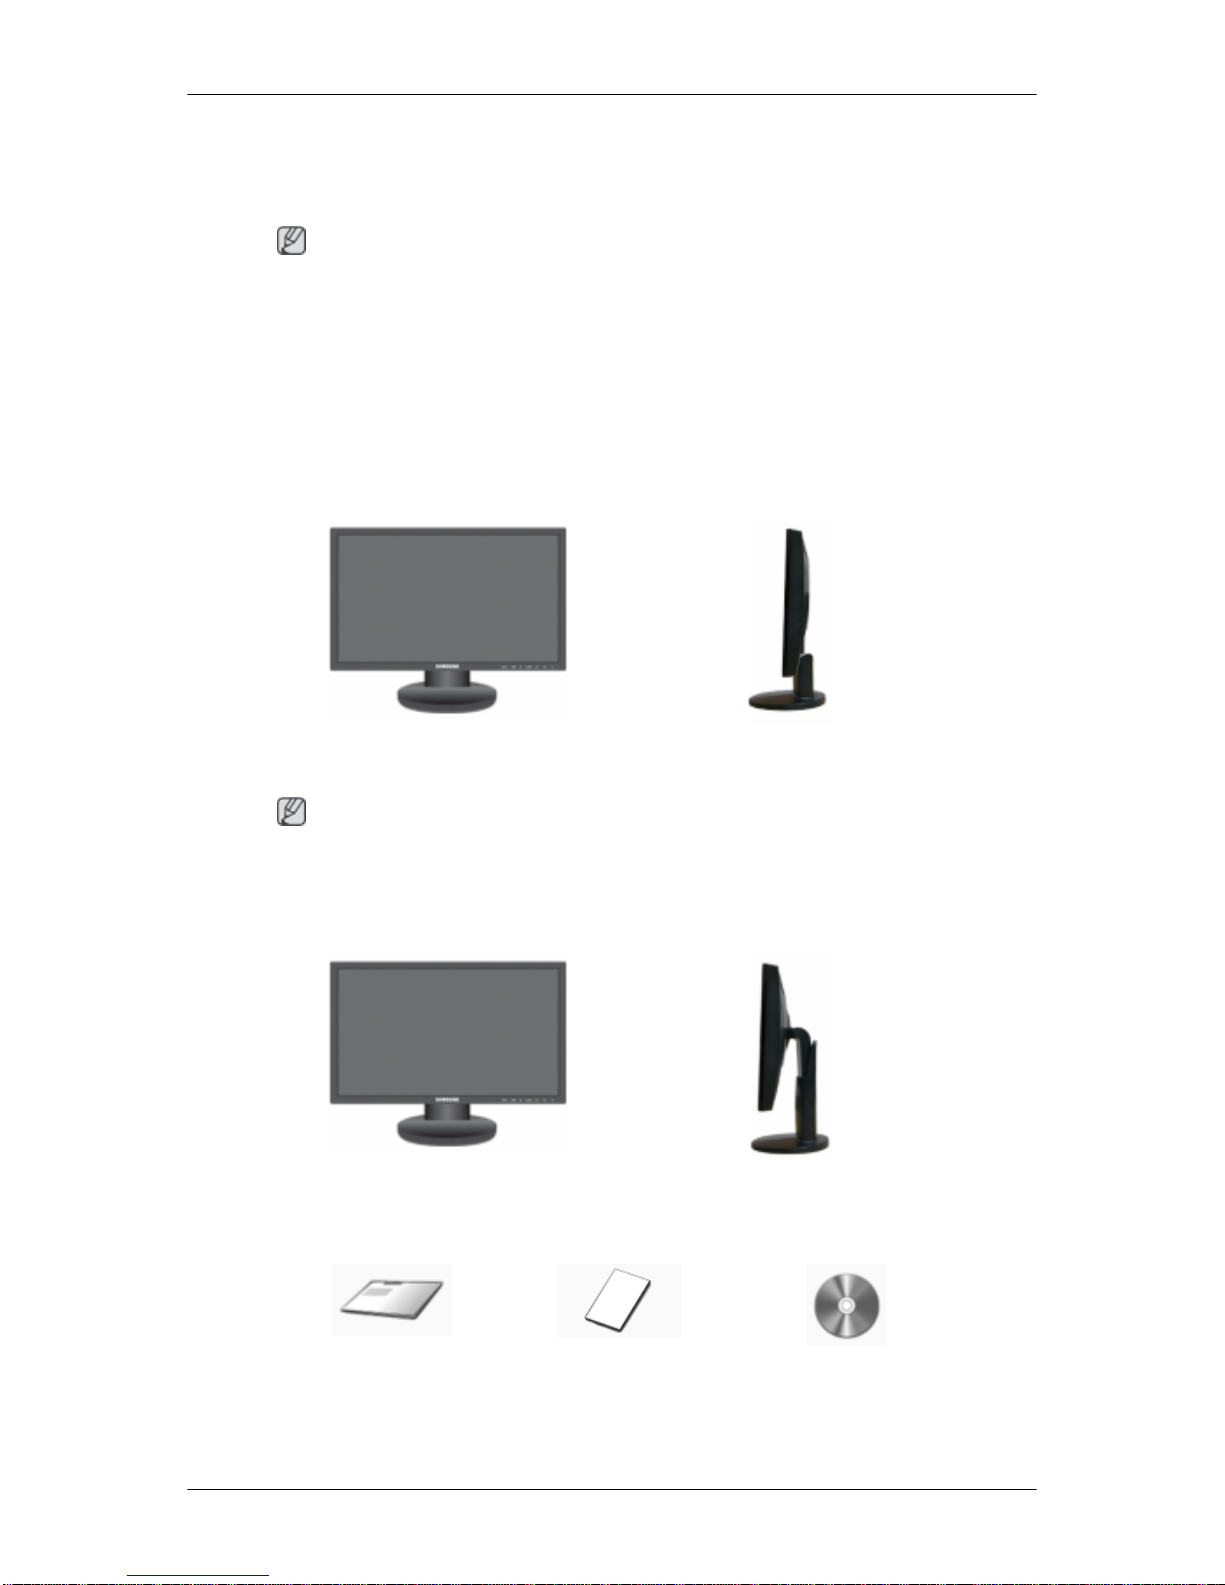
{943SN/943SNX/2243LNX} Package Contents
Note
Please make sure the following items are included with your monitor.
If any items are missing, contact your dealer.
Contact a local dealer to buy optional items.
Unpacking
Type 1
Monitor & Simple stand
Note
MagicRotation program can not be provided as Simple Stand does not support Pivot function.
Type 2
Monitor & HAS stand
Manuals
Quick Setup Guide Warranty Card
(Not available in all loca-
tions)
User's Guide
Page 11
Cables
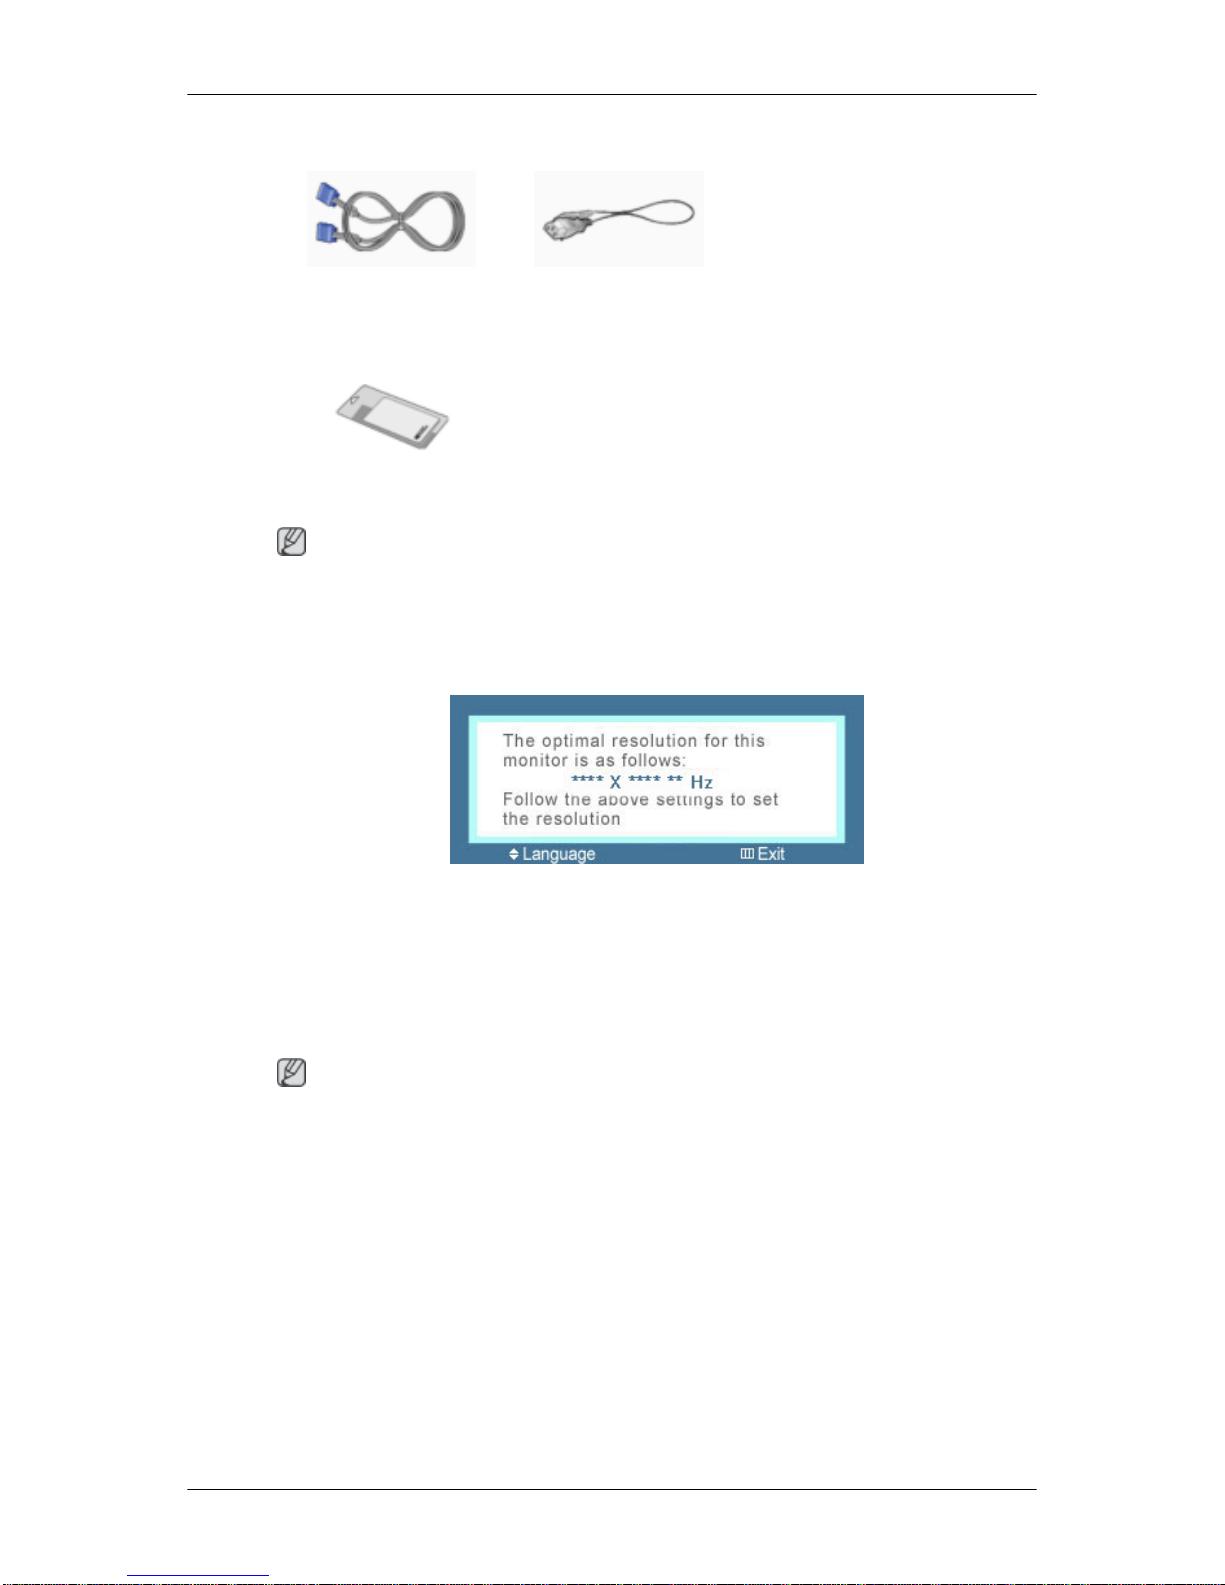
D-Sub Cable Power Cord
Others
Cleaning Cloth
Note
Cleaning Cloth is only provided for highly polished black products as a product feature.
Your Monitor
Initial Settings
Select the language using the up or down key.
The displayed content will disappear after 40 seconds.
Turn the Power button off and on. It will be displayed again.
It can be displayed up to three (3) times. Make sure to adjust the resolution of your PC before
reaching the maximum count.
Note
The resolution displayed on the screen is the optimal resolution for this product.
Adjust your PC resolution so that it is the same as the optimal resolution for this product.
Introduction
Page 12
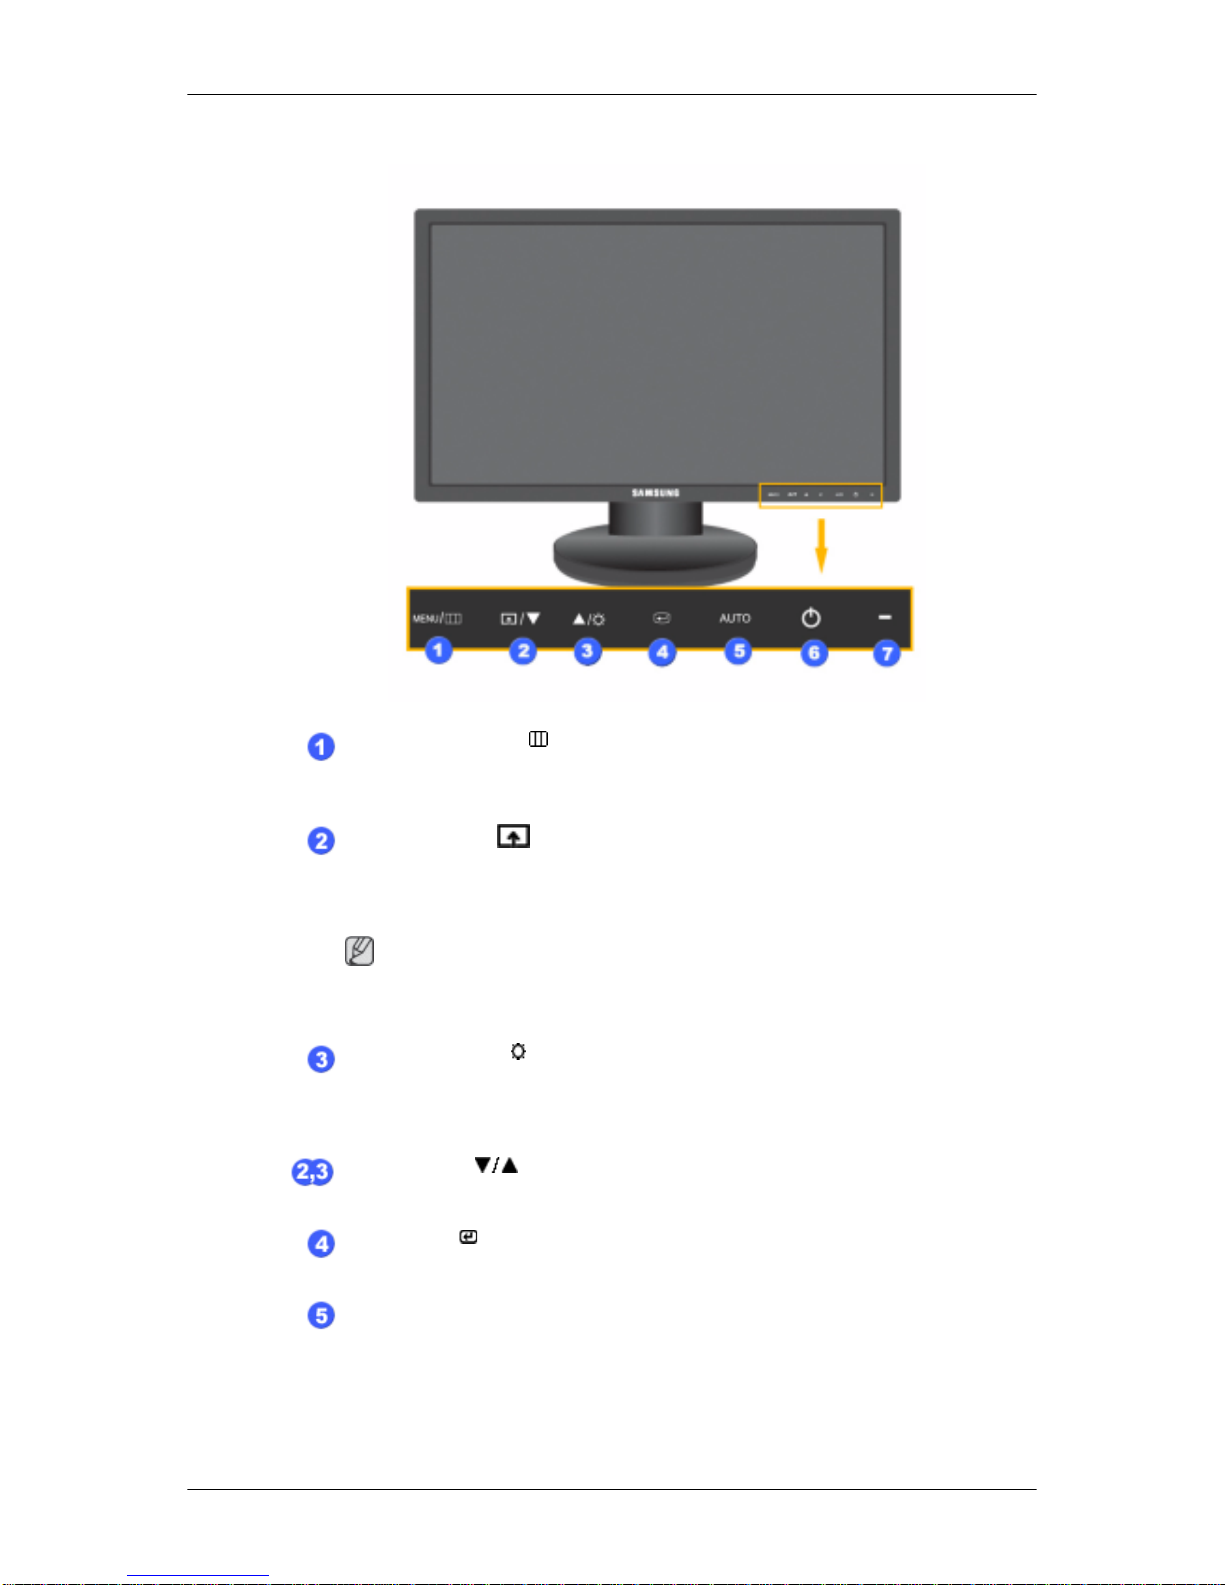
Front
MENU button [MENU/ ]
Opens the on-screen menu and exits from the menu. Also use to exit the
OSD menu or return to the previous menu.
Customized Key[ ]
You can customize key assignment for the Custom button according to
your preferences.
Note
You can configure the customized key for a required function via Setup >
Customized Key.
Brightness button [ ]
When OSD is not on the screen, push the button to adjust brightness.
>> Click here to see an animation clip
Adjust buttons [ ]
These buttons allow you to adjust items in the menu.
Enter button [ ]
Activates a highlighted menu item.
AUTO button
Use this button for auto adjustment.
>> Click here to see an animation clip
Introduction
Page 13

Power button [ ]
Use this button for turning the product on and off.
Power Indicator
This light is lit when operating normally, and blinks once when your
adjustments are saved.
Note
See PowerSaver described in the manual for further information regarding
power saving functions. For energy conservation, turn your monitor OFF
when it is not needed or when leaving it unattended for long periods.
Rear
Note
The configuration at the back of the product may vary from product to product.
Simple Stand HAS Stand
POWER port
Connect the power cord for your monitor to the POWER port on the back of
the product.
RGB IN port
Connect the D-sub cable to the 15-pin, RGB IN port on the back of your monitor.
Kensington Lock
The Kensington lock is a device used to physically fix the system when using
it in a public place. (The locking device has to be purchased separately.) For
using a locking device, contact where you purchase it.
Note
The location of the Kensington Lock may be different depending on its model.
Using the Anti-Theft Kensington Lock
1.
Insert the locking device into the Kensington slot on the Monitor
and
turn it in the locking direction .
Introduction
Page 14

2. Connect the Kensington Lock cable.
3. Fix the Kensington Lock to a desk or a heavy stationary object.
Note
See Connecting Cables for further information regarding cable connections.
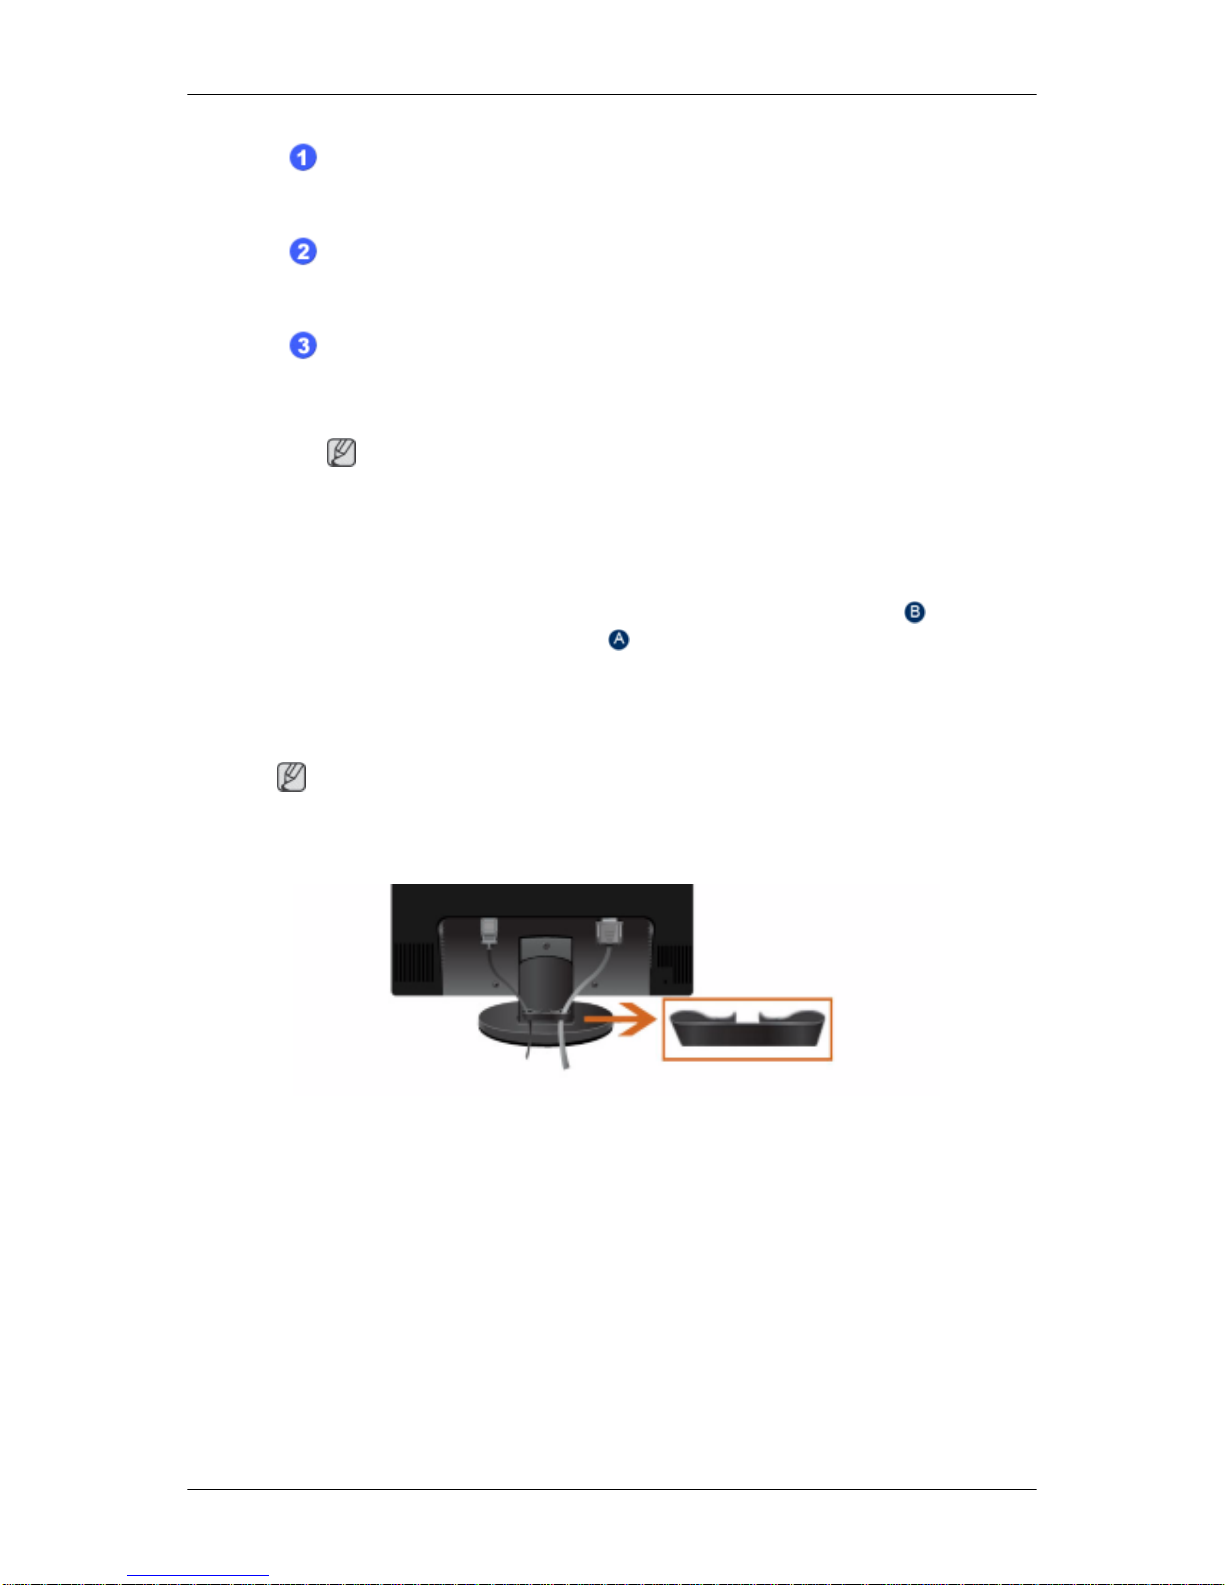
Cable holding ring
• Fix the cables using the holding ring, as shown in the figure.
{2043SN/2043SNX/2243SN/2243SNX} Package Contents
Note
Please make sure the following items are included with your monitor.
If any items are missing, contact your dealer.
Contact a local dealer to buy optional items.
Unpacking
Type 1
Monitor & Simple stand
Note
MagicRotation program can not be provided as Simple Stand does not support Pivot function.
Type 2
Introduction
Page 15

Monitor & HAS stand
Type 3
Monitor & Dual Hinge Stand
Manuals
Quick Setup Guide Warranty Card
(Not available in all loca-
tions)
User's Guide
Cables
D-Sub Cable Power Cord
Others
Cleaning Cloth
Note
Cleaning Cloth is only provided for highly polished black products as a product feature.
Introduction
Page 16
Your Monitor
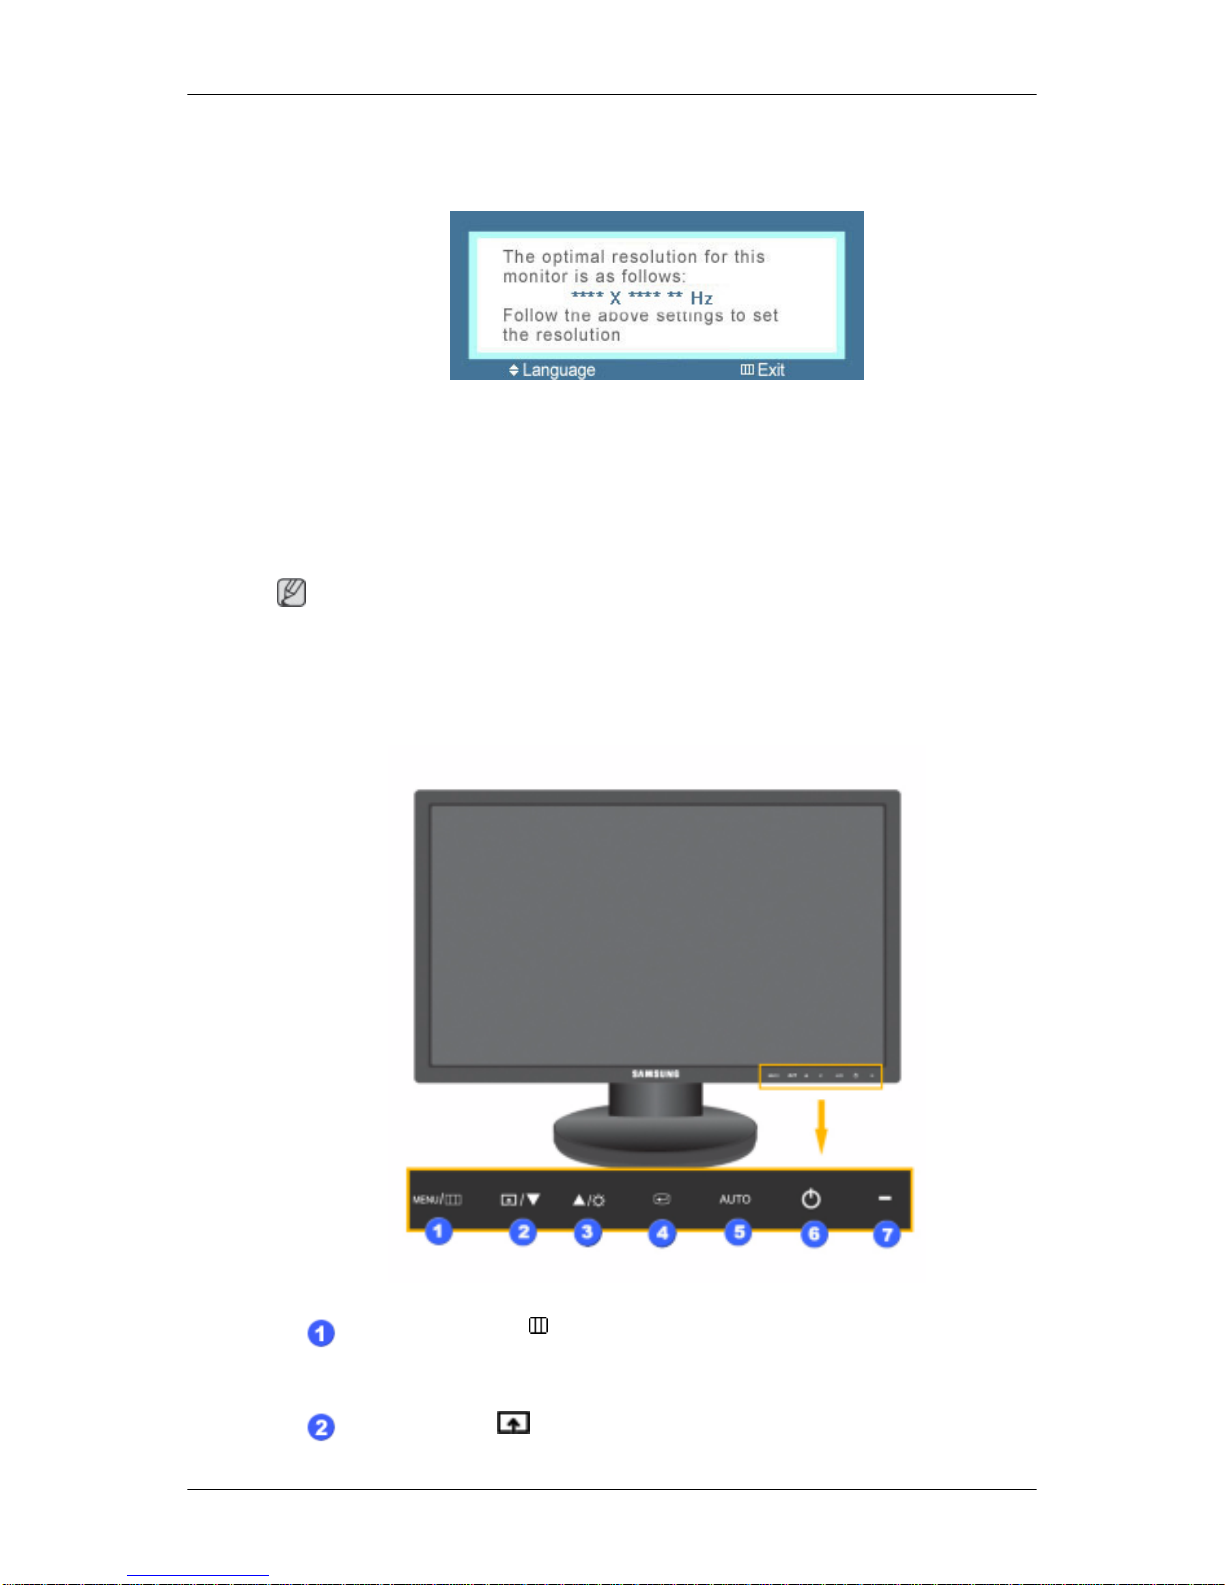
Initial Settings
Select the language using the up or down key.
The displayed content will disappear after 40 seconds.
Turn the Power button off and on. It will be displayed again.
It can be displayed up to three (3) times. Make sure to adjust the resolution of your PC before
reaching the maximum count.
Note
The resolution displayed on the screen is the optimal resolution for this product.
Adjust your PC resolution so that it is the same as the optimal resolution for this product.
Front
MENU button [MENU/ ]
Opens the on-screen menu and exits from the menu. Also use to exit the
OSD menu or return to the previous menu.
Customized Key[ ]
Introduction
Page 17
You can customize key assignment for the Custom button according to
your preferences.
Note
You can configure the customized key for a required function via Setup >
Customized Key.
Brightness button [ ]
When OSD is not on the screen, push the button to adjust brightness.
>> Click here to see an animation clip
Adjust buttons [ ]
These buttons allow you to adjust items in the menu.
Enter button [ ]
Activates a highlighted menu item.
AUTO button
Use this button for auto adjustment.
>> Click here to see an animation clip
Power button [ ]
Use this button for turning the product on and off.
Note
See PowerSaver described in the manual for further information regarding
power saving functions. For energy conservation, turn your monitor OFF
when it is not needed or when leaving it unattended for long periods.
Rear
Note
The configuration at the back of the product may vary from product to product.
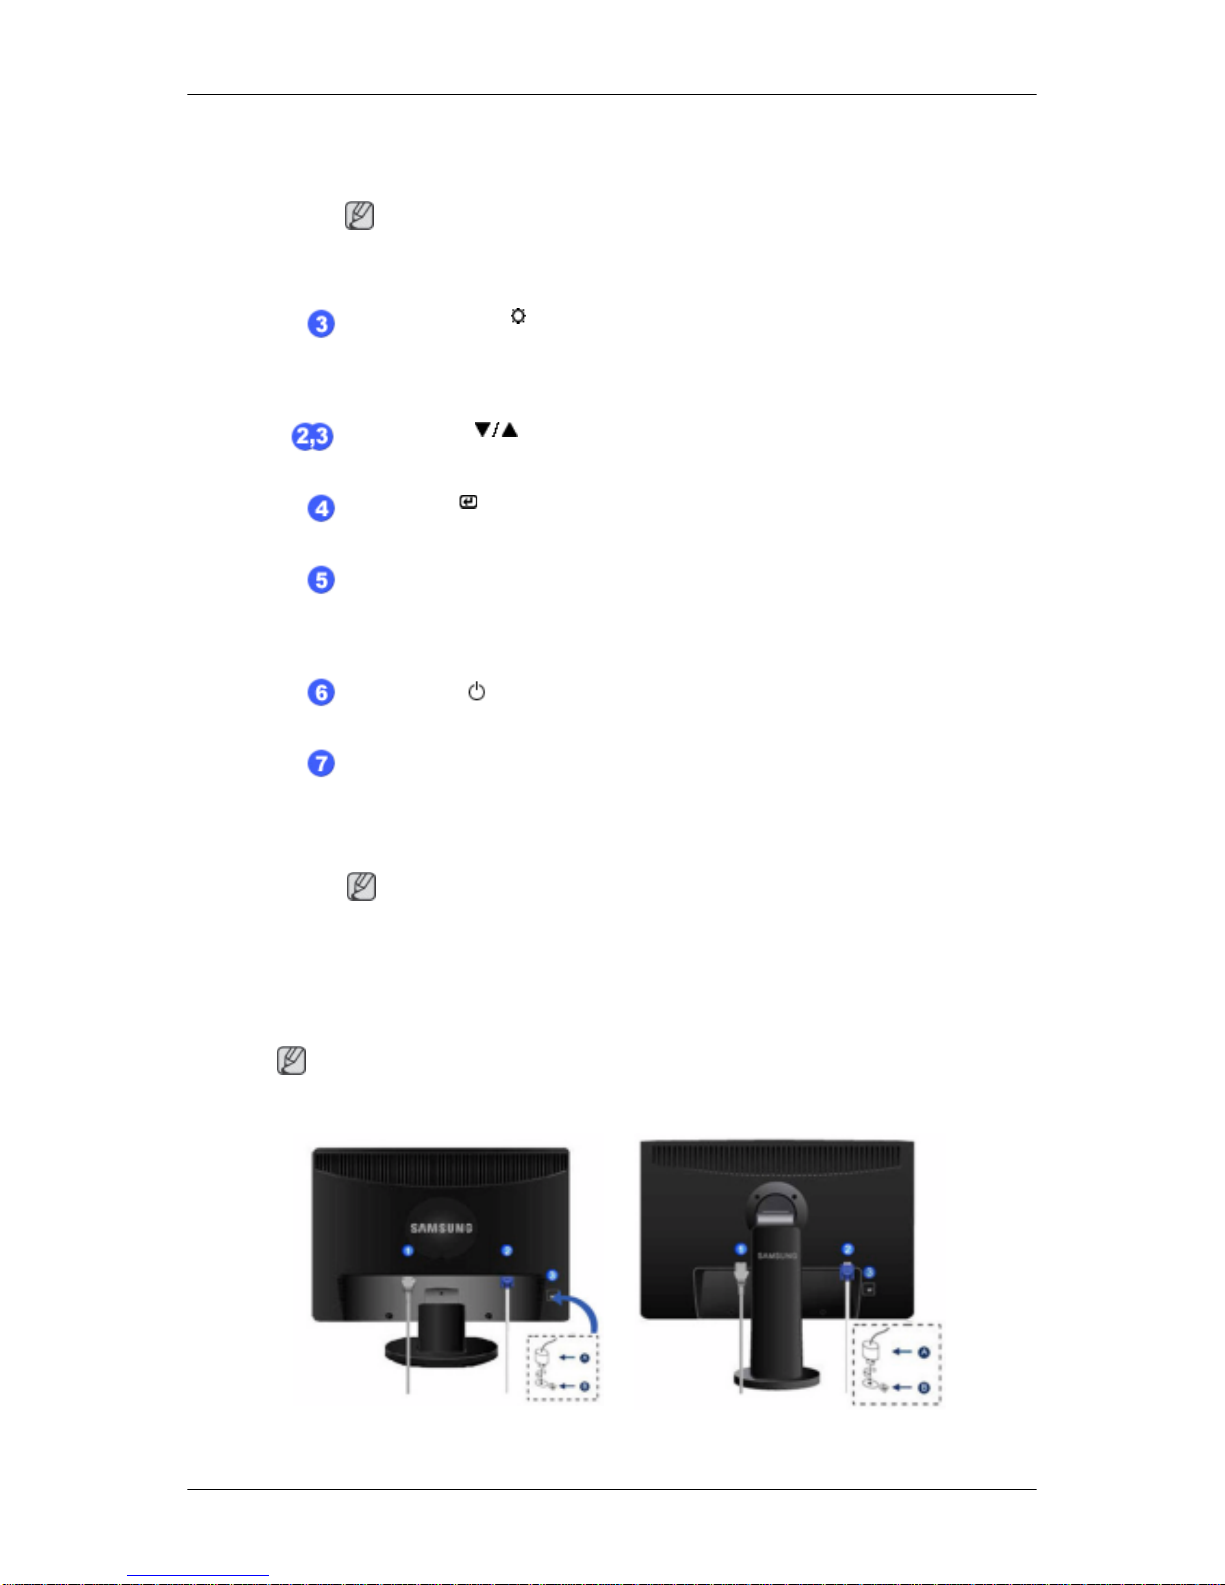
Simple Stand HAS Stand
Introduction
Power Indicator
This light is lit when operating normally, and blinks once when your
adjustments are saved.
Page 18
POWER port
Connect the power cord for your monitor to the POWER port on the back of
the product.
RGB IN port
Connect the D-sub cable to the 15-pin, RGB IN port on the back of your monitor.
Kensington Lock
The Kensington lock is a device used to physically fix the system when using
it in a public place. (The locking device has to be purchased separately.) For
using a locking device, contact where you purchase it.
Note
The location of the Kensington Lock may be different depending on its model.
Using the Anti-Theft Kensington Lock
1.
Insert the locking device into the Kensington slot on the Monitor and
turn it in the locking direction
.
2. Connect the Kensington Lock cable.
3. Fix the Kensington Lock to a desk or a heavy stationary object.
Note
See Connecting Cables for further information regarding cable connections.
Cable holding ring
• Fix the cables using the holding ring, as shown in the figure.
Introduction
Page 19
Connections
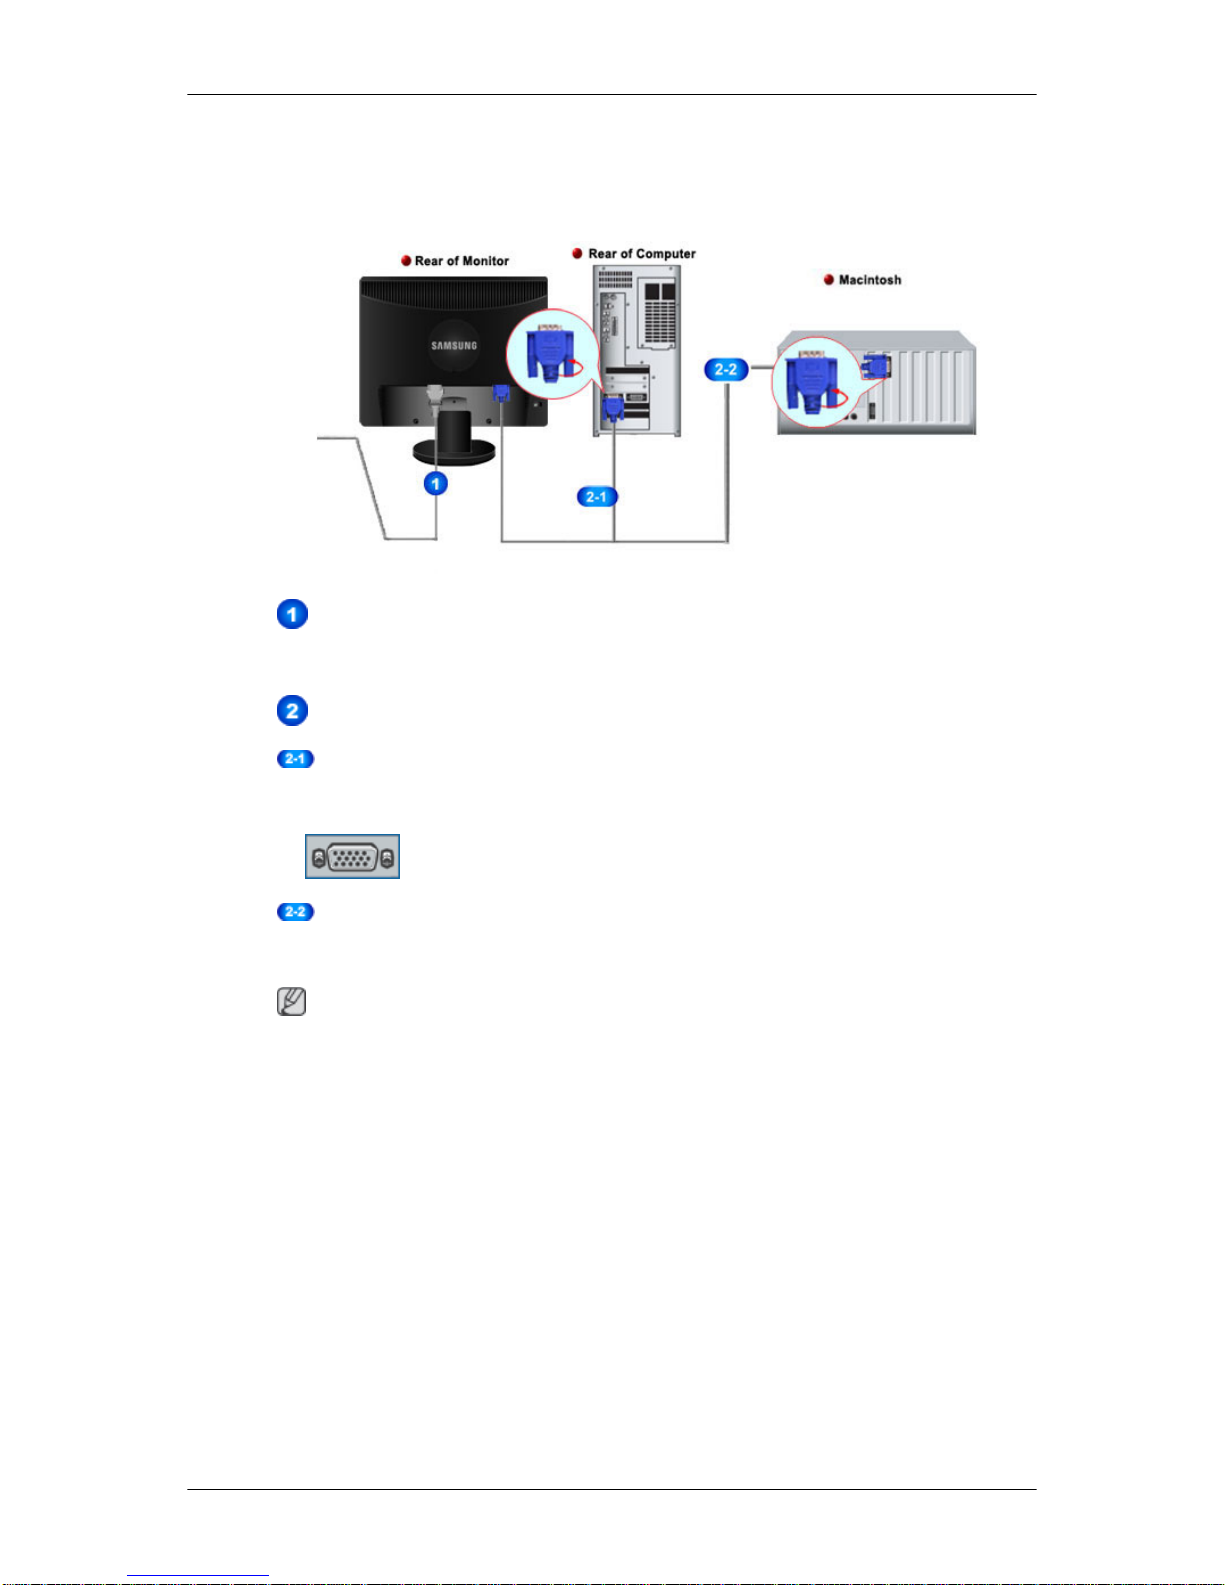
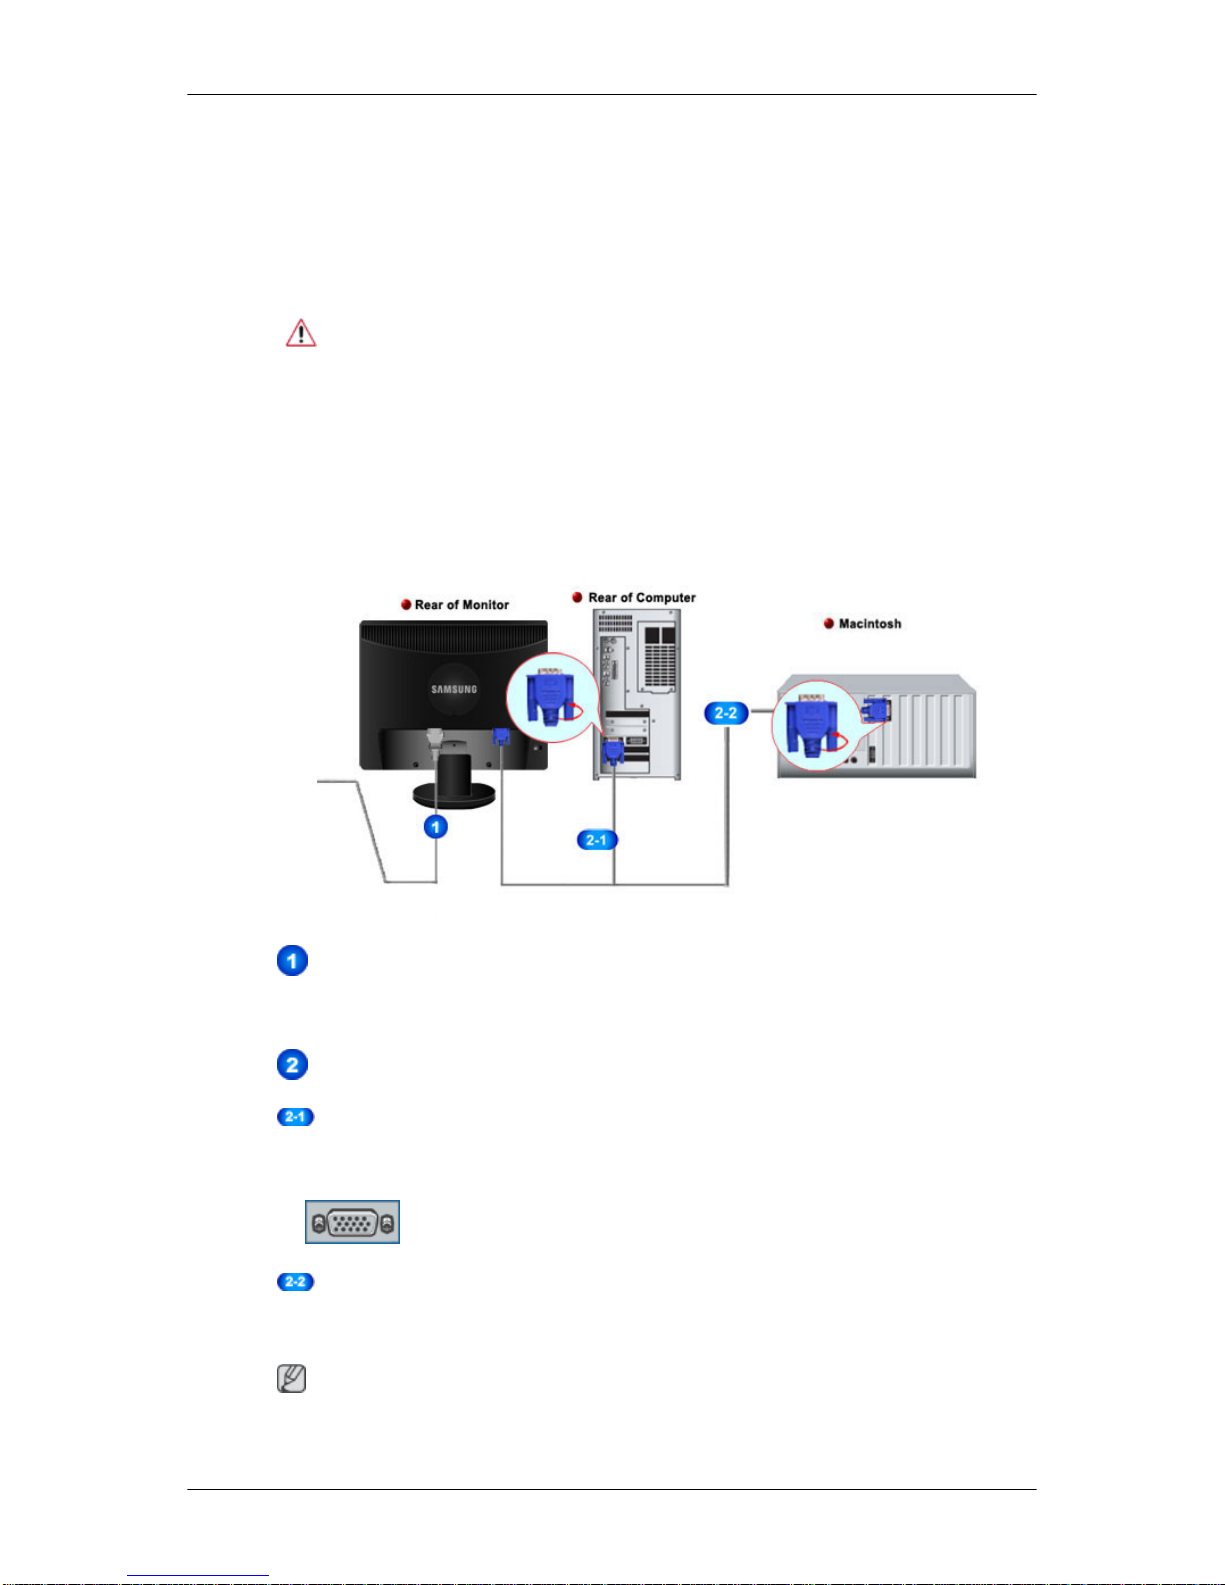
{943SN/943SNX} Connecting Cables
Connect the power cord for your monitor to the power port on the back of the monitor.
Plug the power cord for the monitor into a nearby outlet.
Use a connection appropriate for your computer.
Using the D-sub (Analog) connector on the video card.
• Connect the signal cable to the 15-pin, D-sub port on the back of your monitor.
[RGB IN]
Connected to a Macintosh.
• Connect the monitor to the Macintosh computer using the D-sub connection cable.
Note
If the monitor and the computer are connected, you can turn them on and use them.
Page 20
Using the Stand
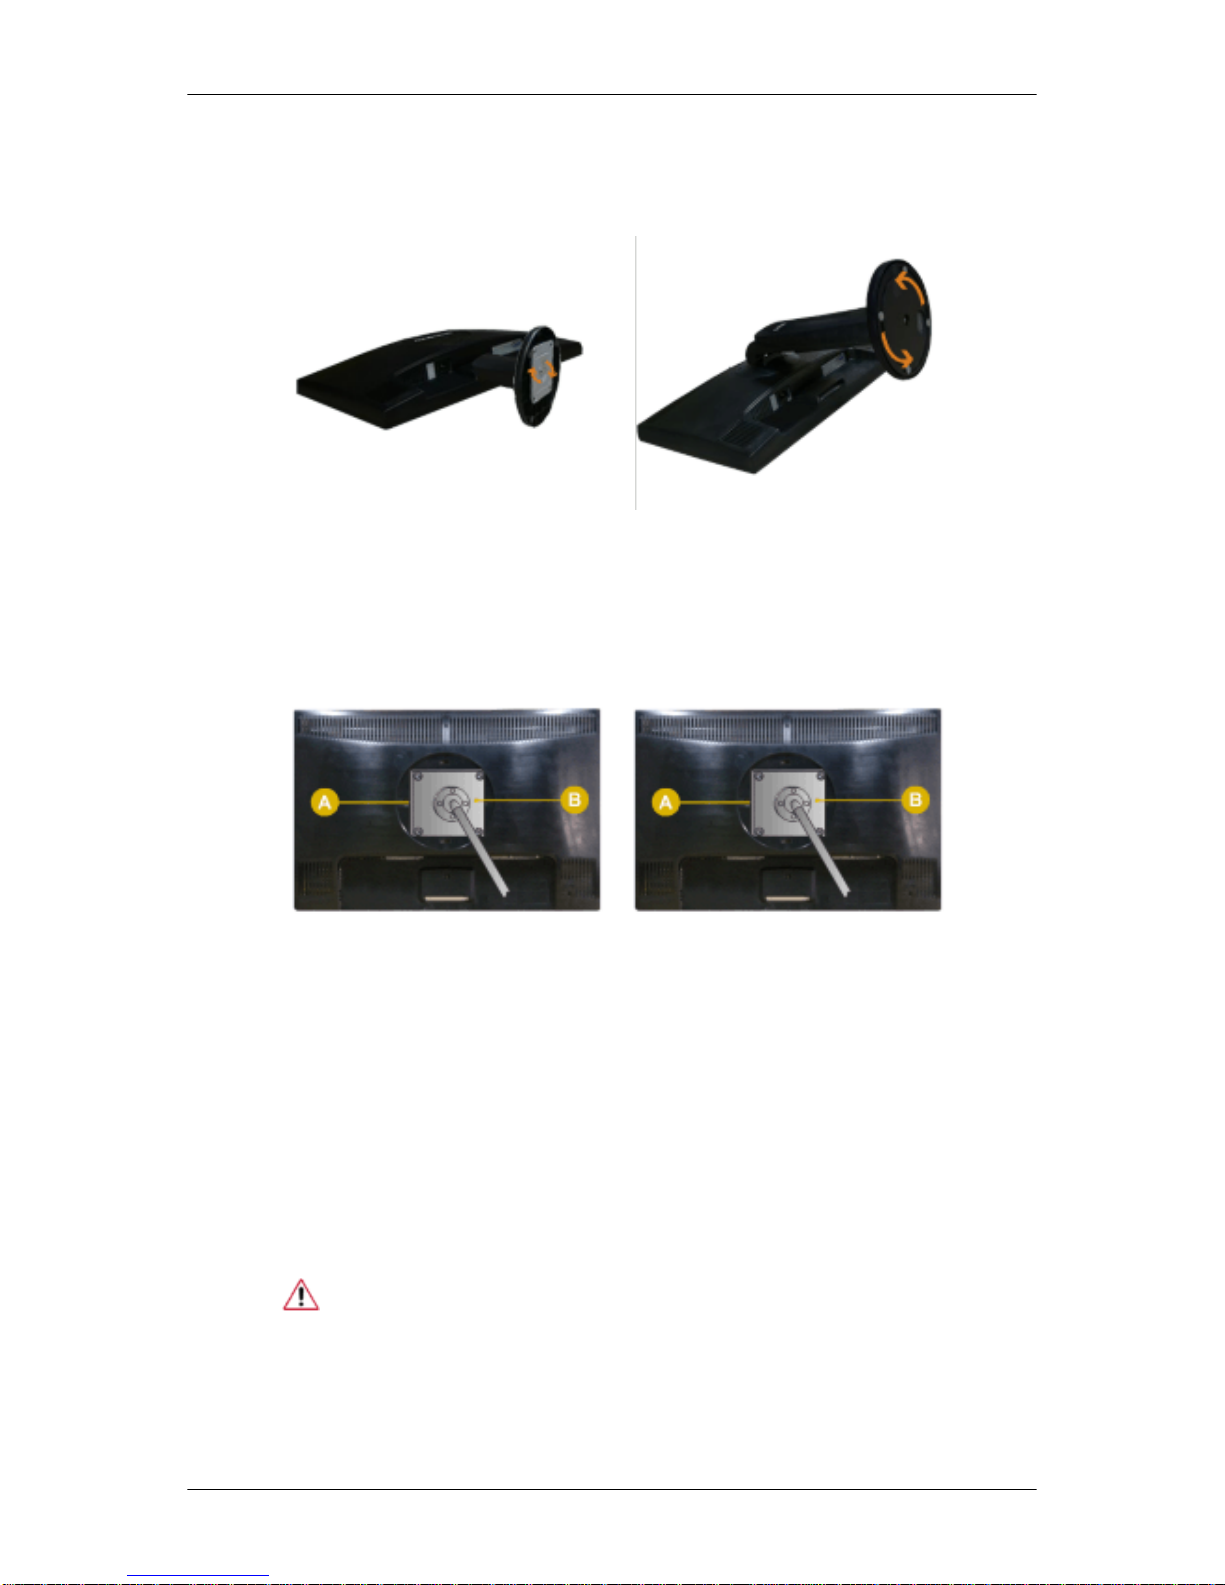
Monitor Assembly
Simple Stand HAS Stand
Monitor and Bottom
Attaching a Base
This monitor accepts a 75 mm x 75 mm VESA-compliant mounting interface pad.
Simple Stand HAS Stand
A. Monitor
B. Mounting interface pad (Sold separately)
1. Turn off your monitor and unplug its power cord.
2. Lay the LCD monitor face-down on a flat surface with a cushion beneath it to protect the
screen.
3. Remove two screws and then remove the stand from the LCD monitor.
4. Align the mounting interface pad with the holes in the rear cover mounting pad and secure
it with four screws that came with the arm-type base, wall mount hanger or other base.
• Do not use screws longer than the standard dimension, as they may damage the inside of the Monitor.
• For wall mounts that do not comply with VESA standard screw specifications, the length of the screws may differ depending on their specifications.
• Do not use screws that do not comply with the VESA standard screw
specifications.
Connections
Page 21
Do not fasten the screws too tightly, as this may damage the product or
cause the product to fall, leading to personal injury.
Samsung is not liable for these kinds of accidents.
• Samsung is not liable for product damage or personal injury when a nonVESA or non-specified wall mount is used or the consumer fails to follow
the product installation instructions.
• To mount the monitor on a wall, you should purchase the wall mounting
kit that allows you to mount the monitor at least 10 cm away from the wall
surface.
• Contact the nearest Samsung Service Center for more information. Samsung Electronics will not be responsible for damages caused by using a
base other than those specified.
• Please use Wall Mount according to the International standards.
{2043SN/2043SNX} Connecting Cables
Connect the power cord for your monitor to the power port on the back of the monitor.
Plug the power cord for the monitor into a nearby outlet.
Use a connection appropriate for your computer.
Using the D-sub (Analog) connector on the video card.
• Connect the signal cable to the 15-pin, D-sub port on the back of your monitor.
[RGB IN]
Connected to a Macintosh.
• Connect the monitor to the Macintosh computer using the D-sub connection cable.
Note
If the monitor and the computer are connected, you can turn them on and use them.
Connections
Page 22
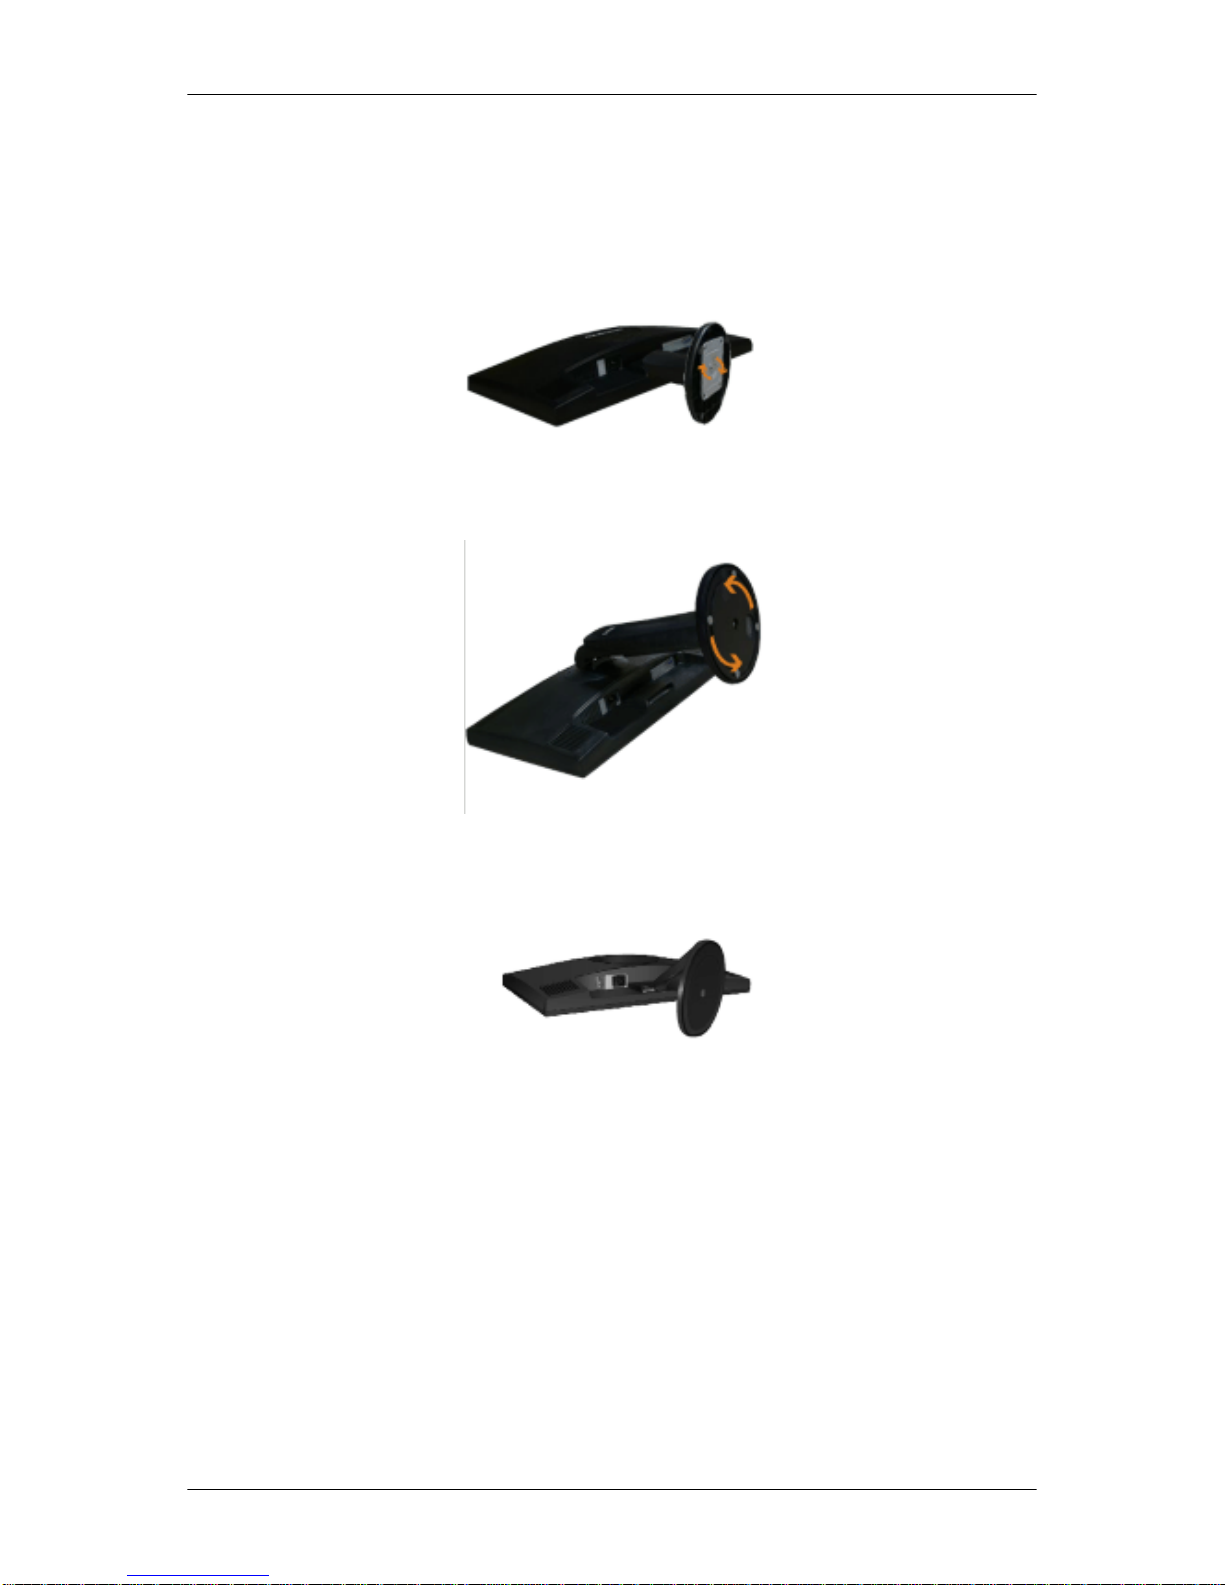
Using the Stand
Monitor Assembly
Simple Stand
HAS Stand
Dual Hinge Stand
Monitor and Bottom
Attaching a Base
This monitor accepts a 75 mm x 75 mm VESA-compliant mounting interface pad.
Connections
Page 23
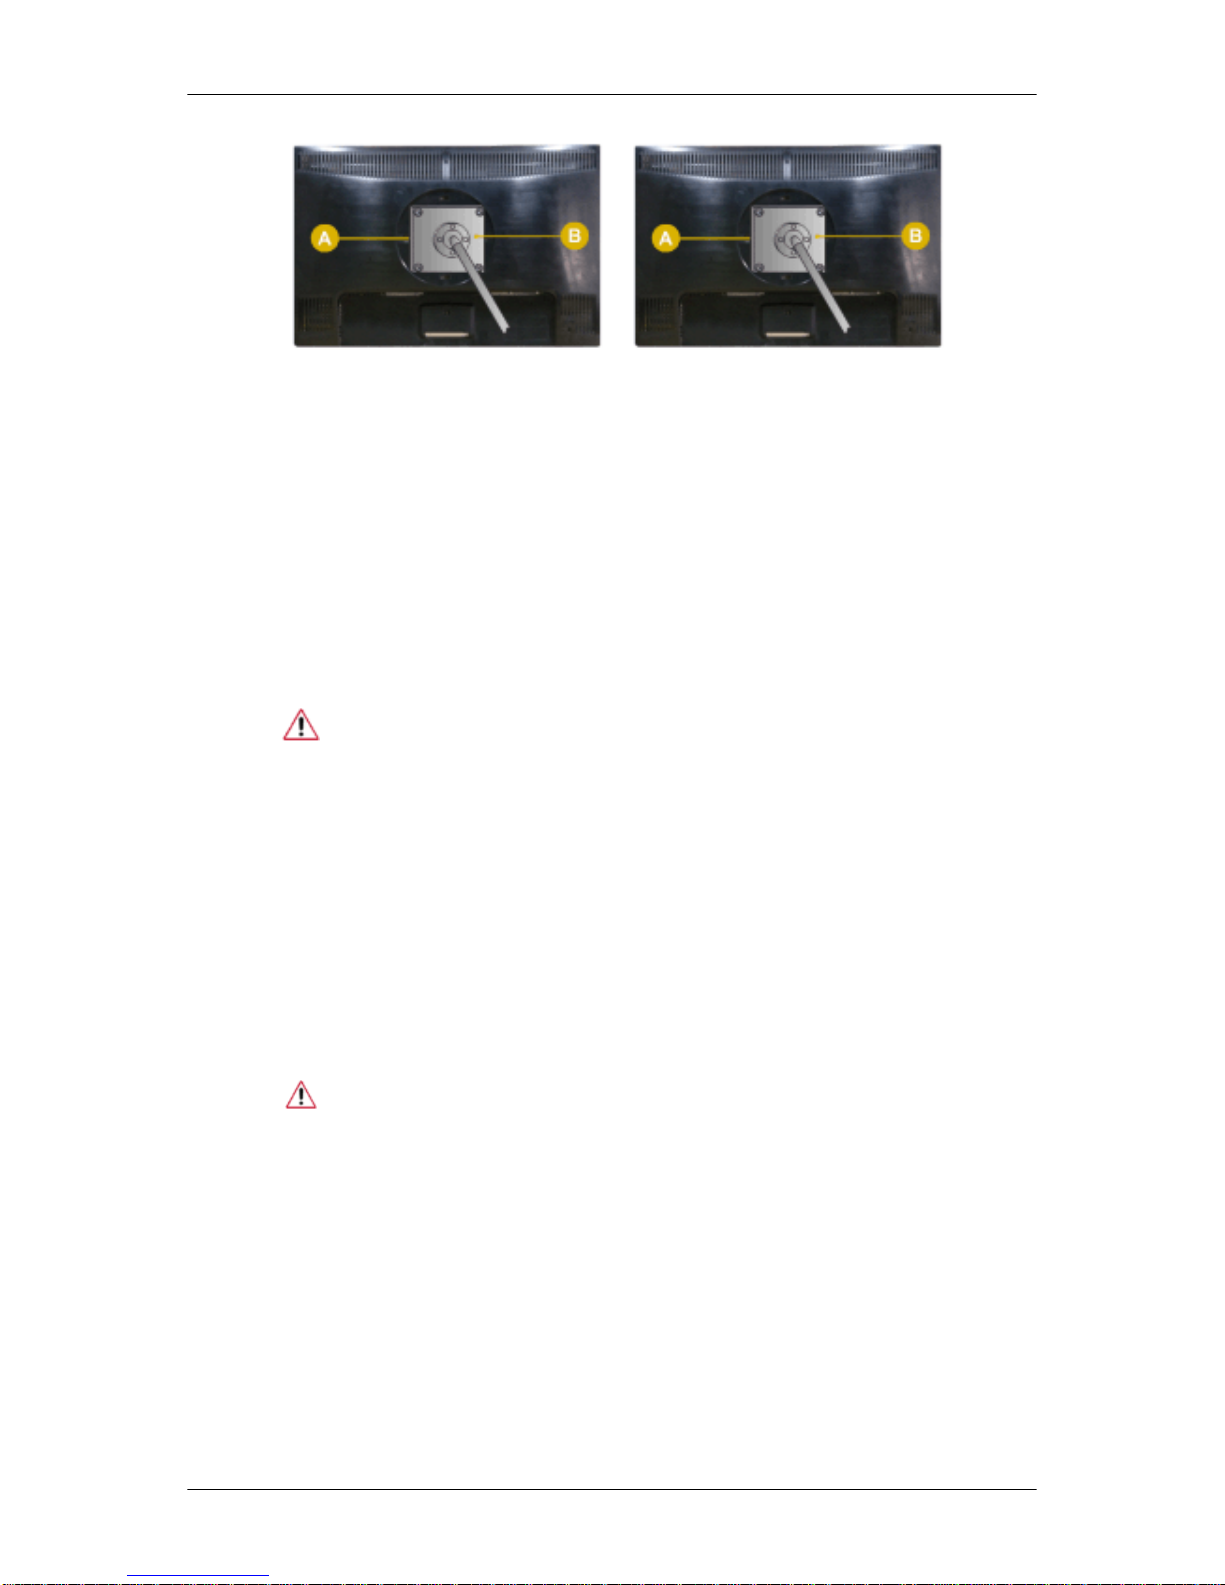
Simple Stand(Dual Hinge Stand) HAS Stand
A. Monitor
B. Mounting interface pad (Sold separately)
1. Turn off your monitor and unplug its power cord.
2. Lay the LCD monitor face-down on a flat surface with a cushion beneath it to protect the
screen.
3. Remove two screws and then remove the stand from the LCD monitor.
4. Align the mounting interface pad with the holes in the rear cover mounting pad and secure
it with four screws that came with the arm-type base, wall mount hanger or other base.
• Do not use screws longer than the standard dimension, as they may damage the inside of the Monitor.
• For wall mounts that do not comply with VESA standard screw specifications, the length of the screws may differ depending on their specifications.
• Do not use screws that do not comply with the VESA standard screw
specifications.
Do not fasten the screws too tightly, as this may damage the product or
cause the product to fall, leading to personal injury.
Samsung is not liable for these kinds of accidents.
• Samsung is not liable for product damage or personal injury when a nonVESA or non-specified wall mount is used or the consumer fails to follow
the product installation instructions.
• To mount the monitor on a wall, you should purchase the wall mounting
kit that allows you to mount the monitor at least 10 cm away from the wall
surface.
• Contact the nearest Samsung Service Center for more information. Samsung Electronics will not be responsible for damages caused by using a
base other than those specified.
• Please use Wall Mount according to the International standards.
Connections
Page 24
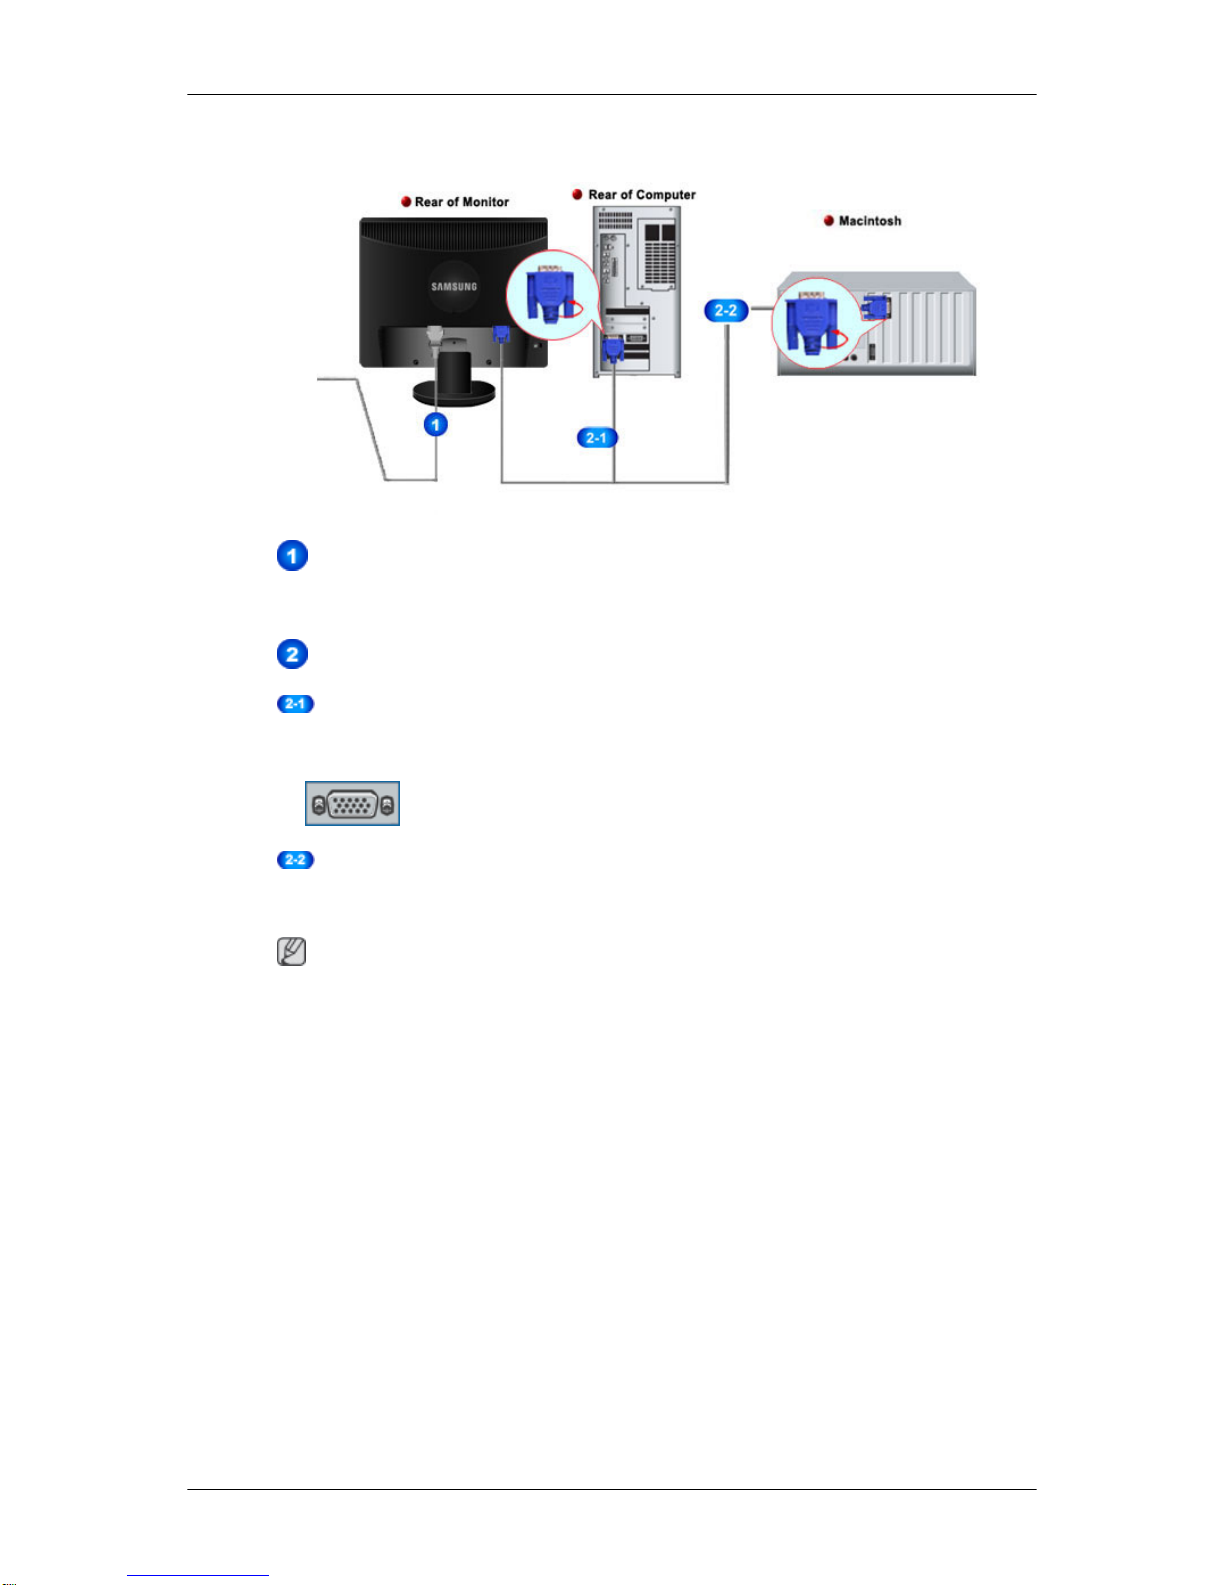
{2243SN/2243SNX} Connecting Cables
Connect the power cord for your monitor to the power port on the back of the monitor.
Plug the power cord for the monitor into a nearby outlet.
Use a connection appropriate for your computer.
Using the D-sub (Analog) connector on the video card.
• Connect the signal cable to the 15-pin, D-sub port on the back of your monitor.
[RGB IN]
Connected to a Macintosh.
• Connect the monitor to the Macintosh computer using the D-sub connection cable.
Note
If the monitor and the computer are connected, you can turn them on and use them.
Using the Stand
Monitor Assembly
Simple Stand HAS Stand
Connections
Page 25
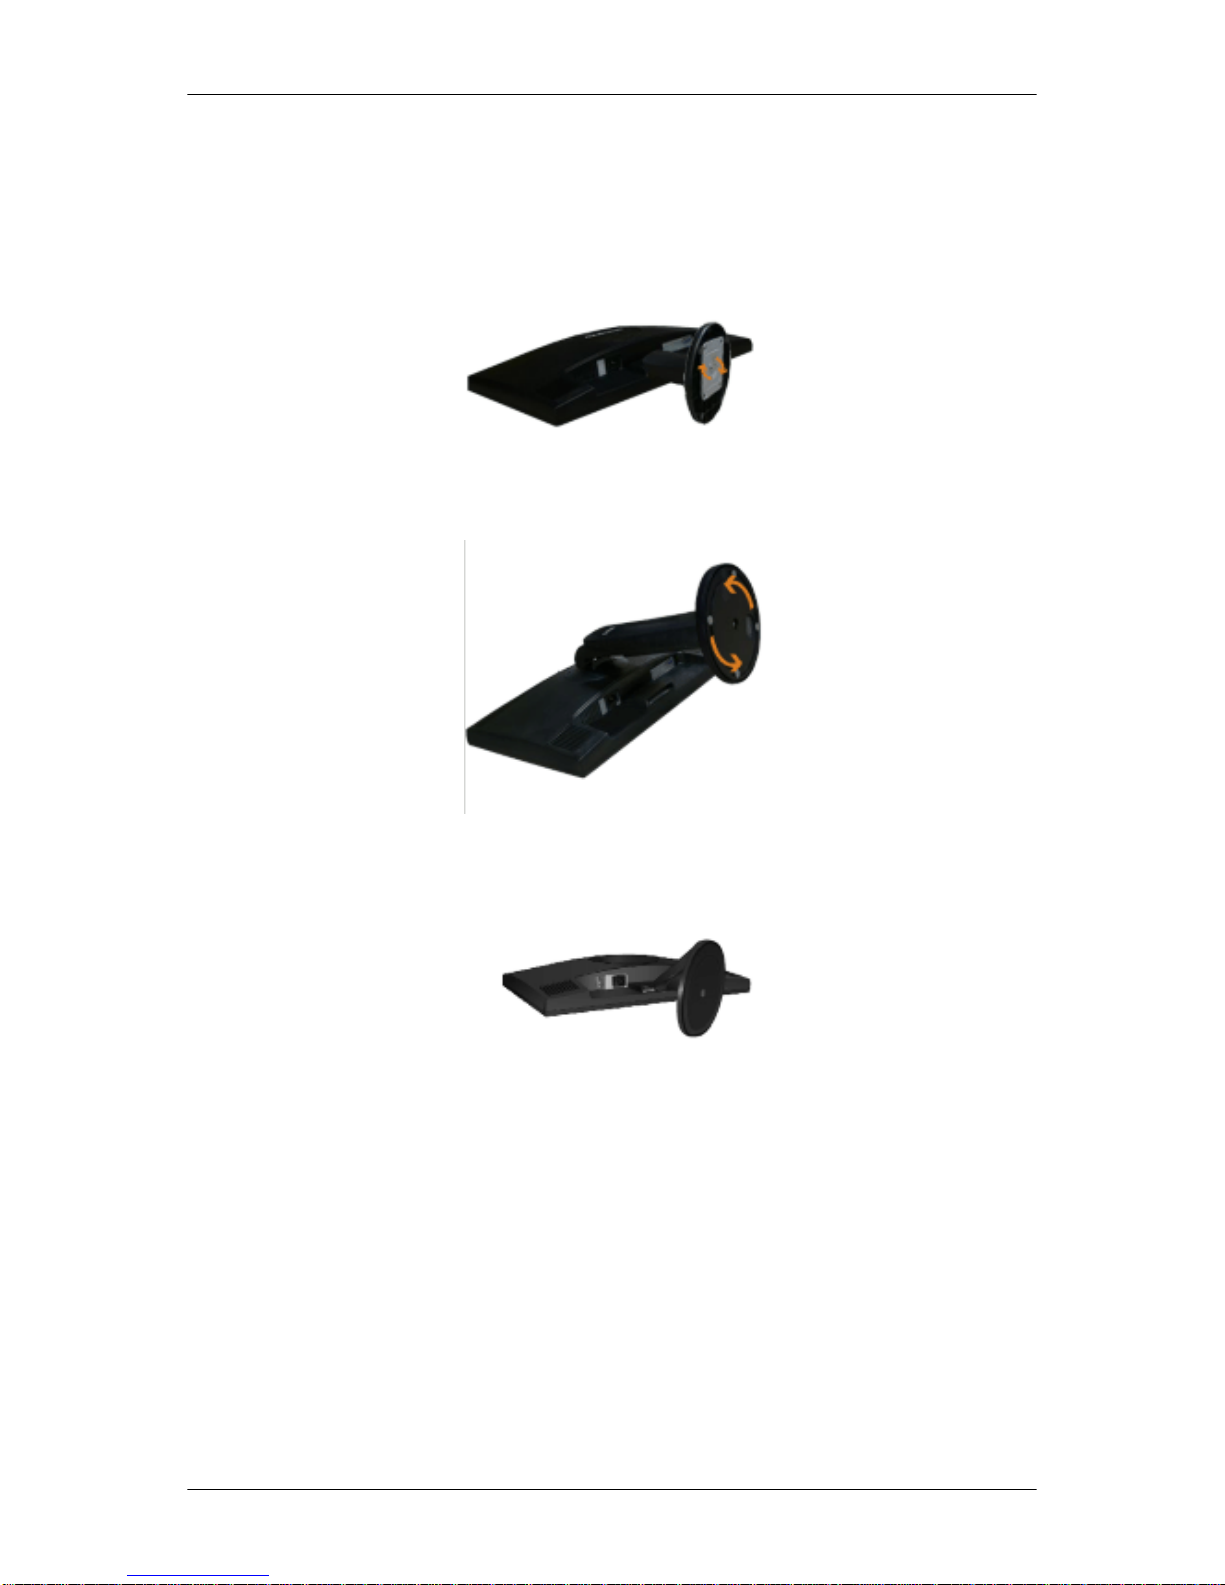
Using the Stand
Monitor Assembly
Simple Stand
HAS Stand
Dual Hinge Stand
Monitor and Bottom
Attaching a Base
This monitor accepts a 100 mm x 100 mm VESA-compliant mounting interface pad.
Connections
Page 26
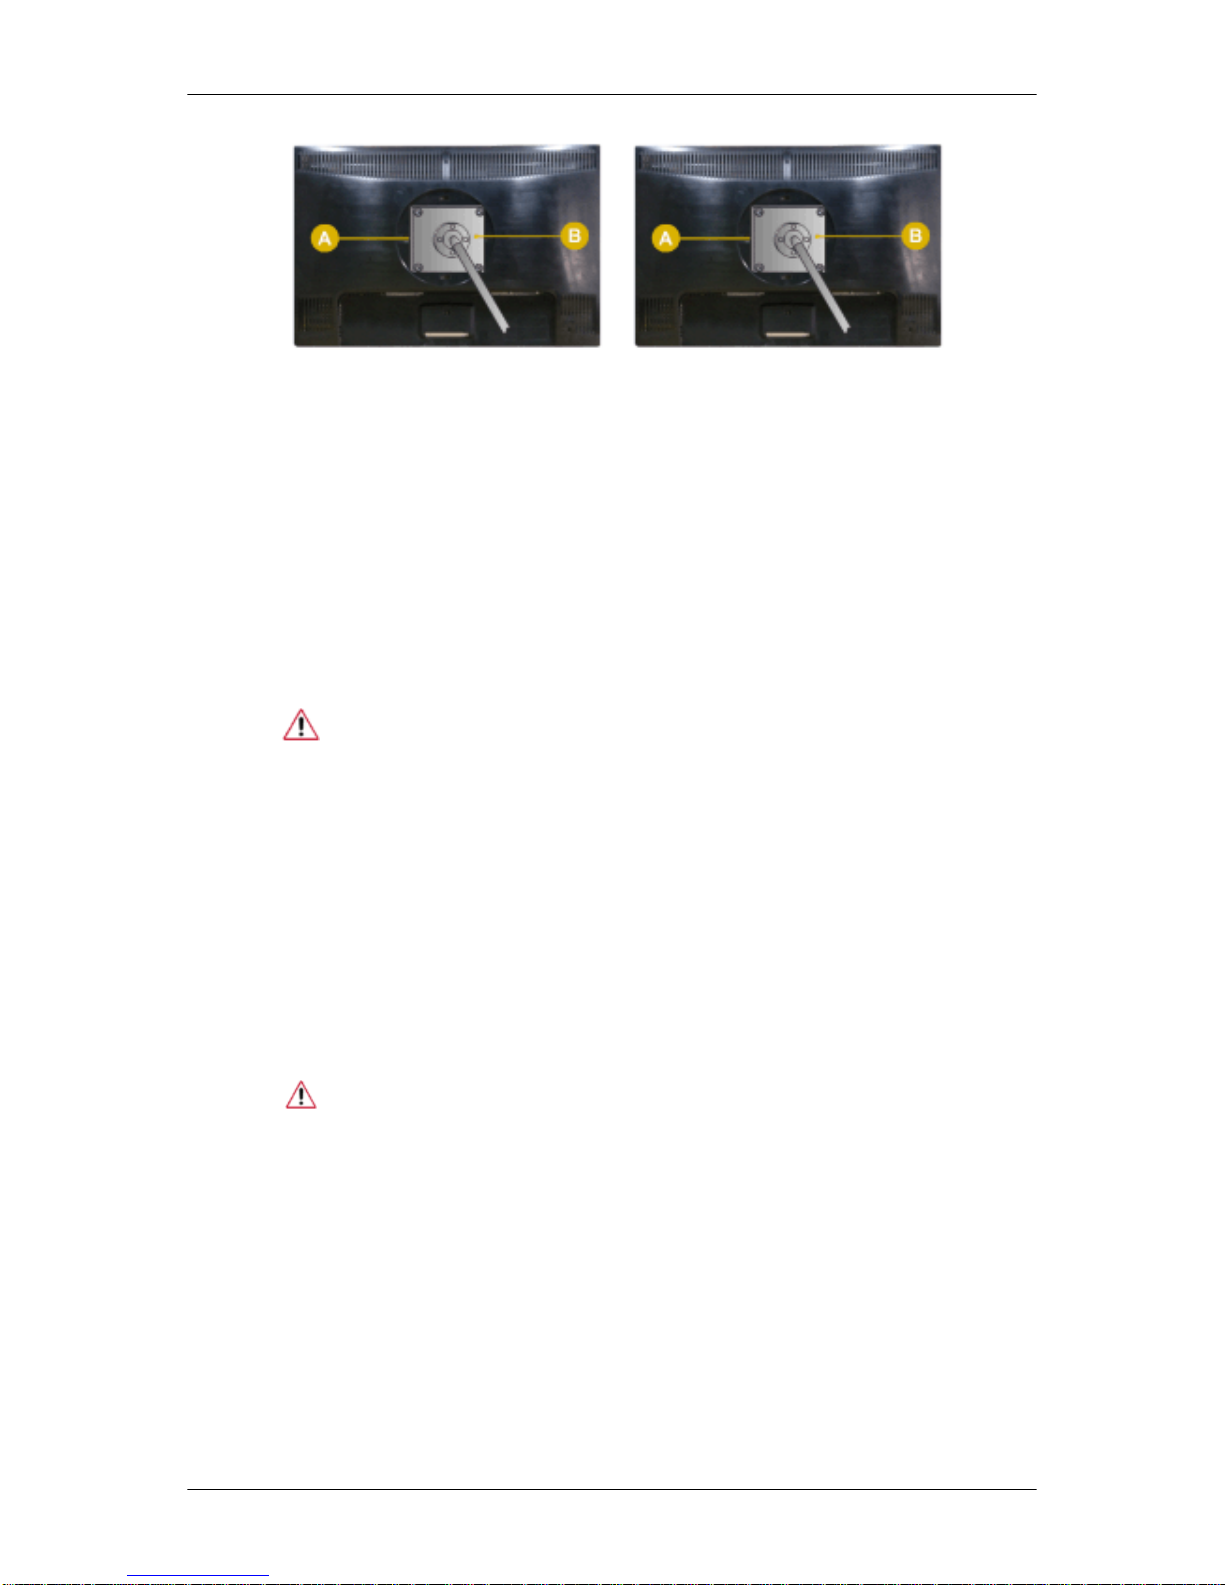
Simple Stand(Dual Hinge Stand) HAS Stand
A. Monitor
B. Mounting interface pad (Sold separately)
1. Turn off your monitor and unplug its power cord.
2. Lay the LCD monitor face-down on a flat surface with a cushion beneath it to protect the
screen.
3. Remove two screws and then remove the stand from the LCD monitor.
4. Align the mounting interface pad with the holes in the rear cover mounting pad and secure
it with four screws that came with the arm-type base, wall mount hanger or other base.
• Do not use screws longer than the standard dimension, as they may damage the inside of the Monitor.
• For wall mounts that do not comply with VESA standard screw specifications, the length of the screws may differ depending on their specifications.
• Do not use screws that do not comply with the VESA standard screw
specifications.
Do not fasten the screws too tightly, as this may damage the product or
cause the product to fall, leading to personal injury.
Samsung is not liable for these kinds of accidents.
• Samsung is not liable for product damage or personal injury when a nonVESA or non-specified wall mount is used or the consumer fails to follow
the product installation instructions.
• To mount the monitor on a wall, you should purchase the wall mounting
kit that allows you to mount the monitor at least 10 cm away from the wall
surface.
• Contact the nearest Samsung Service Center for more information. Samsung Electronics will not be responsible for damages caused by using a
base other than those specified.
• Please use Wall Mount according to the International standards.
Connections
Page 27
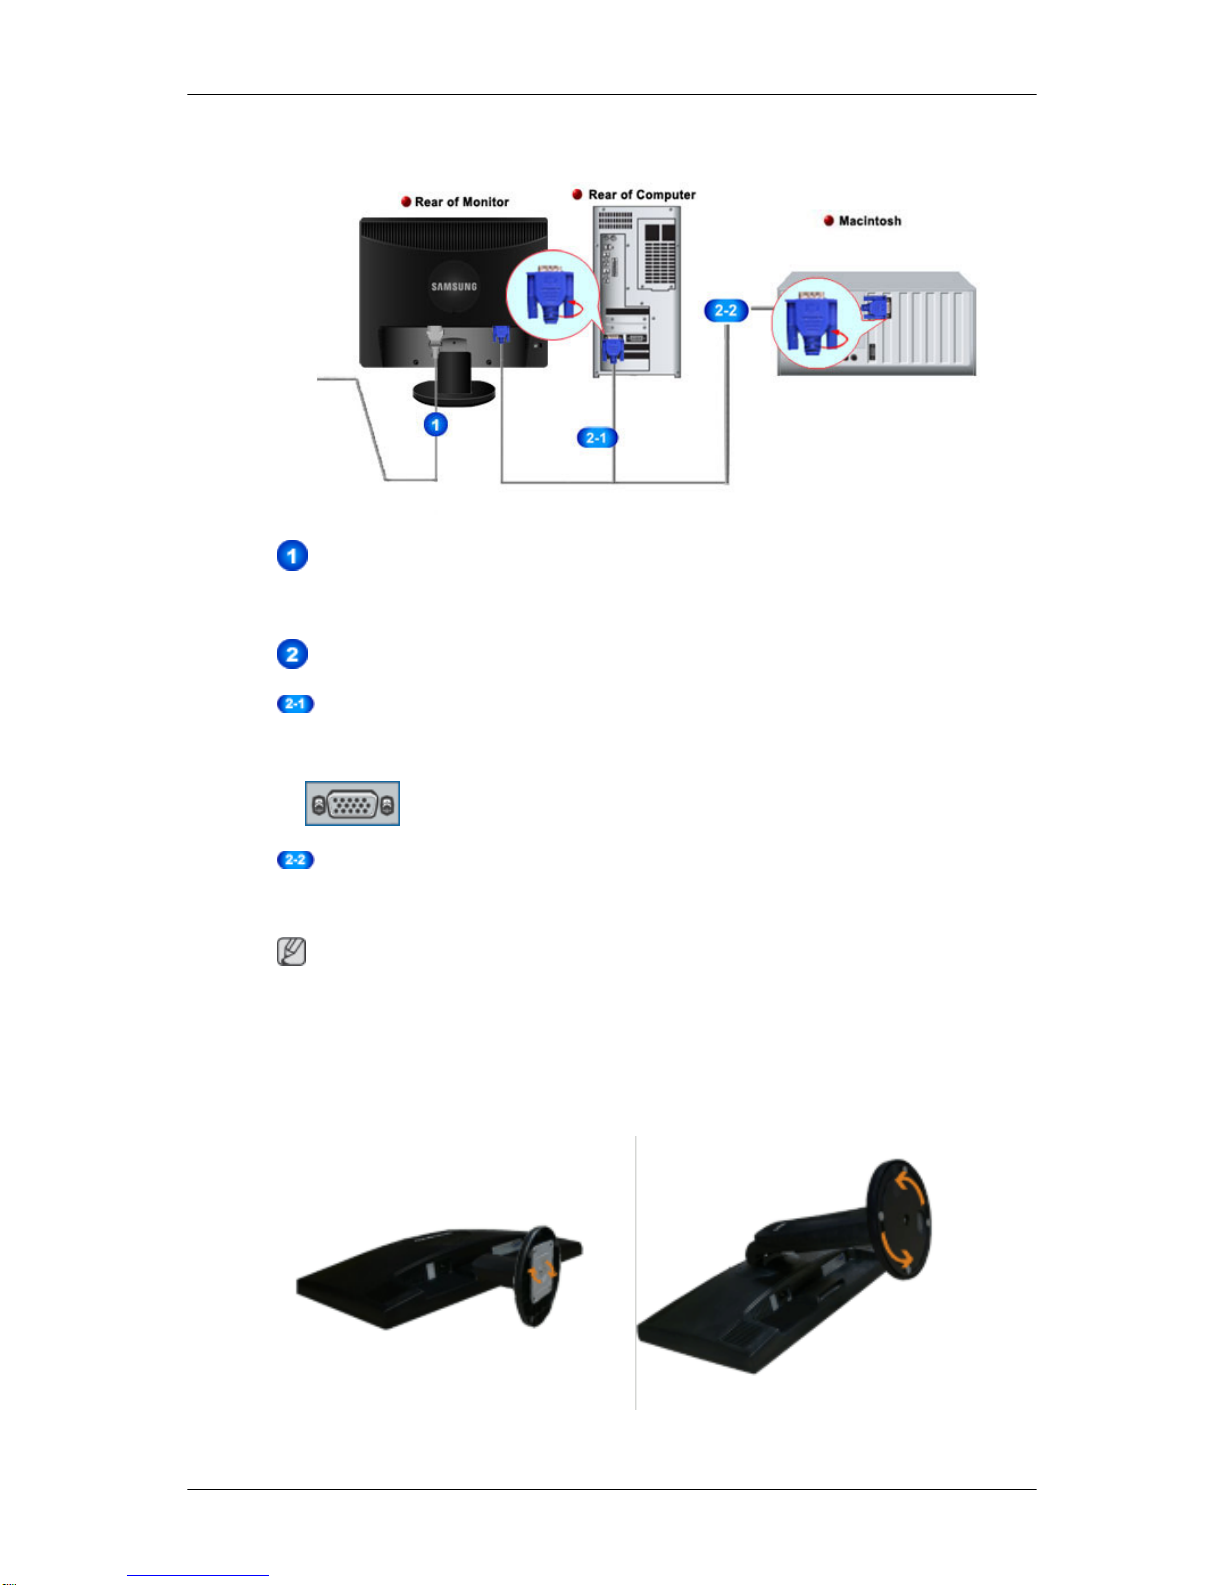
{2243LNX} Connecting Cables
Connect the power cord for your monitor to the power port on the back of the monitor.
Plug the power cord for the monitor into a nearby outlet.
Use a connection appropriate for your computer.
Using the D-sub (Analog) connector on the video card.
• Connect the signal cable to the 15-pin, D-sub port on the back of your monitor.
[RGB IN]
Connected to a Macintosh.
• Connect the monitor to the Macintosh computer using the D-sub connection cable.
Note
If the monitor and the computer are connected, you can turn them on and use them.
Using the Stand
Monitor Assembly
Simple Stand HAS Stand
Connections
Page 28
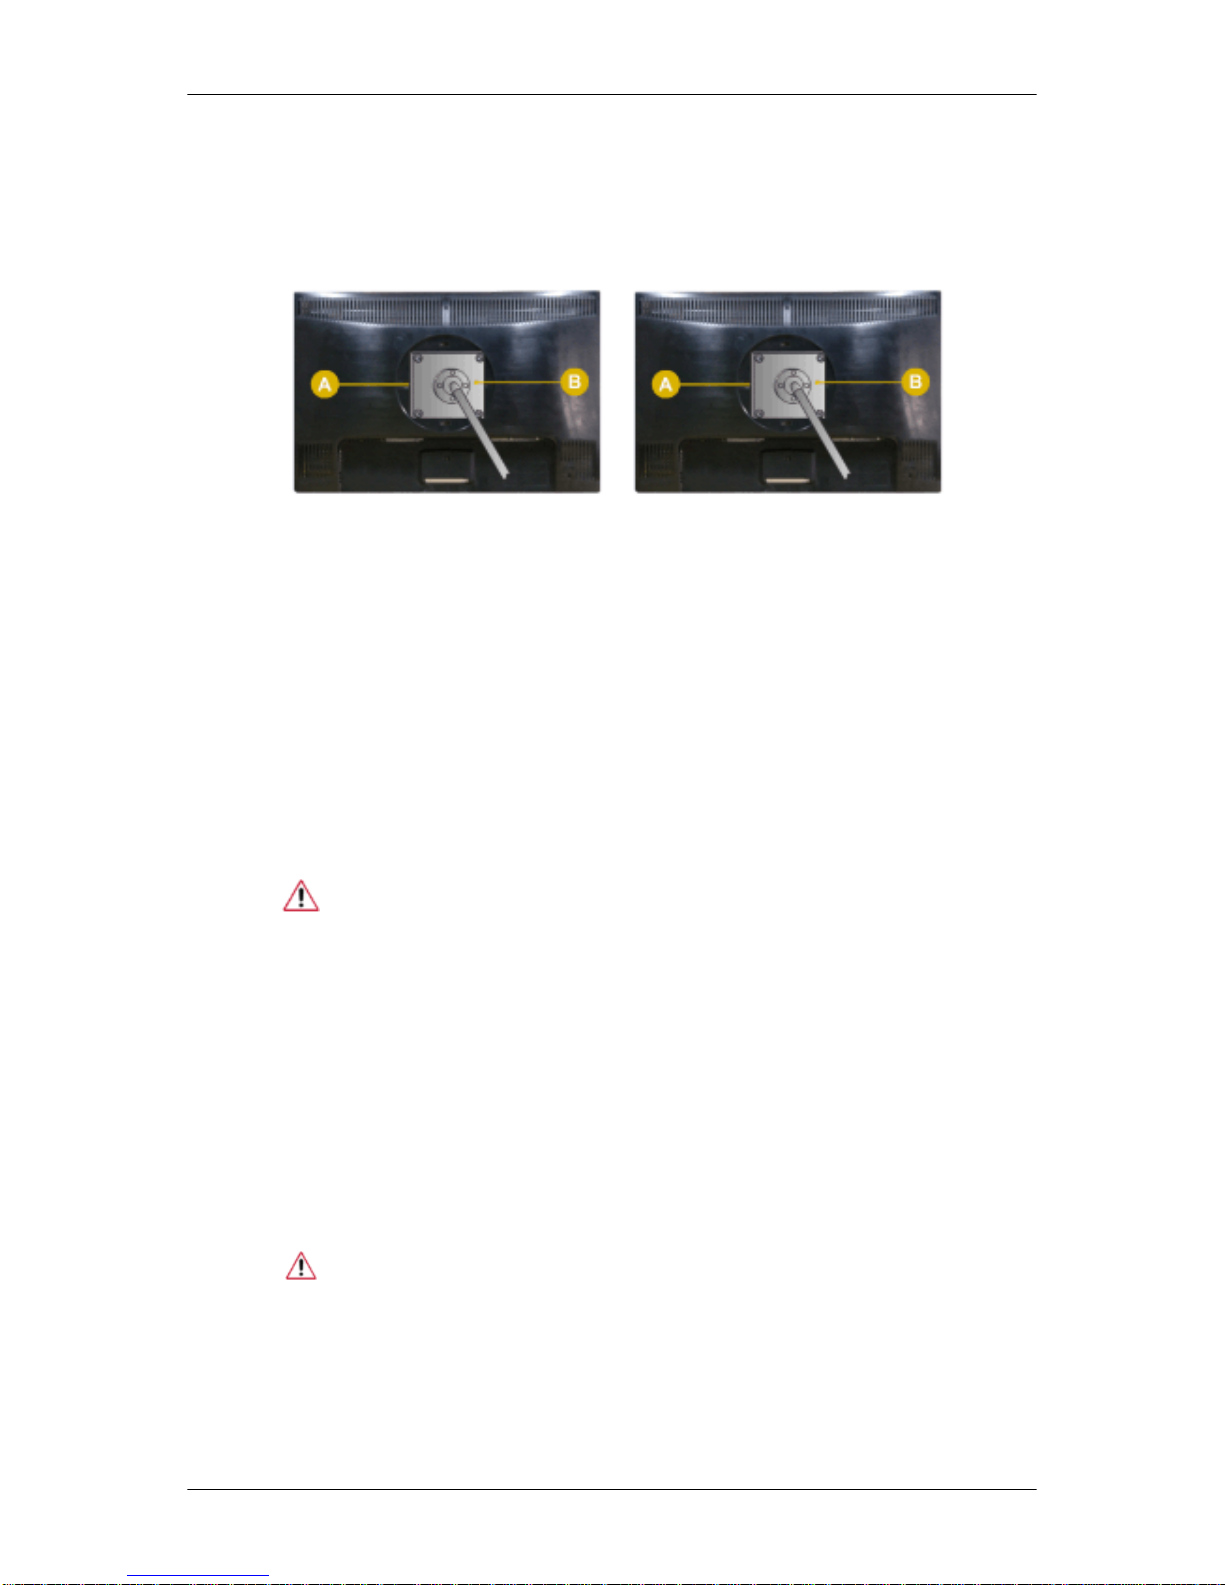
Monitor and Bottom
Attaching a Base
This monitor accepts a 100 mm x 100 mm VESA-compliant mounting interface pad.
Simple Stand HAS Stand
A. Monitor
B. Mounting interface pad (Sold separately)
1. Turn off your monitor and unplug its power cord.
2. Lay the LCD monitor face-down on a flat surface with a cushion beneath it to protect the
screen.
3.
Remove two screws and then remove the stand from the LCD monitor.
4. Align the mounting interface pad with the holes in the rear cover mounting pad and secure
it with four screws that came with the arm-type base, wall mount hanger or other base.
• Do not use screws longer than the standard dimension, as they may damage the inside of the Monitor.
• For wall mounts that do not comply with VESA standard screw specifications, the length of the screws may differ depending on their specifications.
• Do not use screws that do not comply with the VESA standard screw
specifications.
Do not fasten the screws too tightly, as this may damage the product or
cause the product to fall, leading to personal injury.
Samsung is not liable for these kinds of accidents.
• Samsung is not liable for product damage or personal injury when a nonVESA or non-specified wall mount is used or the consumer fails to follow
the product installation instructions.
• To mount the monitor on a wall, you should purchase the wall mounting
kit that allows you to mount the monitor at least 10 cm away from the wall
surface.
• Contact the nearest Samsung Service Center for more information. Samsung Electronics will not be responsible for damages caused by using a
base other than those specified.
• Please use Wall Mount according to the International standards.
Connections
Page 29
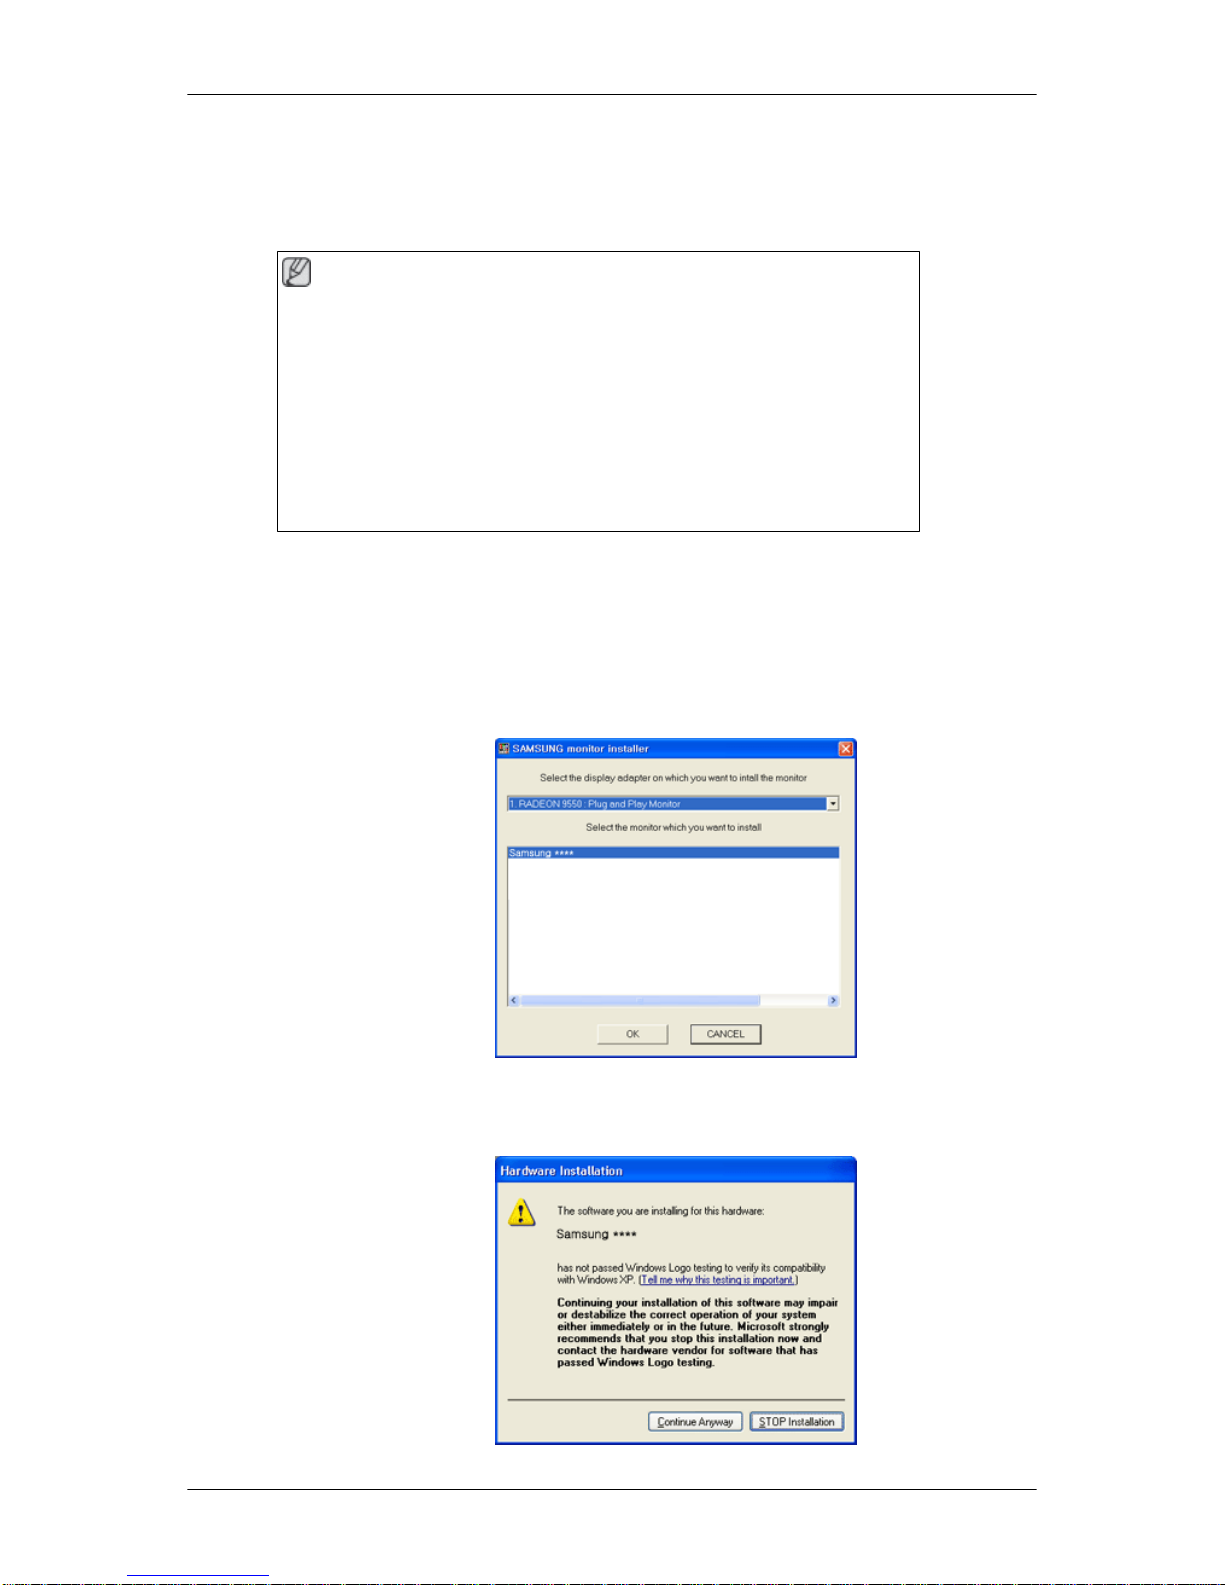
Using the Software
Monitor Driver
Note
When prompted by
the operating system for the monitor driver, insert the CDROM included with this monitor. Driver installation is slightly different from one
operating system to another. Follow the directions appropriate for the operating system you have.
Prepare a blank disk and download the driver program file at the Internet web
site shown here.
Internet web site :
http://www.samsung.com/ (Worldwide)
Installing the Monitor Driver (Automatic)
1. Insert CD into the CD-ROM drive.
2. Click "Windows".
3.
Choose your monitor model in the model list, then click the "OK" button.
4. If
you can see following message window, then click the "Continue Anyway" button. Then
click "OK" button (Microsoft® Windows® XP/2000 Operating System).
29
Page 30
Note
This monitor driver
is under certifying MS logo, and this installation doesn't damage your
system.
The certified driver will be posted on Samsung Monitor homepage.
http://www.samsung.com/
Installing the Monitor Driver (Manual)
Microsoft® Windows Vista™‚ Operating System
1. Insert your Manual CD into your CD-ROM drive.
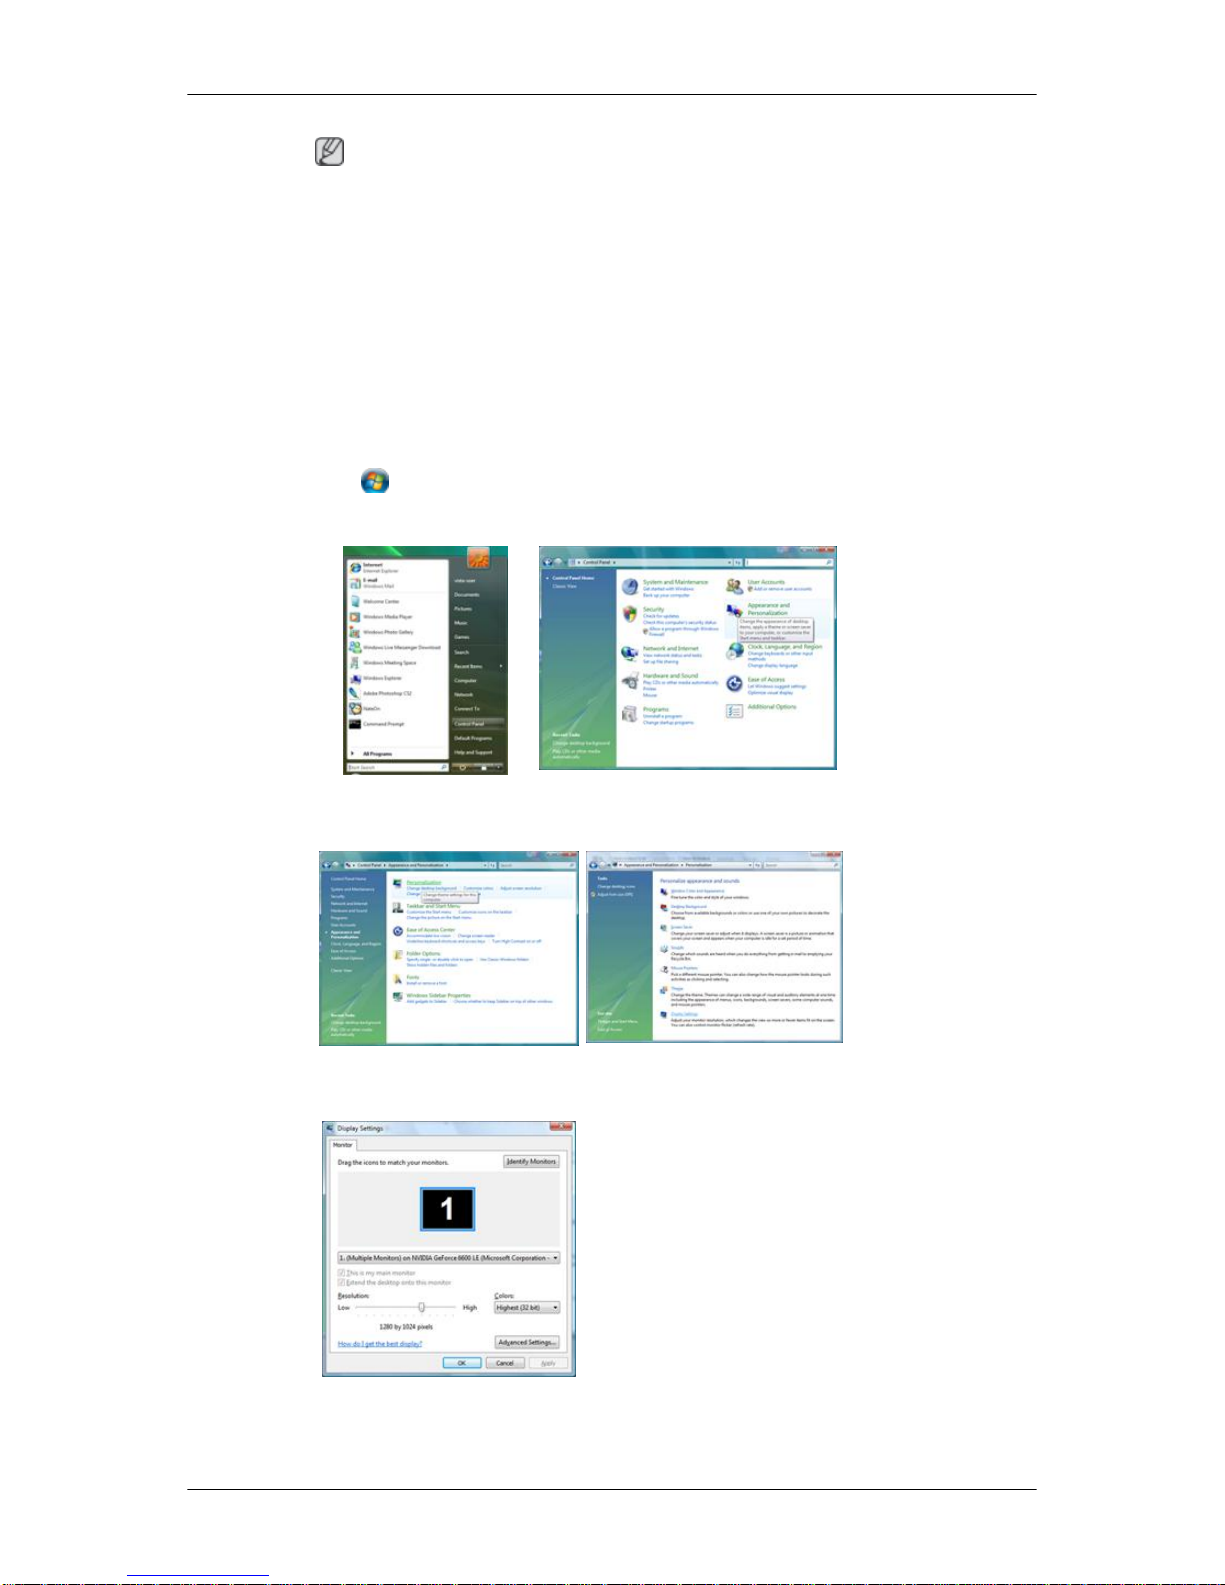
2.
Click
(Start) and "Control Panel". Then, double-click on "Appearance and Personal-
ization".
3. Click "Personalization" and then "Display Settings".
4. Click "Advanced Settings...".
5. Click
"Properties" in the "Monitor" tab. If the "Properties" button is deactivated, it means
the configuration for your monitor is completed. The monitor can be used as is.
Using the Software
30
Page 31
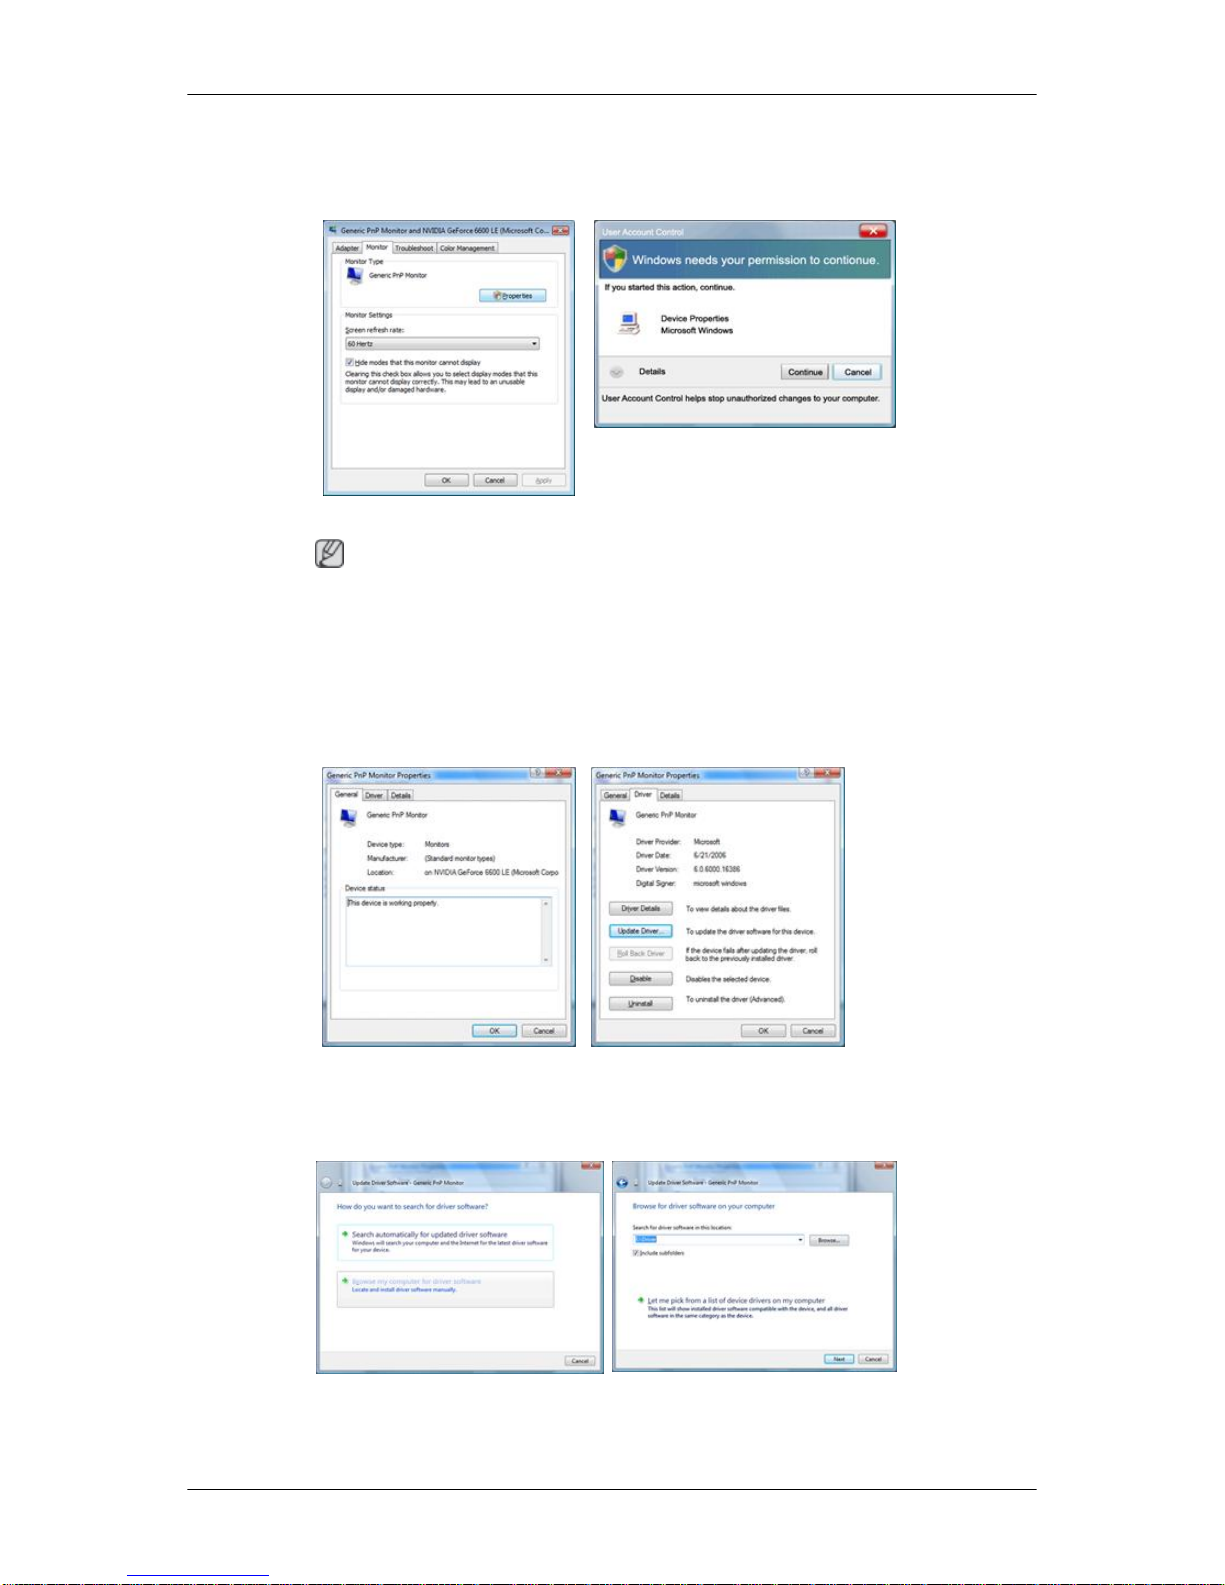
If the message "Windows needs..." is displayed, as shown in the figure below, click
"Continue".
Note
This monitor driver
is under certifying MS logo, and this installation doesn't damage your
system.
The certified driver will be posted on Samsung Monitor homepage.
6. Click "Update Driver..." in the "Driver" tab.
7. Check the "Browse
my computer for driver software" checkbox and click "Let me pick
from a list of device drivers on my computer".
8. Click "Have Disk...” and select the folder (for example, D:\Drive) where the driver setup
file is located, and click "OK".
Using the Software
31
Page 32
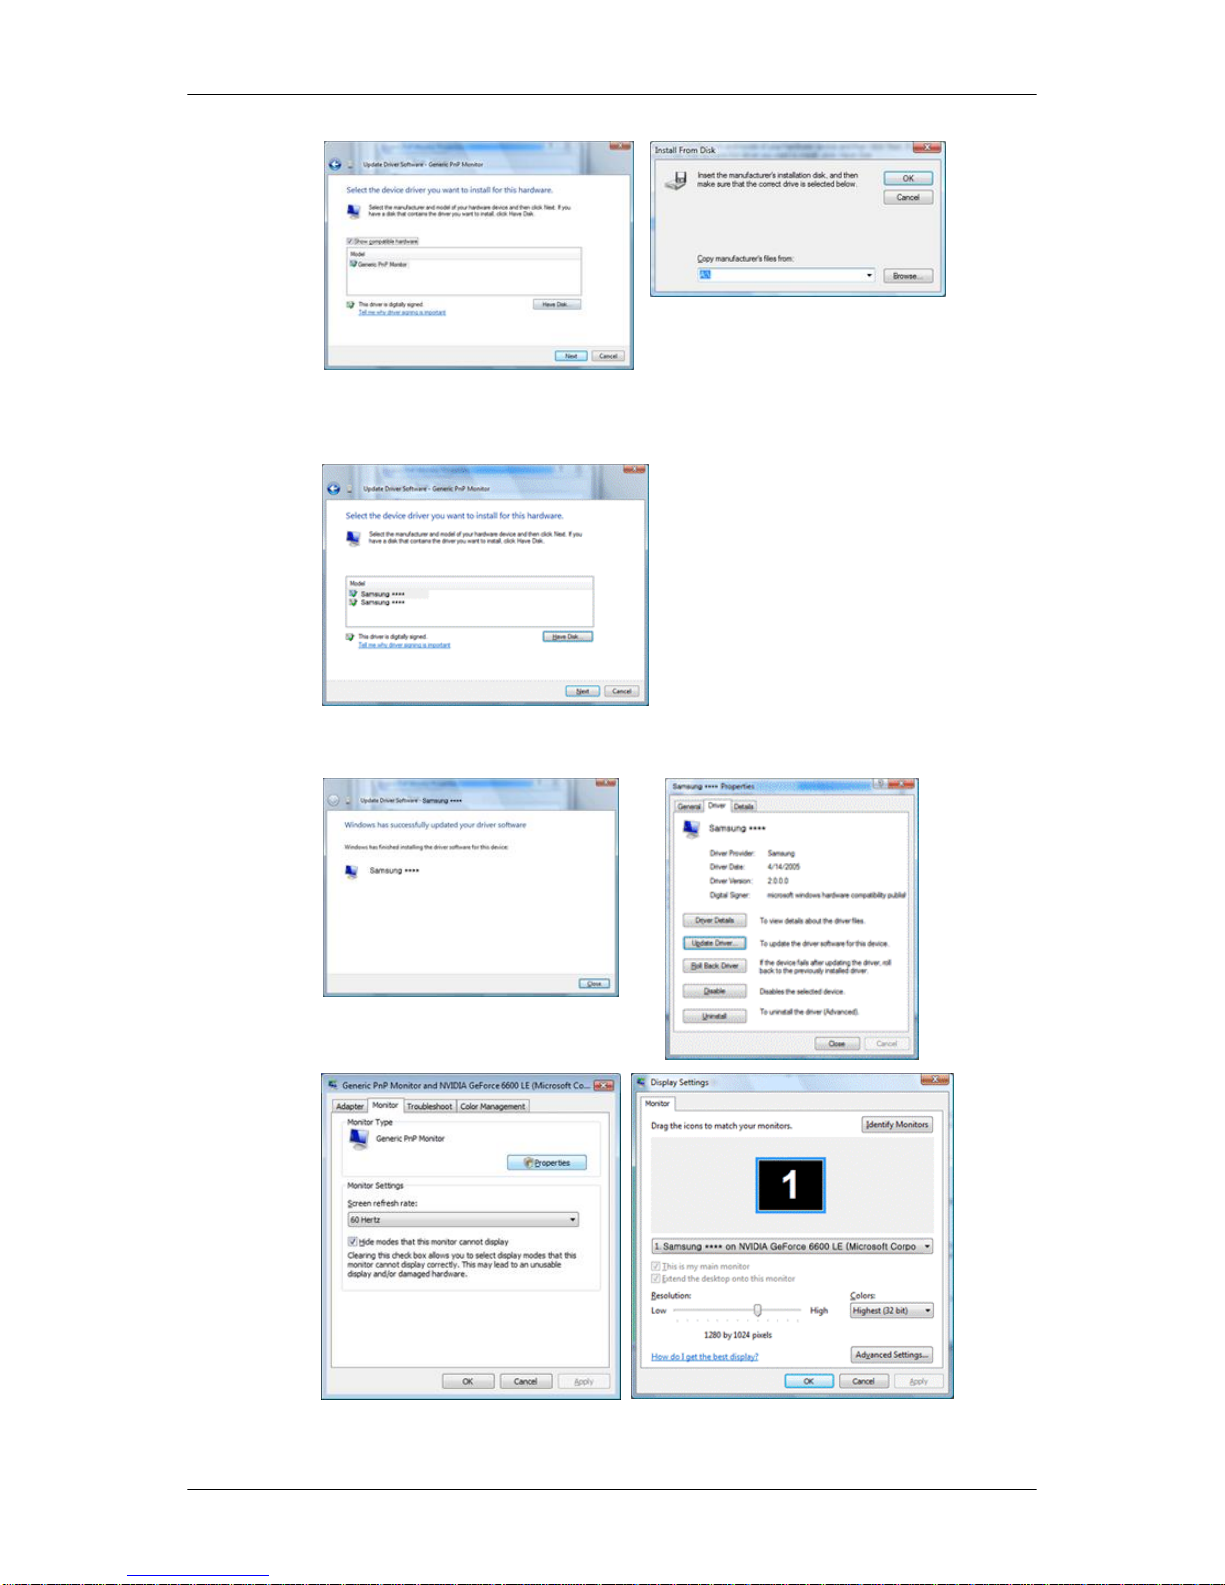
9. Select the model that matches your monitor from the list of monitor models on the screen,
and click "Next".
10. Click "Close" → "Close" → "OK" → "OK" on the following screens displayed in sequence.
Microsoft® Windows® XP Operating System
Using the Software
32
Page 33
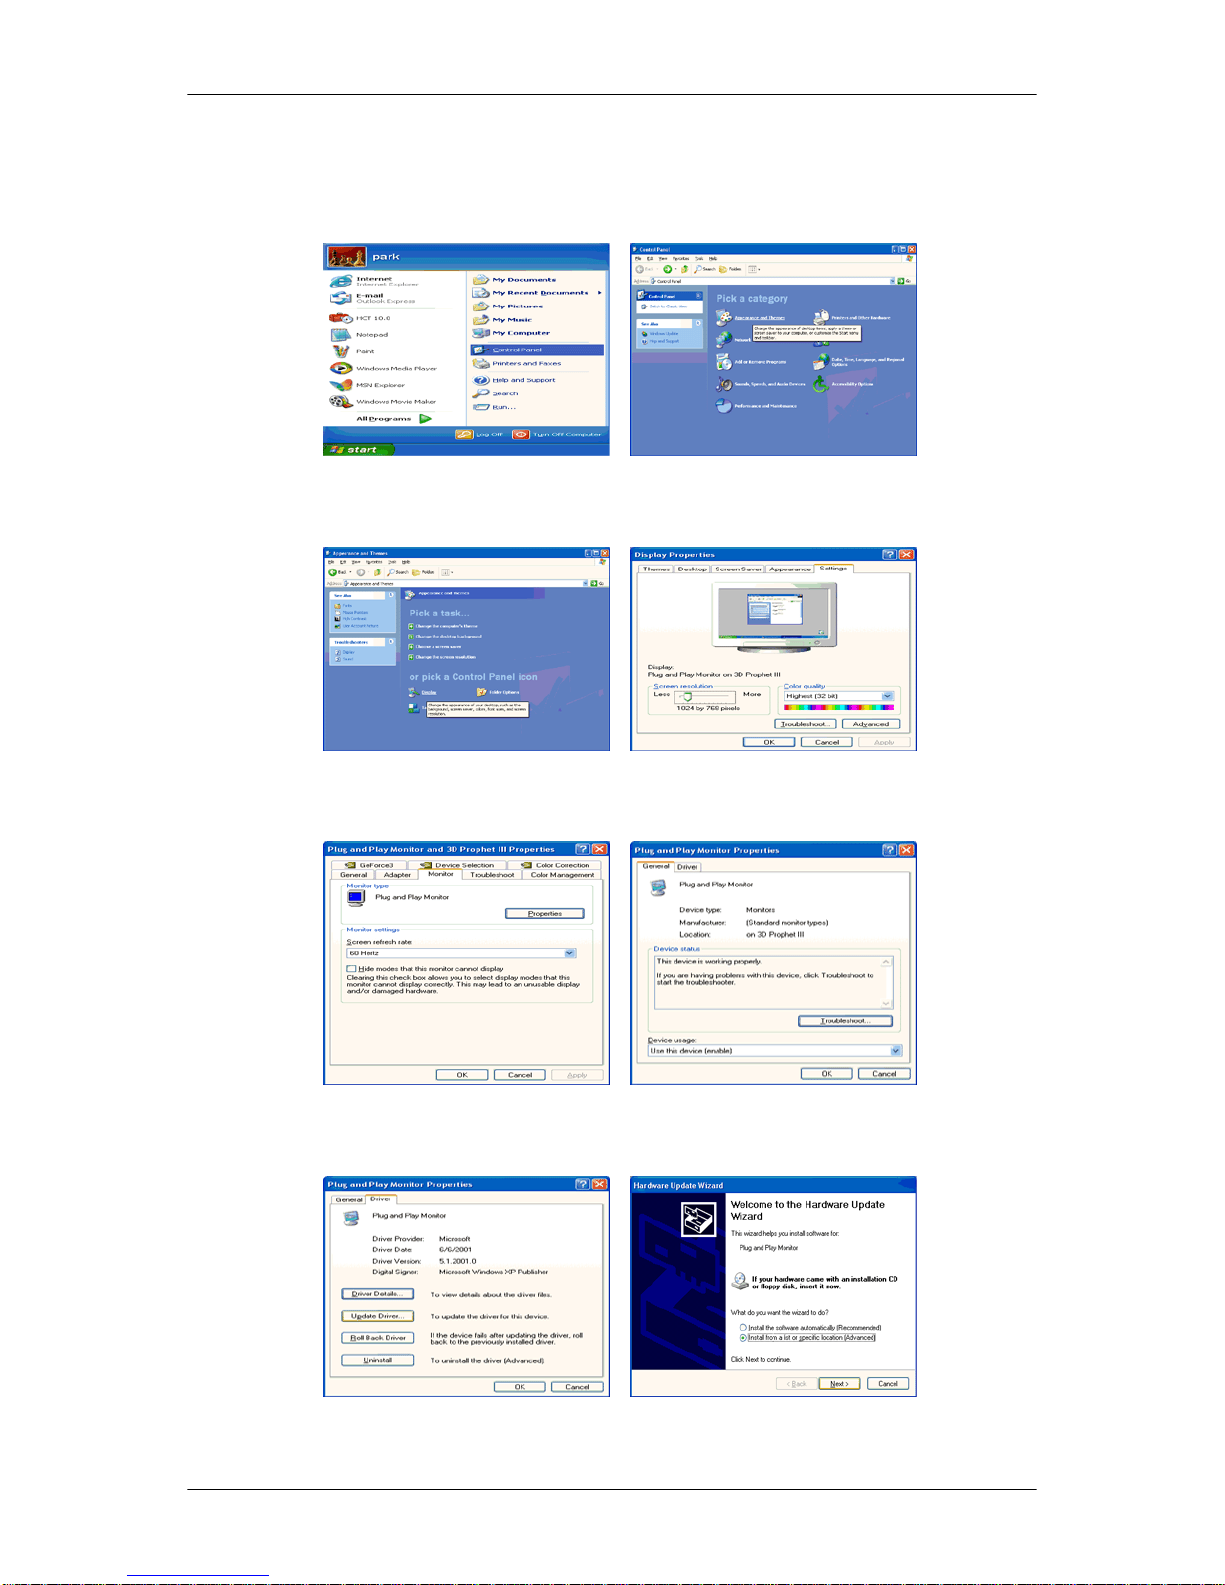
1. Insert CD into the CD-ROM drive.
2.
Click "Start" →
"Control Panel" then click the "Appearance and Themes" icon.
3. Click "Display" icon and choose the "Settings" tab then click "Advanced...".
4. Click the "Properties" button on the "Monitor" tab and select "Driver" tab.
5. Click "Update Driver..." and select "Install from a list or..." then click "Next" button.
6. Select "Don't search, I will..." then click "Next" and then click "Have disk".
Using the Software
33
Page 34
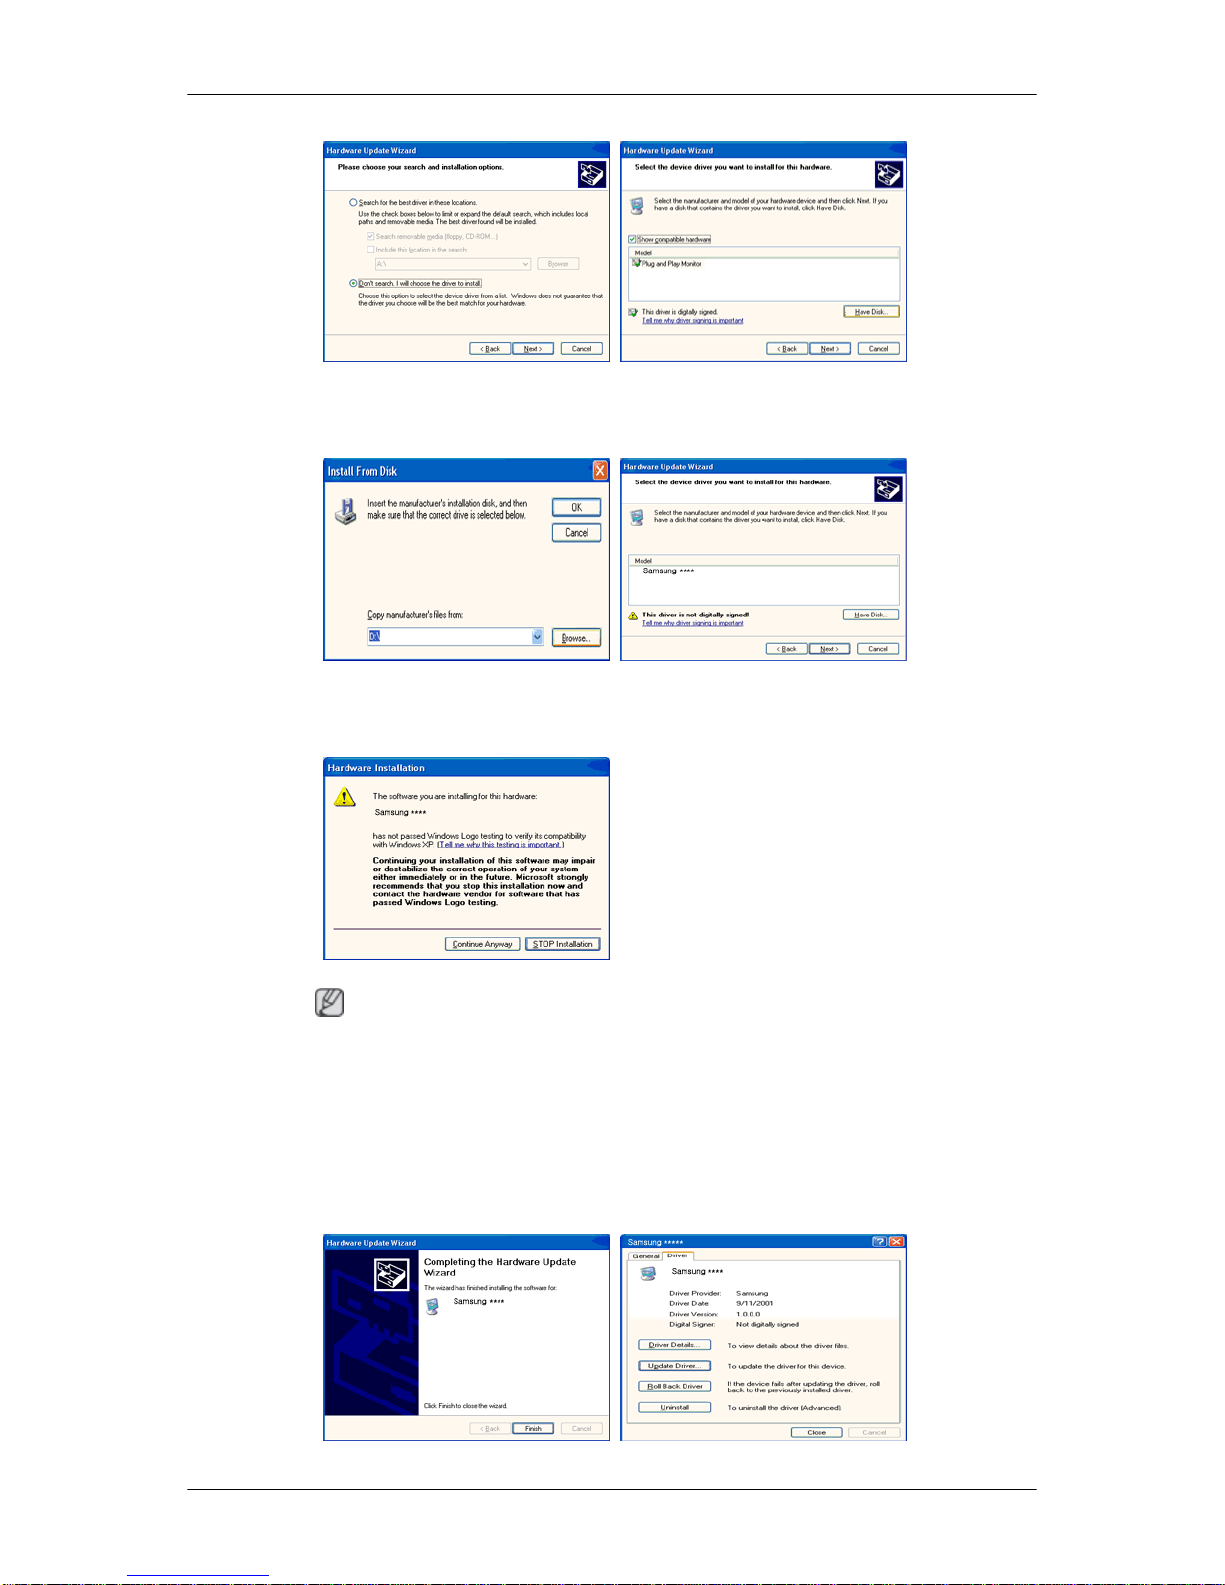
7. Click the "Browse" button then choose A:(D:\Driver) and choose your monitor model in
the model list and click the "Next" button.
8. If you can see following message window, then click the "Continue Anyway" button. Then
click "OK" button.
Note
This monitor driver
is under certifying MS logo, and this installation doesn't damage your
system.
The certified driver will be posted on Samsung Monitor homepage.
http://www.samsung.com/
9. Click the "Close" button then click "OK" button continually.
Using the Software
34
Page 35
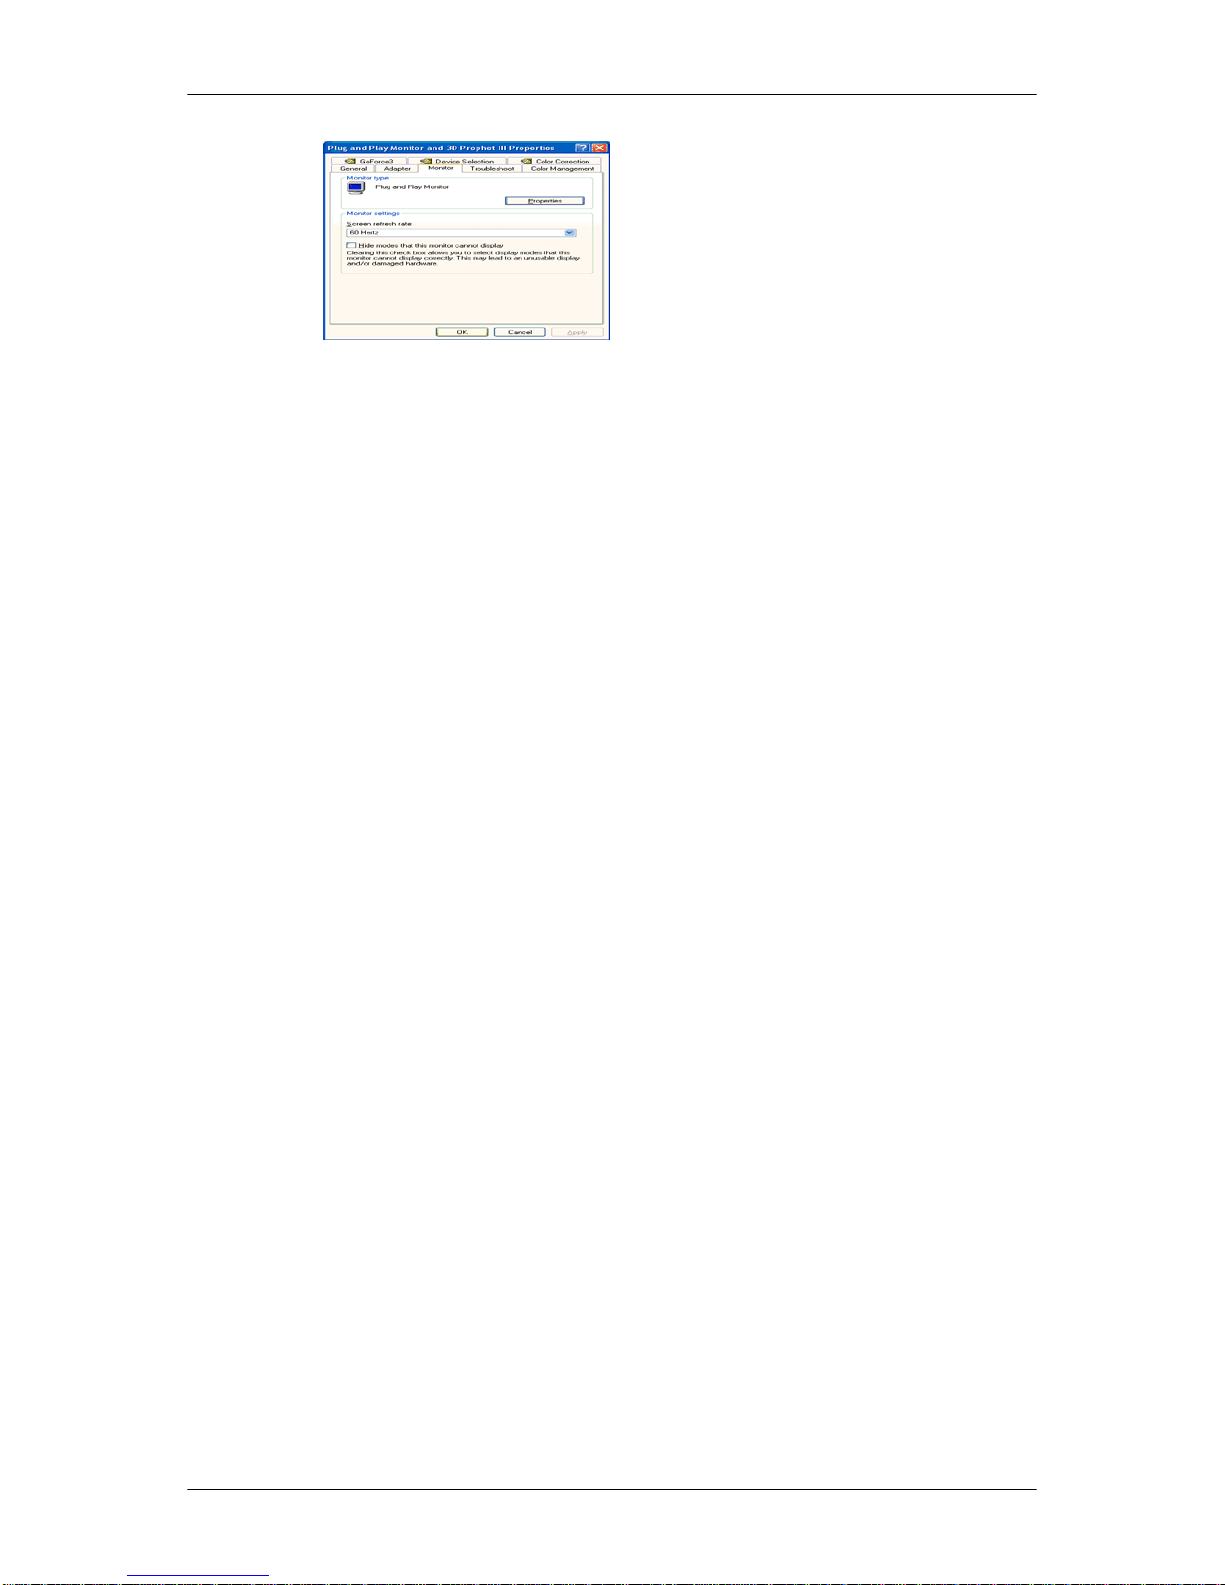
10. Monitor driver installation is completed.
Microsoft® Windows® 2000 Operating System
When you can see "Digital Signature Not Found" on your monitor, follow these steps.
1.
Choose "OK" button on the "Insert disk" window.
2. Click the "Browse" button on the "File Needed" window.
3.
Choose A:(D:\Driver) then click the "Open" button and then click "OK" button.
How to install
1. Click "Start", "Setting", "Control Panel".
2. Double click the "Display" icon.
3. Select the "Settings" tab and click "Advanced Properties" button.
4. Choose "Monitor".
Case1 : If the "Properties" button is inactive, it means your monitor is properly configured.
Please stop installation
Case2 : If the "Properties" button is active, click the "Properties" button then follow next
steps continually.
5. Click "Driver" and then click on "Update Driver..." then click on the "Next" button.
6. Choose "Display a list of the known drivers for this device so that I can choose a specific
driver" then click "Next" and then click "Have disk".
7. Click the "Browse" button then choose A:(D:\Driver).
8. Click the "Open" button, then click "OK" button.
9. Choose your monitor model and click the "Next" button then click "Next" button.
10. Click the "Finish" button then the "Close" button.
If you can see the "Digital Signature Not Found" window then click the "Yes" button. And
click the "Finish" button then the "Close" button.
Microsoft® Windows® Millennium Operating System
1. Click "Start", "Setting", "Control Panel".
2. Double click the "Display" icon.
3. Select the "Settings" tab and click "Advanced Properties" button.
Using the Software
35
Page 36

4. Select the "Monitor" tab.
5.
Click the "Change" button in the "Monitor Type" area.
6.
Choose "Specify the location of the driver".
7.
Choose "Display a list of all the driver in a specific location..." then click "Next" button.
8. Click the "Have Disk" button.
9. Specify A:\(D:\driver) then click "OK" button.
10. Select "Show all devices" and choose the monitor that corresponds to the one you connected to your computer and click "OK".
11. Continue choosing "Close" button and "OK" button until you close the Display Properties
dialogue box.
Microsoft® Windows® NT Operating System
1. Click "Start", "Settings", "Control Panel", and then double-click "Display" icon.
2. In Display Registration Information window, click Settings Tab and then click "All Display
Modes".
3. Select a mode that you wish to use (Resolution, Number of colors and Vertical frequency)
and then click "OK".
4. Click "Apply" button if you see the screen working normally after clicking "Test". If the
screen is not normal, change to a different mode (lower mode of resolution, colors or
frequency).
Note
If there is
no Mode at All Display Modes, select the level of resolution and vertical frequency
by referring to the Preset Timing Modes in the user guide.
Linux Operating System
To execute X-Window, you need to make the X86Config file, which is a type of system setting
file.
1. Press "Enter" at the first and the second screen after executing the X86Config file.
2. The third screen is for setting your mouse.
3. Set a mouse for your computer.
4. The next screen is for selecting a keyboard.
5. Set a Keyboard for your computer.
6. The next screen is for setting your monitor.
7. First of all, set a horizontal frequency for your monitor. (You can enter the frequency
directly.)
8. Set a vertical frequency for your monitor. (You can enter the frequency directly.)
9. Enter the model name of your monitor. This information will not affect the actual execution
of X-Window.
Using the Software
36
Page 37
10. You
have finished setting up your monitor. Execute X-Window after setting other re-
quested hardware.
Natural Color
Natural Color Software Program
One of the recent problems in using a computer is that the color of the images printed out by
a
printer
or
other images scanned by a scanner or a digital camera are not the same as those
shown on the monitor. The Natural Color S/W is the very solution for this problem. It is a color
administration system developed by Samsung Electronics in association with Korea Electronics & Telecommunications Research Institute (ETRI). This system is available only for
Samsung monitors and makes the color of the images on the monitor the same as the printed
or scanned images. For more information, refer to Help (F1) in the software program.
How to install the Natural Color software
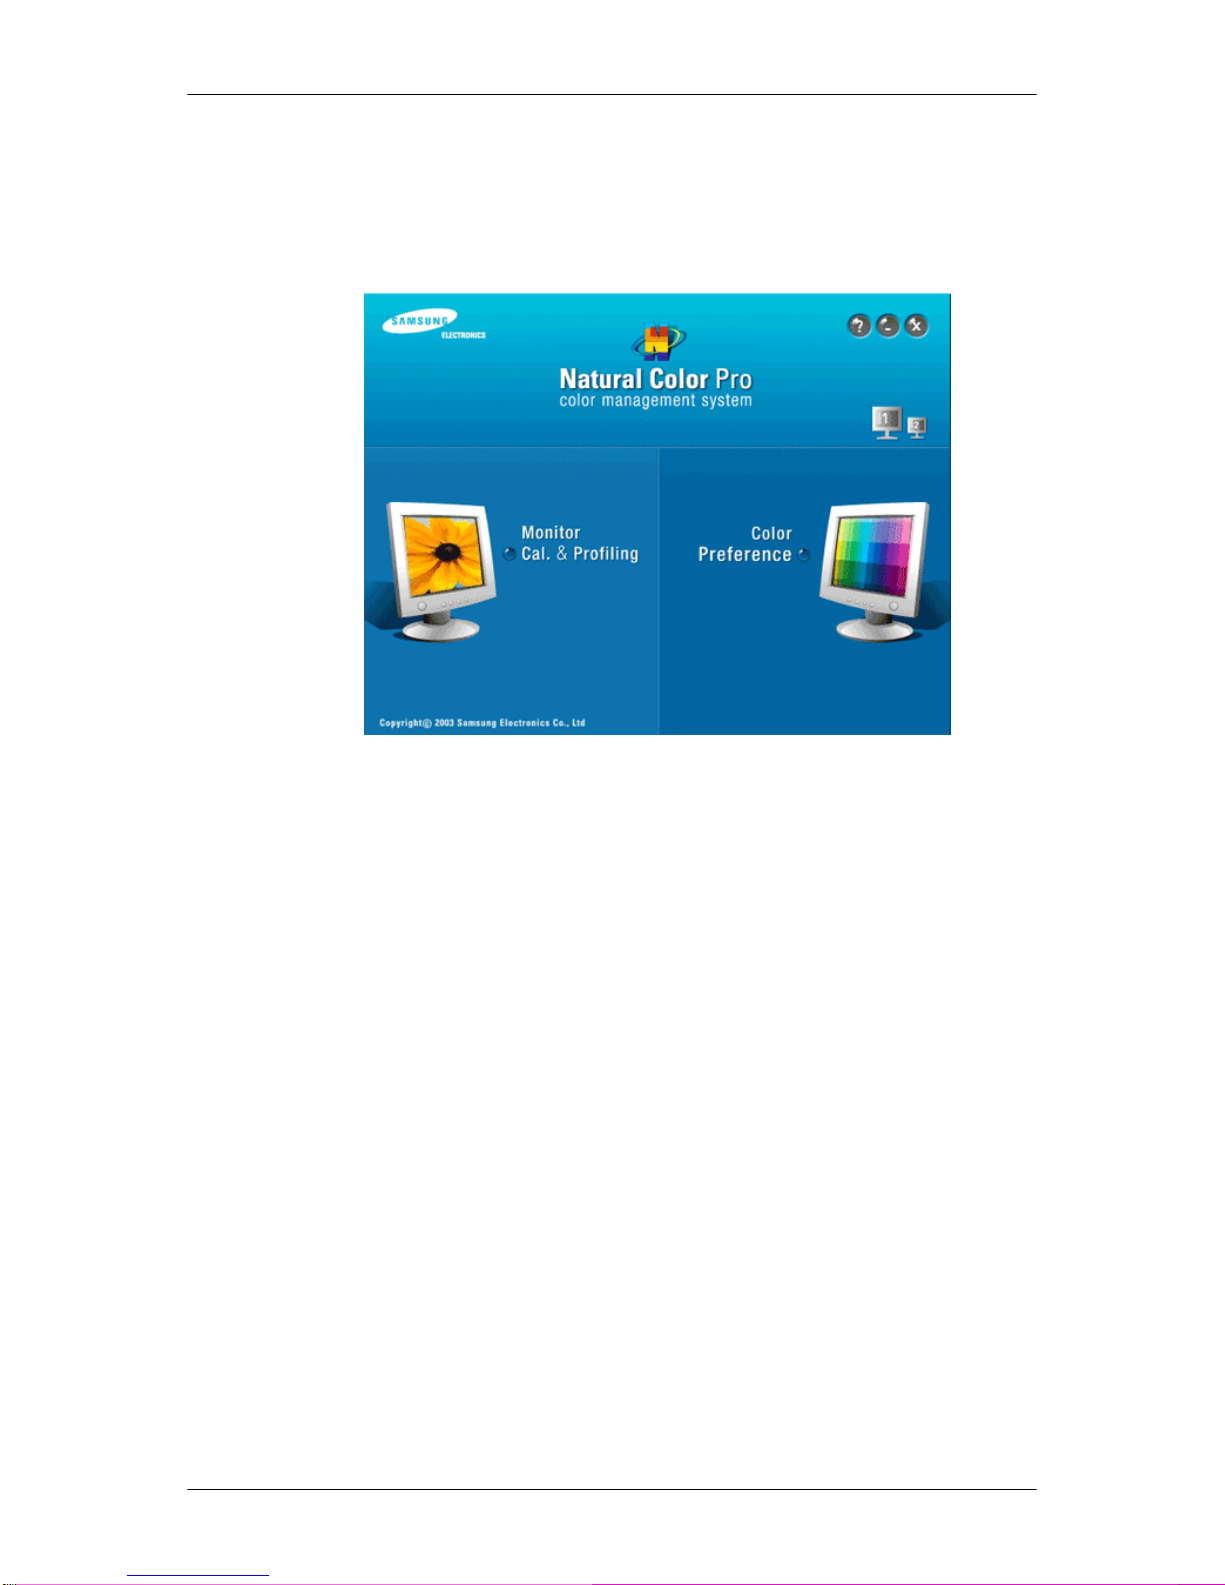
Insert the CD included with the Samsung monitor into the CD-ROM Drive. Then, the initial
screen of the program Natural Color will be executed. Click Natural Color on the initial screen
to install the Natural Color software.
To install the program manually, insert the CD included with the Samsung monitor into the
CD-ROM Drive, click the [Start] button of Windows and then select [Run...]. Enter D:\color
\NCProSetup.exe and then press the [Enter] key. (If the drive where the CD is inserted is not
D:\, enter the applicable drive.)
How to delete the Natural Color software program
Select "Setting/Control Panel" on the "Start" menu and then double-click "Add/Delete a program". Select Natural Color from the list and then click the "Add/Delete" button.
Using the Software
37
Page 38

MagicTune™
Installation
1. Insert the installation CD into the CD-ROM drive.
2. Click the MagicTune™ installation file.
Note
If the popup
window to install the software for the main screen is not displayed, proceed
with the installation using the MagicTune executable file on the CD.
3. Select installation Language, Click "Next".
4. When the Installation Shield Wizard window appears, click "Next".
5. Select "I agree to the terms of the license agreement" to accept the terms of use.
6. Choose a folder to install the MagicTune™ program.
7. Click "Install".
8. The "Installation Status" window appears.
9. Click "Finish".
10. When the installation is complete, the MagicTune™ executable icon appears on your
desktop. Double-click the icon to start the program.
MagicTune™ execution icon may not appear depending on specification of computer system or monitor. If that happens, press F5 Key.
Installation Problems
The installation of
MagicTune™ can be affected by such factors as the video card, mother-
board and the network environment.
System Requirements
OS
• Windows 2000
• Windows XP Home Edition
• Windows XP Professional
• Windows Vista™
It is recommended using MagicTune™ in Windows® 2000 or later.
Using the Software
38
Page 39
Hardware
• 32 MB Memory above
• 60 MB Hard disk space above
For more information, visit the MagicTune™
website.
Uninstall
The MagicTune™ program
can be removed only by using the "Add or Remove Programs"
option of the Windows® Control Panel.
Perform the following steps remove MagicTune™.
1. Go to [Task Tray] → [Start] → [Settings] and select [Control Panel] in the menu. If the
program runs on Windows® XP, go to [Control Panel] in the [Start] menu.
2. Click the "Add or Remove Programs" icon in Control Panel.
3. In the "Add or Remove Programs" screen, scroll down to find "MagicTune™." Click on it
to highlight it.
4. Click the "Change/Remove" button to remove the program.
5. Click "Yes" to begin the uninstall process.
6. Wait until the "Uninstall Complete" dialog box appears.
Note
Visit the MagicTune™ website for technical support for MagicTune™, FAQs (questions and
answers) and software upgrades.
MagicRotation
Installation
1. Insert the installation CD into the CD-ROM drive.
2. Click the MagicRotation installation file.
Using the Software
39
Page 40
Note
If the popup
window to install the software for the main screen is not displayed, proceed
with the installation using the MagicRotation executable file on the CD.
3. Select installation Language, Click "Next".
4. When the Installation Shield Wizard window appears, click "Next".
5. Select "I agree to the terms of the license agreement" to accept the terms of use.
6. Choose a folder to install the MagicRotation program.
7. Click "Install".
8. The "Setup Status" window appears.
9. Click "Finish".
Have to reboot the system in order for the MagicRotation to work properly.
10. When the installation is complete, the MagicRotation executable icon appears on your
desktop.
Installation Problems
The installation of
MagicRotation can be affected by such factors as the video card, mother-
board and the network environment.
Limitation
1. The "Display Driver" should be properly loaded for the MagicRotation to work properly.
The installed "Display Driver" should be the latest driver supplied by the vendor.
2. If some applications like Windows Media Player, Real Player, etc. are not displaying
movie files properly in 90, 180 and 270 orientations then do the following :
• Close the application.
• Select the Orientation (90, 180, 270) you want to view the application.
• Relaunch the application.
In most cases this should fix the problem.
3. User Applications using OpenGL and DirectDraw (3D drawing) will not function as per
the orientation mode selected (90, 180, 270).
e.g. 3D games
4. DOS based applications in Full Screen Mode will not function as per the orientation mode
selected (90, 180, 270).
5. Dual is not supported in Windows®‚ 98, ME, NT 4.0.
Using the Software
40
Page 41

6. MagicRotation does not provide support for 24 bits per pixel (Bit depth/Color Quality).
7. If
you
are
changing your Graphic Card it is recommended that you uninstall the Magi-
cRotation Software before doing so.
System Requirements
OS
• Windows 98 SE
• Windows ME
• Windows NT 4.0
• Windows 2000
• Windows XP Home Edition
• Windows XP Professional
• Windows Vista™
Hardware
• 128 MB Memory above (recommended)
• 25 MB Hard disk space above
Service Packs
• It is recommended that your System has the latest Service Pack installed.
• For Windows®‚ NT 4.0, it is recommended to install Internet Explorer 5.0 and above with
Active Desktop component.
For more information, visit the MagicRotation website.
Windows®‚ is registered trademark of Microsoft Corporation,Inc.
Uninstall
The MagicRotation program
can be removed only by using the "Add or Remove Programs"
option of the Windows® Control Panel.
Perform the following steps remove MagicRotation.
1. Go to [Task Tray] → [Start] → [Settings] and select [Control Panel] in the menu. If the
program runs on Windows® XP, go to [Control Panel] in the [Start] menu.
2. Click the "Add or Remove Programs" icon in Control Panel.
3. In the "Add or Remove Programs" screen, scroll down to find "MagicRotation." Click on
it to highlight it.
4. Click the "Change/Remove" button to remove the program.
5. Click "Yes" to begin the uninstall process.
6. Wait until the "Uninstall Complete" dialog box appears.
Using the Software
41
Page 42
7. After uninstall restart the system to complete the uninstallation.
Note
Visit the MagicRotation
website for technical support for MagicRotation, FAQs (questions and
answers) and software upgrades.
Windows®‚ is registered trademark of Microsoft Corporation,Inc
Using the Software
42
Page 43
Adjusting the Monitor
{943SN/943SNX} Direct Functions
AUTO
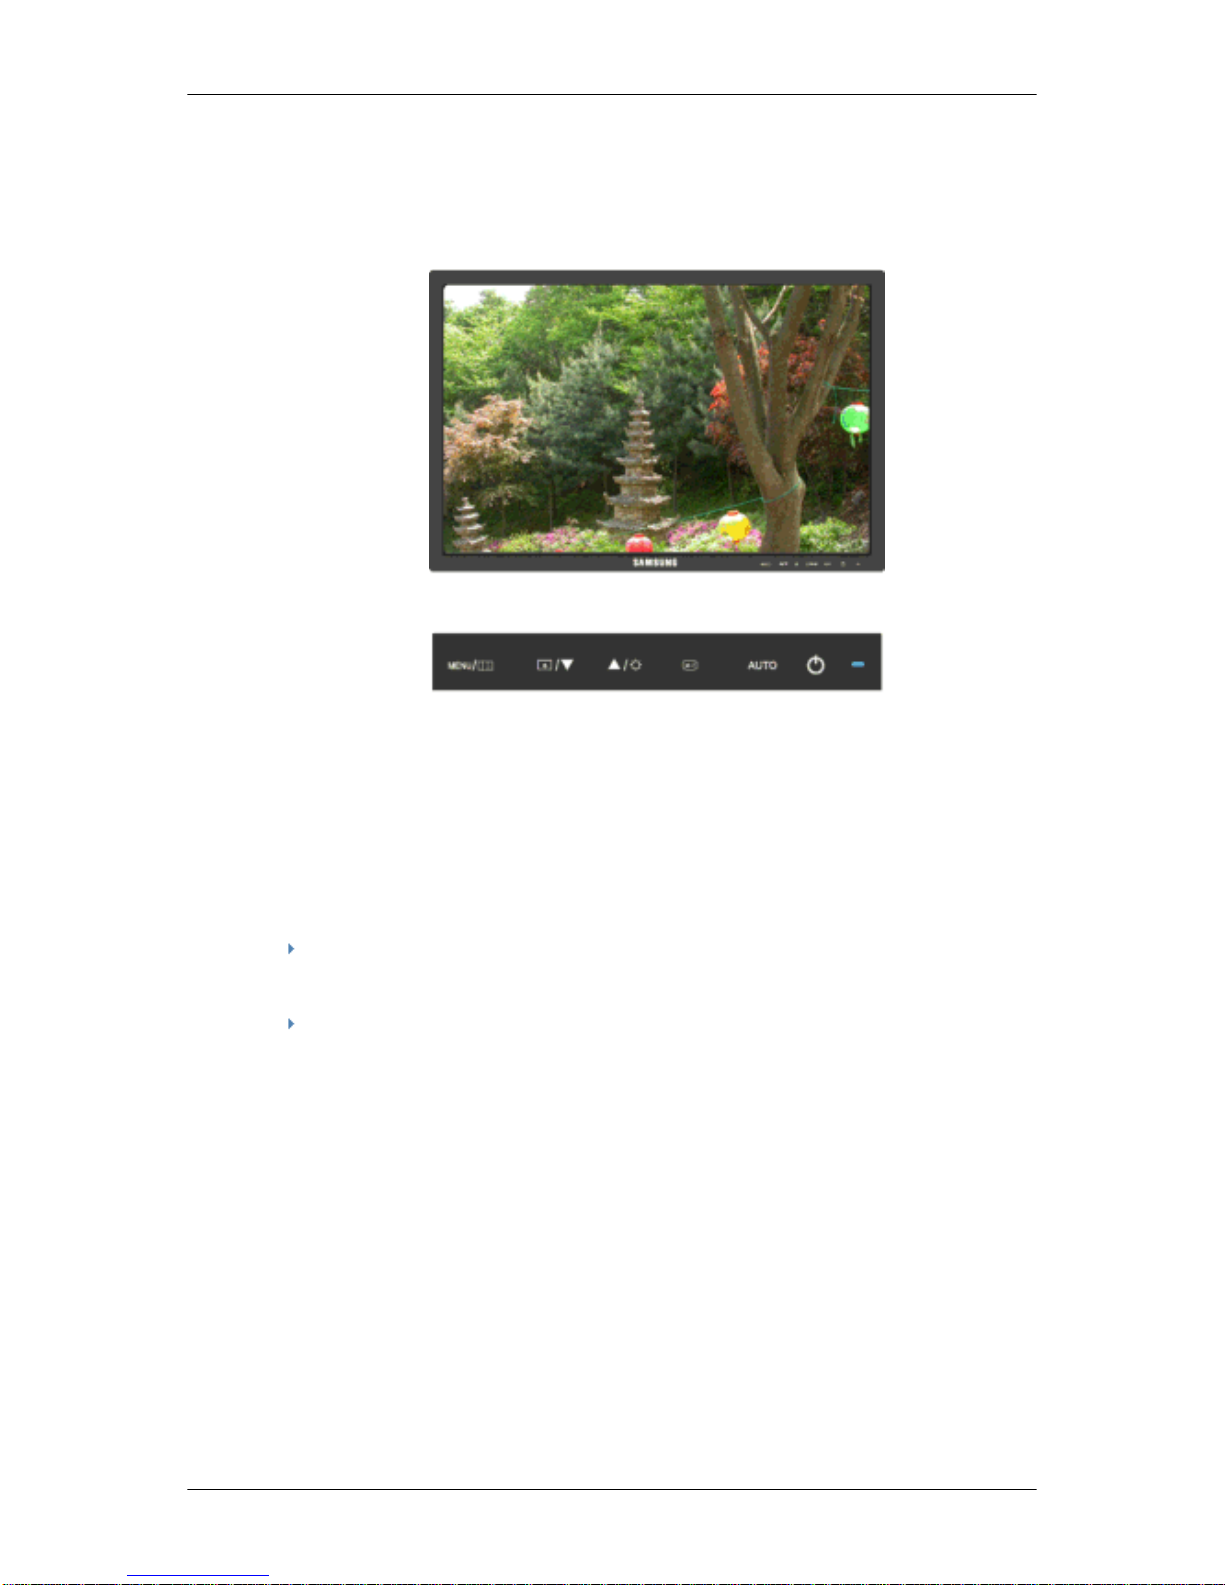
When the 'AUTO' button is pressed, the auto adjustment screen appears as shown in the
animated screen on the center.
Auto adjustment allows the monitor to self-adjust to the incoming Analog signal. The values
of Fine, Coarse and Position are adjusted automatically.
If auto adjustment does not work properly, press 'AUTO' button again to adjust picture
with more accuracy.
If you change resolution in the control panel, auto function will be executed automatically.
OSD Lock & Unlock
When pressing the AUTO button after locking the OSD
Page 44
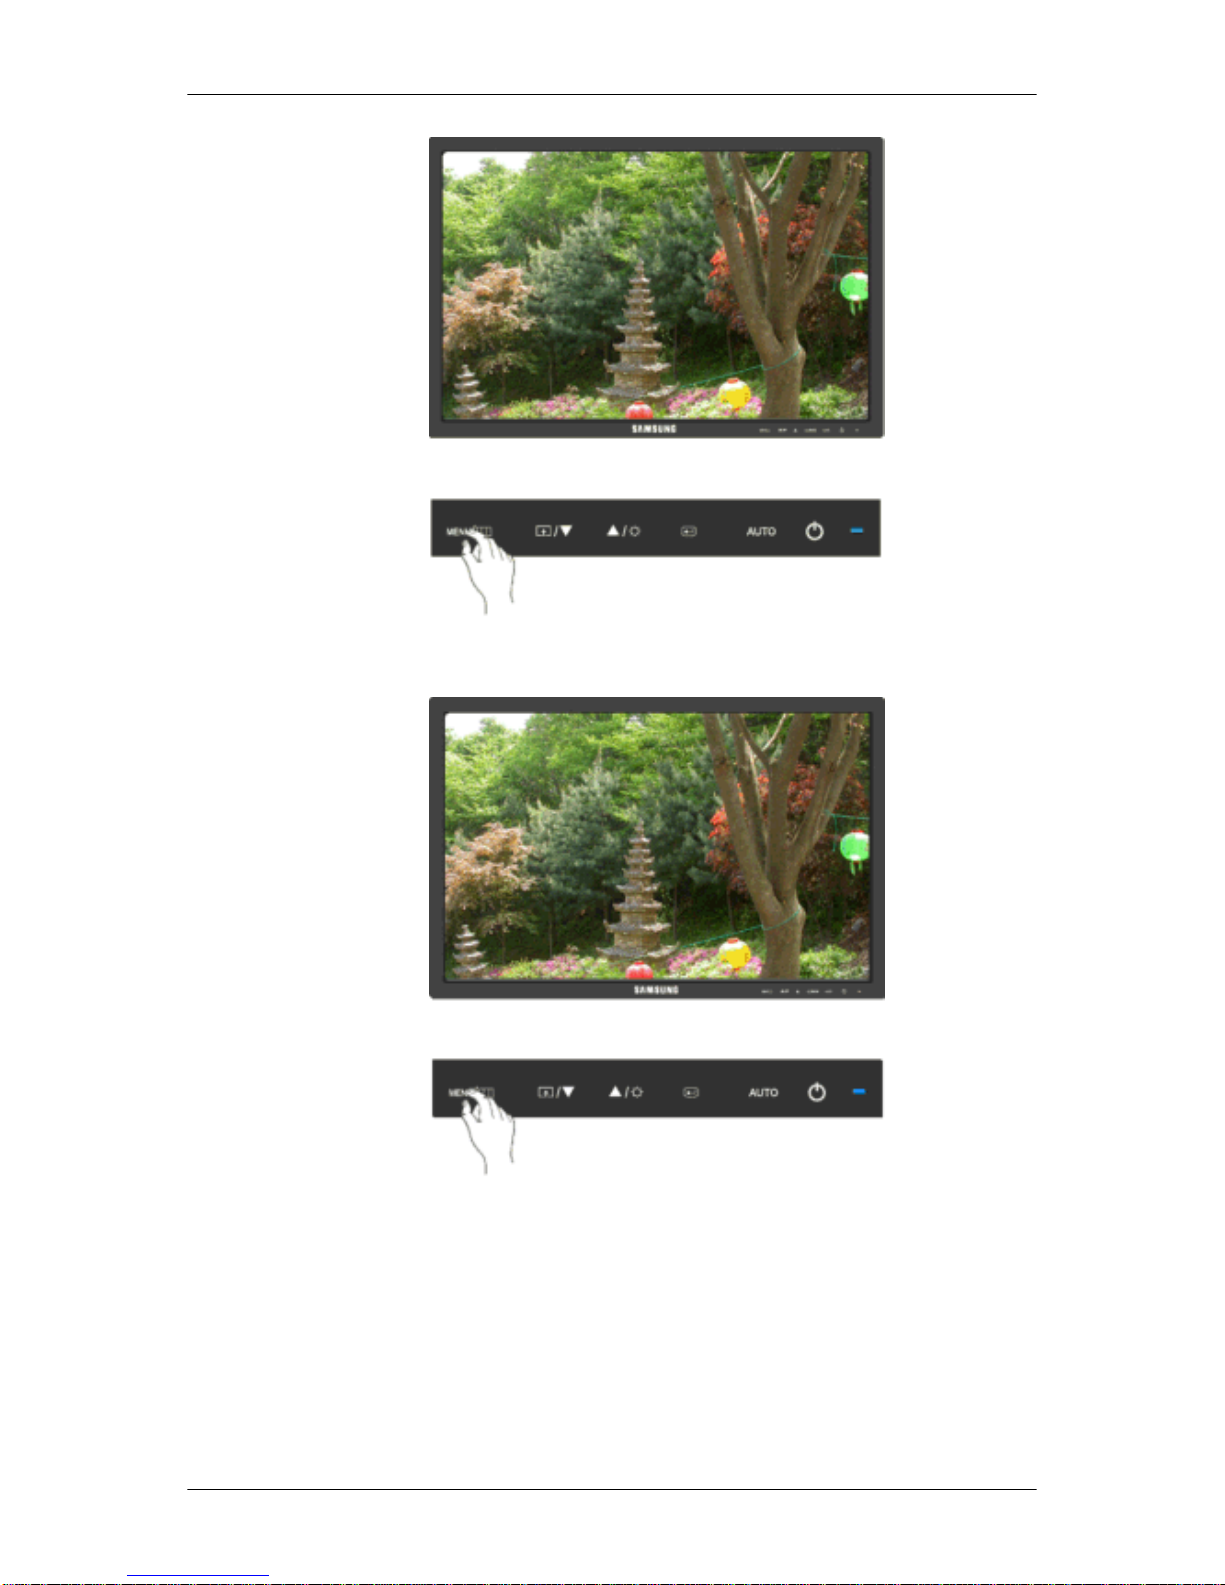
When pressing the MENU button after locking the OSD
This is the function that locks the OSD in order to keep the current states of settings or prevent
others from adjusting the current settings.
Lock : Hold down the MENU button for more than five (5) seconds to activate the OSD adjustment lock function.
Unlock : Hold down the MENU button for more than five (5) seconds to deactivate the OSD
adjustment lock function.
Adjusting the Monitor
Page 45
Note
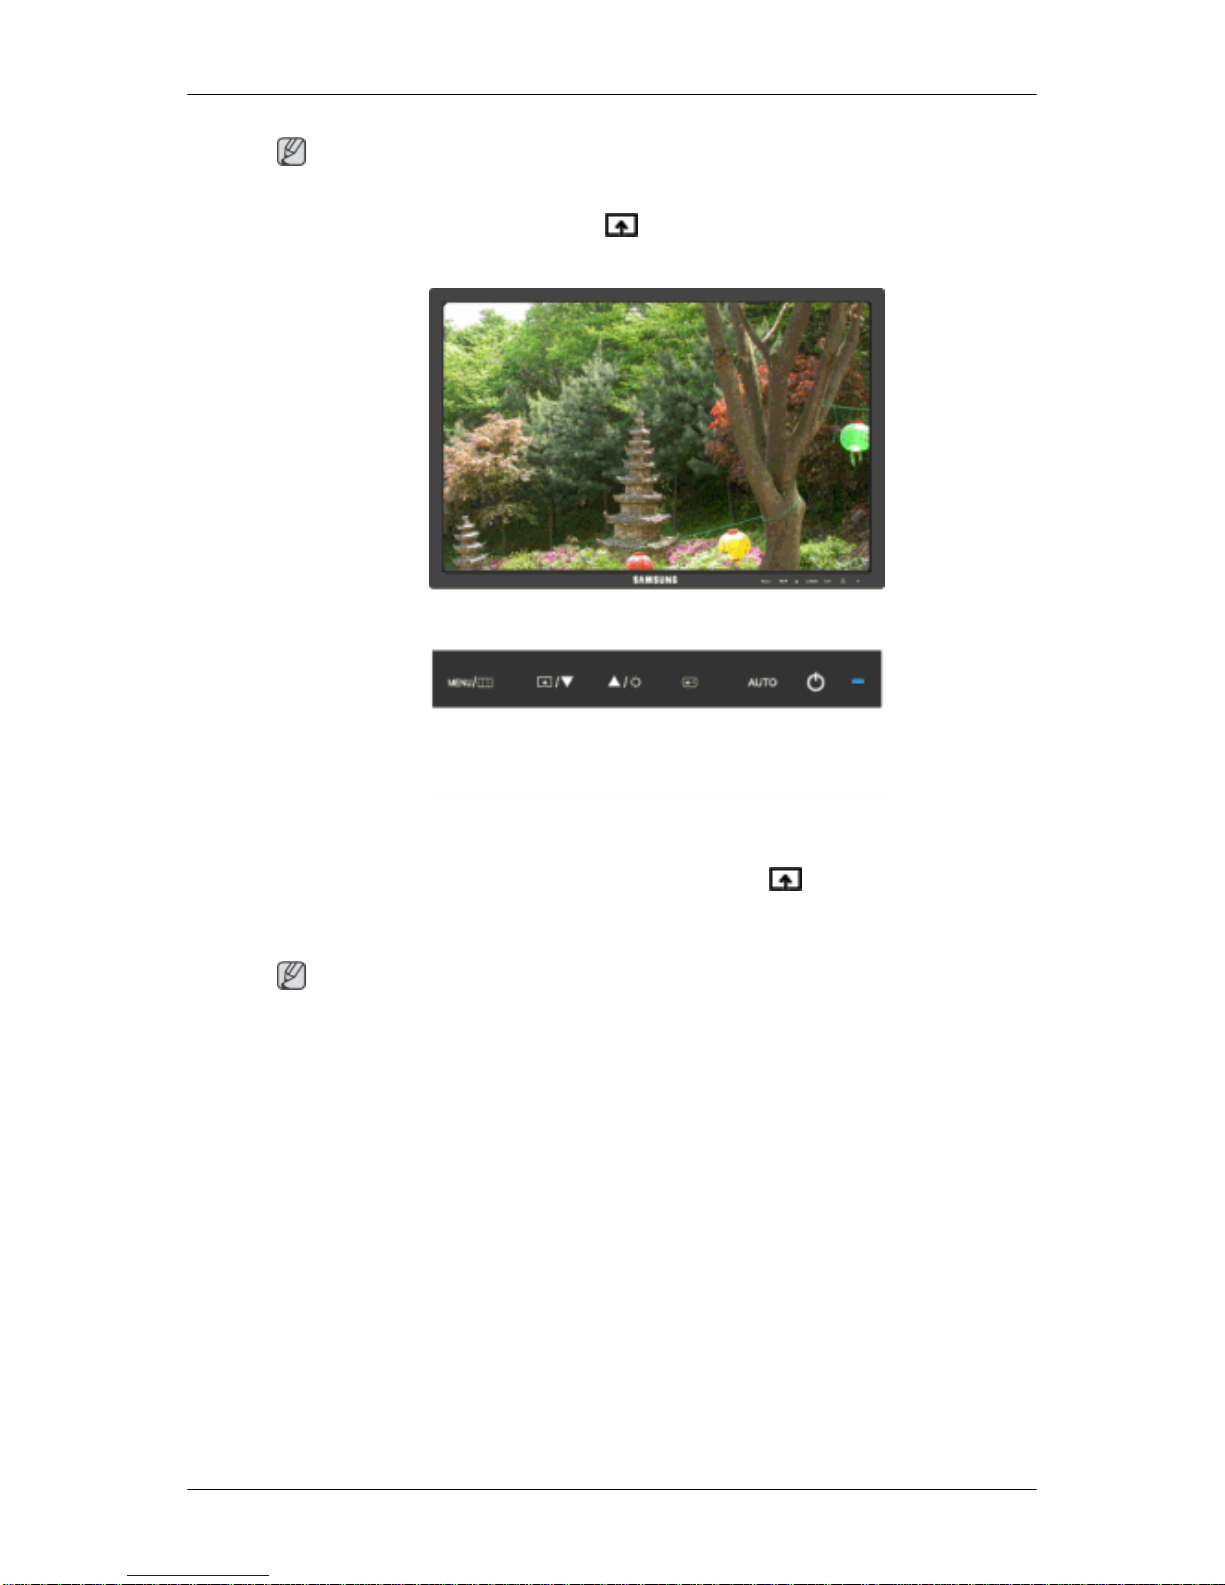
Though the OSD adjustment lock function is activated, you can still adjust the brightness and
contrast, and adjust Customized Key ( ) using the Direct button.
Customized key
You can customize key assignment for the Custom button according to your preferences.
To view the operating screen displayed when pressing the [ ] button after configuring the
customized key for a function, click the name of each function.
(Image Size - MagicBright - MagicColor - Color Effect)
Note
You can configure the customized key for a required function via Setup > Customized
Key.
Adjusting the Monitor
Page 46
Brightness
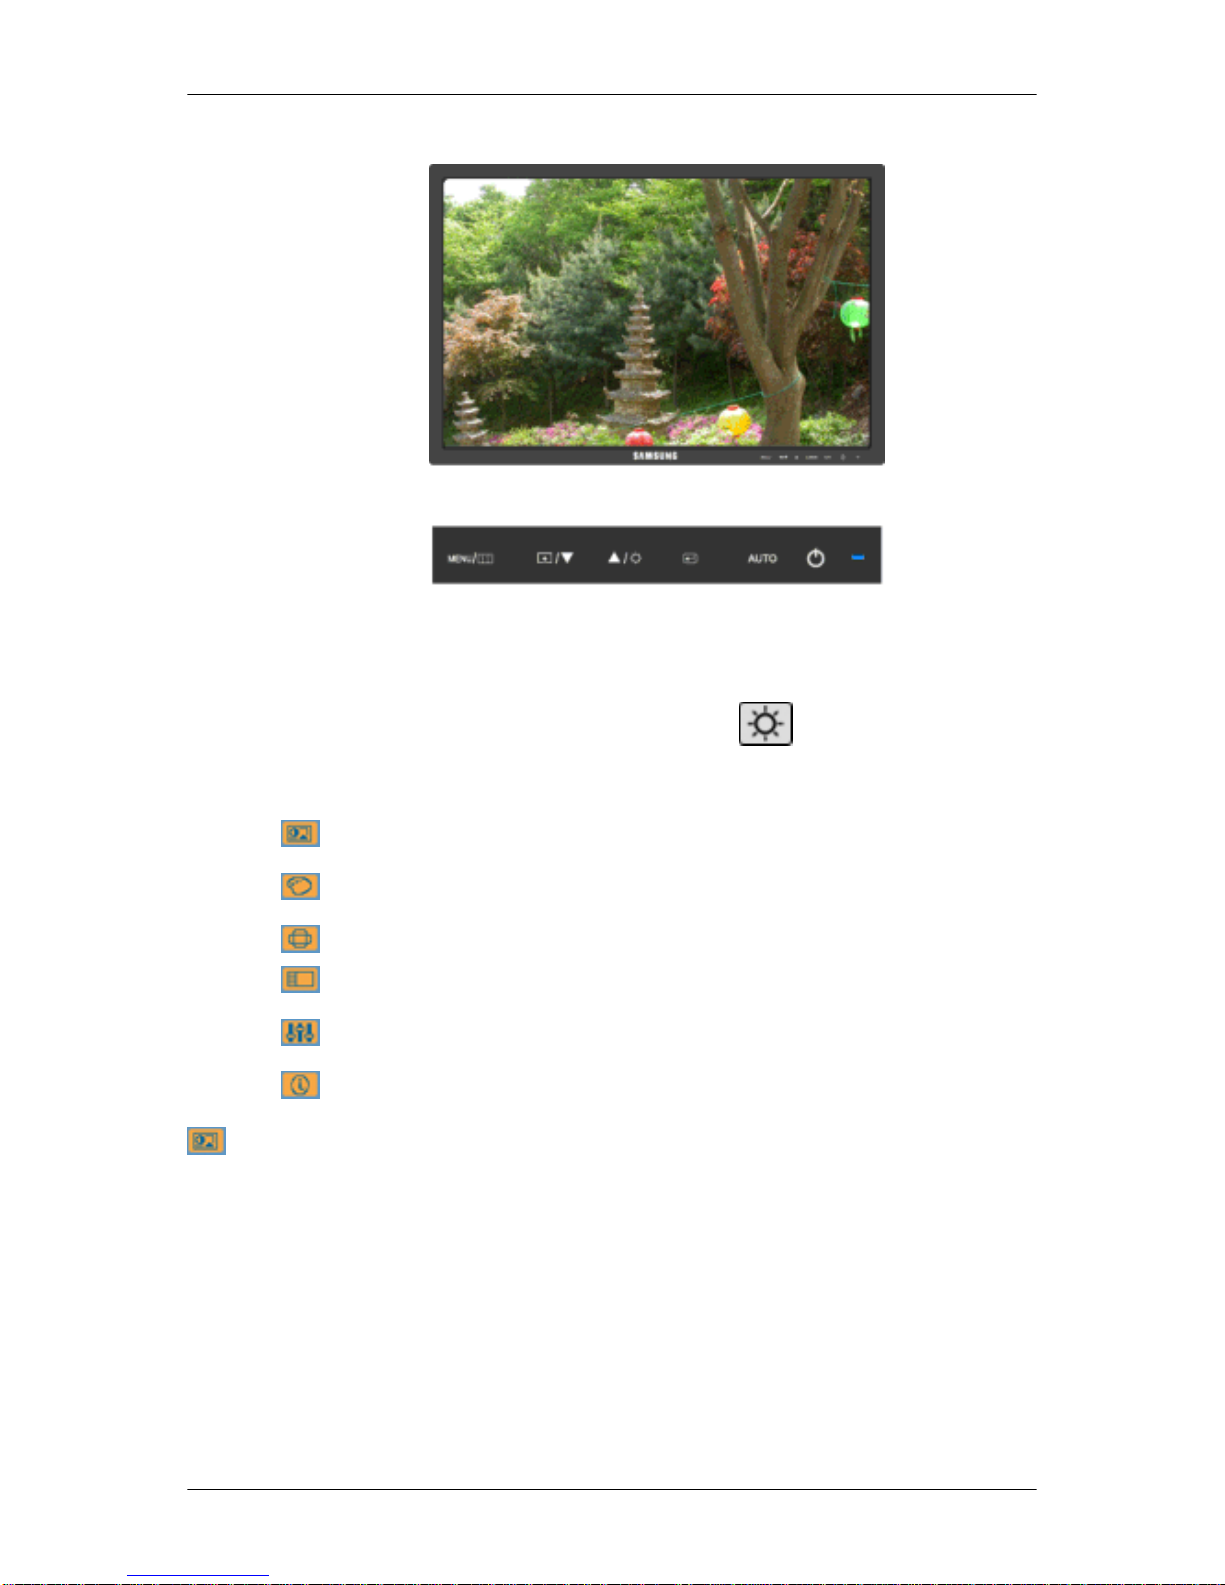
When OSD is not on the screen, push the Brightness ( ) button to adjust brightness.
OSD Function
Picture Brightness Contrast Magic-
Bright
Color MagicColor Color Tone Color Con-
trol
Color Effect Gamma
Image Coarse Fine Sharpness H-Position V-Position
OSD Language H-Position V-Position Transpar-
ency
Display
Time
Setup Reset Custom-
ized Key
Off Timer Image Size
Information
Picture
Brightness
(Not available in MagicBright mode of Dynamic Contrast.)
Adjusting the Monitor
Page 47
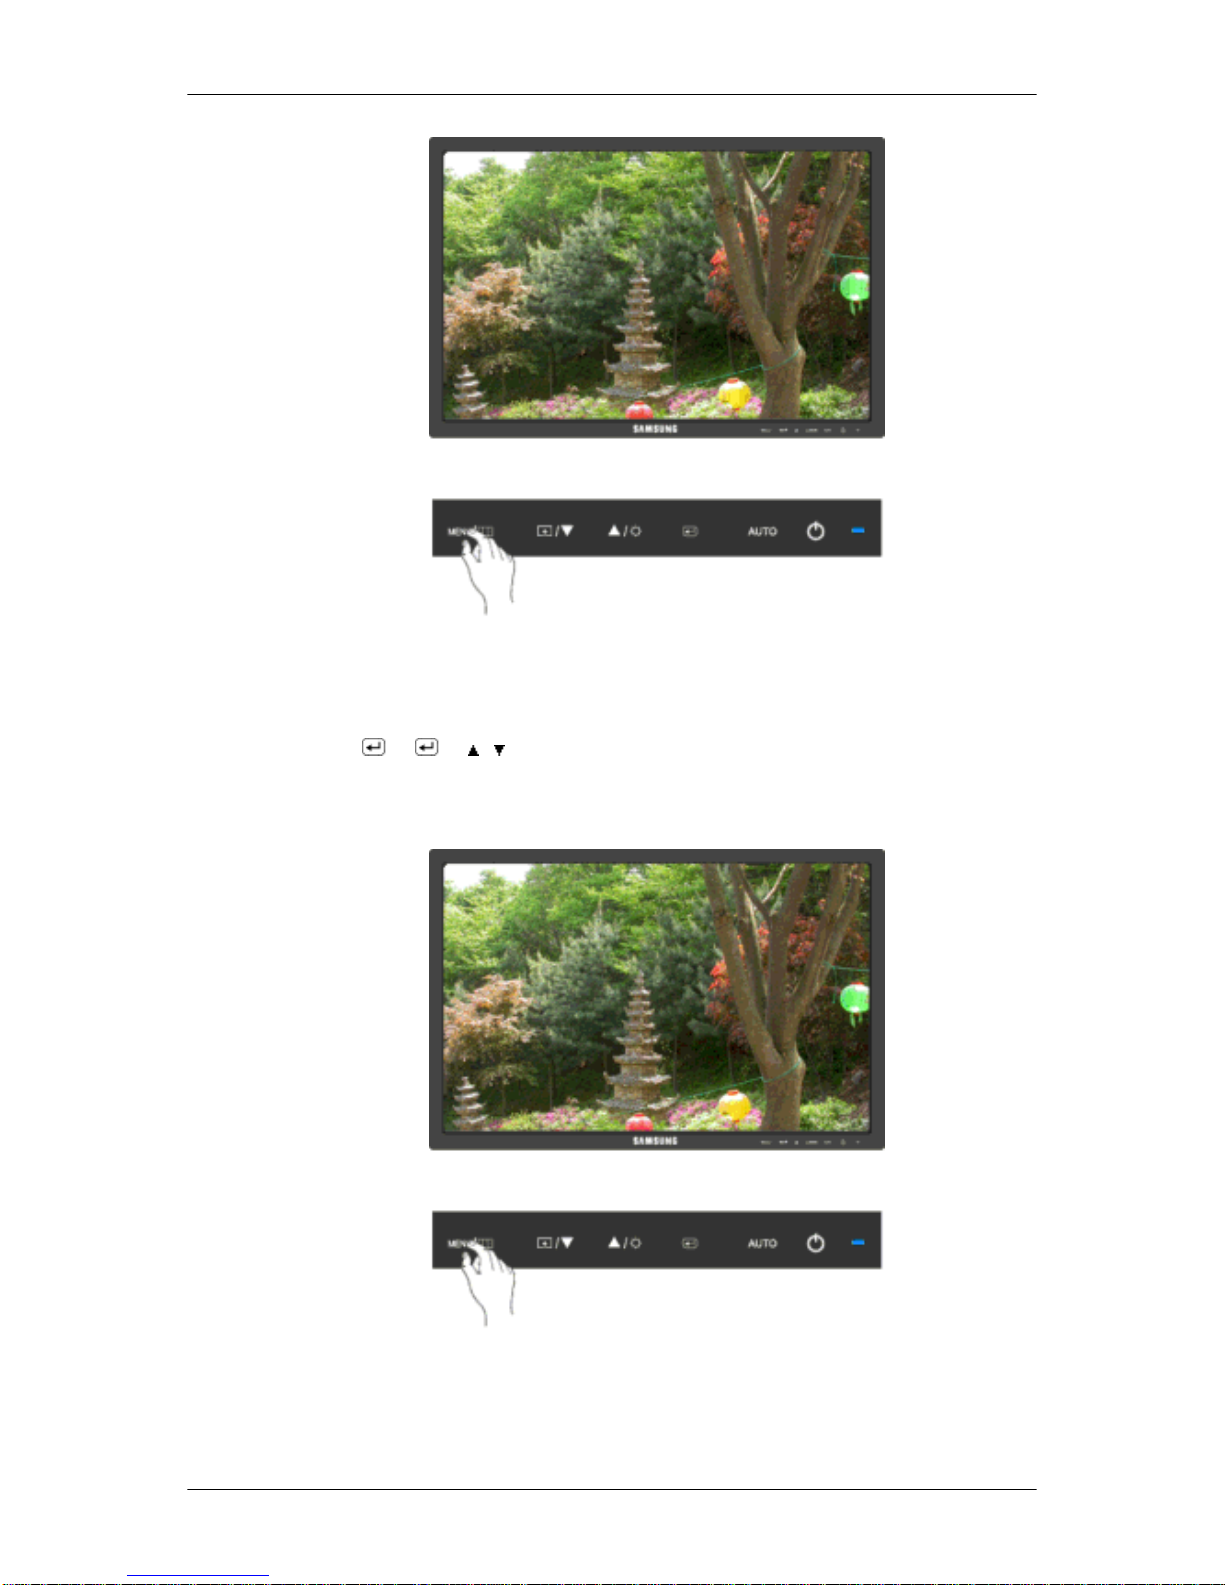
You can use the on-screen menus to change the brightness according to personal preference.
MENU →
→ → , → MENU
Contrast
(Not available in MagicBright mode of Dynamic Contrast.)
You can use the on-screen menus to change the contrast according to personal preference.
( Not available in MagicColor mode of Full and Intelligent. )
Adjusting the Monitor
Page 48
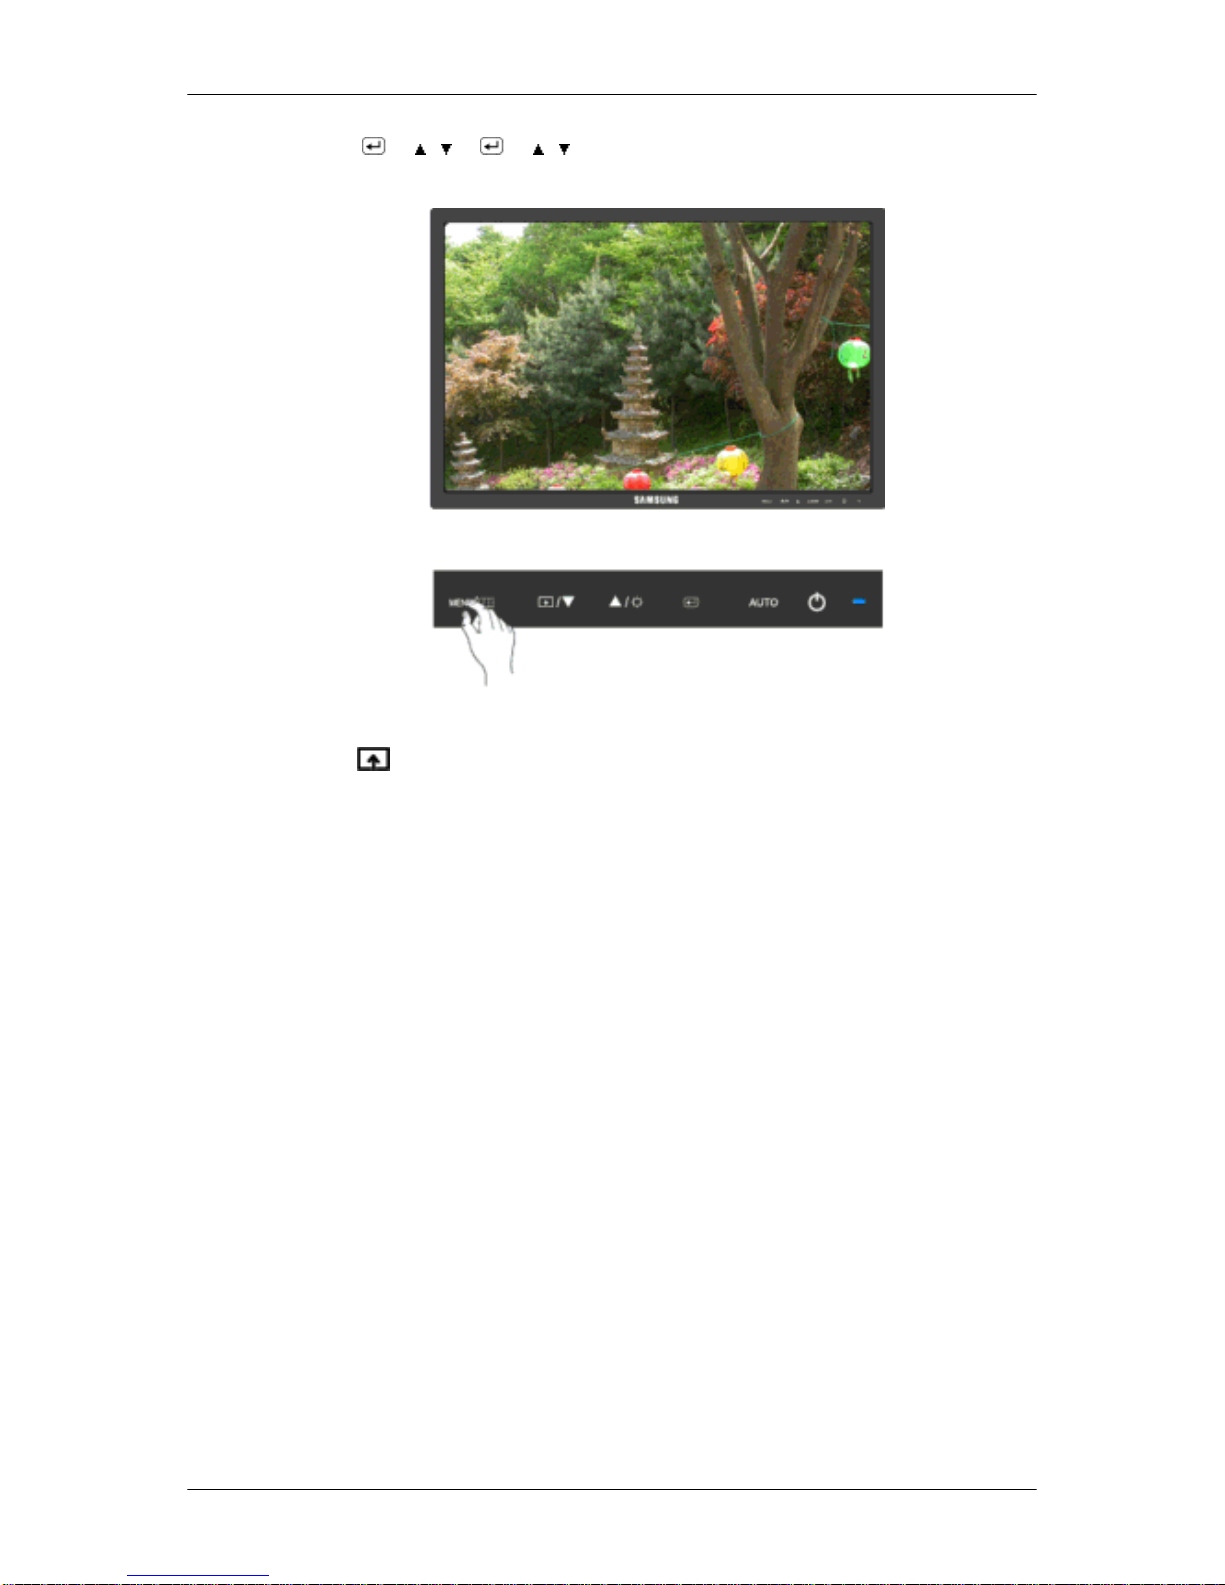
MENU → → , → → , → MENU
MagicBright
Push the button to circle through available preconfigured modes.
MagicBright is a new feature providing optimum viewing environment depending on the
contents of the image you are watching. Currently seven different modes are available: Cus-
tom, Text, Internet, Game, Sport, Movie and Dynamic Contrast. Each mode has its own
pre-configured brightness value. You can easily select one of seven settings by simply press-
ing Customized Key control button.
• Custom
Although the values are carefully chosen by our engineers, the pre-configured values may
not be comfortable to your eyes depending on your taste.
If this is the case, adjust the brightness and contrast by using the OSD menu.
• Text
For documents or works involving heavy text.
• Internet
For working with a mixture of images such as texts and graphics.
• Game
For watching motion pictures such as a game.
• Sport
For watching motion pictures such as a sport.
• Movie
Adjusting the Monitor
Page 49
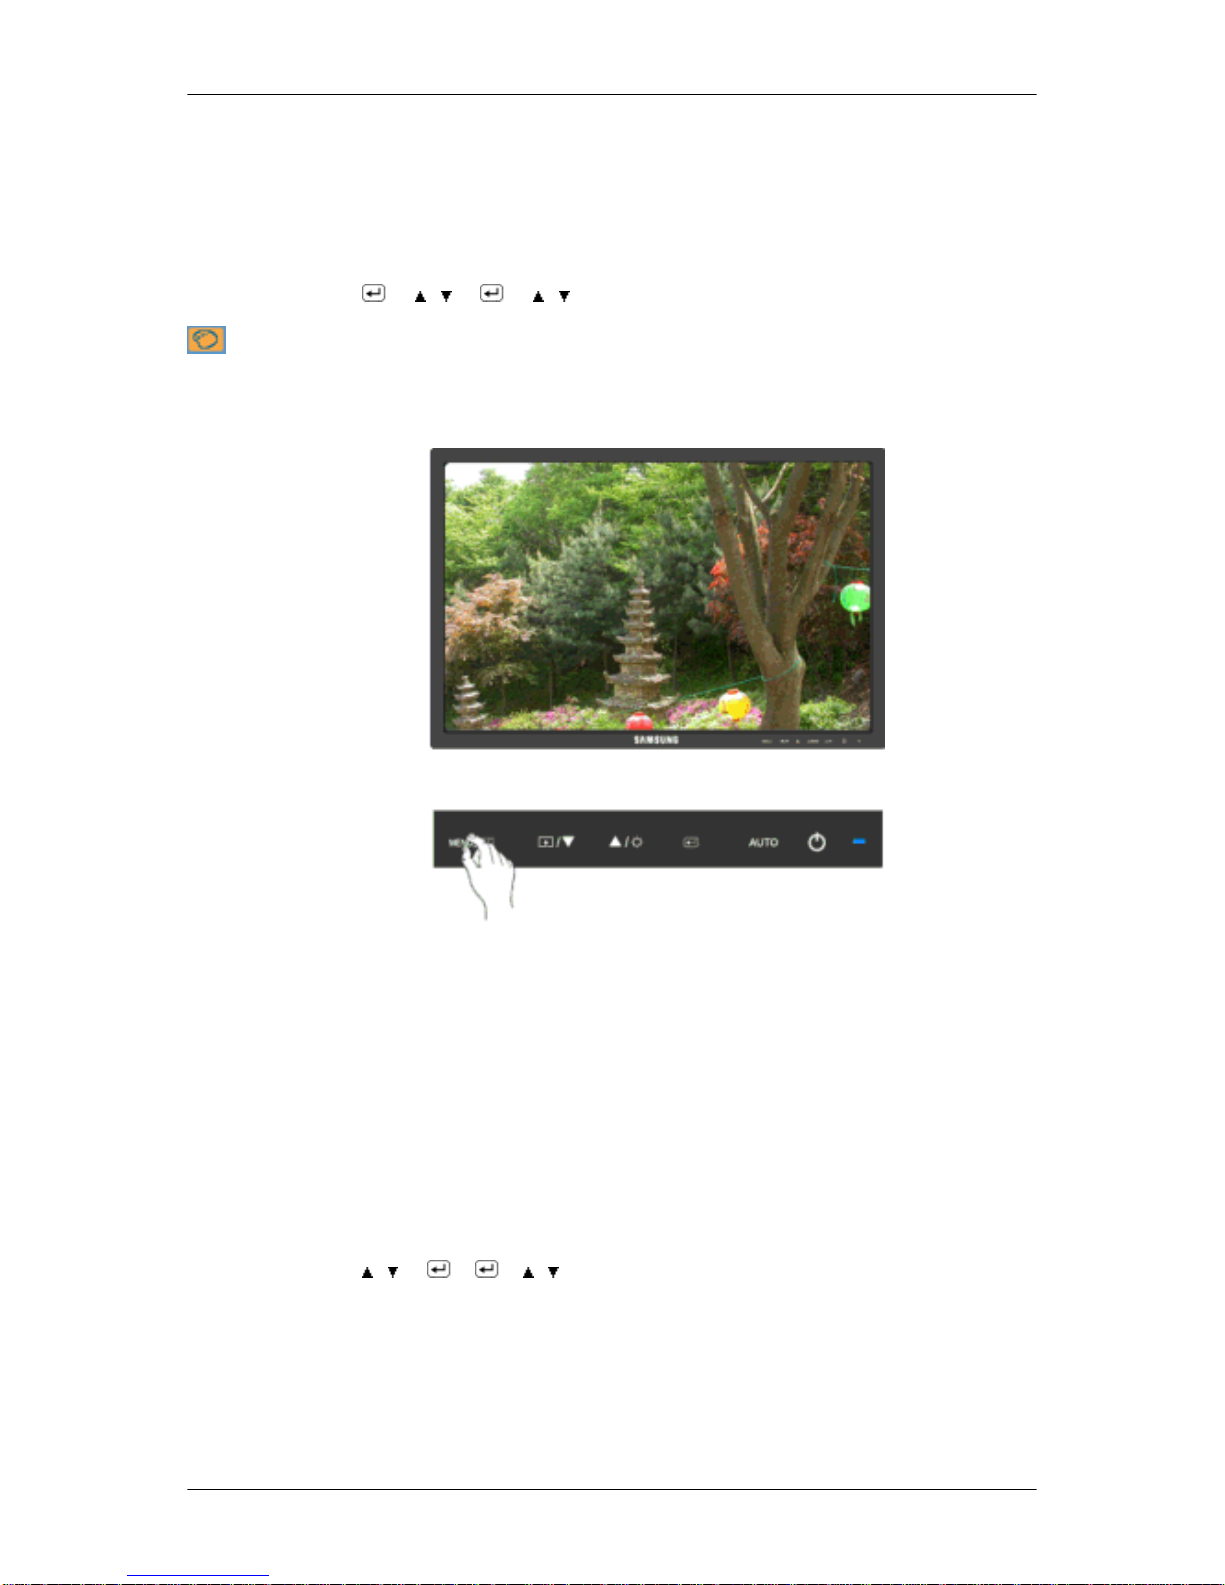
For watching motion pictures such as a DVD or Video CD.
• Dynamic Contrast
Dynamic Contrast automatically detects the distribution of the visual signal and
adjusts to create optimum contrast.
MENU → → , → → , → MENU
Color
(Not available in MagicBright mode of Dynamic Contrast.)
MagicColor
MagicColor is a new technology that Samsung has exclusively developed to improve digital
image and to display natural color more clearly without disturbing image quality.
• Off - Returns to the original mode.
• Demo - The screen before applying MagicColor appears on the right and the screen after
applying MagicColor appears on the left.
• Full - Displays not only vivid natural color but also more realistic natural skin color with
clearness.
• Intelligent - Displays vivid natural color with clearness.
MENU →
, → → → , → MENU
Adjusting the Monitor
Page 50
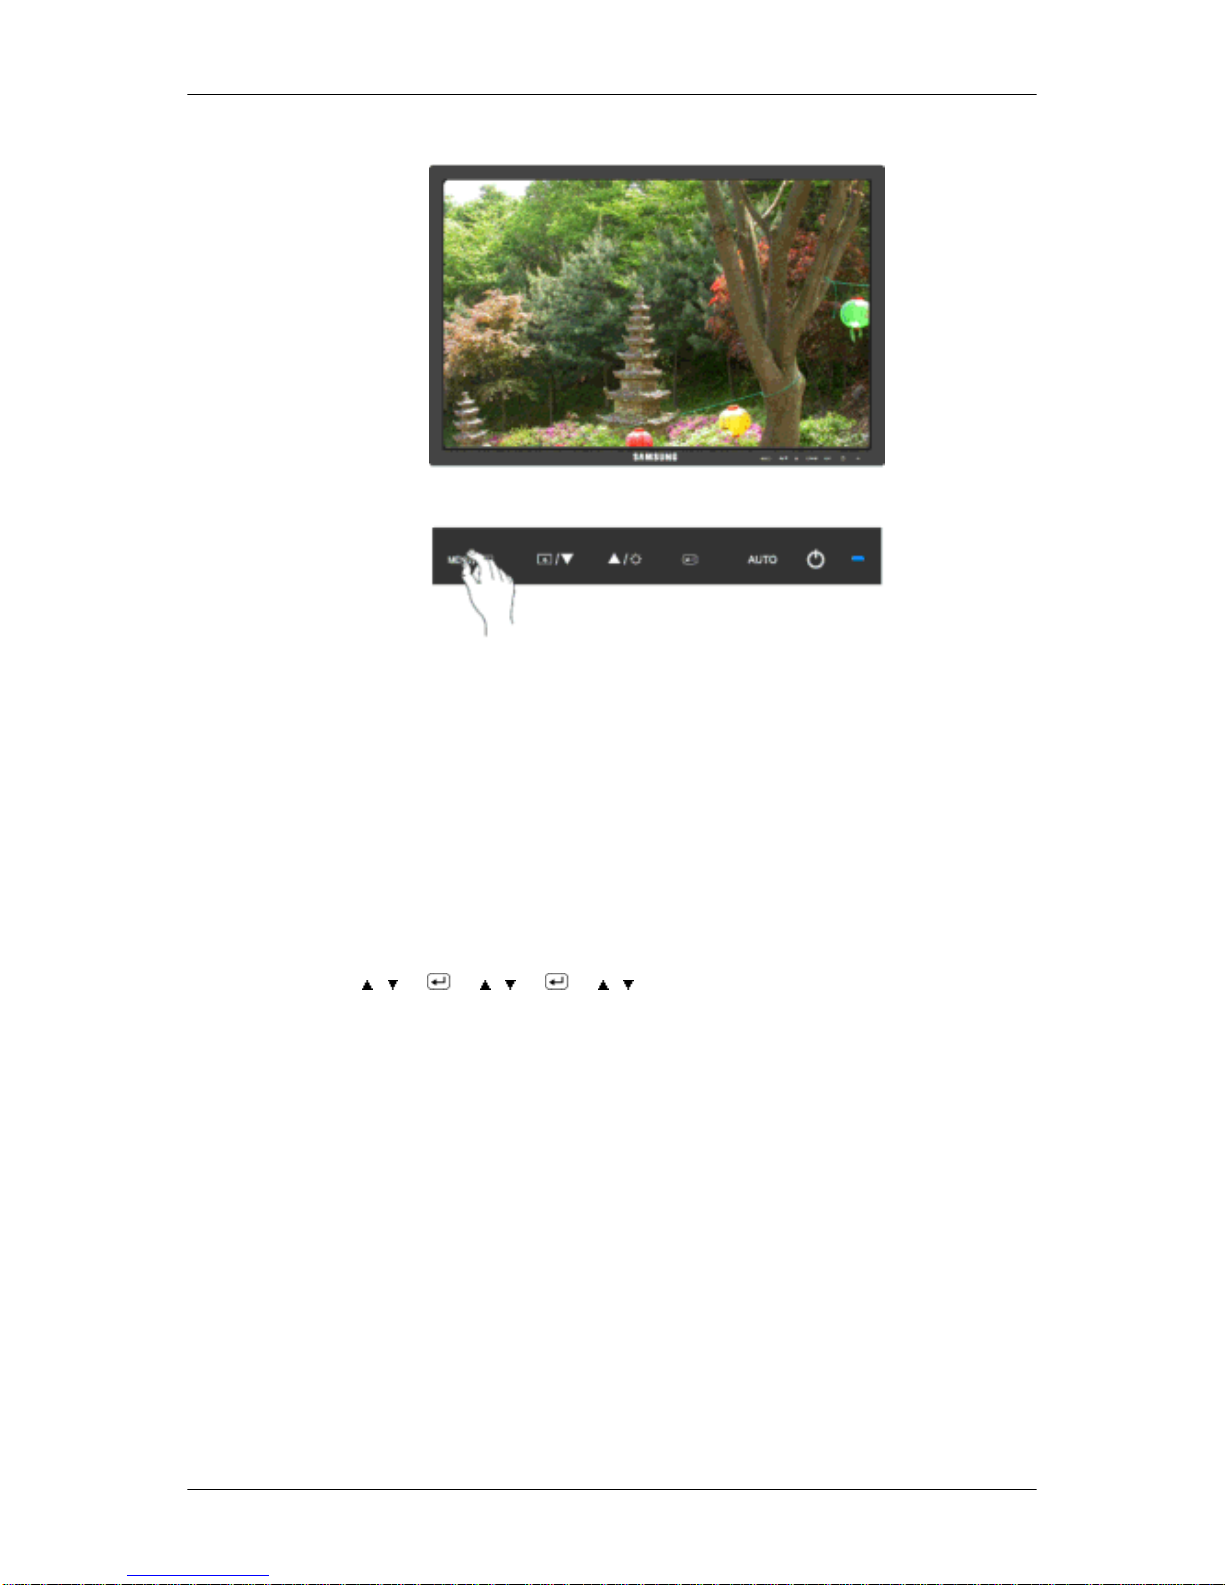
Color Tone
The tone of the color can be changed and one of four modes can be selected.
• Cool - Makes whites bluish.
• Normal - Keeps whites white.
• Warm - Makes whites reddish.
• Custom - Select this mode when you want to adjust the image according to your prefer-
ences.
( Not available in MagicColor mode of Full and Intelligent. )
MENU → , → → , → → , → MENU
Adjusting the Monitor
Page 51
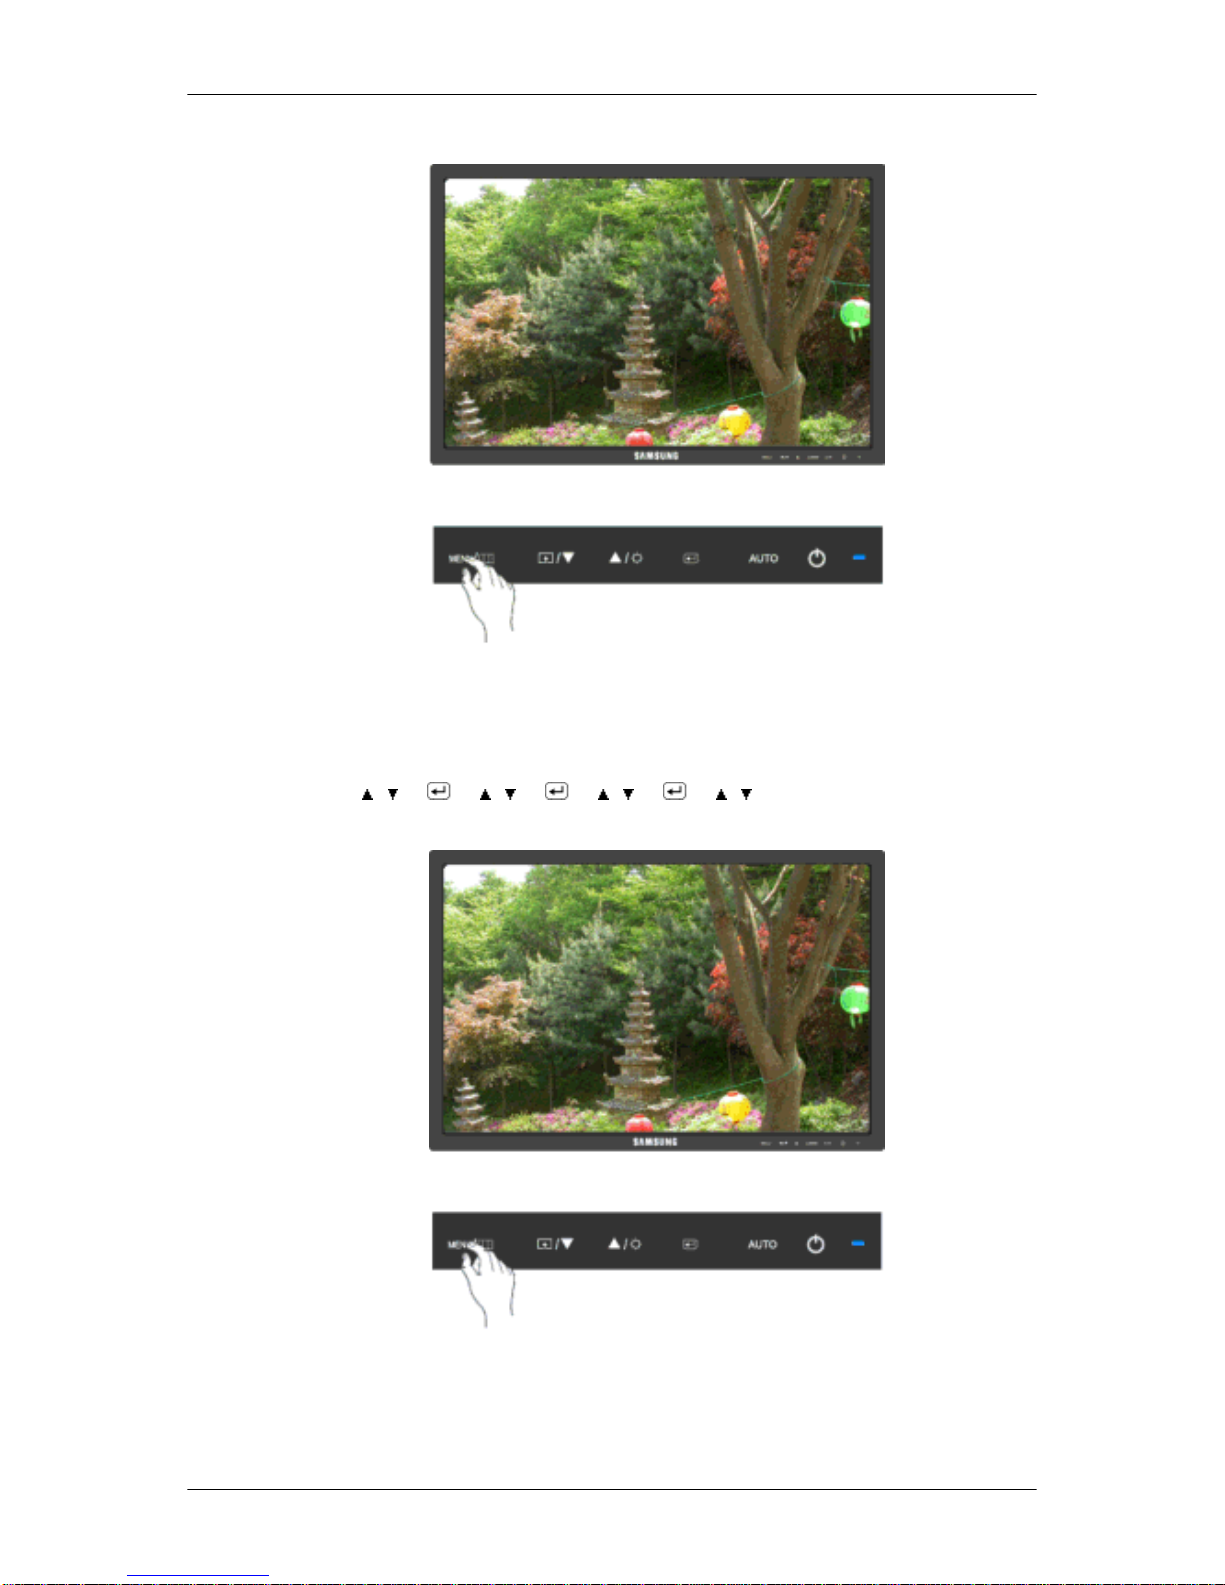
Color Control
Adjusts individual Red, Green, Blue color balance.
( Not available in MagicColor mode of Full and Intelligent. )
MENU → , → → , → → , → → , → MENU
Color Effect
You can change the overall mood by changing the screen colors.
( Not available in MagicColor mode of Full and Intelligent. )
Adjusting the Monitor
Page 52
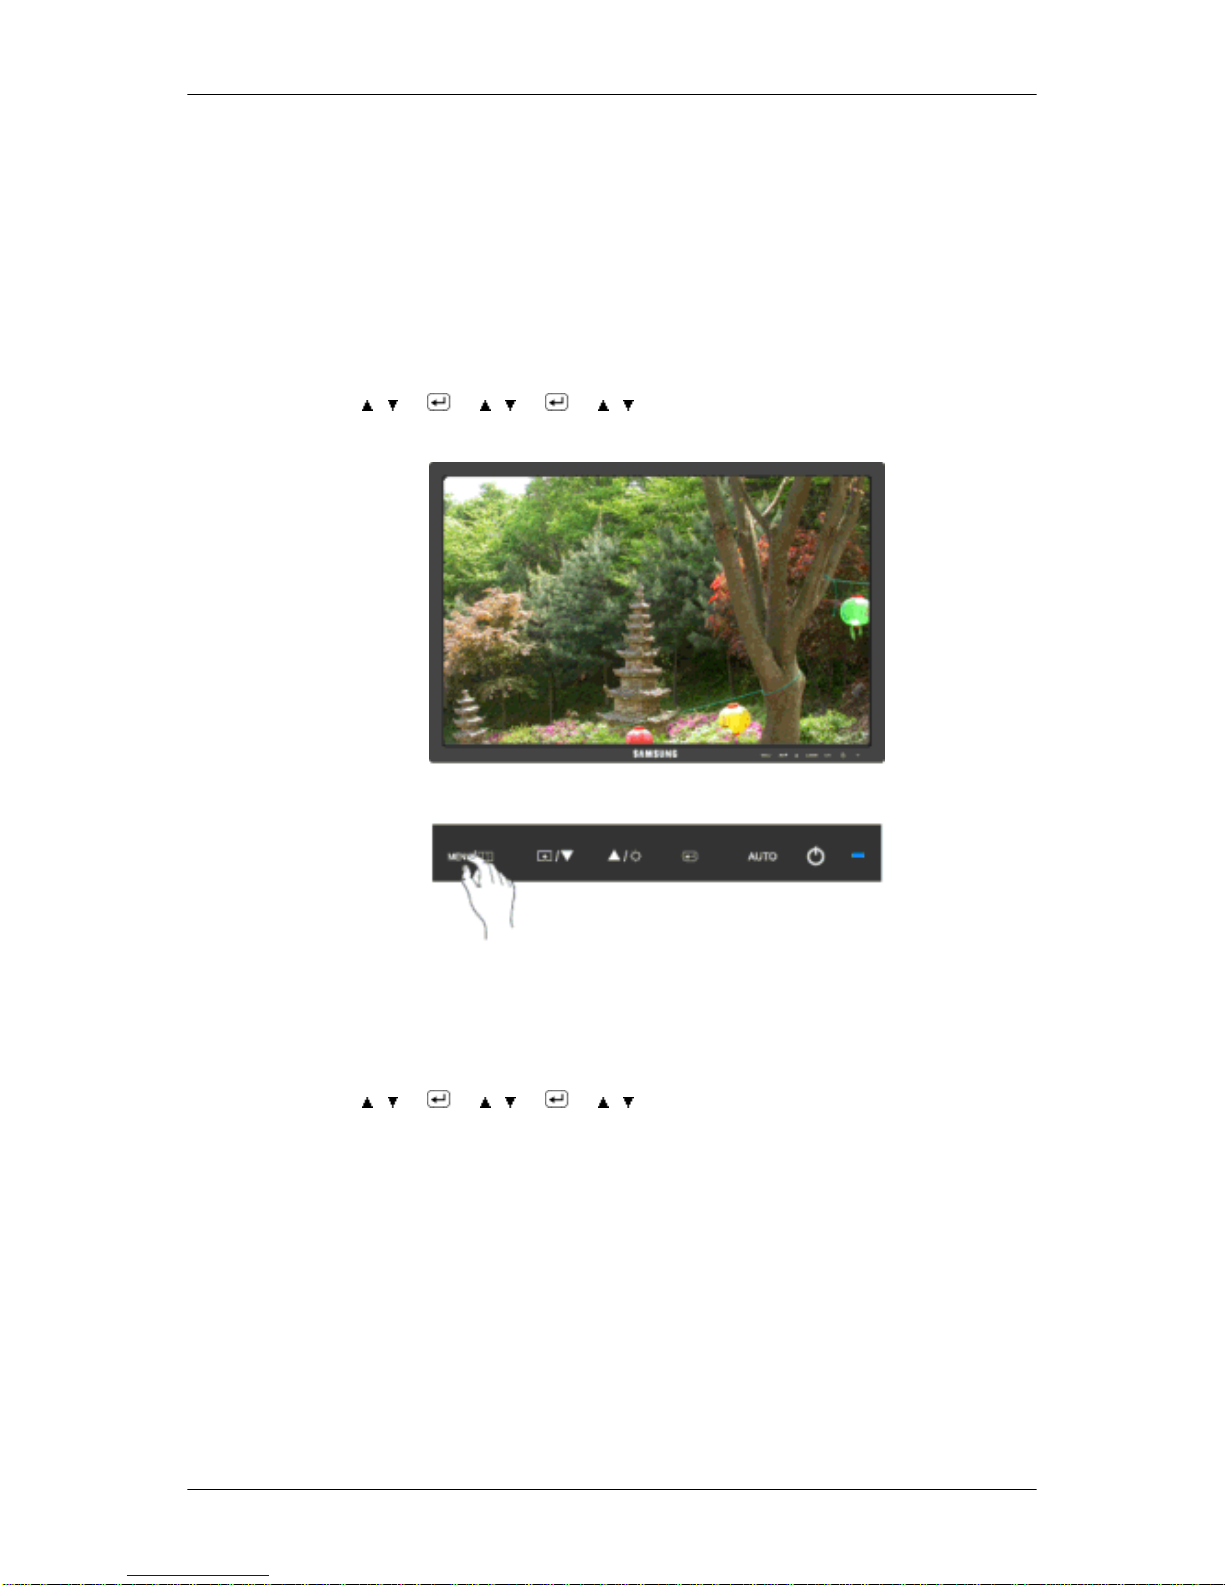
• Off • Grayscale • Green • Aqua • Sepia
• Off - This applies an achromatic color to the screen to adjust the screen effects.
• Grayscale - The default colors of black and white are displayed.
• Green - This applies the green color effect to a black and white screen.
• Aqua - This applies the aqua color effect to a black and white screen.
• Sepia - This applies the Sepia color effect to a black and white screen.
MENU → , → → , → → , → MENU
Gamma
Gamma correction changes the luminance of the colors with intermediate luminance.
• Mode 1 • Mode 2 • Mode 3
MENU →
, → → , → → , → MENU
Adjusting the Monitor
Page 53
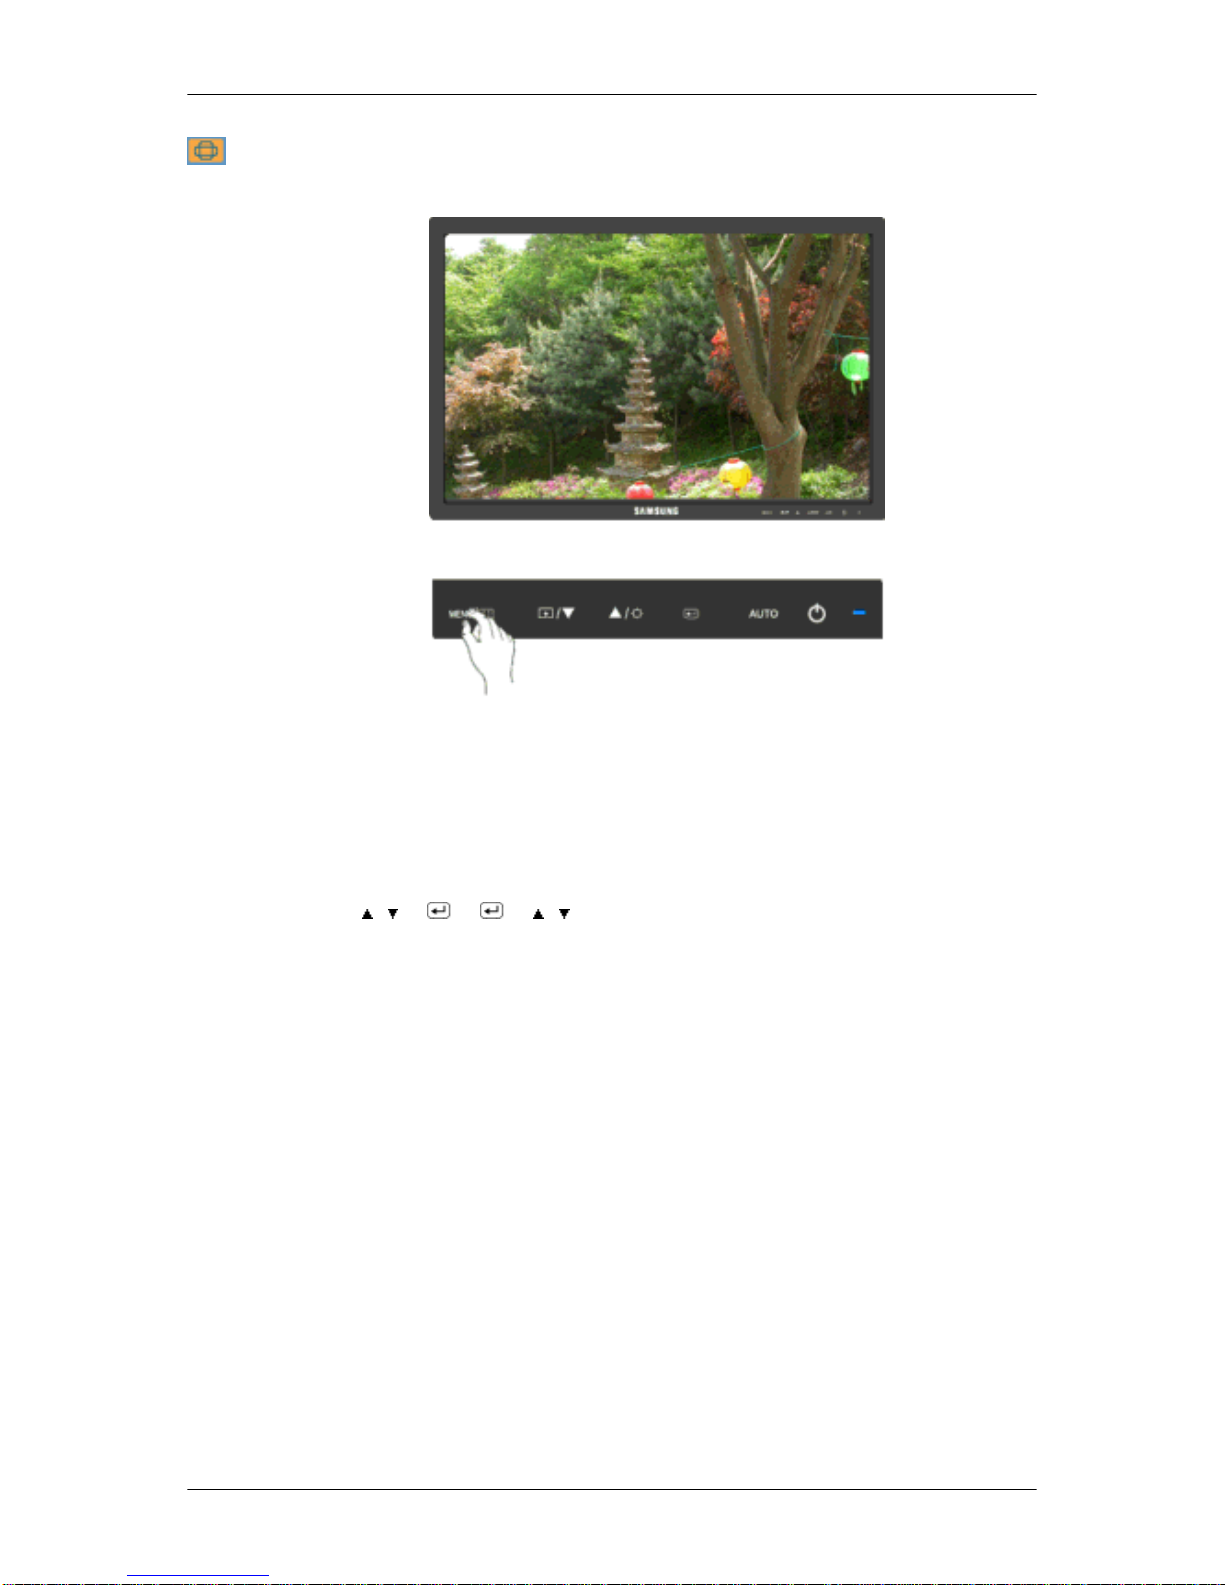
Image
Coarse
Removes noise such as vertical stripes.
Coarse adjustment may move the screen image area. You may relocate it to the center using
the horizontal control menu.
(Available in Analog mode only)
MENU → , → → → , → MENU
Adjusting the Monitor
Page 54
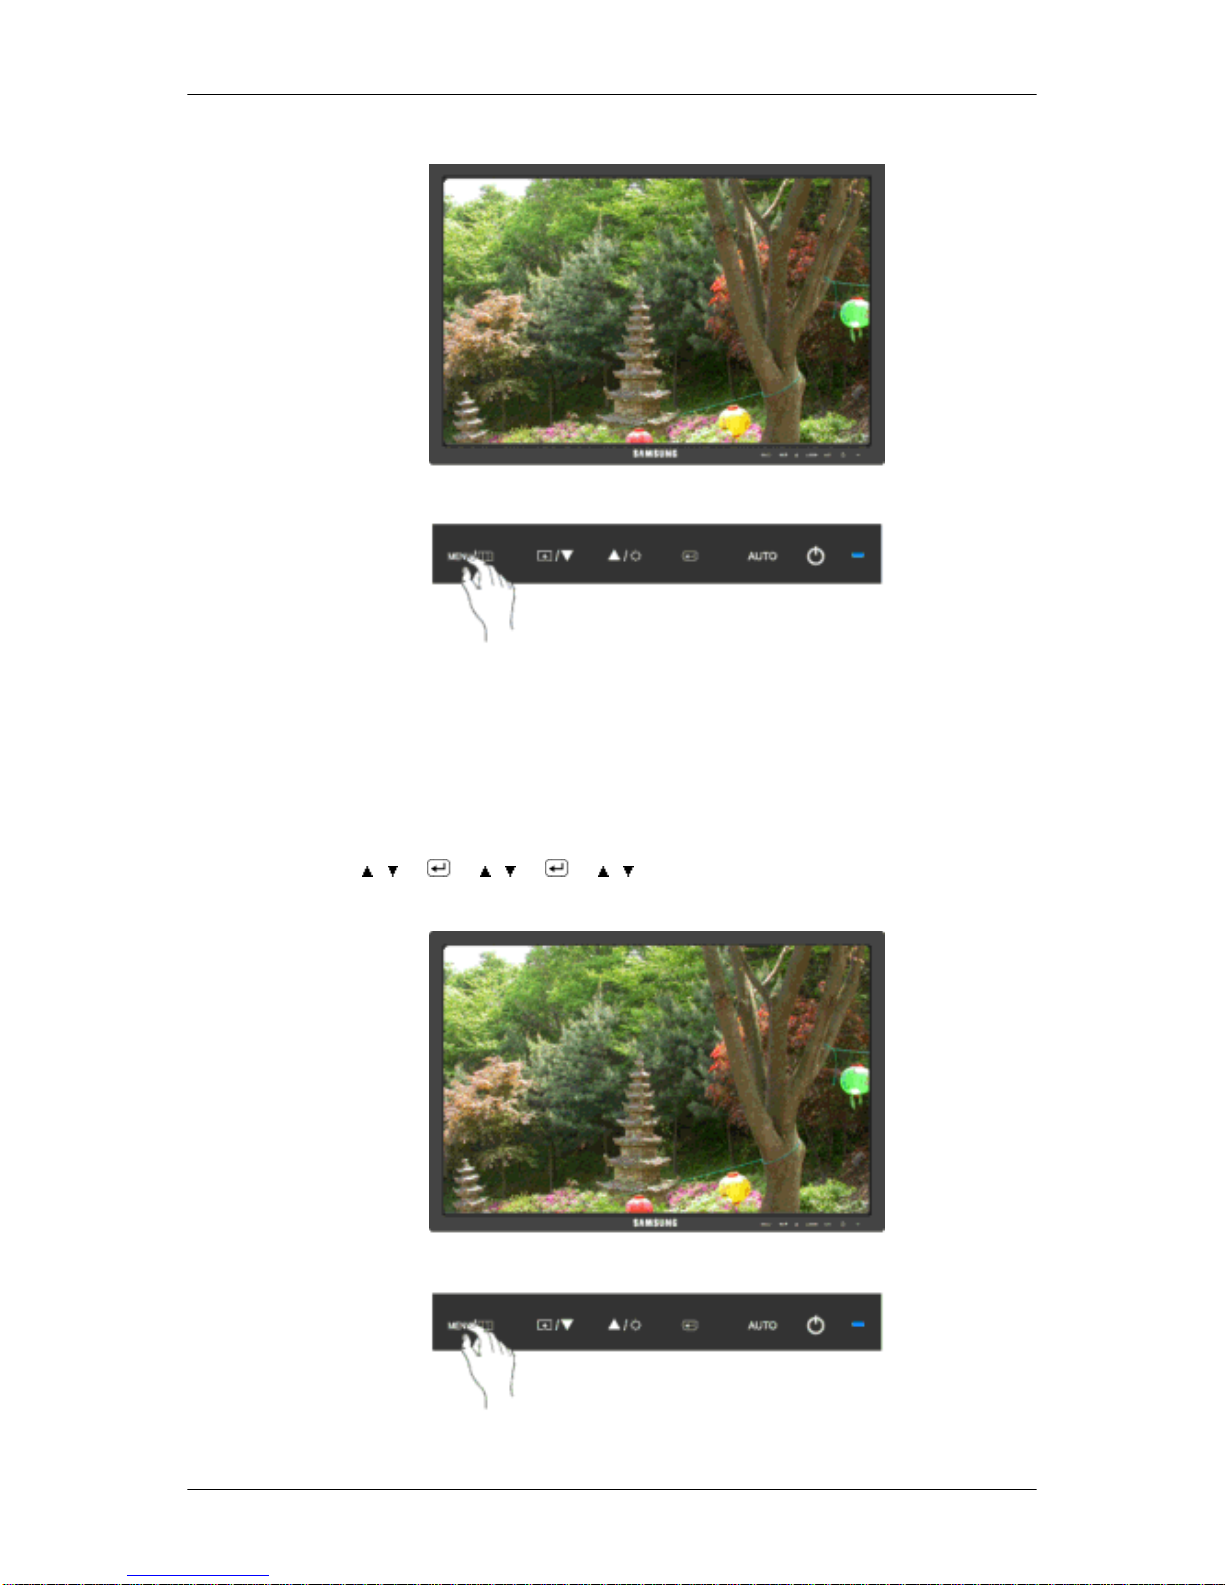
Fine
Removes noise such as horizontal stripes.
If the noise persists even after Fine tuning, repeat it after adjusting the frequency (clock
speed).
(Available in Analog mode only)
MENU →
, → → , → → , → MENU
Sharpness
Adjusting the Monitor
Page 55
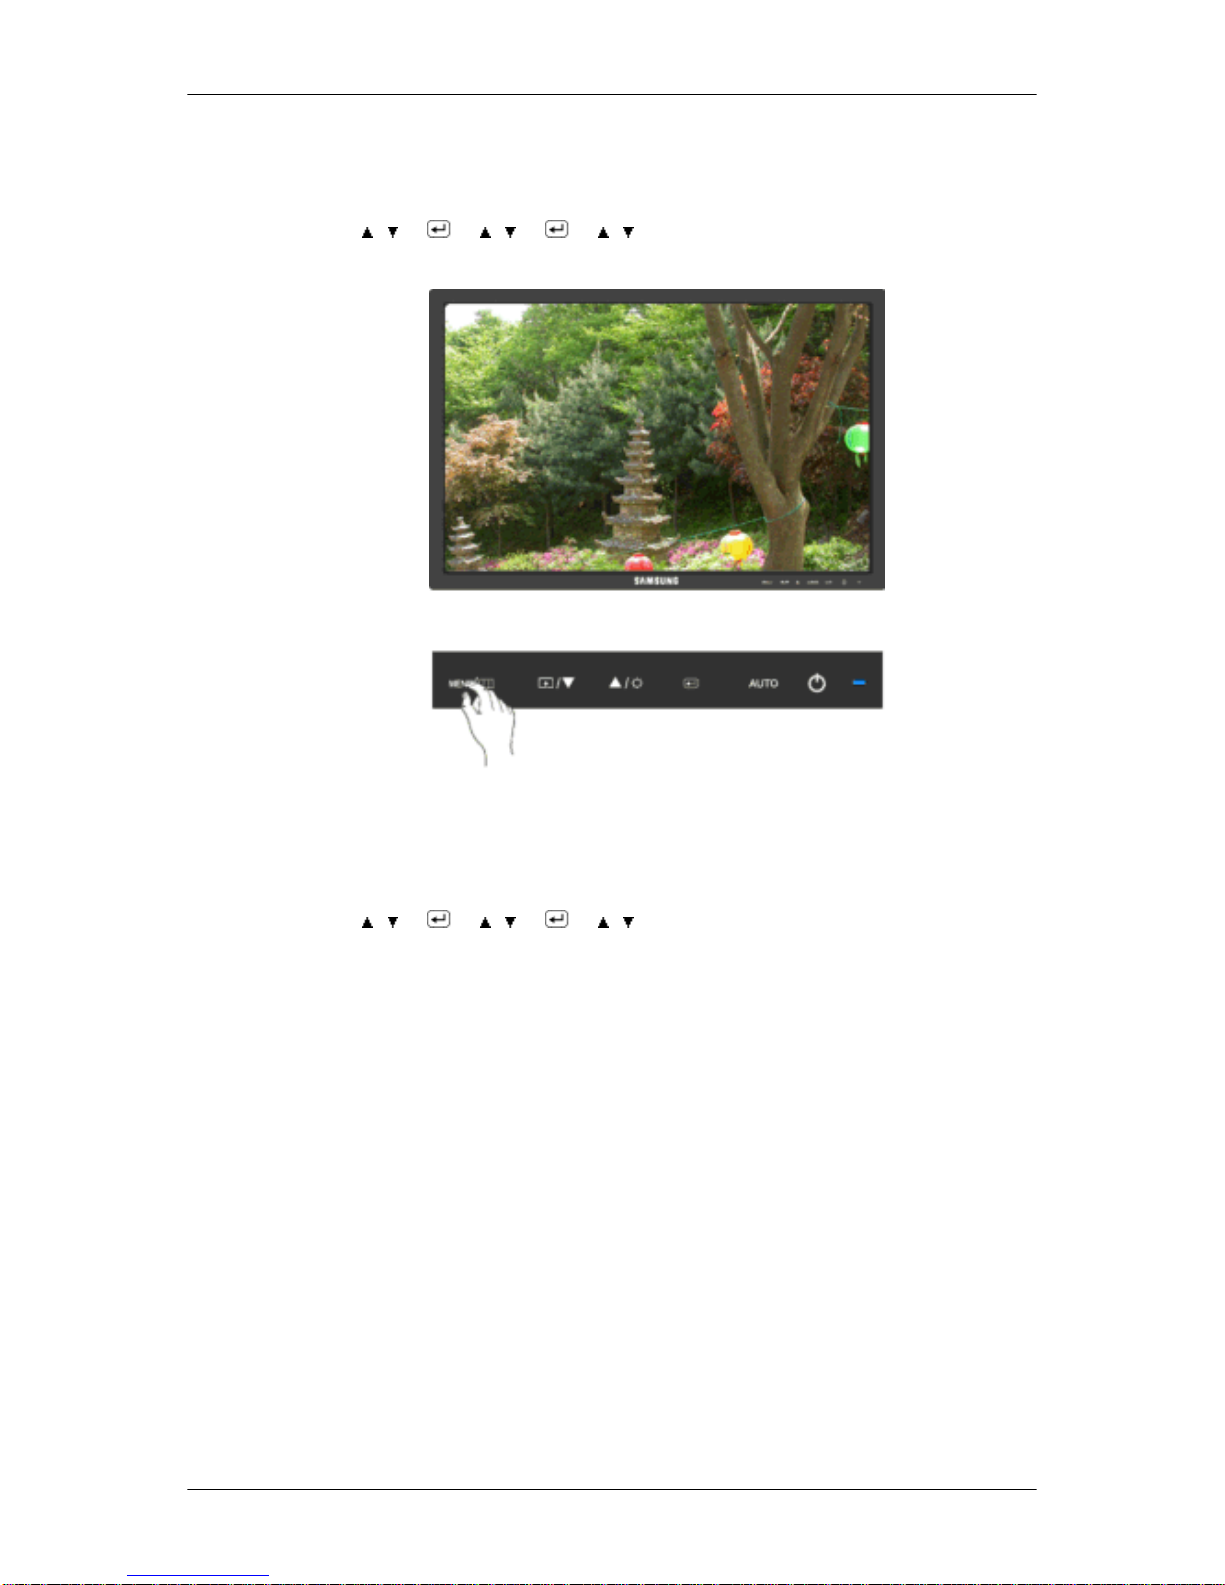
Changes the clearance of image.
( Not available in MagicColor mode of Full and Intelligent. )
MENU → , → → , → → , → MENU
H-Position
Changes the horizontal position of the monitor's entire display.
(Available in Analog mode only)
MENU →
, → → , → → , → MENU
Adjusting the Monitor
Page 56
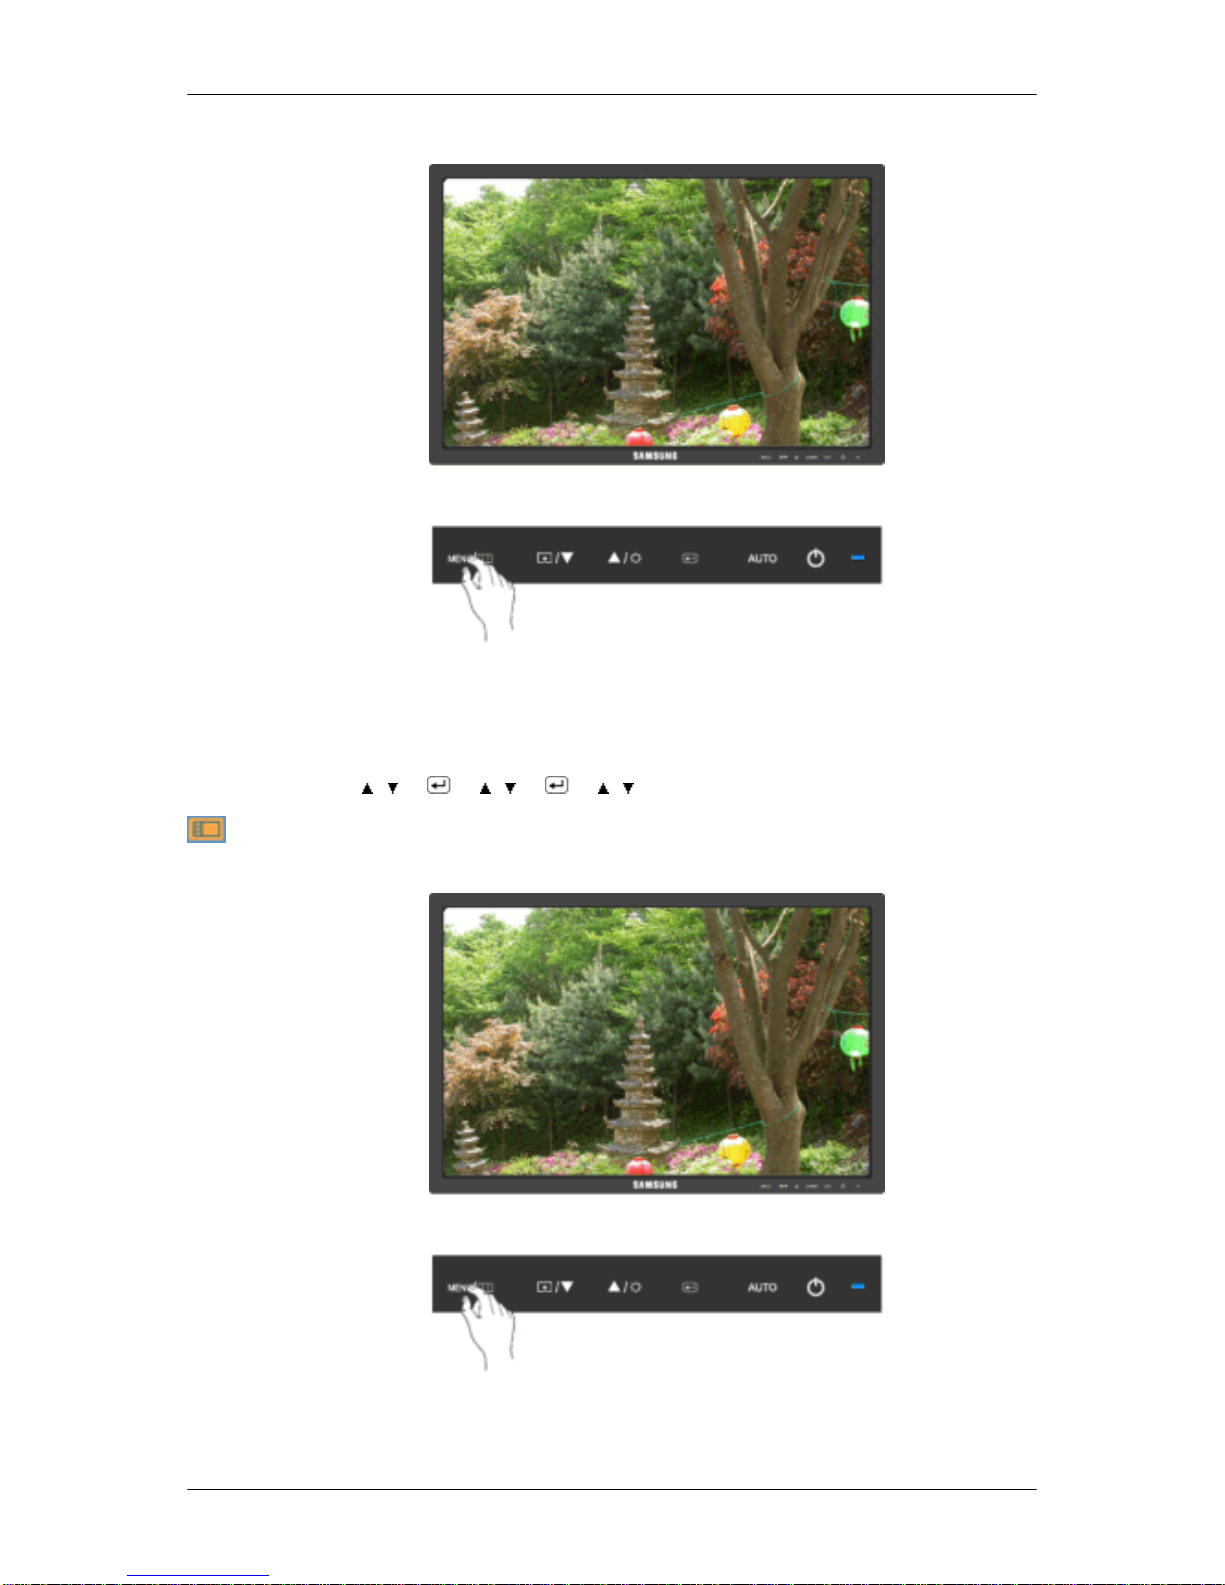
V-Position
Changes the vertical position of the monitor's entire display.
(Available in Analog mode only)
MENU → , → → , → → , → MENU
OSD
Language
You can choose one of nine languages.
Adjusting the Monitor
Page 57
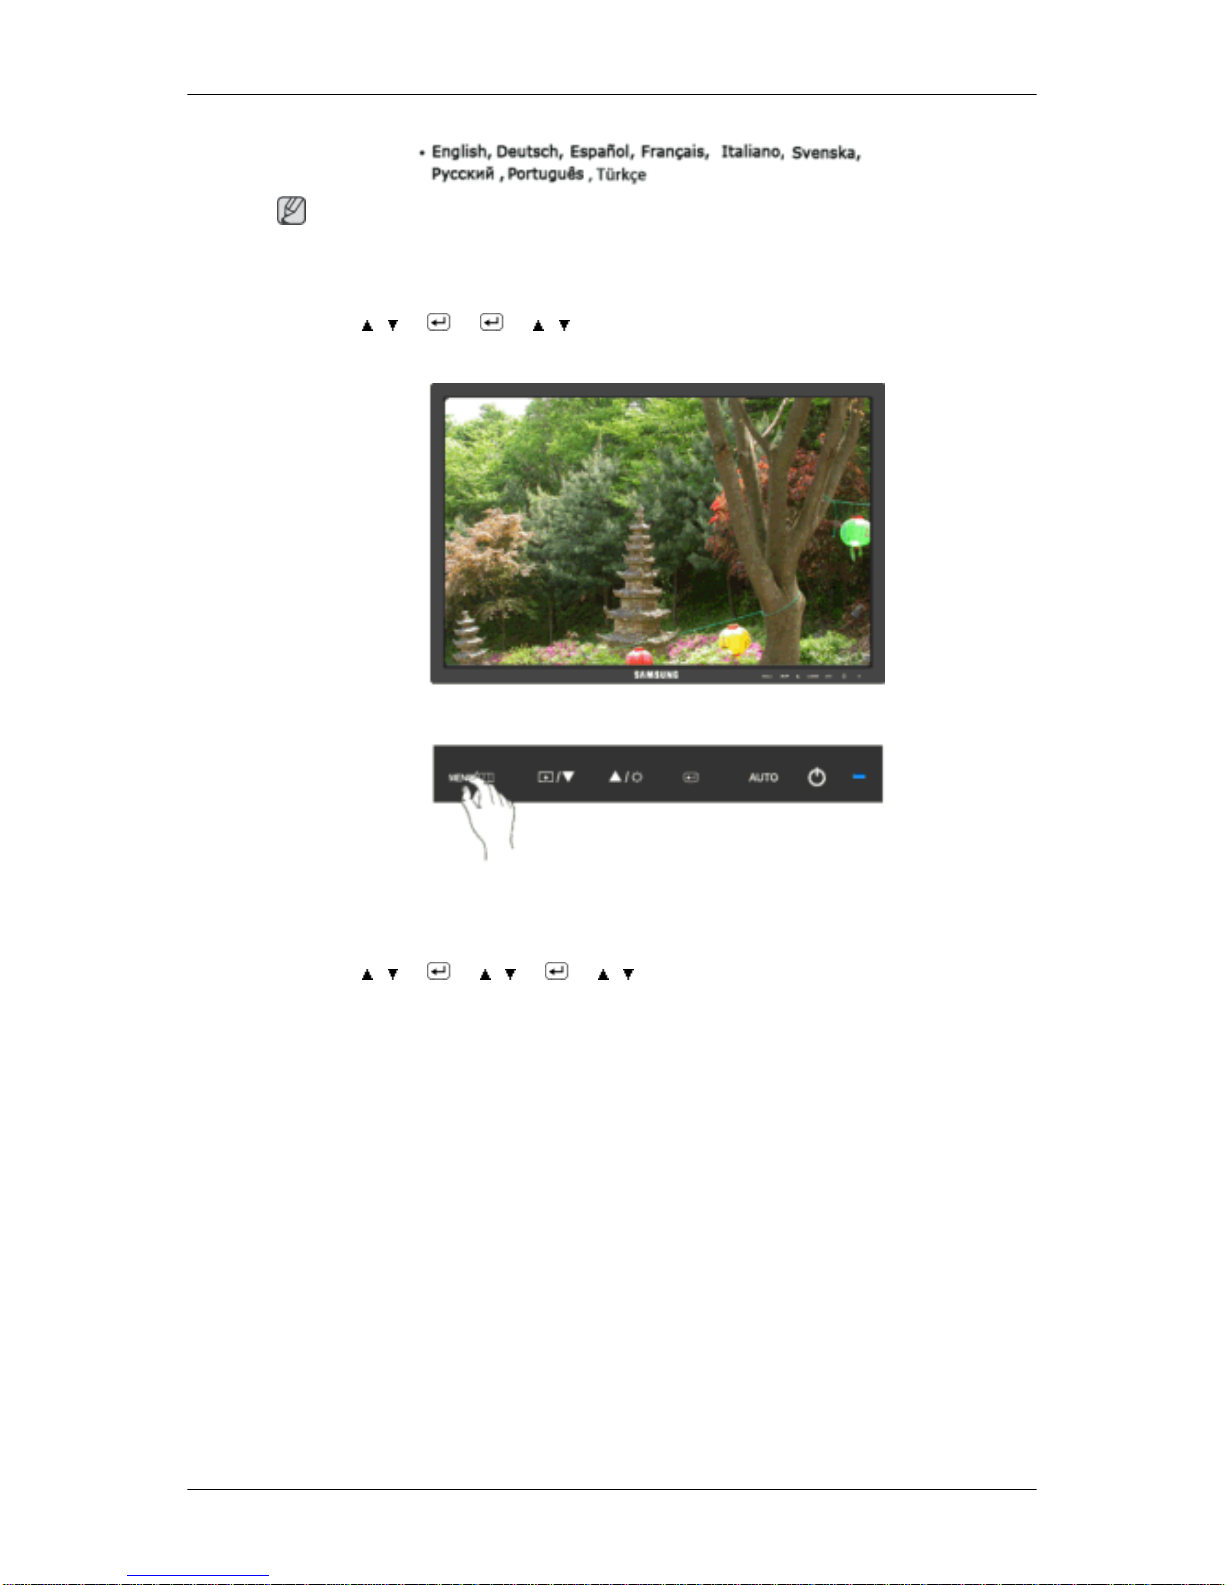
Note
The language chosen affects only the language of the OSD. It has no effect on any software
running on the computer.
MENU → , → → → , → MENU
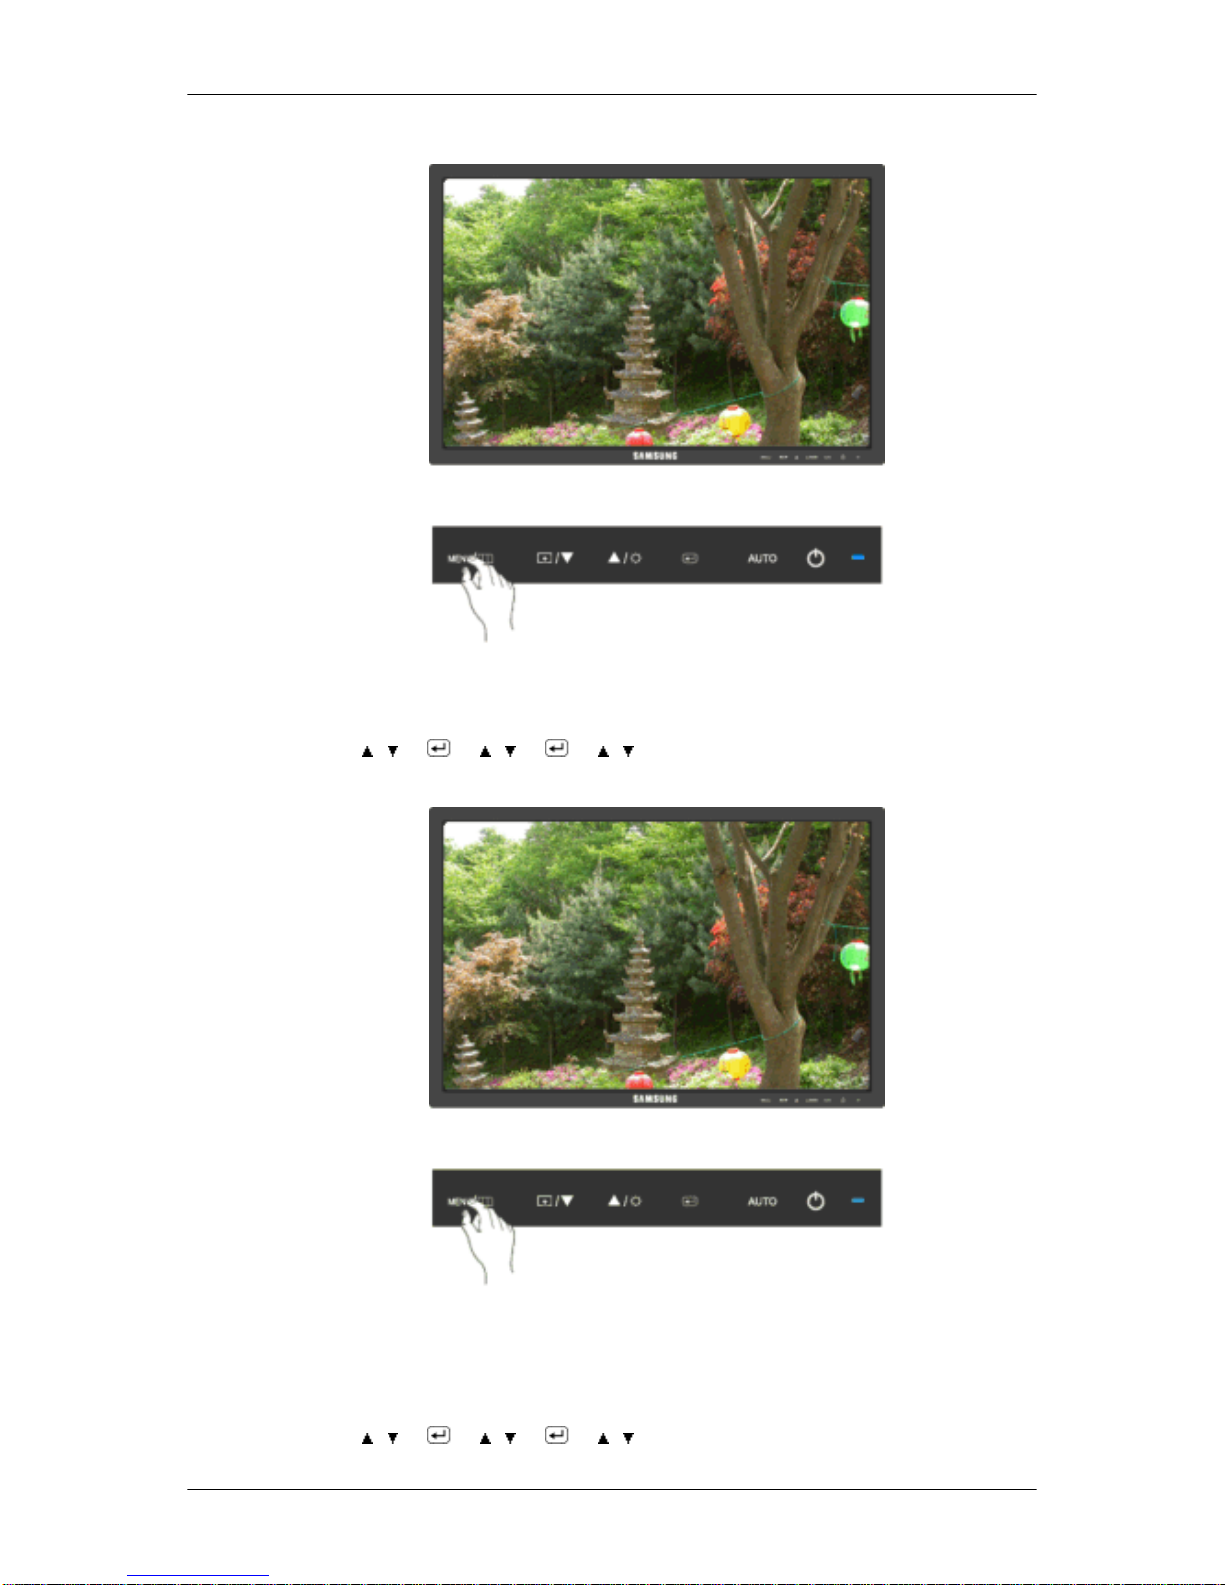
H-Position
You can change the horizontal position where the OSD menu appears on your monitor.
MENU →
, → → , → → , → MENU
Adjusting the Monitor
Page 58
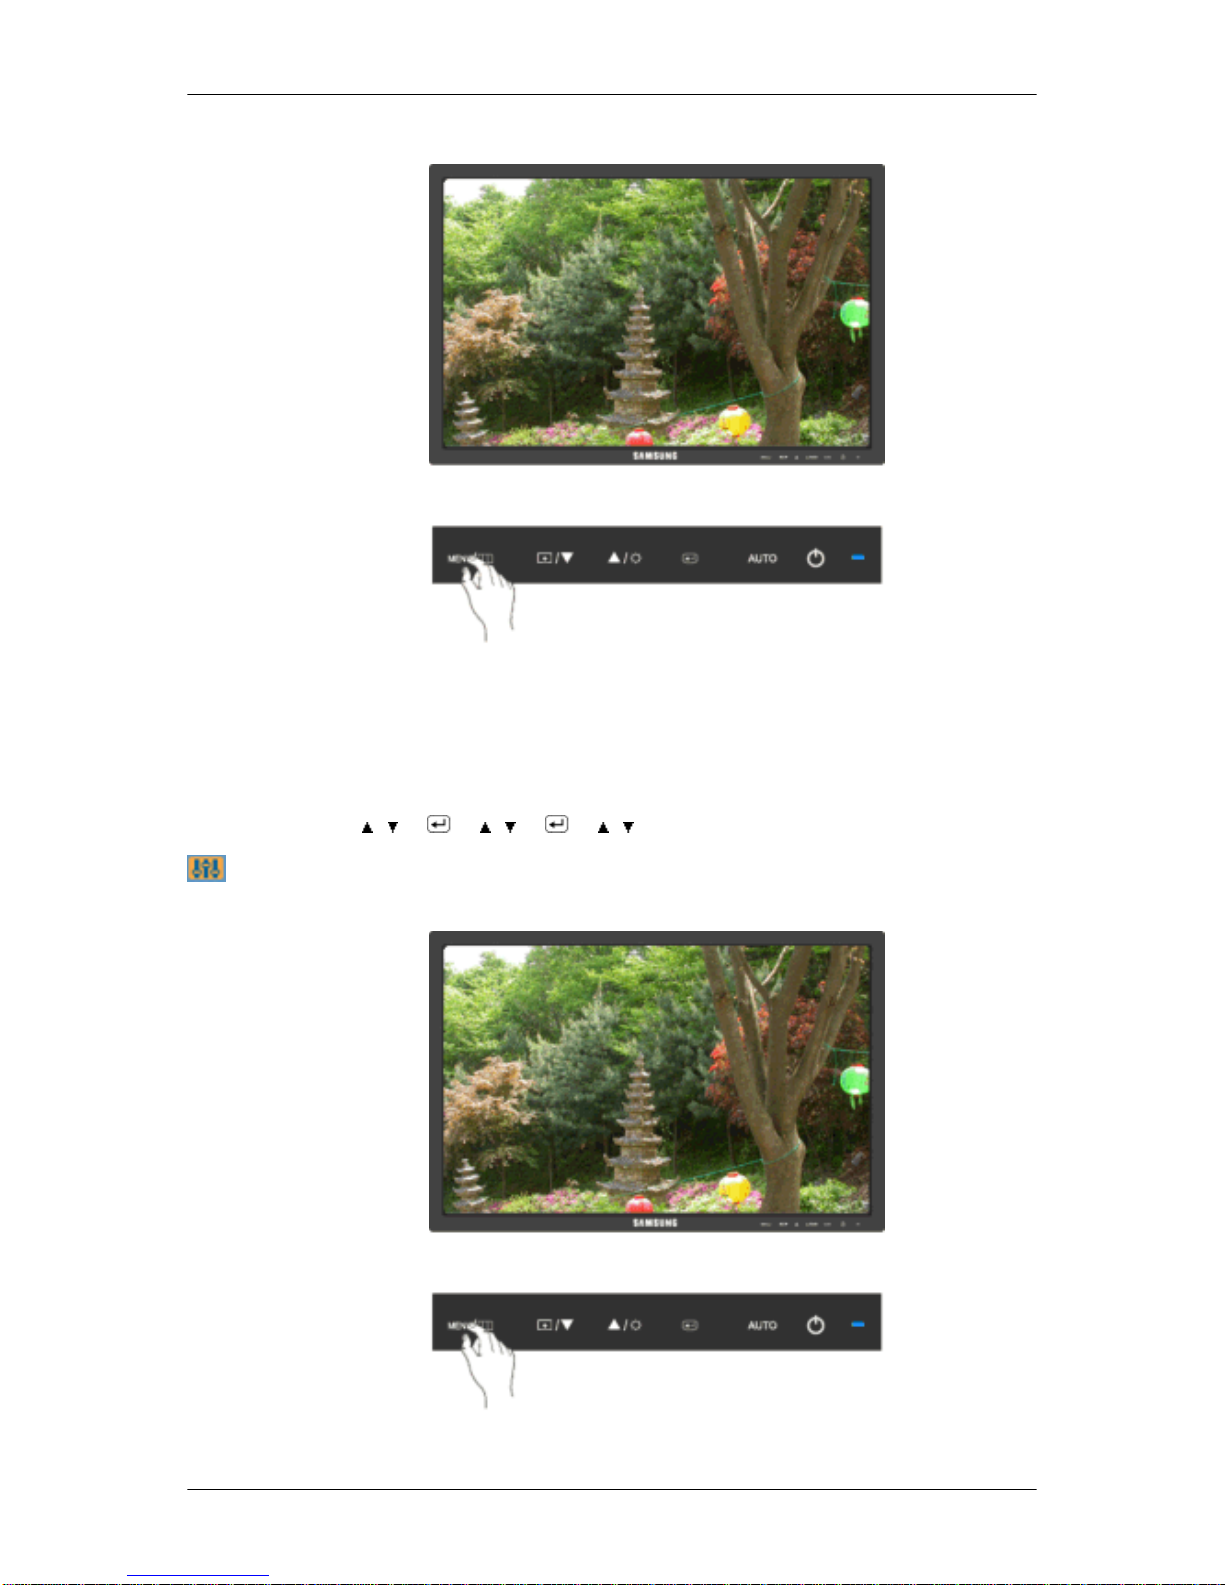
V-Position
You can change the vertical position where the OSD menu appears on your monitor.
MENU → , → → , → → , → MENU
Transparency
Change the transparency of the background of the OSD.
• Off • On
MENU → , → → , → → , → MENU
Adjusting the Monitor
Page 59
Display Time
The menu will be automatically turned off if no adjustments are made for a certain time period.
You can set the amount of time the menu will wait before it is turned off.
• 5 sec • 10 sec • 20 sec • 200 sec
MENU → , → → , → → , → MENU
Setup
Reset
Adjusting the Monitor
Page 60
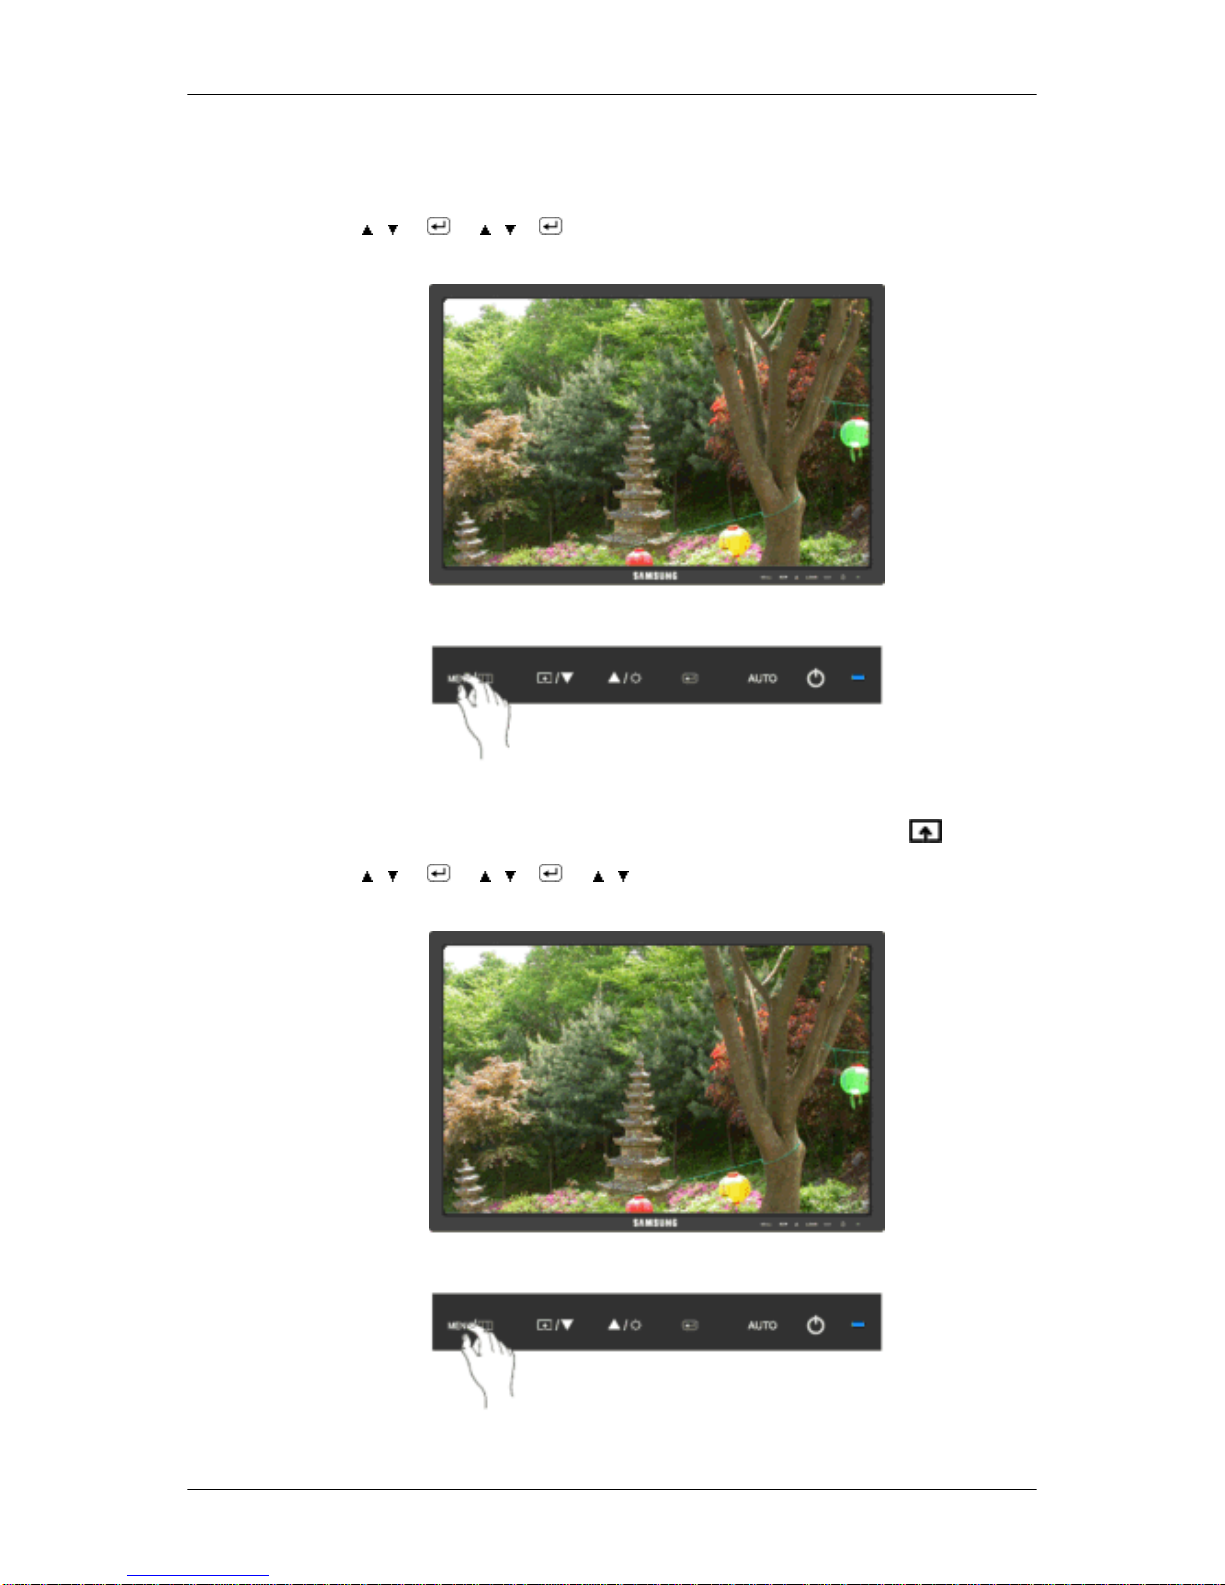
Reverts the product settings to factory defaults.
• No • Yes
MENU → , → → , → → MENU
Customized Key
You can specify a function which will be activated when the Customized Key ( )is pressed.
MENU → , → → , → → , →MENU
Off Timer
Adjusting the Monitor
Page 61
The monitors will turn off automatically at the specified time.
• Off • On
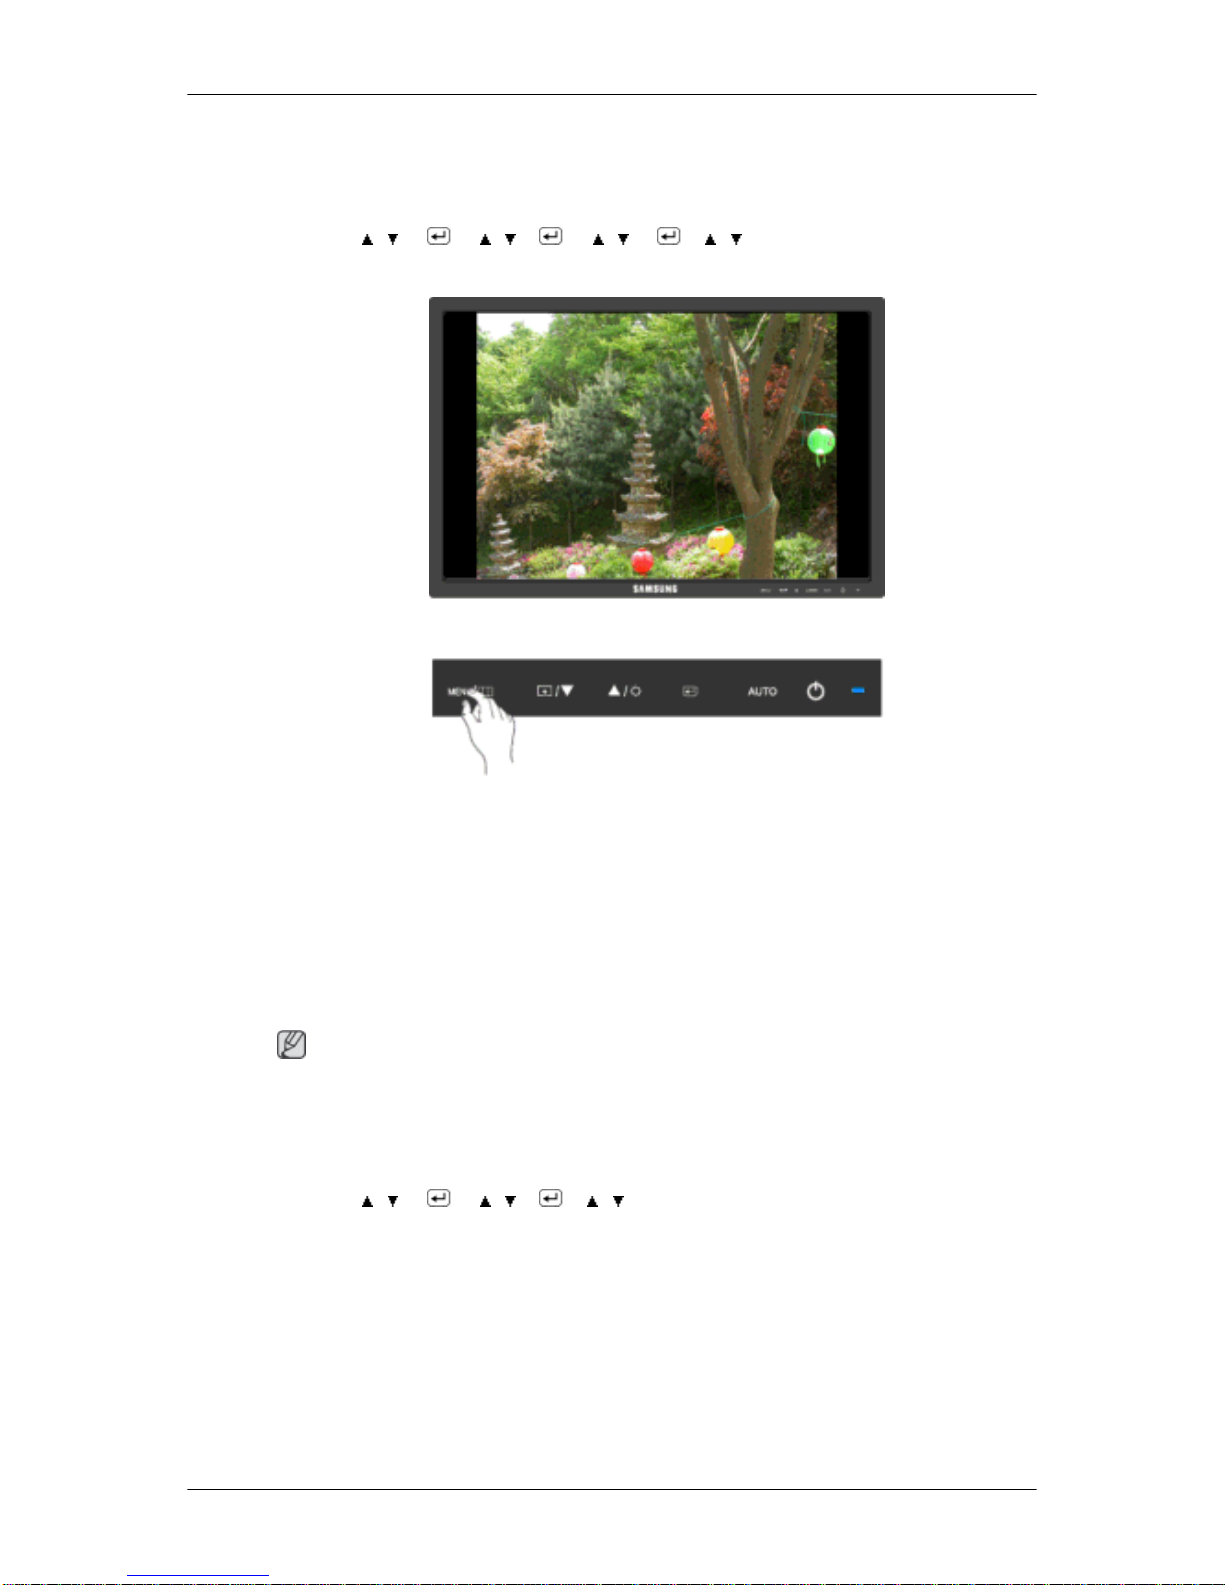
MENU → , → → , → → , → → , → MENU
Image Size
You can change the size of the screen displayed on your monitor.
• Auto • Wide
• Auto - The screen is displayed in accordance with the screen aspect ratio of the input
signals.
• Wide - A full screen is displayed regardless of the screen aspect ratio of the input signals.
Note
• Signals not available in the standard mode table are not supported.
• If the wide screen which is the optimal resolution for the monitor is set on your PC, this
function is not performed.
MENU → , → → , → → , → MENU
Adjusting the Monitor
Page 62
Information
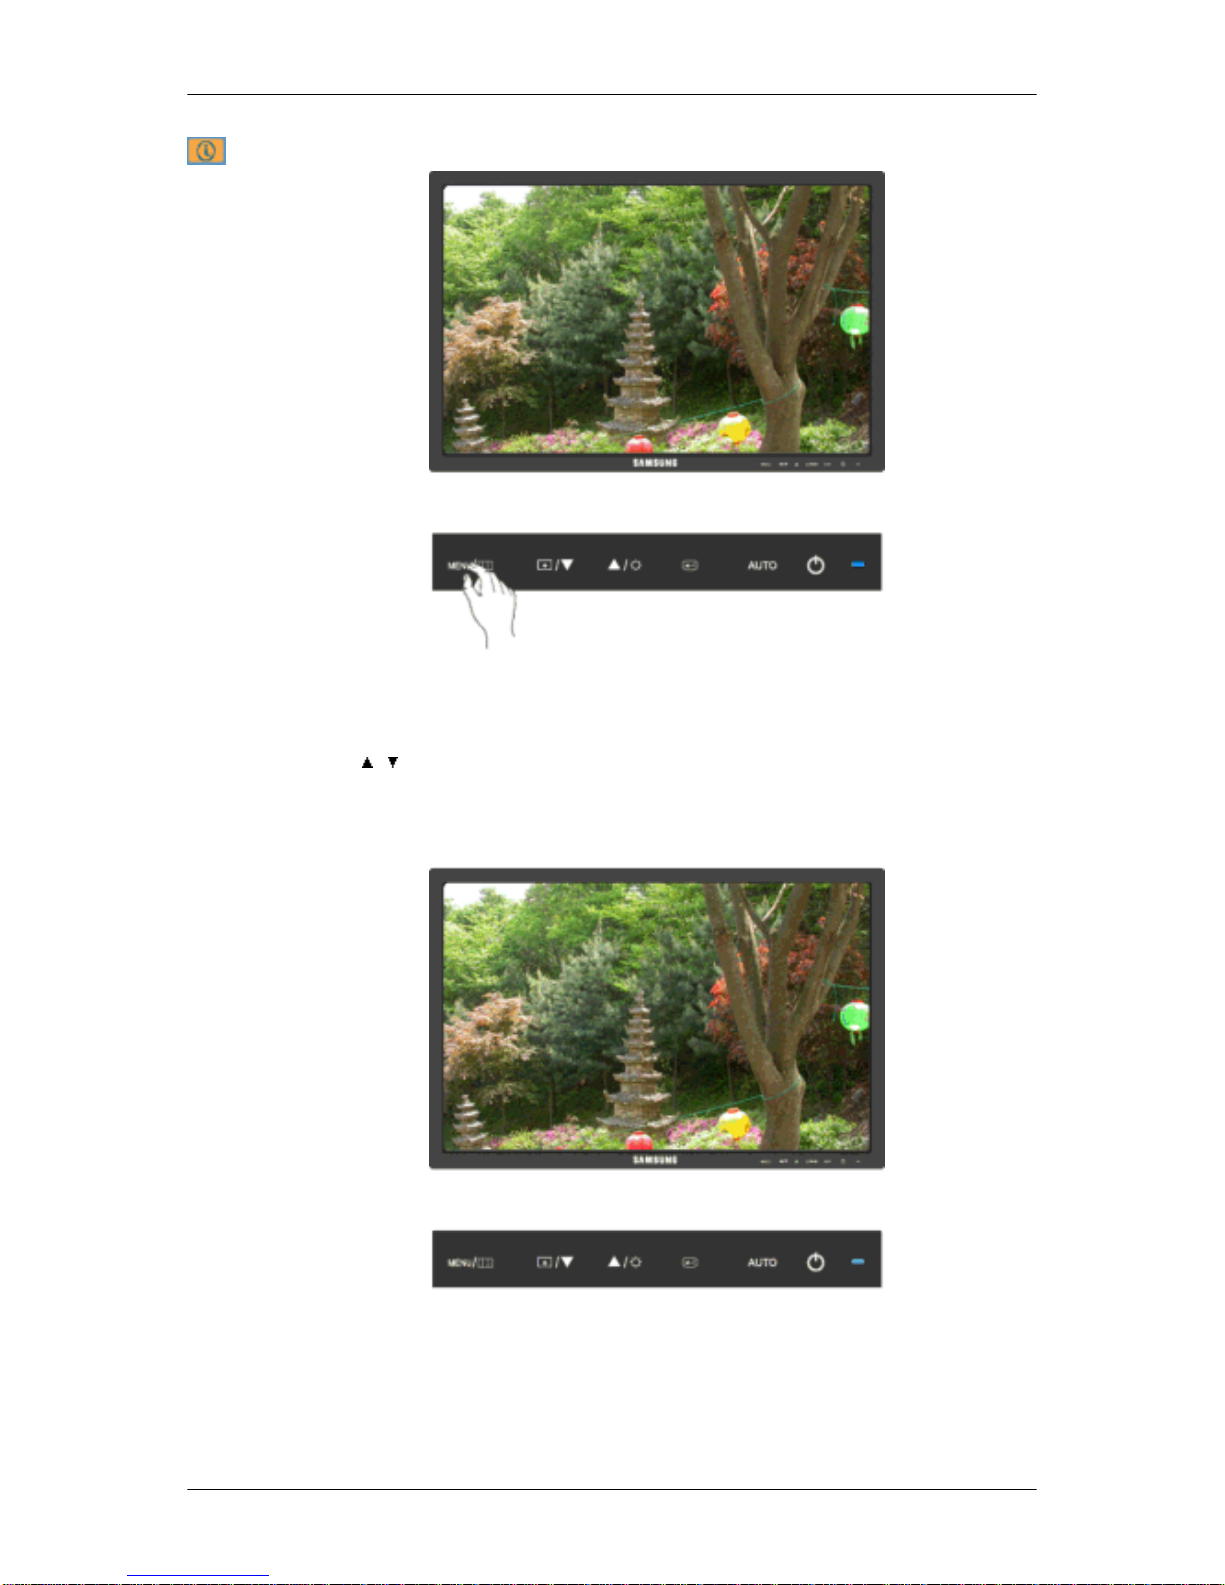
Shows a video source, display mode on the OSD screen.
MENU →
, →MENU
{2043SN/2043SNX} Direct Functions
AUTO
When the 'AUTO' button is pressed, the auto adjustment screen appears as shown in the
animated screen on the center.
Adjusting the Monitor
Page 63
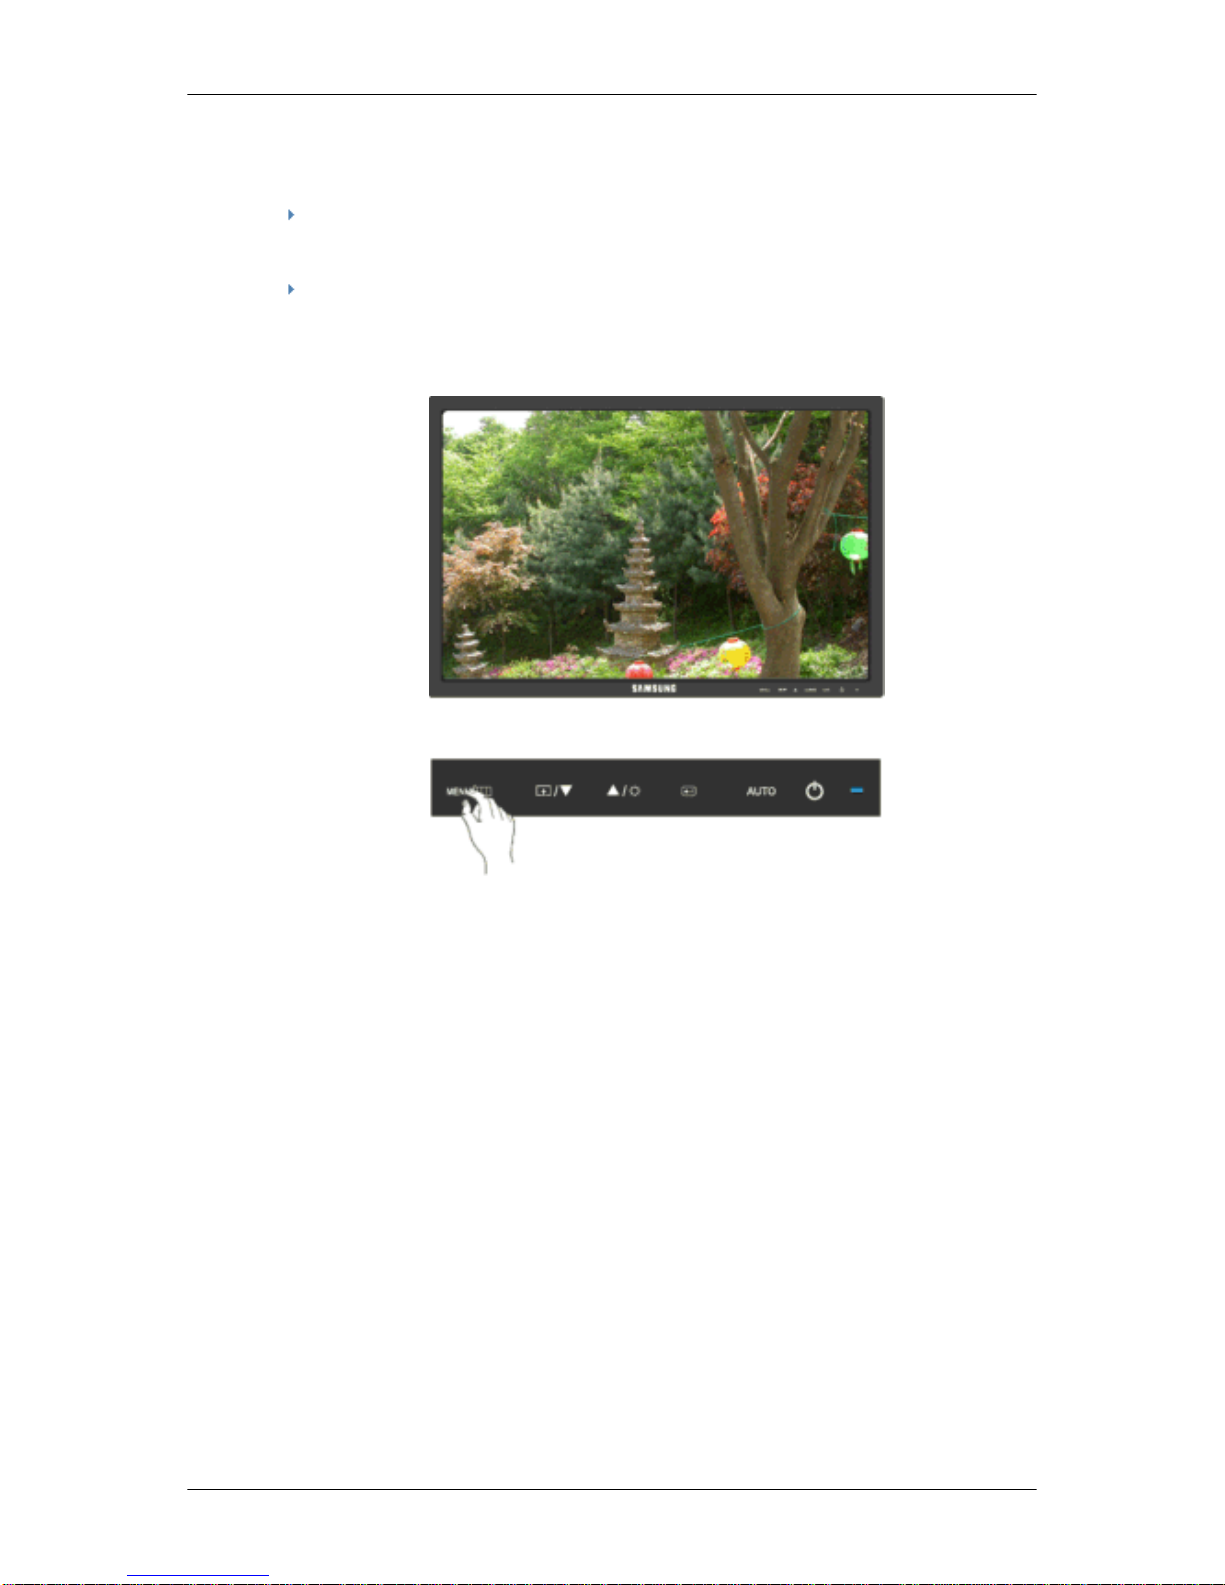
Auto adjustment allows the monitor to self-adjust to the incoming Analog signal. The values
of Fine, Coarse and Position are adjusted automatically.
If auto adjustment does not work properly, press 'AUTO' button again to adjust picture
with more accuracy.
If you change resolution in the control panel, auto function will be executed automatically.
OSD Lock & Unlock
When pressing the AUTO button after locking the OSD
When pressing the MENU button after locking the OSD
Adjusting the Monitor
Page 64
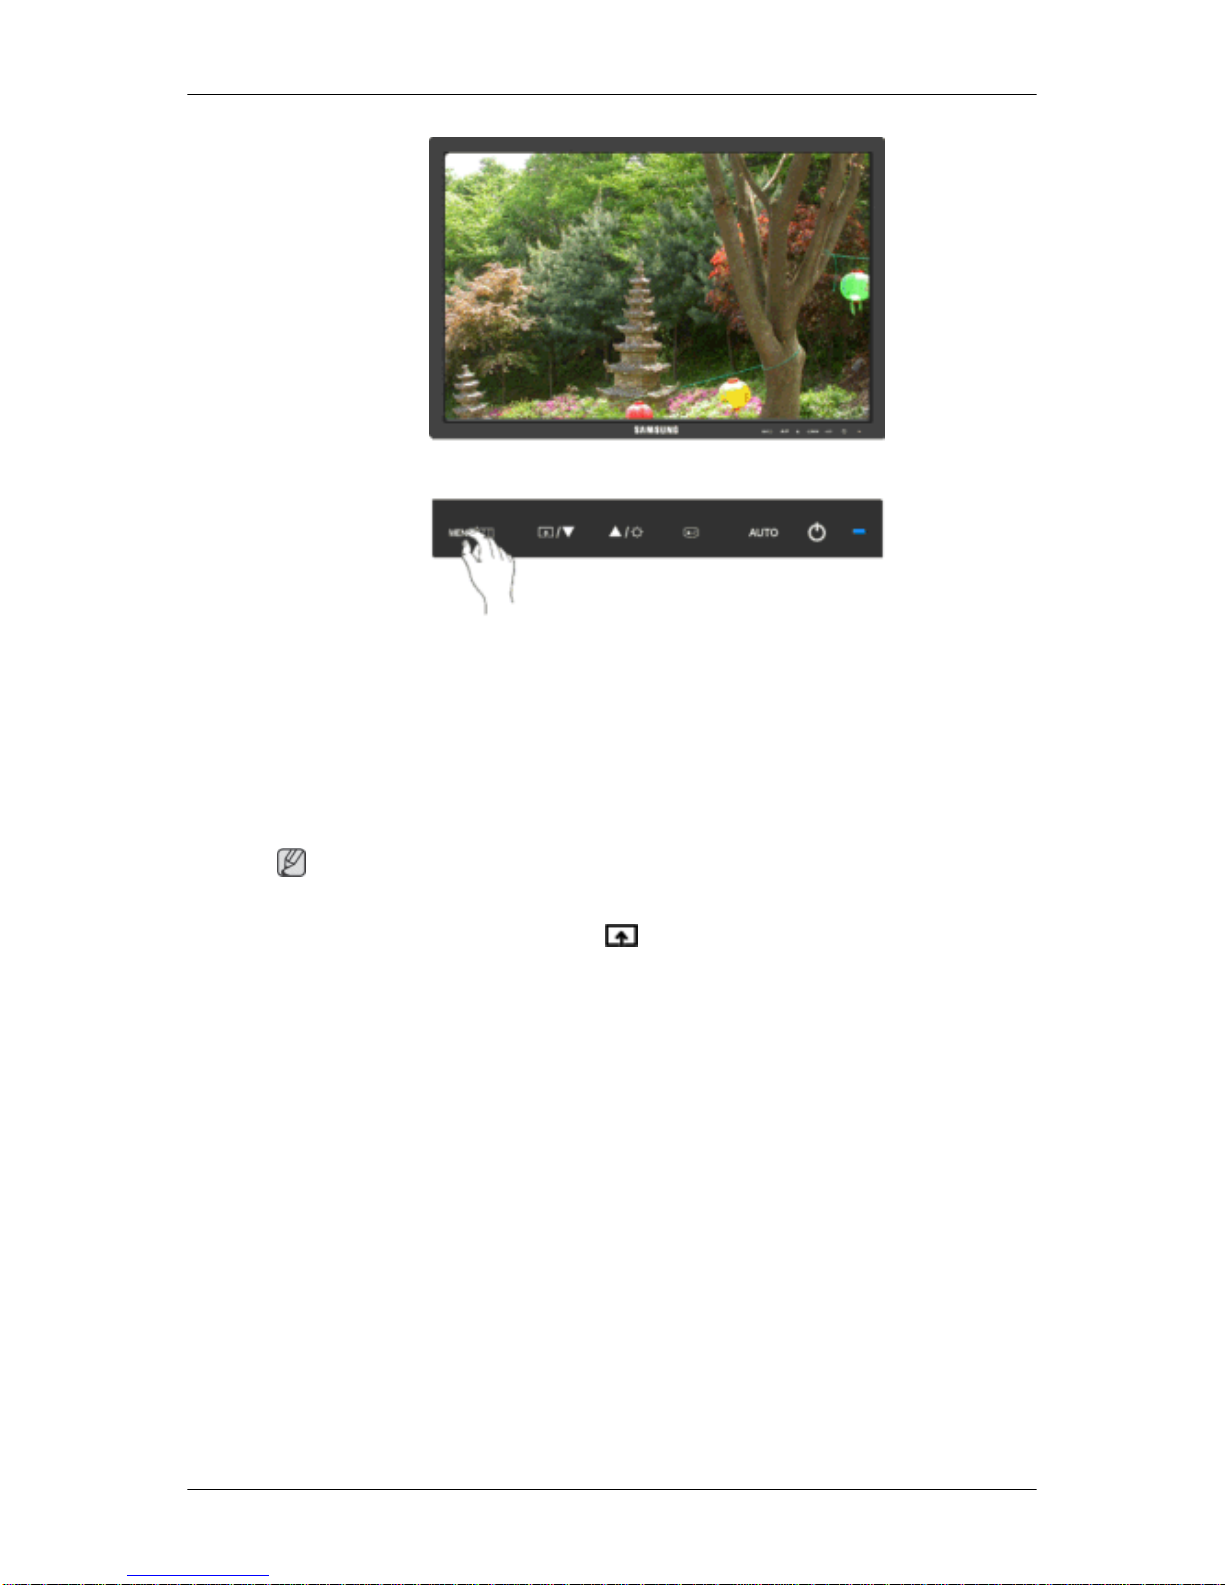
This is the function that locks the OSD in order to keep the current states of settings or prevent
others from adjusting the current settings.
Lock : Hold down the MENU button for more than five (5) seconds to activate the OSD adjustment lock function.
Unlock : Hold down the MENU button for more than five (5) seconds to deactivate the OSD
adjustment lock function.
Note
Though the OSD adjustment lock function is activated, you can still adjust the brightness and
contrast, and adjust Customized Key (
) using the Direct button.
Adjusting the Monitor
Page 65
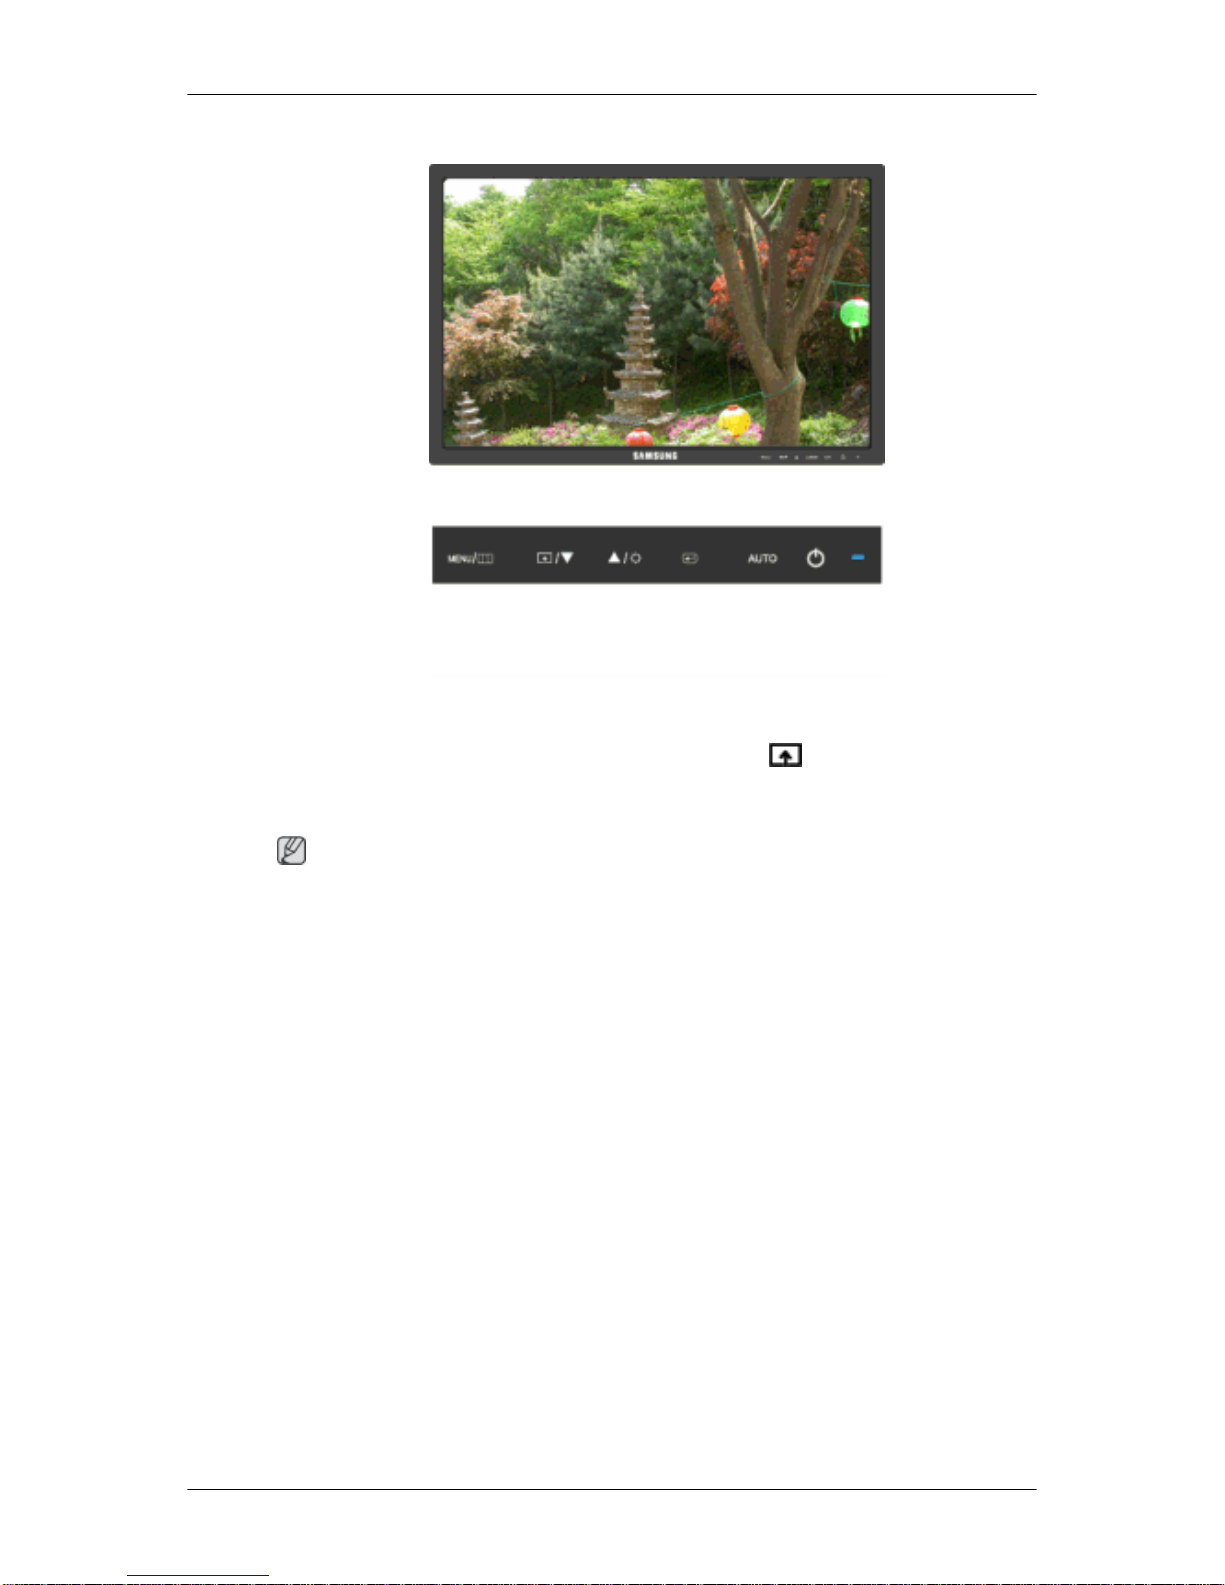
Customized key
You can customize key assignment for the Custom button according to your preferences.
To view the operating screen displayed when pressing the [ ] button after configuring the
customized key for a function, click the name of each function.
(Image Size - MagicBright - MagicColor - Color Effect)
Note
You can configure the customized key for a required function via Setup > Customized
Key.
Adjusting the Monitor
Page 66
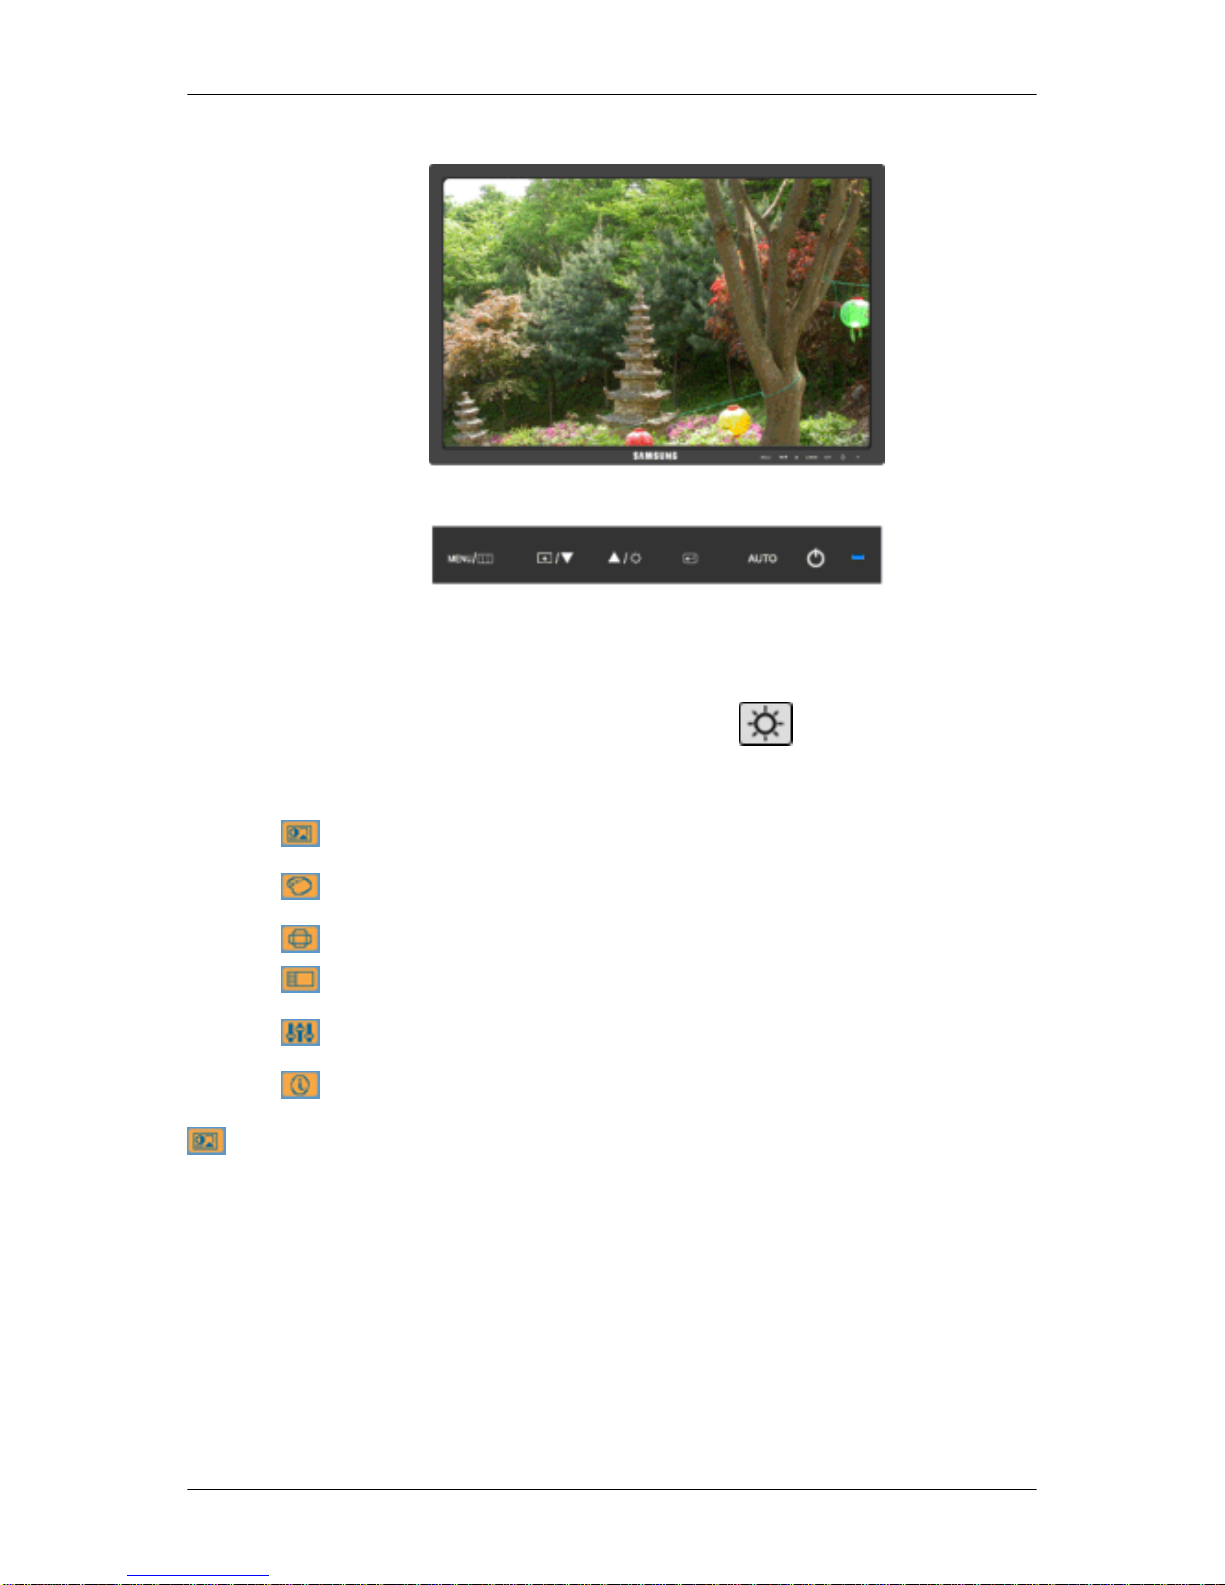
Brightness
When OSD is not on the screen, push the Brightness ( ) button to adjust brightness.
OSD Function
Picture Brightness Contrast Magic-
Bright
Color MagicColor Color Tone Color Con-
trol
Color Effect Gamma
Image Coarse Fine Sharpness H-Position V-Position
OSD Language H-Position V-Position Transpar-
ency
Display
Time
Setup Reset Custom-
ized Key
Off Timer Image Size
Information
Picture
Brightness
(Not available in MagicBright mode of Dynamic Contrast.)
Adjusting the Monitor
Page 67
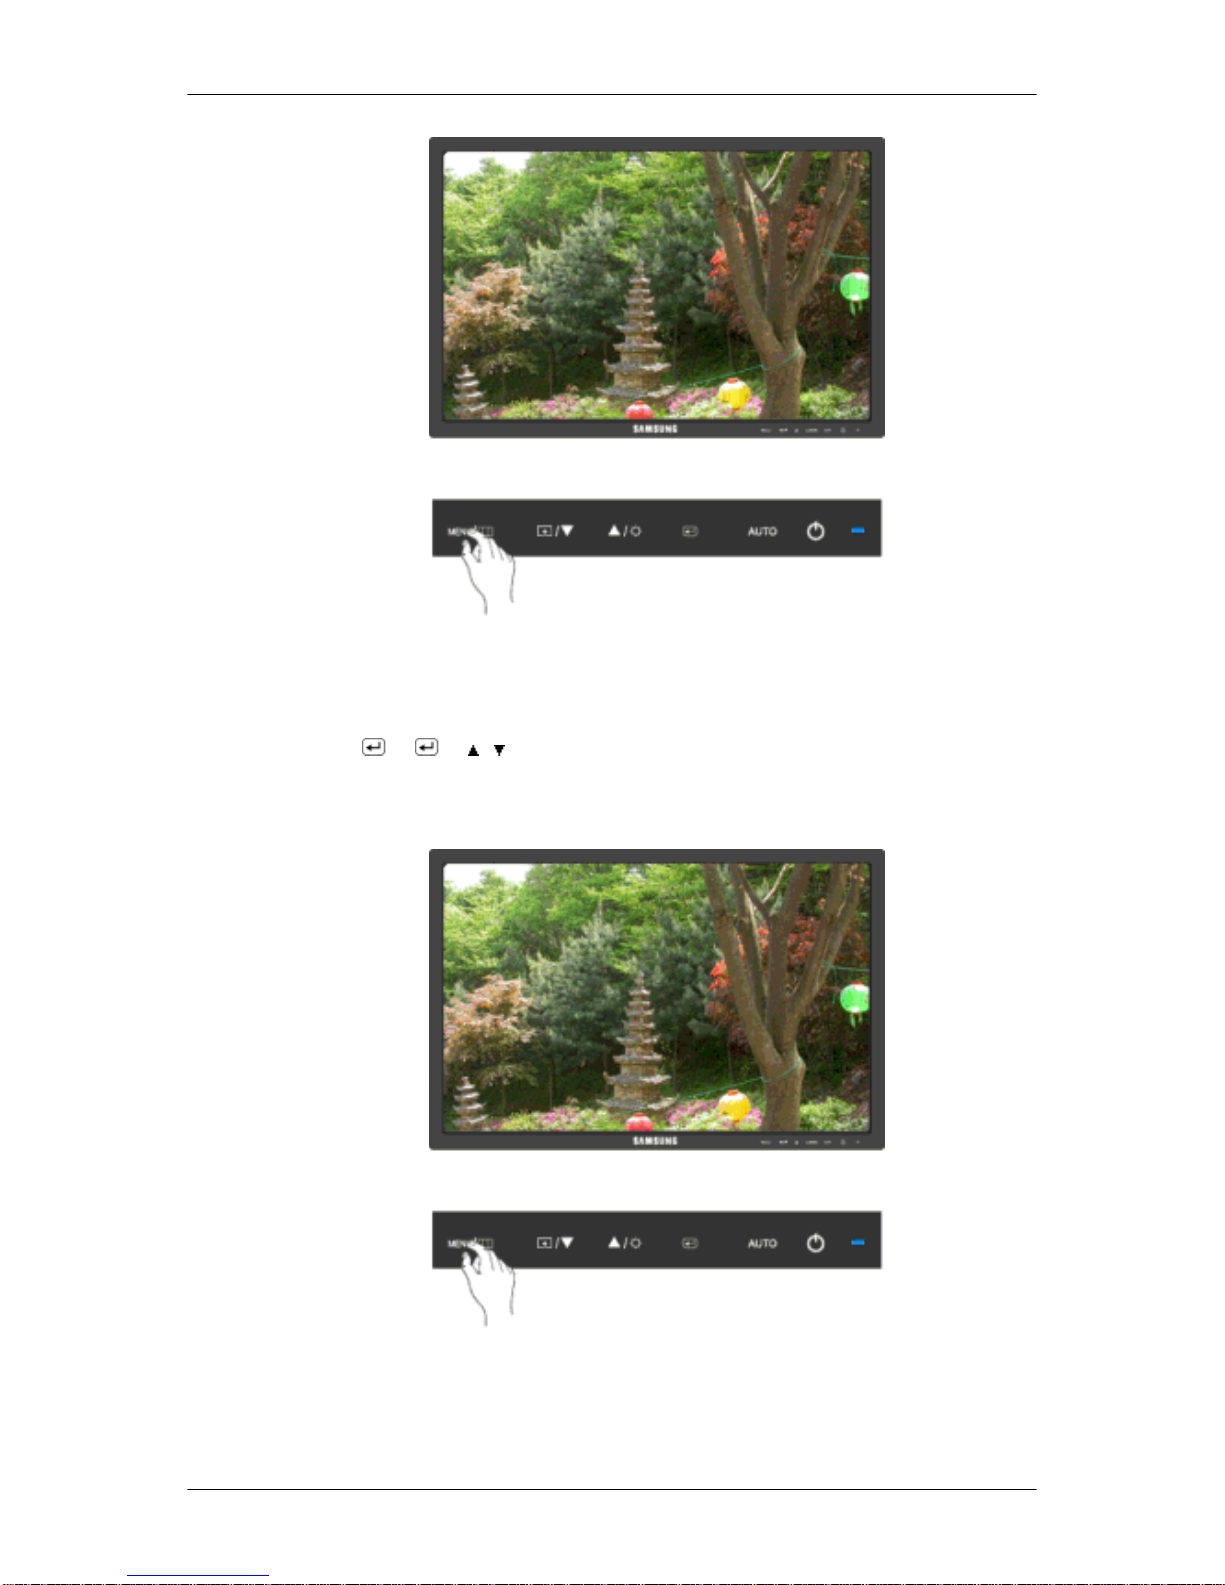
You can use the on-screen menus to change the brightness according to personal preference.
MENU →
→ → , → MENU
Contrast
(Not available in MagicBright mode of Dynamic Contrast.)
You can use the on-screen menus to change the contrast according to personal preference.
( Not available in MagicColor mode of Full and Intelligent. )
Adjusting the Monitor
Page 68
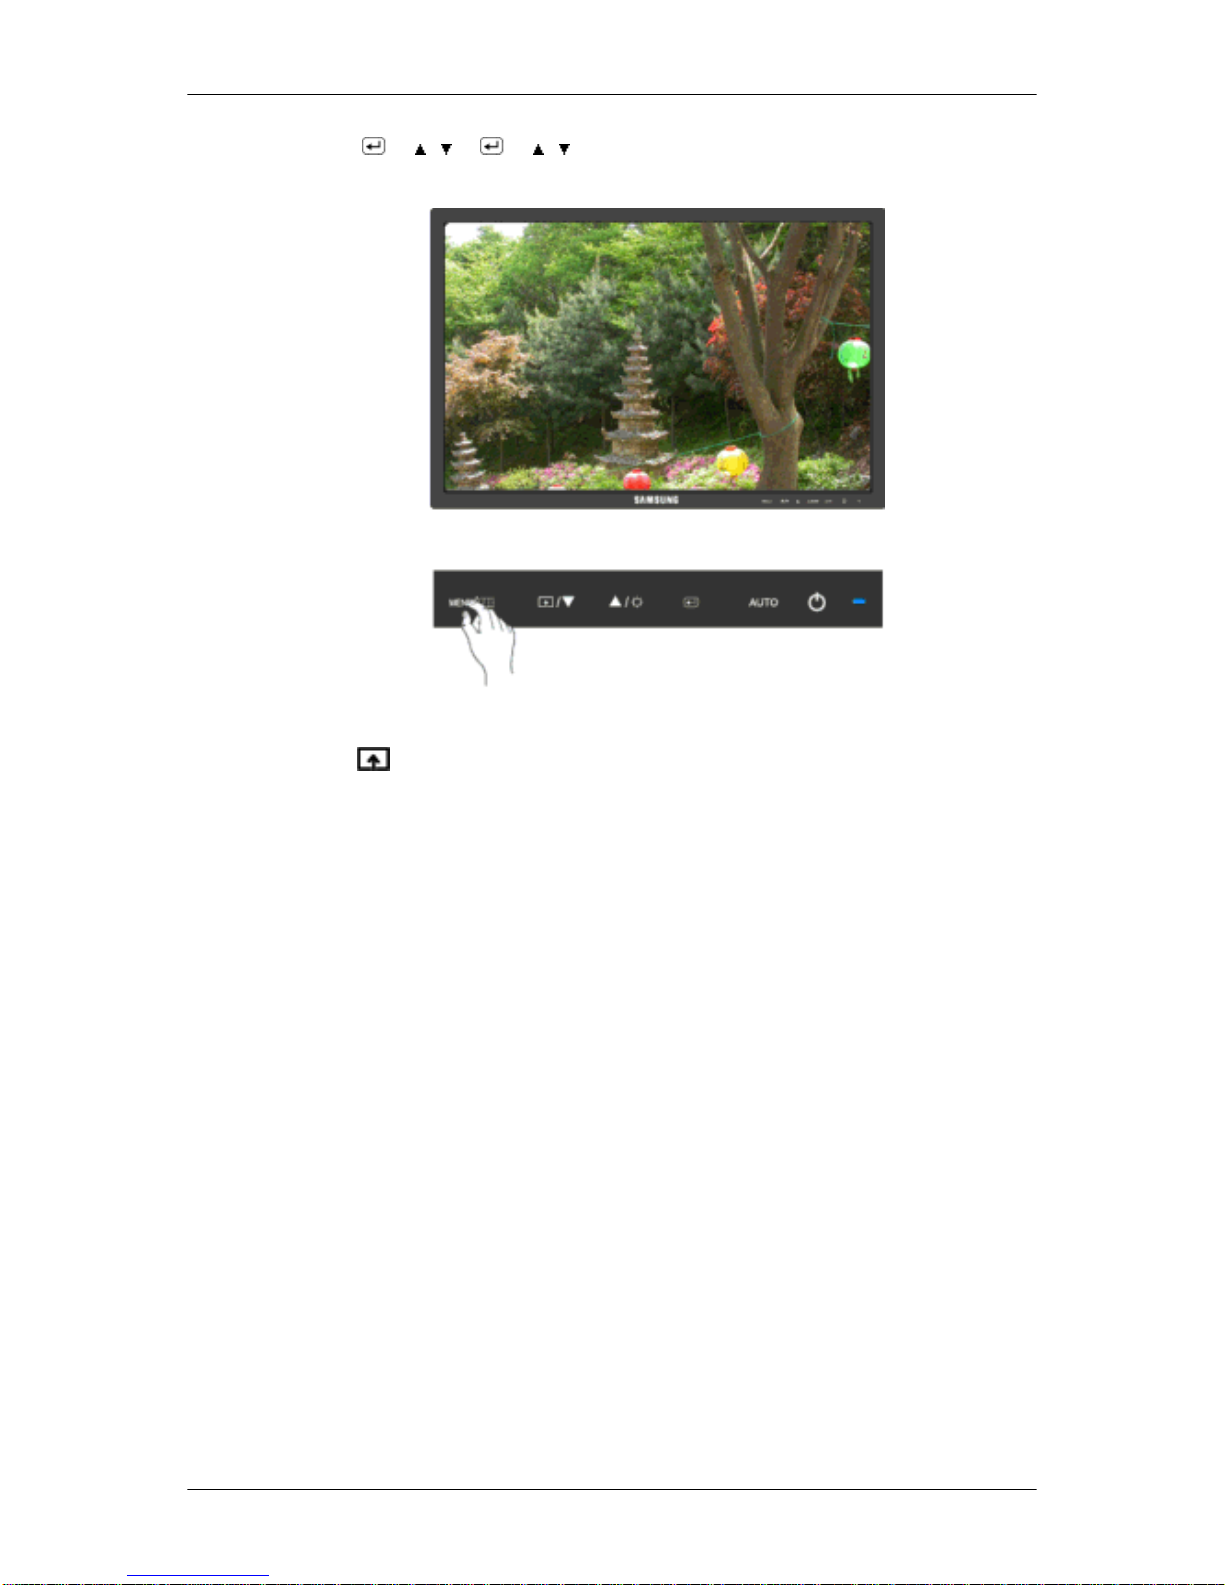
MENU → → , → → , → MENU
MagicBright
Push the button to circle through available preconfigured modes.
MagicBright is a new feature providing optimum viewing environment depending on the
contents of the image you are watching. Currently seven different modes are available: Cus-
tom, Text, Internet, Game, Sport, Movie and Dynamic Contrast. Each mode has its own
pre-configured brightness value. You can easily select one of seven settings by simply press-
ing Customized Key control button.
• Custom
Although the values are carefully chosen by our engineers, the pre-configured values may
not be comfortable to your eyes depending on your taste.
If this is the case, adjust the brightness and contrast by using the OSD menu.
• Text
For documents or works involving heavy text.
• Internet
For working with a mixture of images such as texts and graphics.
• Game
For watching motion pictures such as a game.
• Sport
For watching motion pictures such as a sport.
• Movie
Adjusting the Monitor
Page 69
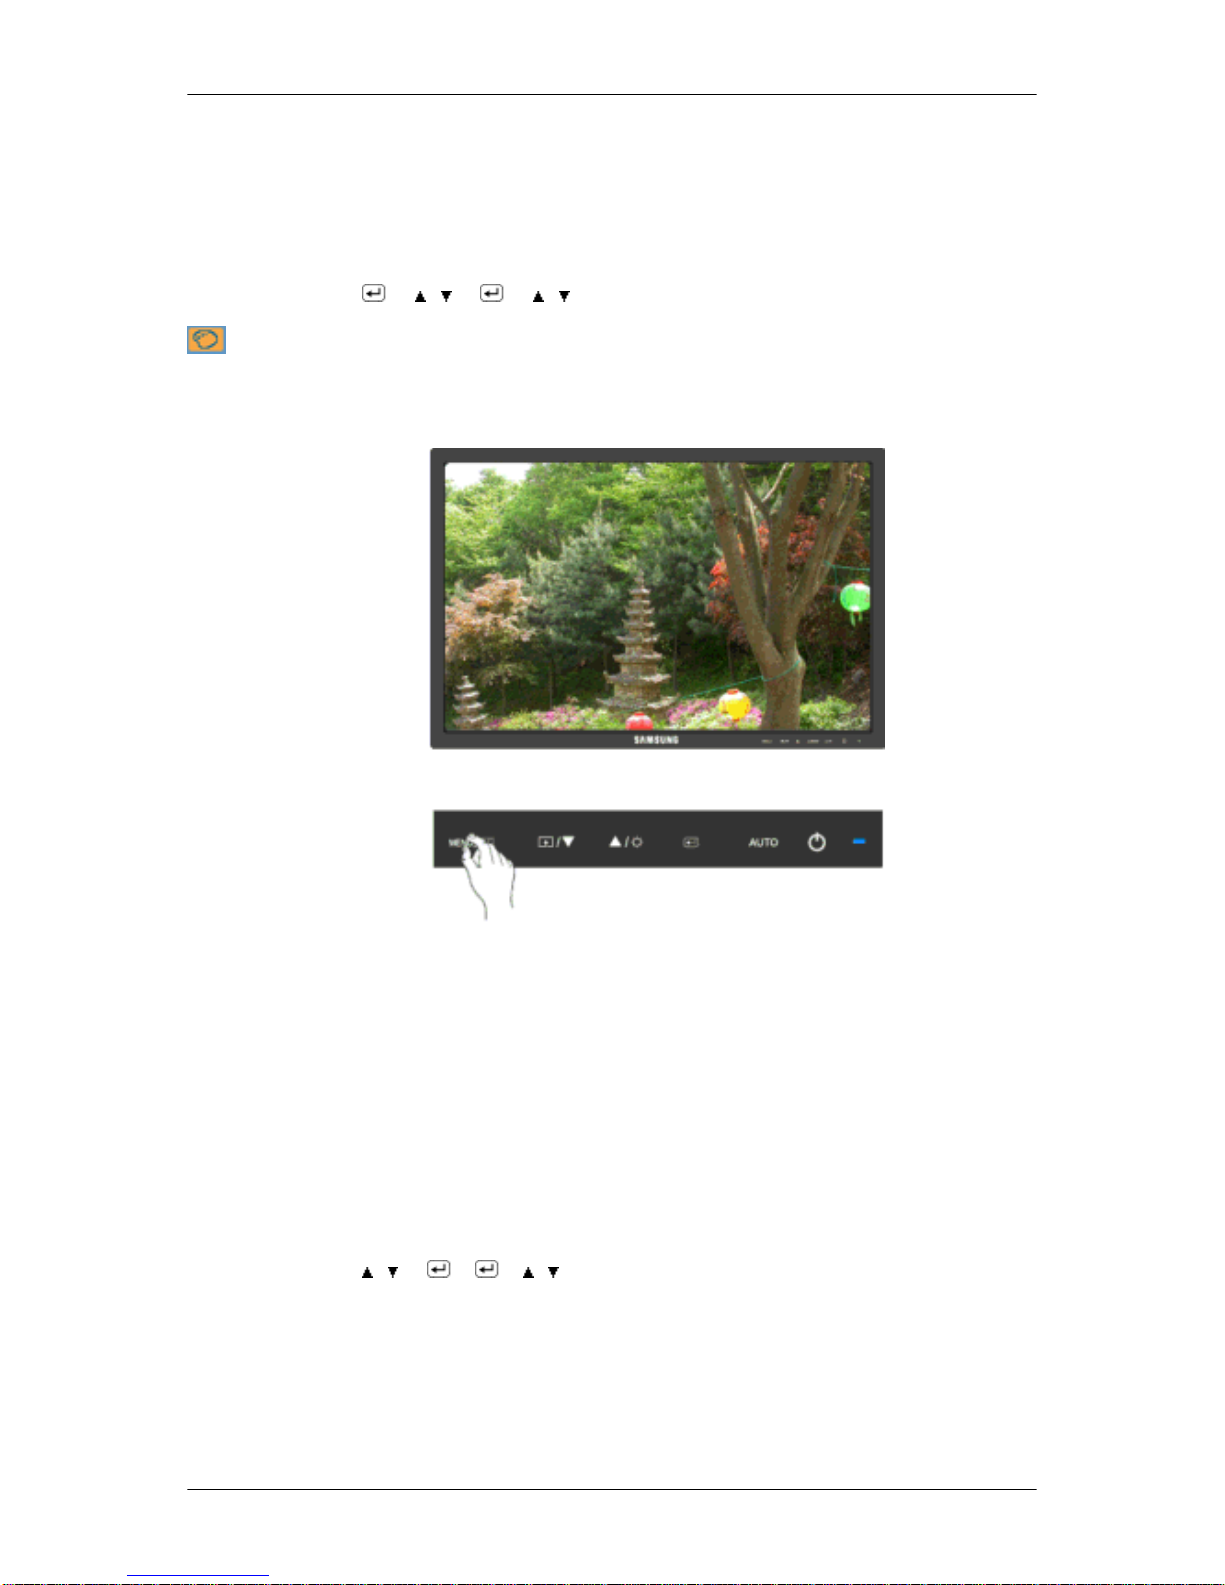
→ , → → , → MENU
Color
(Not available in MagicBright mode of Dynamic Contrast.)
MagicColor
MagicColor is a new technology that Samsung has exclusively developed to improve digital
image and to display natural color more clearly without disturbing image quality.
• Off - Returns to the original mode.
• Demo - The screen before applying MagicColor appears on the right and the screen after
applying MagicColor appears on the left.
• Full - Displays not only vivid natural color but also more realistic natural skin color with
clearness.
• Intelligent - Displays vivid natural color with clearness.
MENU →
, → → → , → MENU
Adjusting the Monitor
For watching motion pictures such as a DVD or Video CD.
• Dynamic Contrast
Dynamic Contrast automatically detects the distribution of the visual signal and
adjusts to create optimum contrast.
MENU →
Page 70
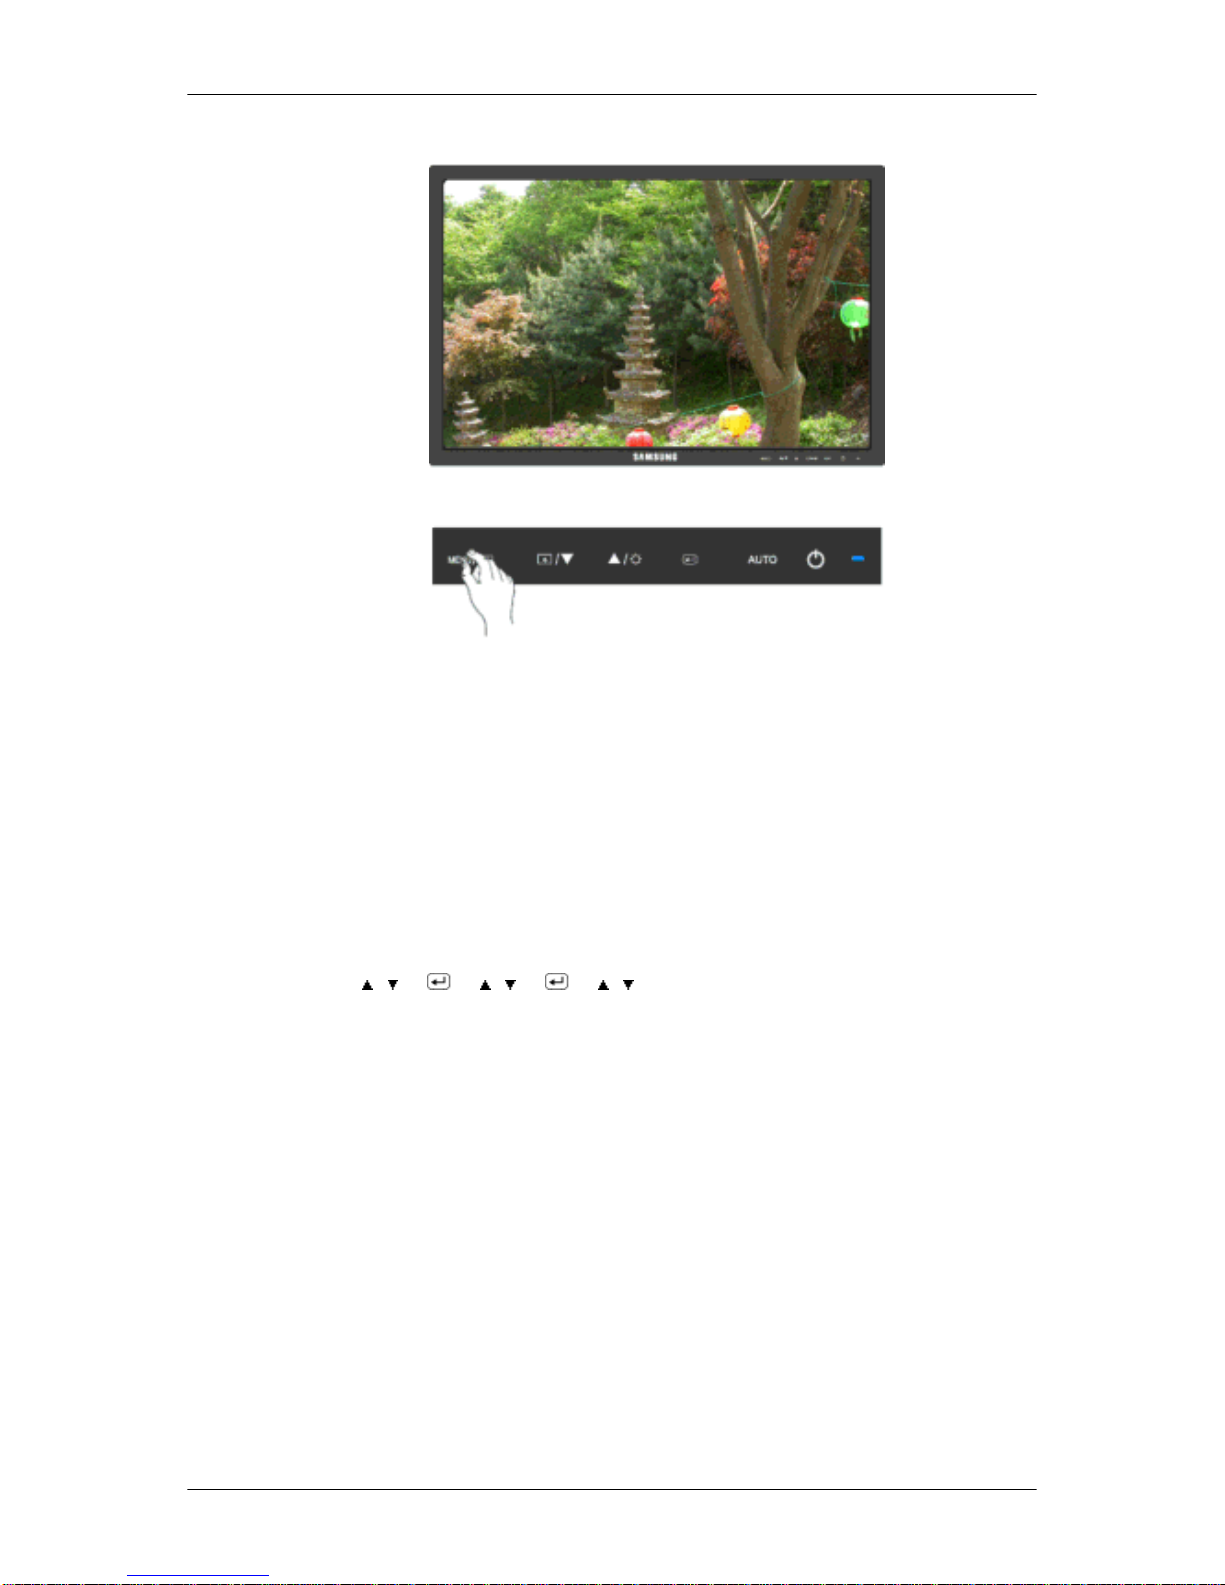
Color Tone
The tone of the color can be changed and one of four modes can be selected.
• Cool - Makes whites bluish.
• Normal - Keeps whites white.
• Warm - Makes whites reddish.
• Custom - Select this mode when you want to adjust the image according to your prefer-
ences.
( Not available in MagicColor mode of Full and Intelligent. )
MENU → , → → , → → , → MENU
Adjusting the Monitor
Page 71
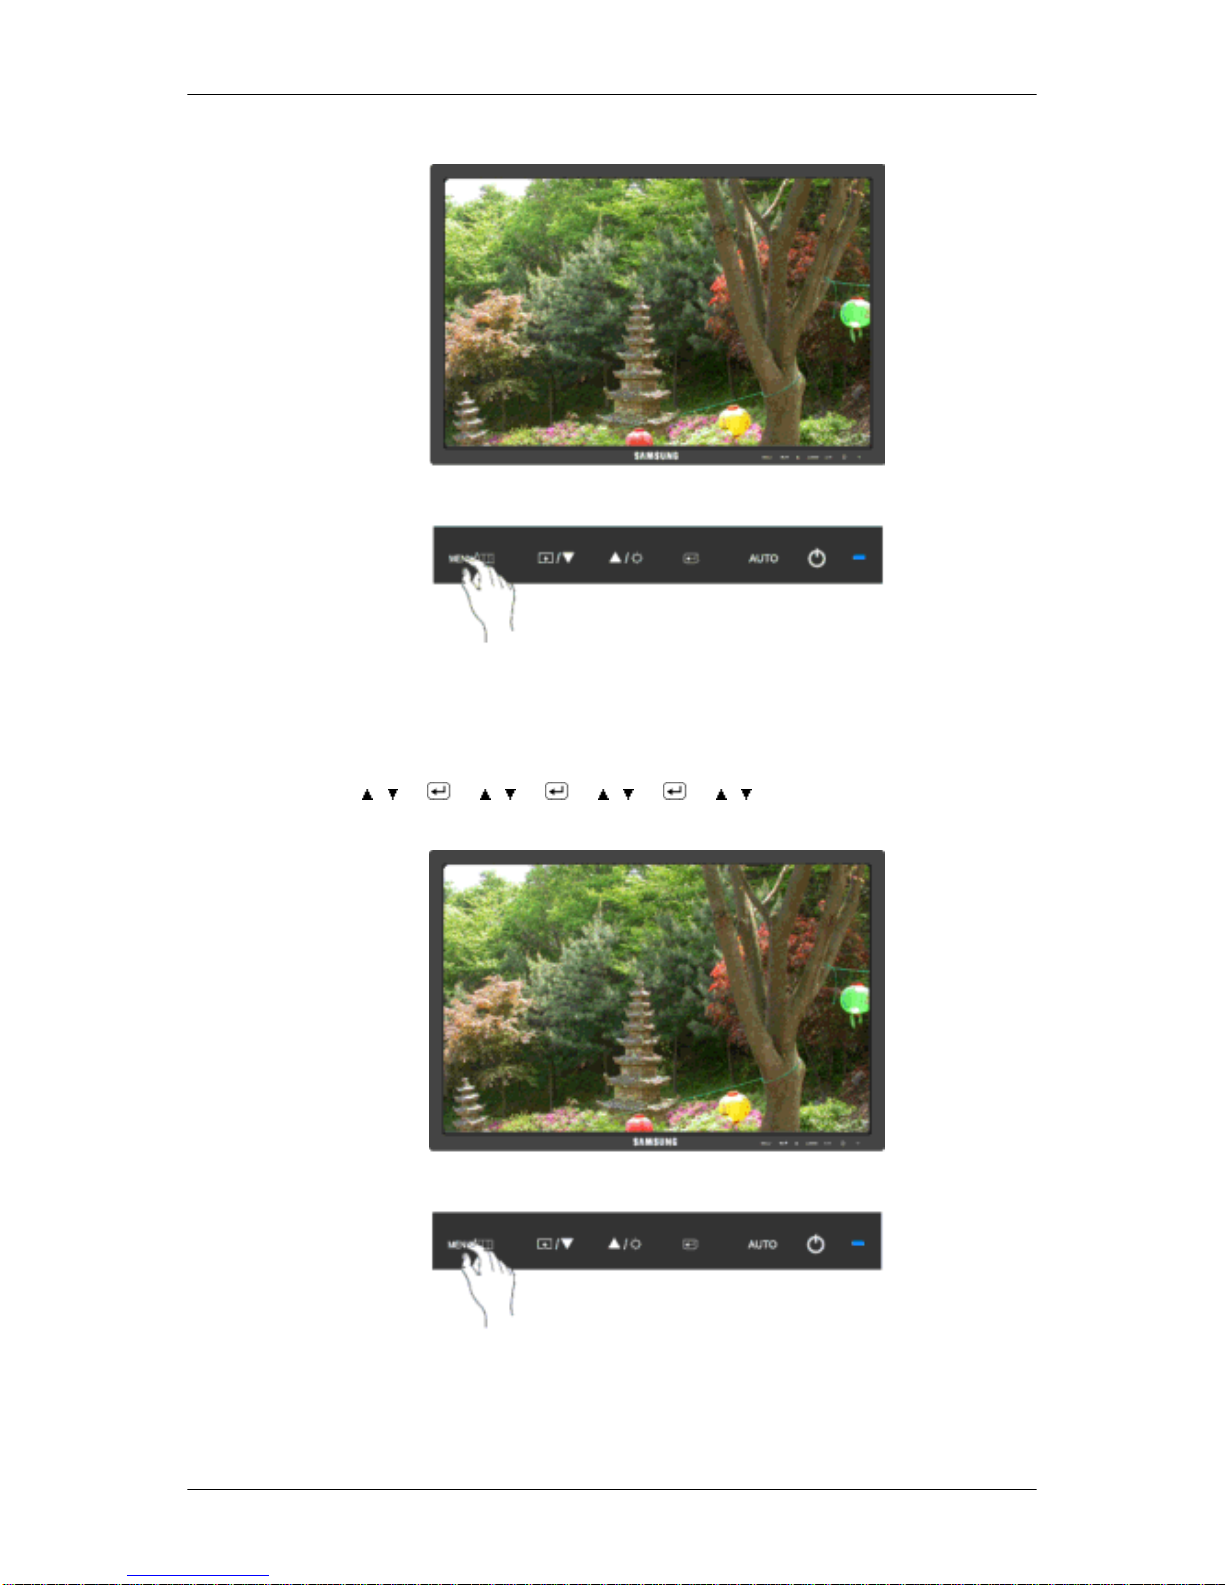
Color Control
Adjusts individual Red, Green, Blue color balance.
( Not available in MagicColor mode of Full and Intelligent. )
MENU → , → → , → → , → → , → MENU
Color Effect
You can change the overall mood by changing the screen colors.
( Not available in MagicColor mode of Full and Intelligent. )
Adjusting the Monitor
Page 72
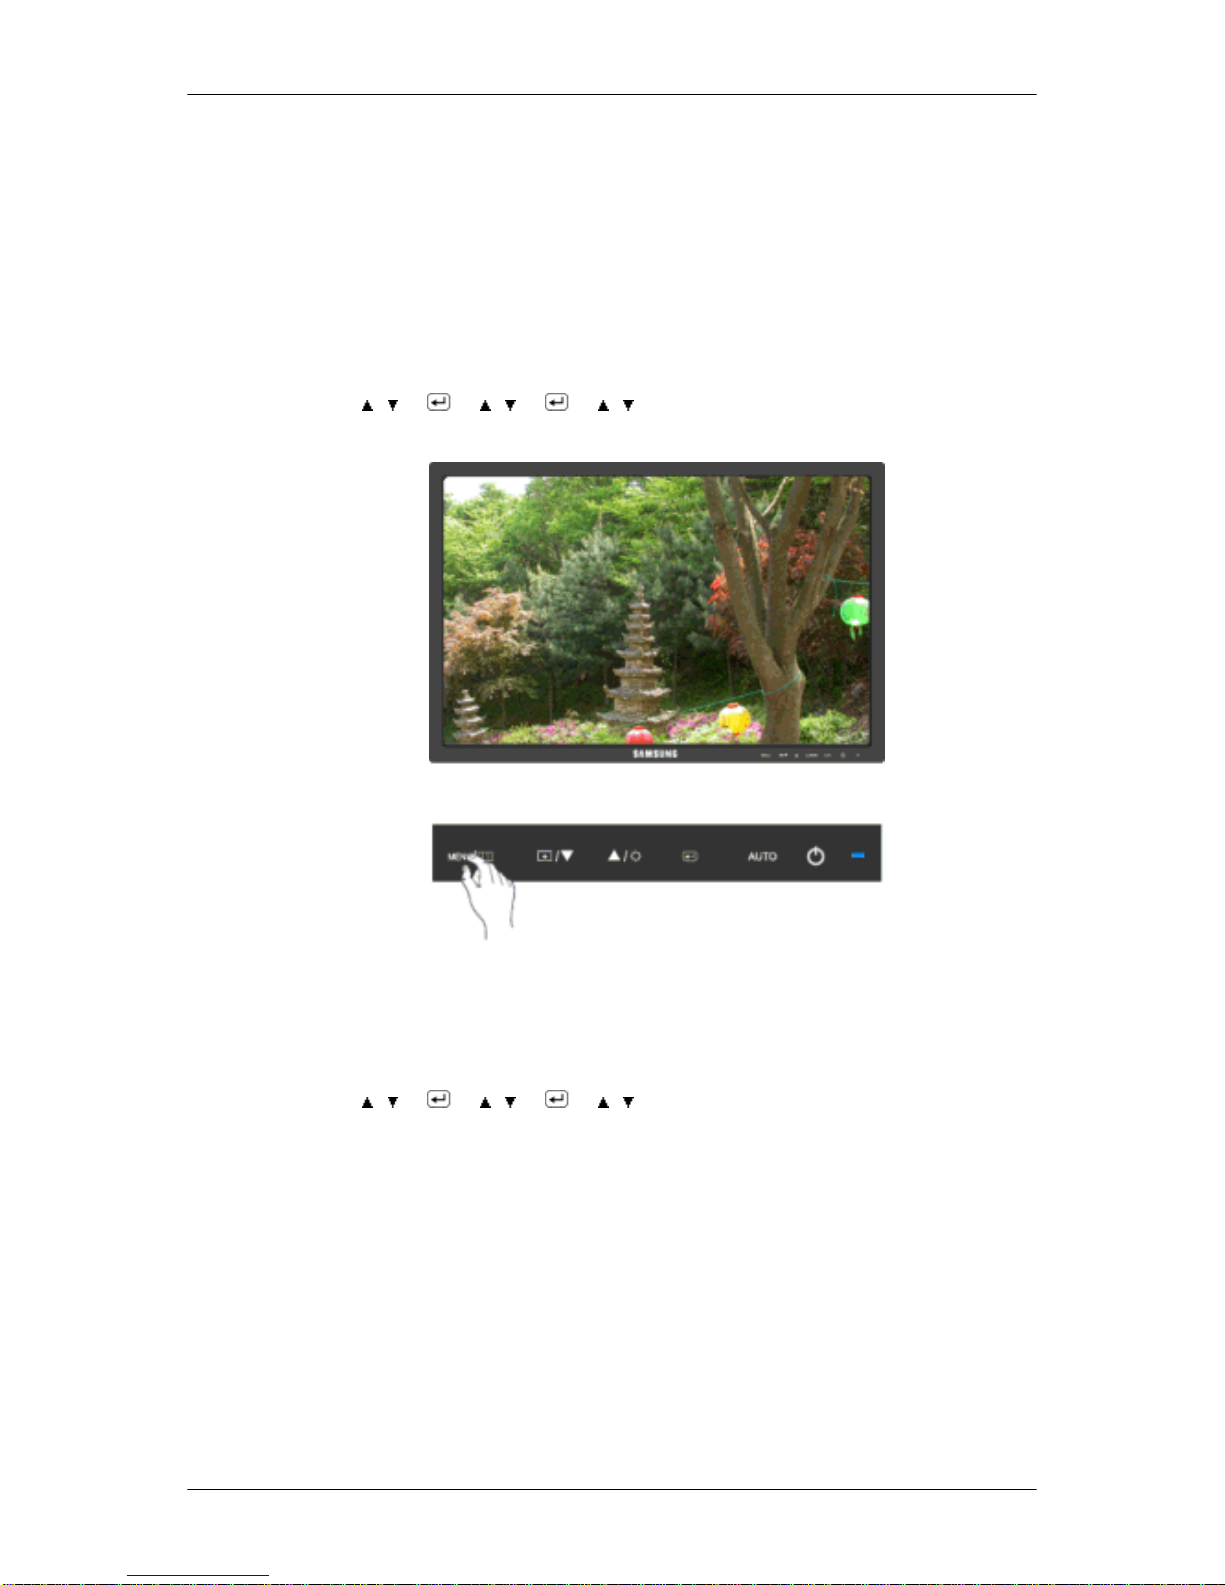
• Off • Grayscale • Green • Aqua • Sepia
• Off - This applies an achromatic color to the screen to adjust the screen effects.
• Grayscale - The default colors of black and white are displayed.
• Green - This applies the green color effect to a black and white screen.
• Aqua - This applies the aqua color effect to a black and white screen.
• Sepia - This applies the Sepia color effect to a black and white screen.
MENU → , → → , → → , → MENU
Gamma
Gamma correction changes the luminance of the colors with intermediate luminance.
• Mode 1 • Mode 2 • Mode 3
MENU →
, → → , → → , → MENU
Adjusting the Monitor
Page 73
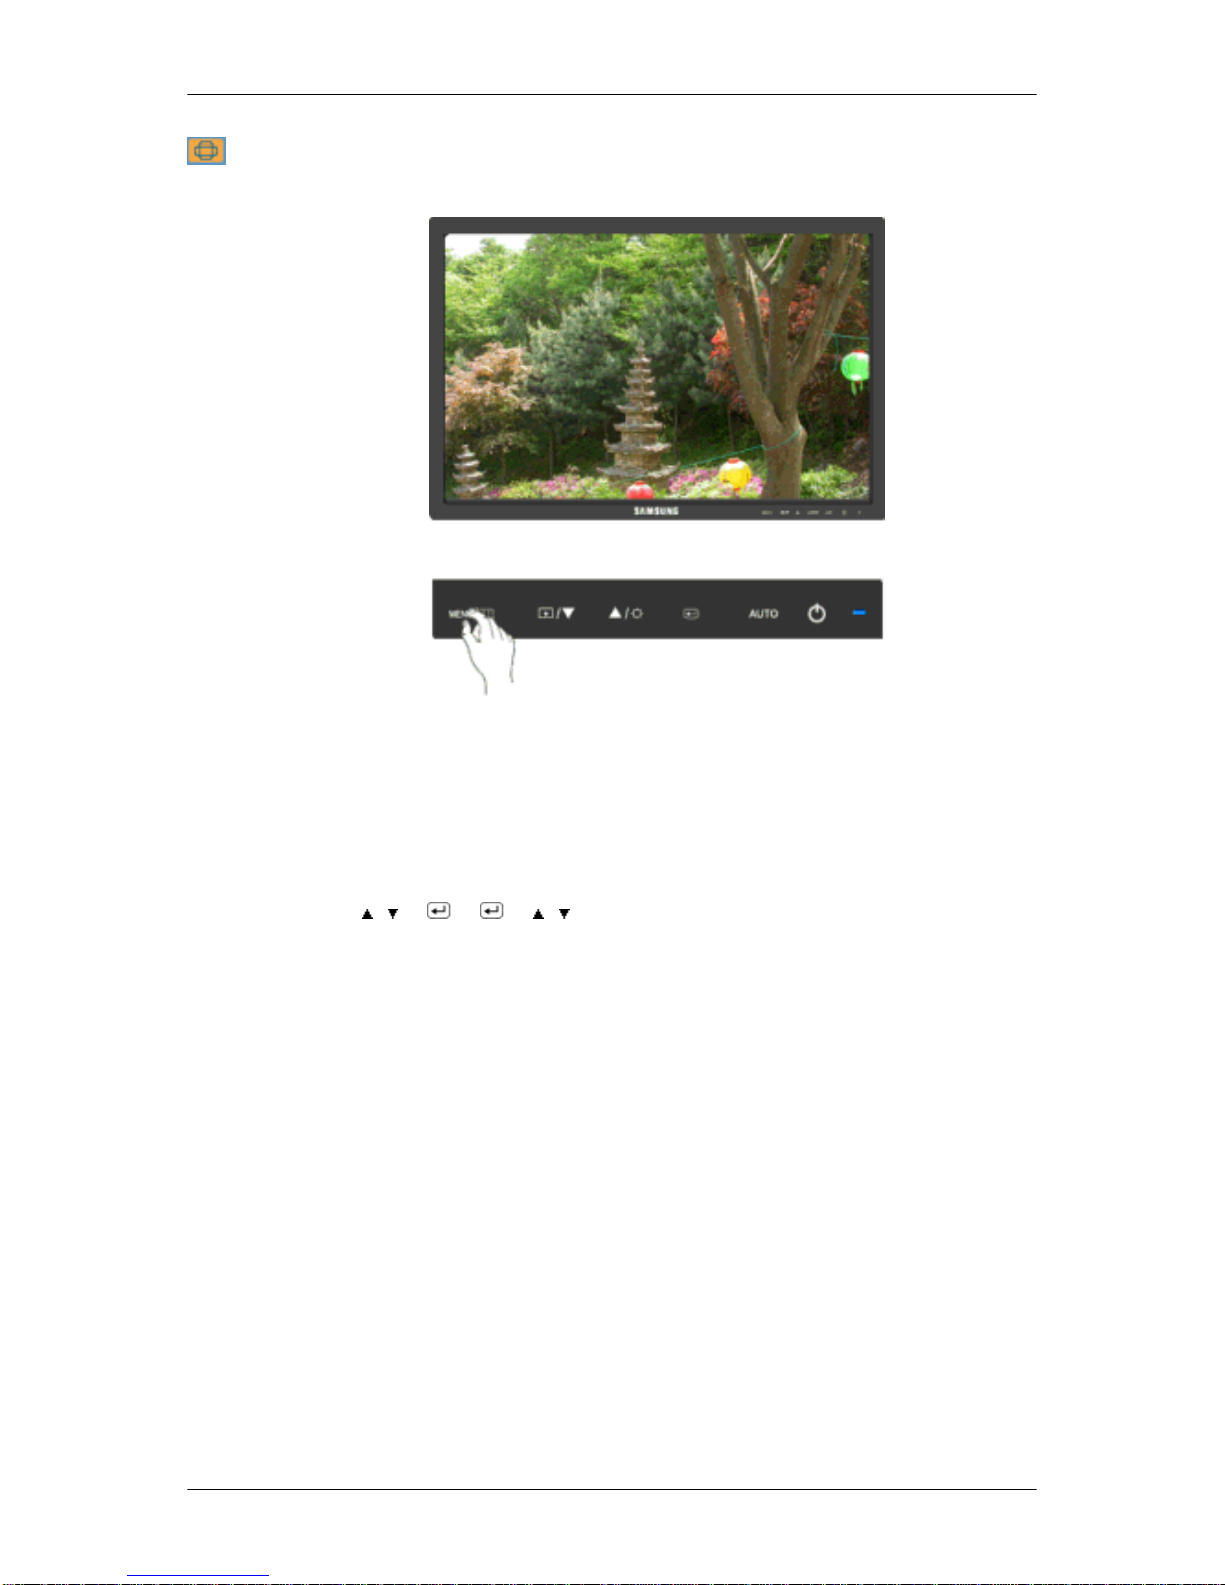
Image
Coarse
Removes noise such as vertical stripes.
Coarse adjustment may move the screen image area. You may relocate it to the center using
the horizontal control menu.
(Available in Analog mode only)
MENU → , → → → , → MENU
Adjusting the Monitor
Page 74
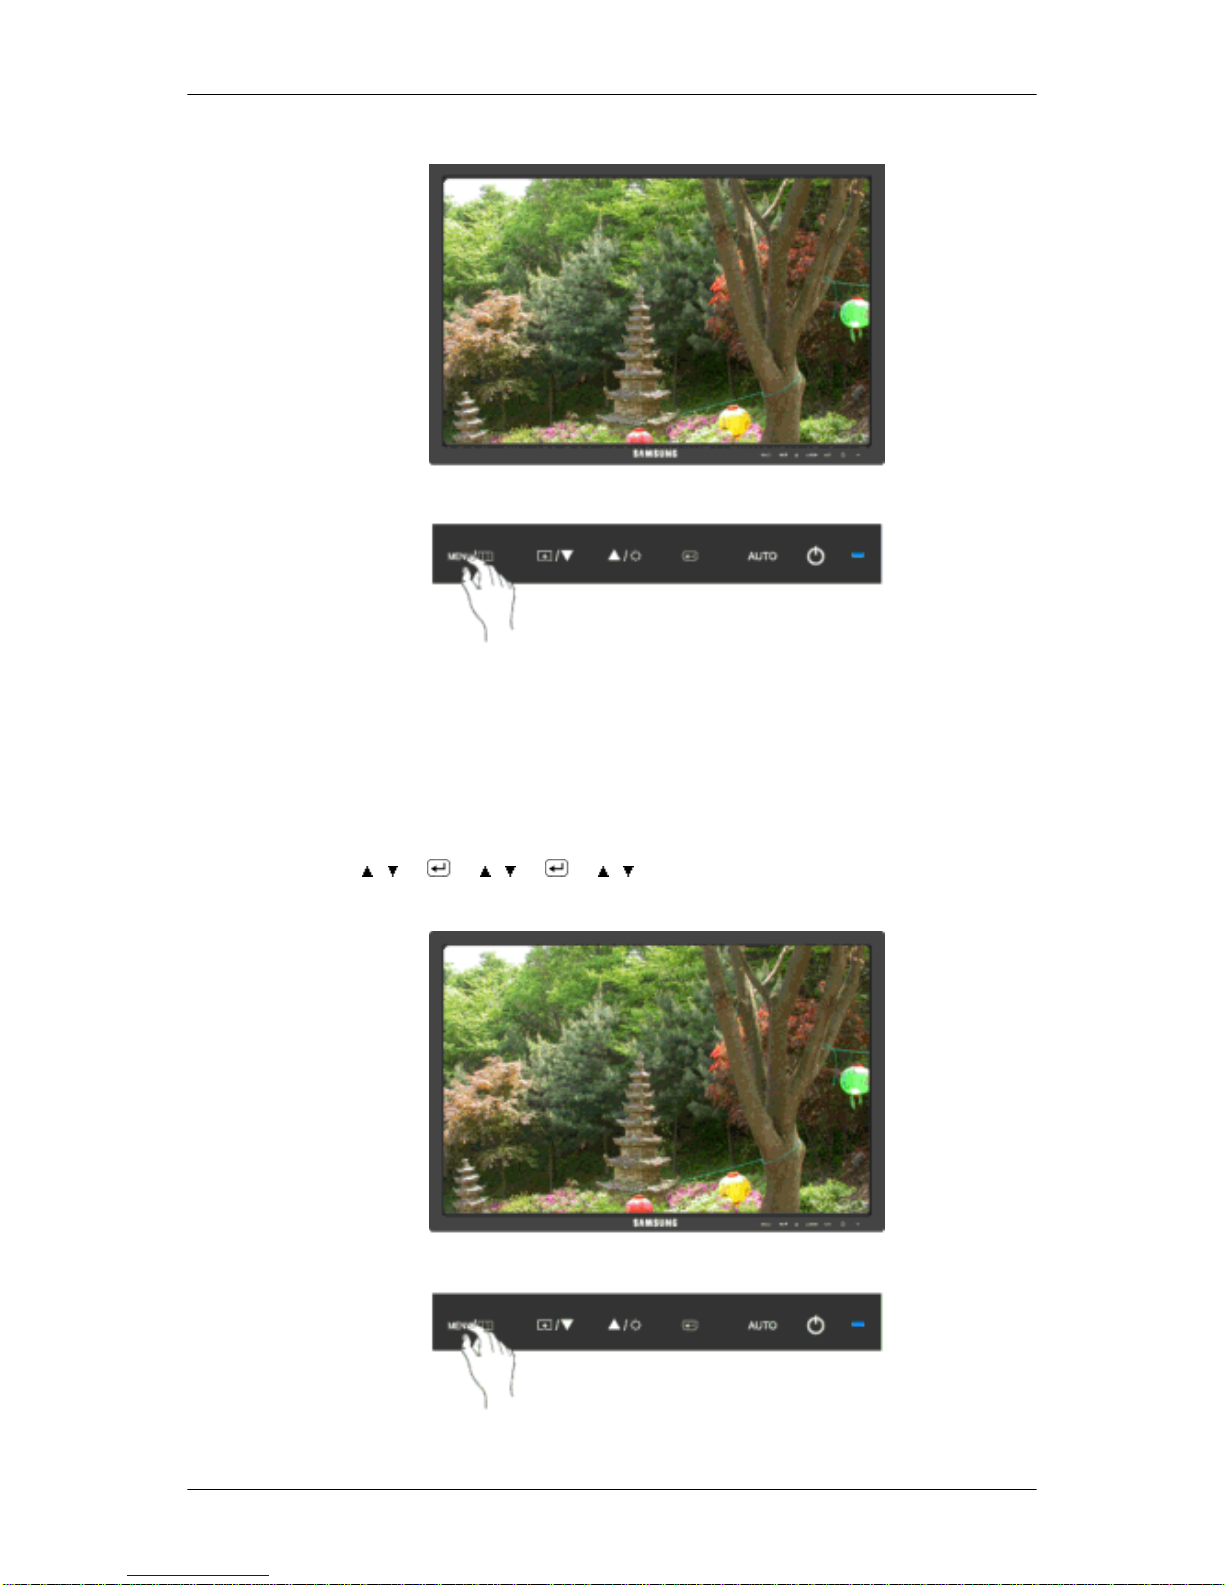
Fine
Removes noise such as horizontal stripes.
If the noise persists even after Fine tuning, repeat it after adjusting the frequency (clock
speed).
(Available in Analog mode only)
MENU →
, → → , → → , → MENU
Sharpness
Adjusting the Monitor
Page 75
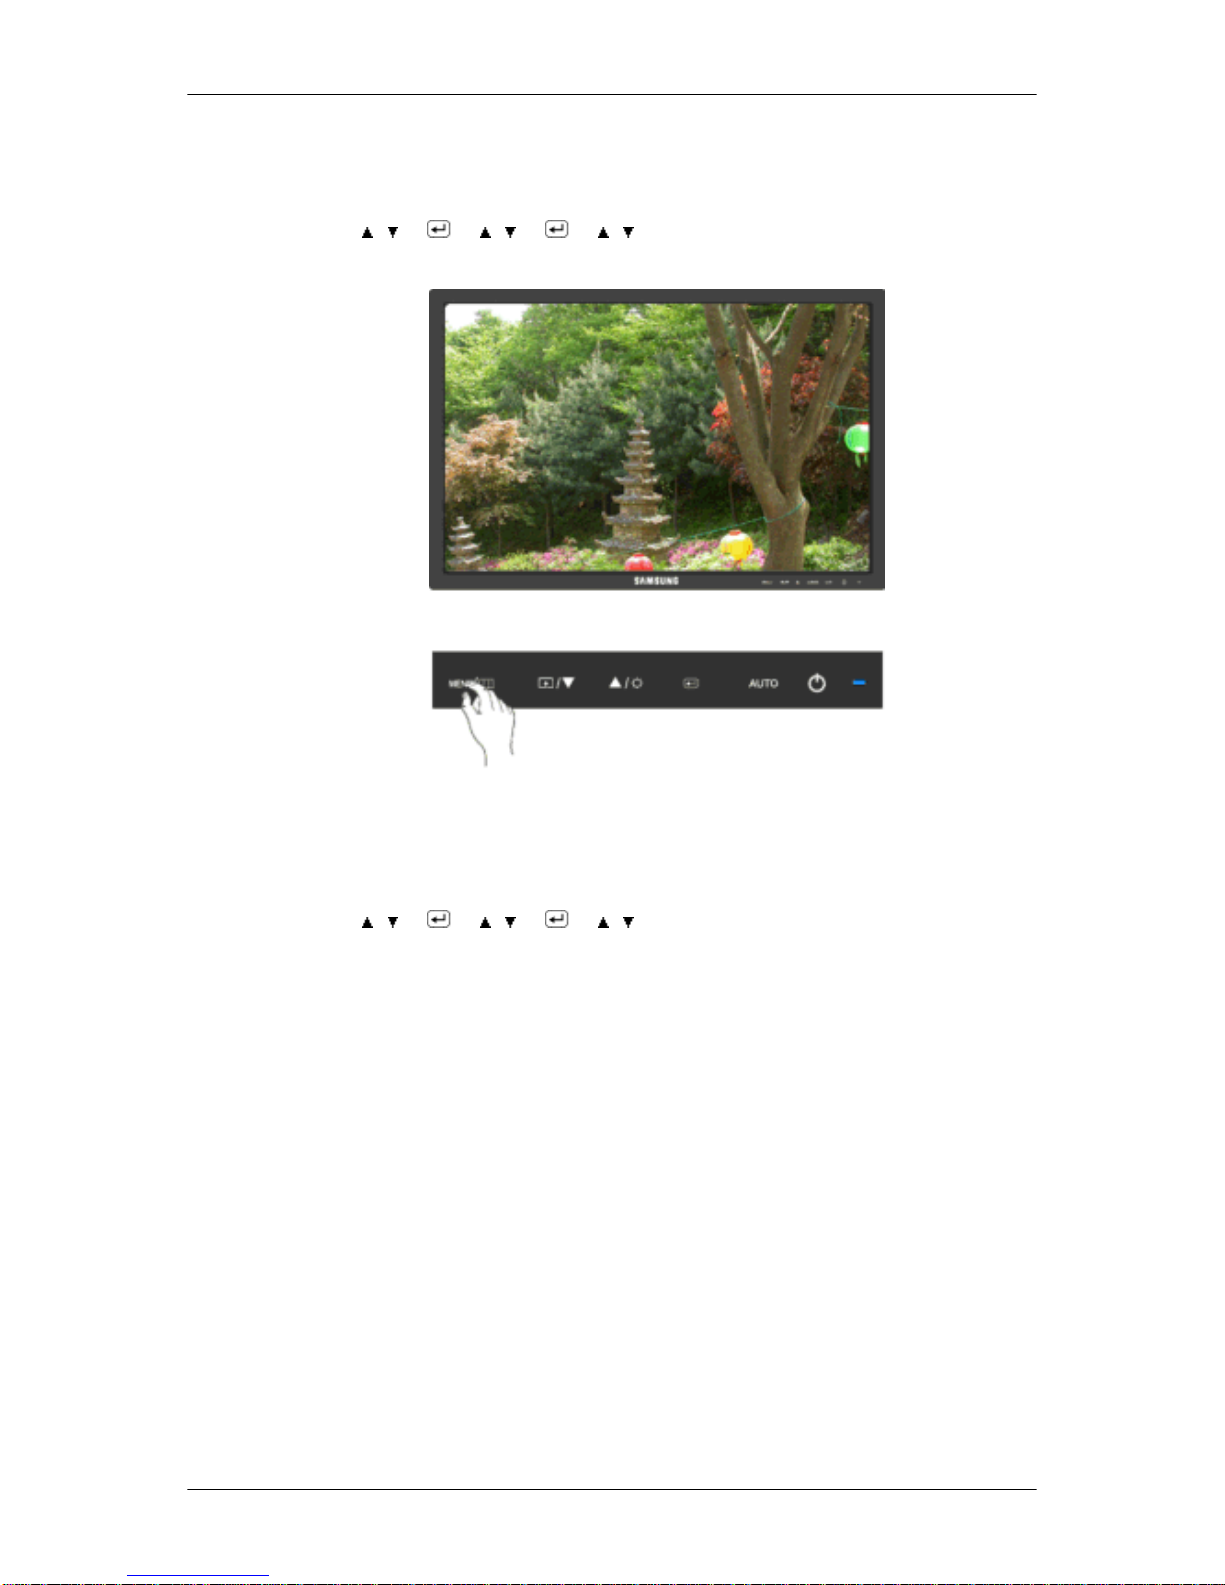
Changes the clearance of image.
( Not available in MagicColor mode of Full and Intelligent. )
MENU → , → → , → → , → MENU
H-Position
Changes the horizontal position of the monitor's entire display.
(Available in Analog mode only)
MENU →
, → → , → → , → MENU
Adjusting the Monitor
Page 76
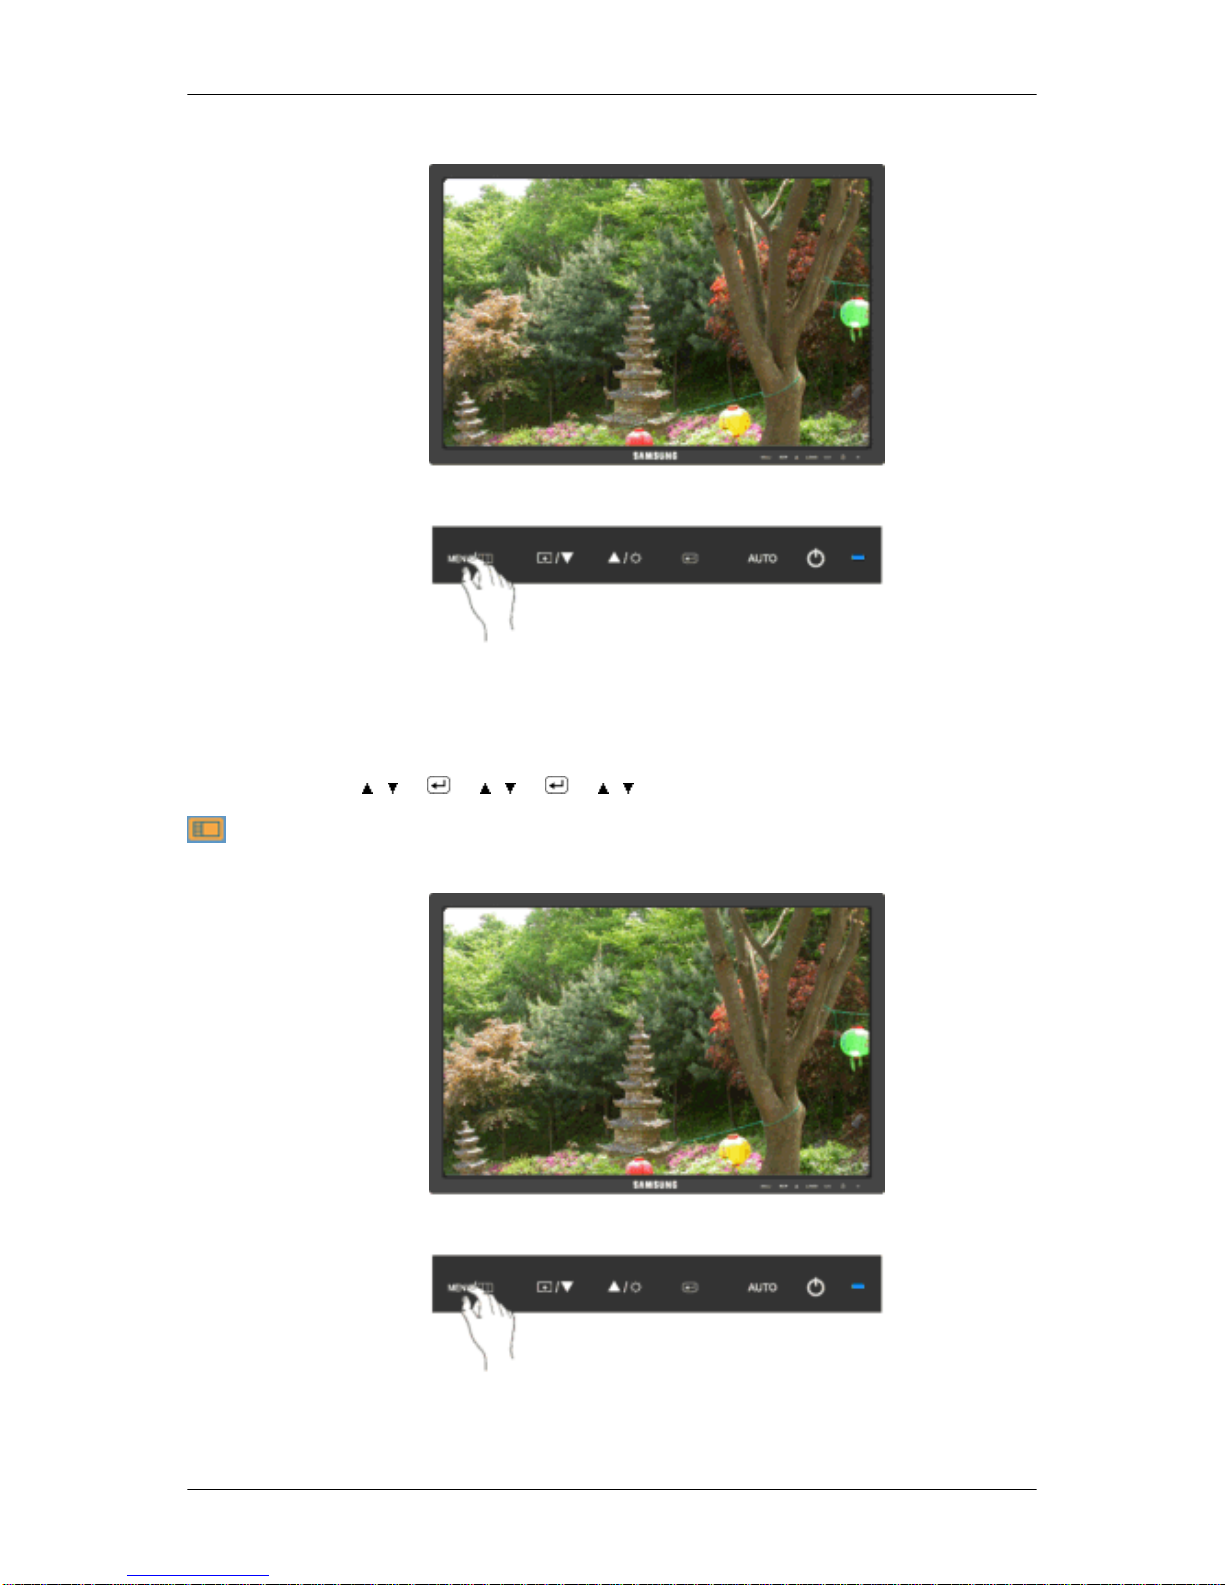
V-Position
Changes the vertical position of the monitor's entire display.
(Available in Analog mode only)
MENU → , → → , → → , → MENU
OSD
Language
You can choose one of nine languages.
Adjusting the Monitor
Page 77
Note
The language chosen affects only the language of the OSD. It has no effect on any software
running on the computer.
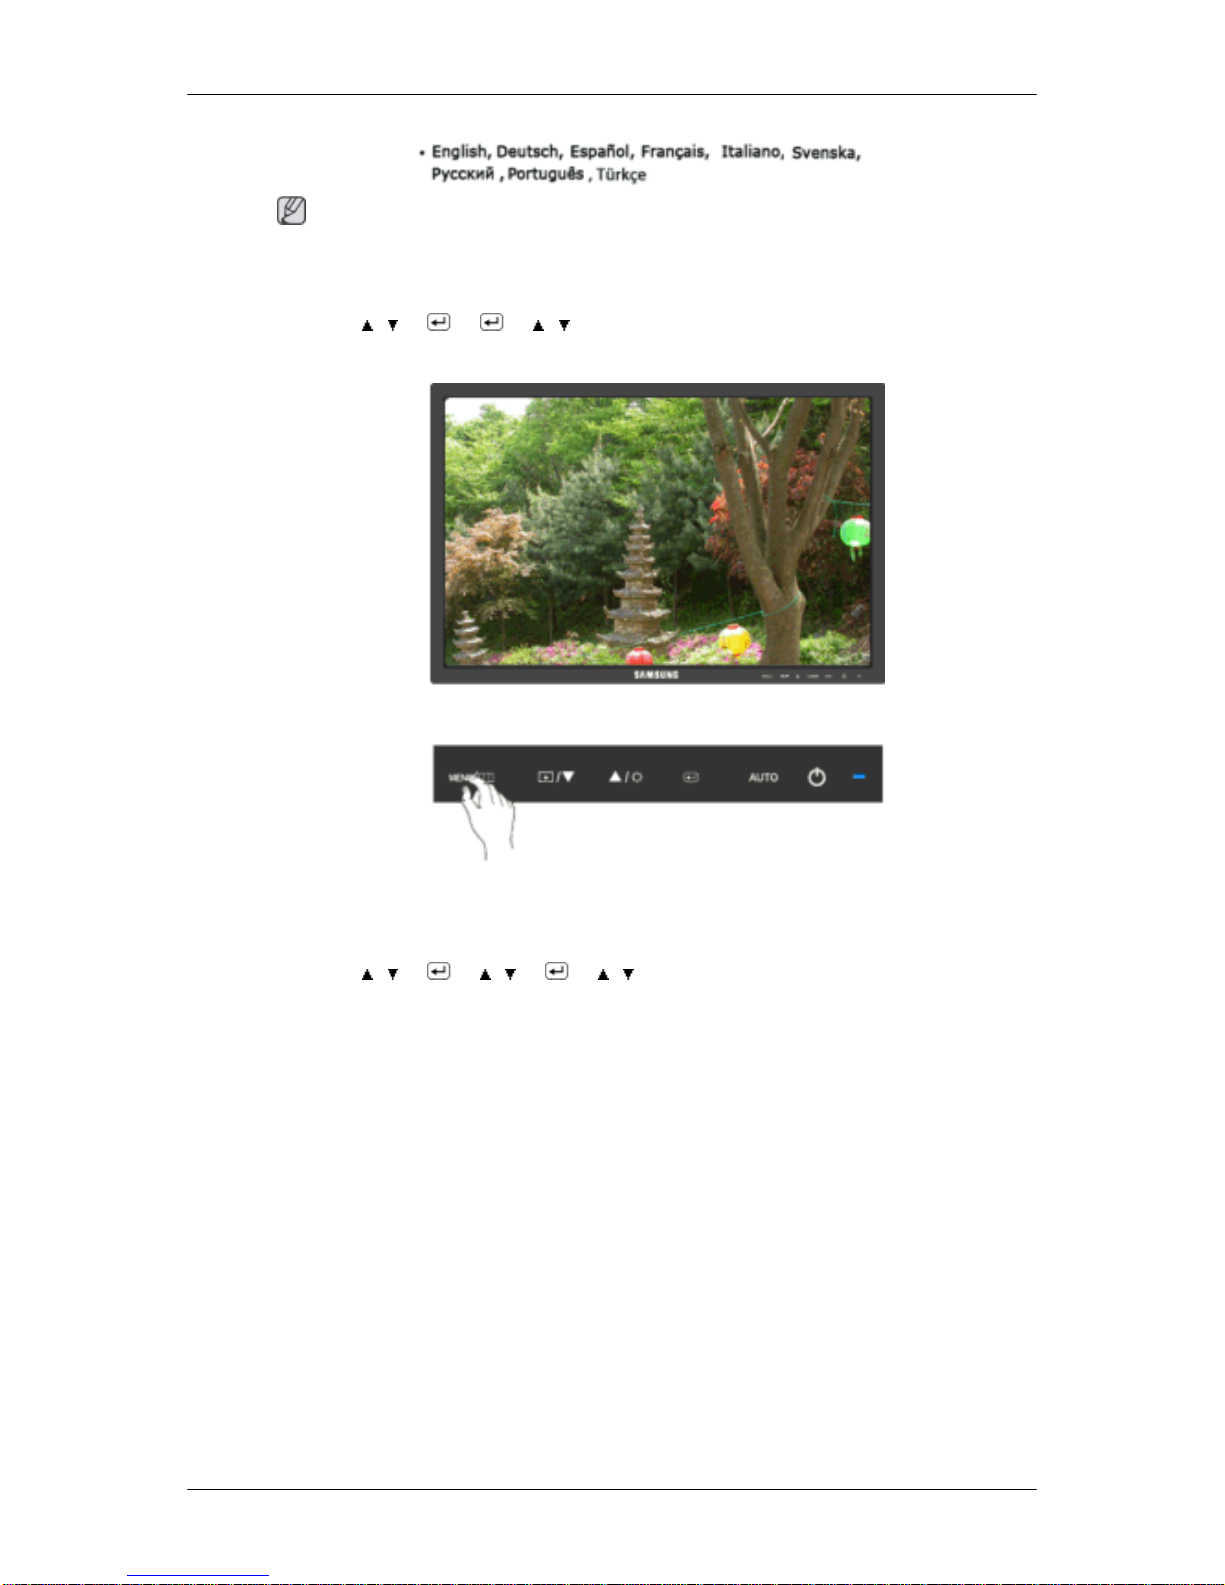
MENU → , → → → , → MENU
H-Position
You can change the horizontal position where the OSD menu appears on your monitor.
MENU →
, → → , → → , → MENU
Adjusting the Monitor
Page 78
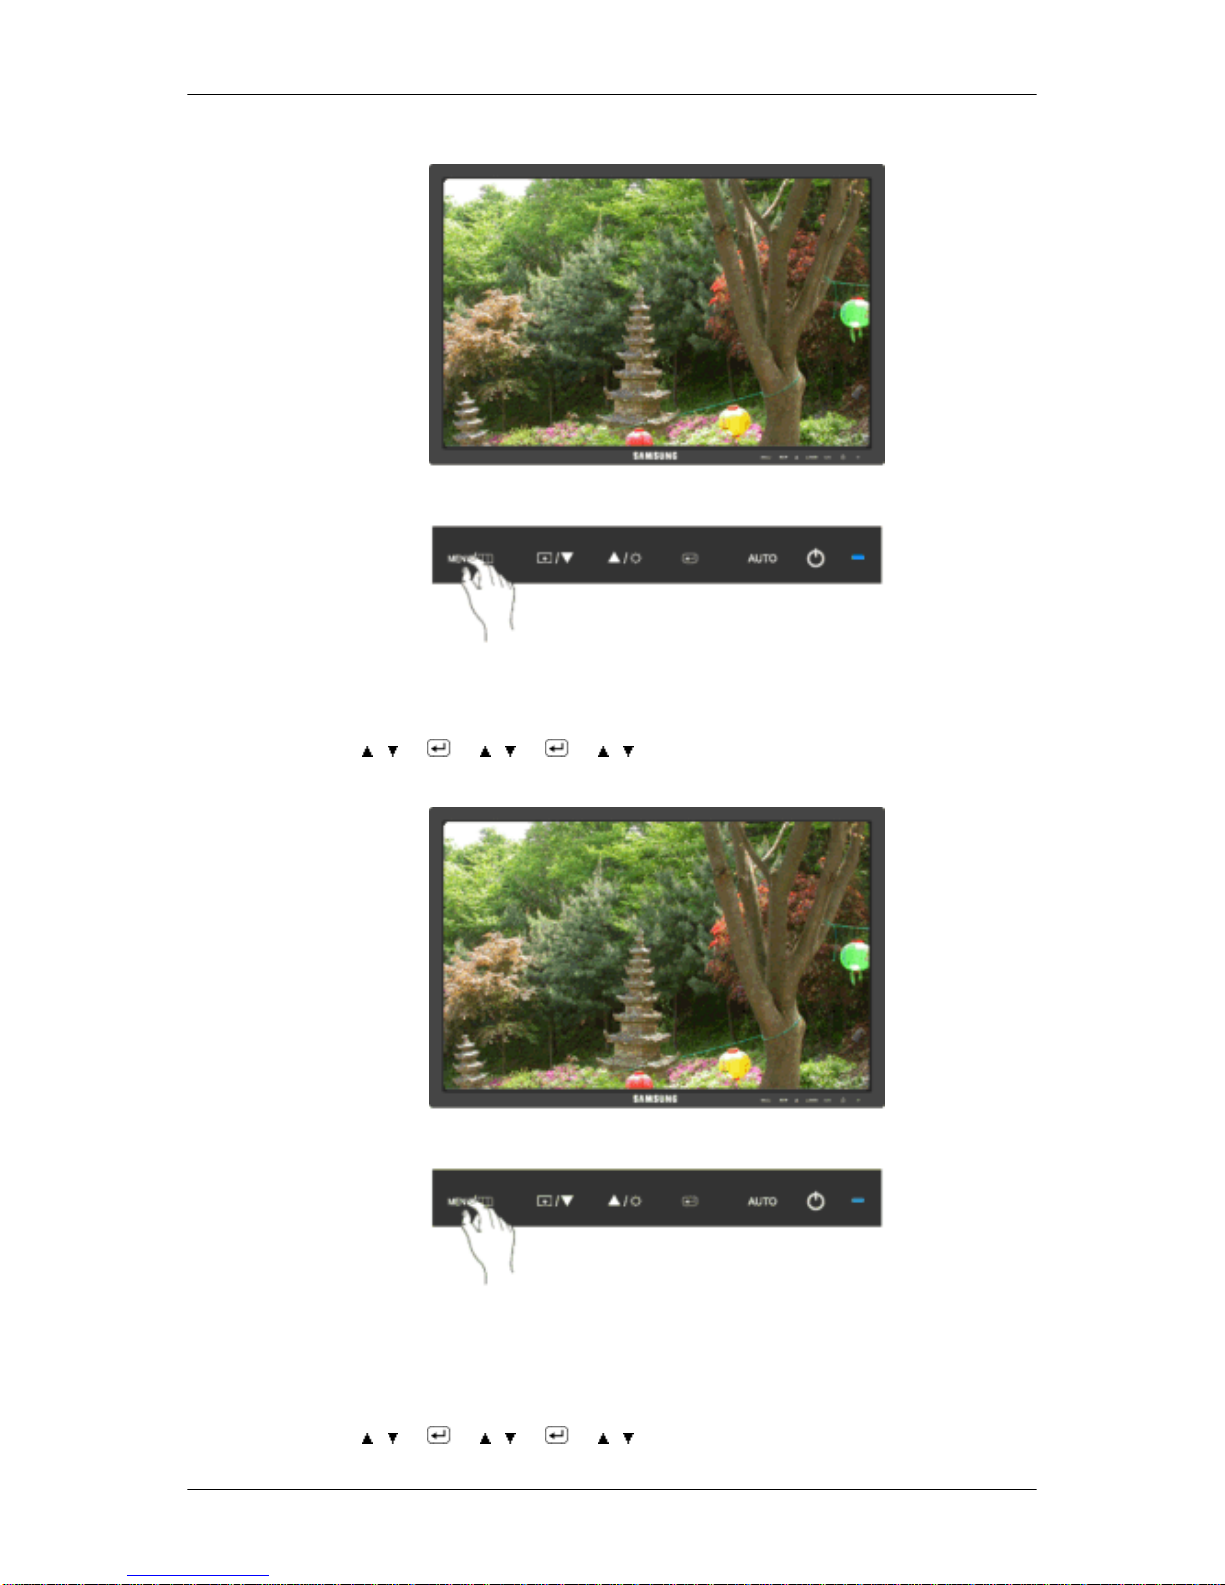
V-Position
You can change the vertical position where the OSD menu appears on your monitor.
MENU → , → → , → → , → MENU
Transparency
Change the transparency of the background of the OSD.
• Off • On
MENU → , → → , → → , → MENU
Adjusting the Monitor
Page 79
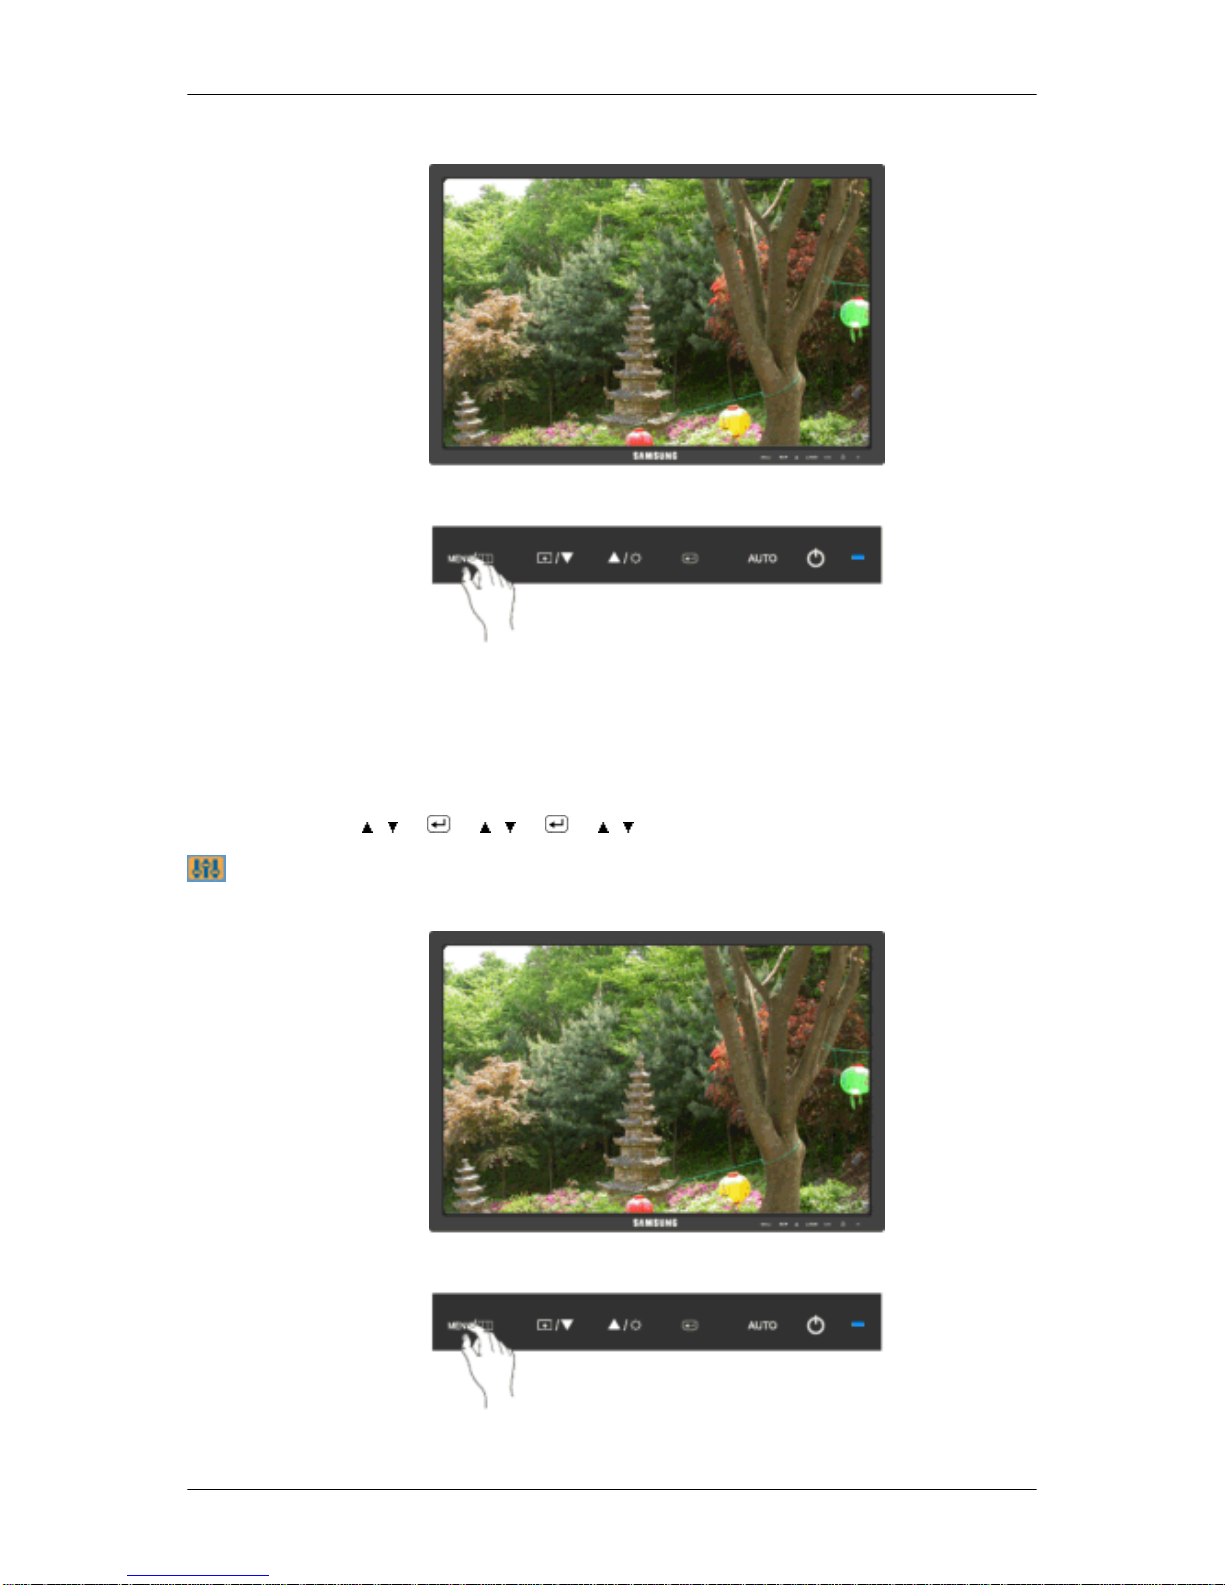
Display Time
The menu will be automatically turned off if no adjustments are made for a certain time period.
You can set the amount of time the menu will wait before it is turned off.
• 5 sec • 10 sec • 20 sec • 200 sec
MENU → , → → , → → , → MENU
Setup
Reset
Adjusting the Monitor
Page 80
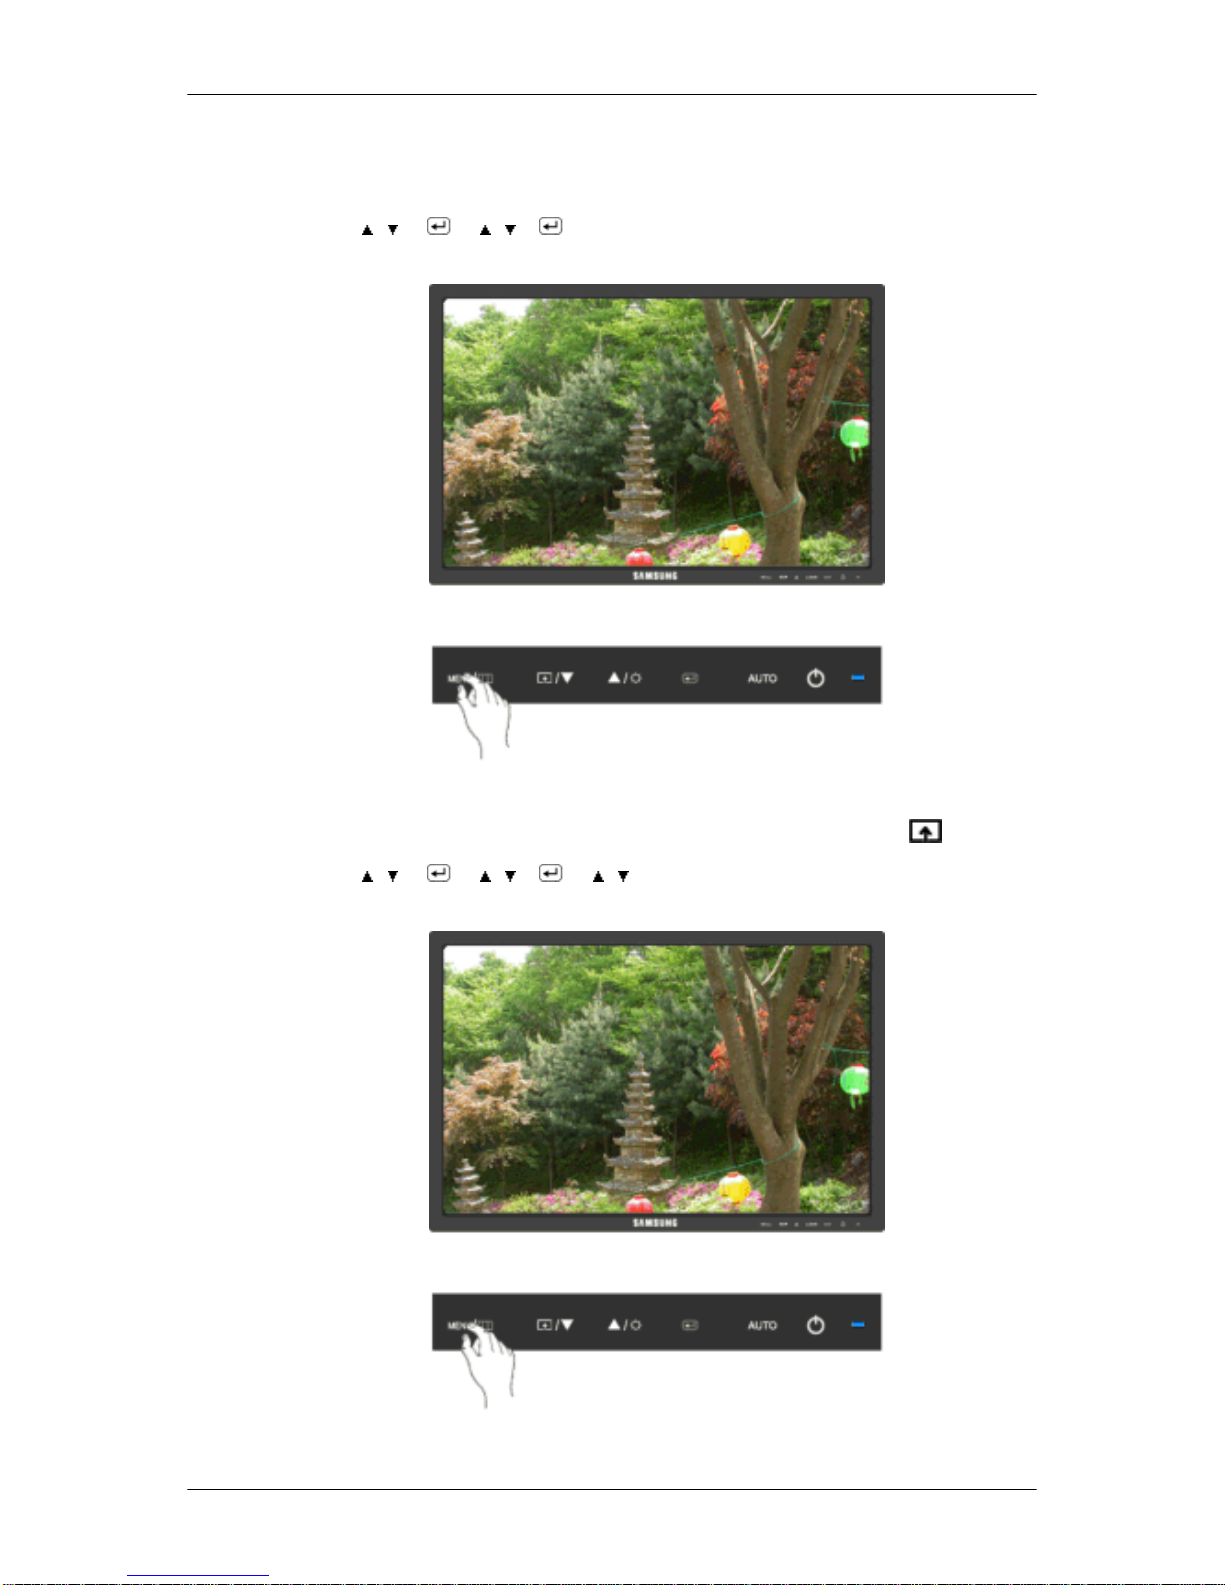
Reverts the product settings to factory defaults.
• No • Yes
MENU → , → → , → → MENU
Customized Key
You can specify a function which will be activated when the Customized Key ( )is pressed.
MENU → , → → , → → , →MENU
Off Timer
Adjusting the Monitor
Page 81
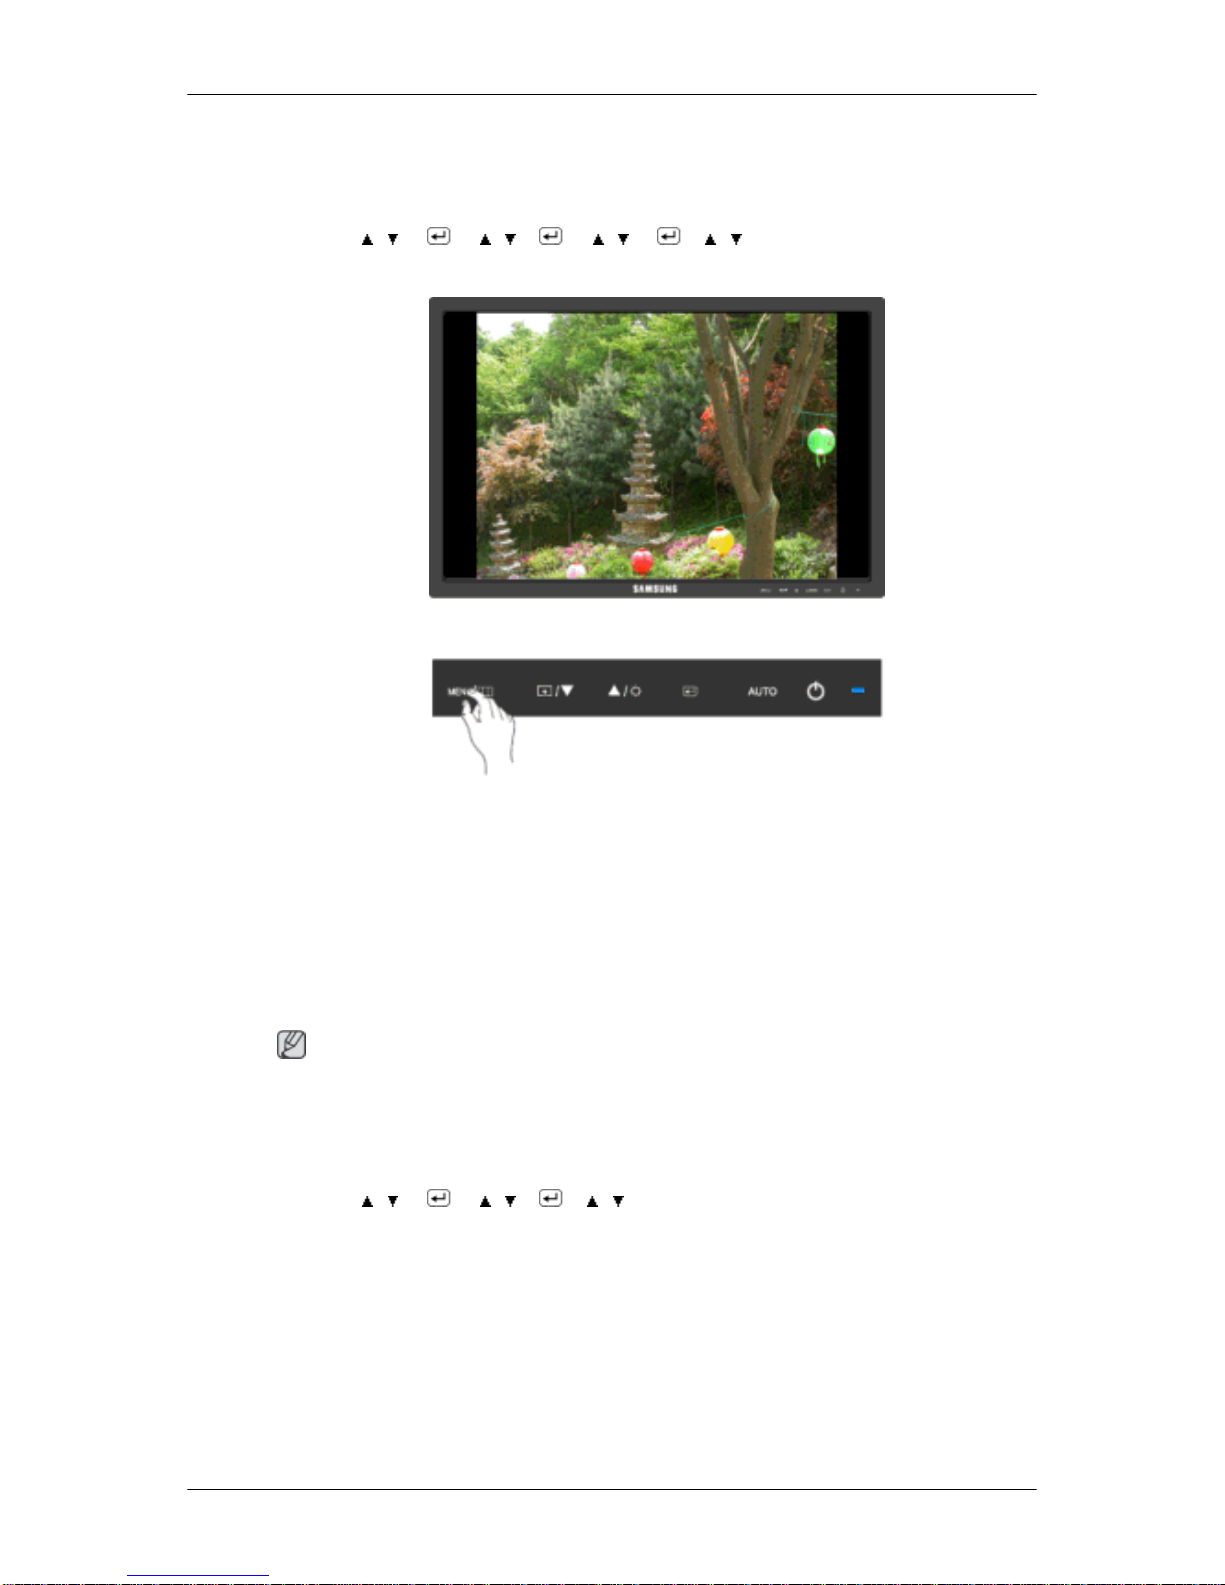
The monitors will turn off automatically at the specified time.
• Off • On
MENU → , → → , → → , → → , → MENU
Image Size
You can change the size of the screen displayed on your monitor.
• Auto • Wide
• Auto - The screen is displayed in accordance with the screen aspect ratio of the input
signals.
• Wide - A full screen is displayed regardless of the screen aspect ratio of the input signals.
Note
• Signals not available in the standard mode table are not supported.
• If the wide screen which is the optimal resolution for the monitor is set on your PC, this
function is not performed.
MENU → , → → , → → , → MENU
Adjusting the Monitor
Page 82
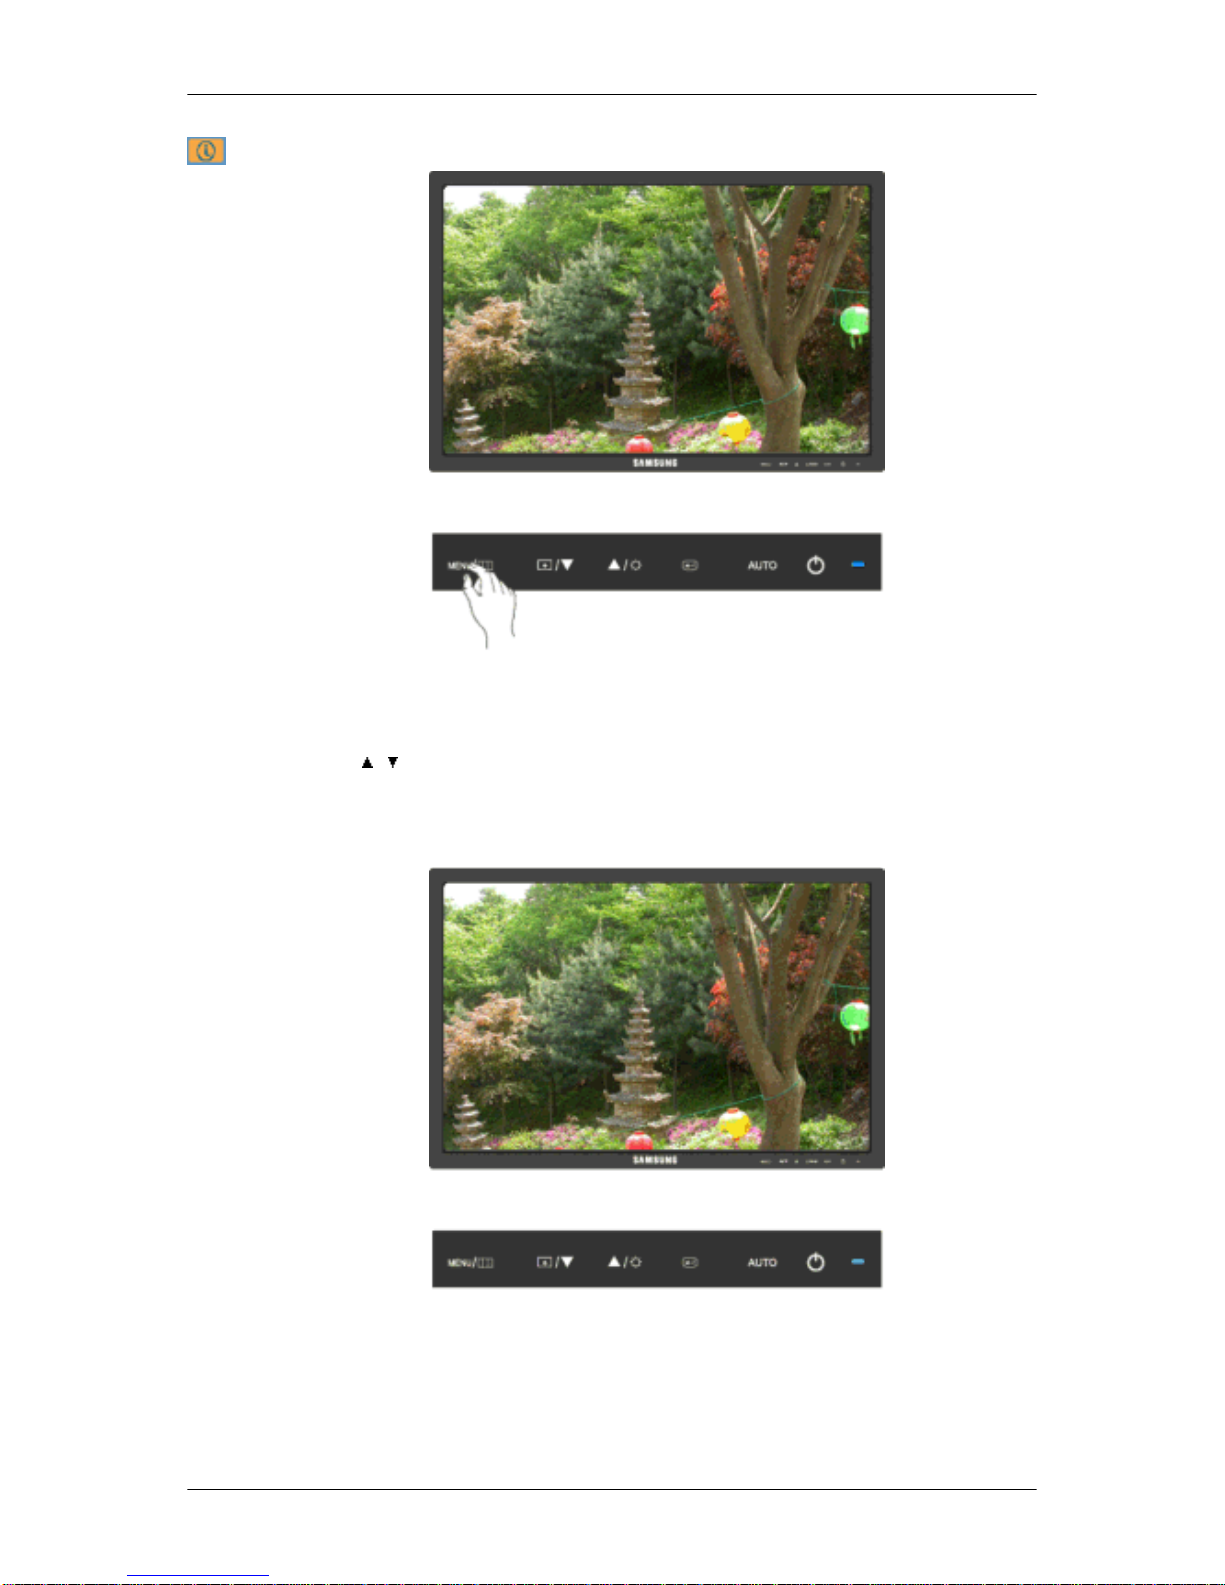
Information
Shows a video source, display mode on the OSD screen.
MENU →
, →MENU
{2243SN/2243SNX} Direct Functions
AUTO
When the 'AUTO' button is pressed, the auto adjustment screen appears as shown in the
animated screen on the center.
Adjusting the Monitor
Page 83
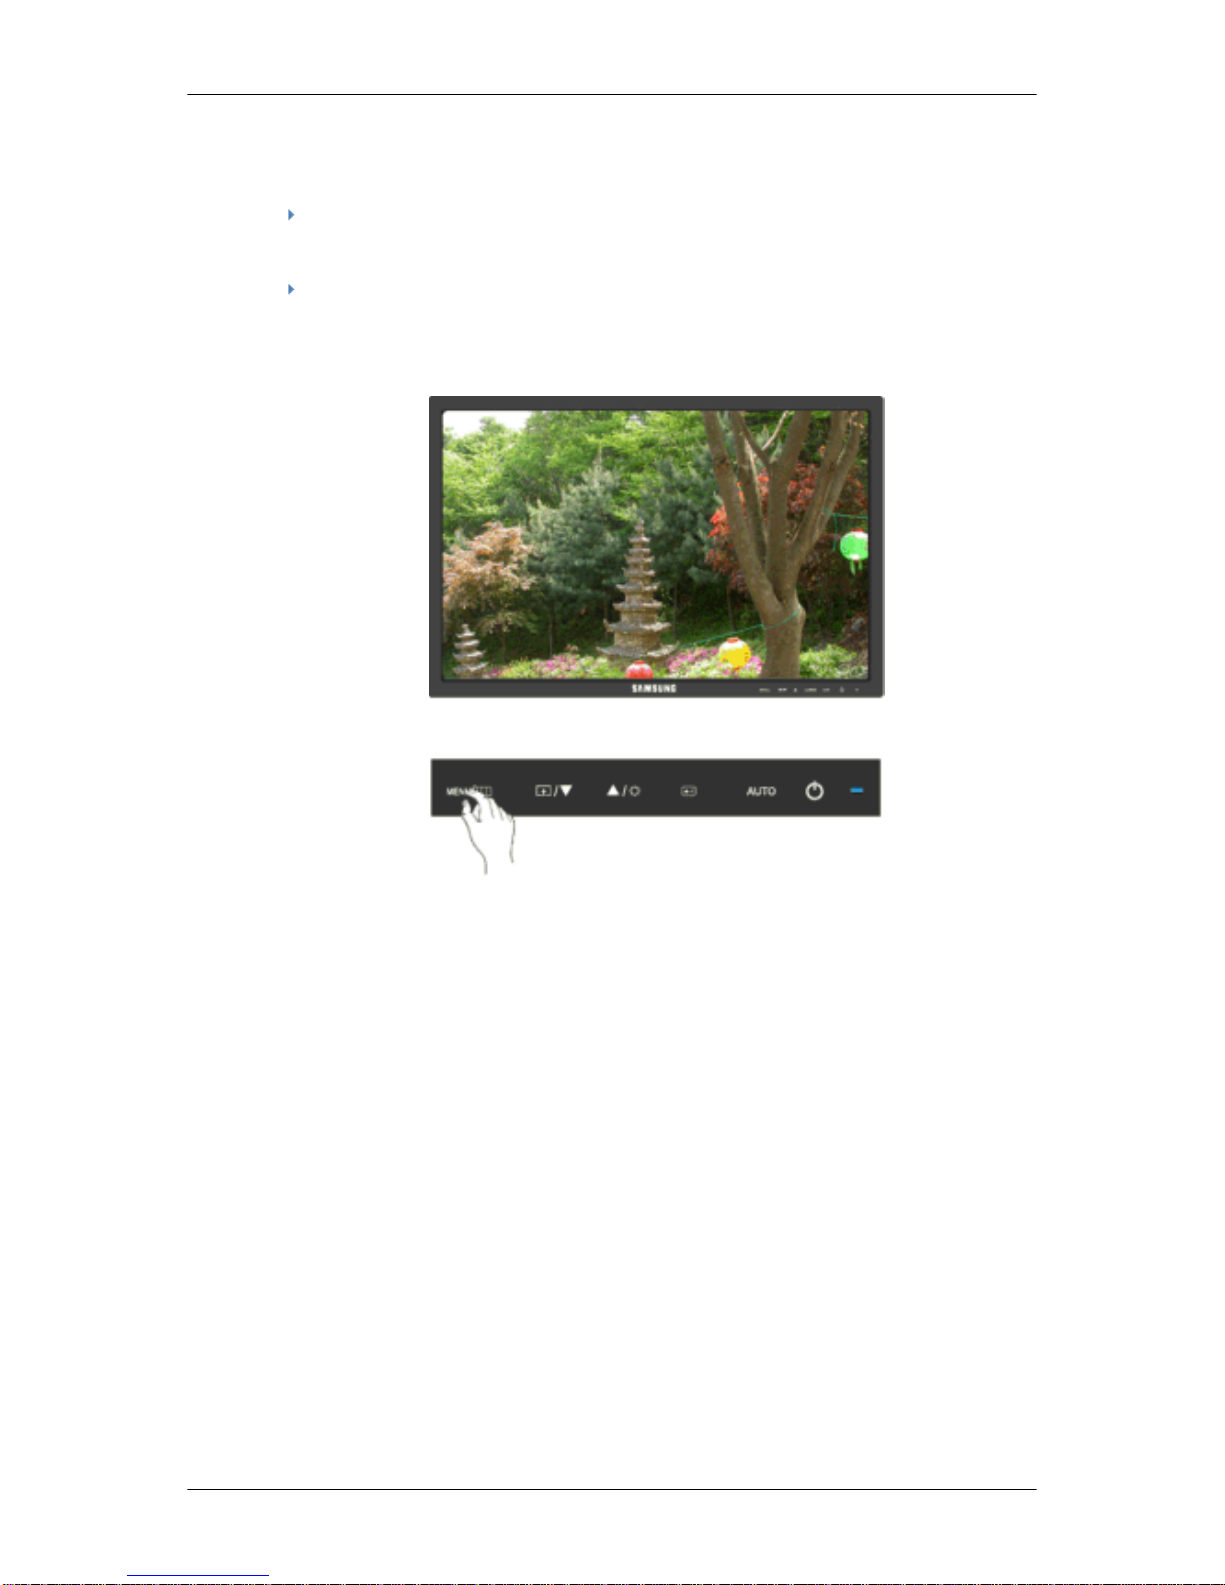
Auto adjustment allows the monitor to self-adjust to the incoming Analog signal. The values
of Fine, Coarse and Position are adjusted automatically.
If auto adjustment does not work properly, press 'AUTO' button again to adjust picture
with more accuracy.
If you change resolution in the control panel, auto function will be executed automatically.
OSD Lock & Unlock
When pressing the AUTO button after locking the OSD
When pressing the MENU button after locking the OSD
Adjusting the Monitor
Page 84
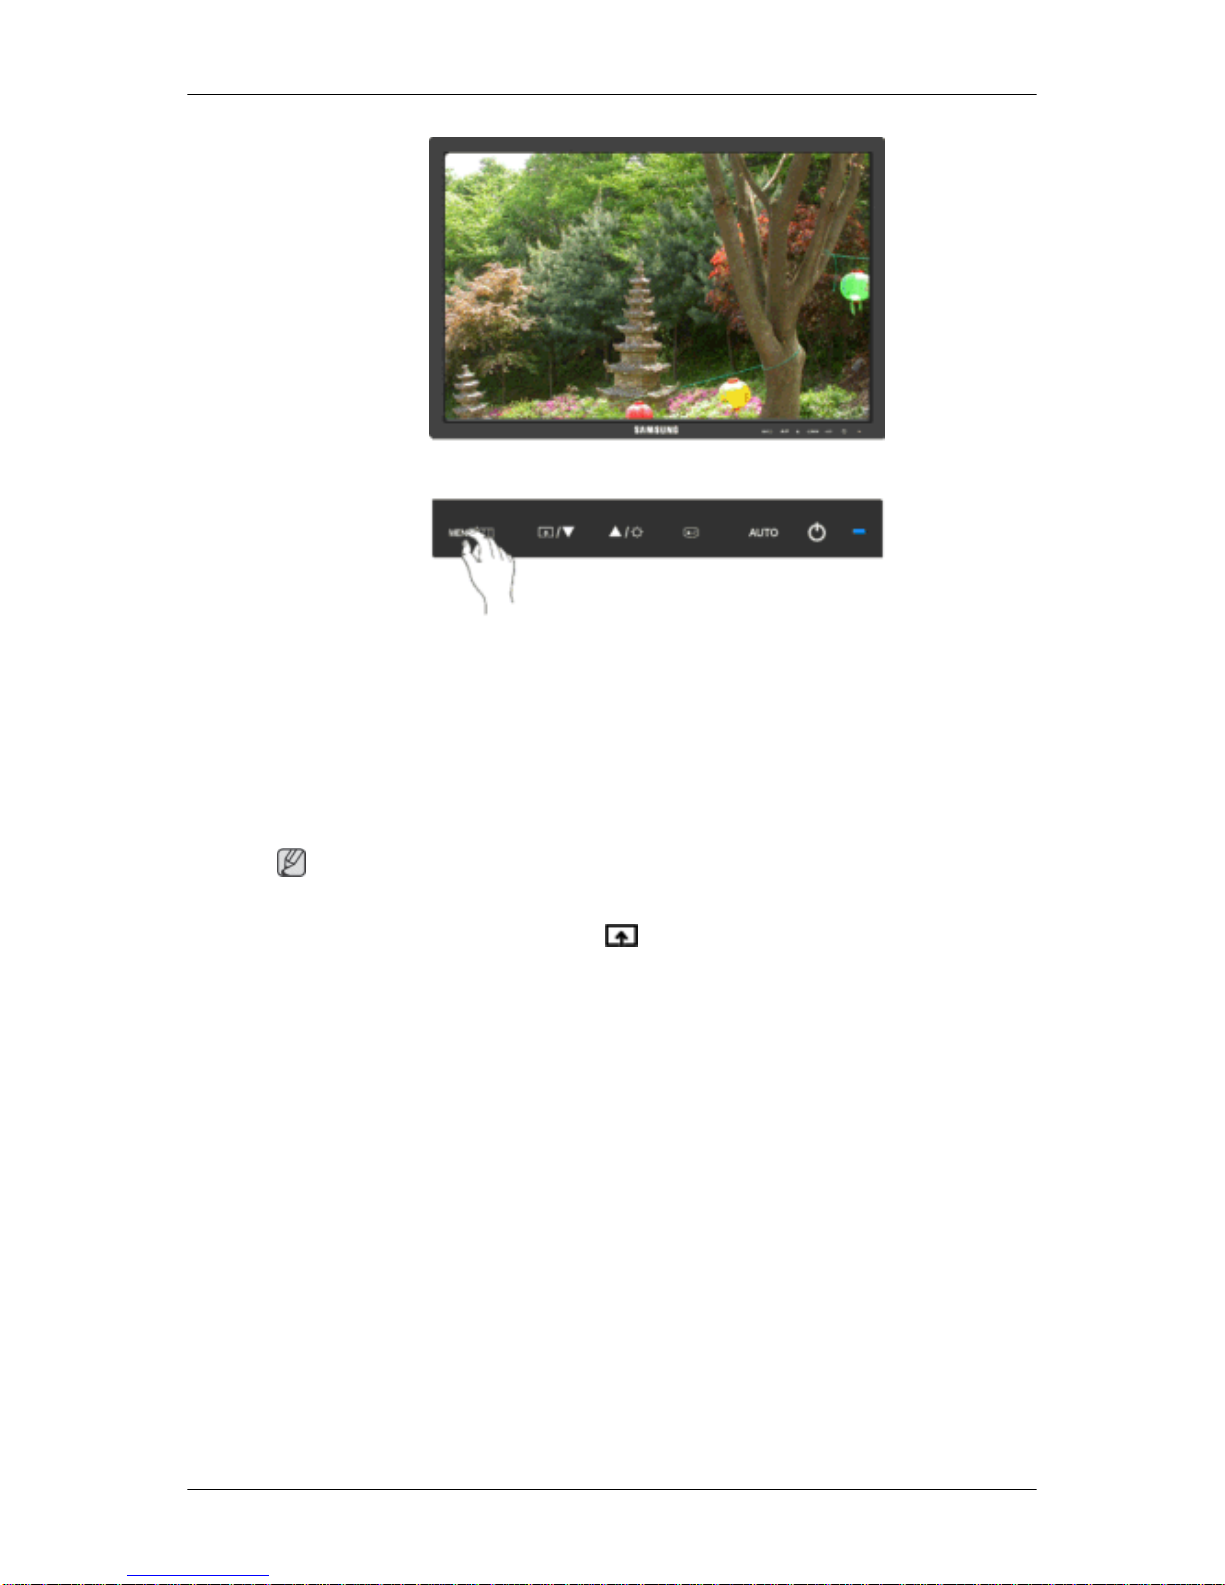
This is the function that locks the OSD in order to keep the current states of settings or prevent
others from adjusting the current settings.
Lock : Hold down the MENU button for more than five (5) seconds to activate the OSD adjustment lock function.
Unlock : Hold down the MENU button for more than five (5) seconds to deactivate the OSD
adjustment lock function.
Note
Though the OSD adjustment lock function is activated, you can still adjust the brightness and
contrast, and adjust Customized Key (
) using the Direct button.
Adjusting the Monitor
Page 85
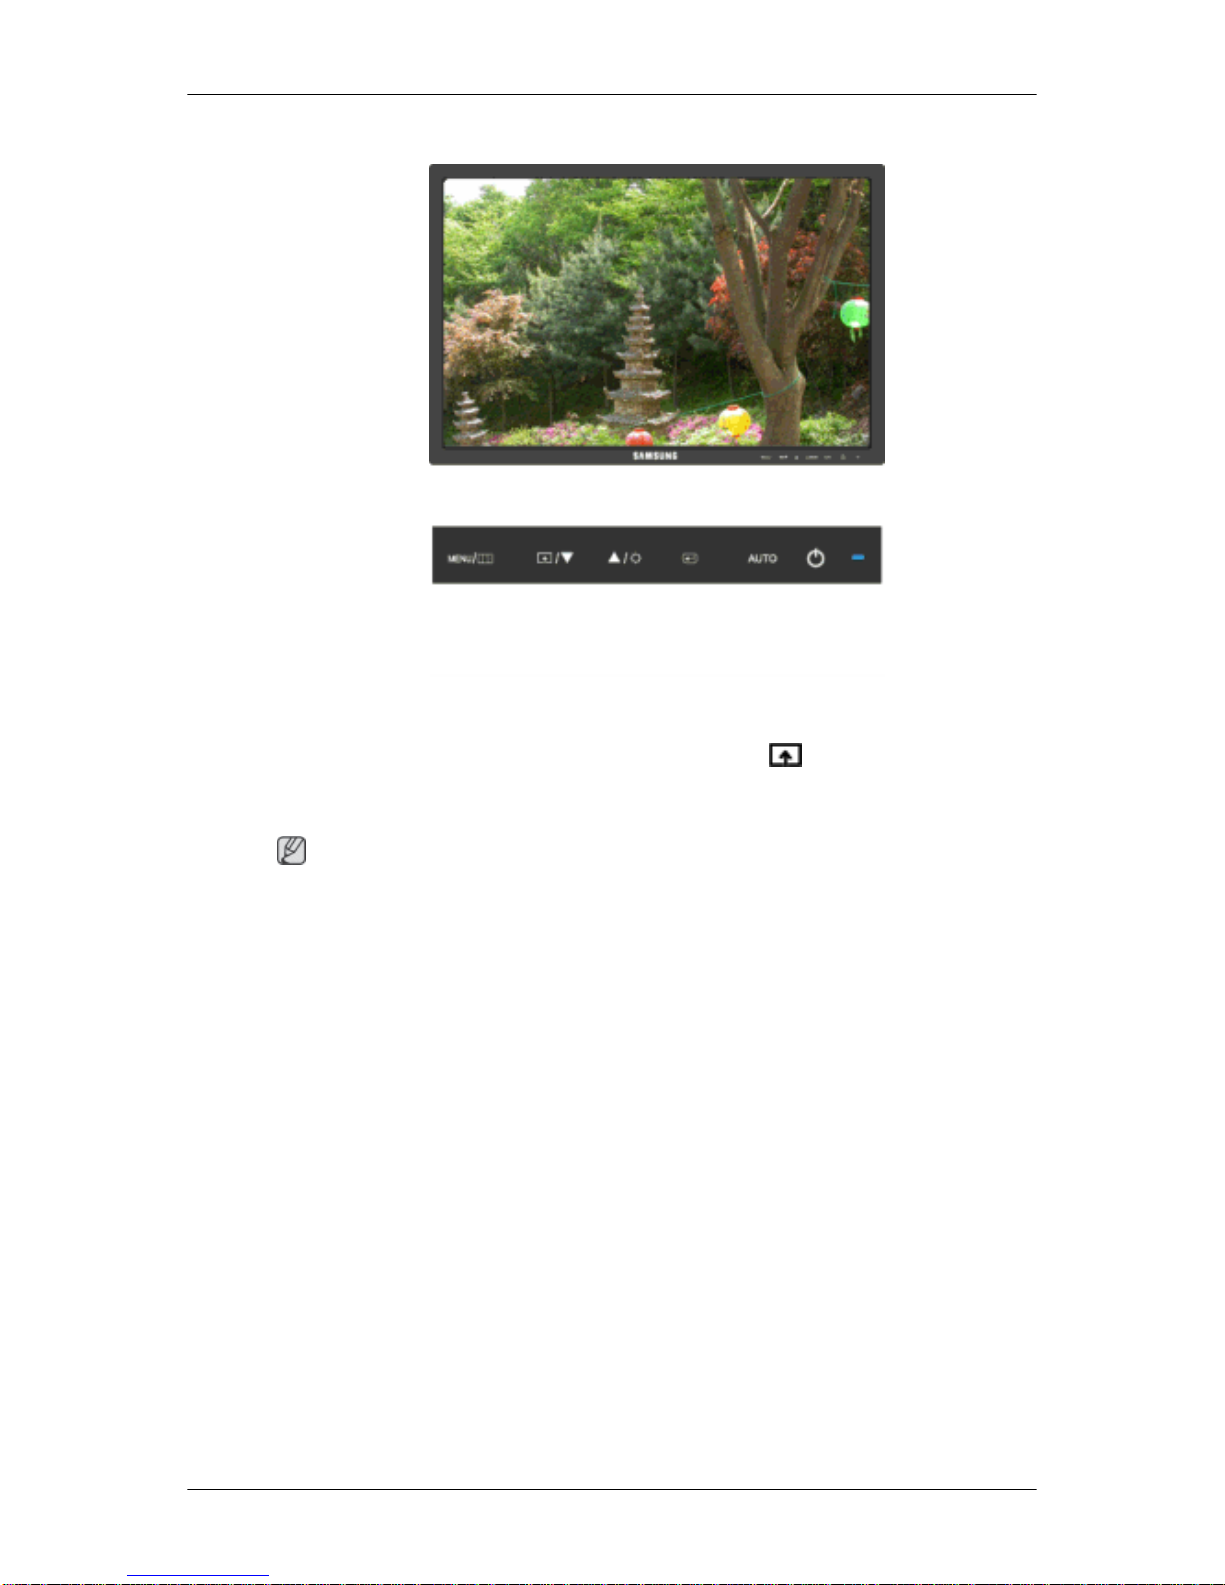
Customized key
You can customize key assignment for the Custom button according to your preferences.
To view the operating screen displayed when pressing the [ ] button after configuring the
customized key for a function, click the name of each function.
(Image Size - MagicBright - MagicColor - Color Effect)
Note
You can configure the customized key for a required function via Setup > Customized
Key.
Adjusting the Monitor
Page 86
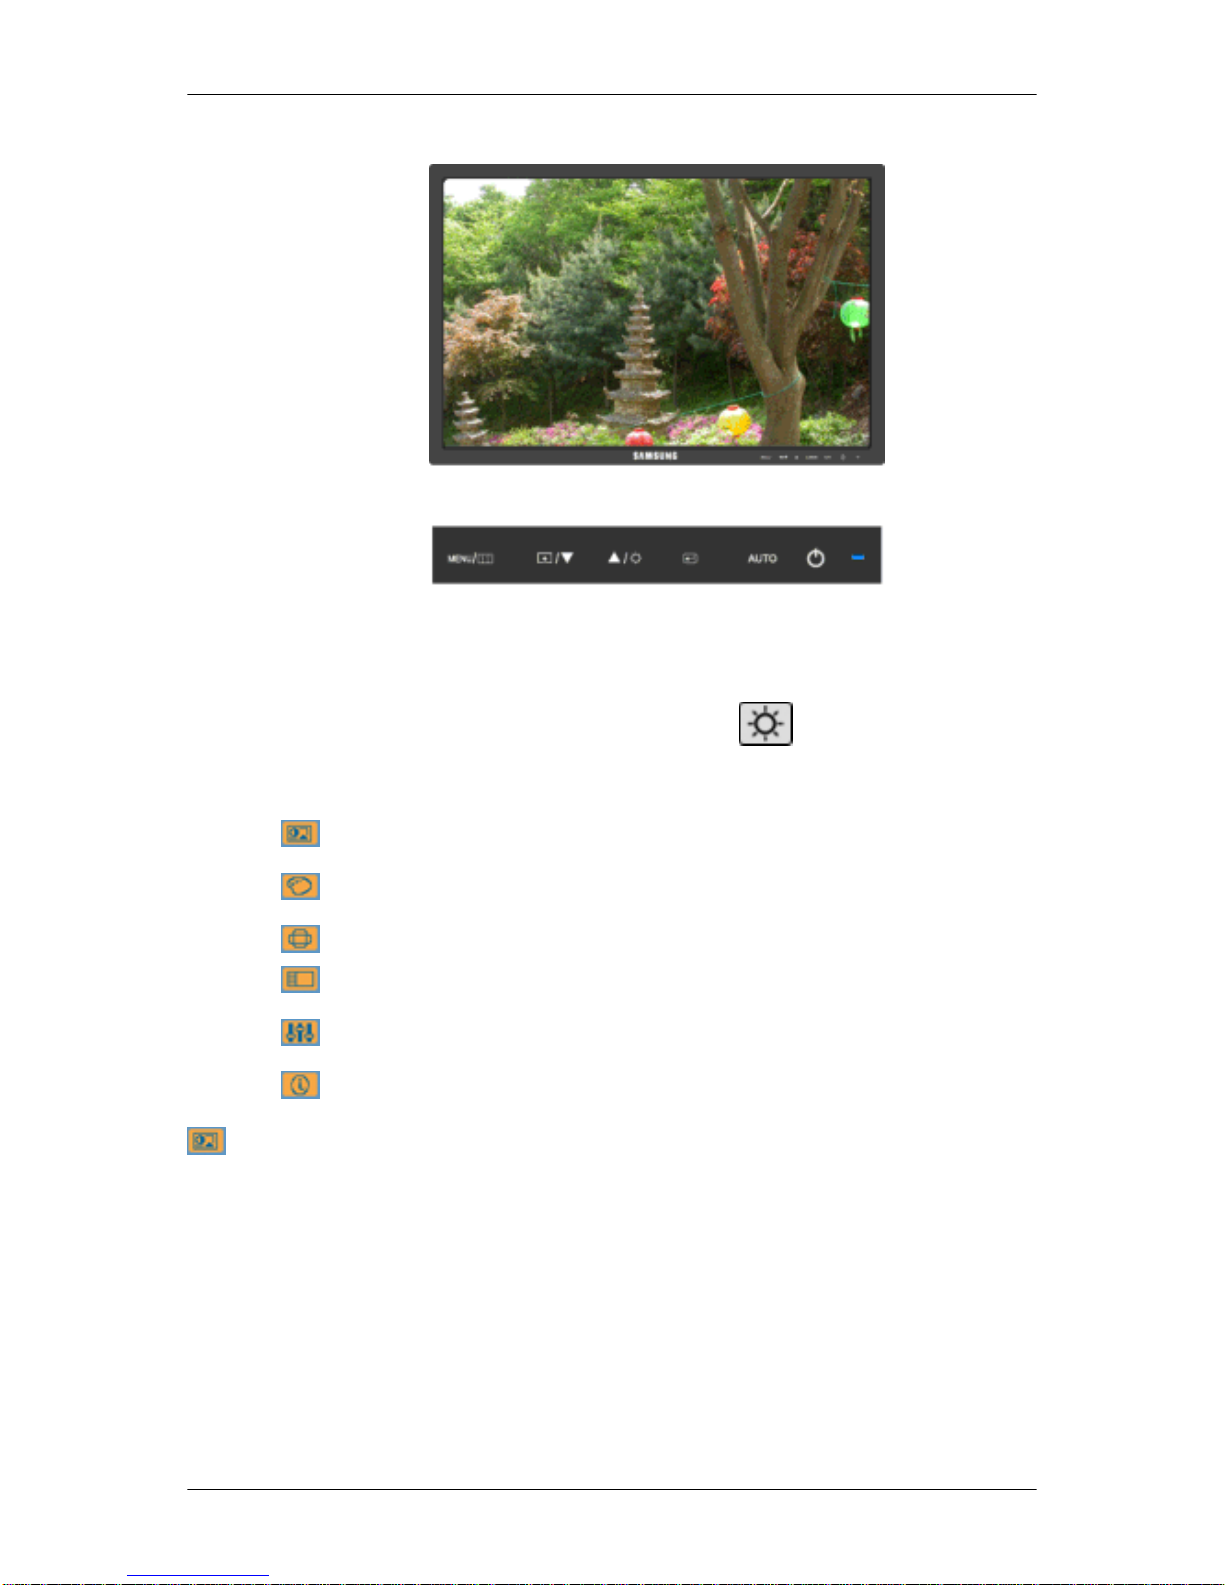
Brightness
When OSD is not on the screen, push the Brightness ( ) button to adjust brightness.
OSD Function
Picture Brightness Contrast Magic-
Bright
Color MagicColor Color Tone Color Con-
trol
Color Effect Gamma
Image Coarse Fine Sharpness H-Position V-Position
OSD Language H-Position V-Position Transpar-
ency
Display
Time
Setup Reset Custom-
ized Key
Off Timer Image Size
Information
Picture
Brightness
(Not available in MagicBright mode of Dynamic Contrast.)
Adjusting the Monitor
Page 87
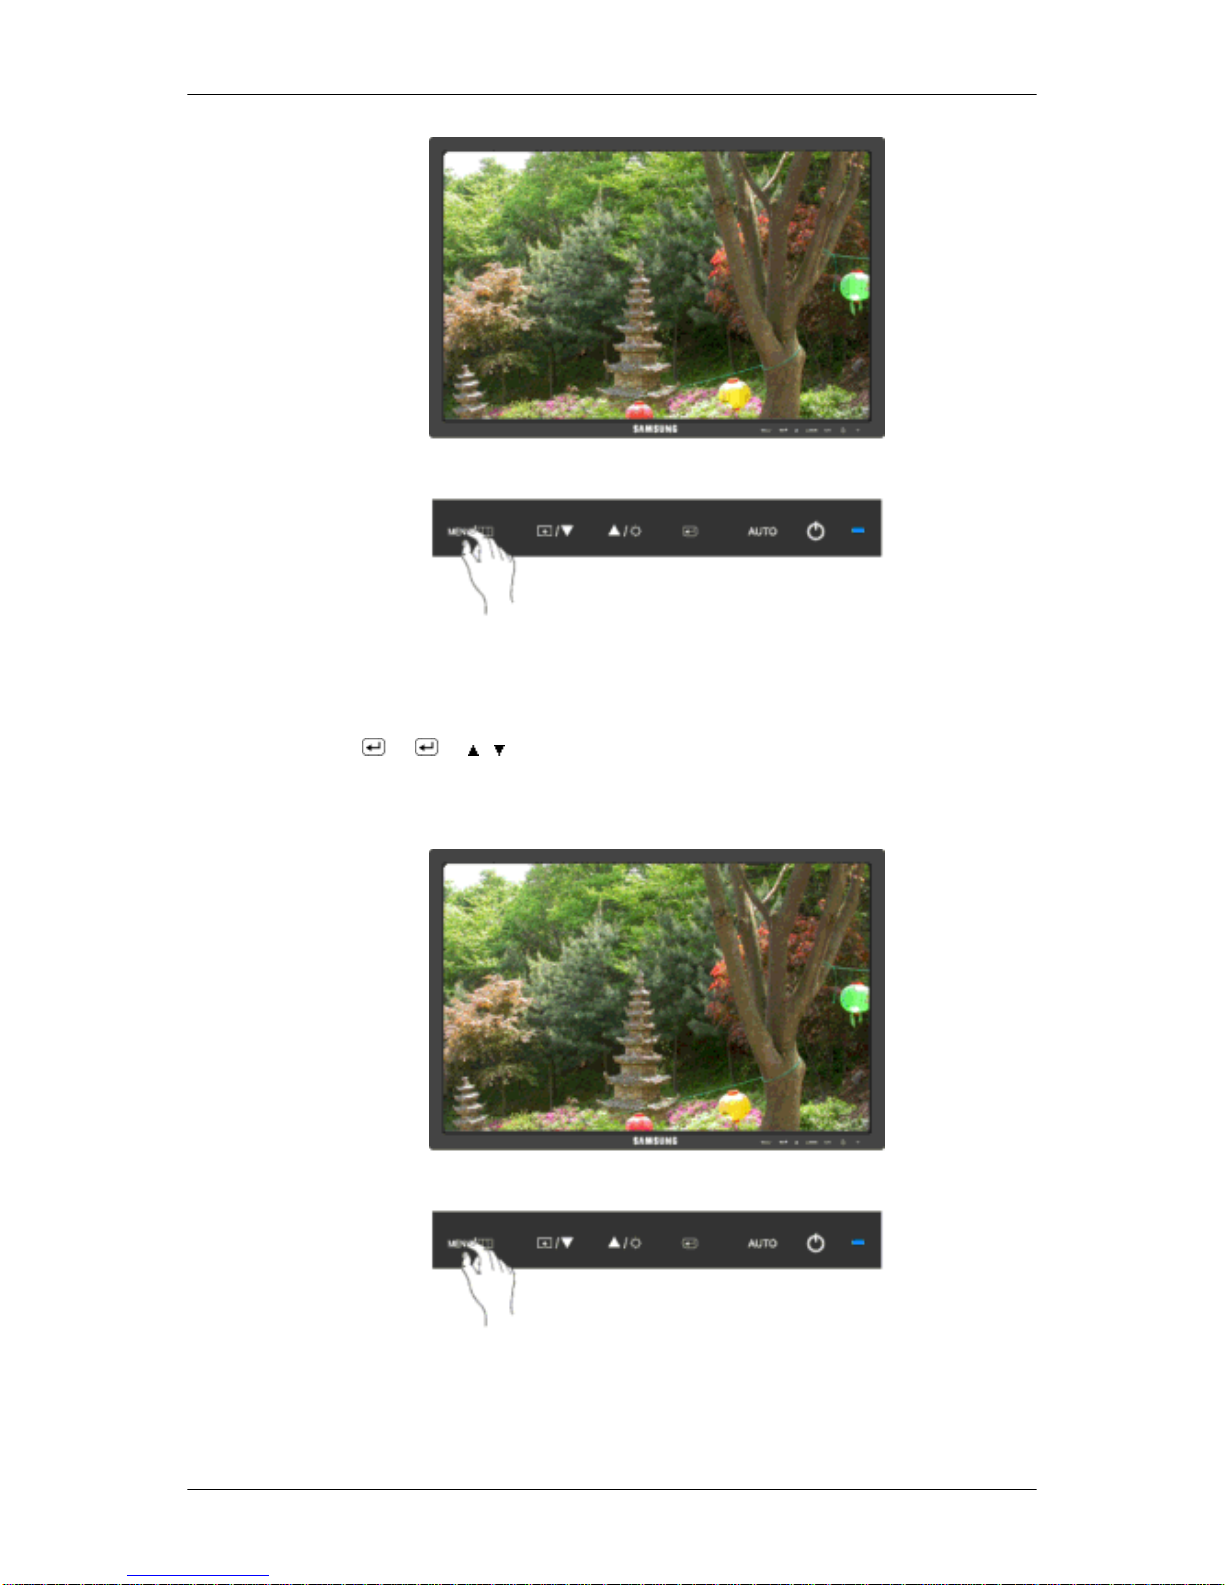
You can use the on-screen menus to change the brightness according to personal preference.
MENU →
→ → , → MENU
Contrast
(Not available in MagicBright mode of Dynamic Contrast.)
You can use the on-screen menus to change the contrast according to personal preference.
( Not available in MagicColor mode of Full and Intelligent. )
Adjusting the Monitor
Page 88
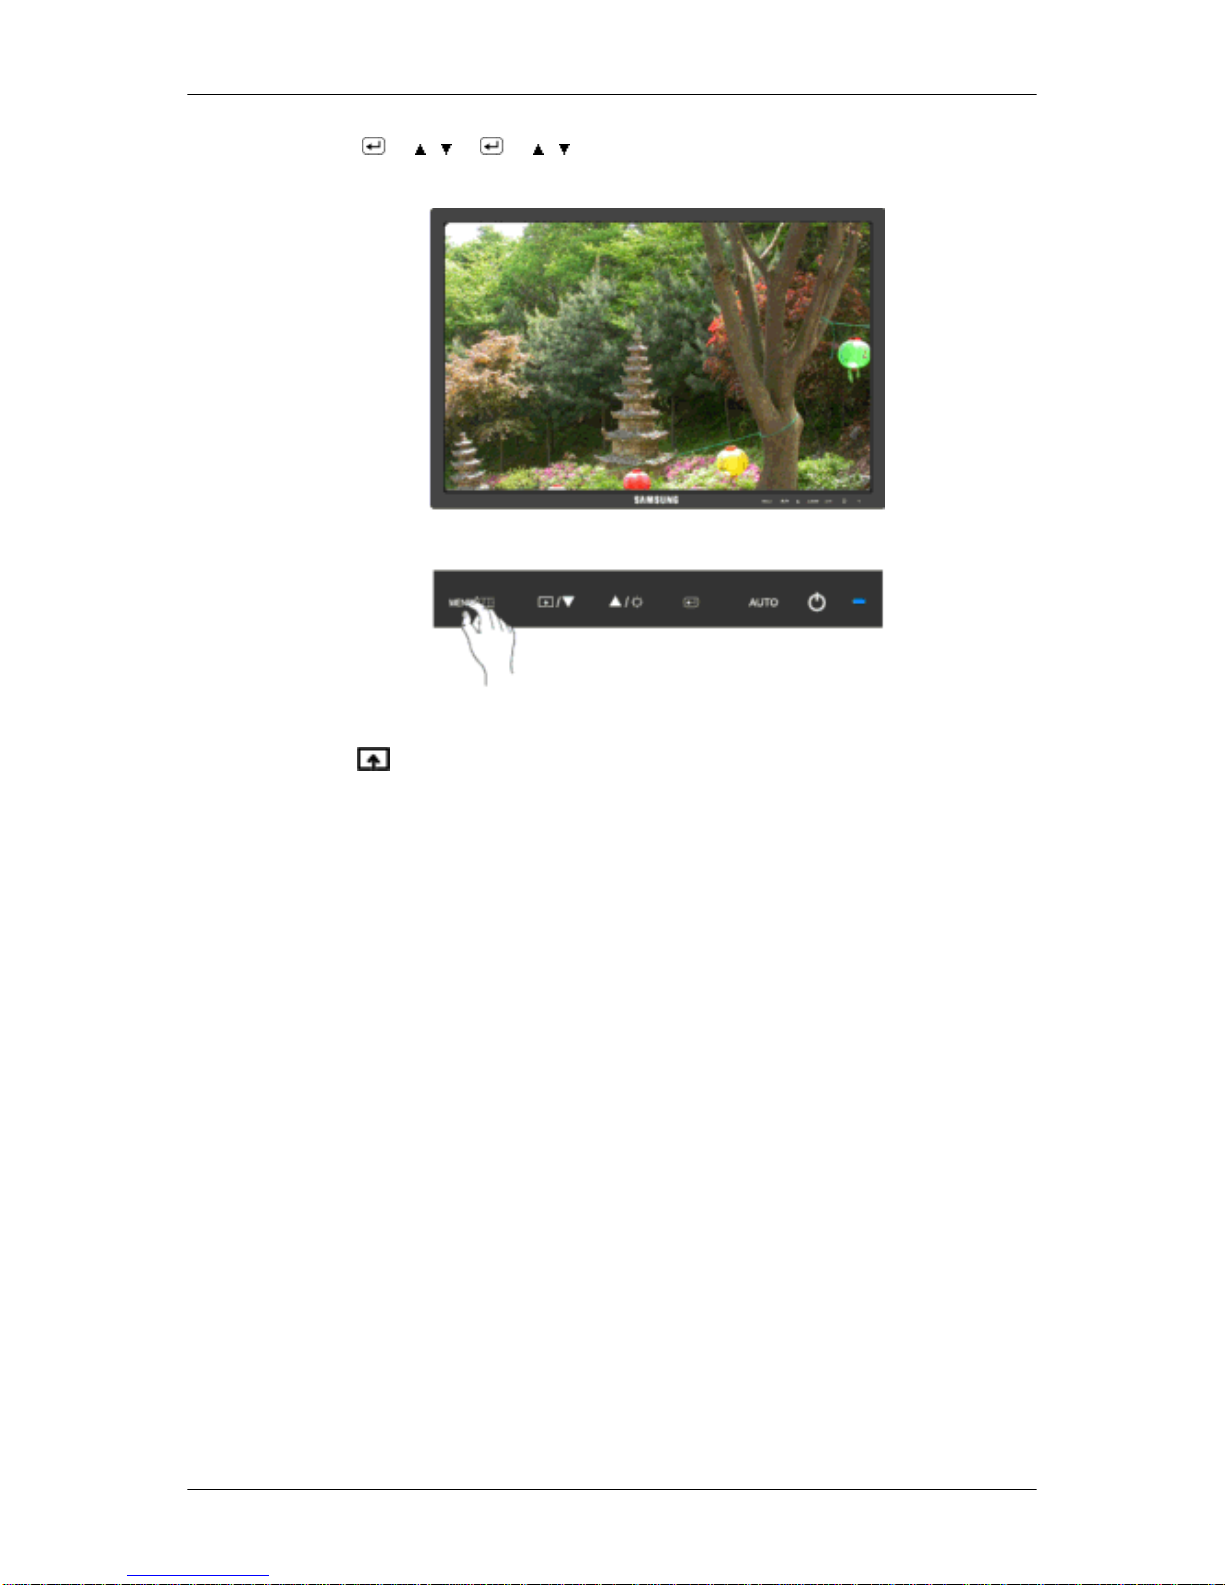
MENU → → , → → , → MENU
MagicBright
Push the button to circle through available preconfigured modes.
MagicBright is a new feature providing optimum viewing environment depending on the
contents of the image you are watching. Currently seven different modes are available: Cus-
tom, Text, Internet, Game, Sport, Movie and Dynamic Contrast. Each mode has its own
pre-configured brightness value. You can easily select one of seven settings by simply press-
ing Customized Key control button.
• Custom
Although the values are carefully chosen by our engineers, the pre-configured values may
not be comfortable to your eyes depending on your taste.
If this is the case, adjust the brightness and contrast by using the OSD menu.
• Text
For documents or works involving heavy text.
• Internet
For working with a mixture of images such as texts and graphics.
• Game
For watching motion pictures such as a game.
• Sport
For watching motion pictures such as a sport.
• Movie
Adjusting the Monitor
Page 89
→ , → → , → MENU
Color
(Not available in MagicBright mode of Dynamic Contrast.)
MagicColor
MagicColor is a new technology that Samsung has exclusively developed to improve digital
image and to display natural color more clearly without disturbing image quality.
• Off - Returns to the original mode.
• Demo - The screen before applying MagicColor appears on the right and the screen after
applying MagicColor appears on the left.
• Full - Displays not only vivid natural color but also more realistic natural skin color with
clearness.
• Intelligent - Displays vivid natural color with clearness.
MENU →
, → → → , → MENU
Adjusting the Monitor
For watching motion pictures such as a DVD or Video CD.
• Dynamic Contrast
Dynamic Contrast automatically detects the distribution of the visual signal and
adjusts to create optimum contrast.
MENU →
Page 90
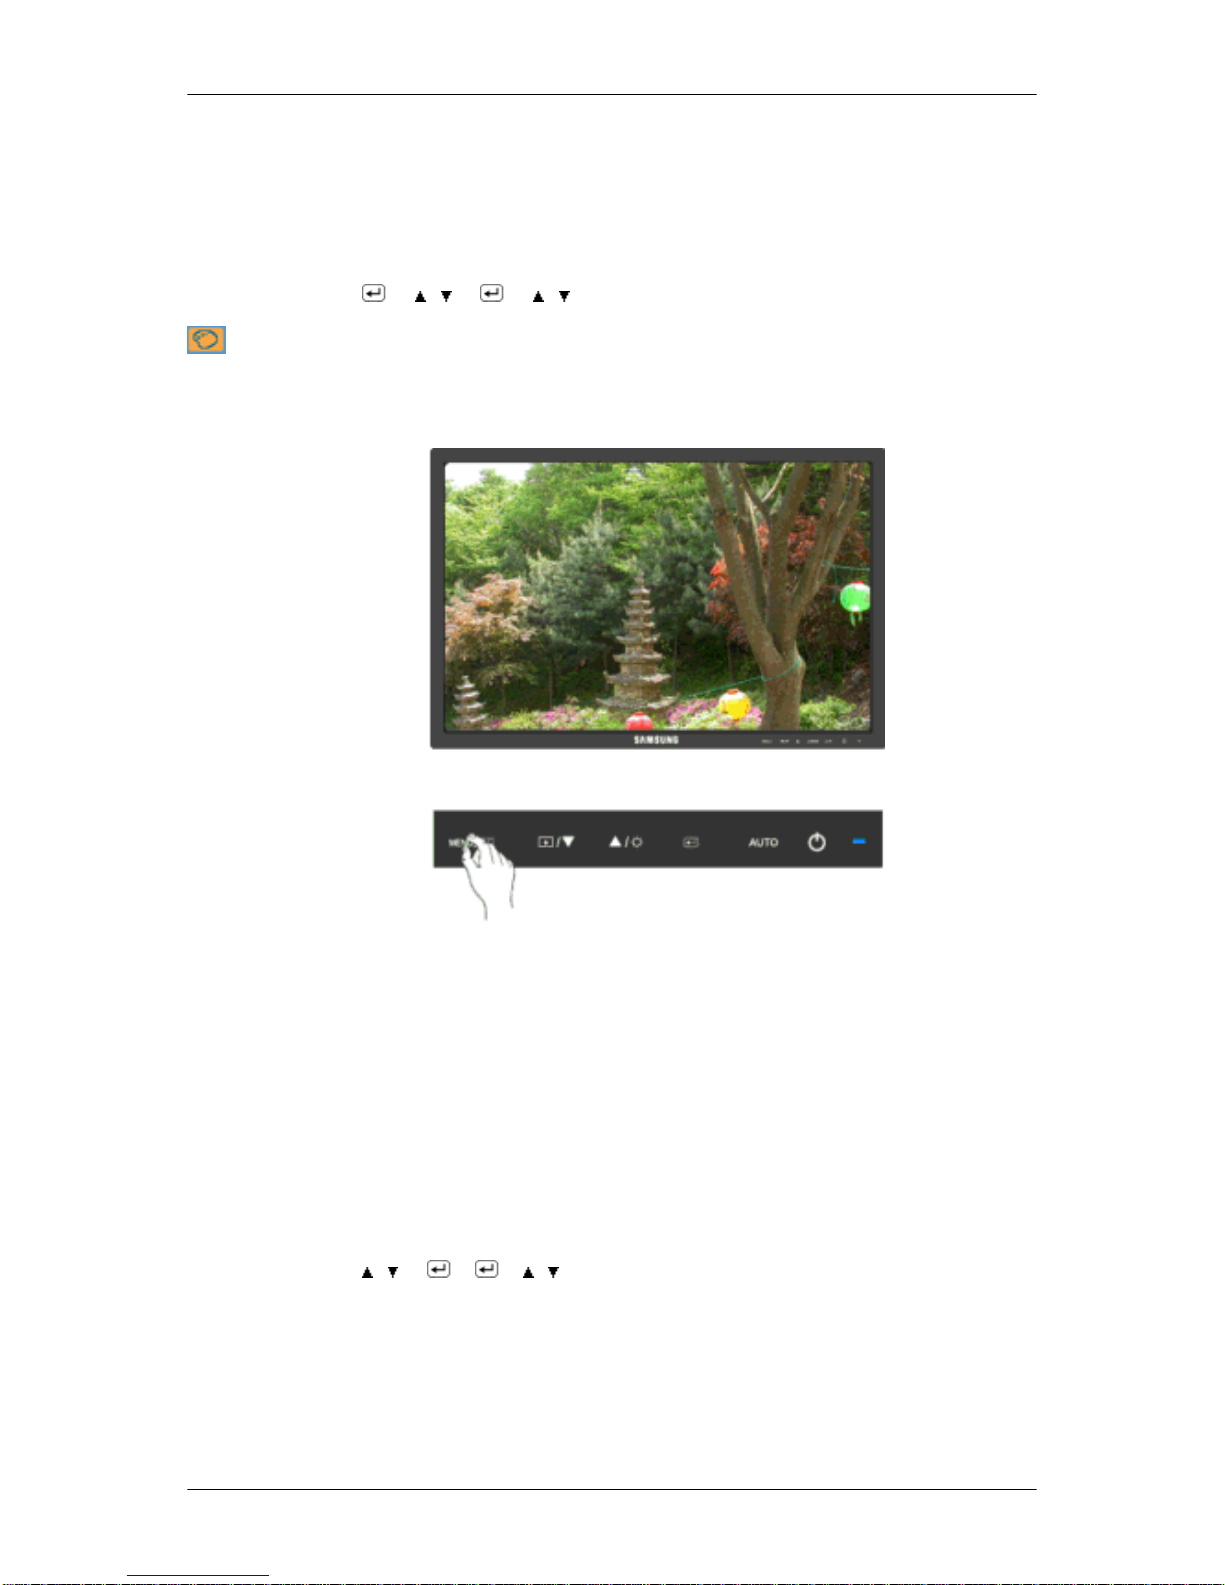
Color Tone
The tone of the color can be changed and one of four modes can be selected.
• Cool - Makes whites bluish.
• Normal - Keeps whites white.
• Warm - Makes whites reddish.
• Custom - Select this mode when you want to adjust the image according to your prefer-
ences.
( Not available in MagicColor mode of Full and Intelligent. )
MENU → , → → , → → , → MENU
Adjusting the Monitor
Page 91
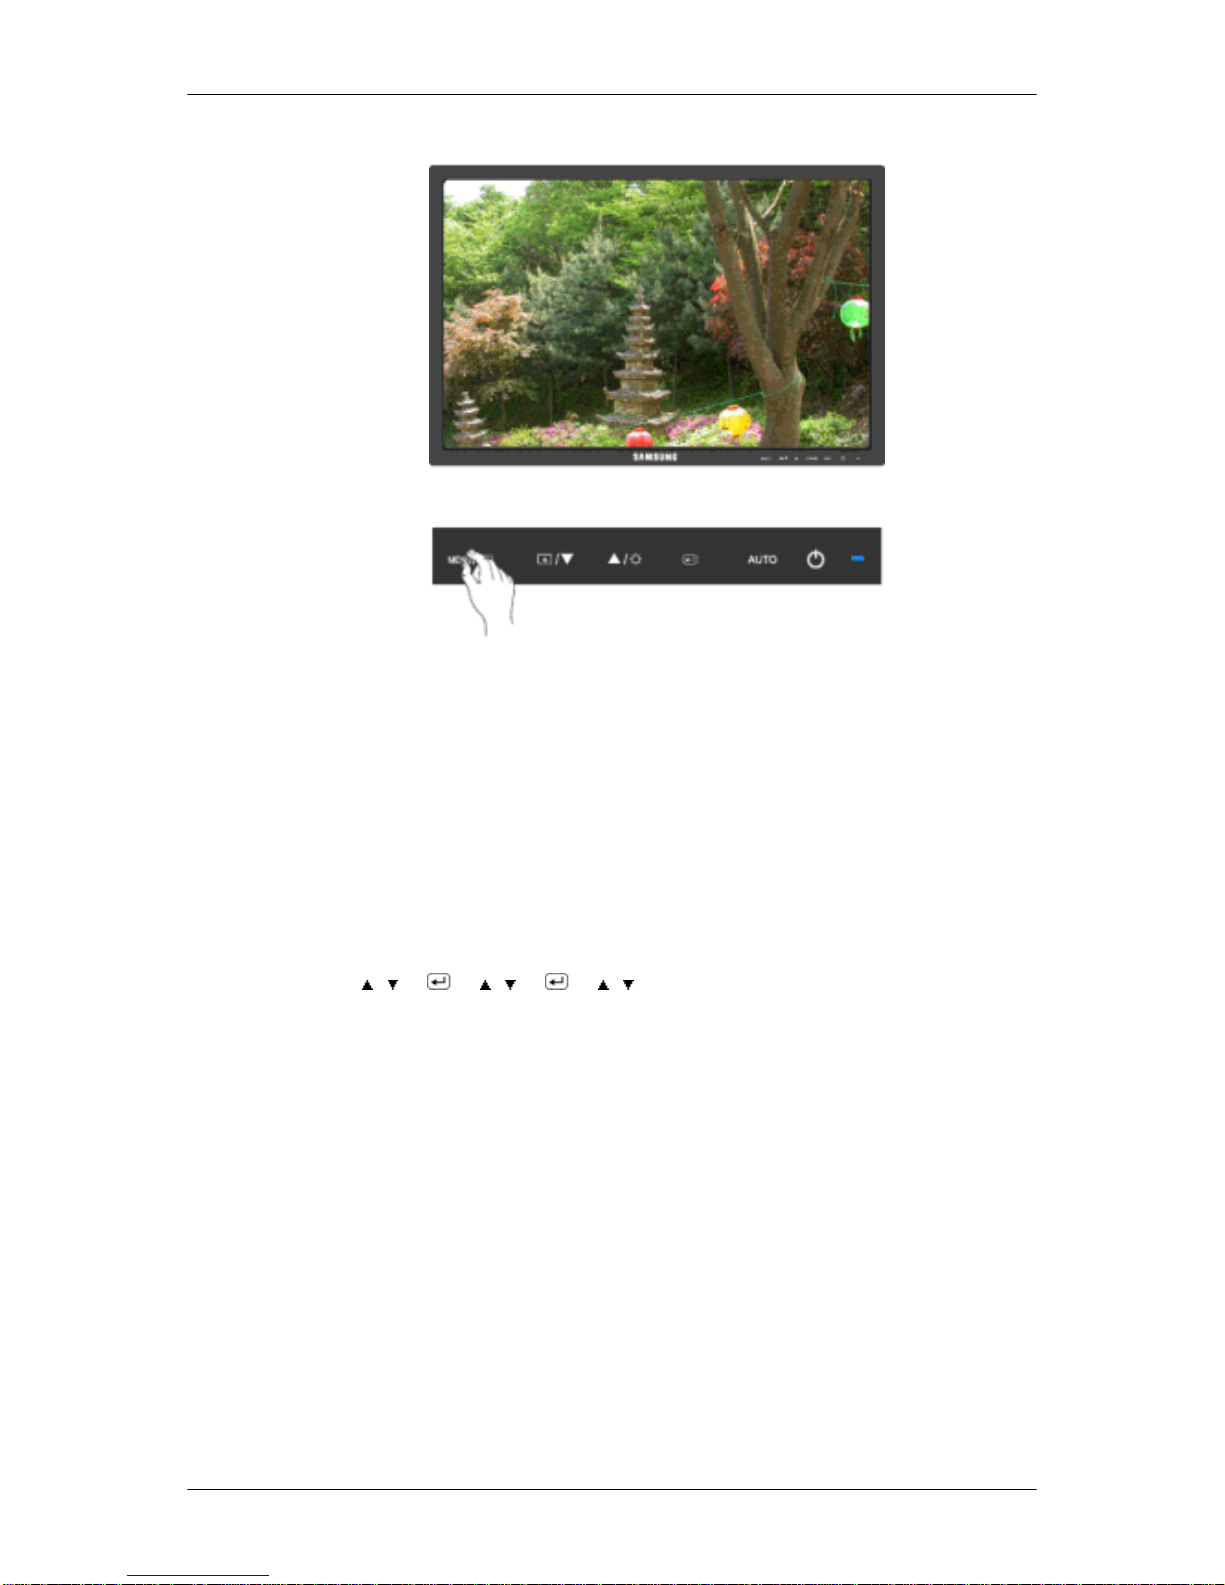
Color Control
Adjusts individual Red, Green, Blue color balance.
( Not available in MagicColor mode of Full and Intelligent. )
MENU → , → → , → → , → → , → MENU
Color Effect
You can change the overall mood by changing the screen colors.
( Not available in MagicColor mode of Full and Intelligent. )
Adjusting the Monitor
Page 92
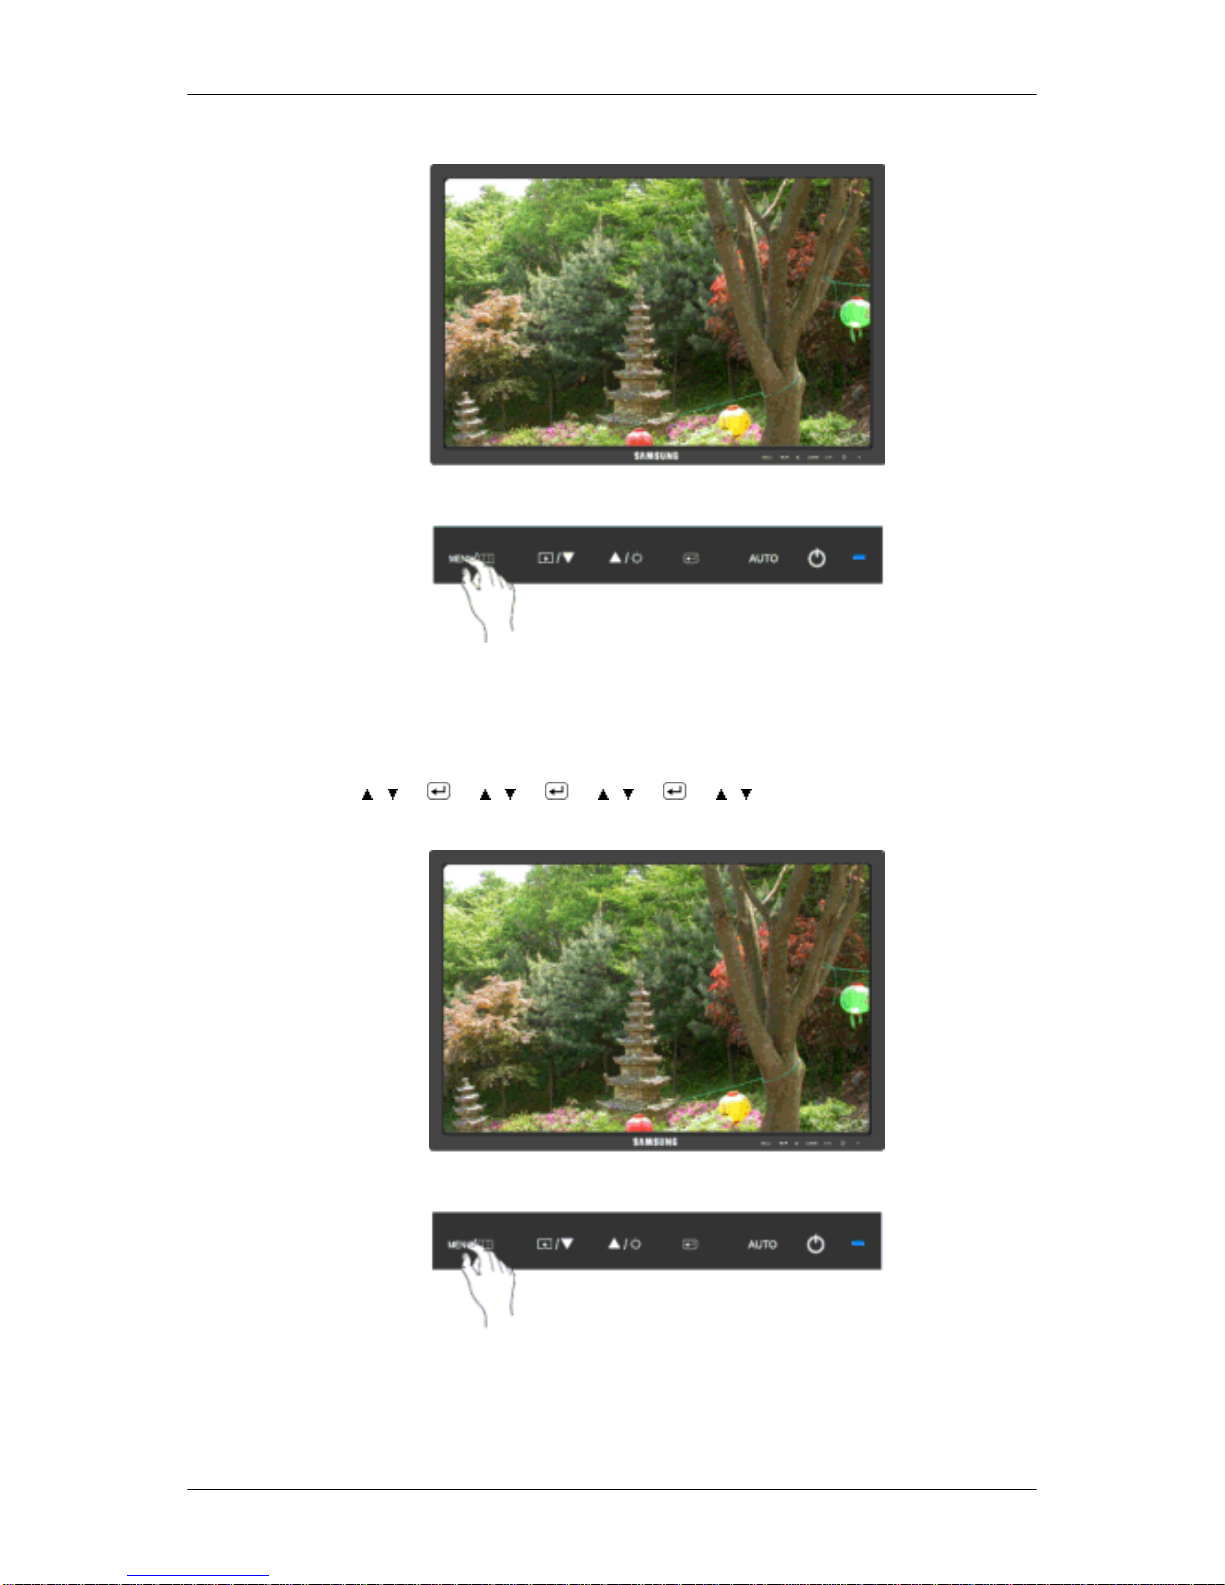
• Off • Grayscale • Green • Aqua • Sepia
• Off - This applies an achromatic color to the screen to adjust the screen effects.
• Grayscale - The default colors of black and white are displayed.
• Green - This applies the green color effect to a black and white screen.
• Aqua - This applies the aqua color effect to a black and white screen.
• Sepia - This applies the Sepia color effect to a black and white screen.
MENU → , → → , → → , → MENU
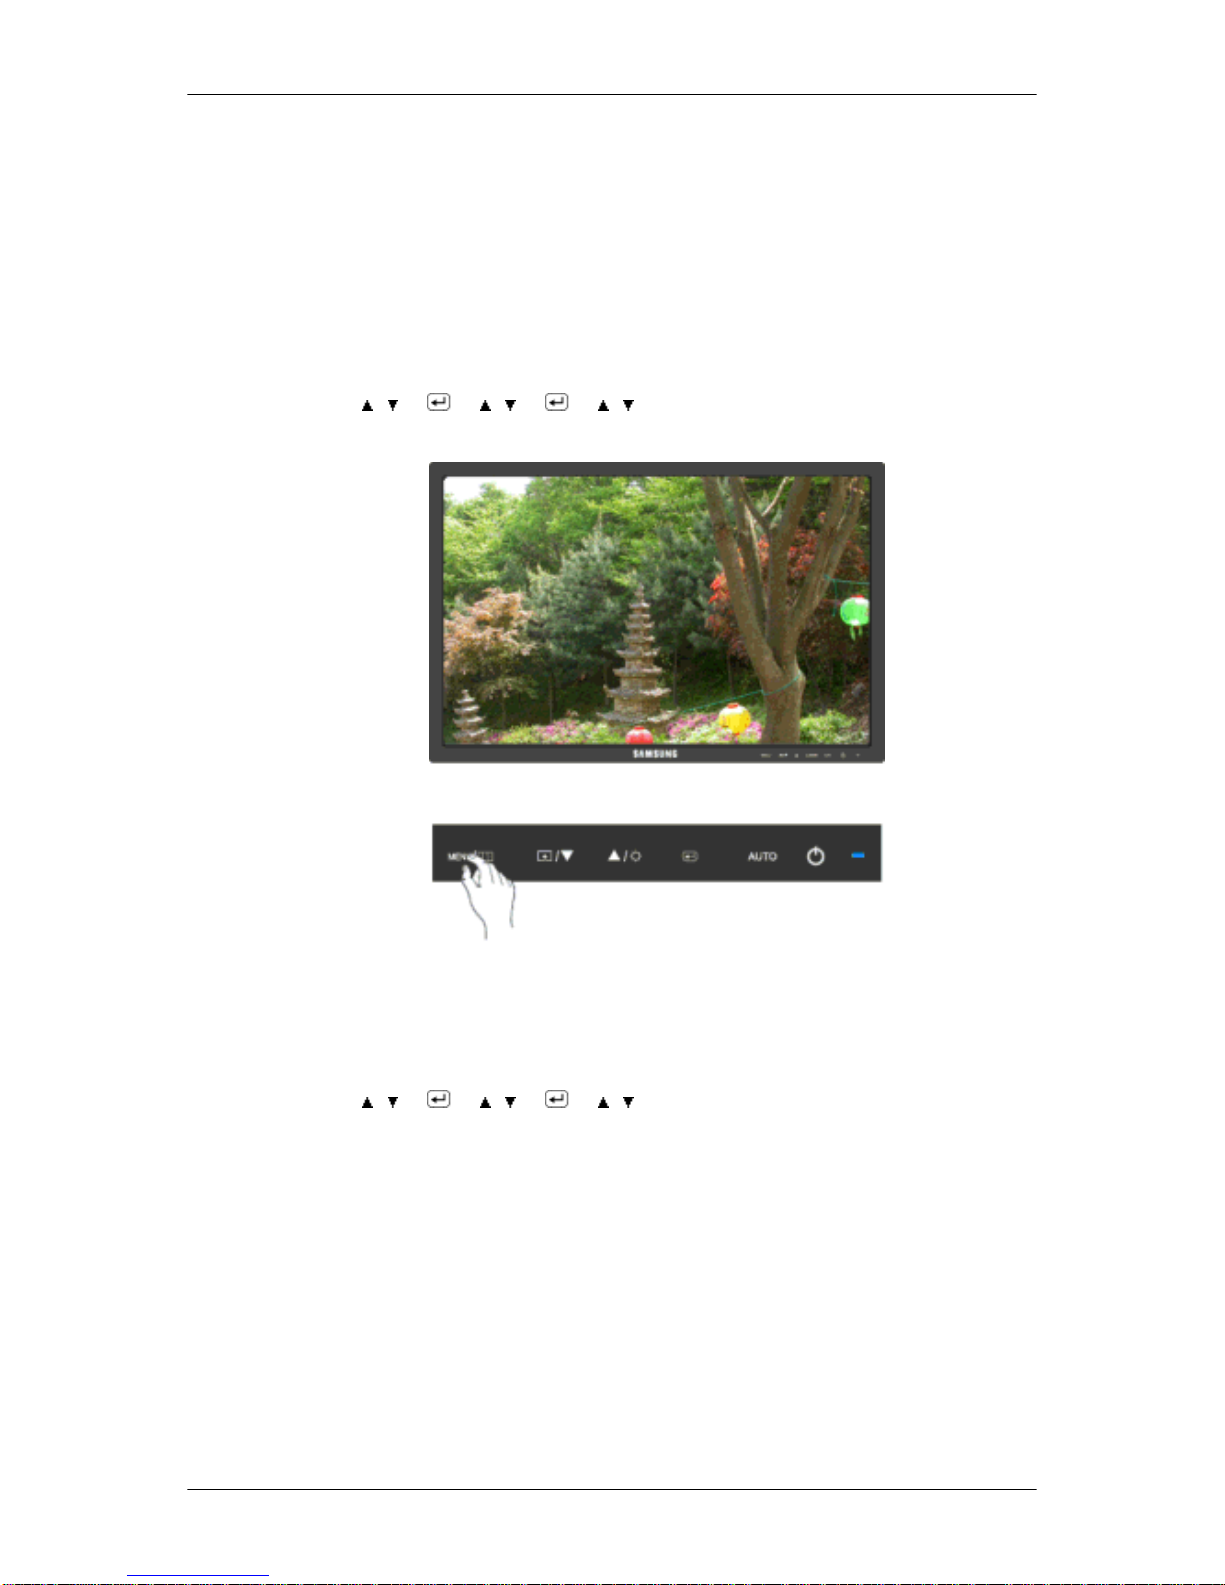
Gamma
Gamma correction changes the luminance of the colors with intermediate luminance.
• Mode 1 • Mode 2 • Mode 3
MENU →
, → → , → → , → MENU
Adjusting the Monitor
Page 93
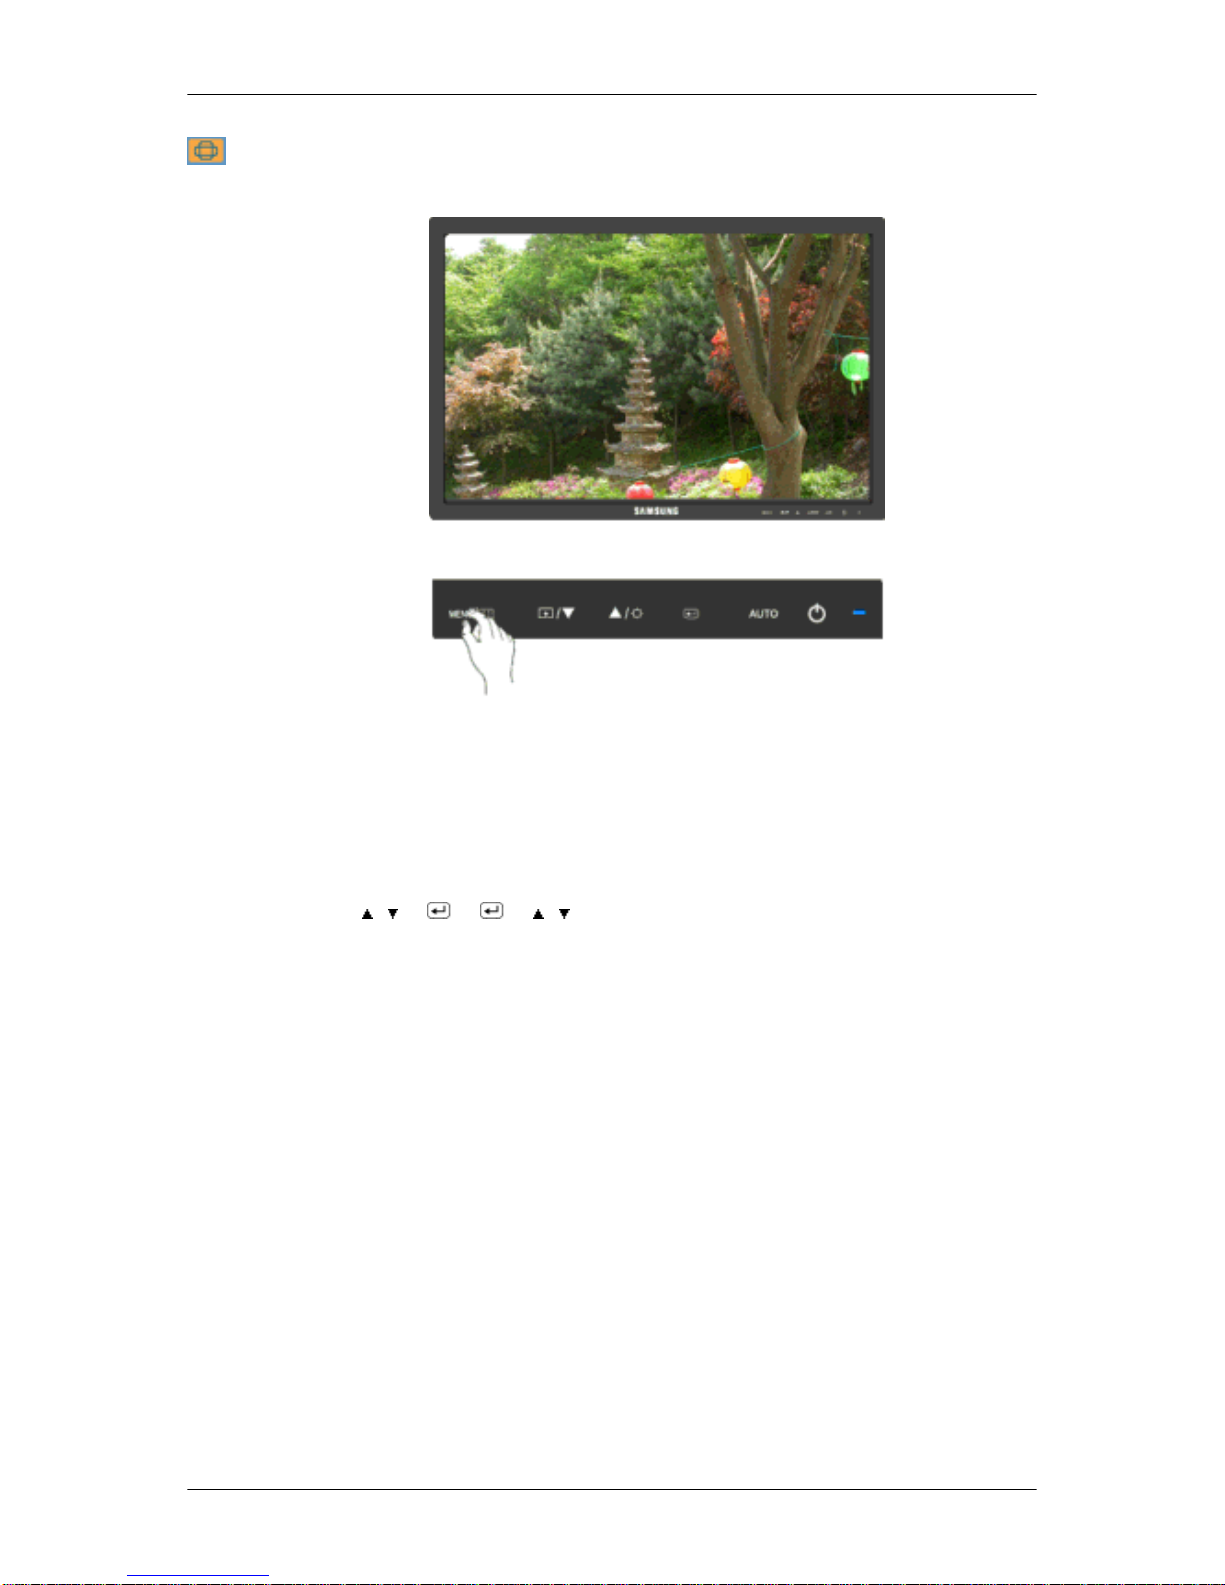
Image
Coarse
Removes noise such as vertical stripes.
Coarse adjustment may move the screen image area. You may relocate it to the center using
the horizontal control menu.
(Available in Analog mode only)
MENU → , → → → , → MENU
Adjusting the Monitor
Page 94
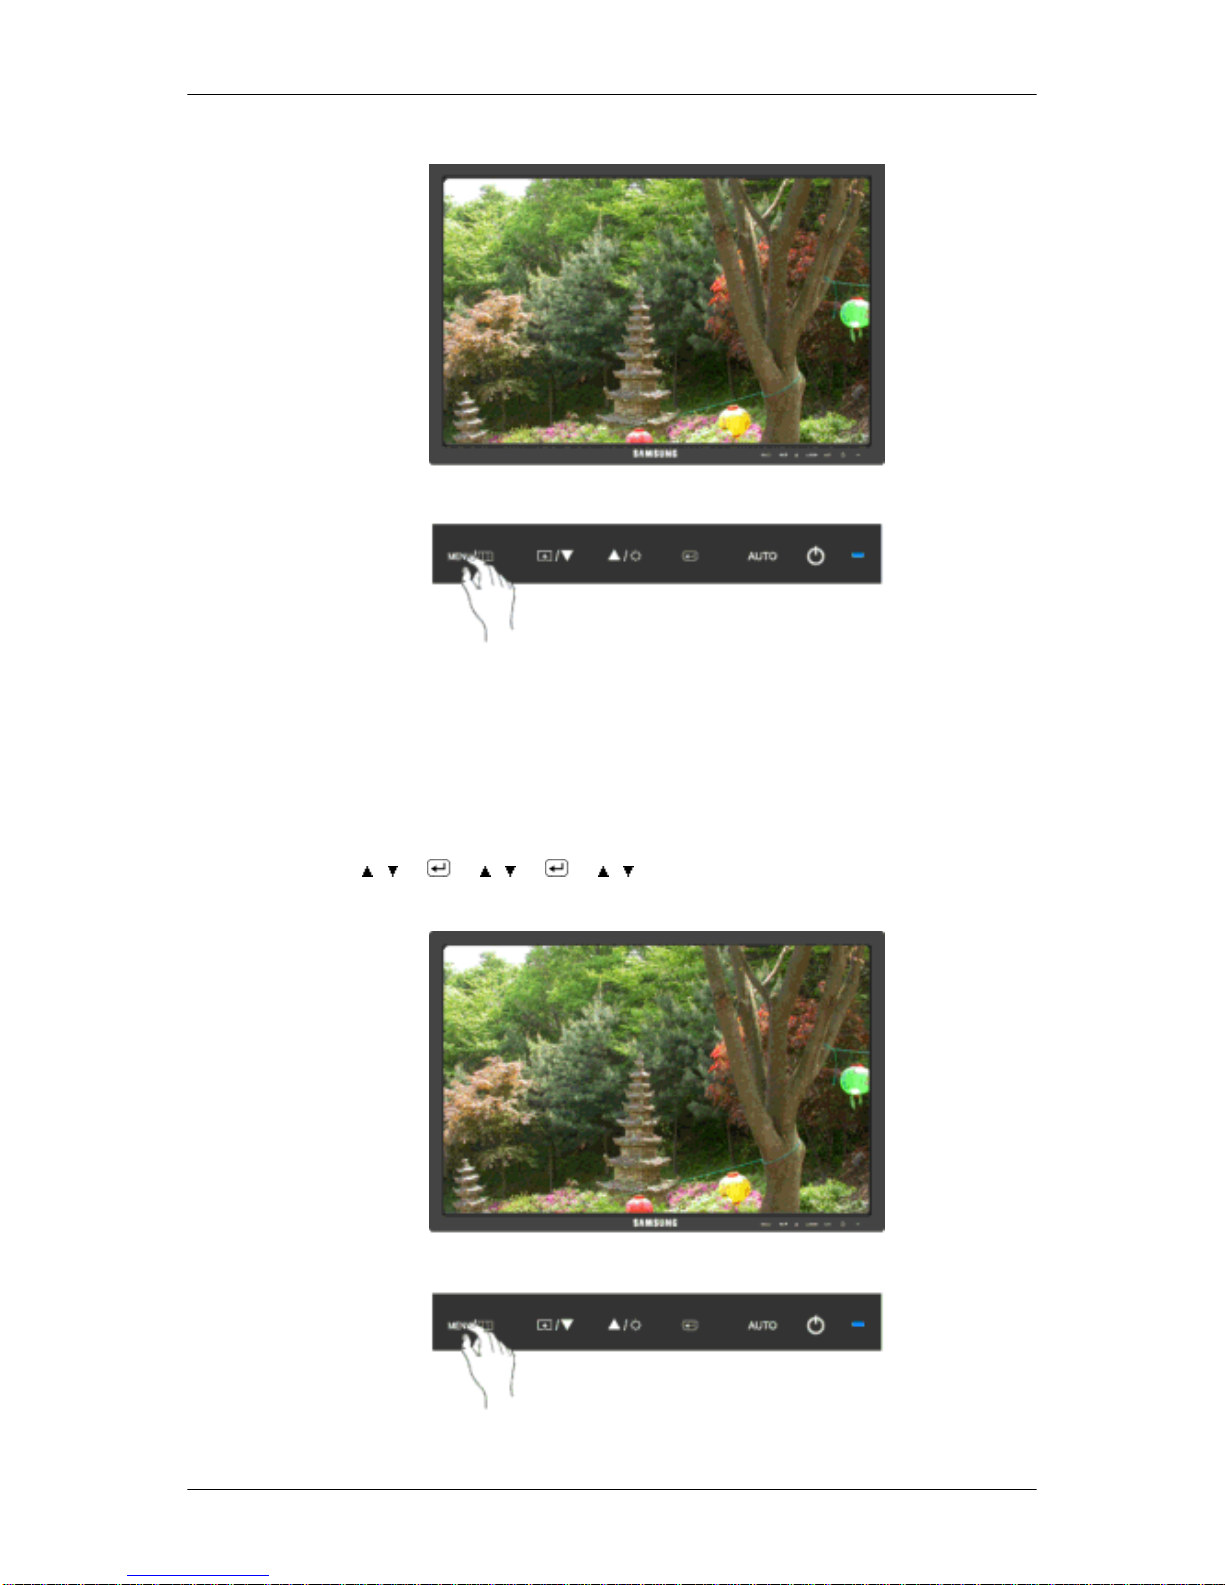
Fine
Removes noise such as horizontal stripes.
If the noise persists even after Fine tuning, repeat it after adjusting the frequency (clock
speed).
(Available in Analog mode only)
MENU →
, → → , → → , → MENU
Sharpness
Adjusting the Monitor
Page 95
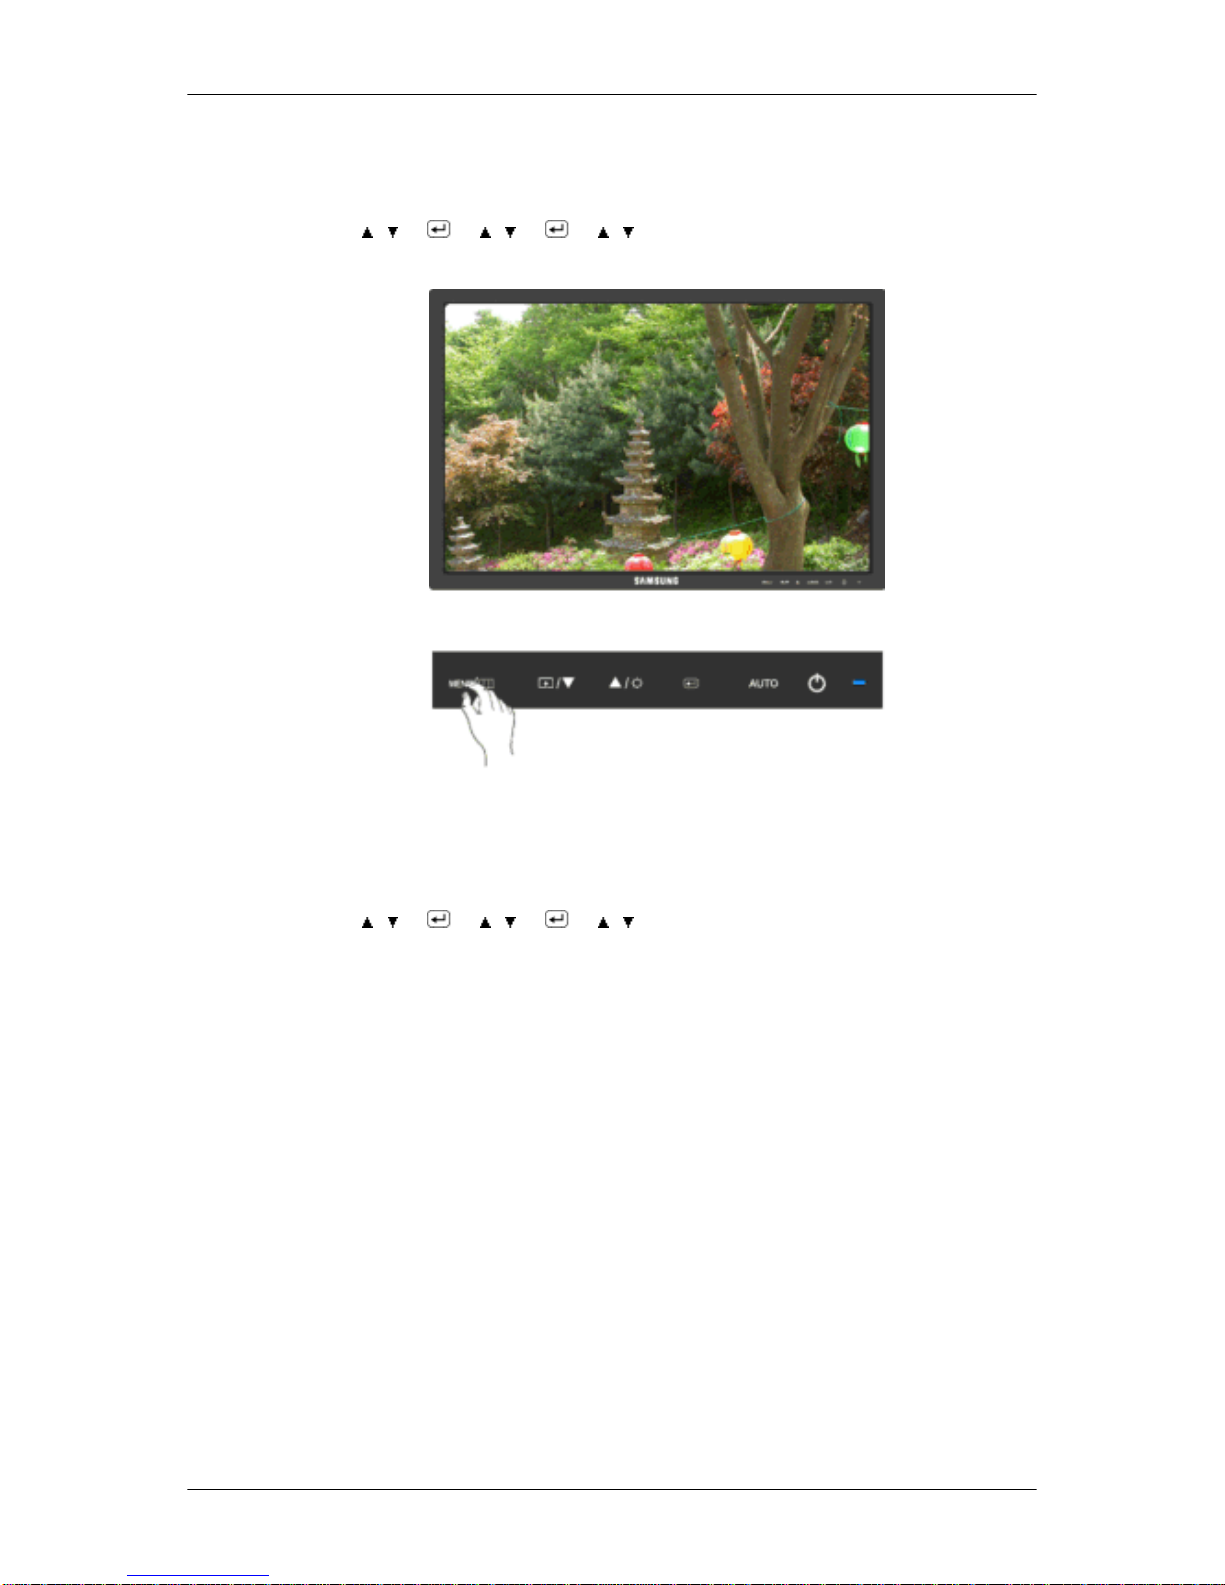
Changes the clearance of image.
( Not available in MagicColor mode of Full and Intelligent. )
MENU → , → → , → → , → MENU
H-Position
Changes the horizontal position of the monitor's entire display.
(Available in Analog mode only)
MENU →
, → → , → → , → MENU
Adjusting the Monitor
Page 96
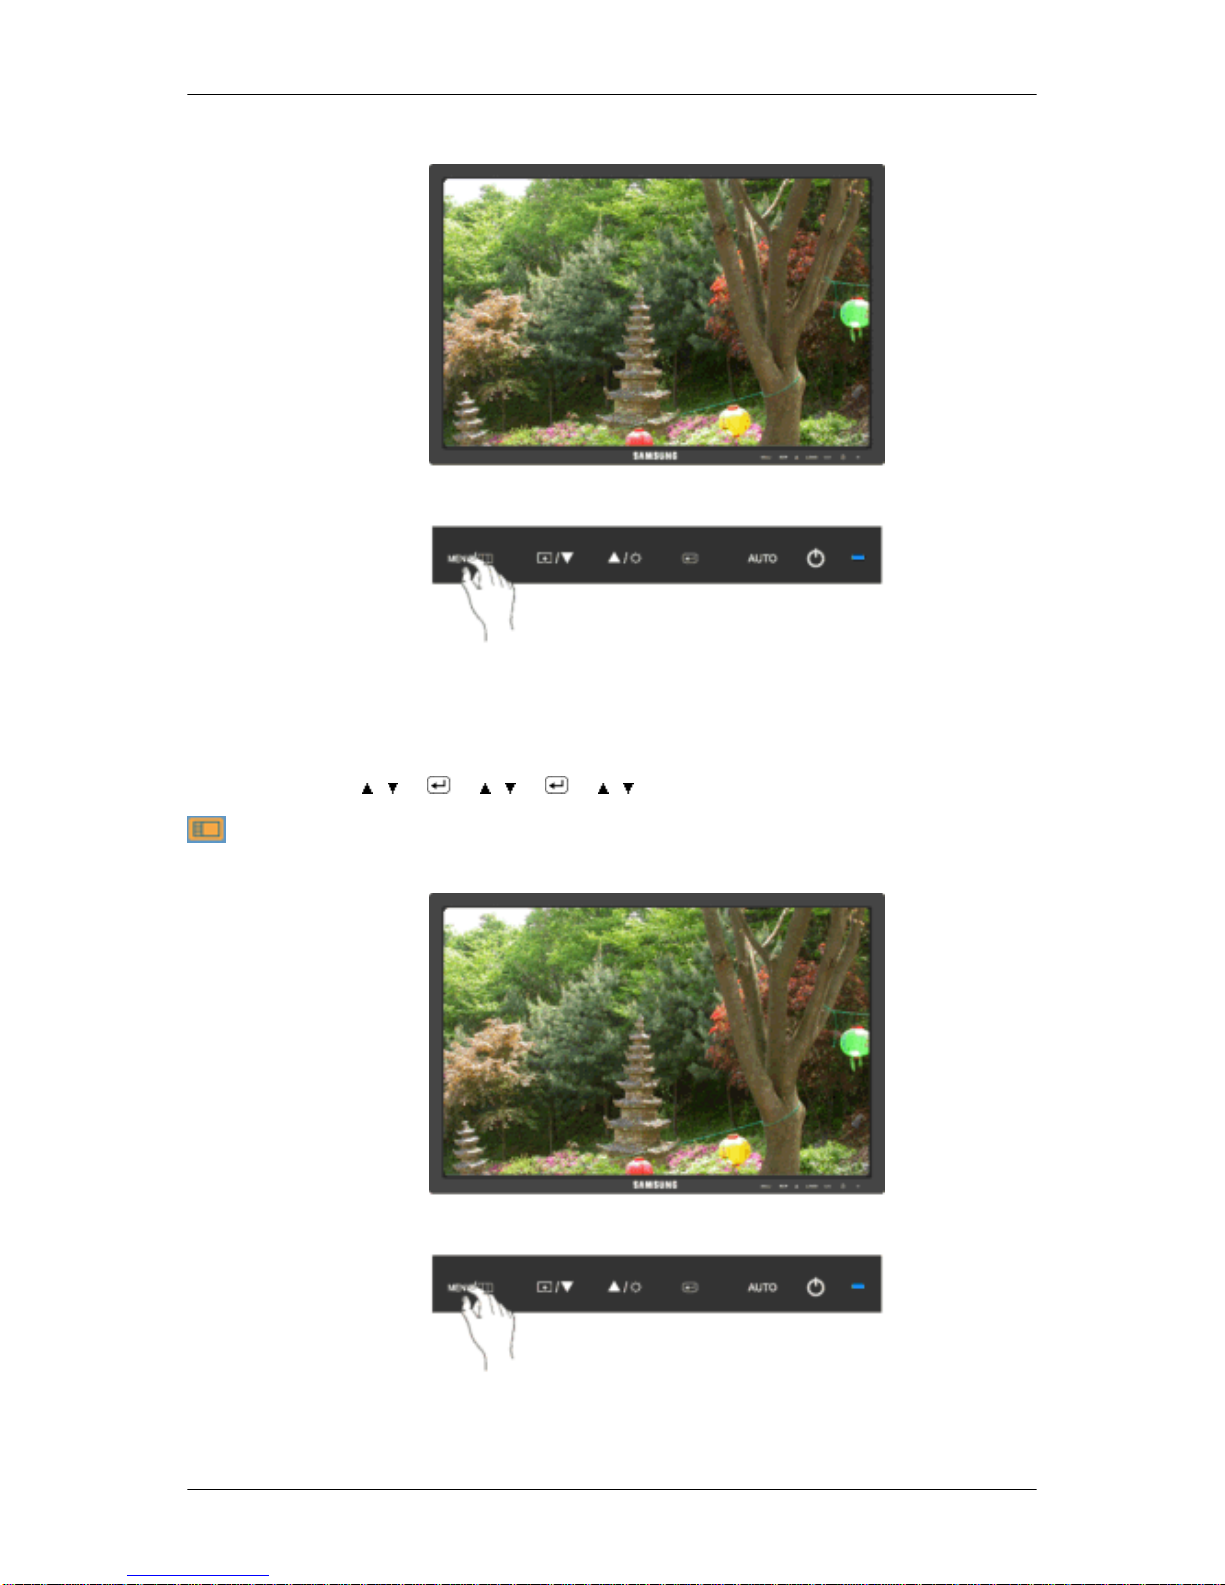
V-Position
Changes the vertical position of the monitor's entire display.
(Available in Analog mode only)
MENU → , → → , → → , → MENU
OSD
Language
You can choose one of nine languages.
Adjusting the Monitor
Page 97
Note
The language chosen affects only the language of the OSD. It has no effect on any software
running on the computer.
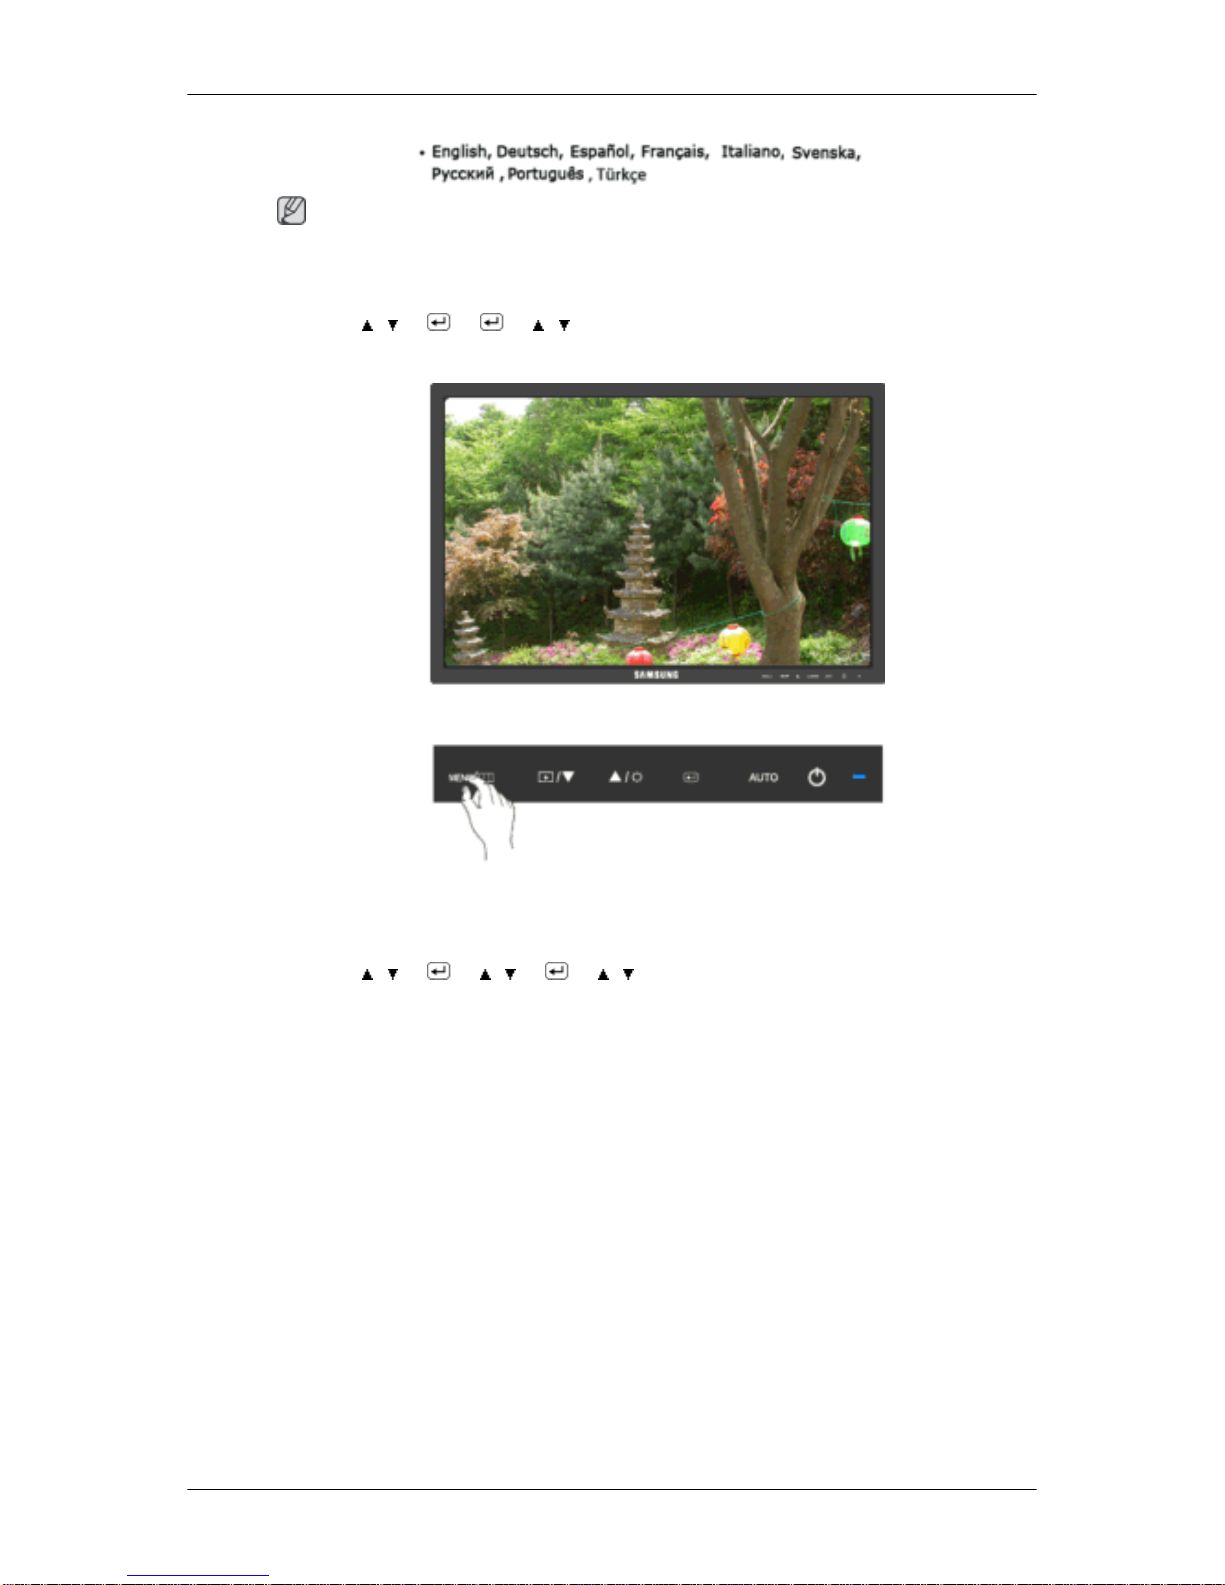
MENU → , → → → , → MENU
H-Position
You can change the horizontal position where the OSD menu appears on your monitor.
MENU →
, → → , → → , → MENU
Adjusting the Monitor
Page 98
V-Position
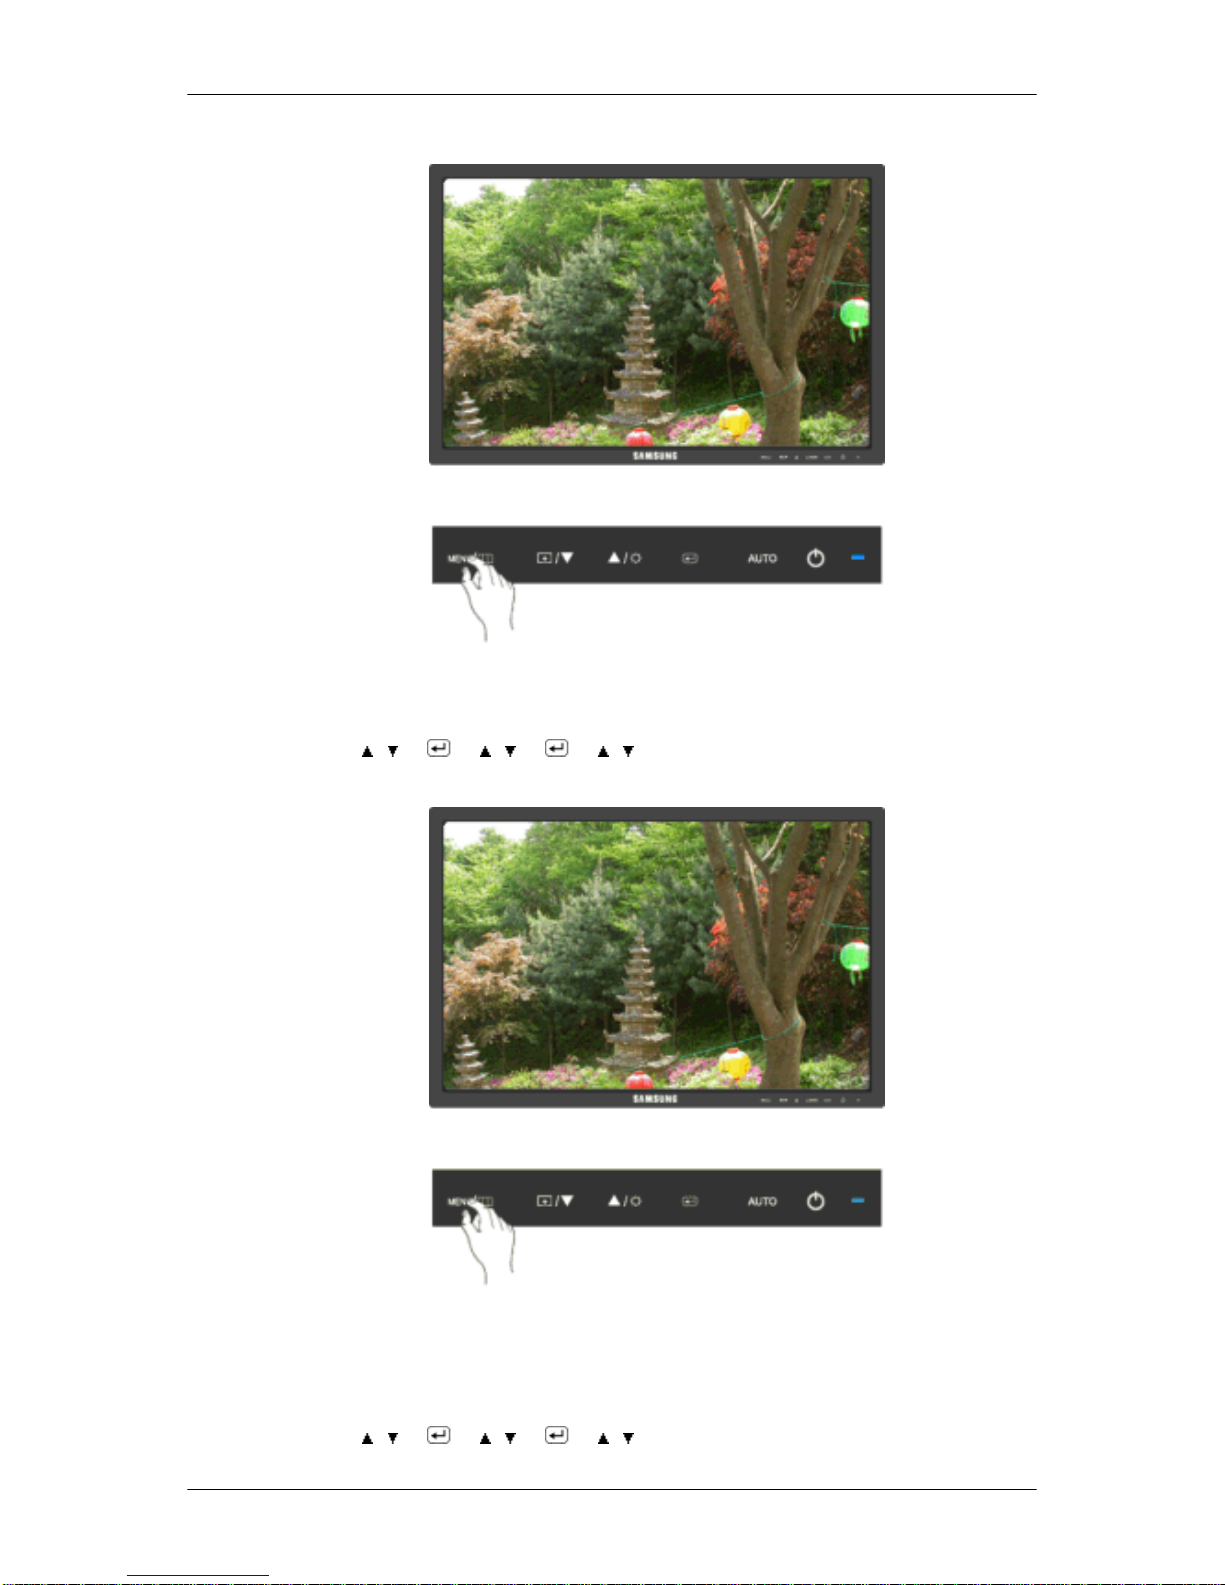
You can change the vertical position where the OSD menu appears on your monitor.
MENU → , → → , → → , → MENU
Transparency
Change the transparency of the background of the OSD.
• Off • On
MENU → , → → , → → , → MENU
Adjusting the Monitor
Page 99
Display Time
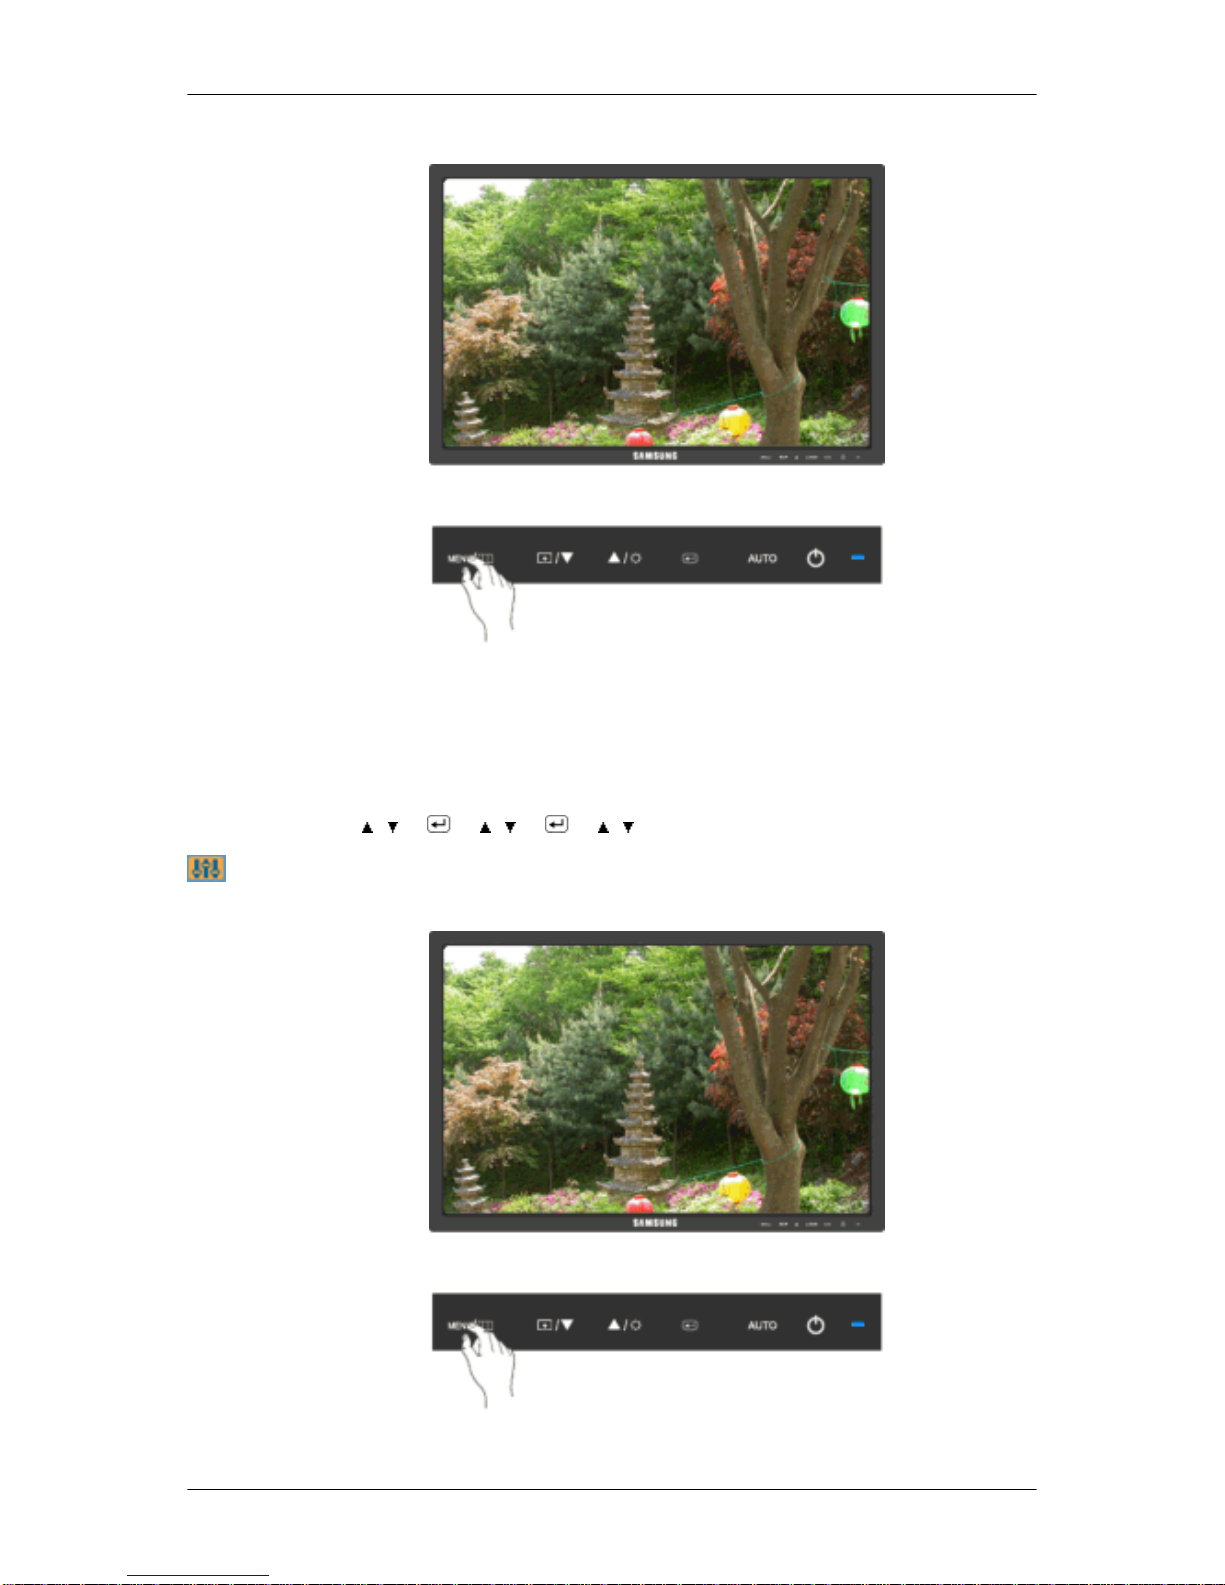
The menu will be automatically turned off if no adjustments are made for a certain time period.
You can set the amount of time the menu will wait before it is turned off.
• 5 sec • 10 sec • 20 sec • 200 sec
MENU → , → → , → → , → MENU
Setup
Reset
Adjusting the Monitor
Page 100
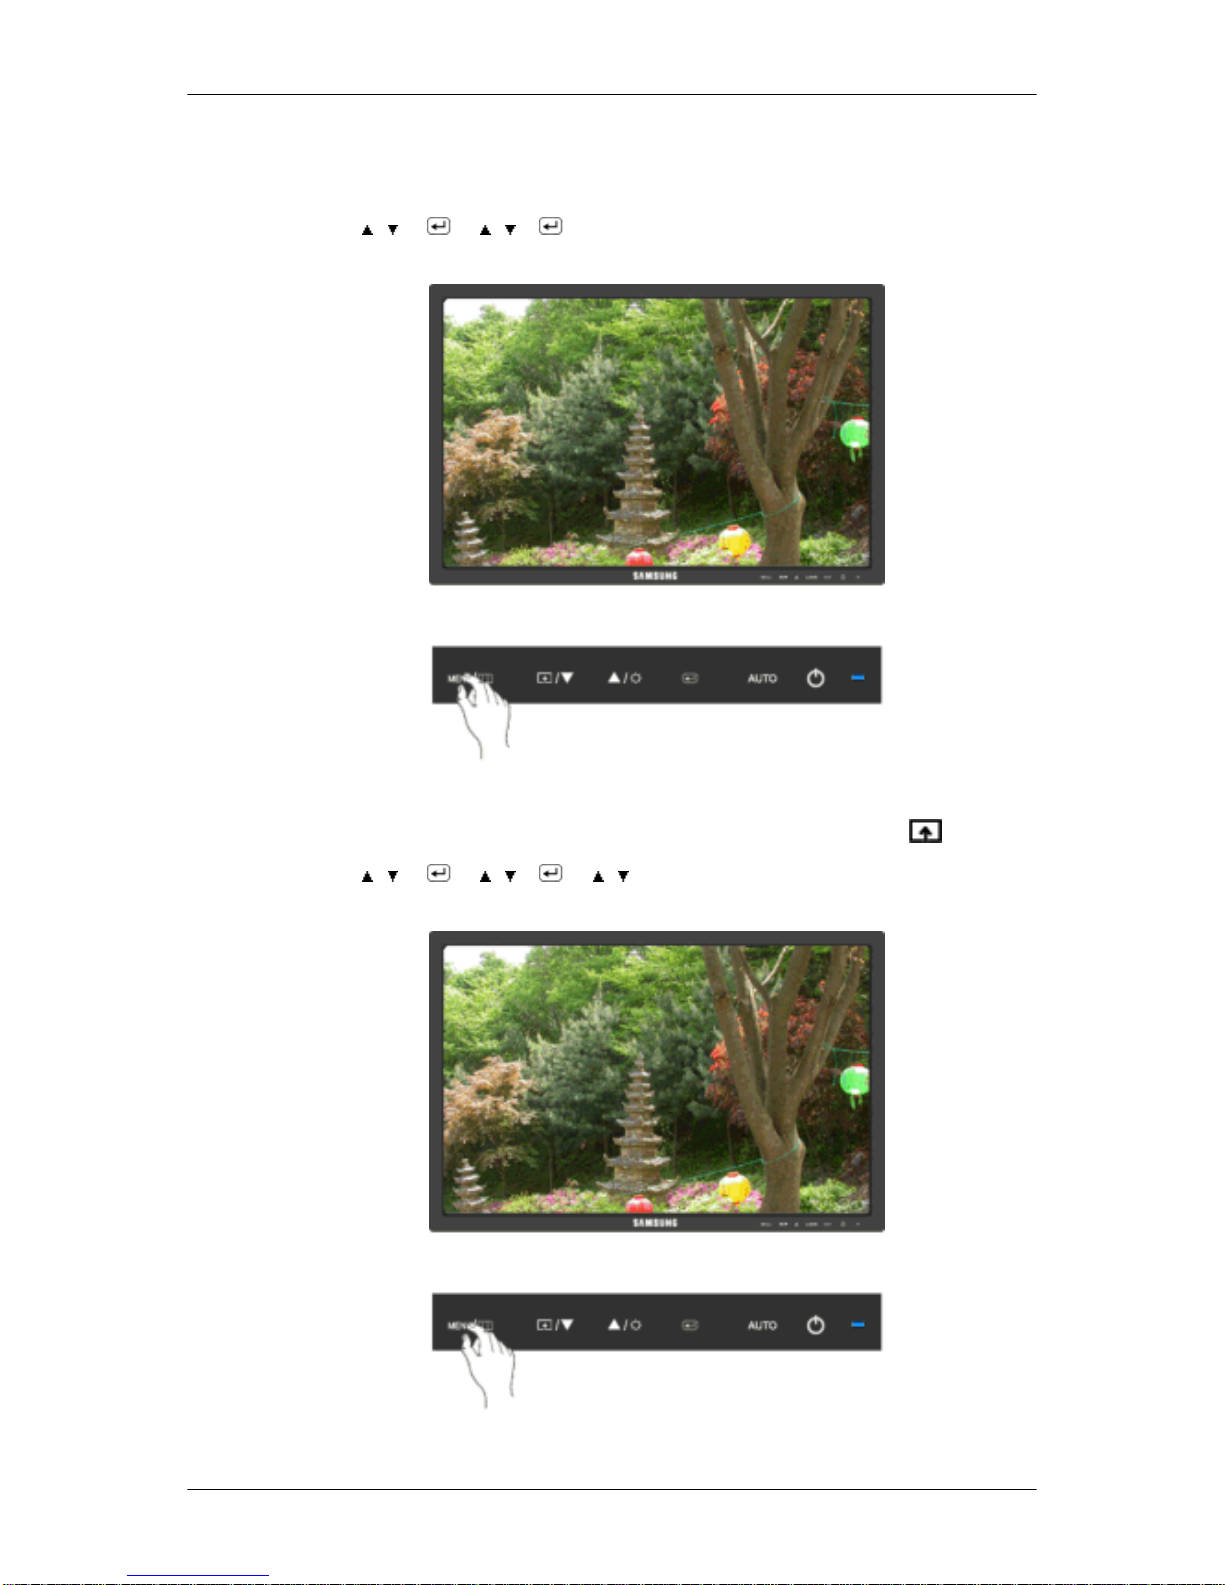
Reverts the product settings to factory defaults.
• No • Yes
MENU → , → → , → → MENU
Customized Key
You can specify a function which will be activated when the Customized Key ( )is pressed.
MENU → , → → , → → , →MENU
Off Timer
Adjusting the Monitor
 Loading...