

Samsung SyncMaster 540N, SyncMaster 740T, SyncMaster 740B, SyncMaster 740N, SyncMaster 940B User Manual
...Page 1
Install drivers Install programs
SyncMaster 740B / 940B / 740N / 940Fn / 540B / 540N / 740T / 940T / 940N / 940Be
Page 2
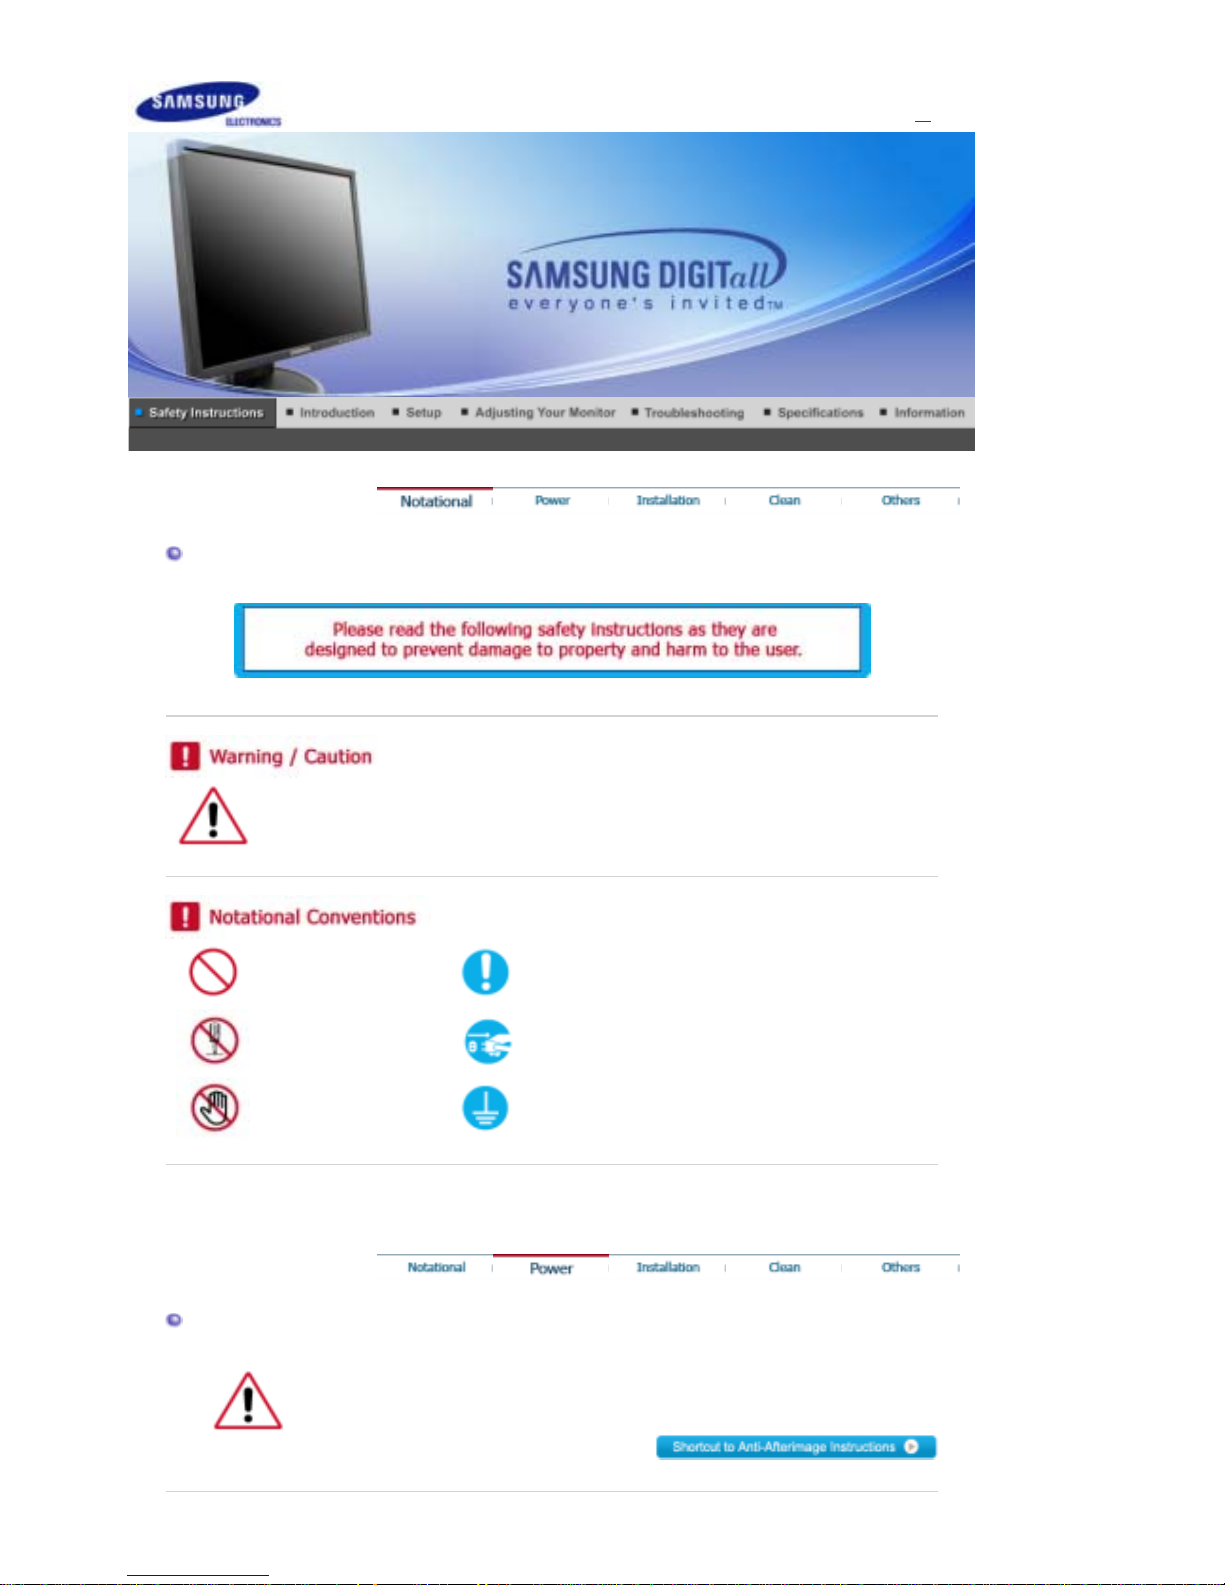
Notational
Failure to follow directions noted by this symbol could result in bodily harm or damage to
equipment.
Prohibited Important to read and understand at all times
Do not disassemble Disconnect the plug from the outlet
Do not touch Grounding to prevent an electric shock
Power
When not used for an extended period of time, set your computer to DPMS.
If using a screen saver, set it to the active screen mode.
Page 3
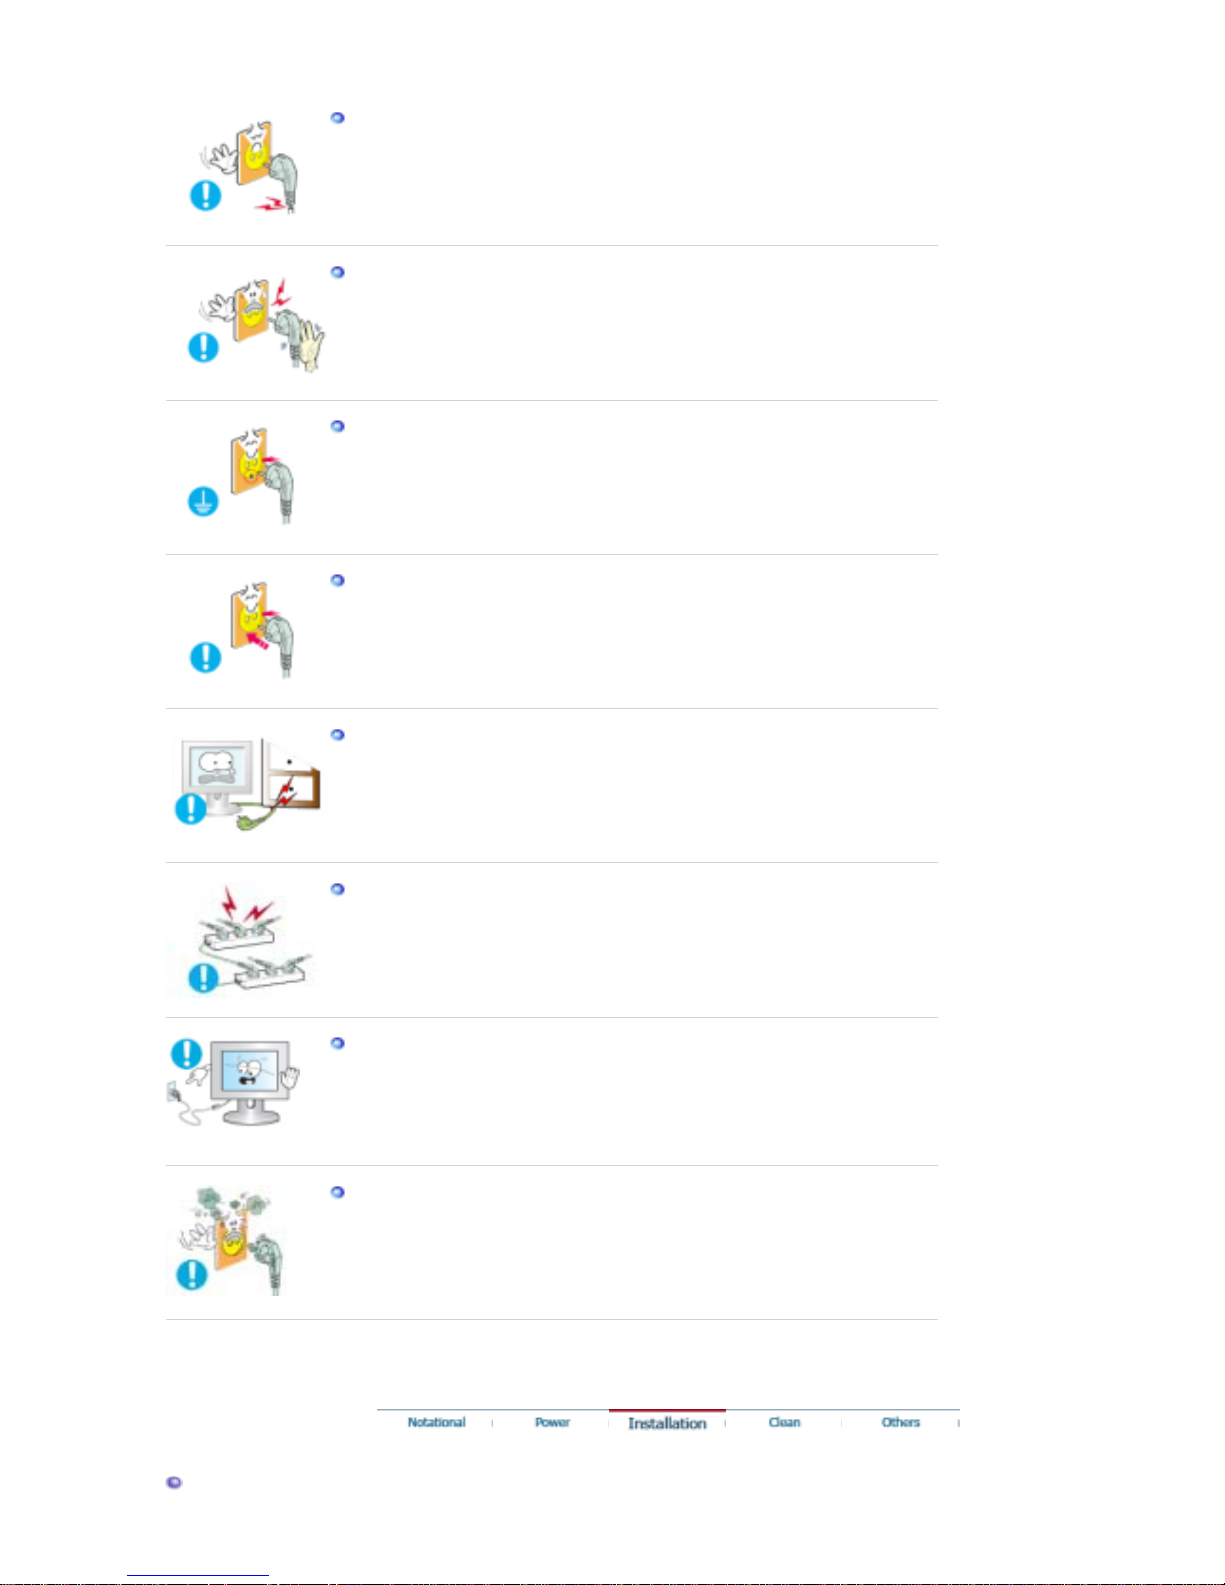
Do not use a damaged or loose plug.
z This may cause an electric shock or fire.
Do not pull the plug out by the wire nor touch the plug with wet hands.
z
This may cause an electric shock or fire.
Use only a properly grounded plug and receptacle.
z An improper ground may cause electric shock or equipment damage.
Insert the power plug firmly so that it does not come loose.
z A bad connection may cause fire.
Do not excessively bend the plug and wire nor place heavy objects upon
them, which could cause damage.
z This may cause an electric shock or fire.
Do not connect too many extension cords or plugs to an outlet.
z
This may cause fire.
Do not disconnect the power cord while using the monitor.
z
A
surge may be caused by the separation and may damage the monitor.
Do not use the power cord when the connector or plug is dusty.
z
If the connector or plug of the power cord is dusty, clean it with a dry
cloth.
z Using the power cord with a dusty plug or connector may cause an
electric shock or fire.
Installation
Page 4
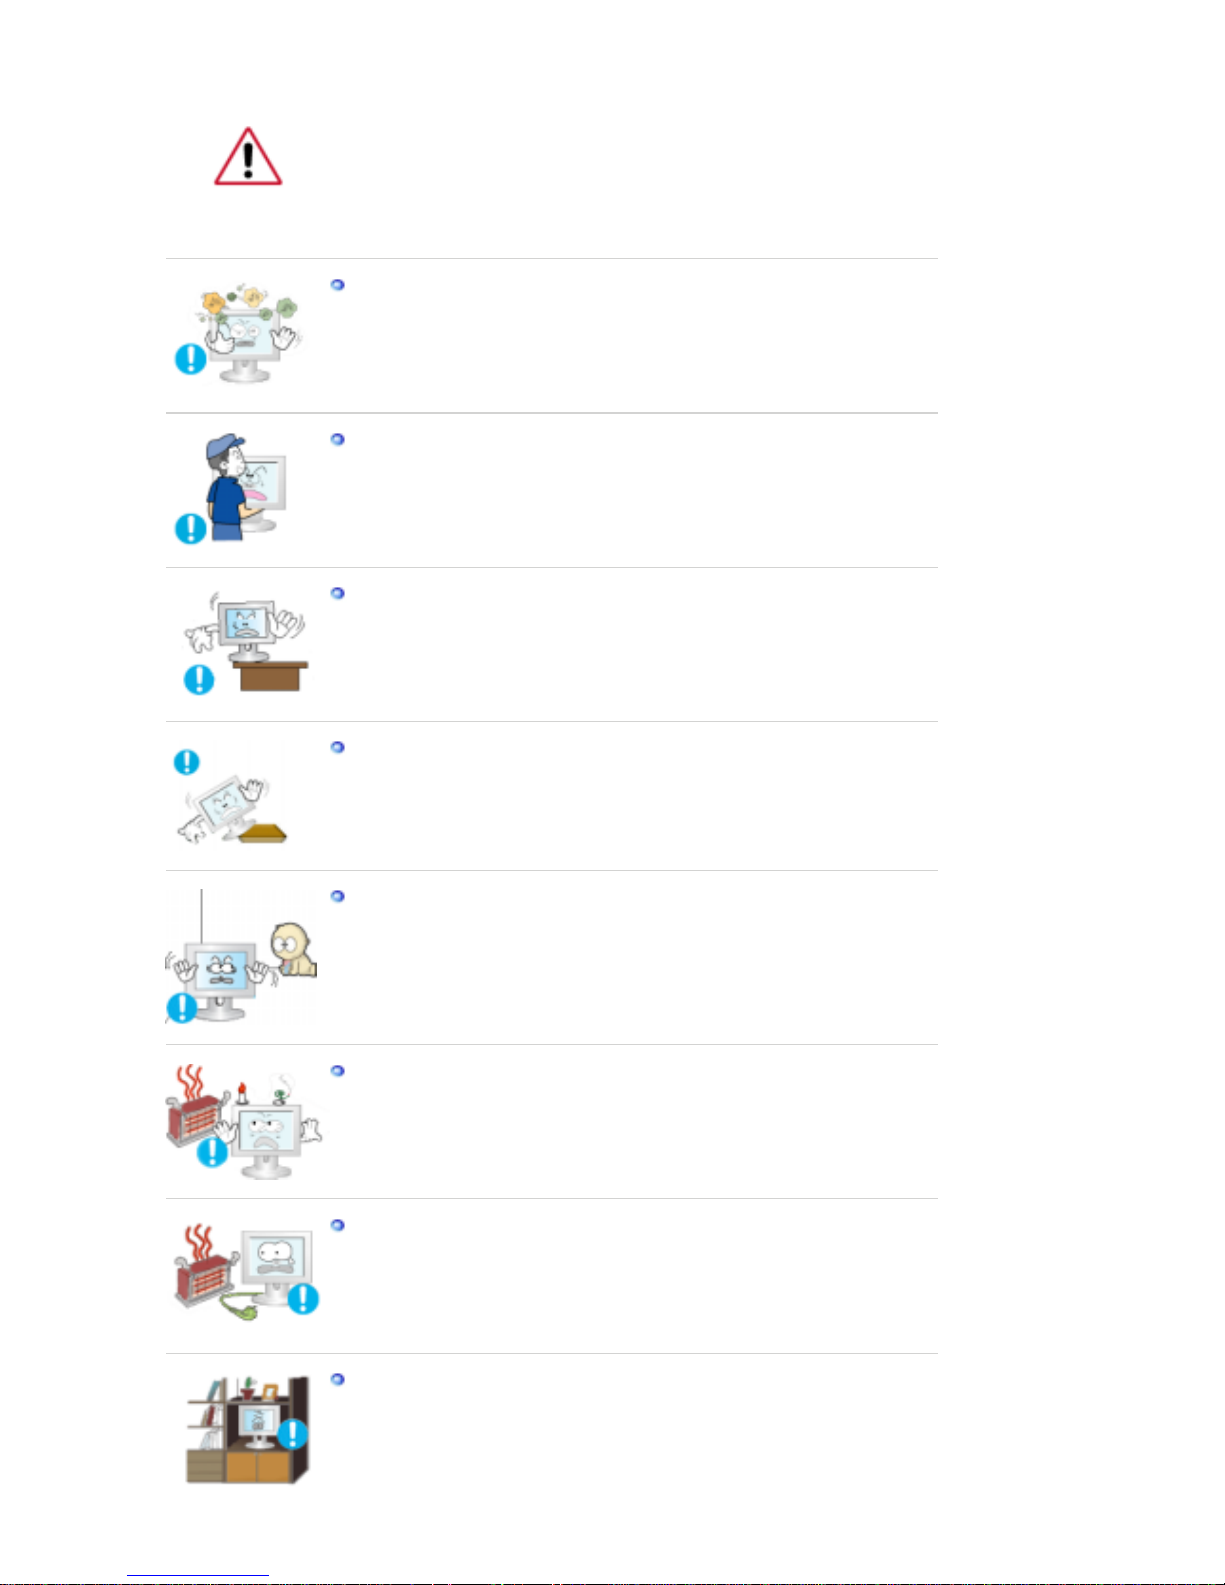
Be sure to contact an authorized Service Center, when installing your monitor in
a location with the heavy dust, high or low temperatures, high humidity, chemical
substance and where it operates for 24 hours such as the airport, the train
station or etc.
Failure to do so may cause a serious damage to your monitor.
Put your monitor in a location with low humidity and a minimum of dust.
z Failure to do so may cause an electric shock or fire inside the monitor.
Do not drop the monitor when moving it.
z This may cause damage to the product or human body.
Install the monitor base in a showcase or shelf so that the end of the
base does not protrude from the showcase or shelf.
z Dropping the product may cause damage to the product or personal
injury.
Do not place the product on an unstable or small surface area.
z
Place the product on an even, stable surface, as the product may fall
and cause harm to someone walking by, specifically children.
Do not place the product on the floor.
z Someone, specifically children could trip over it.
Keep any flammable objects such as candles, insecticides or cigarettes
away from the product.
z
Otherwise, this may cause a fire.
Keep any heating devices away from the power cable.
z A melted coating may lead to electric shock or fire.
Do not install the product in places with poor ventilation, for instance, a
bookshelf, closet, etc.
z Any increase in internal temperature may cause fire.
Page 5
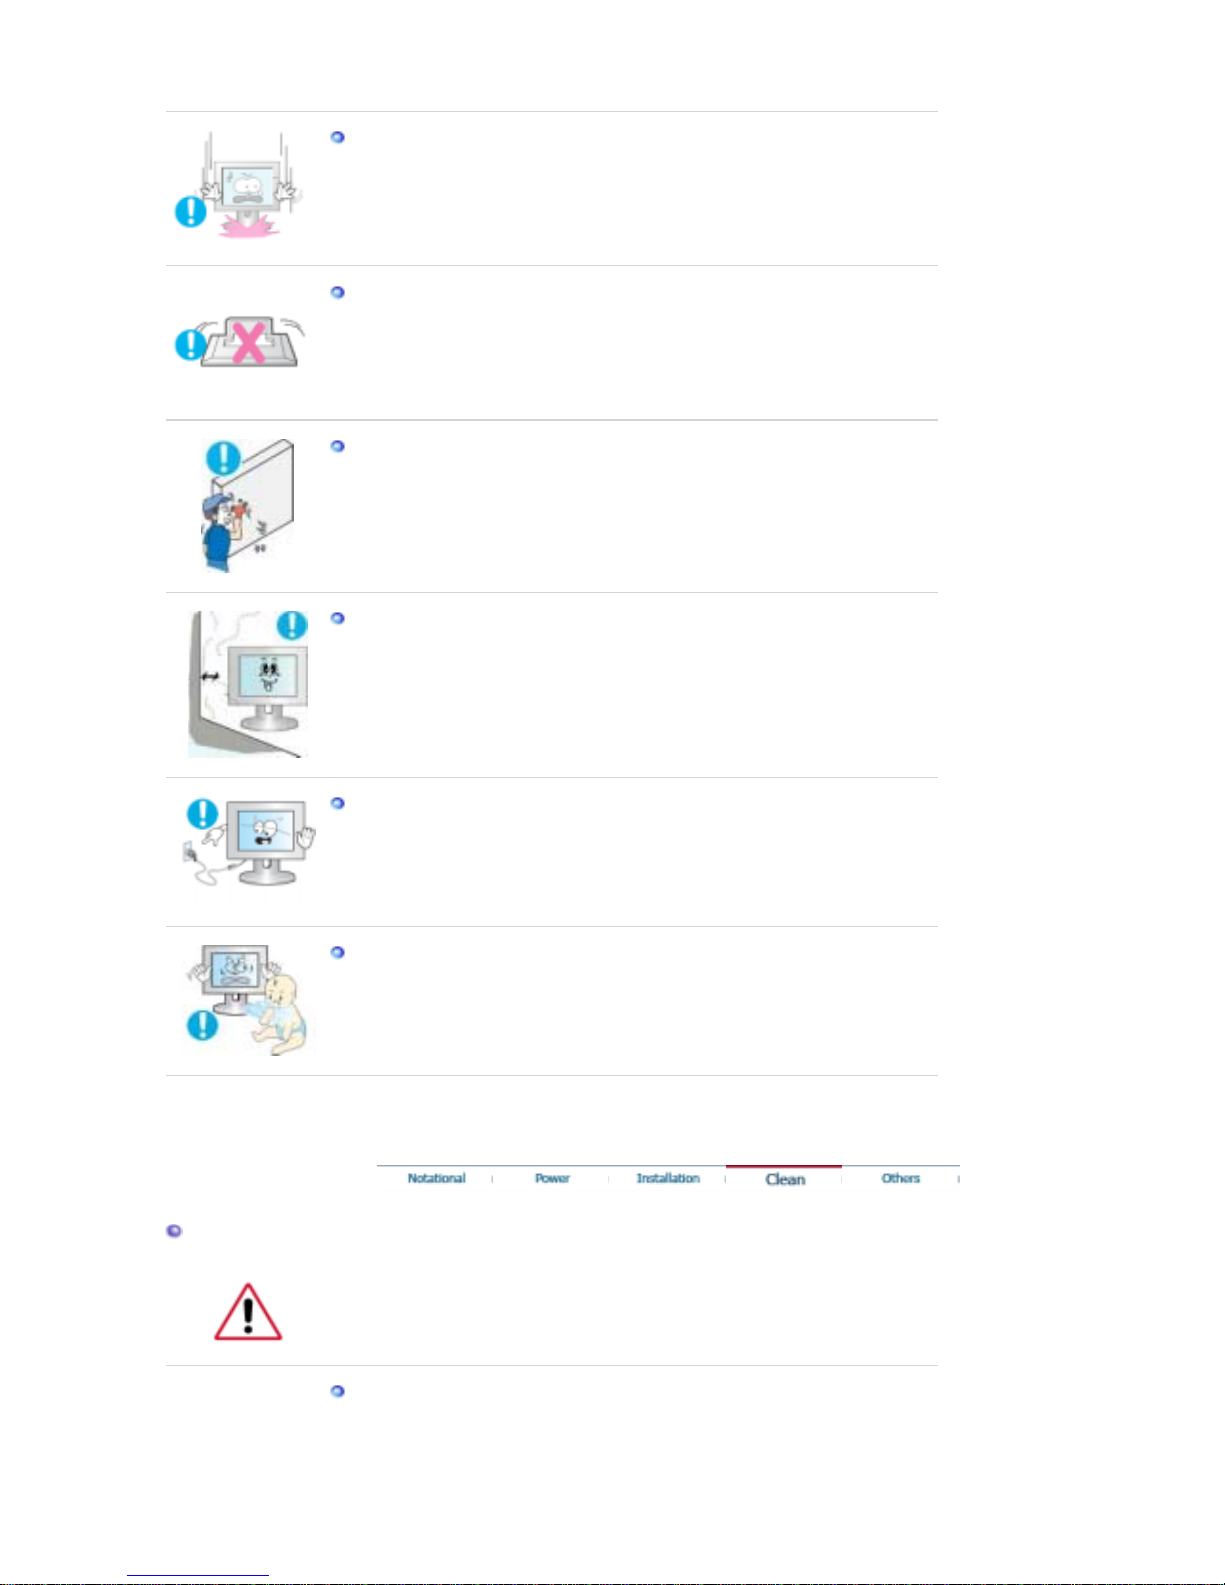
Set down the monitor carefully.
z The monitor could be damaged or broken.
Do not place the monitor face down.
z The TFT-LCD surface may be damaged.
Installing a wall bracket must be done by a qualified professional.
z Installation by unqualified personnel may result in injury.
z Always use the mounting device specified in the owner's manual.
When installing the product, make sure to keep it away from the wall
(more than 10 cm / 4 inch ) for ventilation purposes.
z Poor ventilation may cause an increase in the internal temperature of the
product, resulting in a shortened component life and degraded
performance.
Do not disconnect the power cord while using the monitor.
z
A
surge may be caused by the separation and may damage the monitor.
Keep the plastic packaging (bag) out of children’s reach.
z The plastic packaging (bag) may cause suffocation if children play with
it.
Clean
When cleaning the monitor case or the surface of the TFT-LCD screen, wipe with
a slightly moistened, soft fabric.
Do not spray water or detergent directly on the monitor.
z
This may cause damage, electric shock or fire.
Page 6
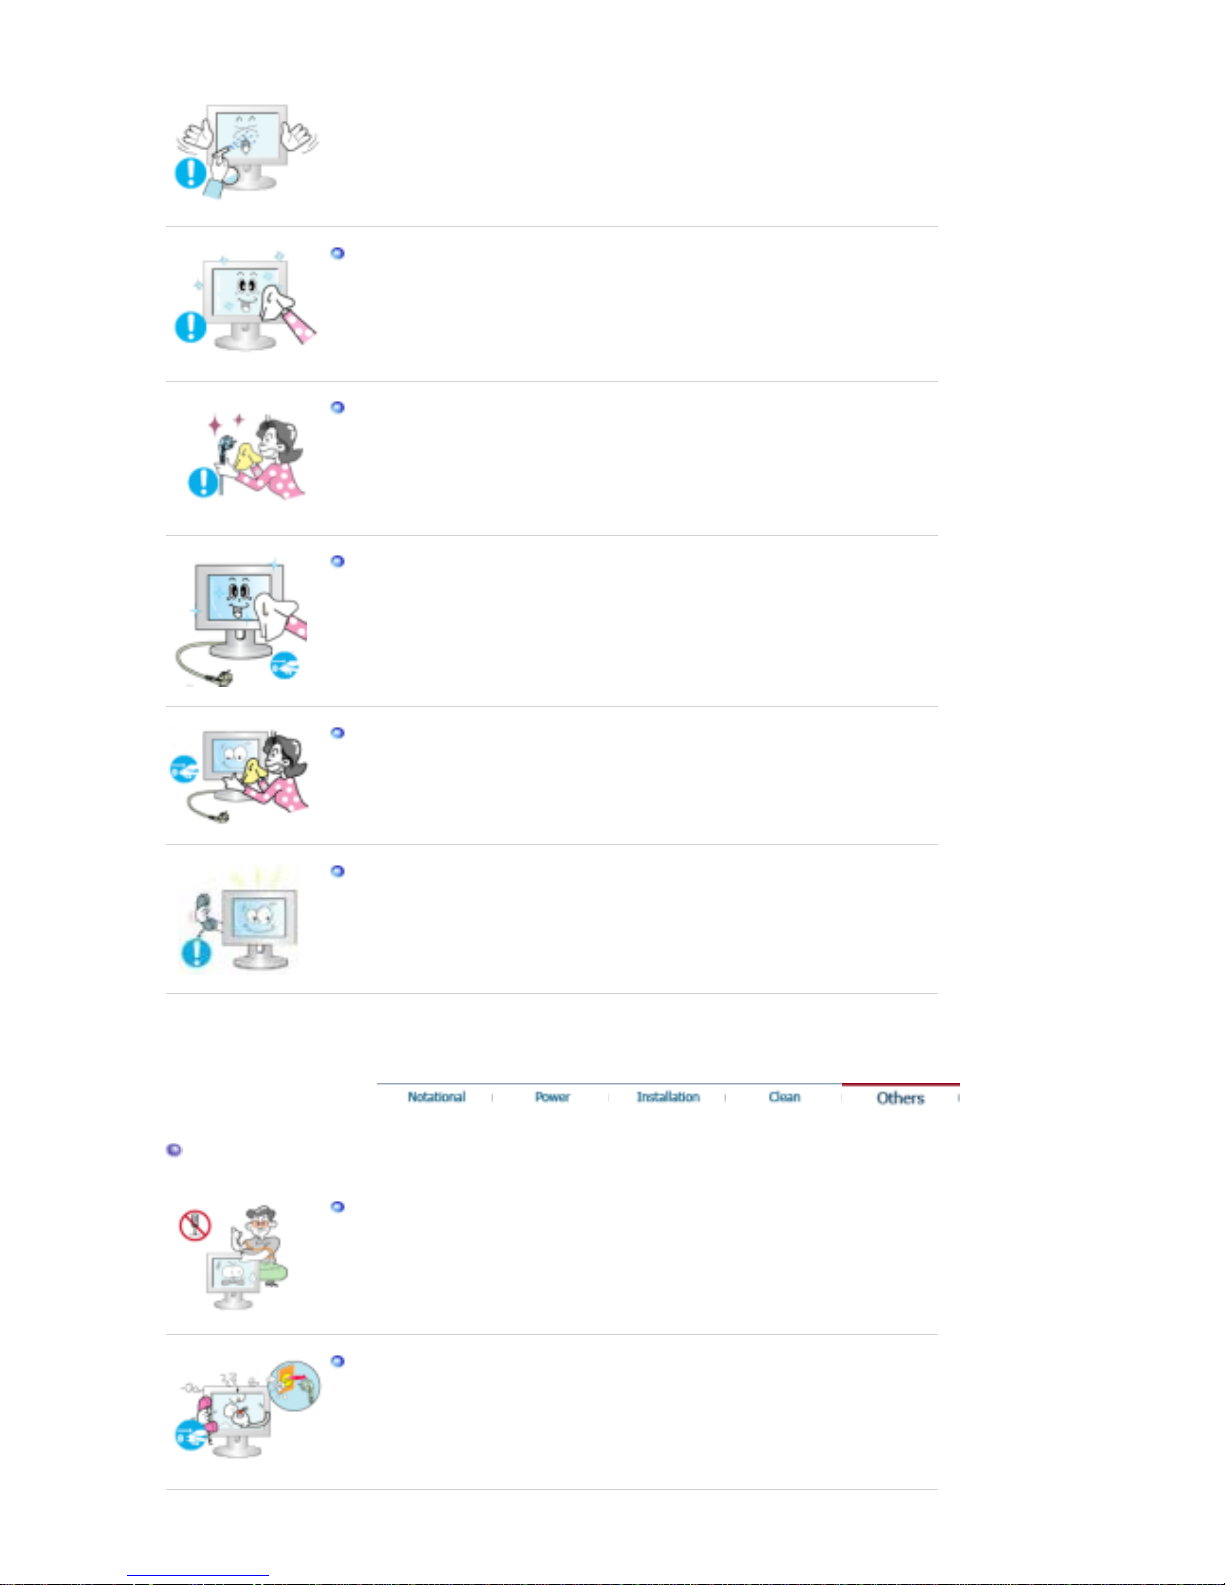
Use the recommended detergent with a smooth cloth.
If the connector between the plug and the pin is dusty or dirty, clean it
properly with a dry cloth.
z A dirty connector may cause an electric shock or fire.
Make sure to unplug the power cord before cleaning the product.
z Otherwise, this may cause electric shock or fire.
Unplug the power cord from the power outlet and wipe the product using
a soft, dry cloth.
z Do not use any chemicals such as wax, benzene, alcohol, thinners,
insecticide, air freshener, lubricant or detergent.
Contact the Service Center or Customer Center for interior cleaning
once a year.
z Keep the product's interior clean. Dust which has accumulated in the
interior over an extended period of time may cause malfunction or fire.
Others
Do not remove cover (or back).
z
This may cause an electric shock or fire.
z
Refer servicing to qualified service personnel.
If your monitor does not operate normally - in particular, if there are any
unusual sounds or smells coming from it - unplug it immediately and
contact an authorized dealer or service.
z
This may cause an electric shock or fire.
Page 7
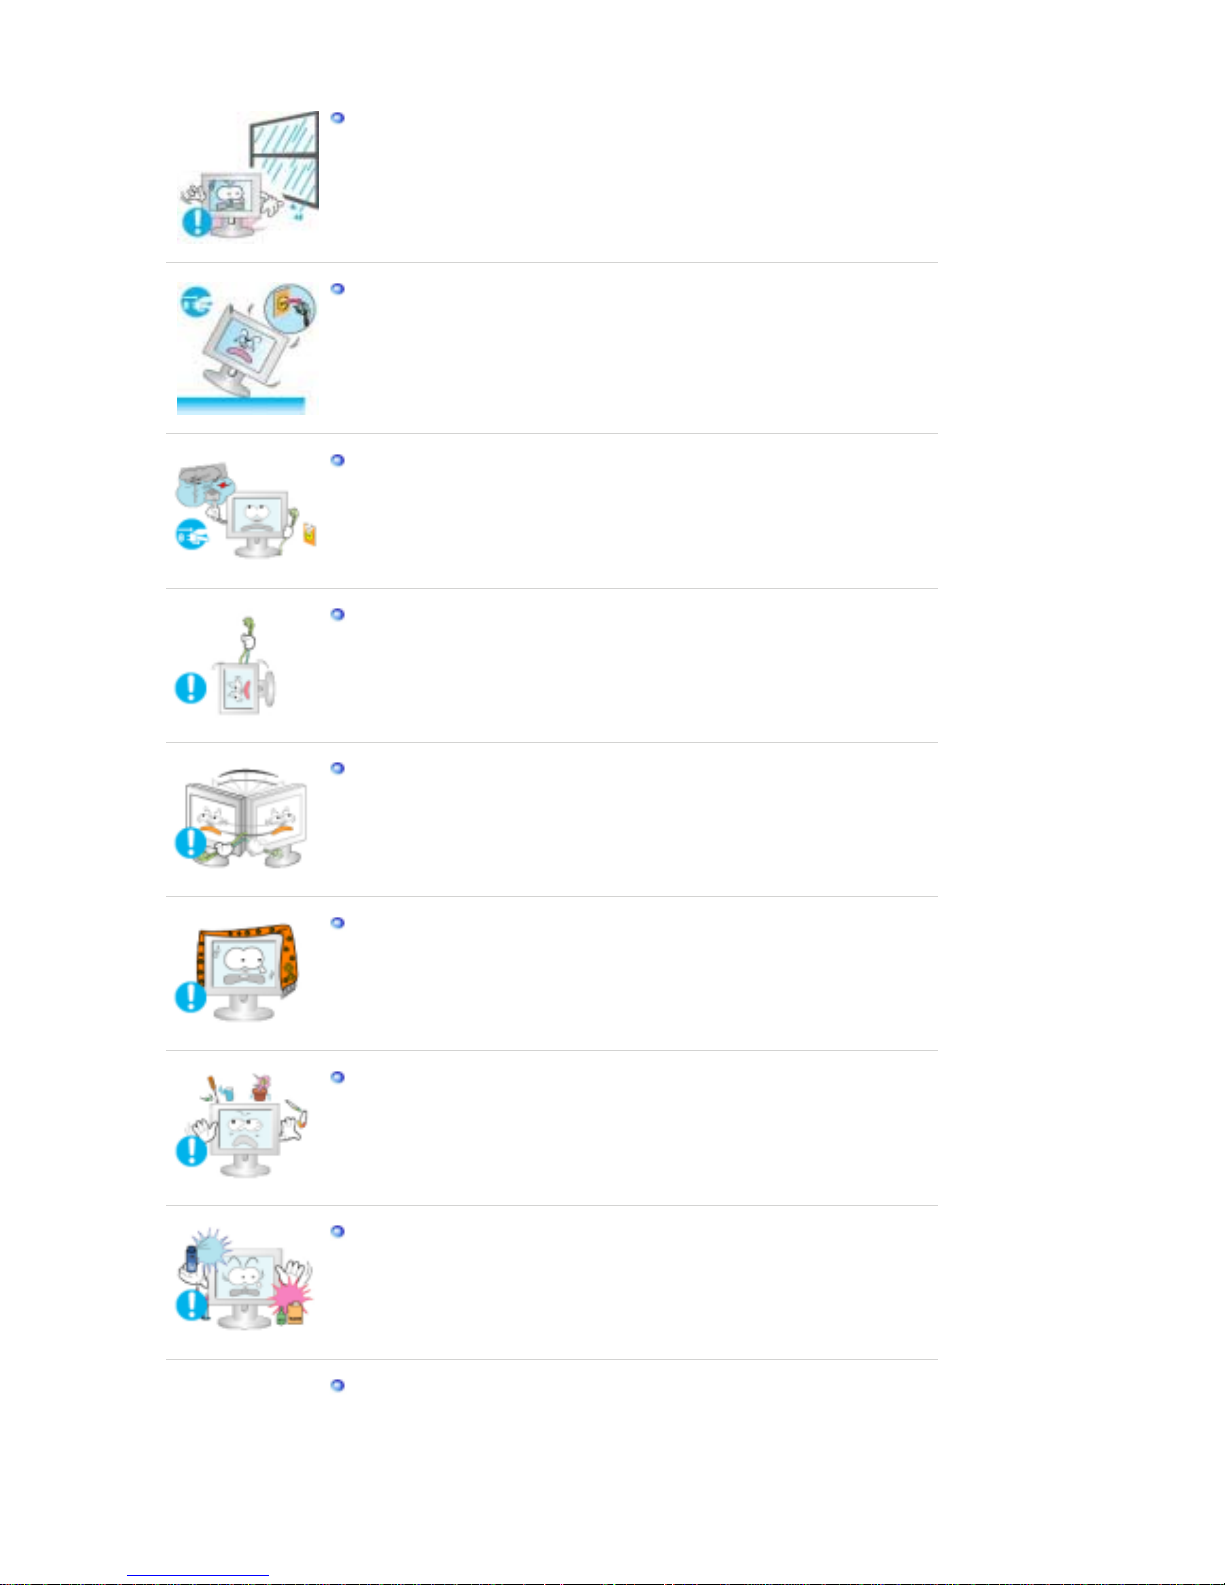
Keep the product away from places exposed to oil, smoke or moisture;
do not install inside a vehicle.
z This may cause malfunction, an electric shock or fire.
z Especially avoid operating the monitor near water or outdoors where it
could be exposed to snow or rain.
If the monitor is dropped or the casing is damaged, turn the monitor off
and unplug the power cord. Then contact the Service Center .
z
The monitor may malfunction, causing an electric shock or fire.
Disconnect the plug from the outlet during storms or lightening or if it is
not used for a long period of time.
z
Failure to do so may cause an electric shock or fire.
Do not try to move the monitor by pulling only the wire or the signal
cable.
z This may cause a breakdown, electric shock or fire due to damage to
the cable.
Do not move the monitor right or left by pulling only the wire or the
signal cable.
z This may cause a breakdown, electric shock or fire due to damage to
the cable.
Do not cover the vents on the monitor cabinet.
z
Bad ventilation may cause a breakdown or fire.
Do not place water containers, chemical products or small metal objects
on the monitor.
z
This may cause malfunction, an electric shock or fire.
z If a foreign substance enters the monitor, unplug the power cord and
contact the Service Center.
Keep the product away from combustible chemical sprays or
inflammable substances.
z
This may cause an explosion or fire.
Never insert anything metallic into the monitor openings.
z This may cause an electric shock, fire or injury.
Page 8
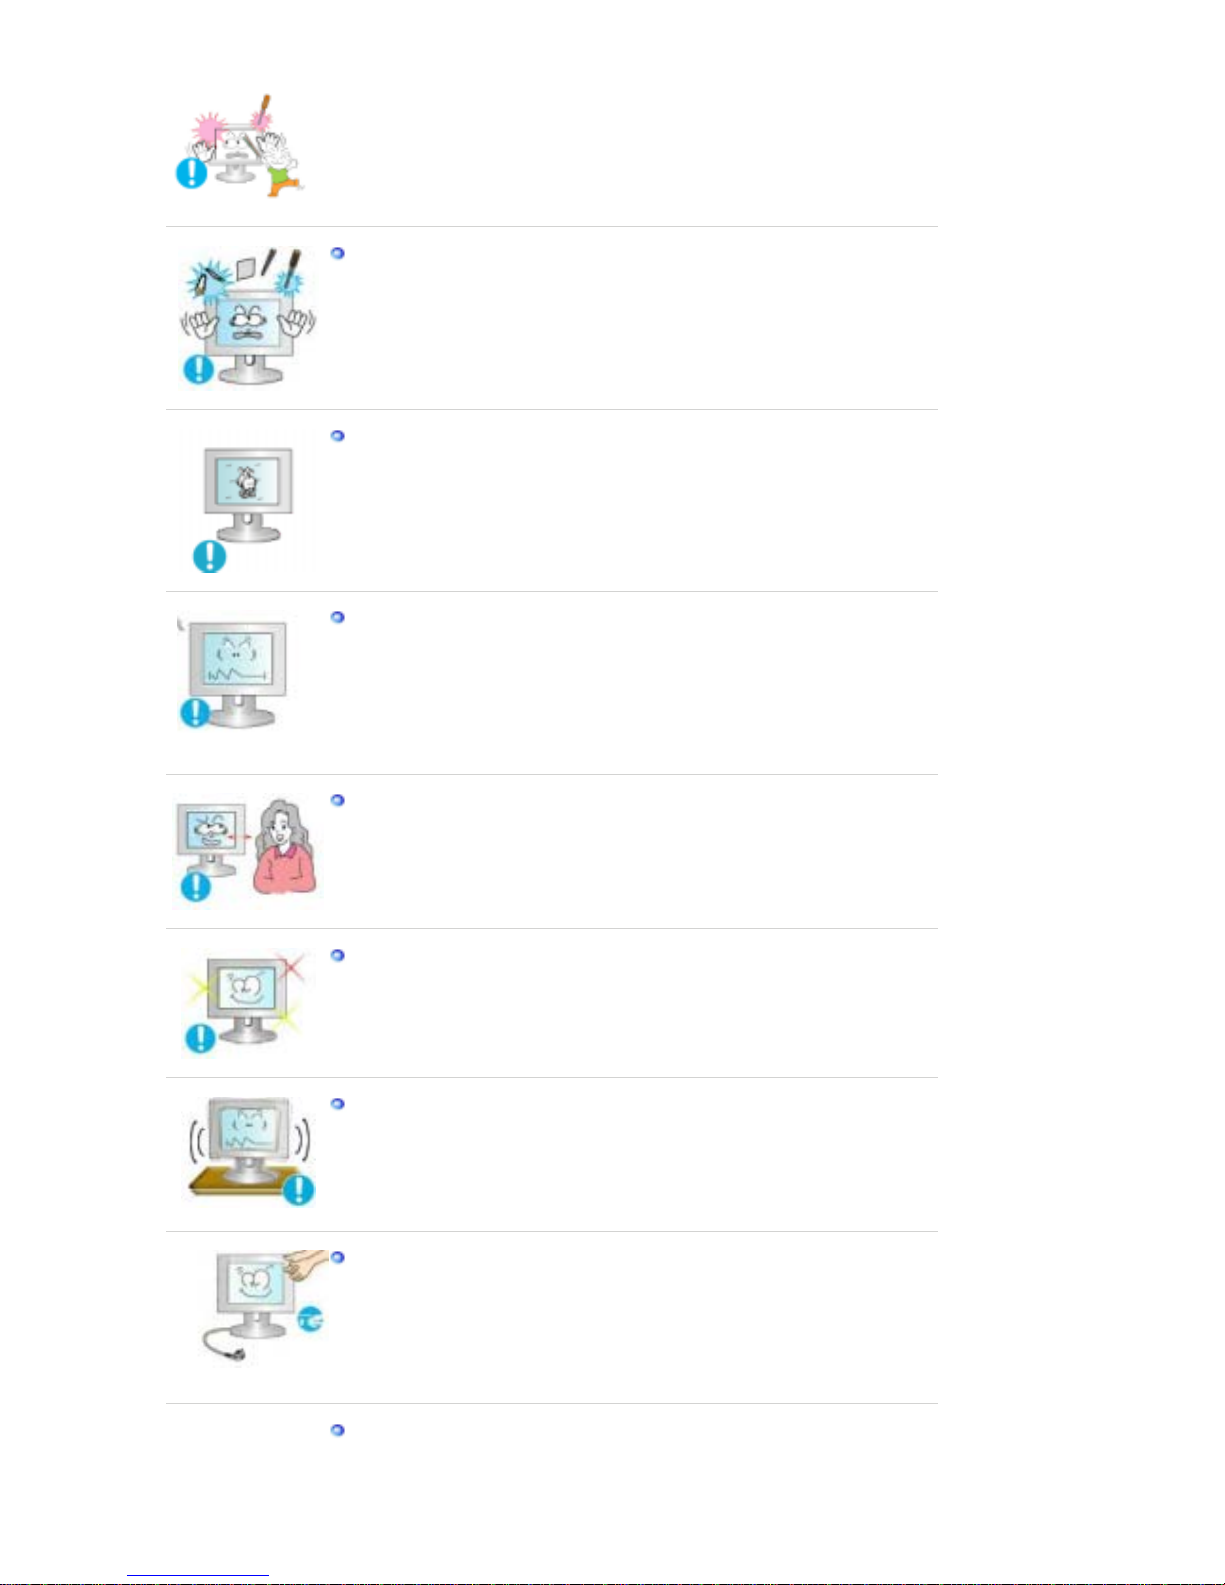
Do not insert metal objects such as chopsticks, wire and gimlet or
inflammable objects such as paper and match into the vent, headphone
port or AV ports.
z
It may cause a fire or an electric shock. If an alien substances or water
flows into the product, turn the product off, unplug the power connector
from the wall outlet and contact Service Center.
If you view a fixed screen for an extended period of time, residual image
or blurriness may appear.
z
Change the mode to energy save or set a screensaver to moving picture
when you need to be away from the monitor for an extended period of
time.
Adjust the resolution and frequency to the levels appropriate for the
model.
z
Inappropriate resolution may cause undesirable picture quality.
15 inch (38 cm) - 1024 X 768
17,19 inch (43, 48 cm) - 1280 X 1024
Watching the monitor continuously at a too close angle may result in
eyesight damage.
To ease eye strain, take at least a five-minute break after every hour of
using the monitor
.
Do not install the product on an unstable, uneven surface or a location
prone to vibrations.
z
Dropping the product may cause damage to the product or personal
injury. Using the product in a location prone to vibrations may shorten
the lifetime of the product or may catch fire.
When moving the monitor, turn off and unplug the power cord.
Make sure that all cables, including the antenna cable and cables
connecting to other devices, are disconnected before moving the
monitor.
z
Failure to disconnect cables may damage it and lead to fire or an electric
shock.
Place the product out of children’s reach, as they could damage it by
hanging onto it.
Page 9

z
A falling product could cause physical damage even death.
When not using the product for an extended time period, keep the
product unplugged.
z Otherwise, this may cause heat emission from the accumulated dirt or
degraded insulation, leading to electric shock or fire.
Do not place children’s favorite objects (or anything else that may be
tempting) on the product.
z Children may try to climb on the product to retrieve an object. The
product could fall, causing physical damage or even death.
Page 10
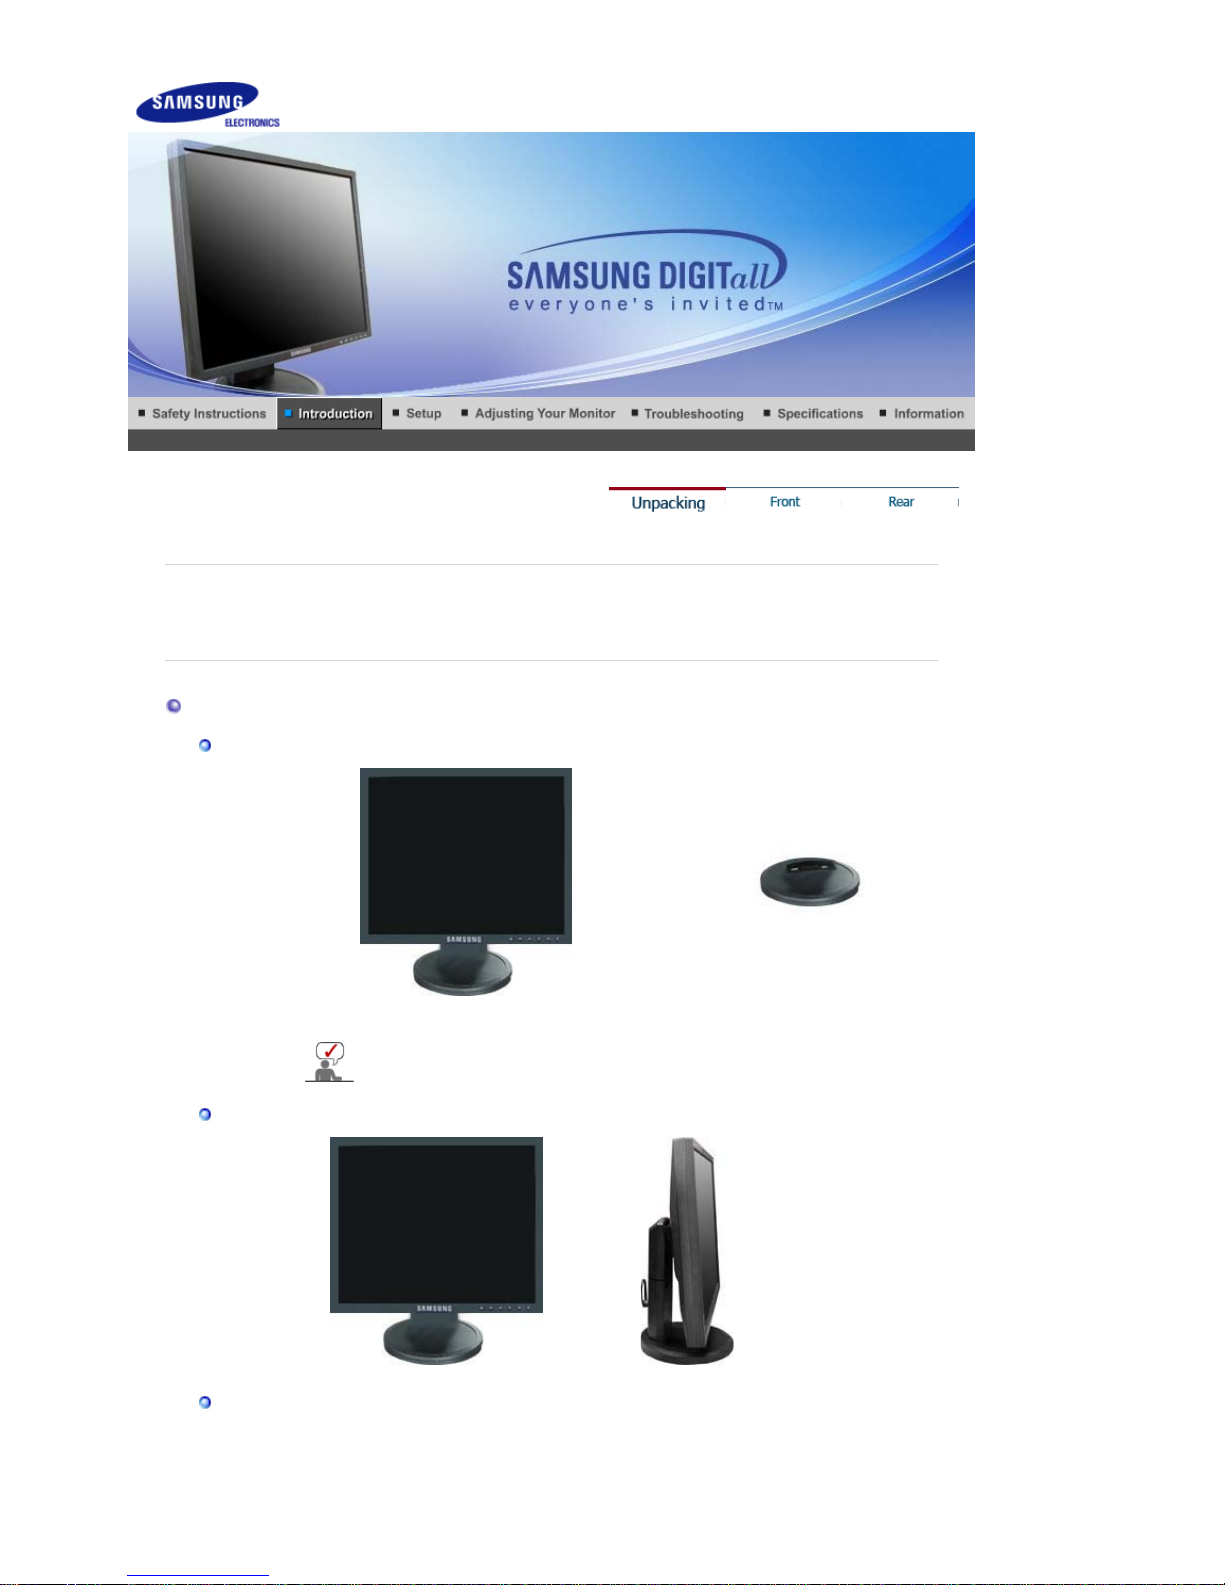
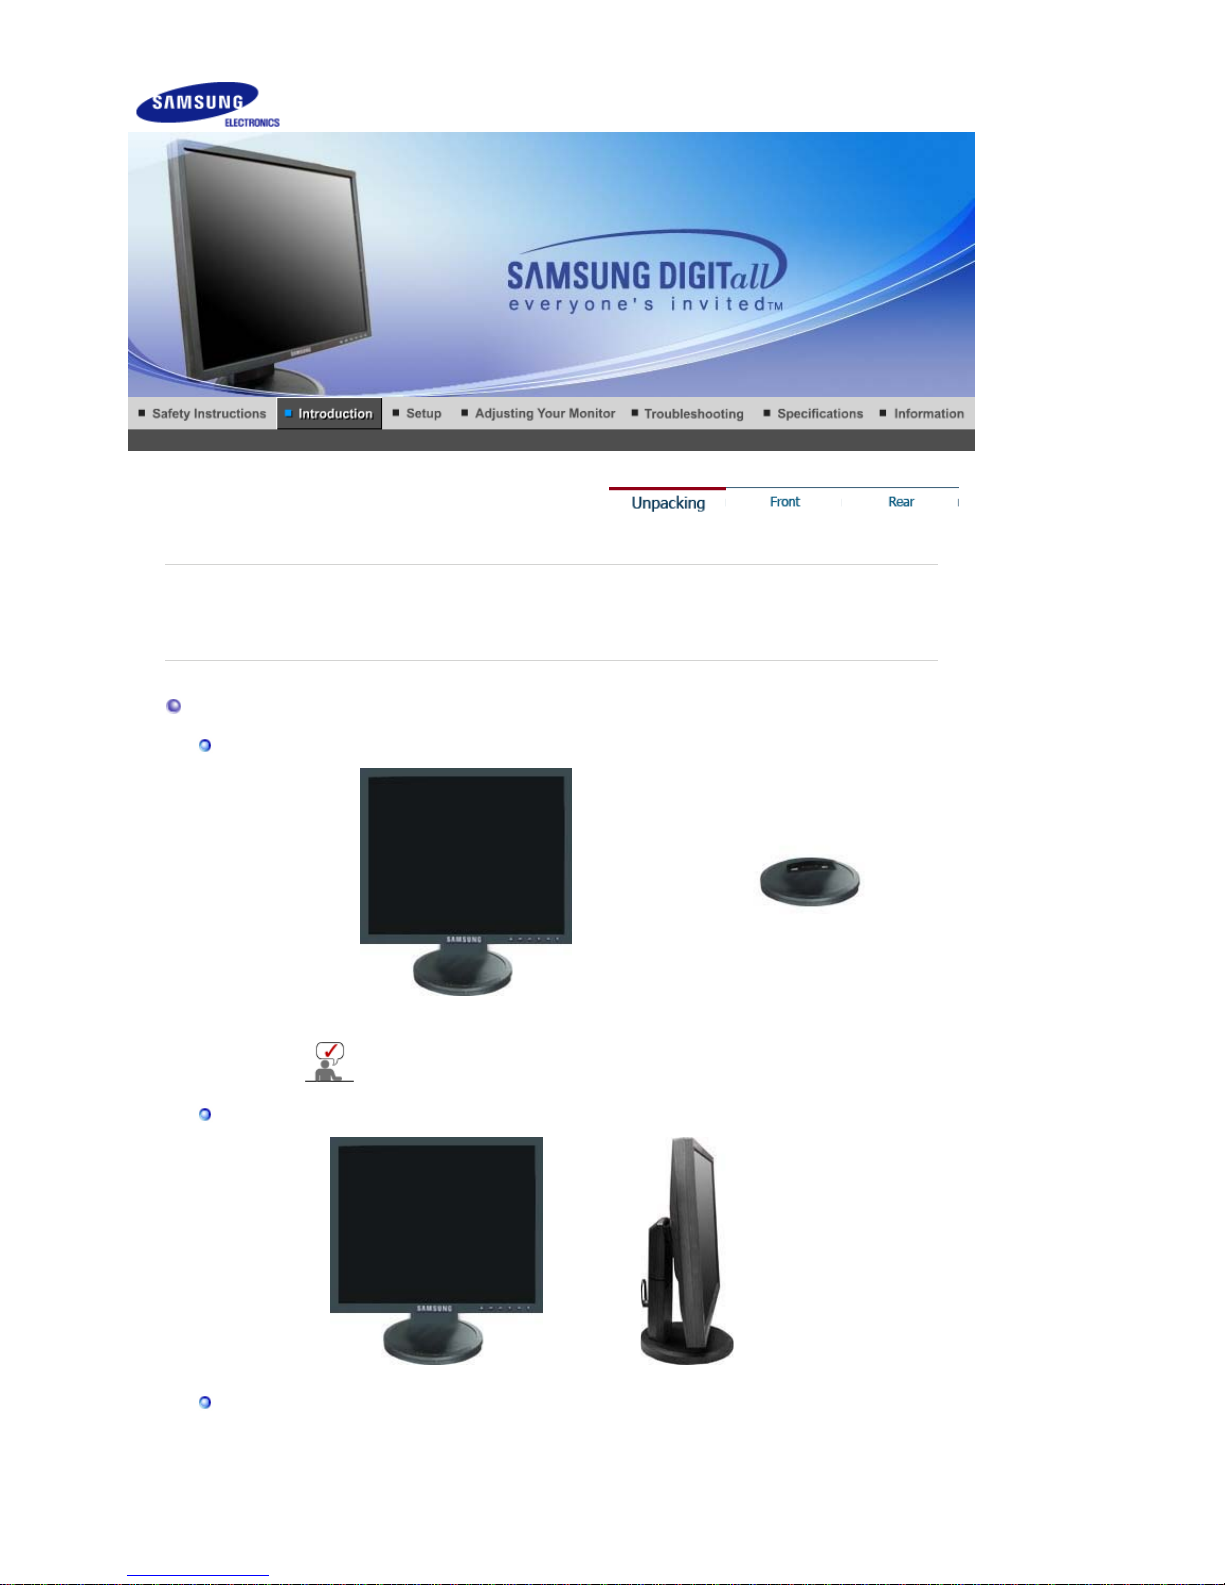
Please make sure the following items are included with your monitor.
If any items are missing, contact your dealer.
Contact a local deale
r
to buy optional items.
Unpacking
Type 1
Monitor & Simple stand Bottom
MagicRotation program can not be provided as Simple
Stand does not support Pivot function.
Type 2
Monitor & Pivot stand
Type 3
SyncMaster 740B / 940B / 540B
Page 11
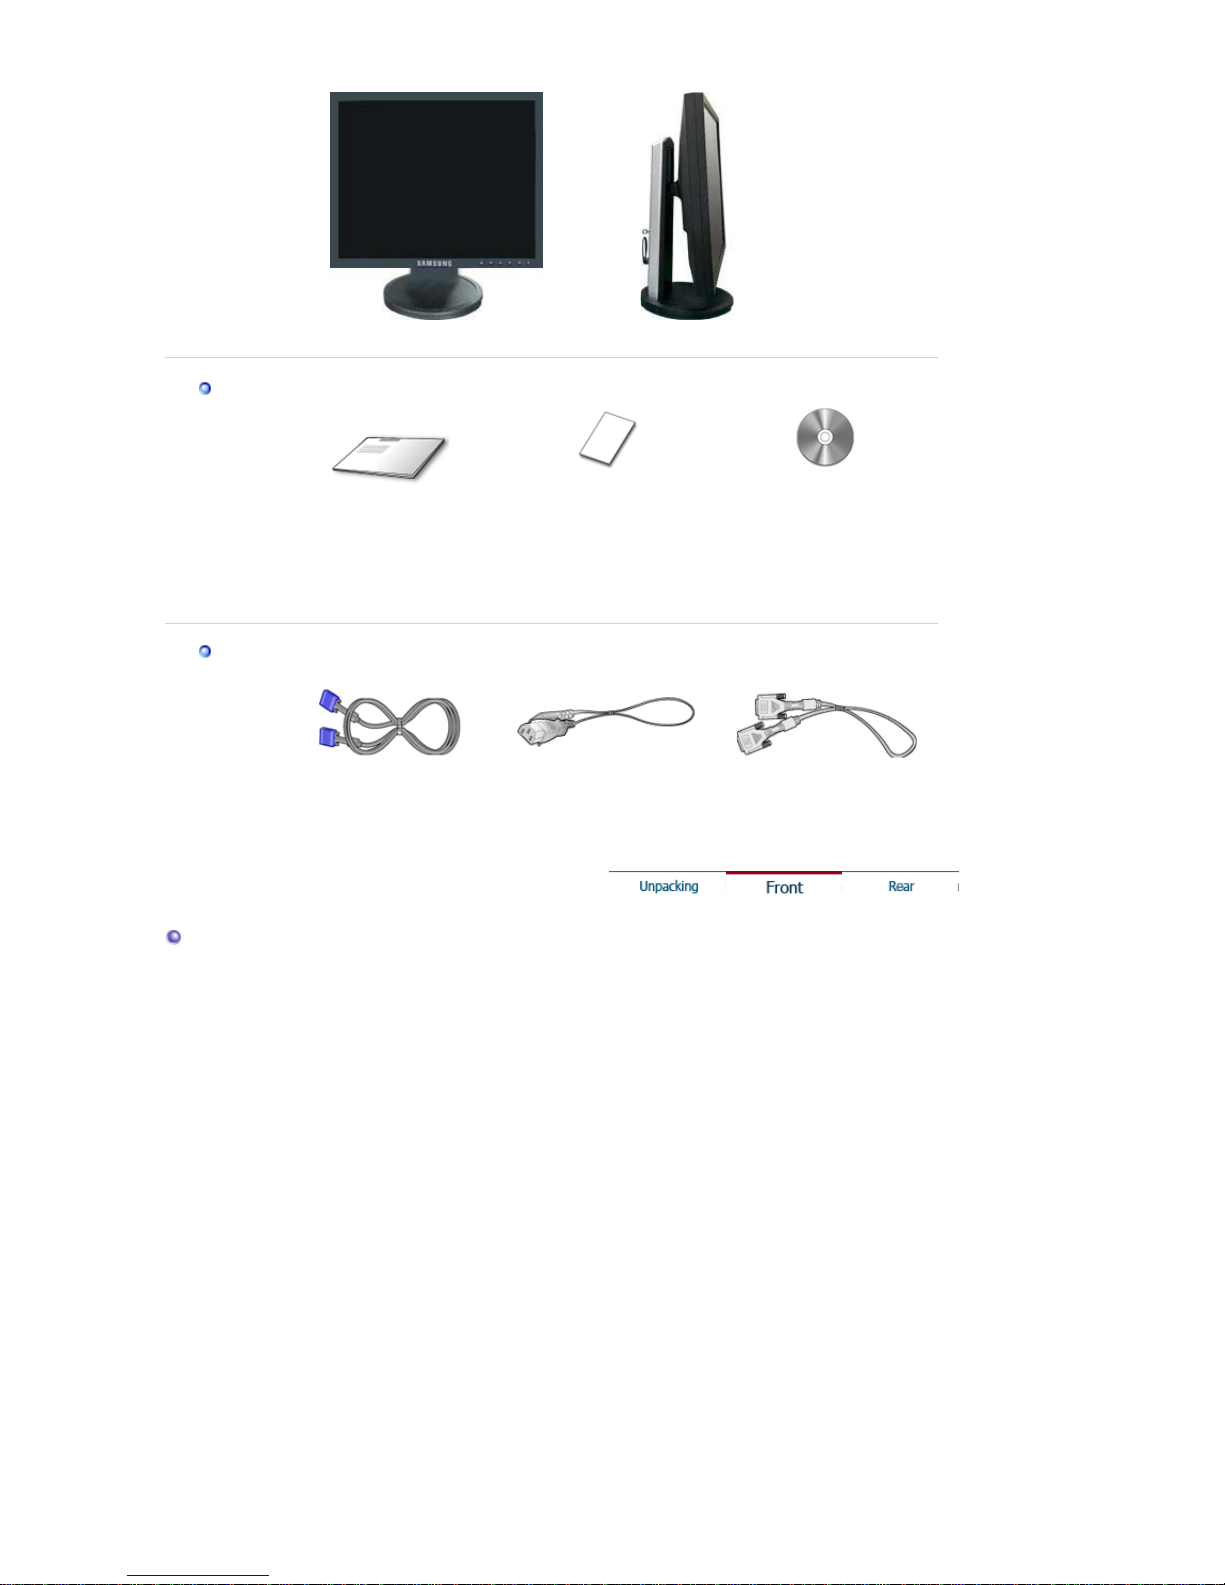
Monitor & Sliding Stand
Manual
Quick Setup Guide
Warranty Card
(Not available in all
locations)
User's Guide,
Monitor Driver,
Natural Color software,
MagicTune™ software
Ma
g
icRotation software
Cable
D-sub Cable Power Cord DVI Cable (option
)
Front
Page 12
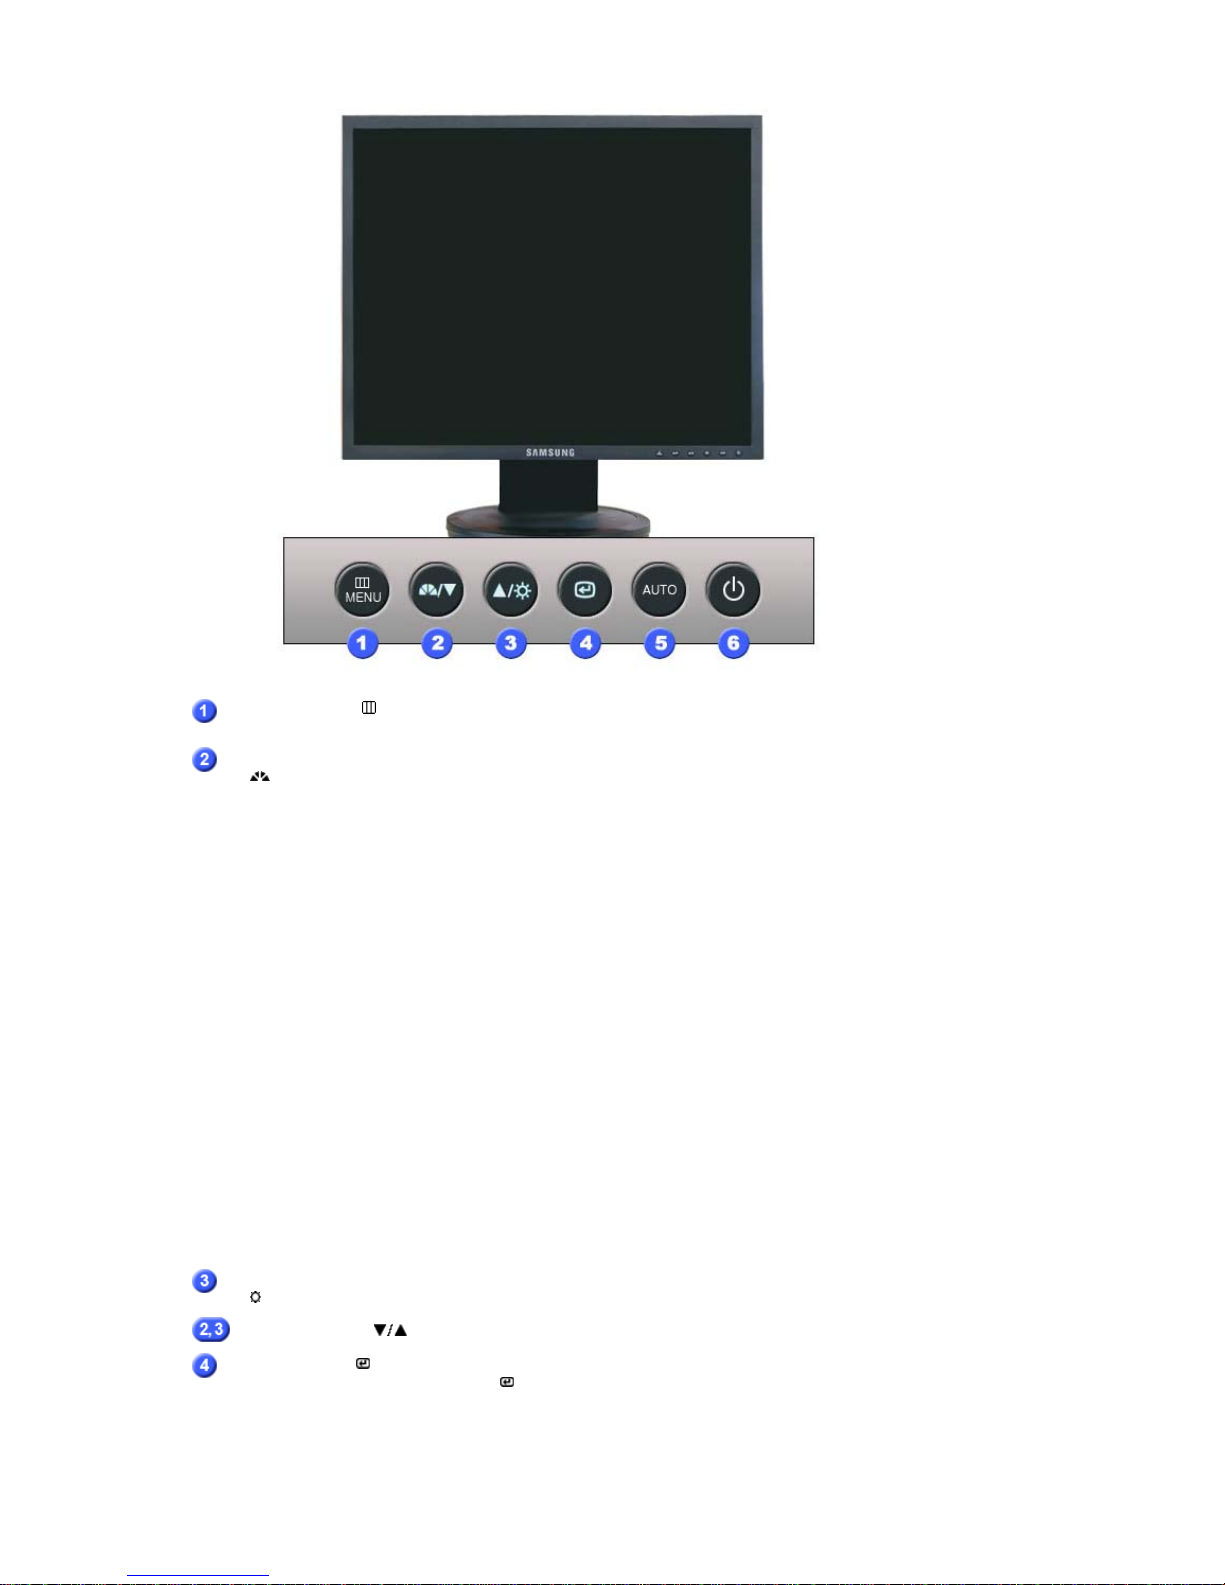
MENU button [ ]
Opens the OSD menu. Also use to exit the OSD menu or return to
the previous menu.
MagicBright™™
[]
MagicBright™™ is a new feature providing optimum viewing
environment depending on the contents of the image you are
watching. Currently six different modes are available: Custom,
Text, Internet, Game, Sport and Movie. Each mode has its own
pre-configured brightness value. You can easily select one of six
settings by simply pressing MagicBright™ control button.
1) Custom
Although the values are carefully chosen by our engineers,
the pre-configured values may not be comfortable to your eyes
depending on your taste.
If this is the case, adjust the brightness and contrast by using
the OSD menu.
2) Text
For documentations or works involving heavy text.
3) Internet
For working with a mixture of images such as text and
graphics.
4) Game
For watching motion pictures such as a game.
5) Sport
For watching motion pictures such as a sport.
6) Movie
For watching motion pictures such as a DVD or Video CD.
>>Click here to see an animation clip
Brightness button
[]
When OSD is not on the screen, push the button to adjust
brightness.
Adjust buttons [ ]
Adjust items in the menu.
Enter button [ ] /
Source button
Activates a highlighted menu item. /
Push the ' ', then selects the video signal while the OSD is off.
(When the source button is pressed to change the input mode, a
message appears in the upper left of the screen displaying the
current mode -- analog or digital input signal.)
Note : If you select the digital mode, you must connect your monitor
to the graphic card's DVI port using the DVI cable.
Page 13
AUTO button
Use this button for auto adjustment.
Power button [ ]/
Power indicator
Use this button for turn the monitor on and off. /
This light glows blue during normal operation, and blinks blue
once as the monitor saves your adjustments.
See PowerSaver described in the manual for further information regarding power saving
functions. For energy conservation, turn your monitor OFF when it is not needed, or when
leaving it unattended for long periods.
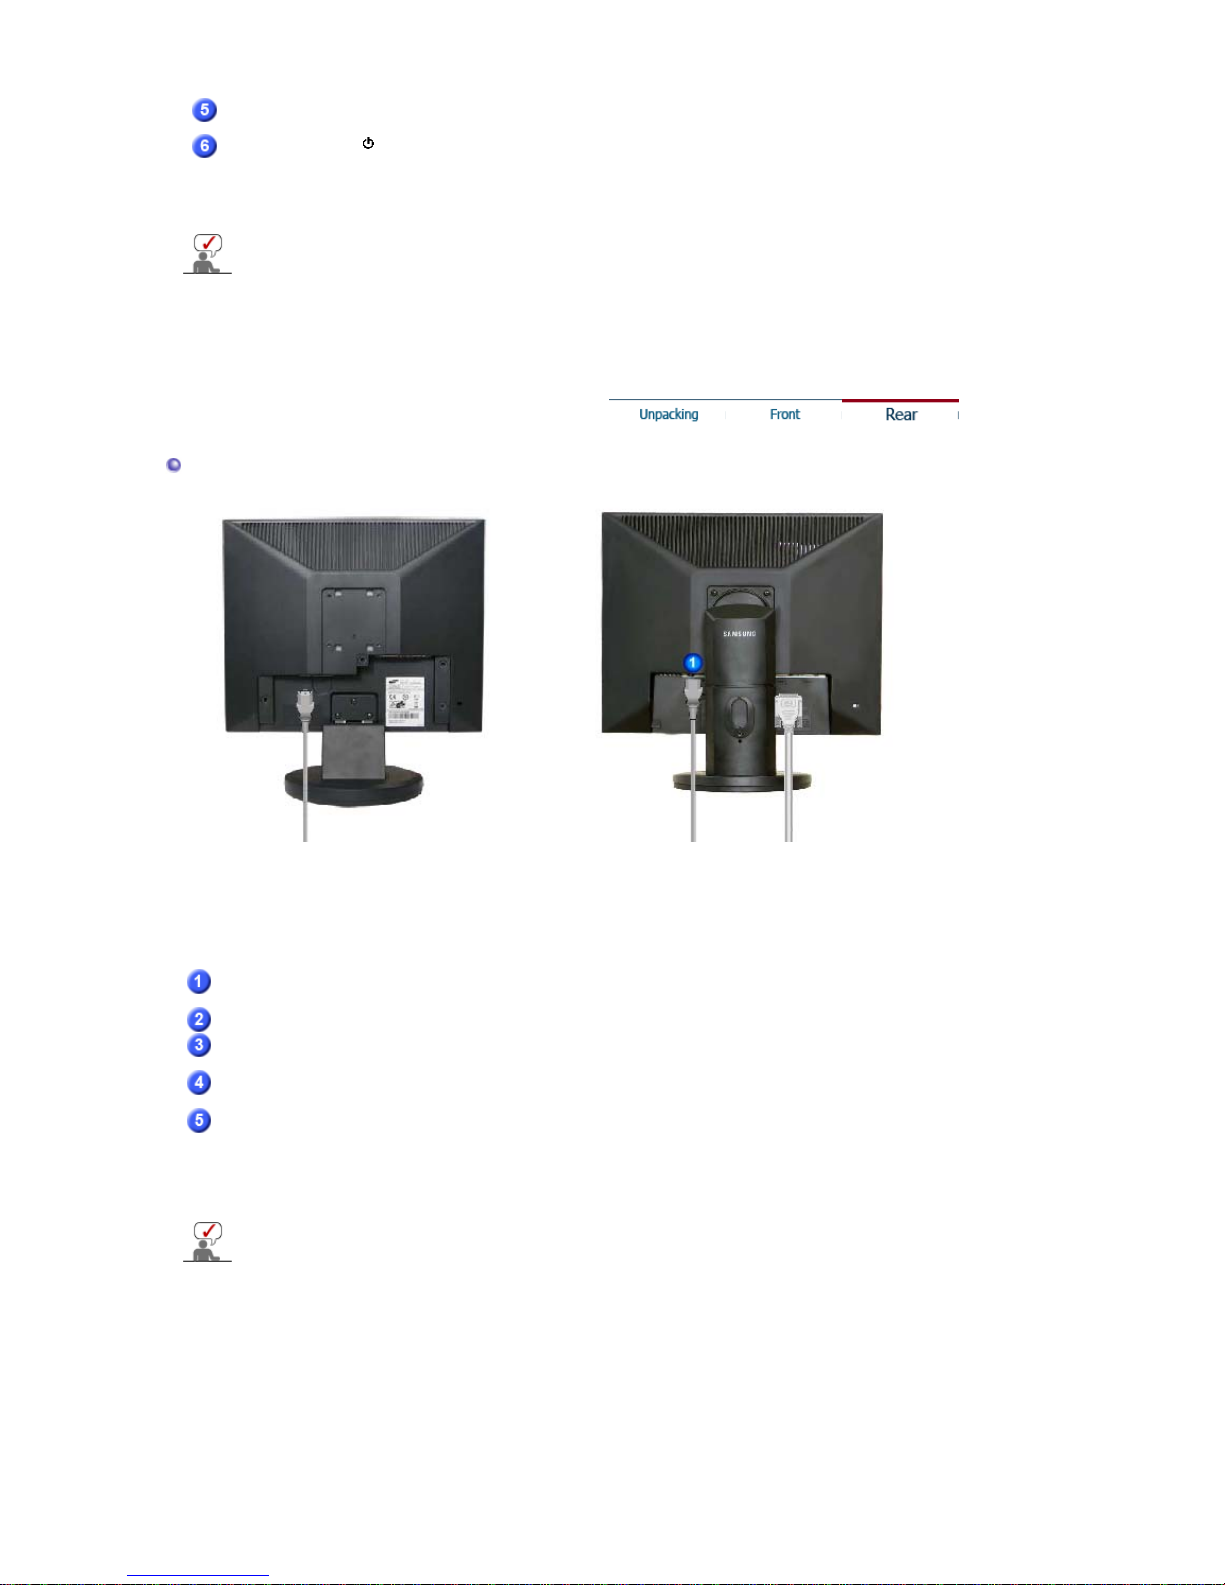
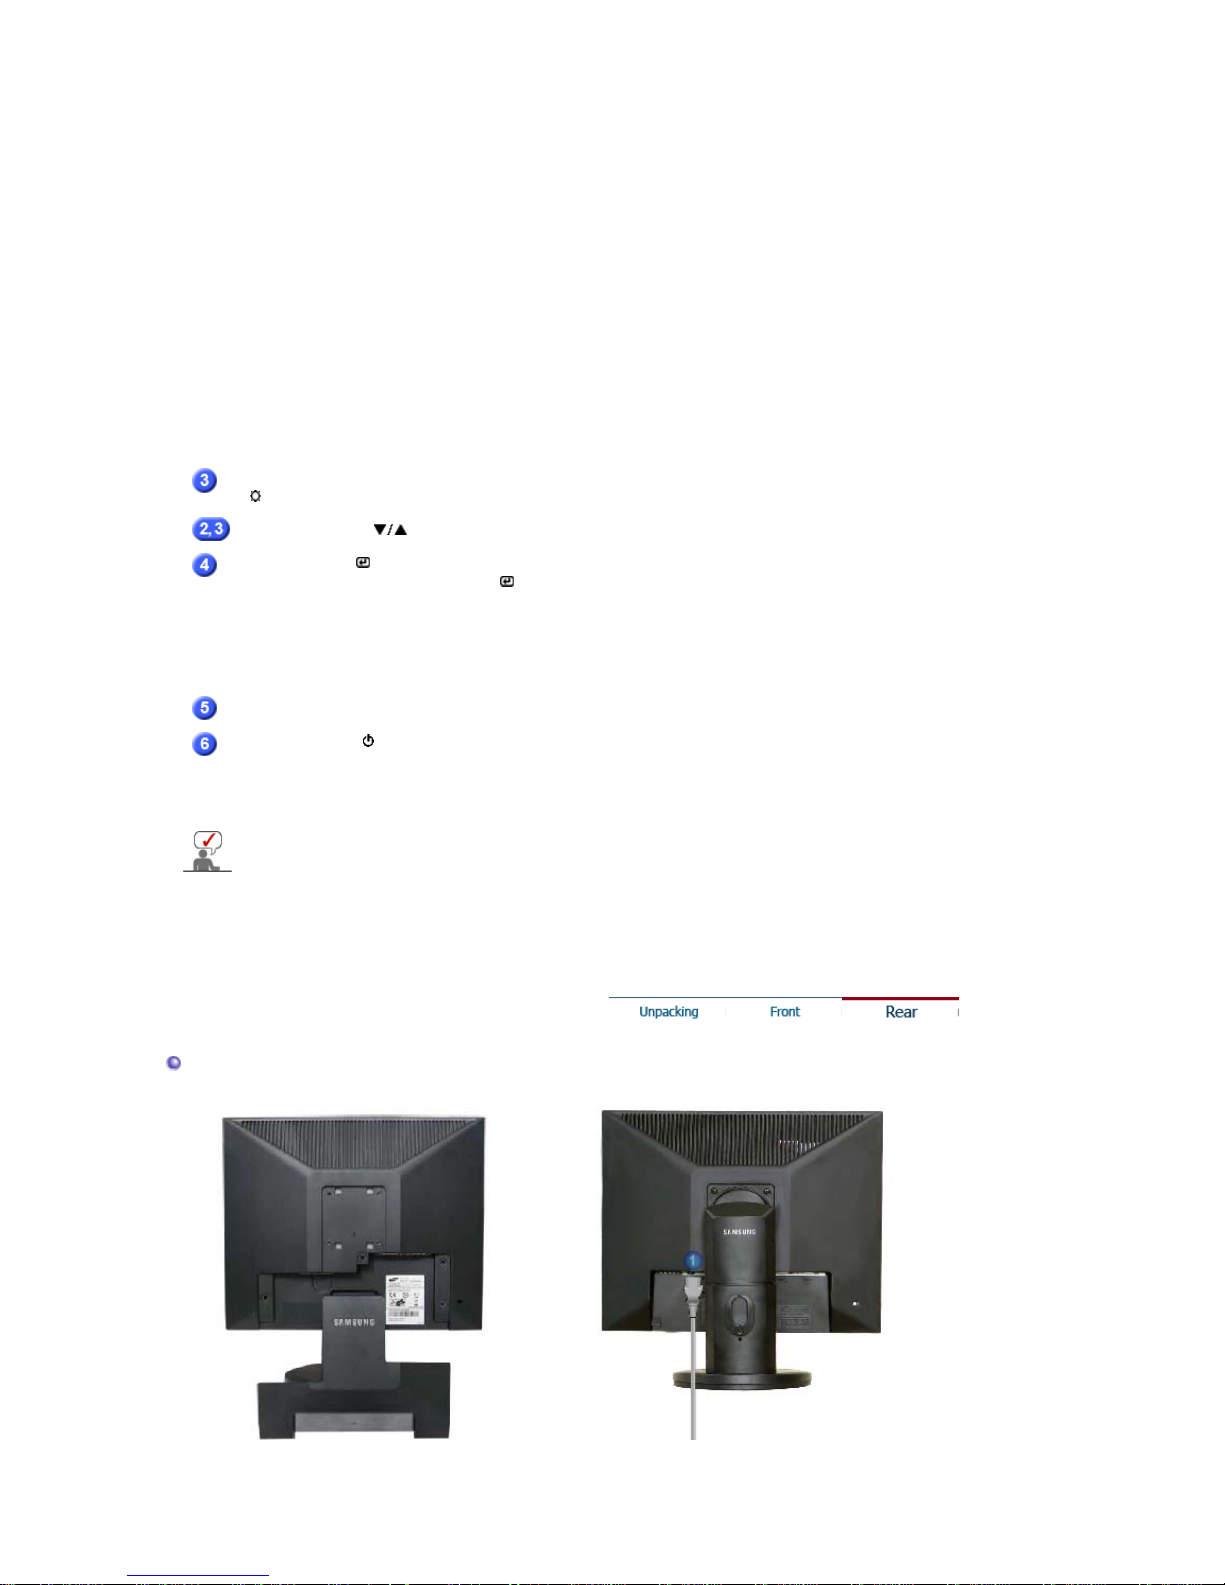
Rear
Simple stand Pivot stand / Sliding Stand
(The configuration at the back of the monitor may vary from product to product.)
POWER port
Connect the power cord for your monitor to the power port on the back
of the monitor.
DVI IN port
Connect the DVI Cable to the DVI port on the back of your monitor.
RGB IN port
Connect the signal cable to the 15-pin, D-sub port on the back of your
monitor.
POWER on/off Switch
(op
tion
)
Use this button for turn the monitor on and off.
Kensington Lock
The Kensington lock is a device used to physically fix the system
when using it in a public place. (The locking device has to be
purchased separately. )
For usin
g
a locking device, contact where you purchase it.
See Connecting the Monitor for further information regarding cable connections.
Page 14
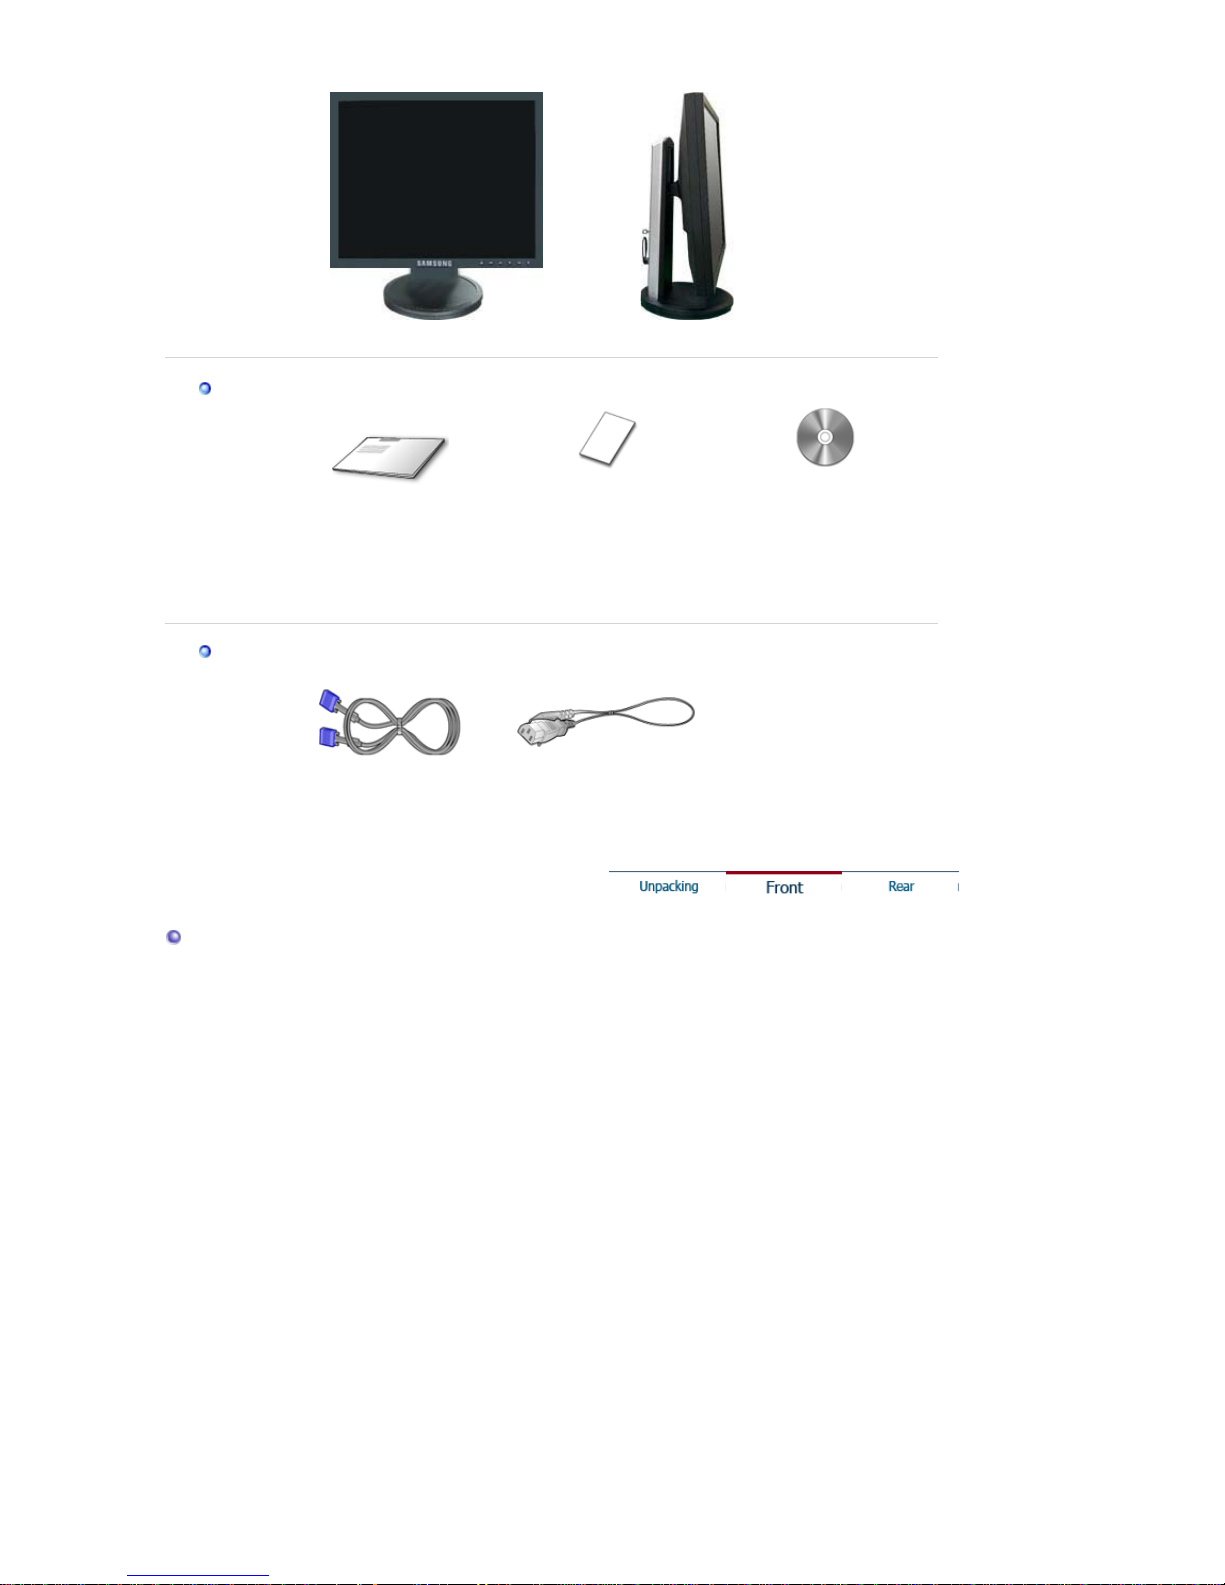
Please make sure the following items are included with your monitor.
If any items are missing, contact your dealer.
Contact a local deale
r
to buy optional items.
Unpacking
Type 1
Monitor & Simple stand Bottom
MagicRotation program can not be provided as Simple
Stand does not support Pivot function.
Type 2
Monitor & Pivot stand
Type 3
SyncMaster 740N / 540N / 940N
Page 15
Monitor & Sliding Stand
Manual
Quick Setup Guide
Warranty Card
(Not available in all
locations)
User's Guide,
Monitor Driver,
Natural Color software,
MagicTune™ software
Ma
g
icRotation software
Cable
D-sub Cable Power Cord
Front
Page 16

MENU button [ ]
Opens the OSD menu. Also use to exit the OSD menu or return to
the previous menu.
MagicBright™™
[]
MagicBright™™ is a new feature providing optimum viewing
environment depending on the contents of the image you are
watching. Currently six different modes are available: Custom,
Text, Internet, Game, Sport and Movie. Each mode has its own
pre-configured brightness value. You can easily select one of six
settings by simply pressing MagicBright™ control button.
1) Custom
Although the values are carefully chosen by our engineers,
the pre-configured values may not be comfortable to your eyes
depending on your taste.
If this is the case, adjust the brightness and contrast by using
the OSD menu.
2) Text
For documentations or works involving heavy text.
3) Internet
For working with a mixture of images such as text and
graphics.
4) Game
For watching motion pictures such as a game.
5) Sport
For watching motion pictures such as a sport.
6) Movie
For watching motion pictures such as a DVD or Video CD.
>>Click here to see an animation clip
Brightness button
[]
When OSD is not on the screen, push the button to adjust
brightness.
Adjust buttons [ ]
Adjust items in the menu.
Enter button [ ]
Activates a highlighted menu item.
AUTO button
Use this button for auto adjustment.
Power button [ ]/
Power indicator
Use this button for turn the monitor on and off. /
This light glows blue during normal operation, and blinks blue
once as the monitor saves your adjustments.
Page 17
See PowerSaver described in the manual for further information regarding power saving
functions. For energy conservation, turn your monitor OFF when it is not needed, or when
leaving it unattended for long periods.
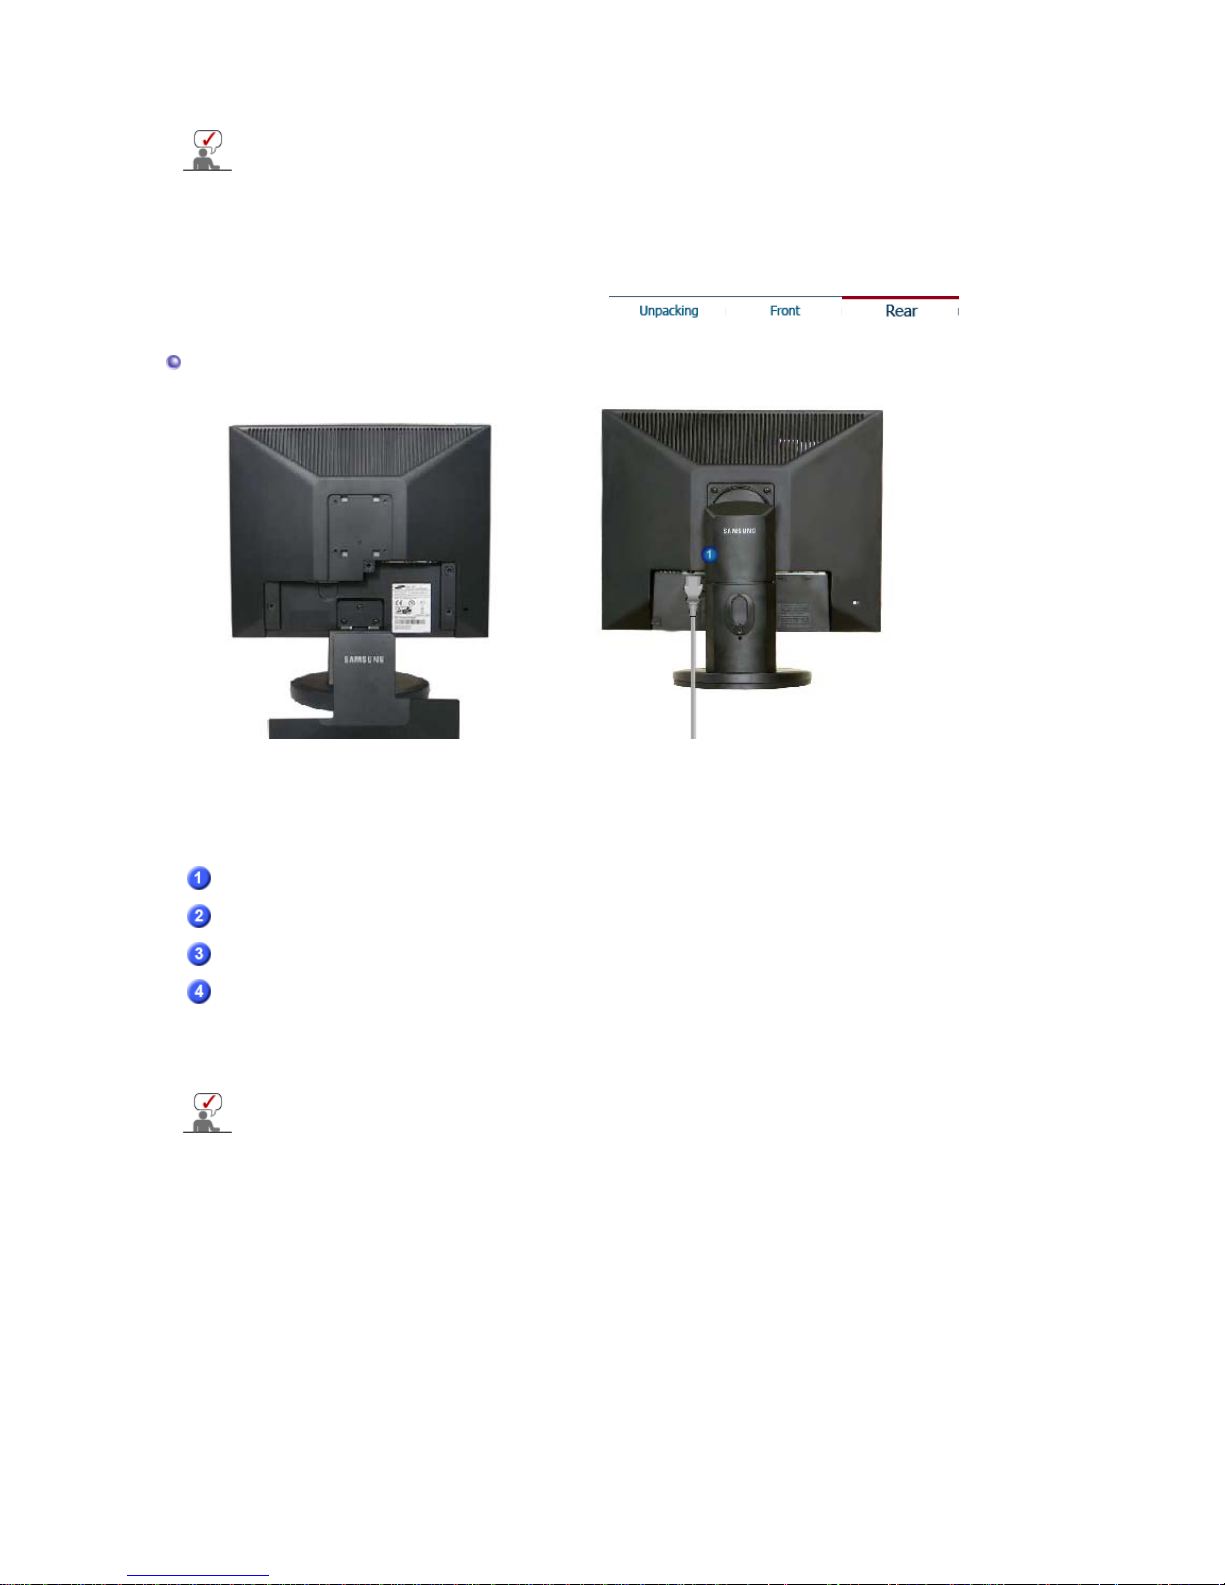
Rear
Simple stand Pivot stand / Sliding Stand
(The configuration at the back of the monitor may vary from product to product.)
POWER port
Connect the power cord for your monitor to the power port on the back
of the monitor.
RGB IN port
Connect the signal cable to the 15-pin, D-sub port on the back of your
monitor.
POWER on/off Switch
(op
tion
)
Use this button for turn the monitor on and off.
Kensington Lock
The Kensington lock is a device used to physically fix the system
when using it in a public place. (The locking device has to be
purchased separately. )
For usin
g
a locking device, contact where you purchase it.
See Connecting the Monitor for further information regarding cable connections.
Page 18
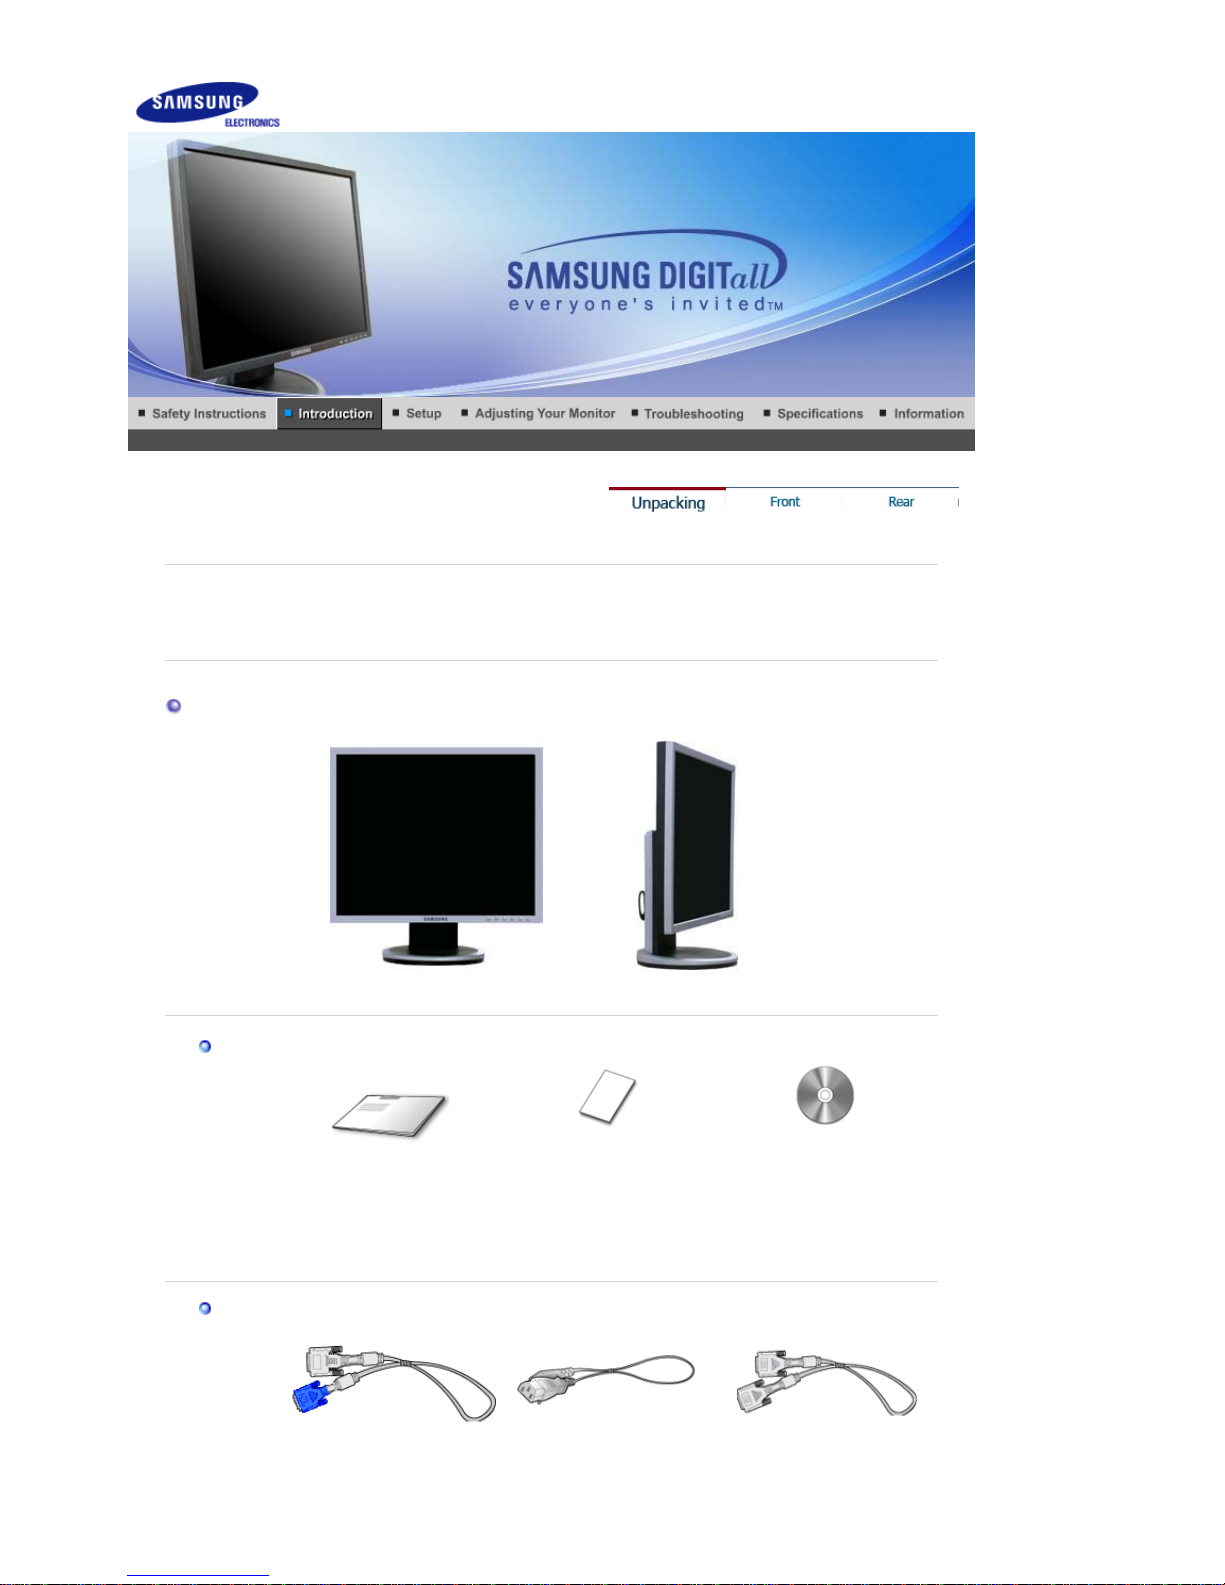
Please make sure the following items are included with your monitor.
If any items are missing, contact your dealer.
Contact a local deale
r
to buy optional items.
Unpacking
Monitor & Pivot stand
Manual
Quick Setup Guide
Warranty Card
(Not available in all
locations)
User's Guide,
Monitor Driver,
Natural Color software,
MagicTune™ software
Ma
g
icRotation software
Cable
'DVI-A to D-sub' Cable Power Cord DVI Cable
SyncMaster 940Fn
Page 19
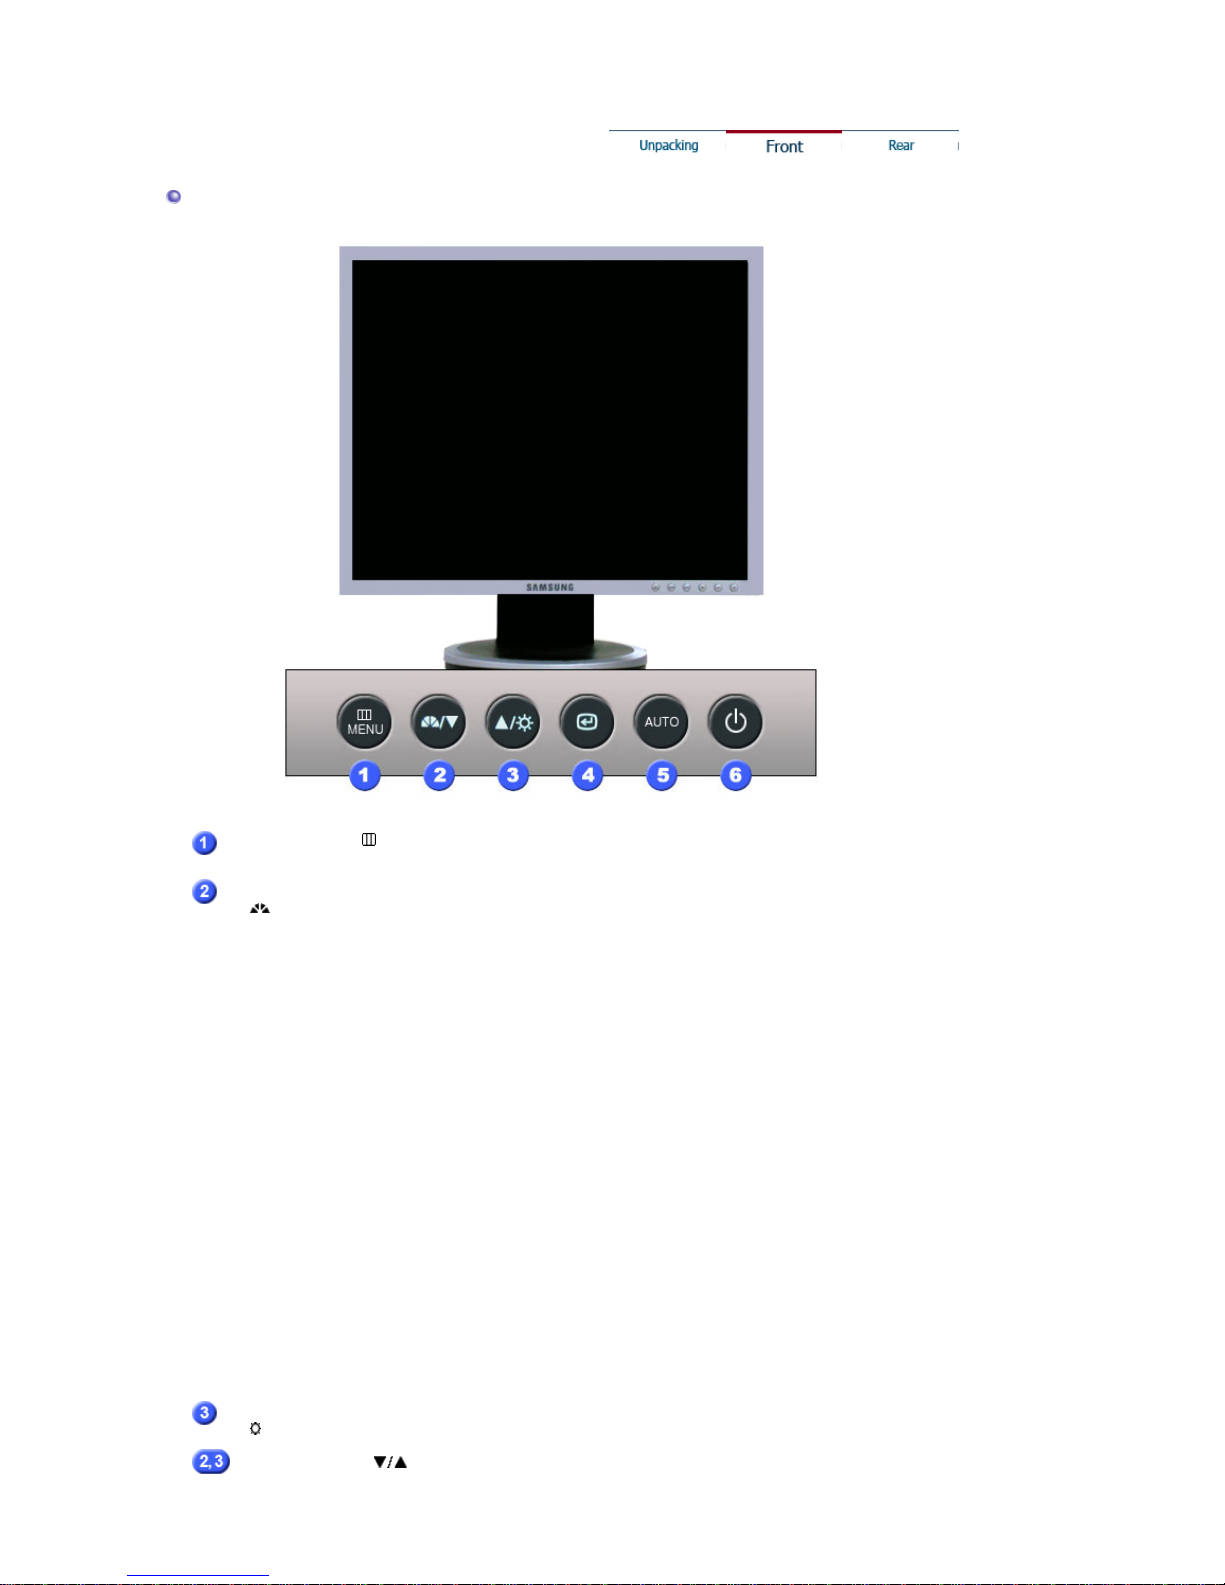
Front
MENU button [ ]
Opens the OSD menu. Also use to exit the OSD menu or return to
the previous menu.
MagicBright™™
[]
MagicBright™™ is a new feature providing optimum viewing
environment depending on the contents of the image you are
watching. Currently six different modes are available: Custom,
Text, Internet, Game, Sport and Movie. Each mode has its own
pre-configured brightness value. You can easily select one of six
settings by simply pressing MagicBright™ control button.
1) Custom
Although the values are carefully chosen by our engineers,
the pre-configured values may not be comfortable to your eyes
depending on your taste.
If this is the case, adjust the brightness and contrast by using
the OSD menu.
2) Text
For documentations or works involving heavy text.
3) Internet
For working with a mixture of images such as text and
graphics.
4) Game
For watching motion pictures such as a game.
5) Sport
For watching motion pictures such as a sport.
6) Movie
For watching motion pictures such as a DVD or Video CD.
>>Click here to see an animation clip
Brightness button
[]
When OSD is not on the screen, push the button to adjust
brightness.
Adjust buttons [ ]
Adjust items in the menu.
Page 20
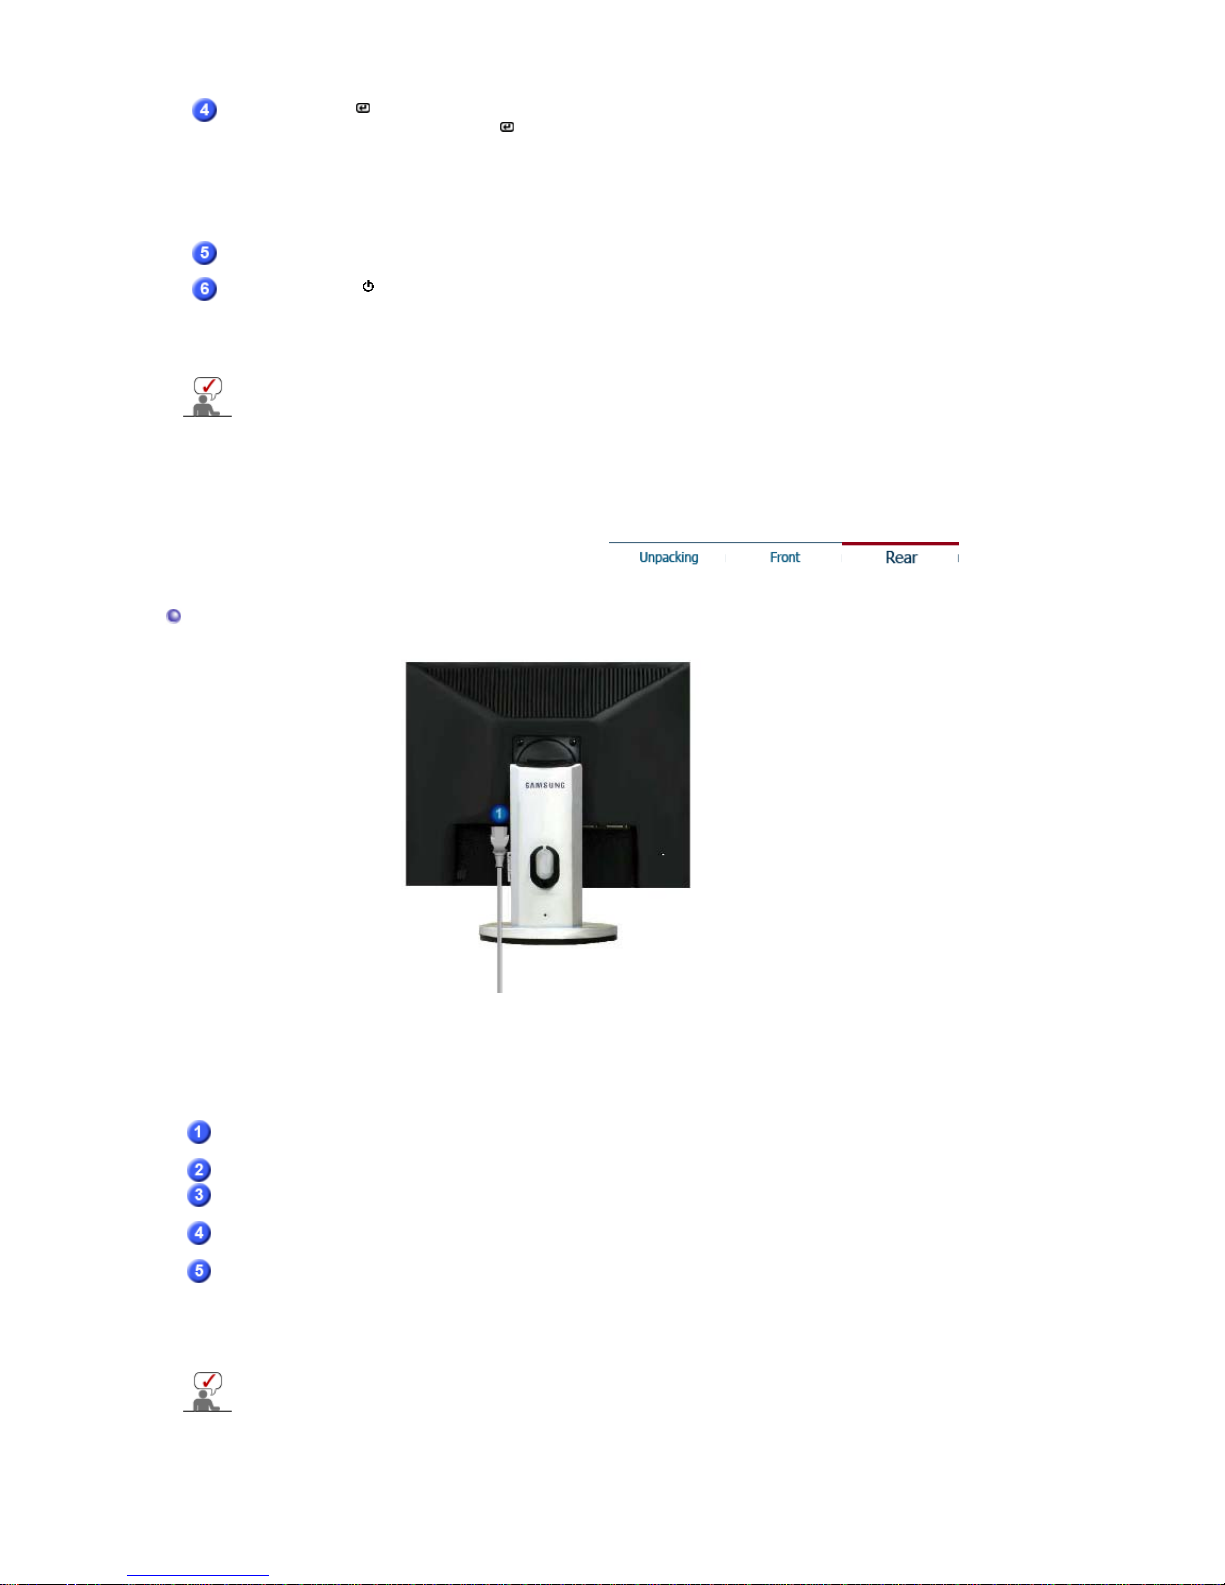
Enter button [ ] /
Source button
Activates a highlighted menu item. /
Push the ' ', then selects the video signal while the OSD is off.
(When the source button is pressed to change the input mode, a
message appears in the upper left of the screen displaying the
current mode -- analog or digital input signal.)
Note : If you select the digital mode, you must connect your monitor
to the graphic card's DVI port using the DVI cable.
AUTO button
Use this button for auto adjustment.
Power button [ ]/
Power indicator
Use this button for turn the monitor on and off. /
This light glows blue during normal operation, and blinks blue
once as the monitor saves your adjustments.
See PowerSaver described in the manual for further information regarding power saving
functions. For energy conservation, turn your monitor OFF when it is not needed, or when
leaving it unattended for long periods.
Rear
(The configuration at the back of the monitor may vary from product to product.)
POWER port
Connect the power cord for your monitor to the power port on the back
of the monitor.
DVI IN port
Connect the DVI Cable to the DVI Port on the back of your Monitor.
RGB IN port
Connect the 'DVI-A to D-SUB' Cable to the RGB IN port on the back of
your monitor.
Power on/off Switch
(op
tion
)
Use this button for turn the monitor on and off.
Kensington Lock
The Kensington lock is a device used to physically fix the system
when using it in a public place. (The locking device has to be
purchased separately. )
For usin
g
a locking device, contact where you purchase it.
See Connecting the Monitor for further information regarding cable connections.
Page 21
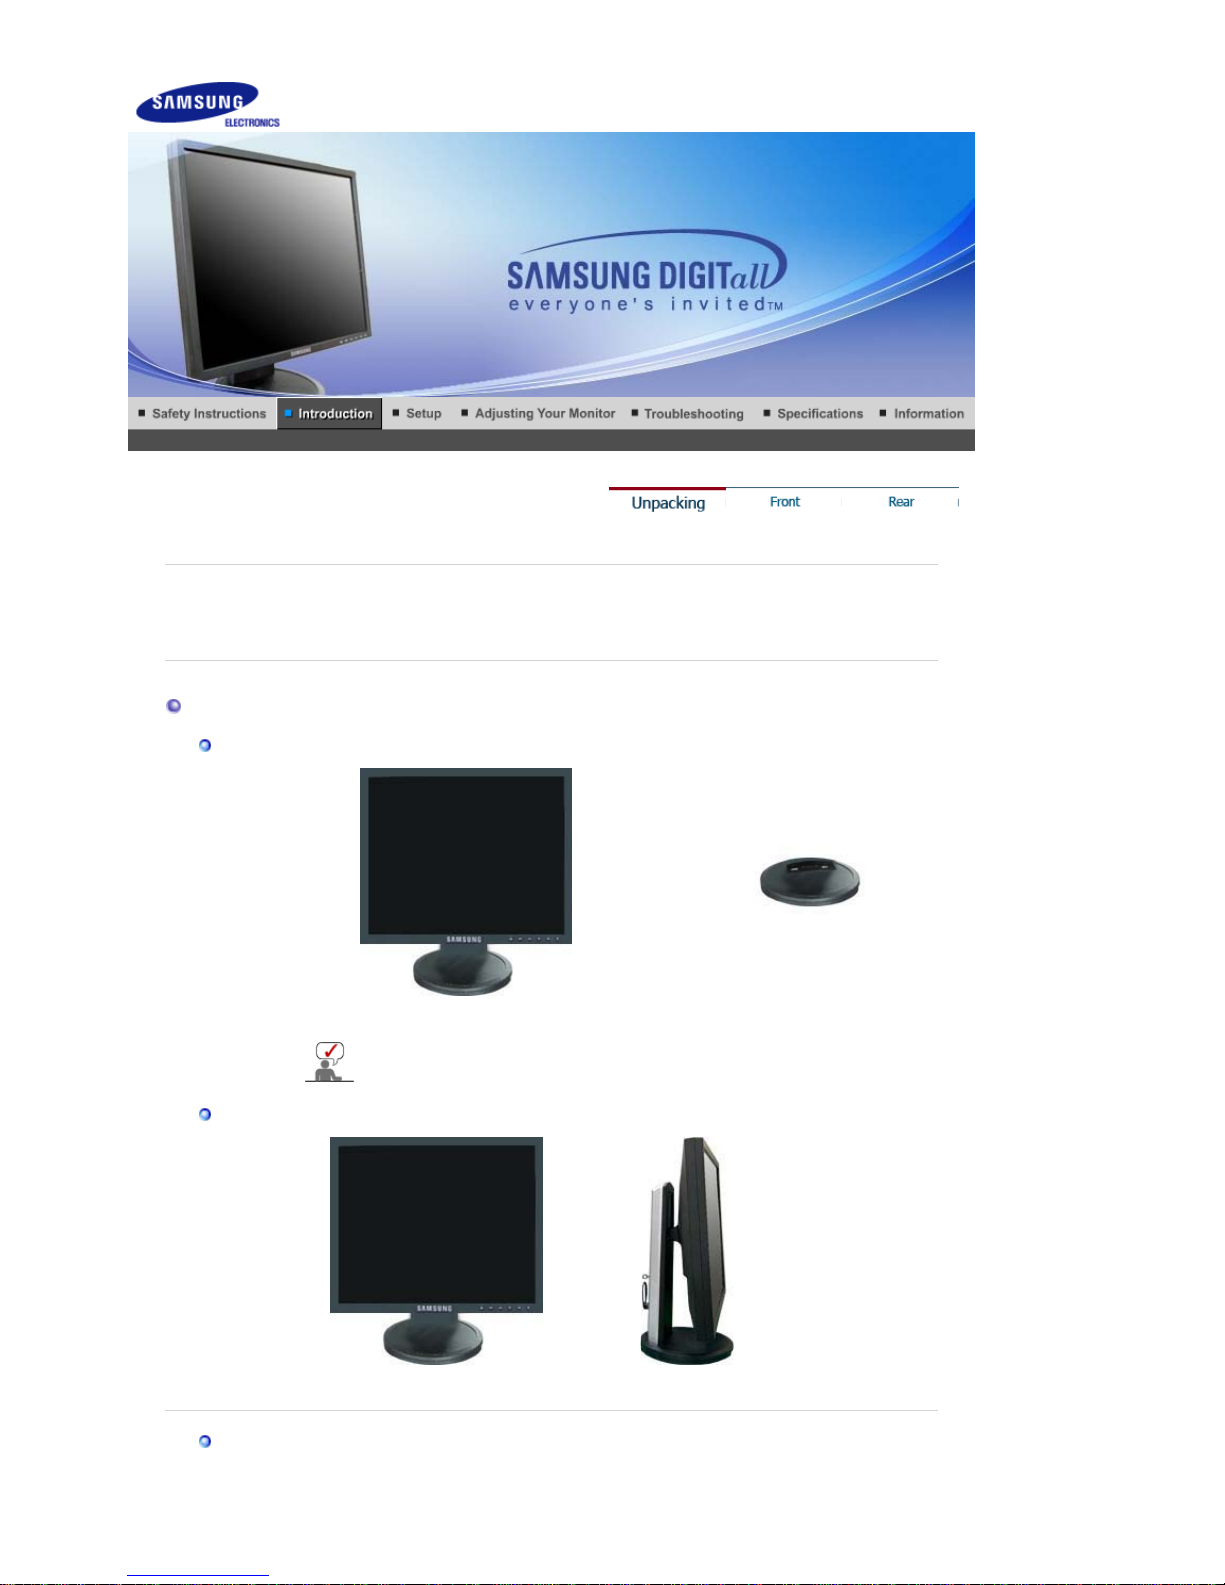
Please make sure the following items are included with your monitor.
If any items are missing, contact your dealer.
Contact a local deale
r
to buy optional items.
Unpacking
Type 1
Monitor & Simple stand Bottom
MagicRotation program can not be provided as Simple
Stand does not support Pivot function.
Type 2
Monitor & Sliding Stand
Manual
SyncMaster 740T / 940T / 940Be
Page 22
Quick Setup Guide
Warranty Card
(Not available in all
locations)
User's Guide,
Monitor Driver,
Natural Color software,
MagicTune™ software
Ma
g
icRotation software
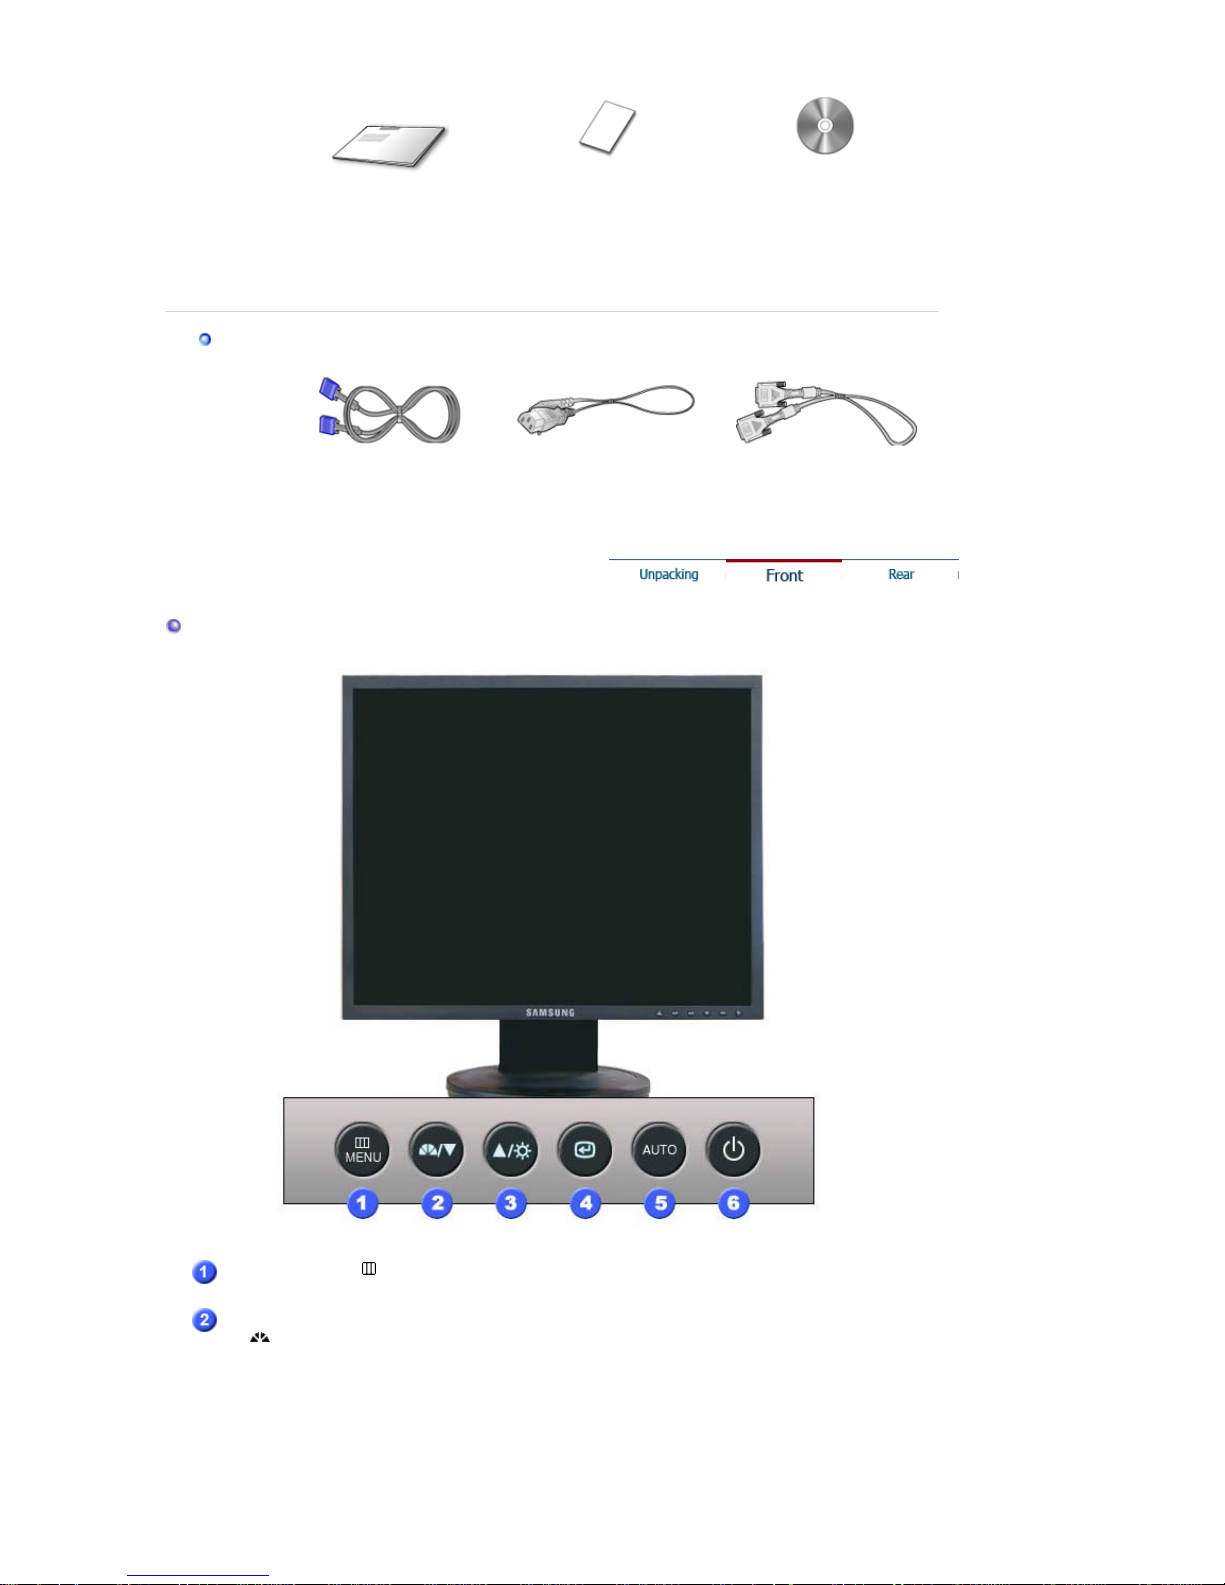
Cable
D-sub Cable Power Cord DVI Cable (option
)
Front
MENU button [ ]
Opens the OSD menu. Also use to exit the OSD menu or return to
the previous menu.
MagicBright™™
[]
MagicBright™™ is a new feature providing optimum viewing
environment depending on the contents of the image you are
watching. Currently six different modes are available: Custom,
Text, Internet, Game, Sport and Movie. Each mode has its own
pre-configured brightness value. You can easily select one of six
settings by simply pressing MagicBright™ control button.
1) Custom
Although the values are carefully chosen by our engineers,
Page 23
the pre-configured values may not be comfortable to your eyes
depending on your taste.
If this is the case, adjust the brightness and contrast by using
the OSD menu.
2) Text
For documentations or works involving heavy text.
3) Internet
For working with a mixture of images such as text and
graphics.
4) Game
For watching motion pictures such as a game.
5) Sport
For watching motion pictures such as a sport.
6) Movie
For watching motion pictures such as a DVD or Video CD.
>>Click here to see an animation clip
Brightness button
[]
When OSD is not on the screen, push the button to adjust
brightness.
Adjust buttons [ ]
Adjust items in the menu.
Enter button [ ] /
Source button
Activates a highlighted menu item. /
Push the ' ', then selects the video signal while the OSD is off.
(When the source button is pressed to change the input mode, a
message appears in the upper left of the screen displaying the
current mode -- analog or digital input signal.)
Note : If you select the digital mode, you must connect your monitor
to the graphic card's DVI port using the DVI cable.
AUTO button
Use this button for auto adjustment.
Power button [ ]/
Power indicator
Use this button for turn the monitor on and off. /
This light glows blue during normal operation, and blinks blue
once as the monitor saves your adjustments.
See PowerSaver described in the manual for further information regarding power saving
functions. For energy conservation, turn your monitor OFF when it is not needed, or when
leaving it unattended for long periods.
Rear
Page 24

Sim
p
le stand Sliding Stand
(The configuration at the back of the monitor may vary from product to product.)
POWER port
Connect the power cord for your monitor to the power port on the back
of the monitor.
DVI IN port
Connect the DVI Cable to the DVI port on the back of your monitor.
RGB IN port
Connect the signal cable to the 15-pin, D-sub port on the back of your
monitor.
POWER on/off Switch
(op
tion
)
Use this button for turn the monitor on and off.
Kensington Lock
The Kensington lock is a device used to physically fix the system
when using it in a public place. (The locking device has to be
purchased separately. )
For usin
g
a locking device, contact where you purchase it.
See Connecting the Monitor for further information regarding cable connections.
Page 25
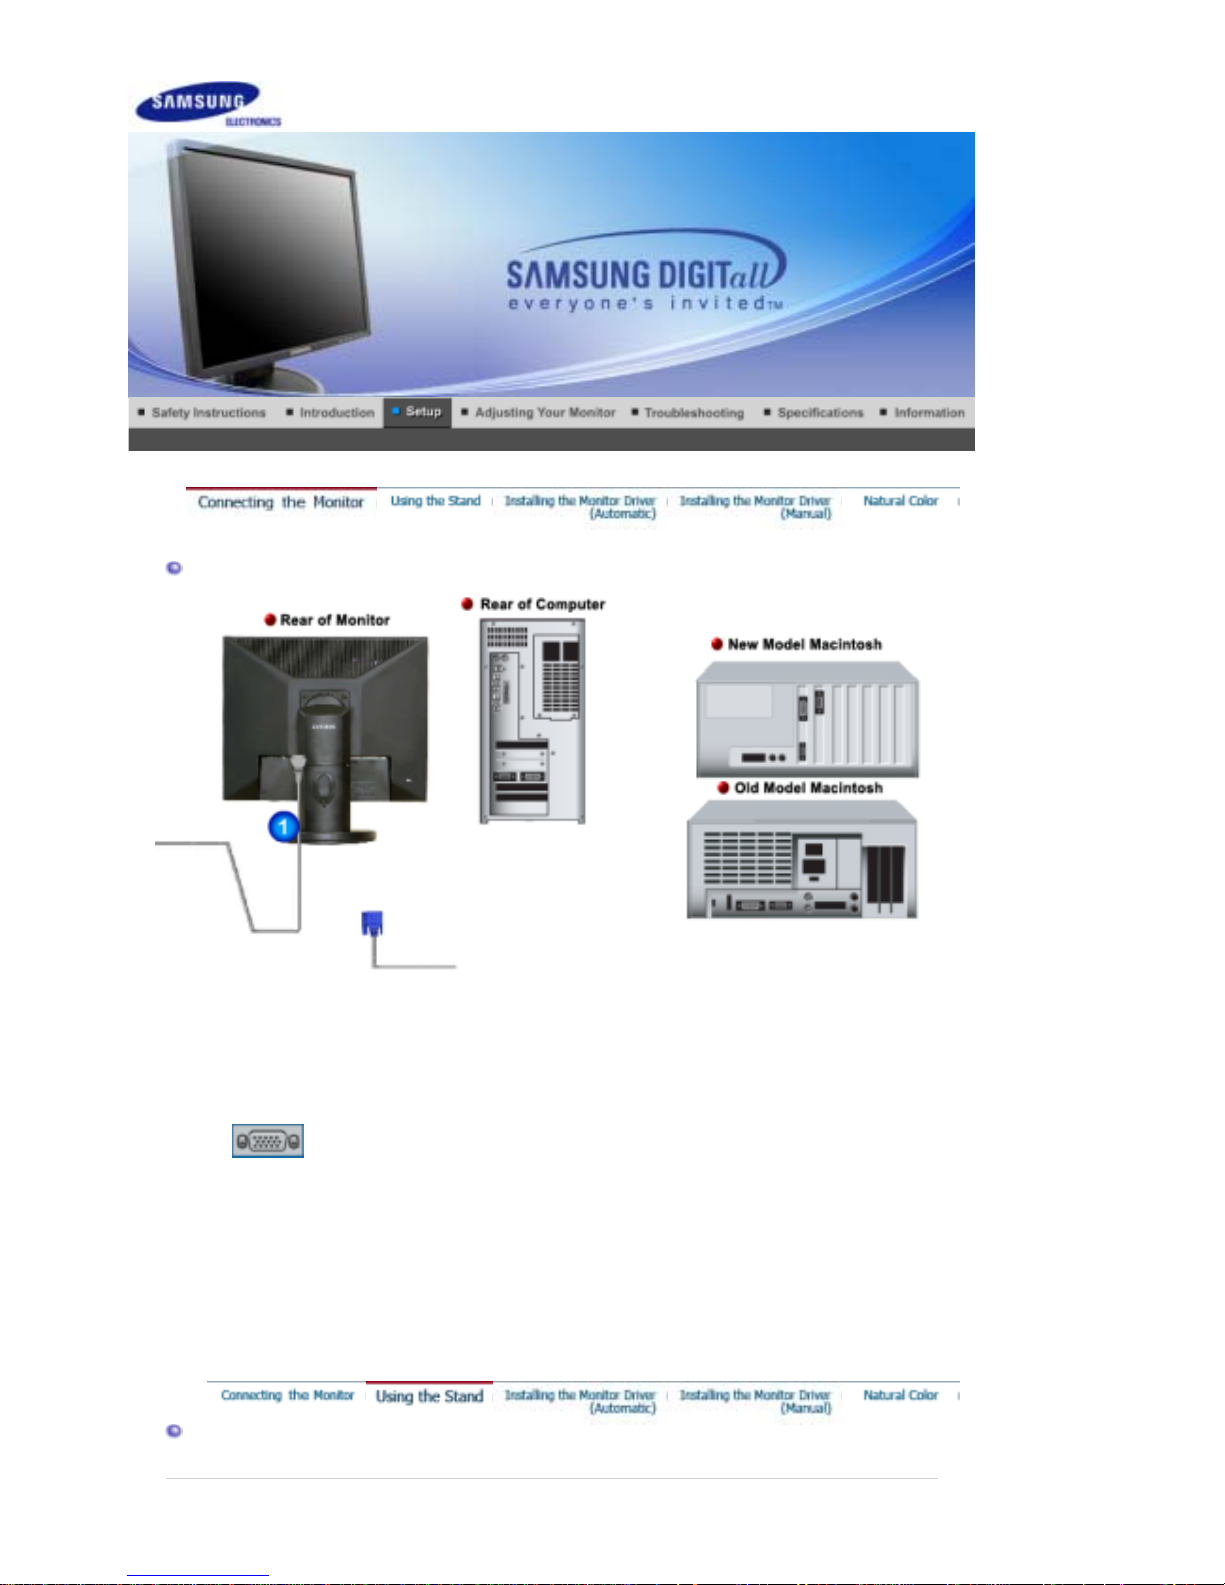
Connecting the Monitor
1.
Connect the power cord for your monitor to the power port on the back of the monitor.
Plug the power cord for the monitor into a nearby outlet.
2-1.
Using the D-sub (Analog) connector on the video card.
Connect the signal cable to the 15-pin, D-sub port on the back of your monitor.
[ RGB IN ]
2-2.
Connected to a Macintosh.
Connect the monitor to the Macintosh computer using the D-sub connection cable.
2-3.
In the case of an old model Macintosh, you need to connect the monitor using a special Mac
adapter.
3.
Turn on your computer and monitor. If your monitor displays an image, installation is
complete.
Using the Stand
SyncMaster 740N
Page 26
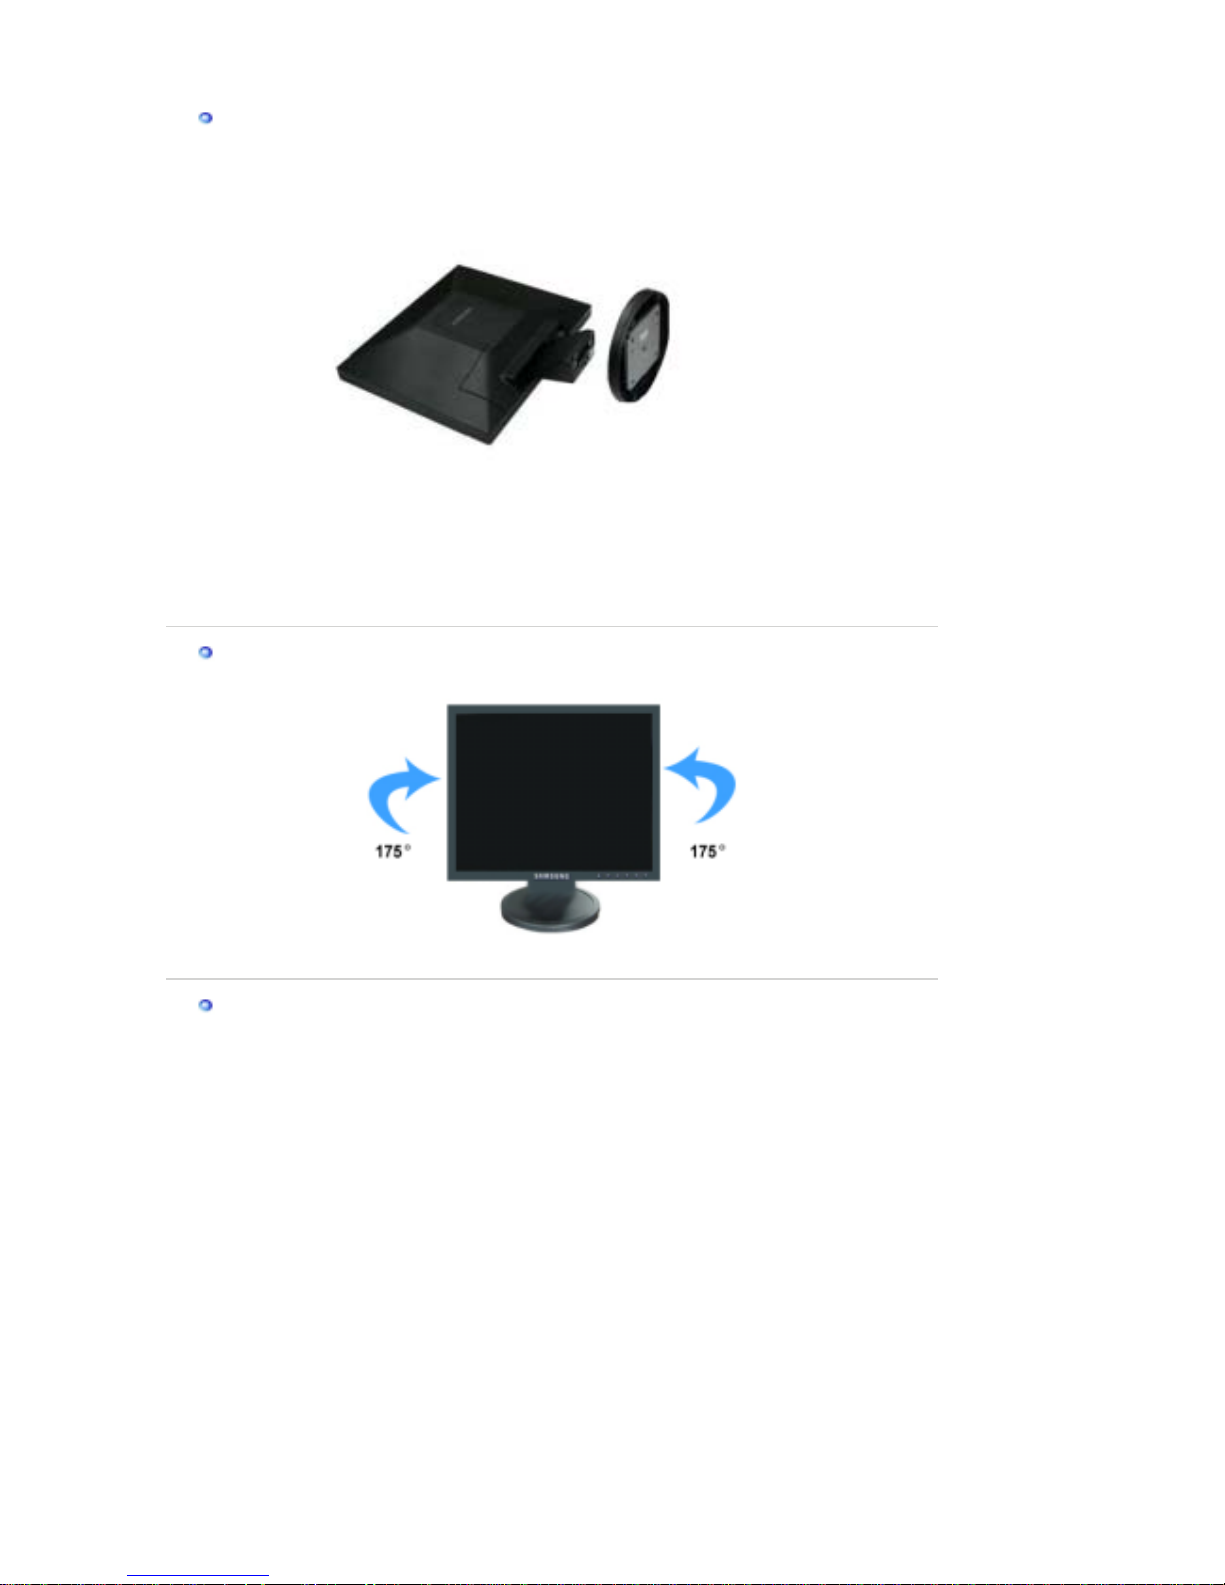
Monitor Assembl
y
Monitor and Bottom
Swivel stand
Pivot Stand / Sliding Stand
Page 27
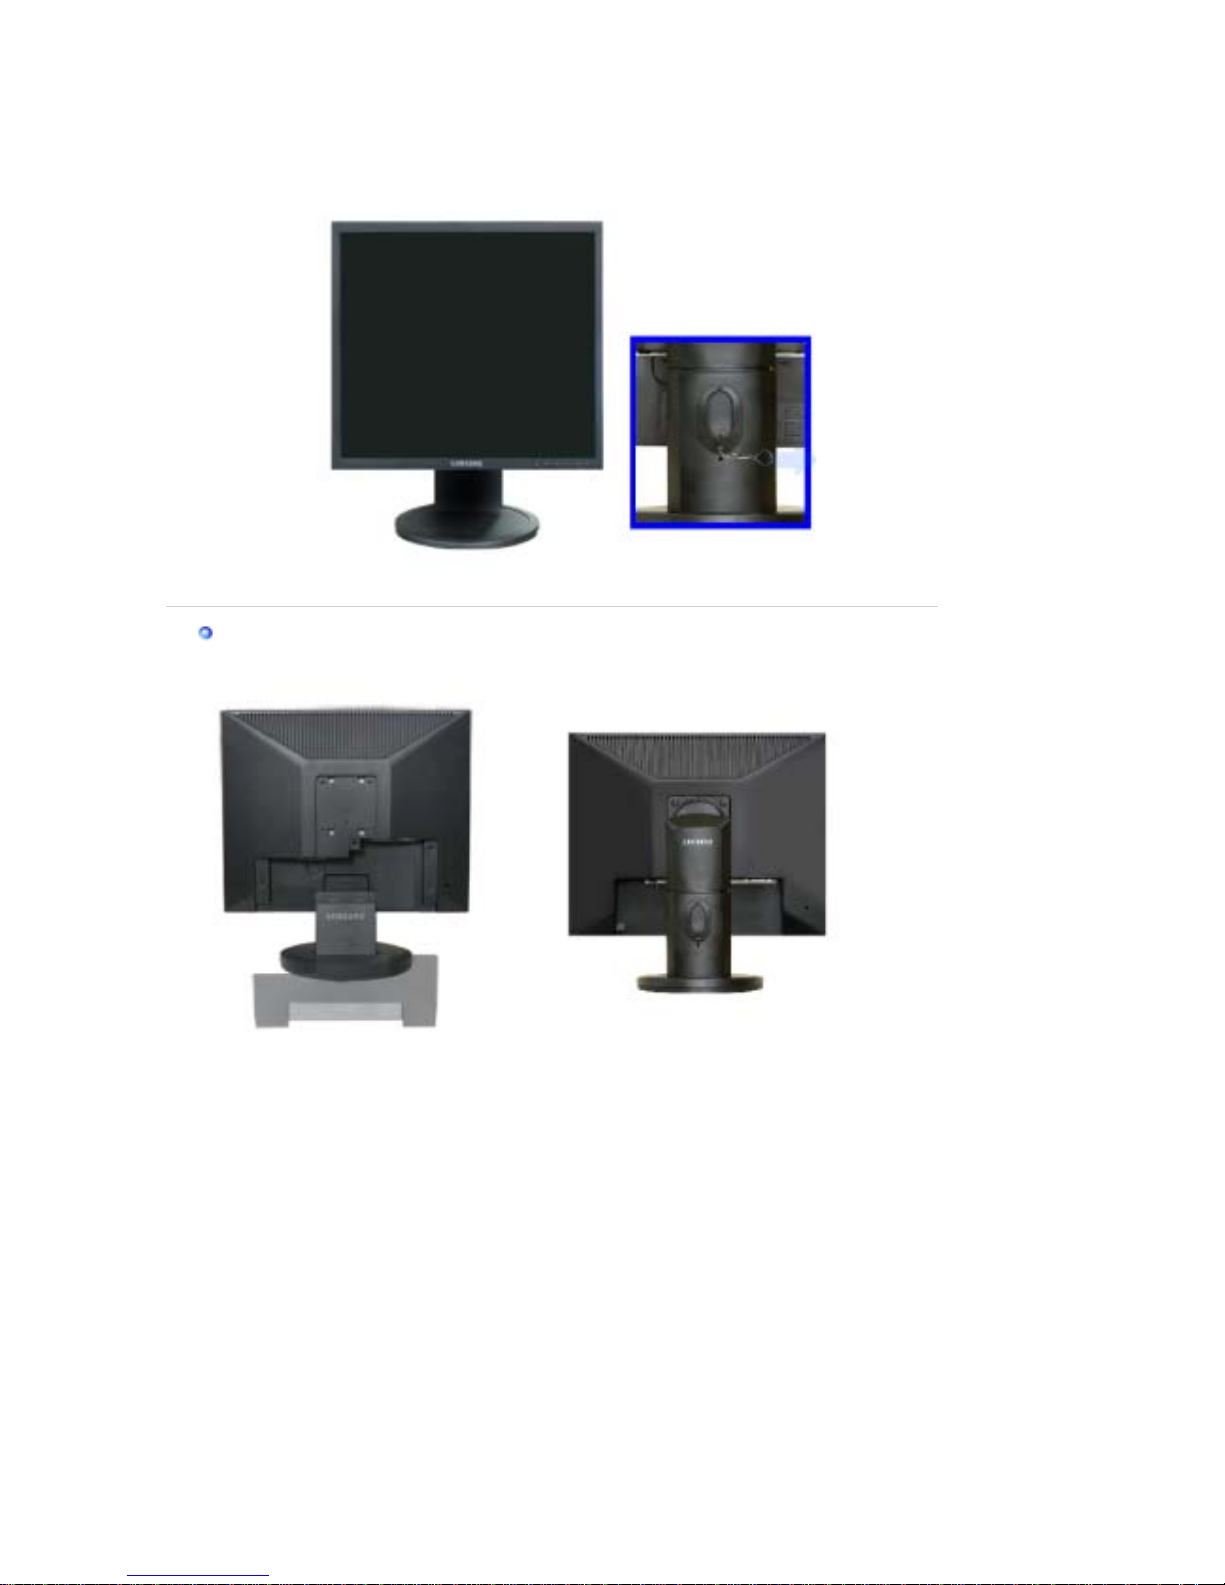
A
.
Stand Stopper
Attaching a Base
This monitor accepts a 75 mm x 75 mm VESA-compliant mounting interface pad.
Simple stand
Pivot stand
Sliding Stand
A.
Monitor
B.
Mounting interface pad (Sold separately)
1. Turn off your monitor and unplug its power cord.
2. Lay the LCD monitor face-down on a flat surface with a cushion beneath it to protect the
screen.
3. Remove four screws and then remove the stand from the LCD monitor.
4. Align the mounting interface pad with the holes in the rear cover mounting Pad and secure it
with four screws that came with the arm-type base, wall mount hanger or other base.
Page 28
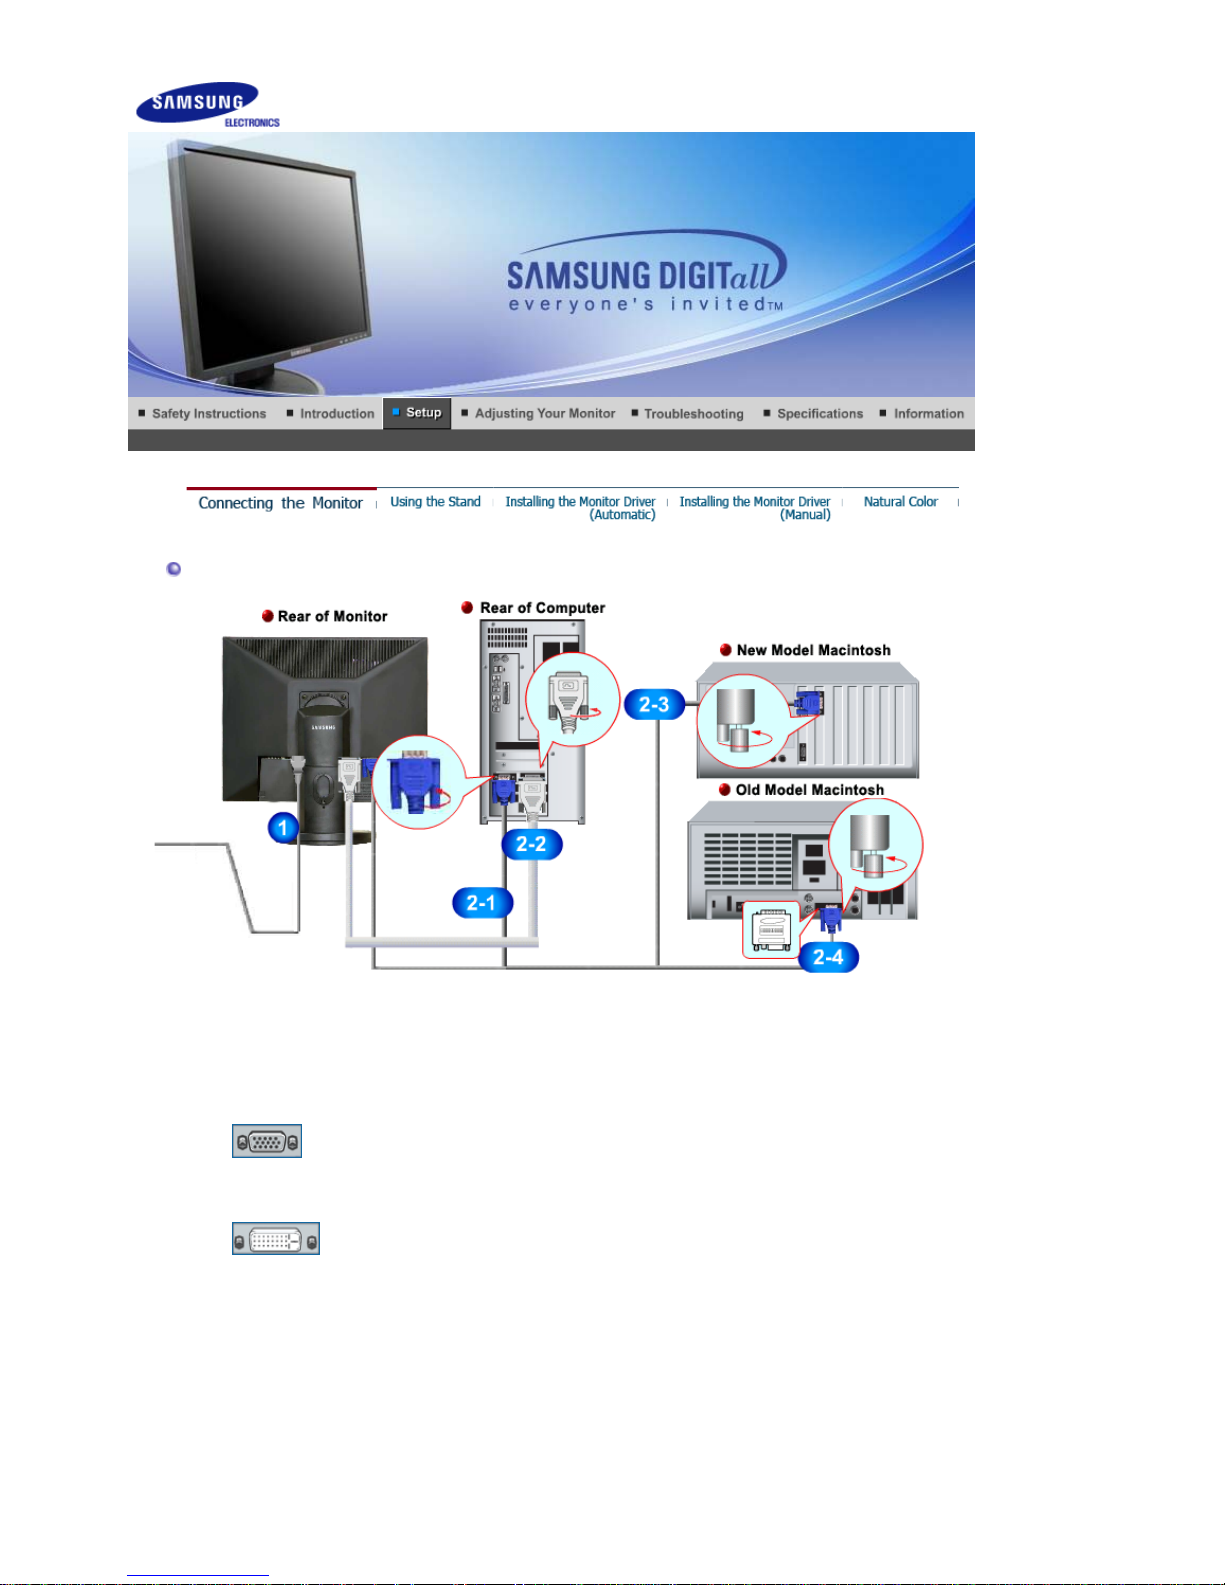
Connecting the Monitor
1.
Connect the power cord for your monitor to the power port on the back of the monitor.
Plug the power cord for the monitor into a nearby outlet.
2-1.
Using the D-sub (Analog) connector on the video card.
Connect the signal cable to the 15-pin, D-sub port on the back of your monitor.
[ RGB IN ]
2-2.
Using the DVI (Digital) connector on the video card.
Connect the DVI Cable to the DVI Port on the back of your Monitor.
[ DVI IN ]
2-3.
Connected to a Macintosh.
Connect the monitor to the Macintosh computer using the D-sub connection cable.
2-4.
In the case of an old model Macintosh, you need to connect the monitor using a special Mac
adapter.
3.
Turn on your computer and monitor. If your monitor displays an image, installation is
complete.
SyncMaster 740B / 940B / 540B / 740T / 940T / 940Be
Page 29
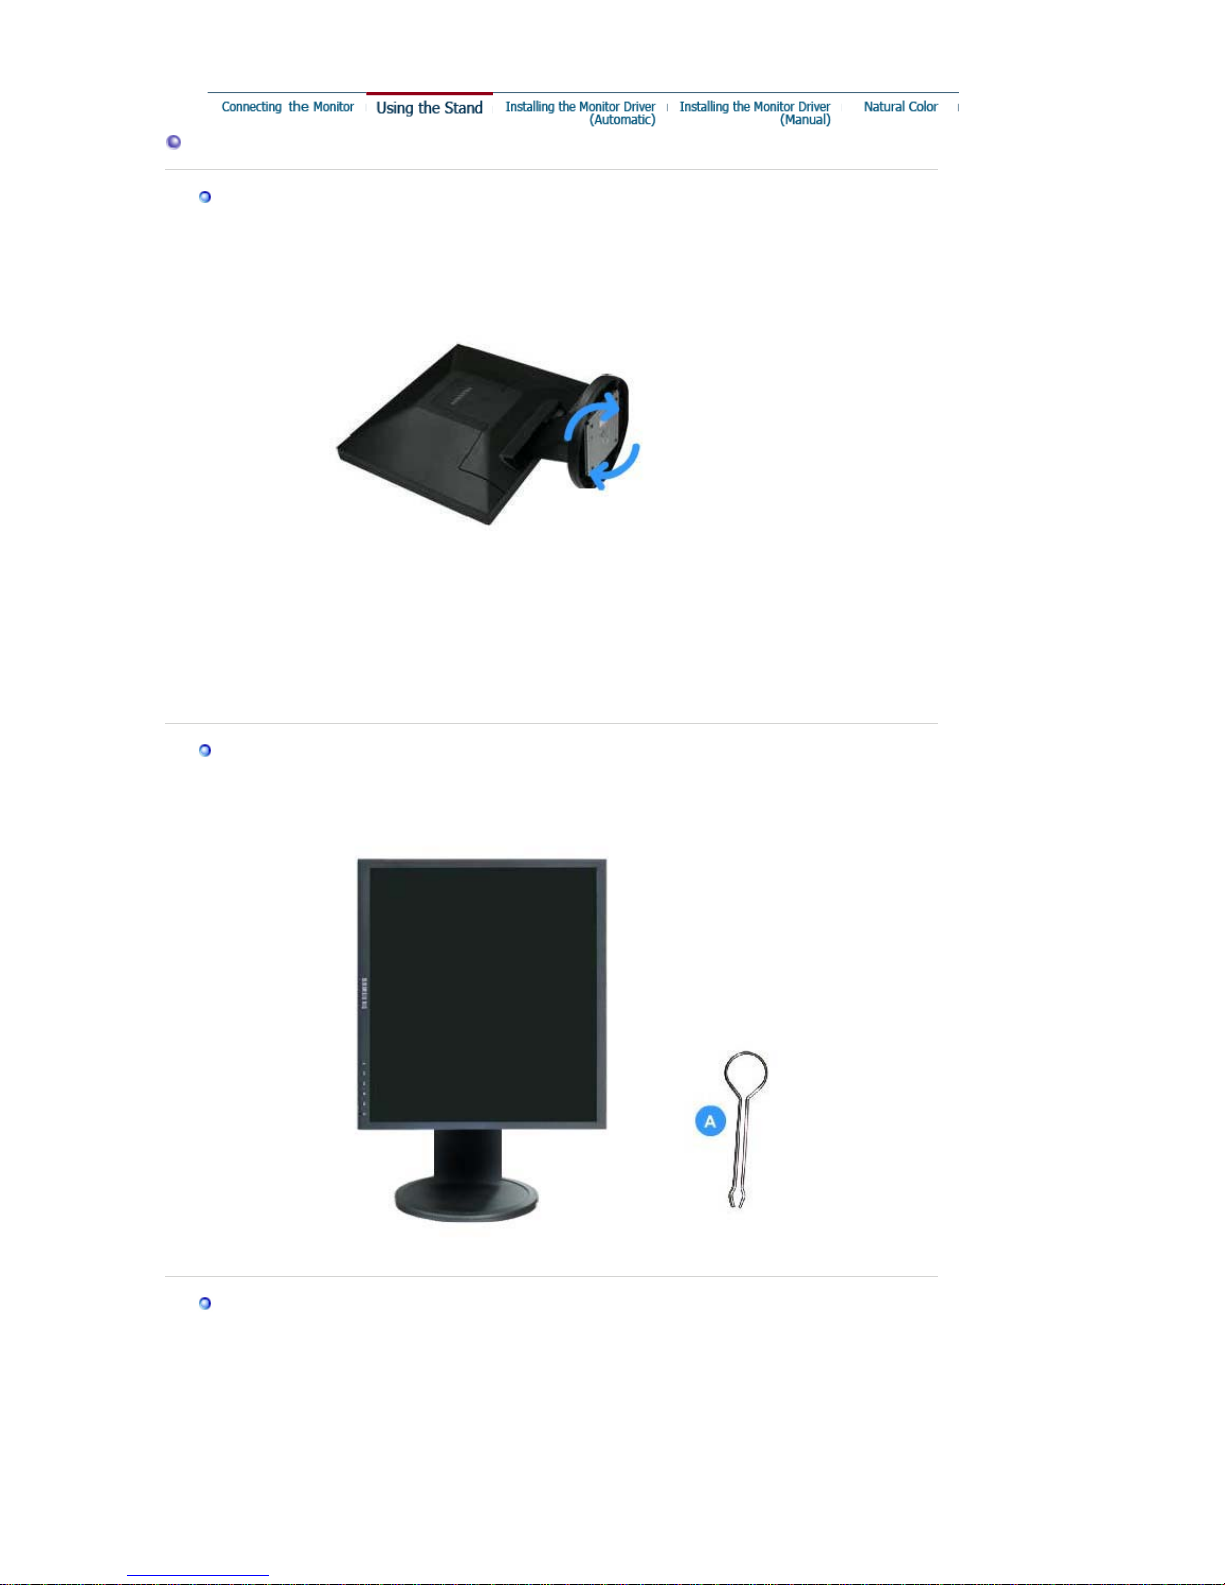
Using the Stand
Monitor Assembl
y
Monitor and Bottom
Pivot Stand / Sliding Stand
A.
Stand Stopper
Attaching a Base
This monitor accepts a 75 mm x 75 mm VESA-compliant mounting interface pad.
Page 30

Simple stand
Pivot stand
Sliding Stand
A.
Monitor
B.
Mounting interface pad (Sold separately)
1. Turn off your monitor and unplug its power cord.
2. Lay the LCD monitor face-down on a flat surface with a cushion beneath it to protect the
screen.
3. Remove four screws and then remove the stand from the LCD monitor.
4. Align the mounting interface pad with the holes in the rear cover mounting Pad and secure it
with four screws that came with the arm-type base, wall mount hanger or other base.
Page 31
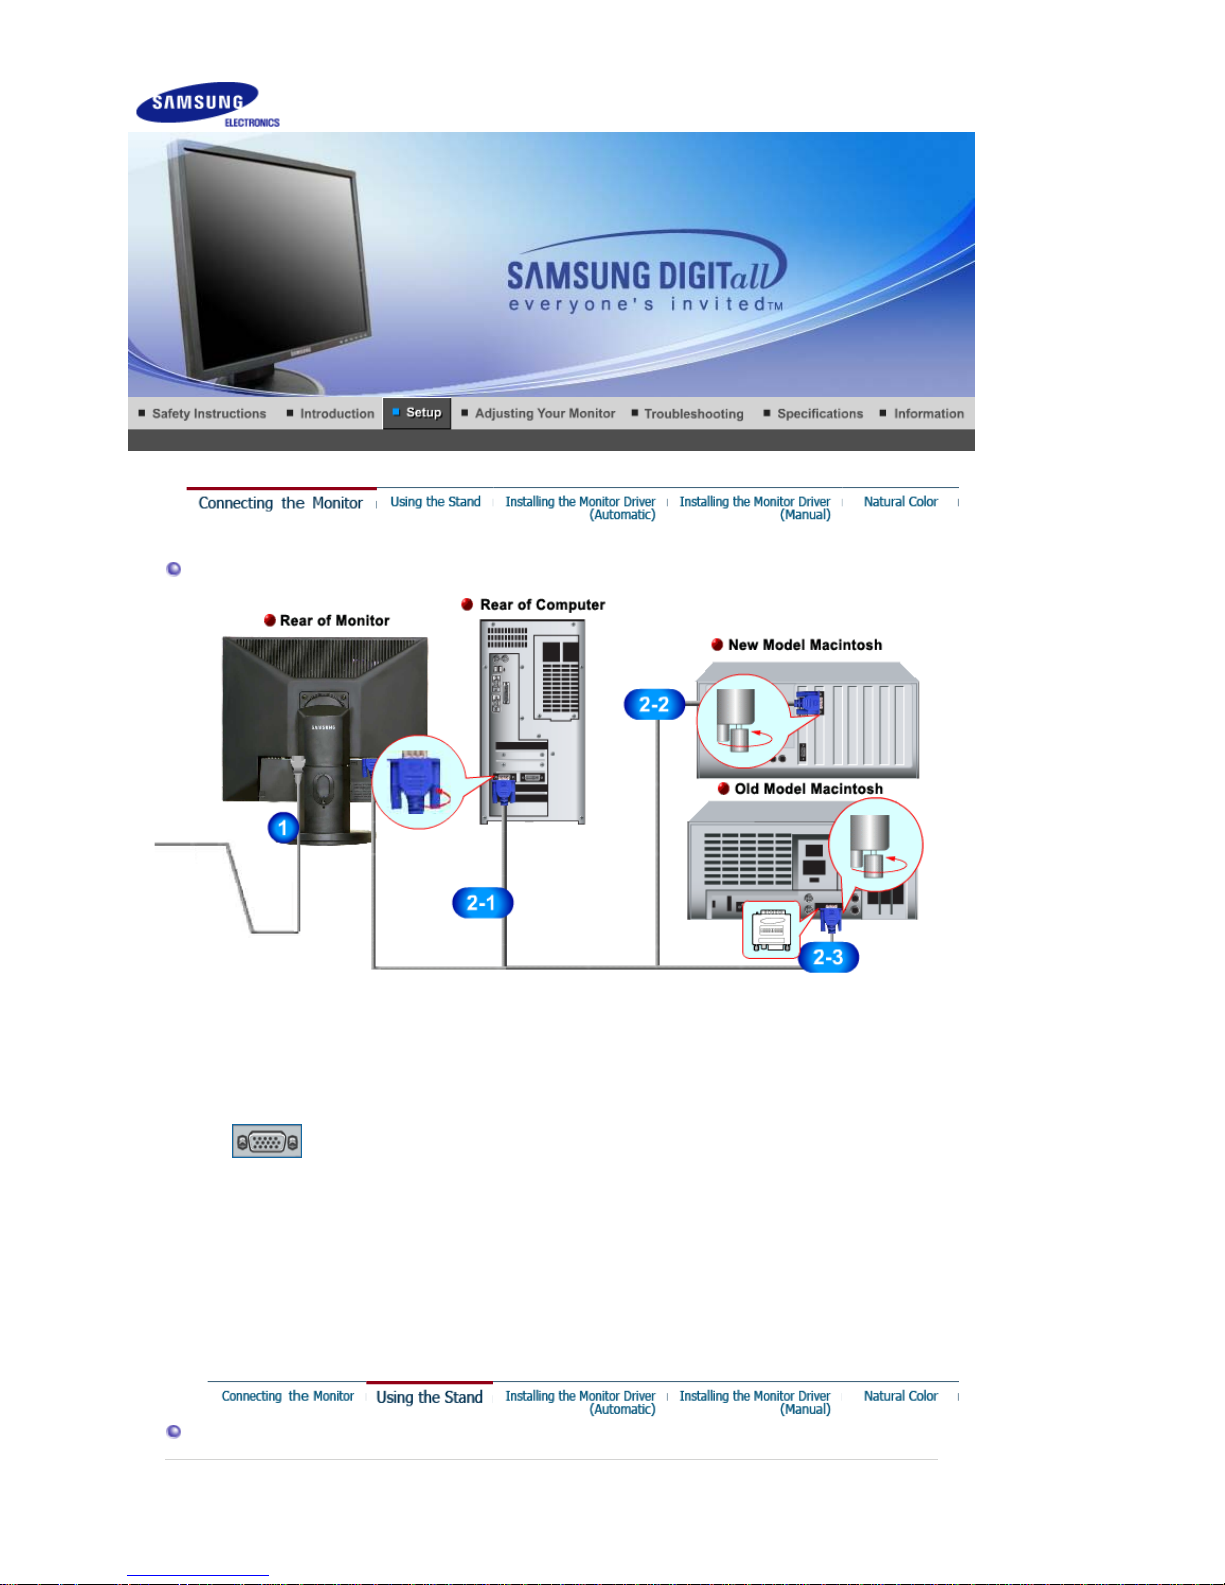
Connecting the Monitor
1.
Connect the power cord for your monitor to the power port on the back of the monitor.
Plug the power cord for the monitor into a nearby outlet.
2-1.
Using the D-sub (Analog) connector on the video card.
Connect the signal cable to the 15-pin, D-sub port on the back of your monitor.
[ RGB IN ]
2-2.
Connected to a Macintosh.
Connect the monitor to the Macintosh computer using the D-sub connection cable.
2-3.
In the case of an old model Macintosh, you need to connect the monitor using a special Mac
adapter.
3.
Turn on your computer and monitor. If your monitor displays an image, installation is
complete.
Using the Stand
SyncMaster 540N / 940N
Page 32
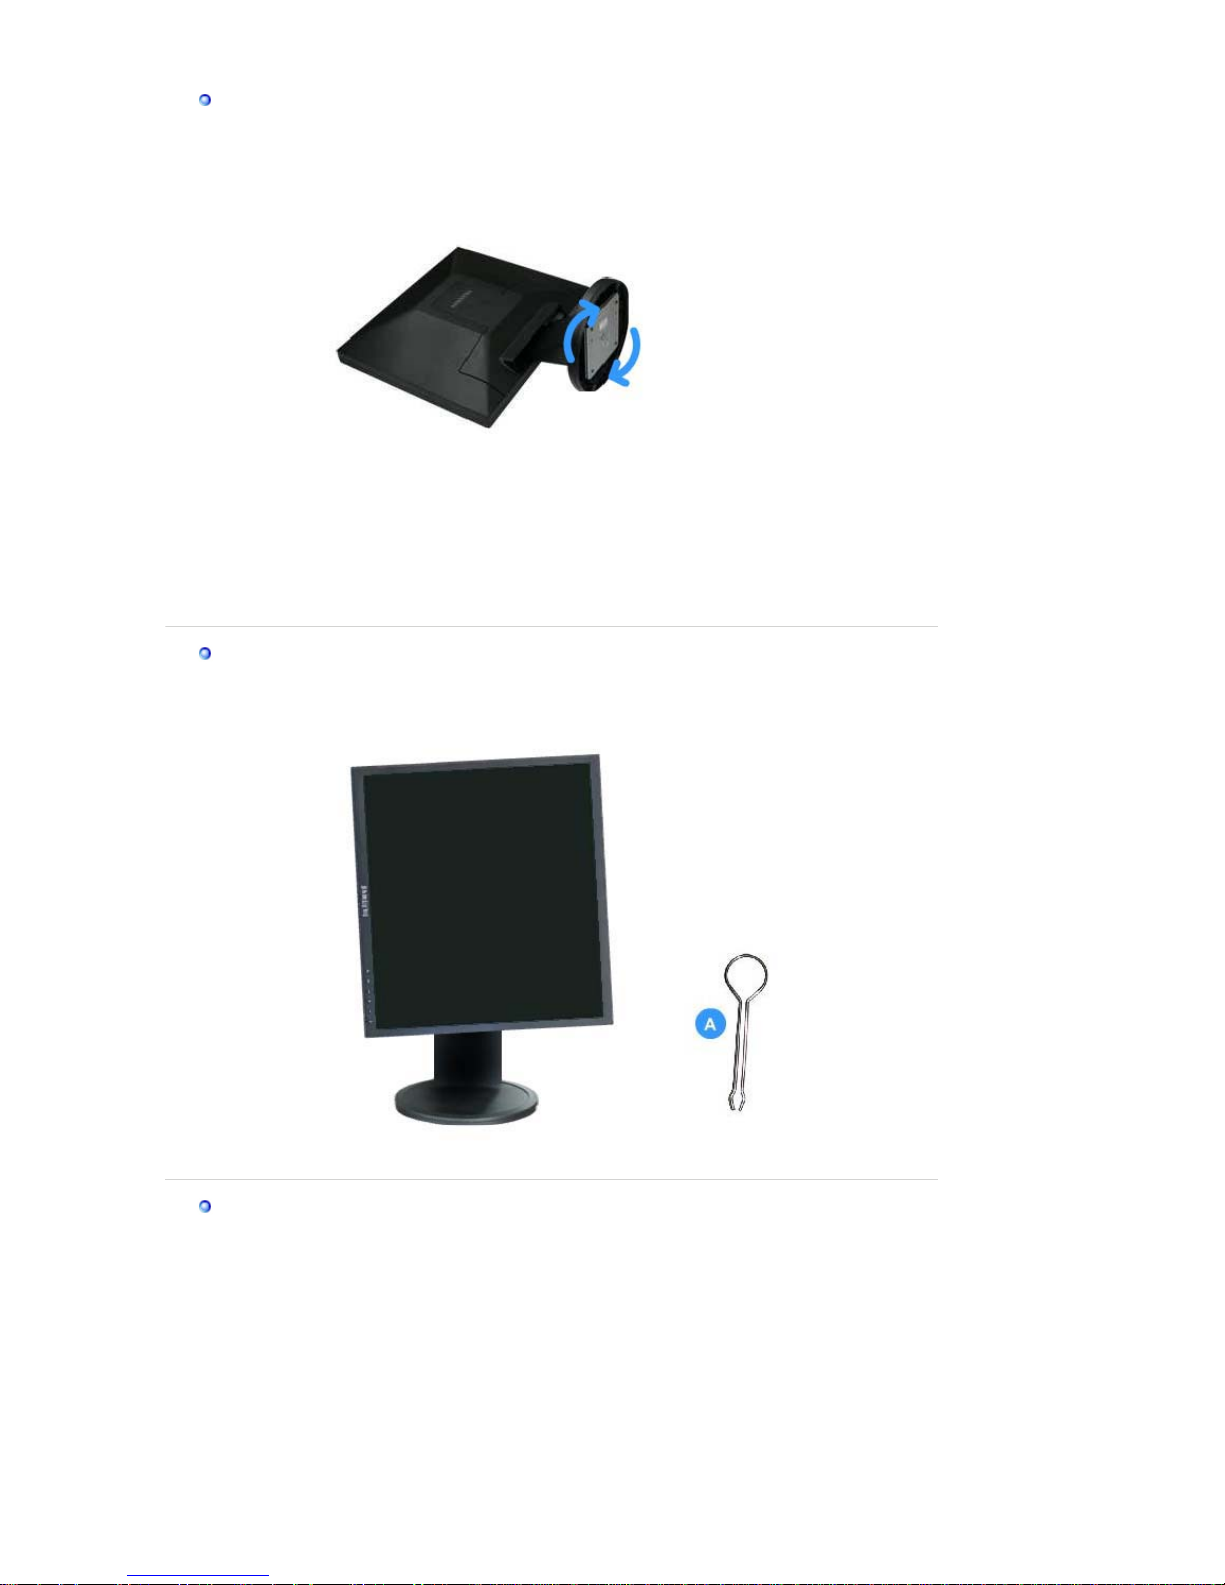
Monitor Assembl
y
Monitor and Bottom
Pivot Stand / Sliding Stand
A.
Stand Stopper
Attaching a Base
This monitor accepts a 75 mm x 75 mm VESA-compliant mounting interface pad.
Page 33
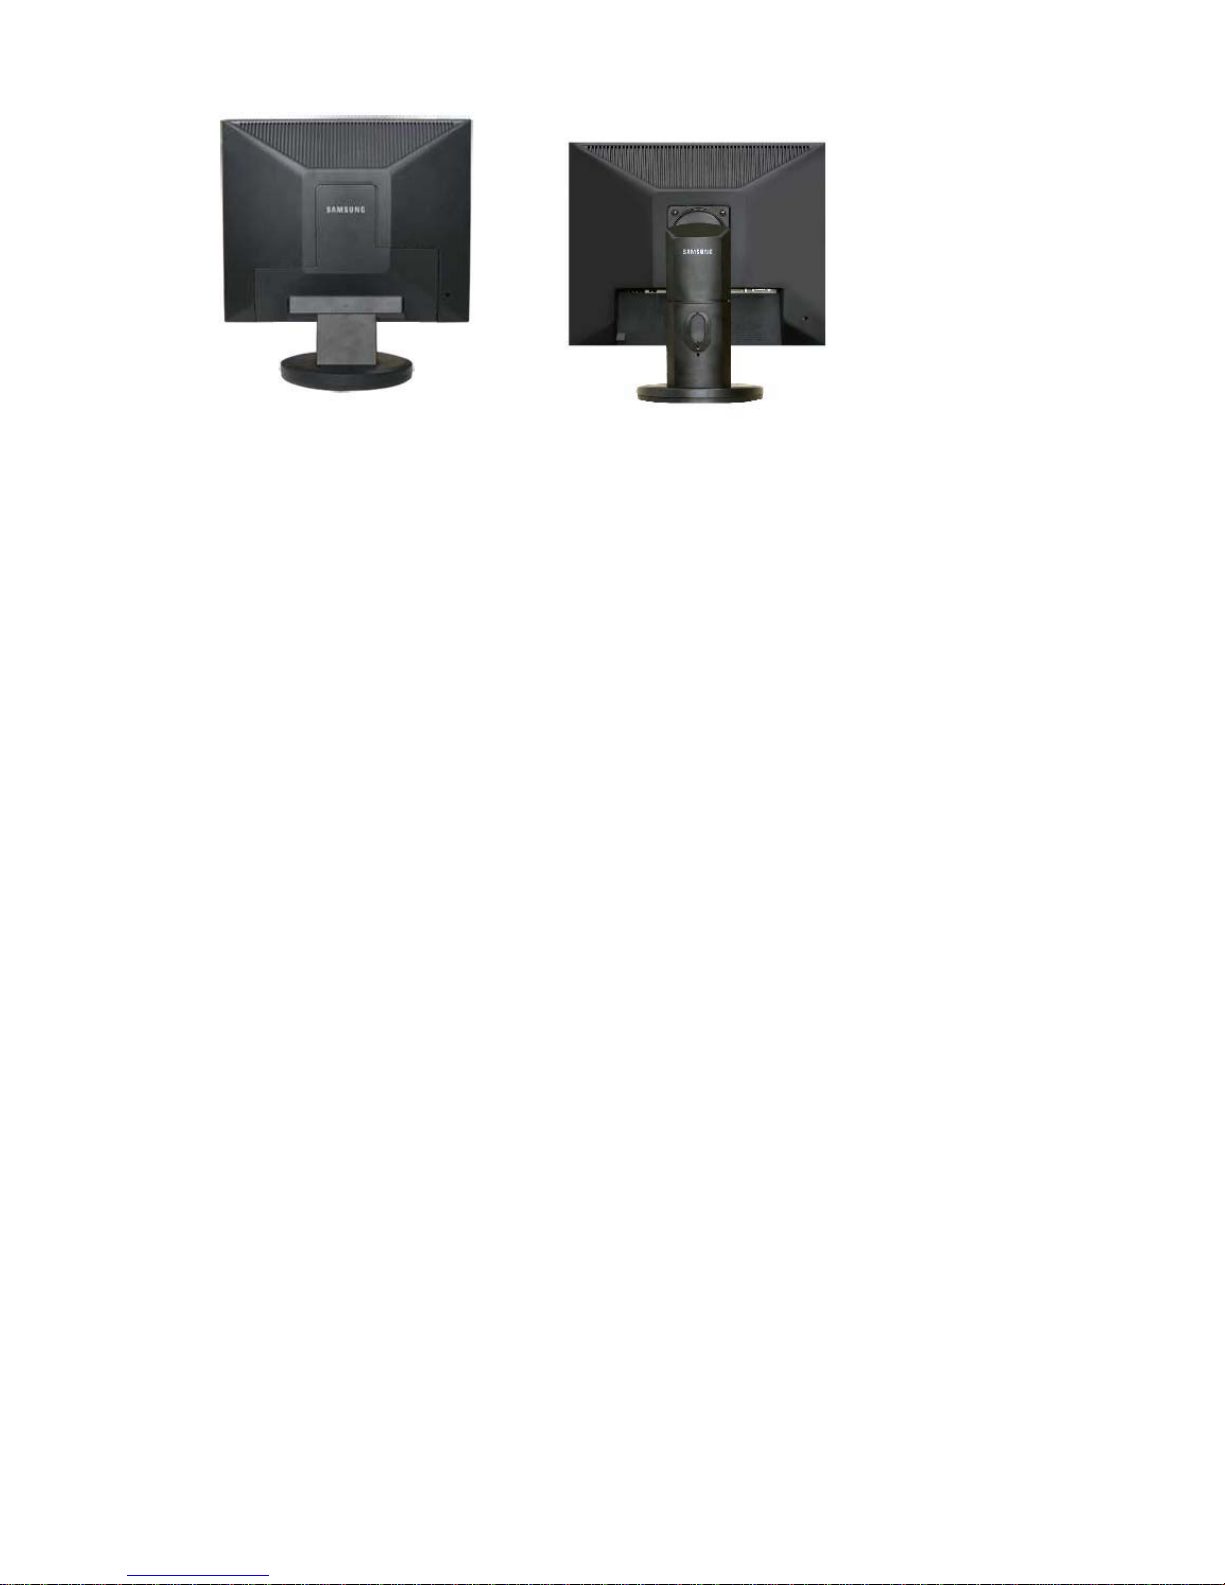
Simple stand
Pivot stand
Sliding Stand
A.
Monitor
B.
Mounting interface pad (Sold separately)
1. Turn off your monitor and unplug its power cord.
2. Lay the LCD monitor face-down on a flat surface with a cushion beneath it to protect the
screen.
3. Remove four screws and then remove the stand from the LCD monitor.
4. Align the mounting interface pad with the holes in the rear cover mounting Pad and secure it
with four screws that came with the arm-type base, wall mount hanger or other base.
Page 34
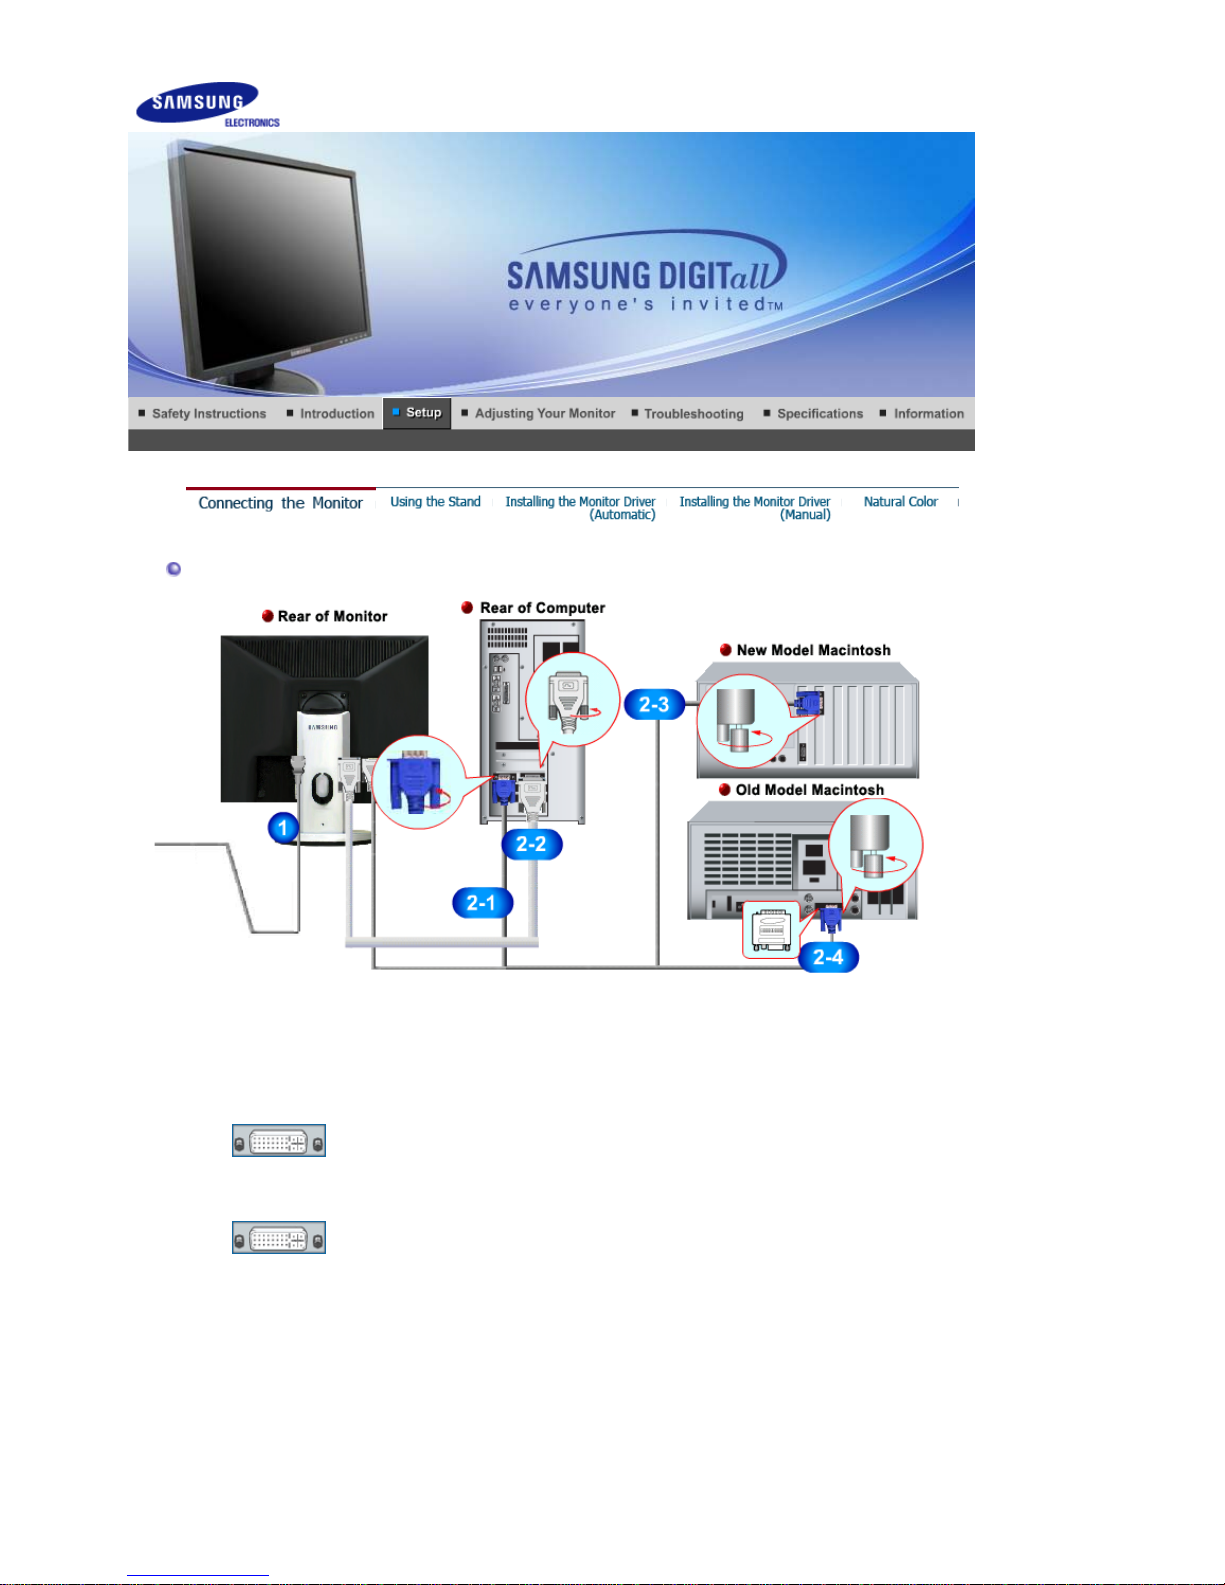
Connecting the Monitor
1.
Connect the power cord for your monitor to the power port on the back of the monitor.
Plug the power cord for the monitor into a nearby outlet.
2-1.
Using the D-sub (Analog) connector on the video card.
Connect the 'DVI-A to D-SUB' Cable to the RGB IN port on the back of your monitor.
[ RGB IN ]
2-2.
Using the DVI (Digital) connector on the video card.
Connect the DVI Cable to the DVI IN port on the back of your monitor.
[ DVI IN ]
2-3.
Connected to a Macintosh.
Connect the monitor to the Macintosh computer using the 'DVI-A to D-SUB' connection cable.
2-4.
In the case of an old model Macintosh, you need to connect the monitor using a special Mac
adapter.
3.
Turn on your computer and monitor. If your monitor displays an image, installation is
complete.
SyncMaster 940Fn
Page 35
Using the Stand
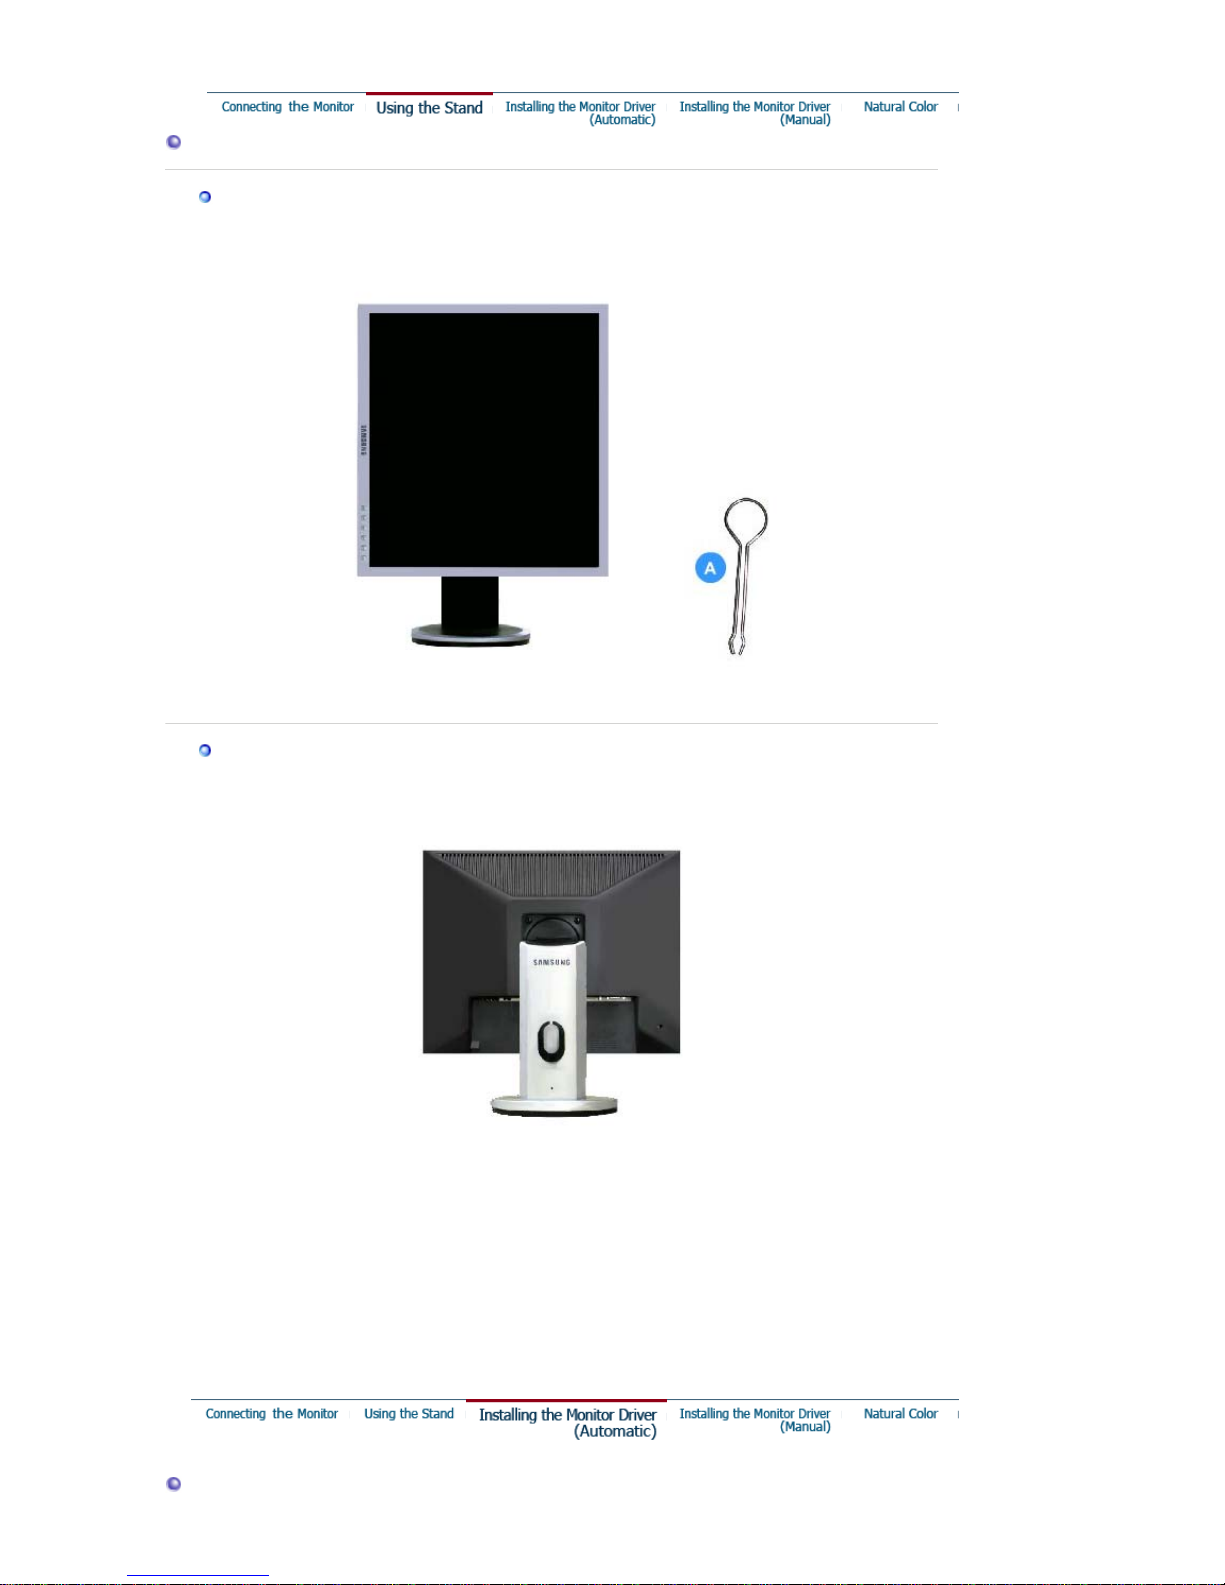
Pivot Stand
A
.
Stand Stopper
Attaching a Base
This monitor accepts a 75 mm x 75 mm VESA-compliant mounting interface pad.
A.
Monitor
B.
Mounting interface pad (Sold separately)
1. Turn off your monitor and unplug its power cord.
2. Lay the LCD monitor face-down on a flat surface with a cushion beneath it to protect the
screen.
3. Remove four screws and then remove the stand from the LCD monitor.
4. Align the mounting interface pad with the holes in the rear cover mounting Pad and secure it
with four screws that came with the arm-type base, wall mount hanger or other base.
Page 36
Installin
g
the Monitor Driver (Automatic
)
When prompted by the operating system for the monitor driver, insert the CD-ROM
included with this monitor. Driver installation is slightly different from one operating
system to another. Follow the directions appropriate for the operating system you
have.
Prepare a blank disk and download the driver program file at the Internet web site shown
here.
z Internet web site : http://www.samsung.com/ (Worldwide)
http://www.samsung.com/monitor (U.S.A)
http://www.sec.co.kr/monitor (Korea)
http://www.samsungmonitor.com.cn/ (China)
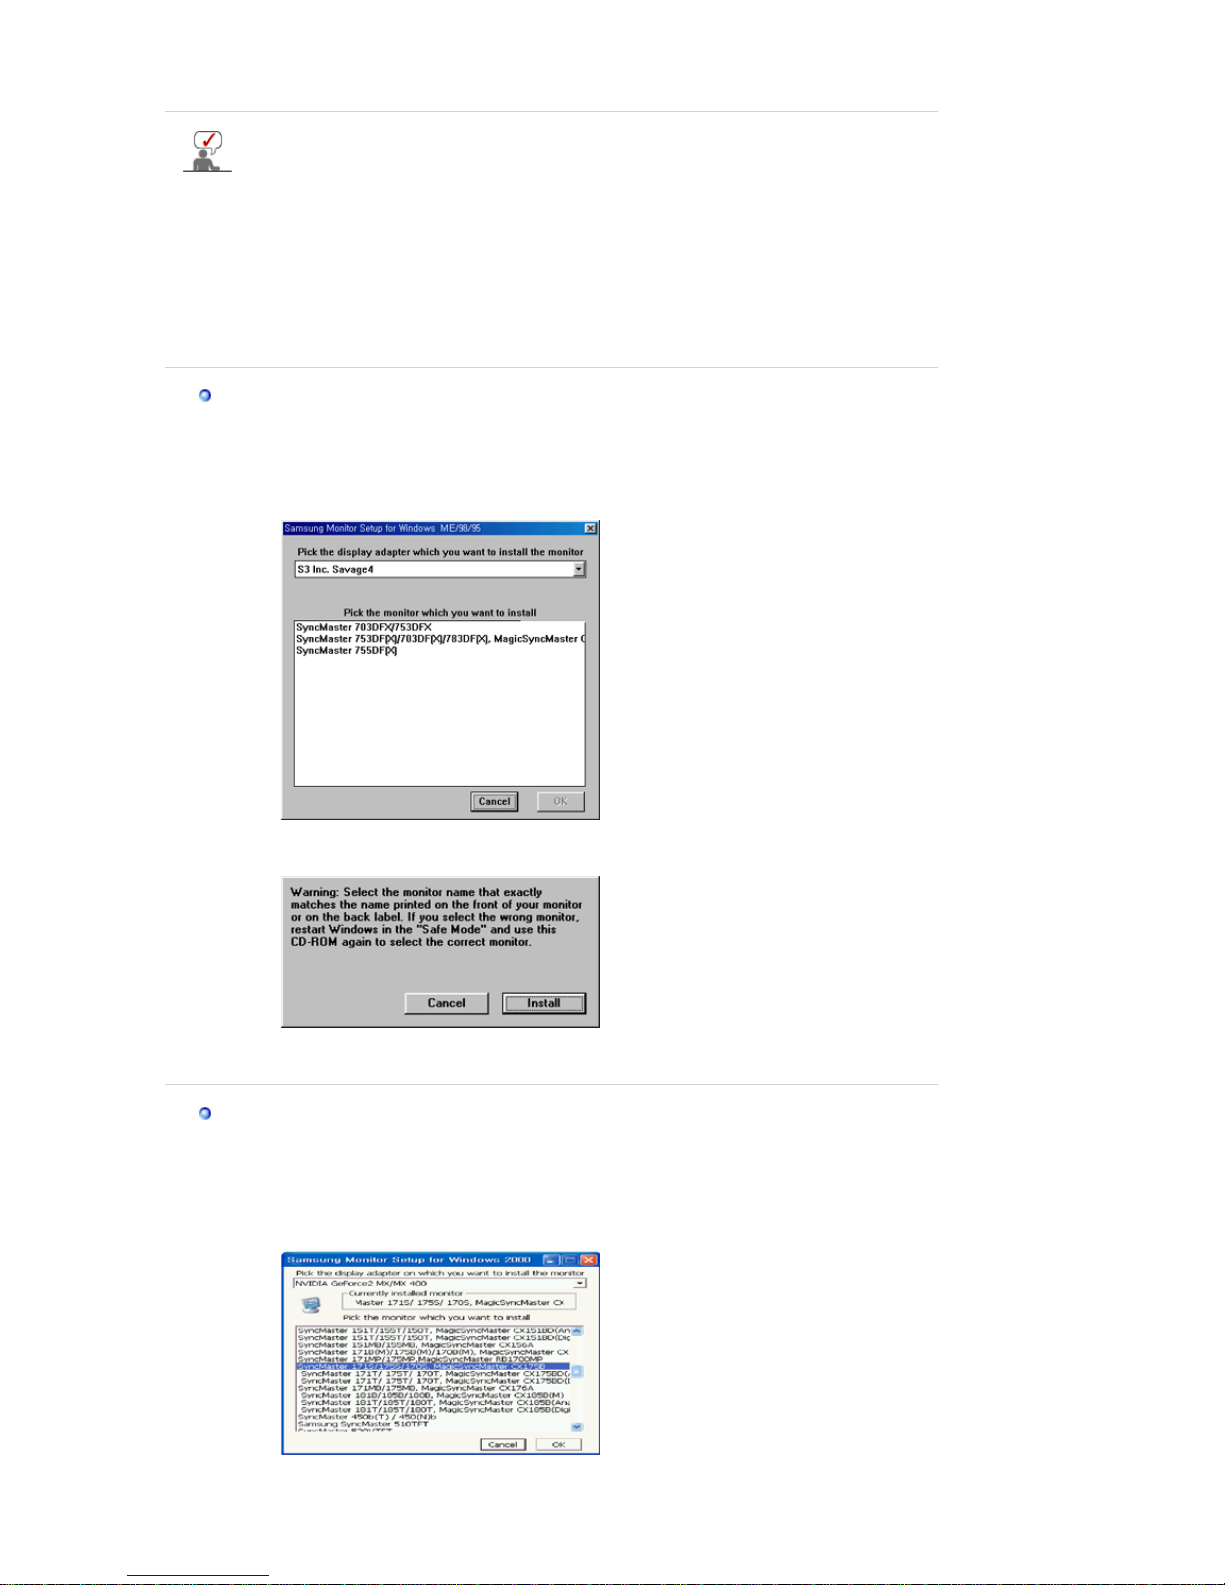
Windows ME
1. Insert CD into the CD-ROM drive.
2. Click
"Windows ME Driver"
.
3. Choose your monitor model in the model list, then click the
"OK"
button.
4. Click the
"Install"
button in the
"Warning"
window.
5. Monitor driver installation is completed.
Windows XP/2000
1. Insert CD into the CD-ROM drive.
2. Click
"Windows XP/2000 Driver"
3. Choose your monitor model in the model list, then click the
"OK"
button.
4. If you can see following message window, then click the
"Continue An
yway
"
button.
Page 37
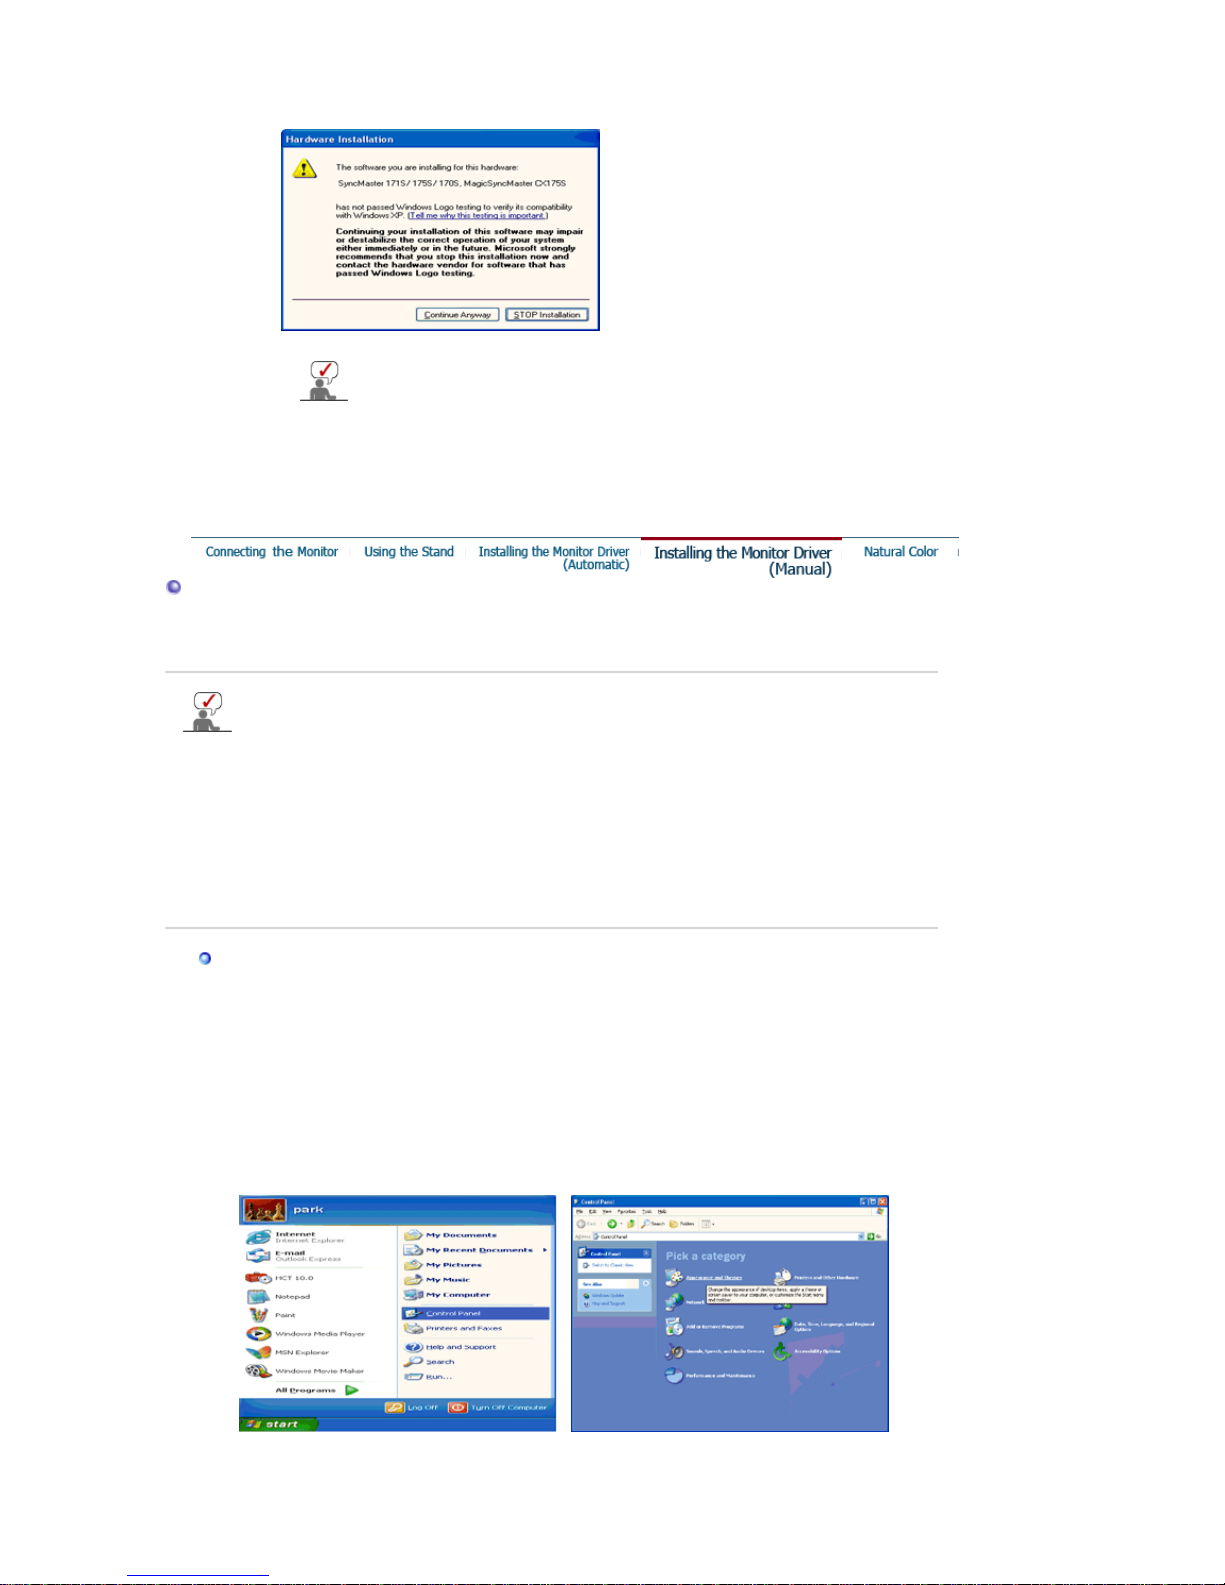
Then click
"OK"
button.
5. Monitor driver installation is completed.
This monitor driver is under certifying MS logo,and this installation don't
damage your system.The certified driver will be posted on Samsung
Monitor momepage
http://www.samsung.com/.
Installing the Monitor Driver (Manual)
Windows XP | Windows 2000 |Windows Me |Windows NT | Linux
When prompted by the operating system for the monitor driver, insert the CD-ROM
included with this monitor. Driver installation is slightly different from one operating
system to another. Follow the directions appropriate for the operating system you
have.
Prepare a blank disk and download the driver program file at the Internet web site shown
here.
z Internet web site : http://www.samsung.com/ (Worldwide)
http://www.samsung.com/monitor (U.S.A)
http://www.sec.co.kr/monitor (Korea)
http://www.samsungmonitor.com.cn/ (China)
Microsoft® Windows® XP Operating System
1. Insert CD into the CD-ROM driver.
2. Click "
Start
" —> "
Control Panel
" then click the "
Appearance and Themes
" Icon.
3. Click "
Display
" icon and choose the "
Settings
" tab then click "
Advanced..
".
Page 38
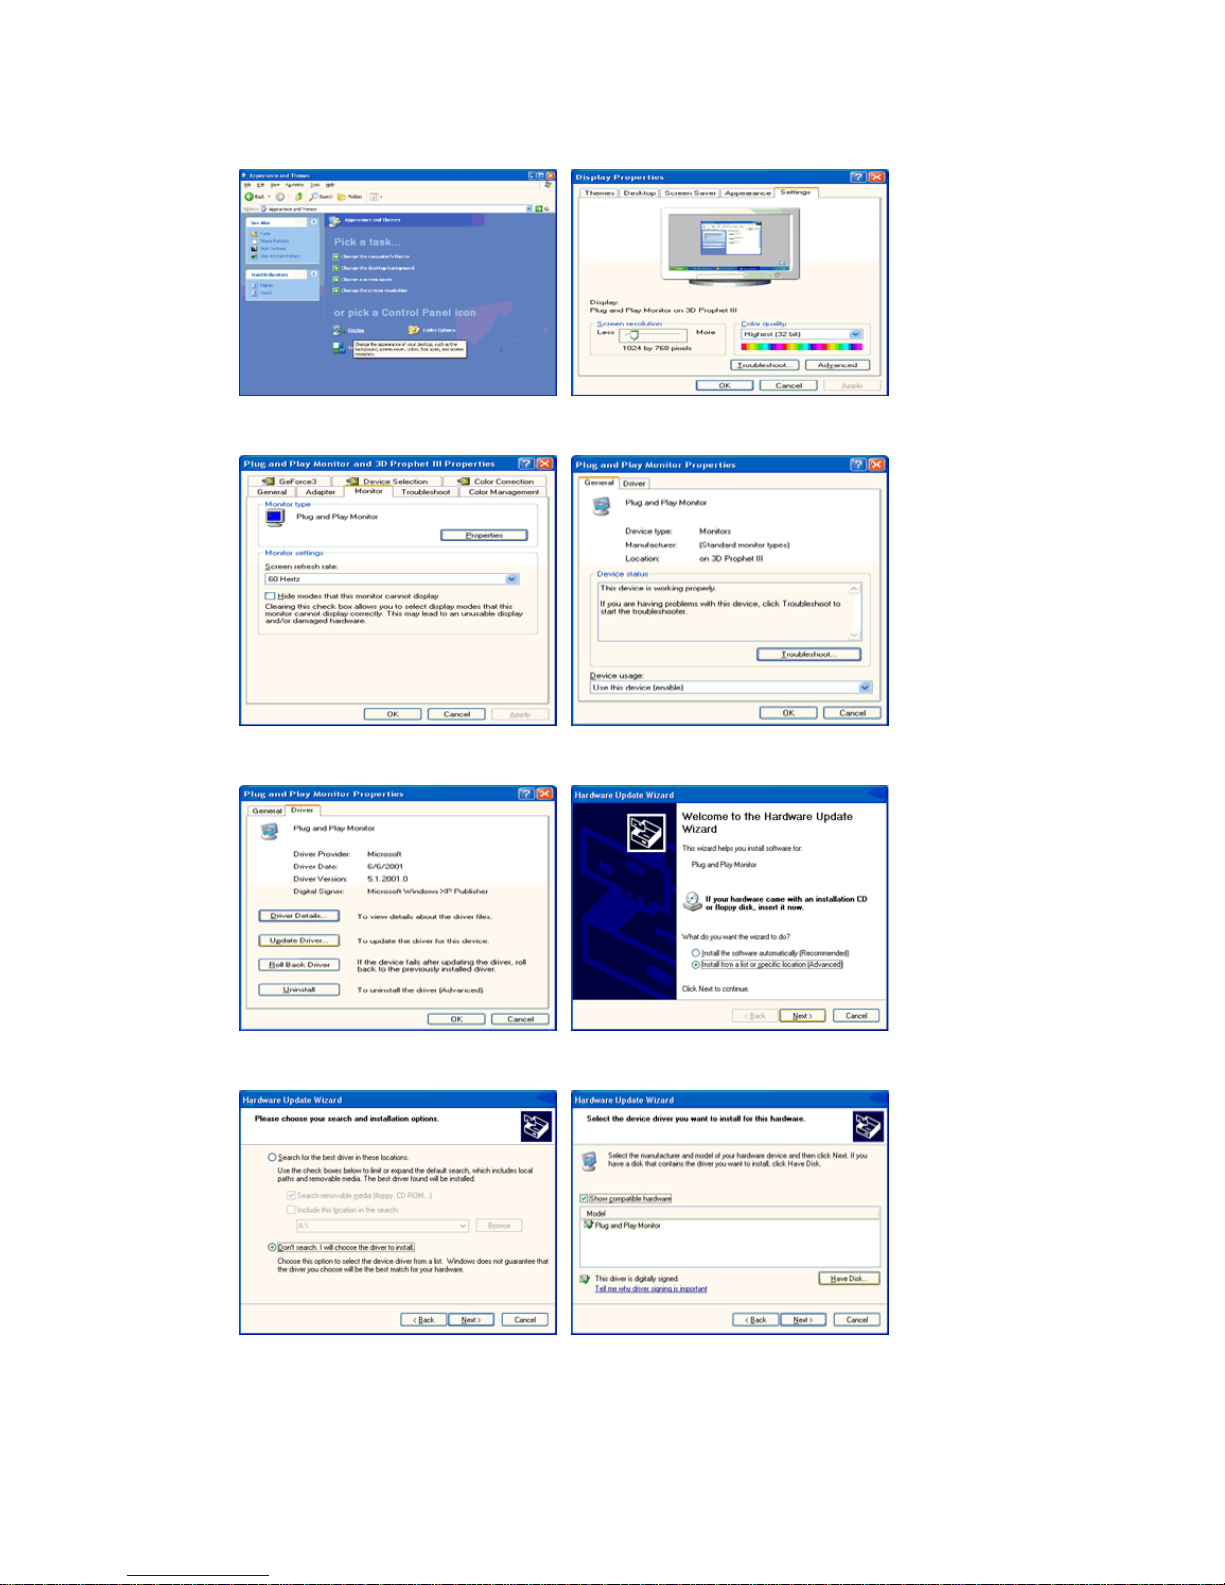
4. Click the "
Properties
" button on the "
Monitor
" tab and select "
Driver
" tab.
5. Click "
Update Driver..
" and select "
Install from a list or..
" then click "
Next
" button.
6. Select "
Don't search ,I will..
" then click "
Next
" and then click "
Have disk
".
7. Click the "
Browse
" button then choose A:(D:\Driver) and choose your monitor model in the
model list and click the "
Next
" button.
Page 39
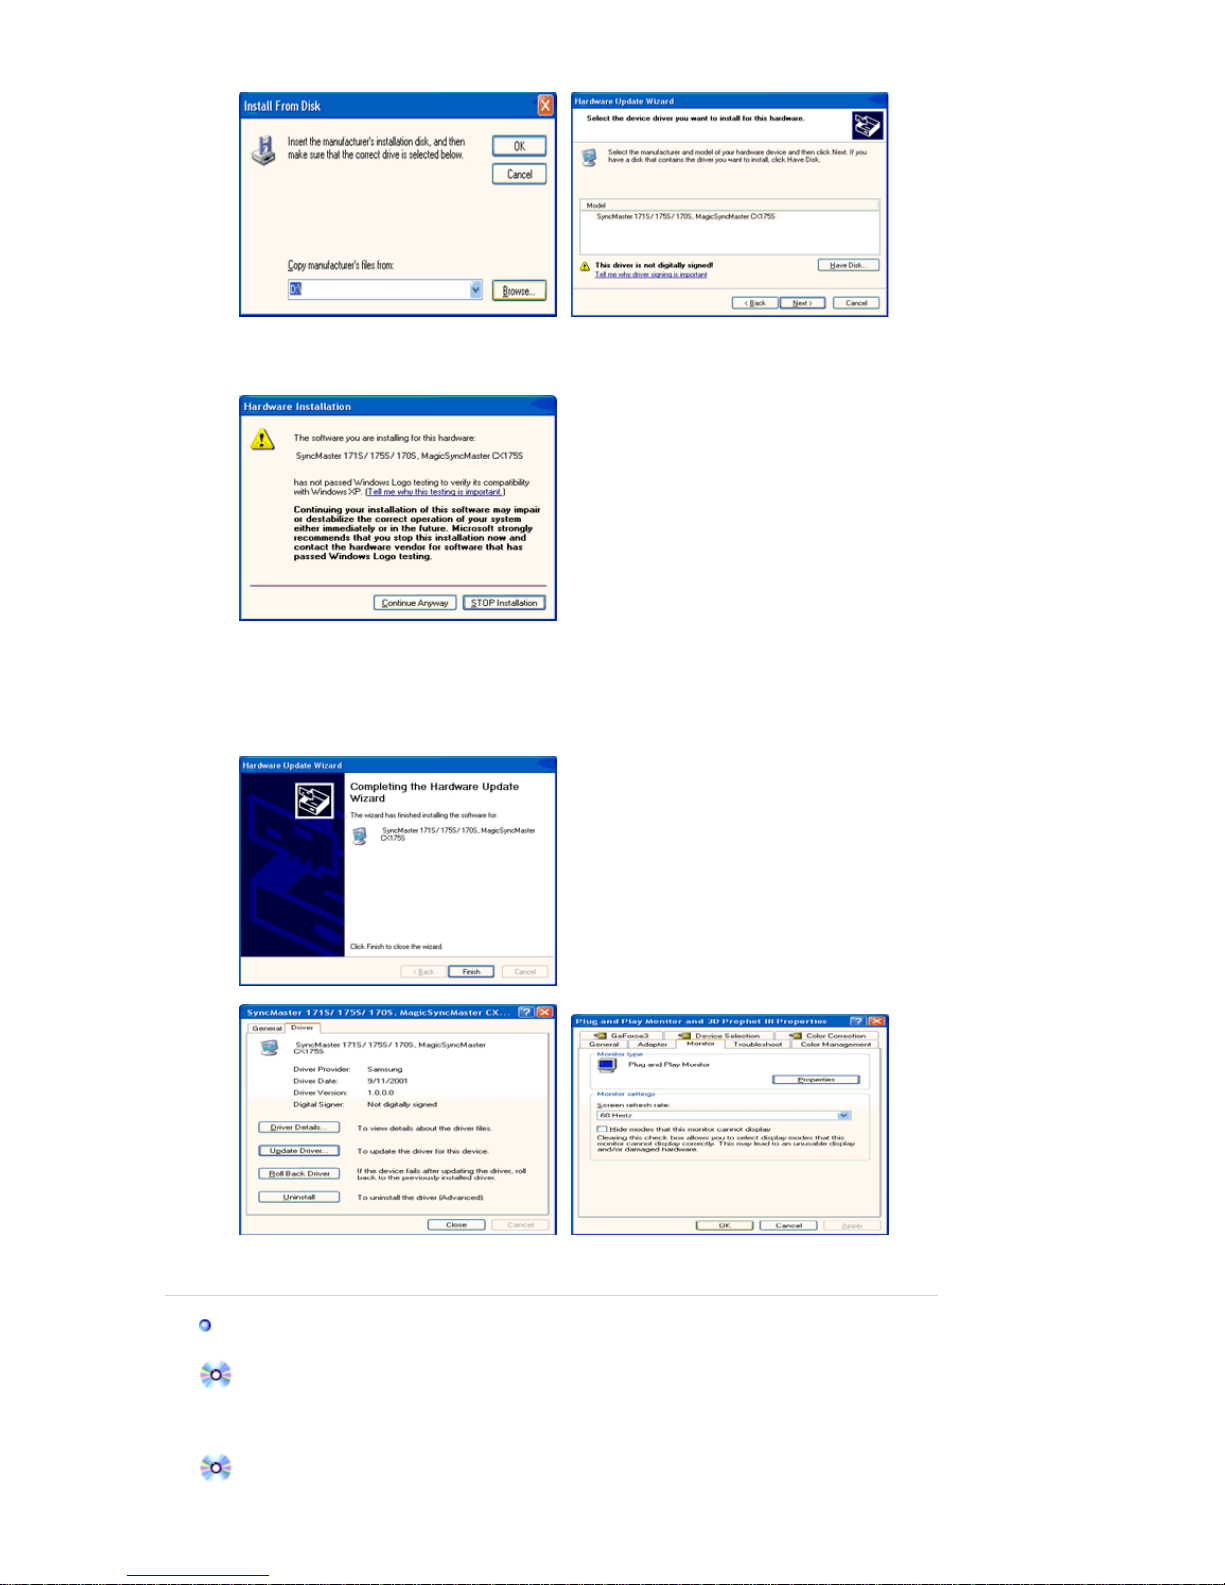
8. If you can see following "
Message
" window, then click the "
Continue Anyway
" button. Then
click "OK" button.
This monitor driver is under certified MS logo,and this installation doesn't damage your
system.The certified driver will be posted on Samsung Monitor homepage.
http://www.samsung.com/
9. Click the "
Close
" button then click "OK" button continually.
10. Monitor driver installation is completed.
Microsoft® Windows® 2000 Operating System
When you can see "Digital Signature Not Found" on your monitor, follow these steps.
1. Choose "OK" button on the "
Insert disk
" window.
2. Click the "
Browse
" button on the "
File Needed
" window.
3. Choose A:(D:\Driver) then click the "Open" button and then click "OK" button.
How to install
Page 40

1. Click "
Start
" , "
Setting
" , "
Control Panel
".
2. Double click the "
Display
" Icon.
3. Choose the "
Settings
" tab and then click "
Advanced..
".
4. Choose "
Monitor
".
5. Click "
Driver
" and then click on "
Update Driver..
" then click on the "Next" button.
6. Choose "
Display a list of the known drivers for this device so that I can choose a
specific driver
" then click "
Next
" and then click "
Have disk
".
7. Click the "
Browse
" button then choose A:(D:\Driver).
8. Click the "
Open
" button, then click "OK" button.
9. Choose your monitor model and click the "
Next
" button then click "
Next
" button.
10. Click the "
Finish
" button then the "
Close
" button.
If you can see the "
Digital Signature Not Found
" window then click the "
Yes
"button.
And click the "
Finish
" button then the "
Close
" button.
Case1:If the "Properties" bu tton is inactive, it means your monitor is properly configured.
Please stop installation
Case2:If the "Properties" button is active, click the "Properties" button then follow next steps
continually.
Microsoft
®
Windows® Millennium Operating System
1. Click "
Start
" , "
Setting
" , "
Control Panel
".
2. Double click "
Display
" icon.
3. Select the "
Settings
" tab and click "
Advanced Properties
" button.
4. Select the "
Monitor
" tab.
5. Click the "
Change
" button in the "
Monitor Type
" area.
6. Choose "
Specify the location of the driver
".
7. Choose "
Display a list of all the driver in a specific location..
" then click "
Next
" button.
8. Click the "
Have Disk
" button
9. Specify A:\(D:\driver) then click "OK" button.
10. Select "
Show all devices
" and choose the monitor that corresponds to the one you
connected to your computer and click "OK".
11. Continue choosing "
Close
" button and "OK" button until you close the Display Properties
dialogue box.
Microsoft® Windows® NT Operating System
1. Click
Start, Settings, Control Panel
, and then double-click
Display
icon.
2. In Display Registration Information window, click Settings Tab and then click
All Display
Modes
.
3. Select a mode that you wish to use (Resolution, Number of colors and Vertical frequency)
and then click OK.
4. Click
Apply
button if you see the screen working normally after clicking
Test
. If the screen is
not normal, change to a different mode (lower mode of resolution, colors or frequency).
If there is no Mode at
All Display Modes
, select the level of resolution and vertical
frequency by referring to the Preset Timing Modes in the user guide.
Linux Operating System
To execute X-Window, you need to make the X86Config file, which is a type of system setting file.
1. Press Enter at the first and the second screen after executing the X86Config file.
2. The third screen is for
setting your mouse
.
3. Set a mouse for your computer.
4. The next screen is for
selecting a keyboard
.
5. Set a Keyboard for your computer.
6. The next screen is for
setting your monitor
.
7. First of all, set a
horizontal frequency
for your monitor. (You can enter the frequency
directly.)
8. Set a
vertical frequency
for your monitor. (You can enter the frequency directly.)
9. Enter the
model name of your monitor
. This information will not affect the actual execution
of X-Window.
10. You have
finished
setting up your monitor.
Execute
X-Window after setting other requested hardware.
Page 41
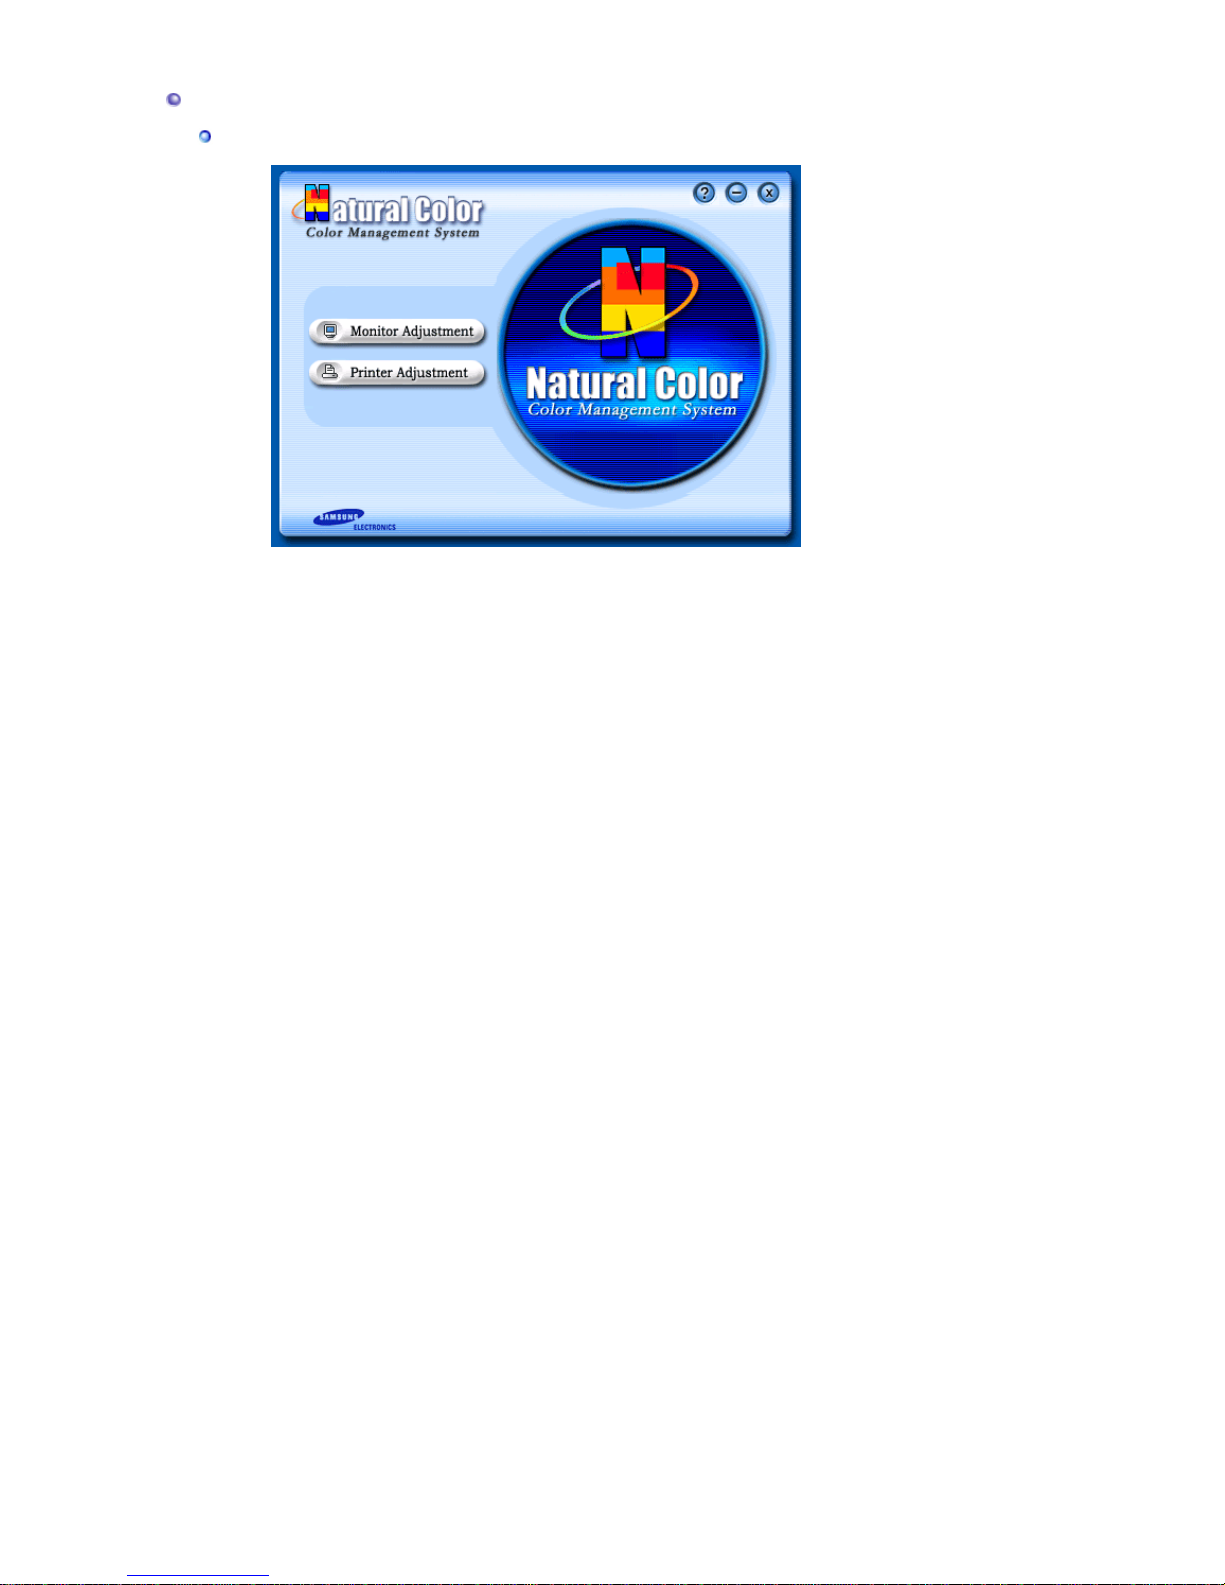
Natural Color
Natural Colo
r
One of the recent problems in using a computer is that the color of the images printed out by a
printer or other images scanned by a scanner or a digital camera are not the same as those
shown on the monitor.
The Natural Color S/W is the very solution for this problem. It is a color administration system
developed by Samsung Electronics in association with Korea Electronics &
Telecommunications Research Institute (ETRI).
This system is available only for Samsung monitors and makes the color of the images on the
monitor the same as the printed or scanned images.
For more information, refer to Help (F1) in the software program.
How to install the Natural Color software
Insert the CD included with the Samsung monitor into the CD-ROM Drive. Then, the initial
screen of the program Natural Color will be executed. Click Natural Color on the initial screen
to install the Natural Color software.
To install the program manually, insert the CD included with the Samsung monitor into th e CDROM Drive, click the
[Start]
button of Windows and then select
[Run...]
.
Enter D:\color\eng\setup.exe and then press the <Enter> key.
(If the drive where the CD is inserted is not D:\, enter the applicable drive.)
How to delete the Natural Color software program
Select
"Setting/Control Panel"
on the
"Start"
menu and then double-click
"Add/Delete a
program"
.
Select Natural Color from the list and then click the
"Add/Delete"
button.
Page 42
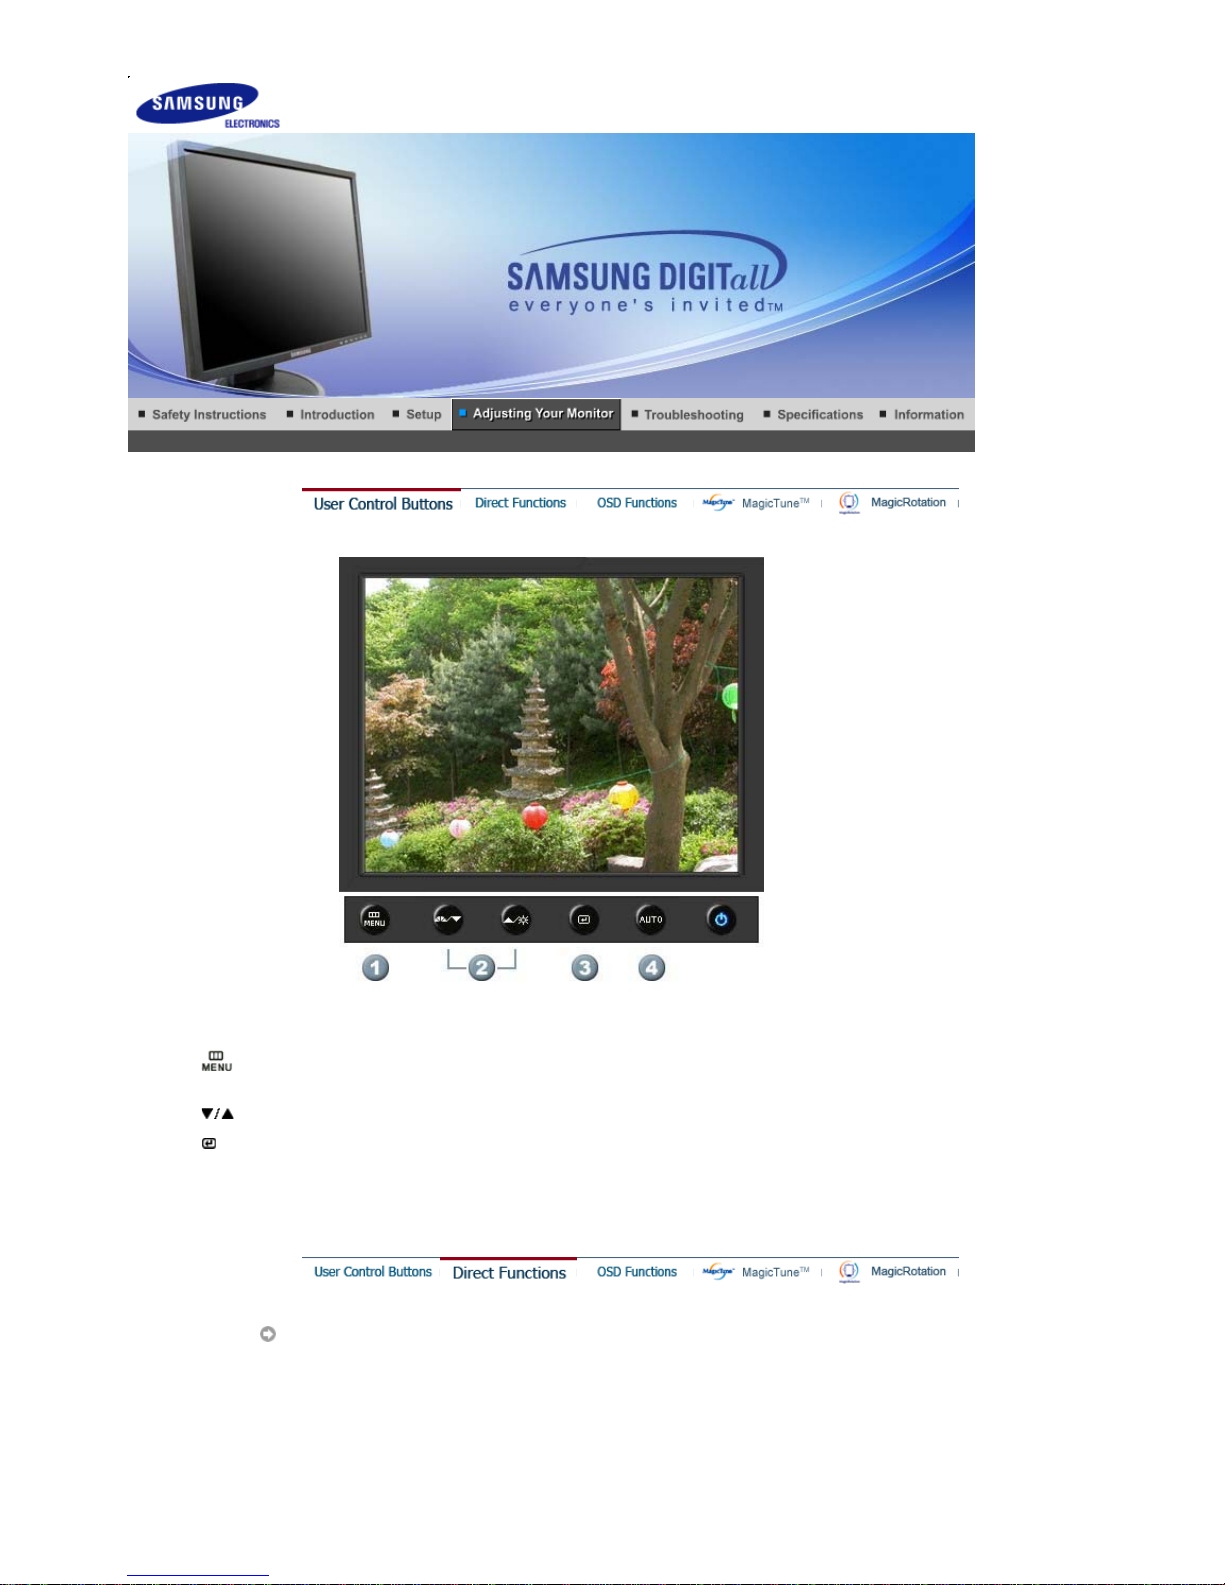
1.
[ ]Use this button to open the on-screen menu and exit from the menu screen or close screen
adjustment menu.
2.
[ ]This button allows you to adjust items in the menu.
3.
[ ]Press this button to activate a highlighted menu item.
4.[AUTO
]Press to self-adjust to the incoming PC signal. The values of fine,coarse and position are
adjusted automatically.
AUTO
SyncMaster 540B / 740T / 940T / 940Be
Page 43
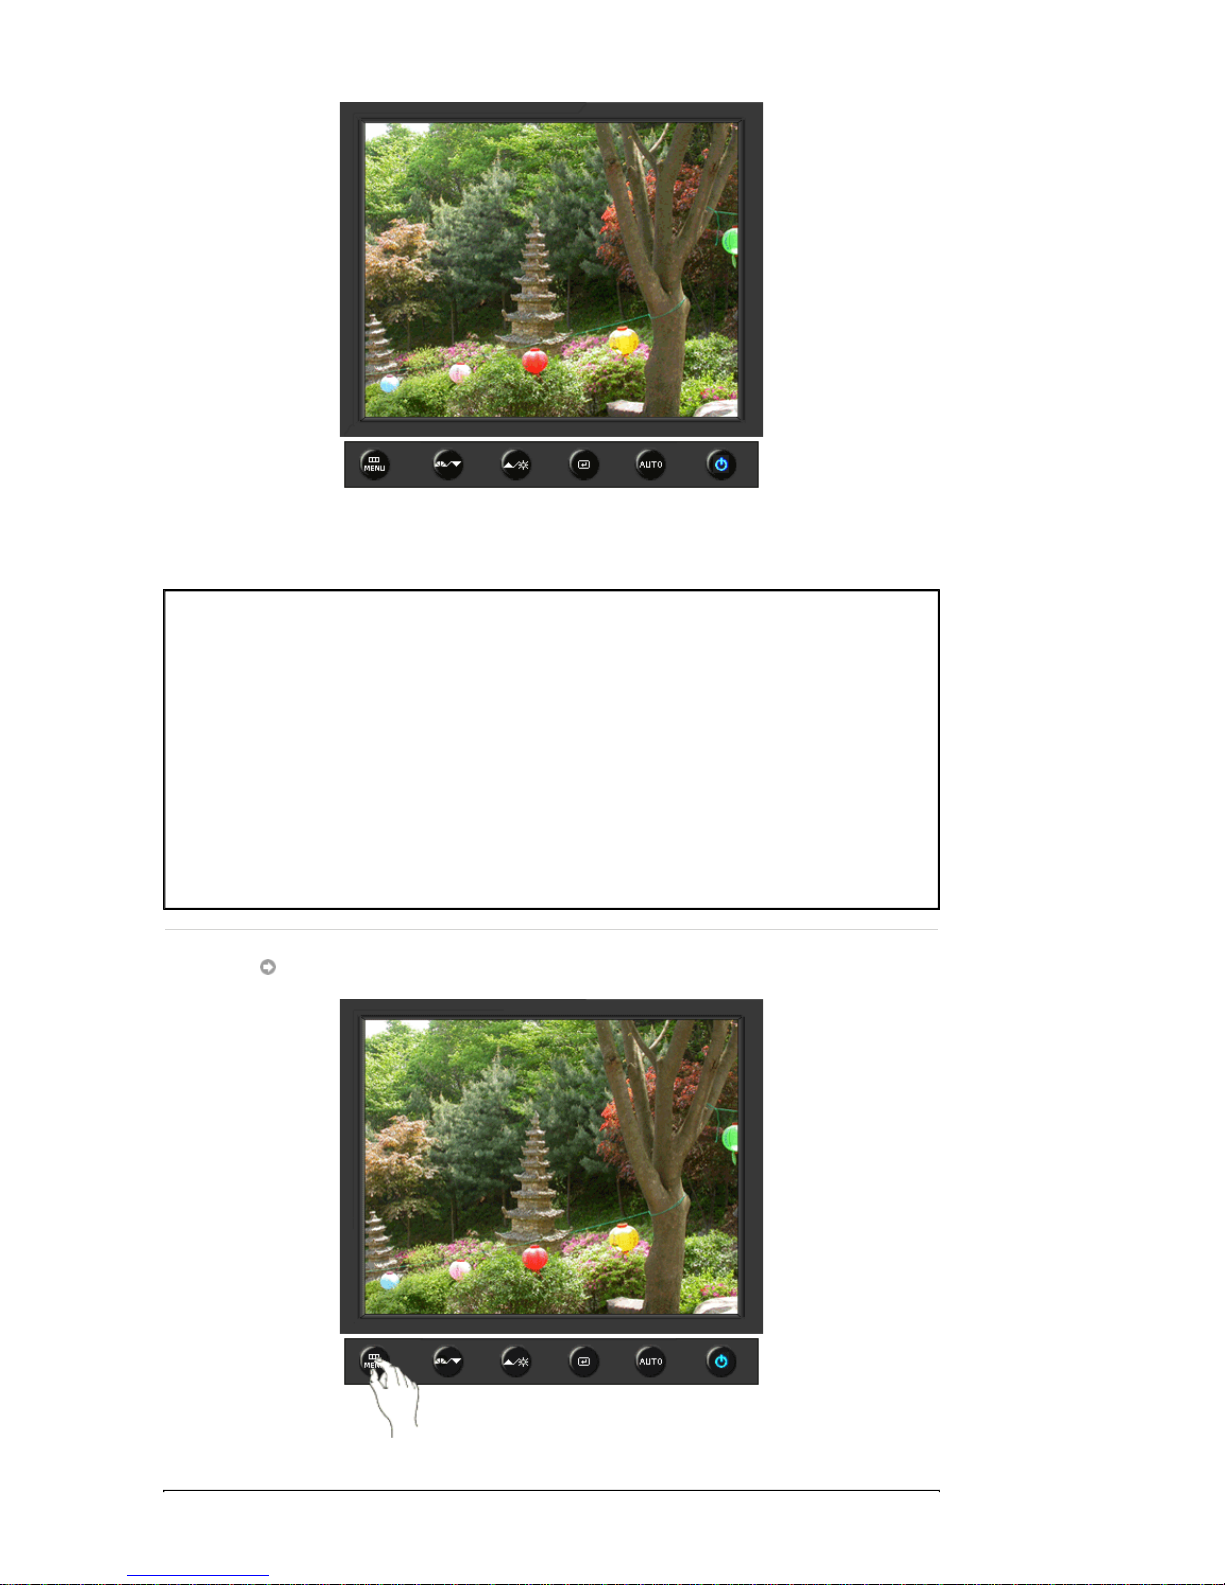
Menu Description
AUTO
When the '
AUTO
' button is pressed, the Auto Adjustment screen appears
as shown in the animated screen on the center.
Auto adjustment allows the monitor to self-adjust to the incoming video
signal. The values of fine, coarse and position are adjusted automatically.
(Available in analog mode only)
To make the automatic adjustment function sharper, execute the 'AUTO'
function while the AUTO PATTERN is on.
- If auto adjustment does not work properly, press AUTO button again to
adjust picture with more accuracy.
- If you change resolution in the control panel, auto function will be
executed automatically.
Locked
Page 44
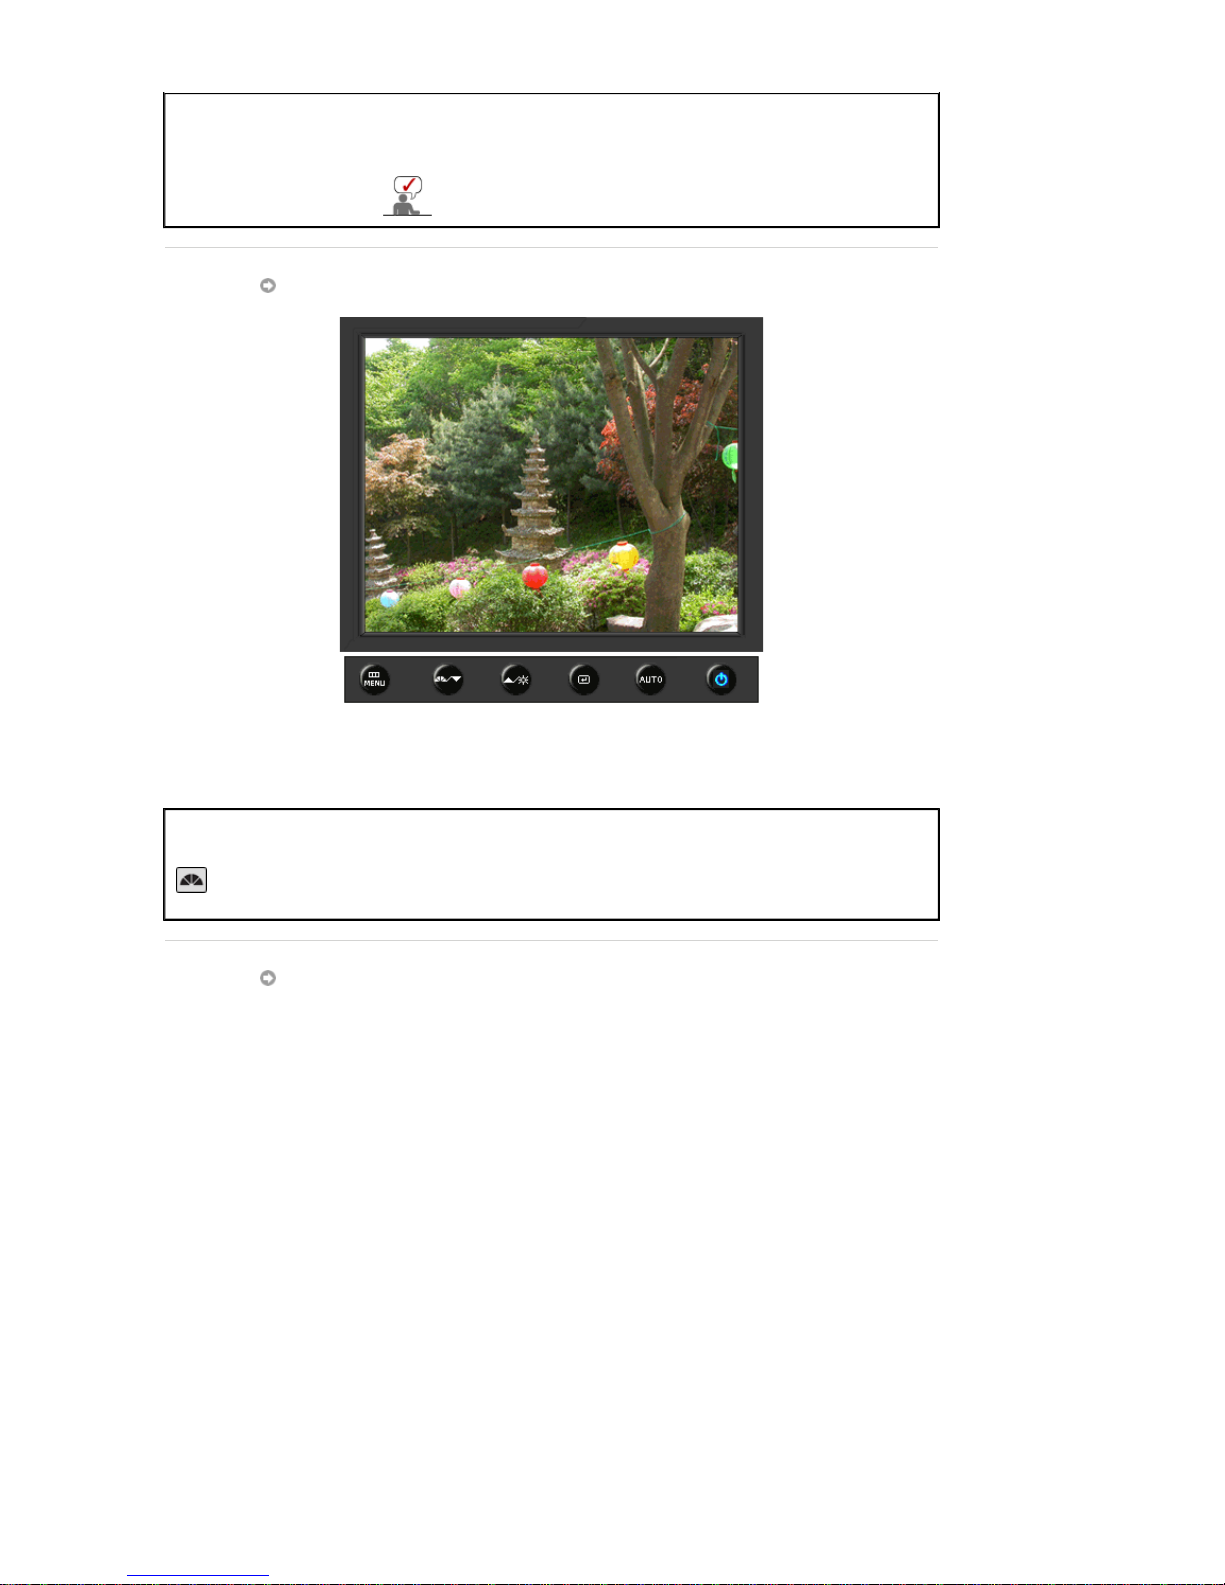
Menu Description
Locked
After pushing the "MENU" button more than 5 seconds, OSD function is
locked (unlocked).
You can also adjust the brightness and contrast of the
monitor with the OSD adjustment locking feature.
MagicBright™
Menu Description
MagicBright™
Push the MagicBright button to circle through available preconfigured
modes.
- Six different modes (Custom/Text/Internet/Game/Sport/Movie)
Brightness
Page 45
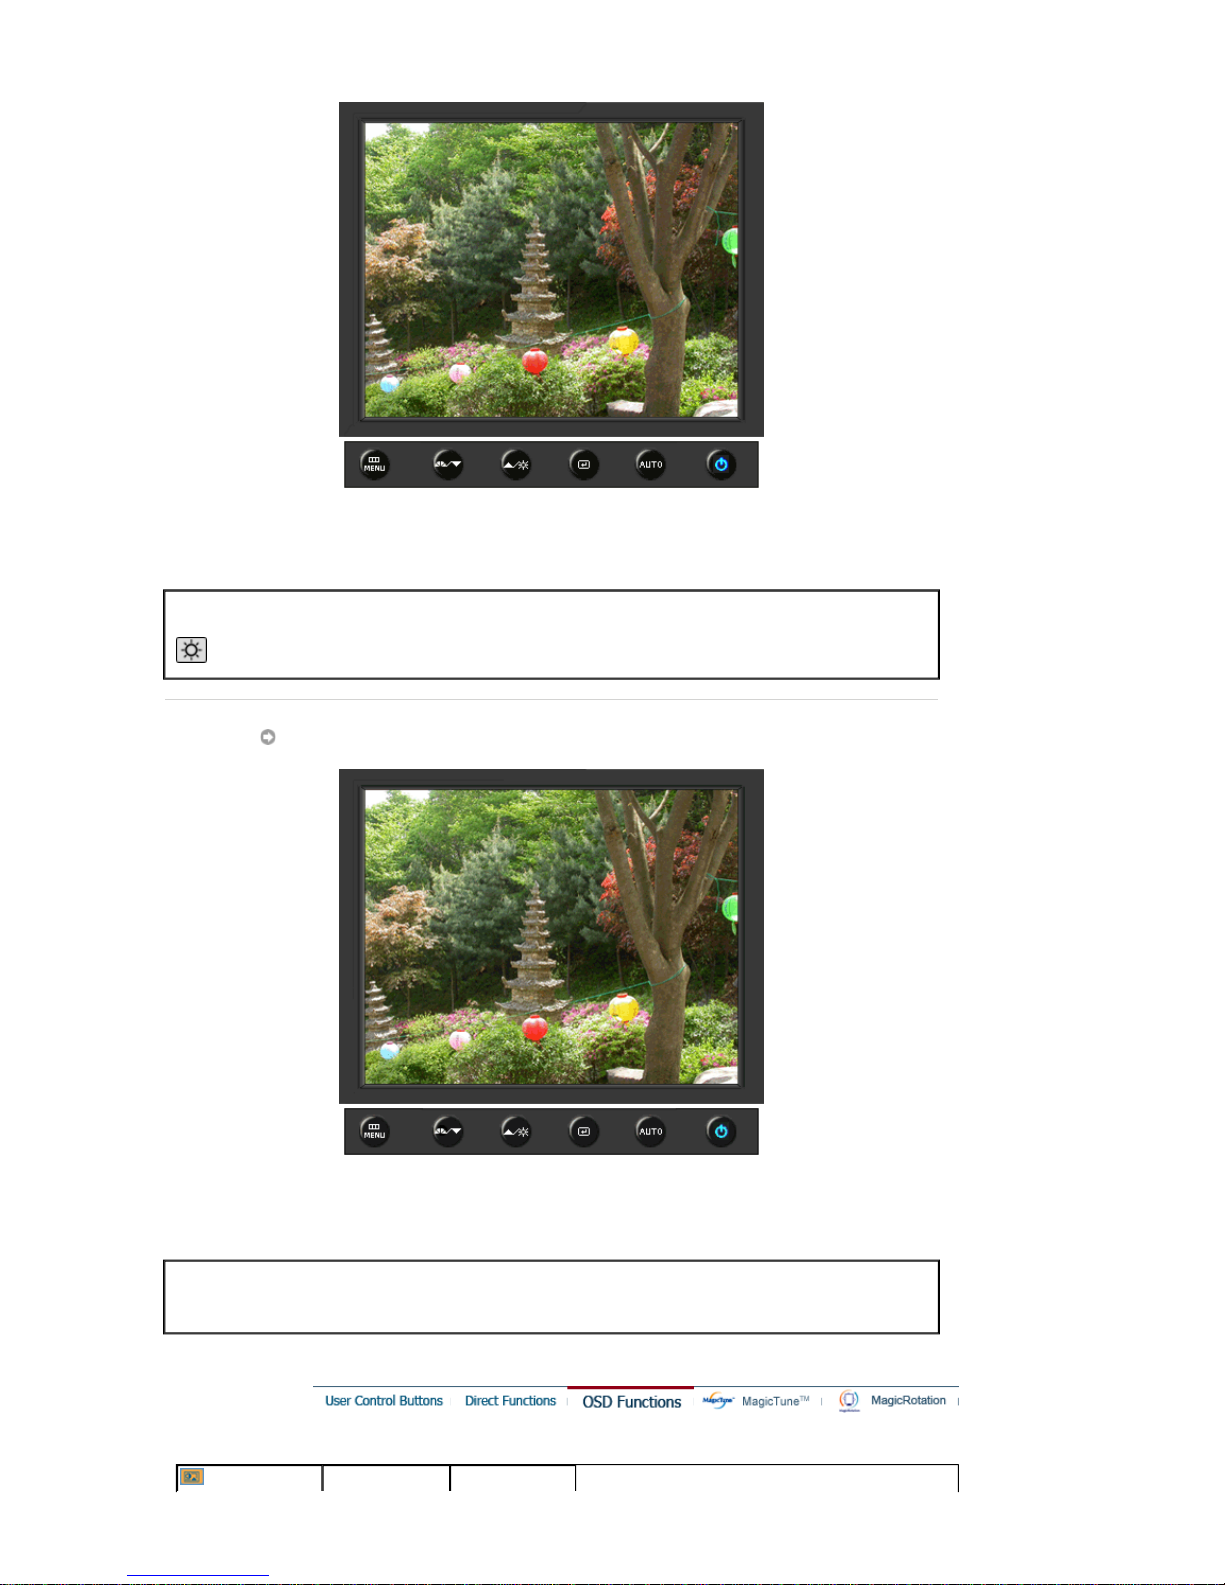
Menu Description
Brightness
When OSD is not on the screen, push the button to adjust brightness.
SOURCE
Menu Description
SOURCE
Selects the video signal while the OSD is off.
Picture
Brightness Contrast
Page 46
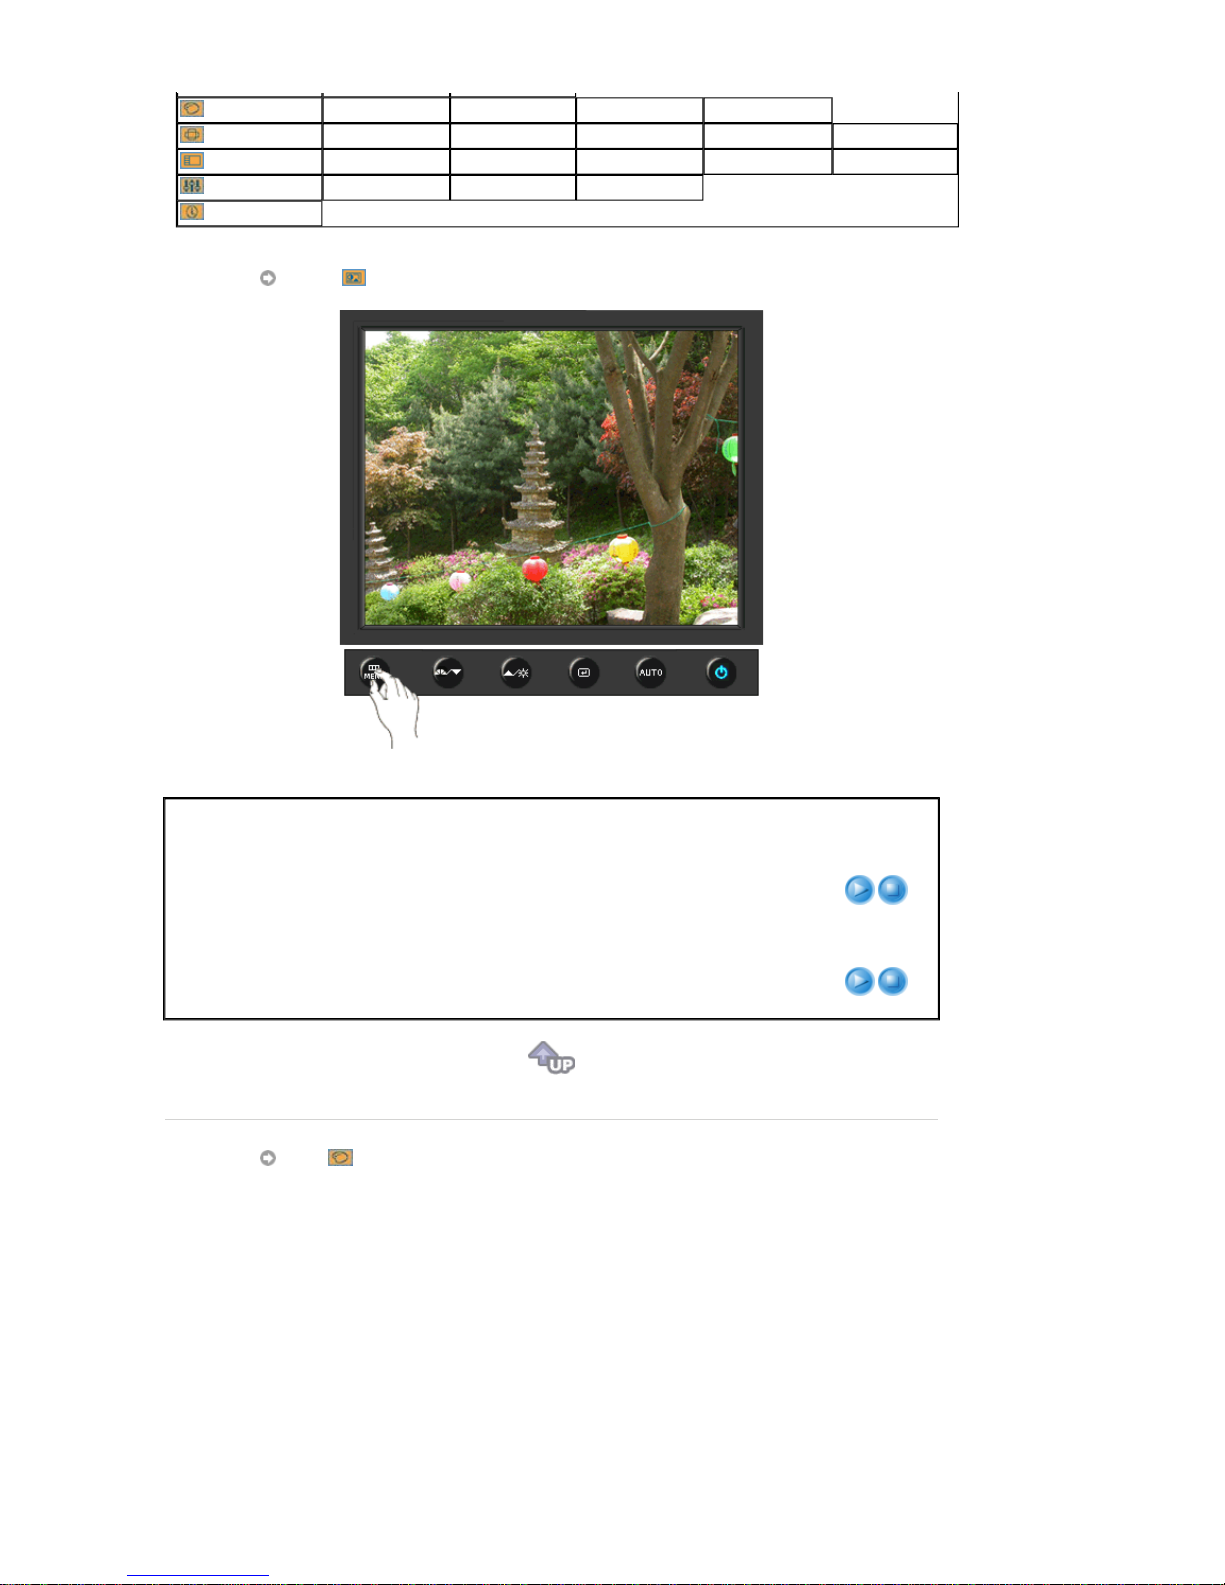
Color
MagicColor Color Tone Color Control Gamma
Image
Coarse Fine Sharpness H-Position V-Position
OSD
Language H-Position V-Position Transparency Display Time
Setup
Auto Source Image Reset Color Reset
Information
Picture
Menu Description Play/Stop
Brightness
You can use the on-screen menus to change the
brightness according to personal preference.
Direct Access Feature
: When OSD is not on the screen,
push the button to adjust brightness.
Contrast
You can use the on-screen menus to change the contrast
according to personal preference.
(Not available in MagicColor mode of Full and Intelligent.)
Color
Page 47
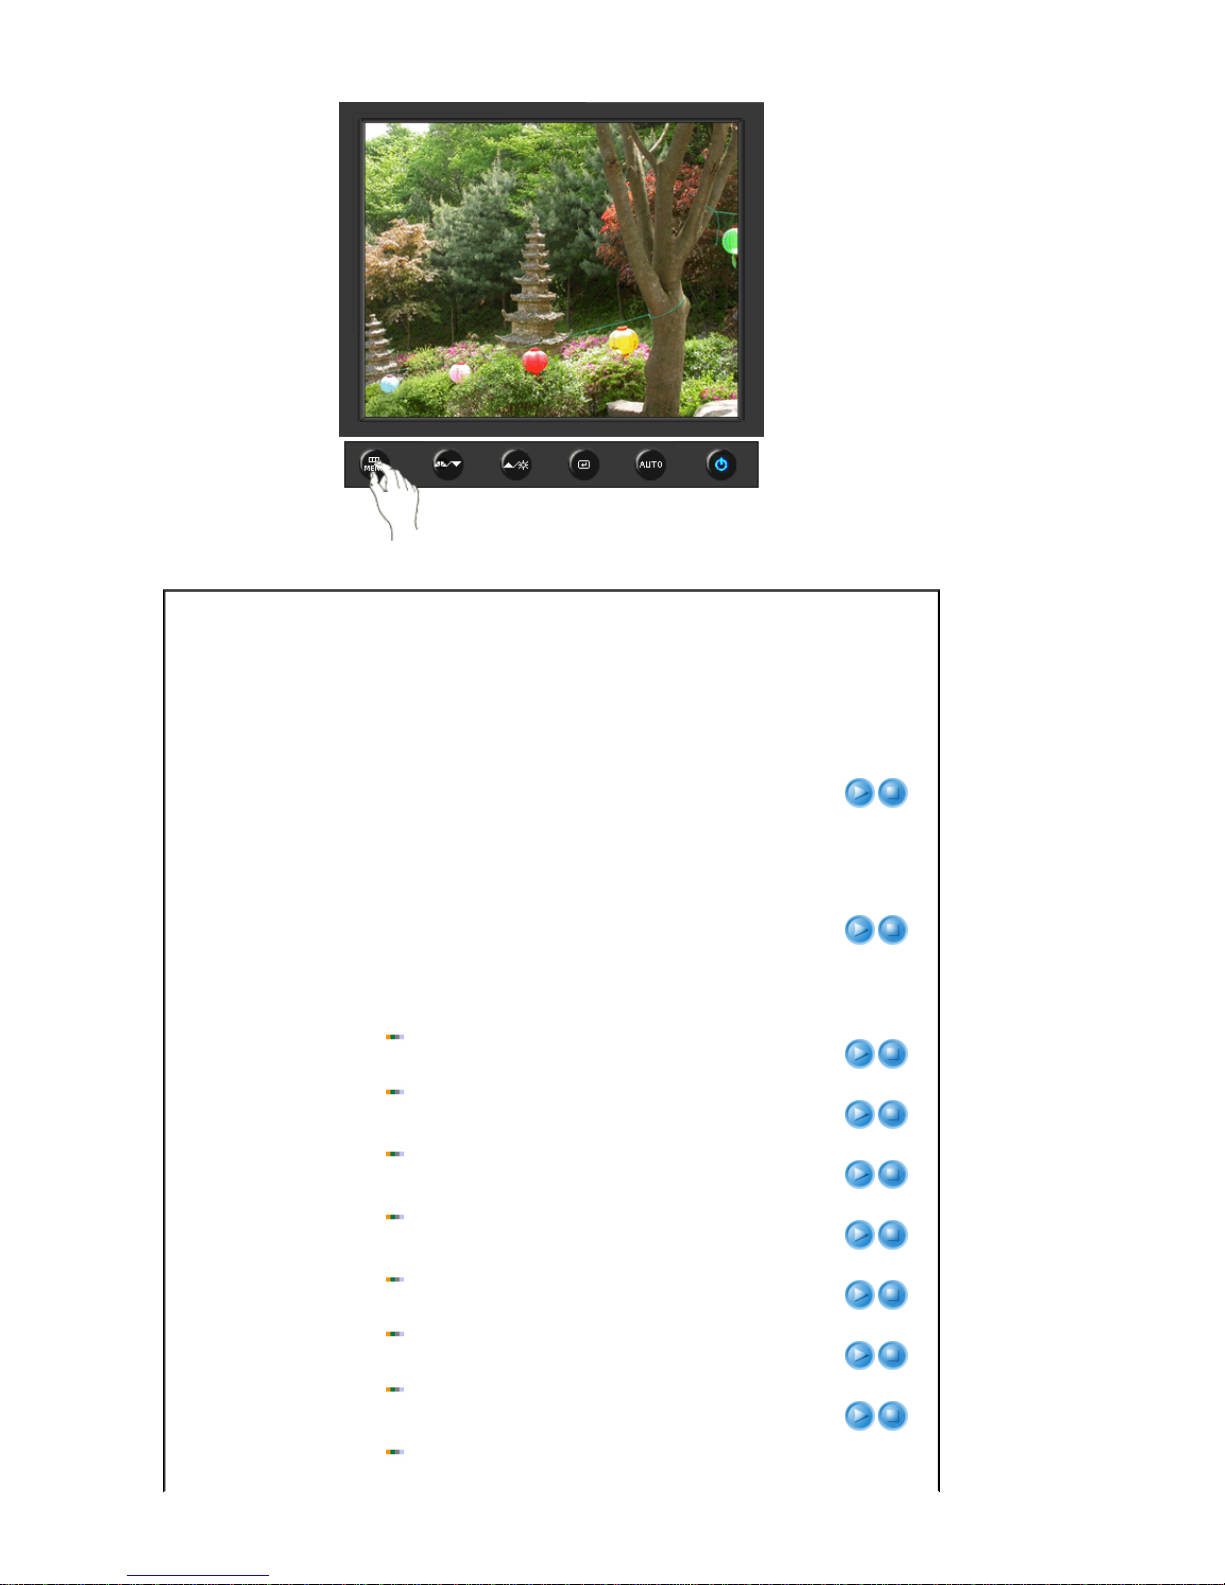
Menu Description Play/Stop
MagicColor
MagicColor is a new technology that Samsung has
exclusively developed to improve digital image and to
display natural color more clearly without disturbing image
quality.
1) Off
- Returns to the original mode.
2) Demo
- The screen before applying MagicColor
appears on the right and the screen after applying
MagicColor appears on the left.
3) Full
- Displays not only vivid natural color but also
more realistic natural skin color with clearness.
4) Intelligent
- Displays vivid natural color with clearness.
5) MagicZone
- The MagicZone ensures the clear and
sharp display of animated multimedia or photo images by
enhancing the brightness, sharpness, saturation, hue of a
certain area on the screen.
Especially, MagicZone is appropriate to using the moving
picture.
MagicZone
Hue
: This function is to adjust the hue of the MagicZone.
Saturation
: This function is to adjust the saturation of the
MagicZone.
Brightness
: This function is to adjust the brightness of the
MagicZone.
Sharpness
: This function is to adjust the sharpness of the
MagicZone.
H-Position
: This function is to move the MagicZone horizontally.
V-Position
: This function is to move the MagicZone vertically.
H-Size
: This function is to adjust the horizontal size of the
MagicZone.
V-Size
Hue
Saturation
Brightness
Sharpness
H-Position
V-Position
H-Size
V-Size
Page 48
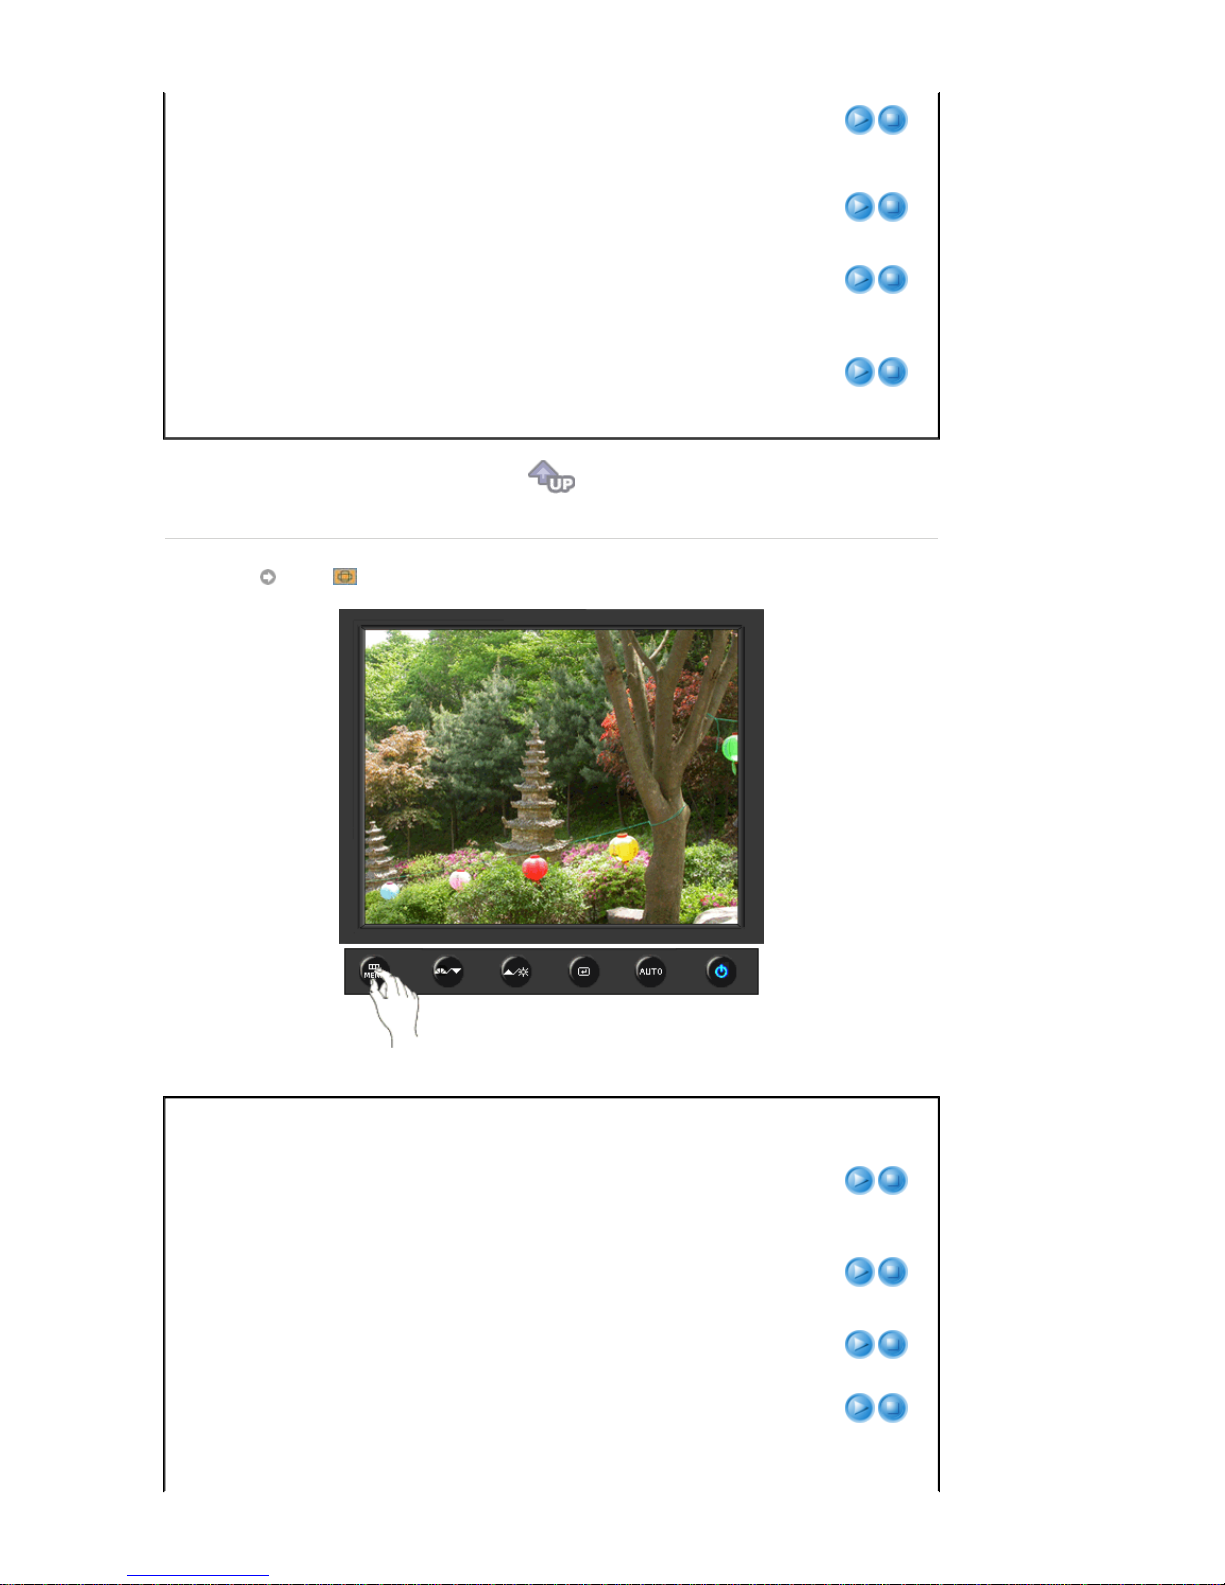
: This function is to adjust the vertical size of the
MagicZone.
Color Tone
The tone of the color can be changed and one of four
modes can be selected - Cool, Normal, Warm and
Custom.
(Not available in MagicColor mode of Full and Intellig ent.)
Color Control
Adjusts individual R,G,B color balance.
(Not available in MagicColor mode of Full and Intellig ent.)
Gamma
Gamma correction changes the luminance of the colors
with intermediate luminance.
z Mode 1
z Mode 2
z Mode 3
Image
Menu Description Play/Stop
Coarse
Removes noise such as vertical stripes. Coarse
adjustment may move the screen image area. You may
relocate it to the center using the horizontal control menu.
(Available in analog mode only)
Fine
Removes noise such as horizontal stripes. If the noise
persists even after fine tuning, repeat it after adjusting the
frequency (clock speed).
(Available in analog mode only)
Sharpness
Changes the clearance of image.
(Not available in MagicColor mode of Full and Intellig ent.)
H-Position
Changes the horizontal position of the monitor's entire
display.
(Available in analog mode only)
Changes the vertical position of the monitor's entire
Page 49
V-Position
display.
(Available in analog mode only)
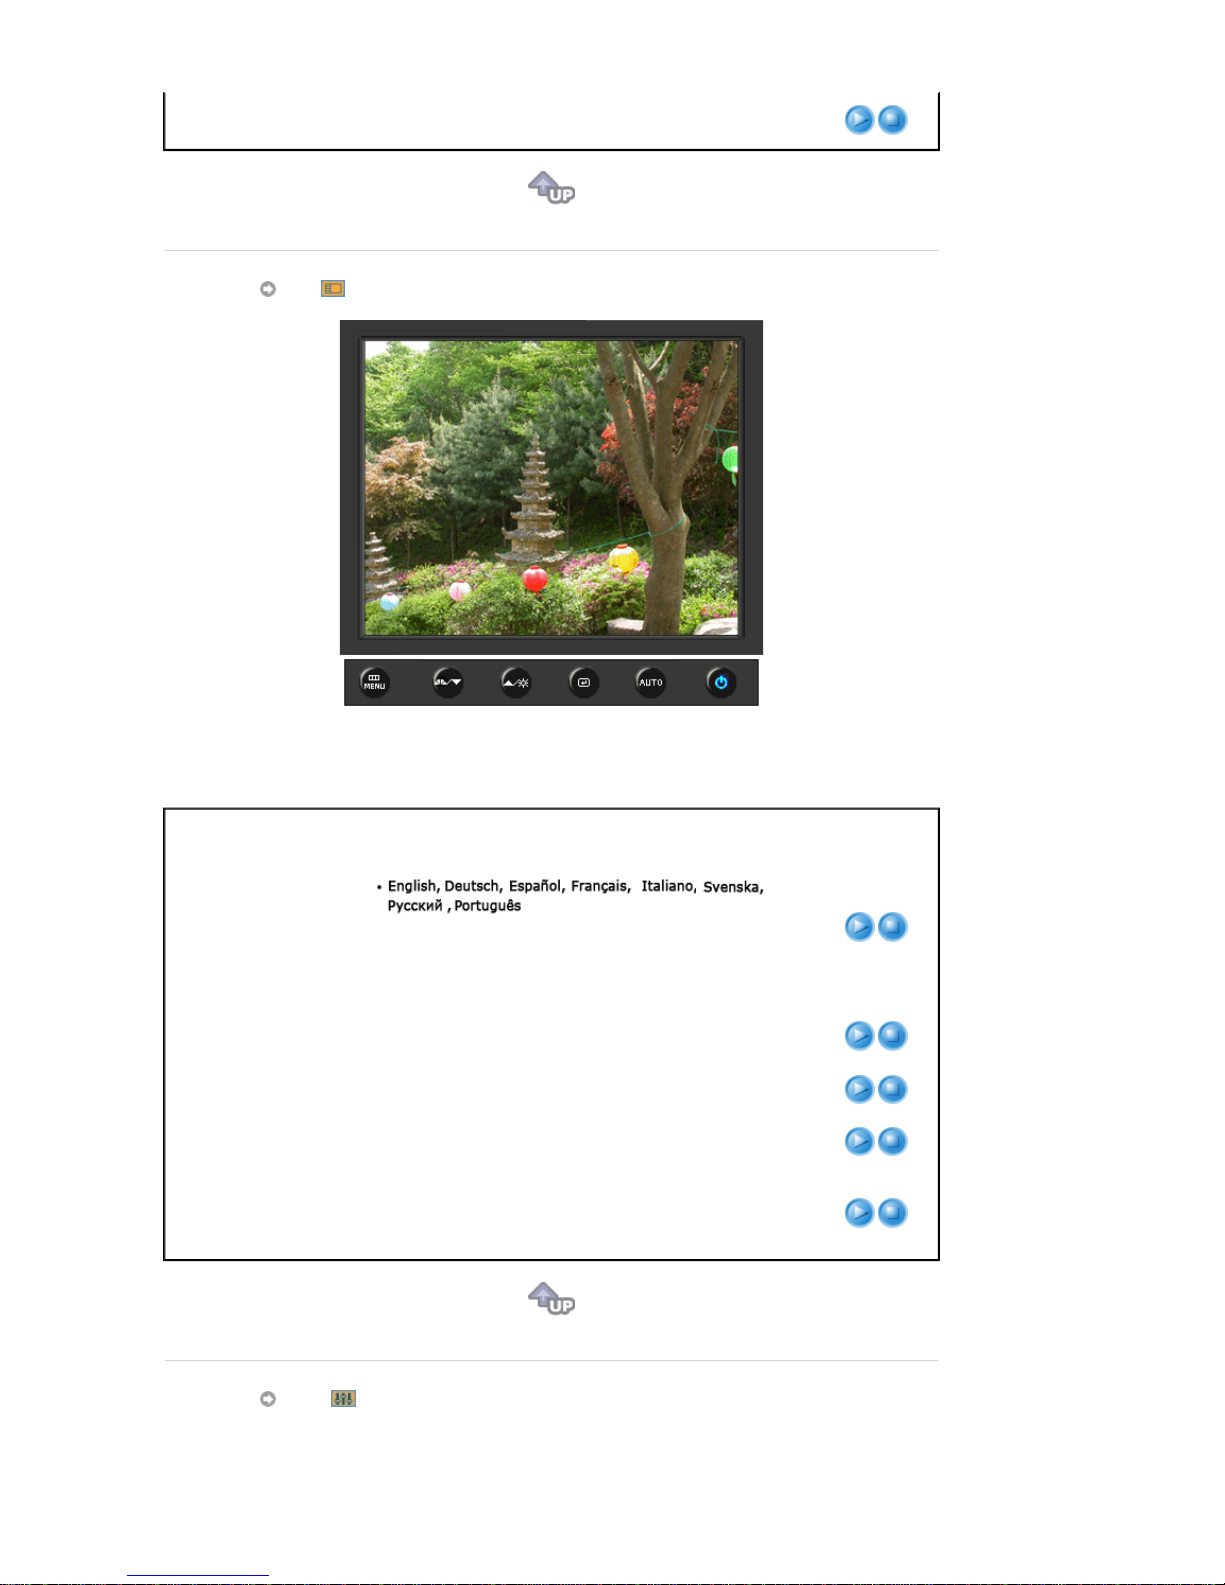
OSD
Menu Description Play/Stop
Language
You can choose one of eight languages.
Note
:The language chosen affects only the language of
the OSD. It has no effect on any software running on the
computer.
H-Position
You can change the horizontal position where the OSD
menu appears on your monitor.
V-Position
You can change the vertical position where the OSD menu
appears on your monitor.
Transparency
Change the transparency of the background of the OSD.
Display Time
The menu will be automatically turned off if no adjustments
are made for a certain time period.
You can set the amount of time the menu will wait before it
is turned off.
Setup
Page 50
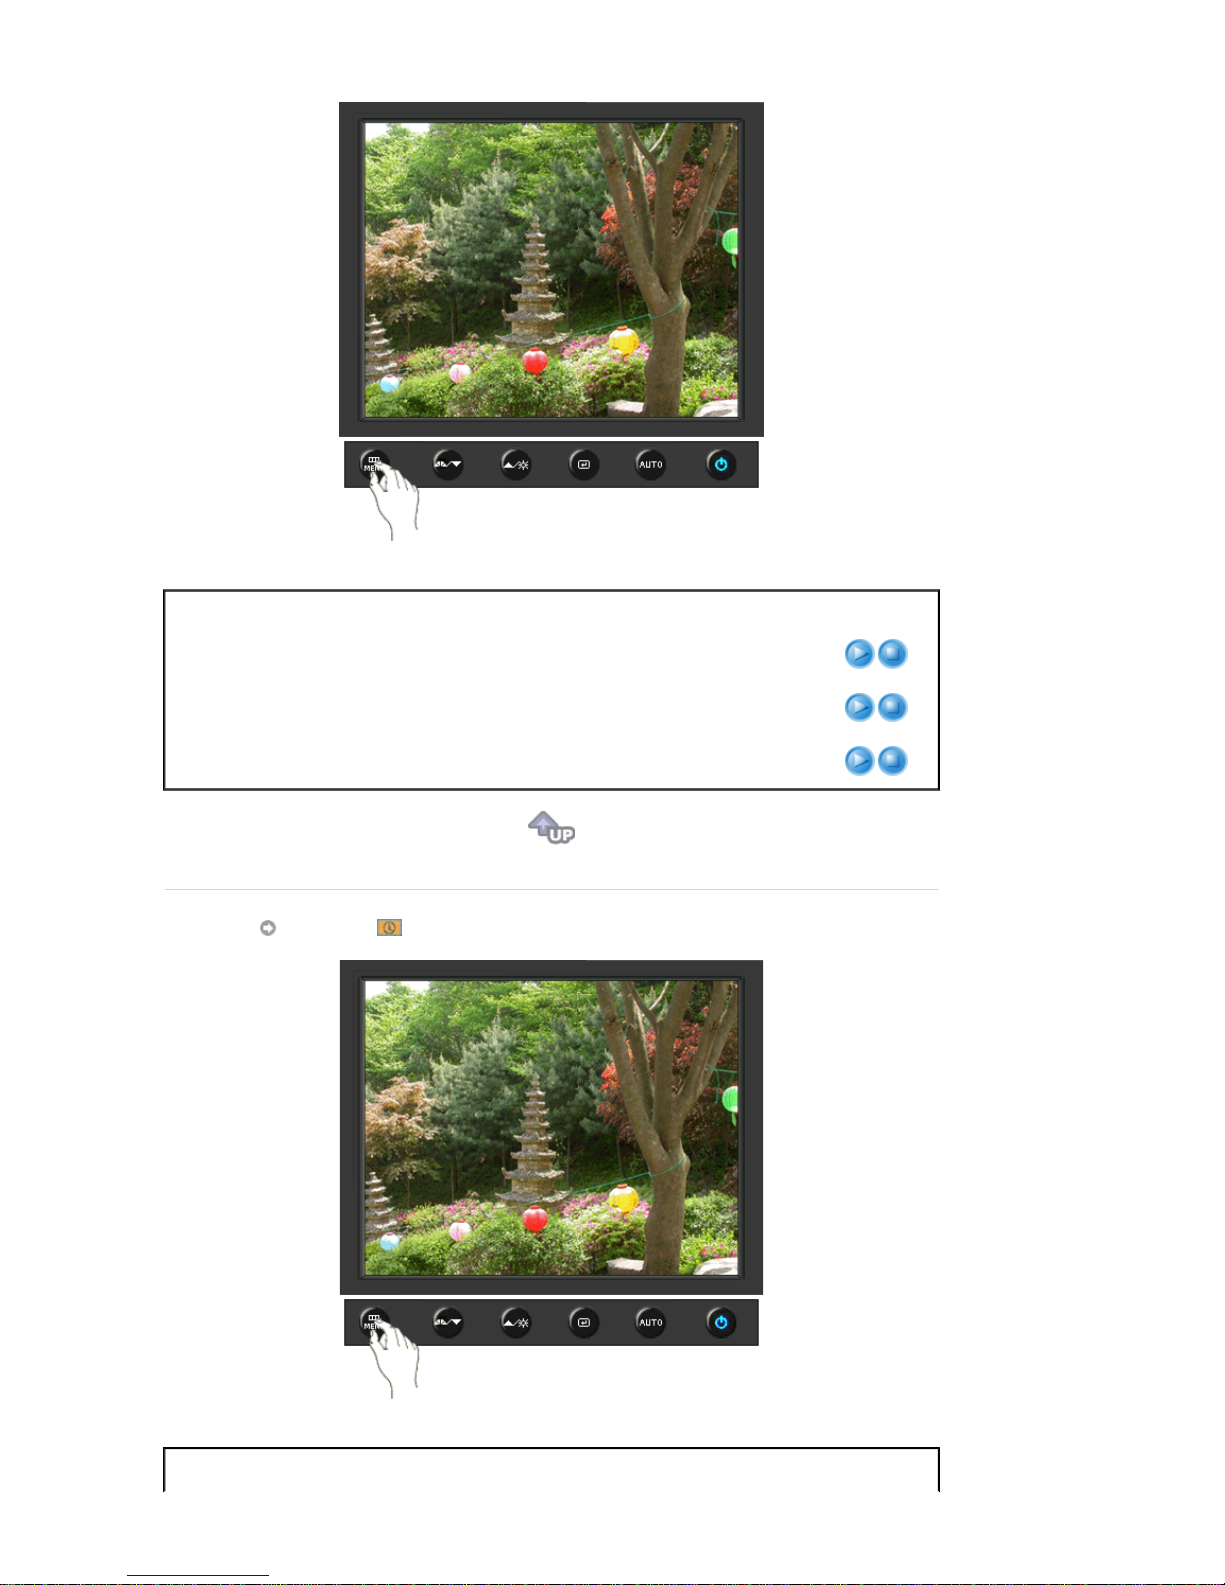
Menu Description Play/Stop
Auto Source
Select
Auto Source
for the monitor to automatically select
the signal source.
Image Reset
Image parameters are replaced with the factory default
values.
Color Reset
Color parameters are replaced with the factory default
values.
Information
Menu Description
Page 51

Information
Shows a video source, display mode on the OSD screen.
Page 52
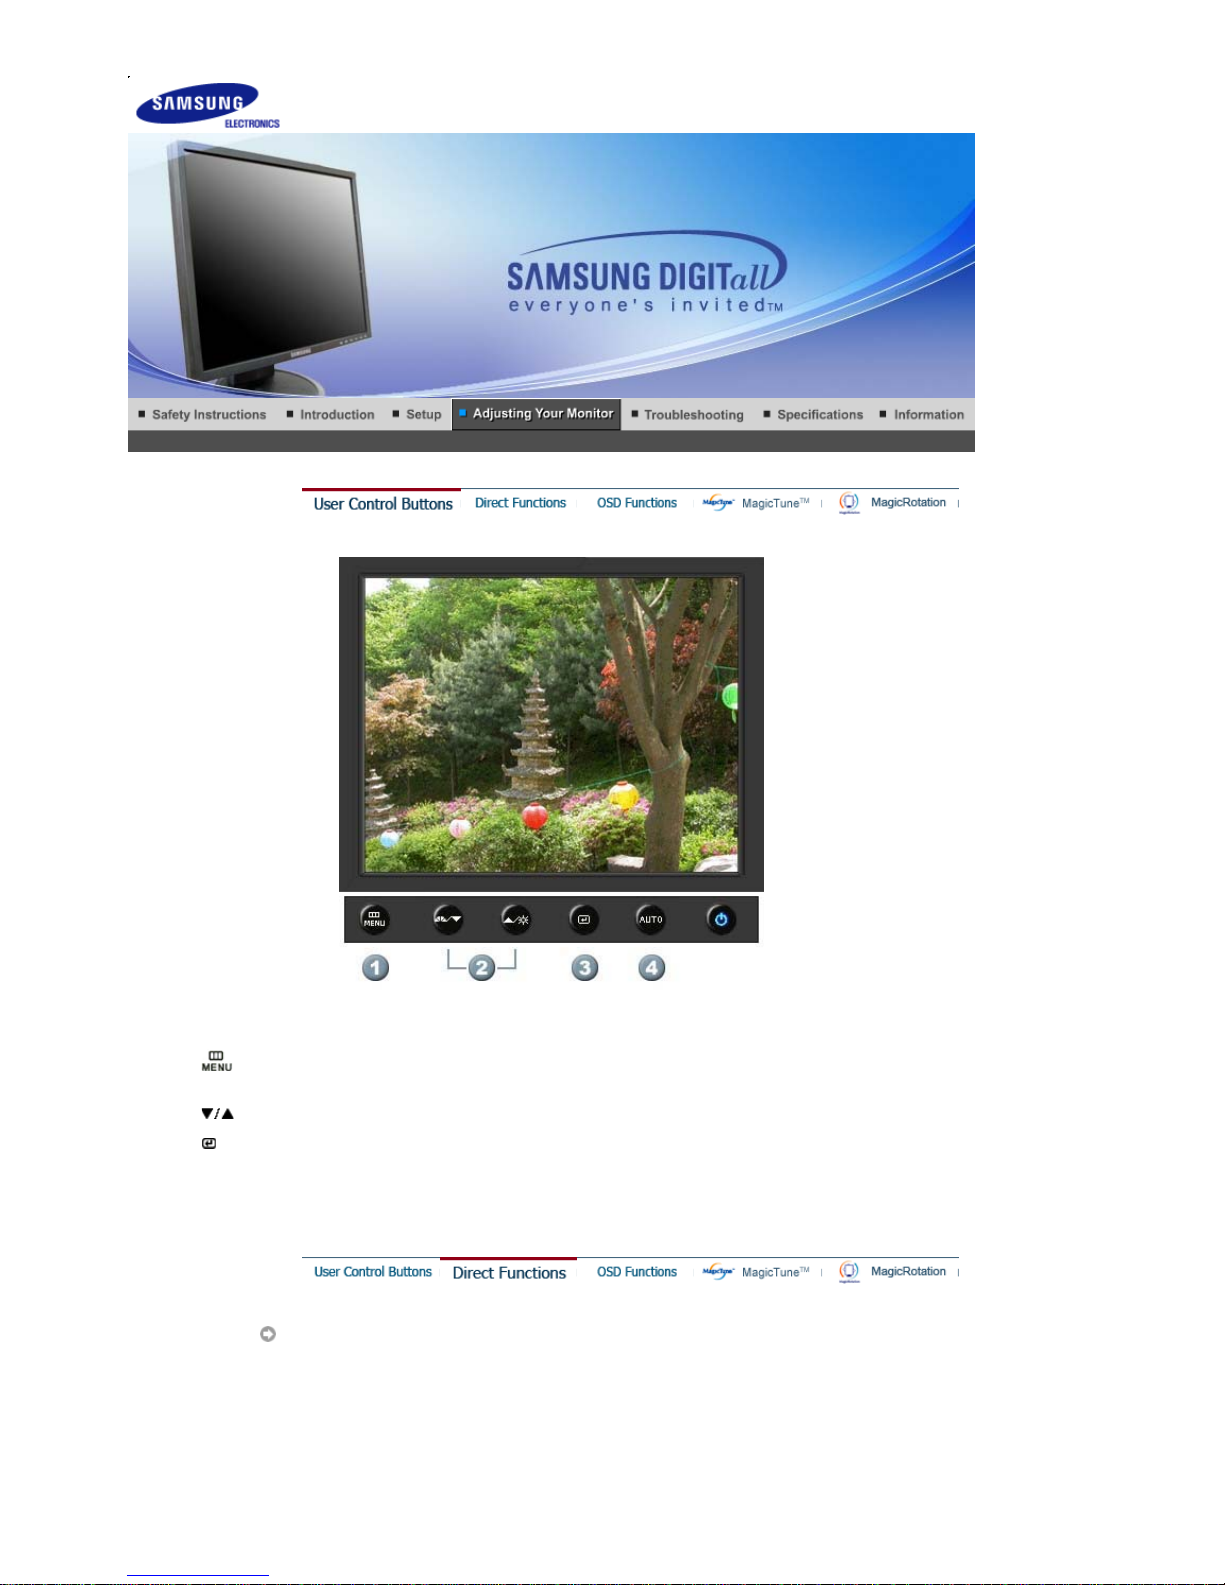
1.
[ ]Use this button to open the on-screen menu and exit from the menu screen or close screen
adjustment menu.
2.
[ ]This button allows you to adjust items in the menu.
3.
[ ]Press this button to activate a highlighted menu item.
4.[AUTO
]Press to self-adjust to the incoming PC signal. The values of fine,coarse and position are
adjusted automatically.
AUTO
SyncMaster 740B / 940B
Page 53
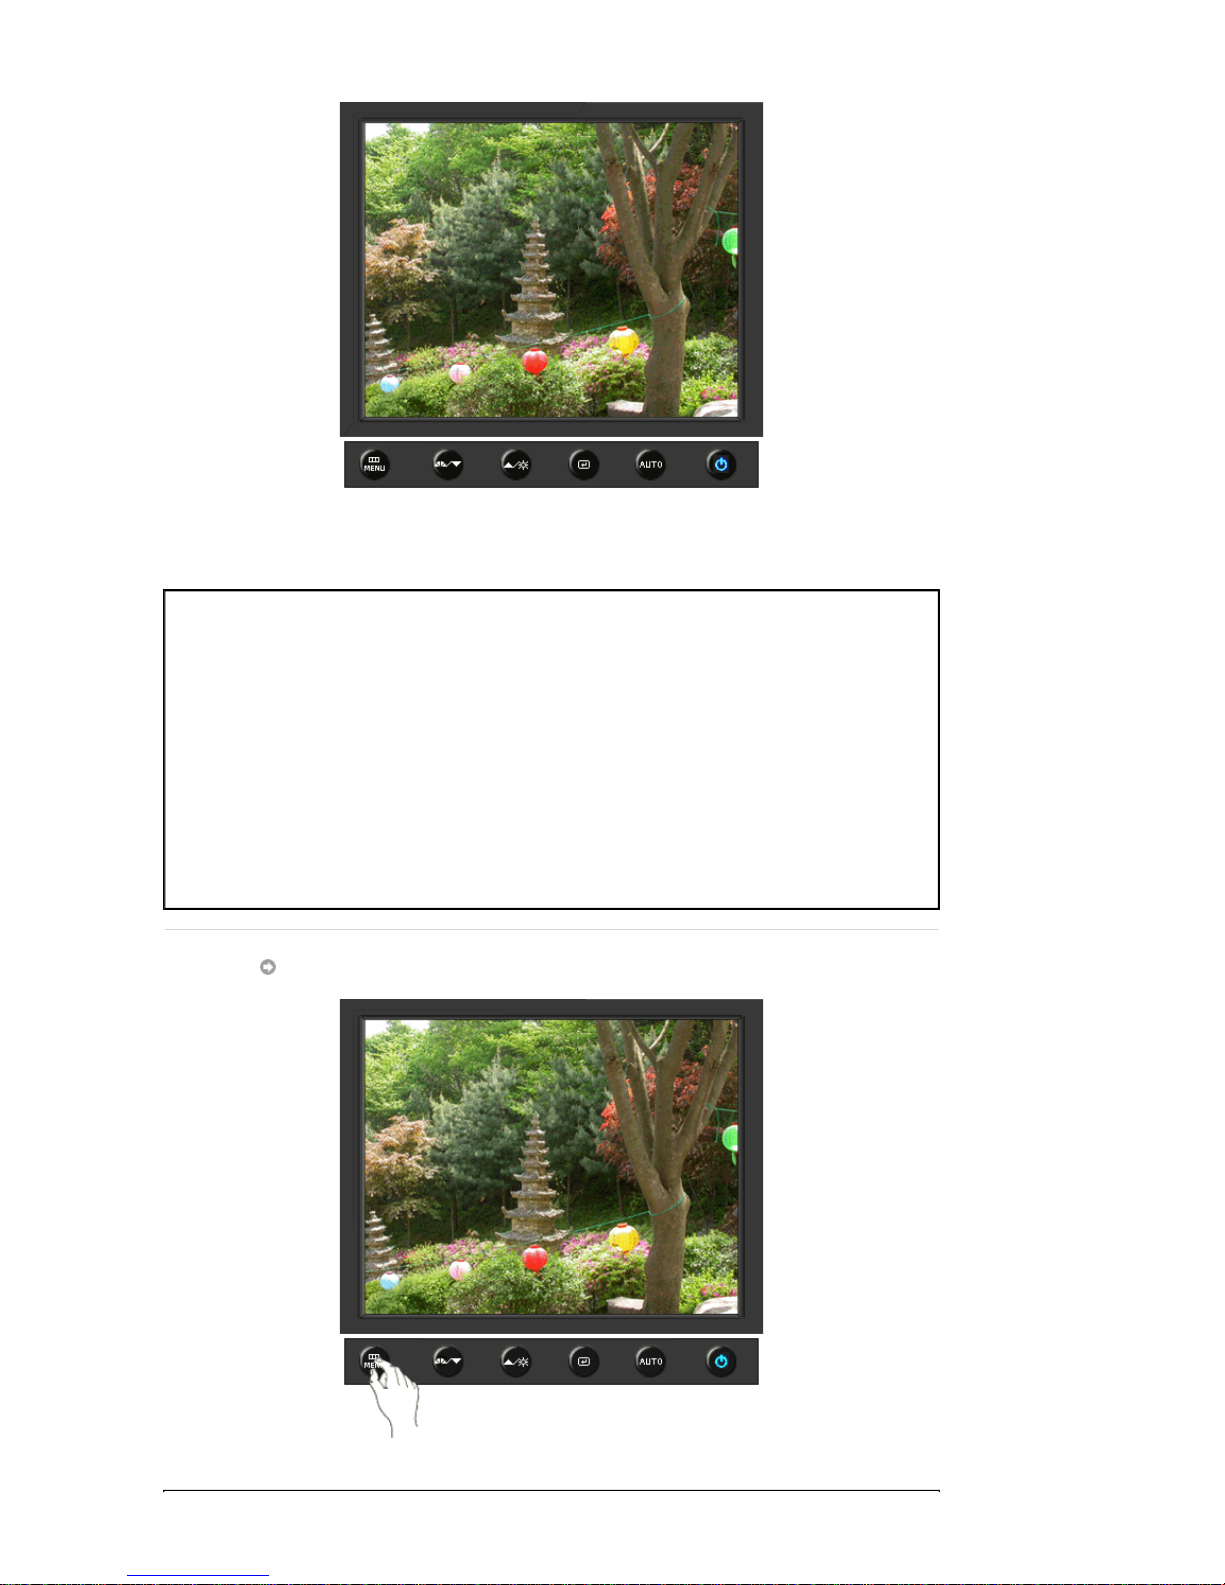
Menu Description
AUTO
When the '
AUTO
' button is pressed, the Auto Adjustment screen appears
as shown in the animated screen on the center.
Auto adjustment allows the monitor to self-adjust to the incoming video
signal. The values of fine, coarse and position are adjusted automatically.
(Available in analog mode only)
To make the automatic adjustment function sharper, execute the 'AUTO'
function while the AUTO PATTERN is on.
- If auto adjustment does not work properly, press AUTO button again to
adjust picture with more accuracy.
- If you change resolution in the control panel, auto function will be
executed automatically.
Locked
Page 54
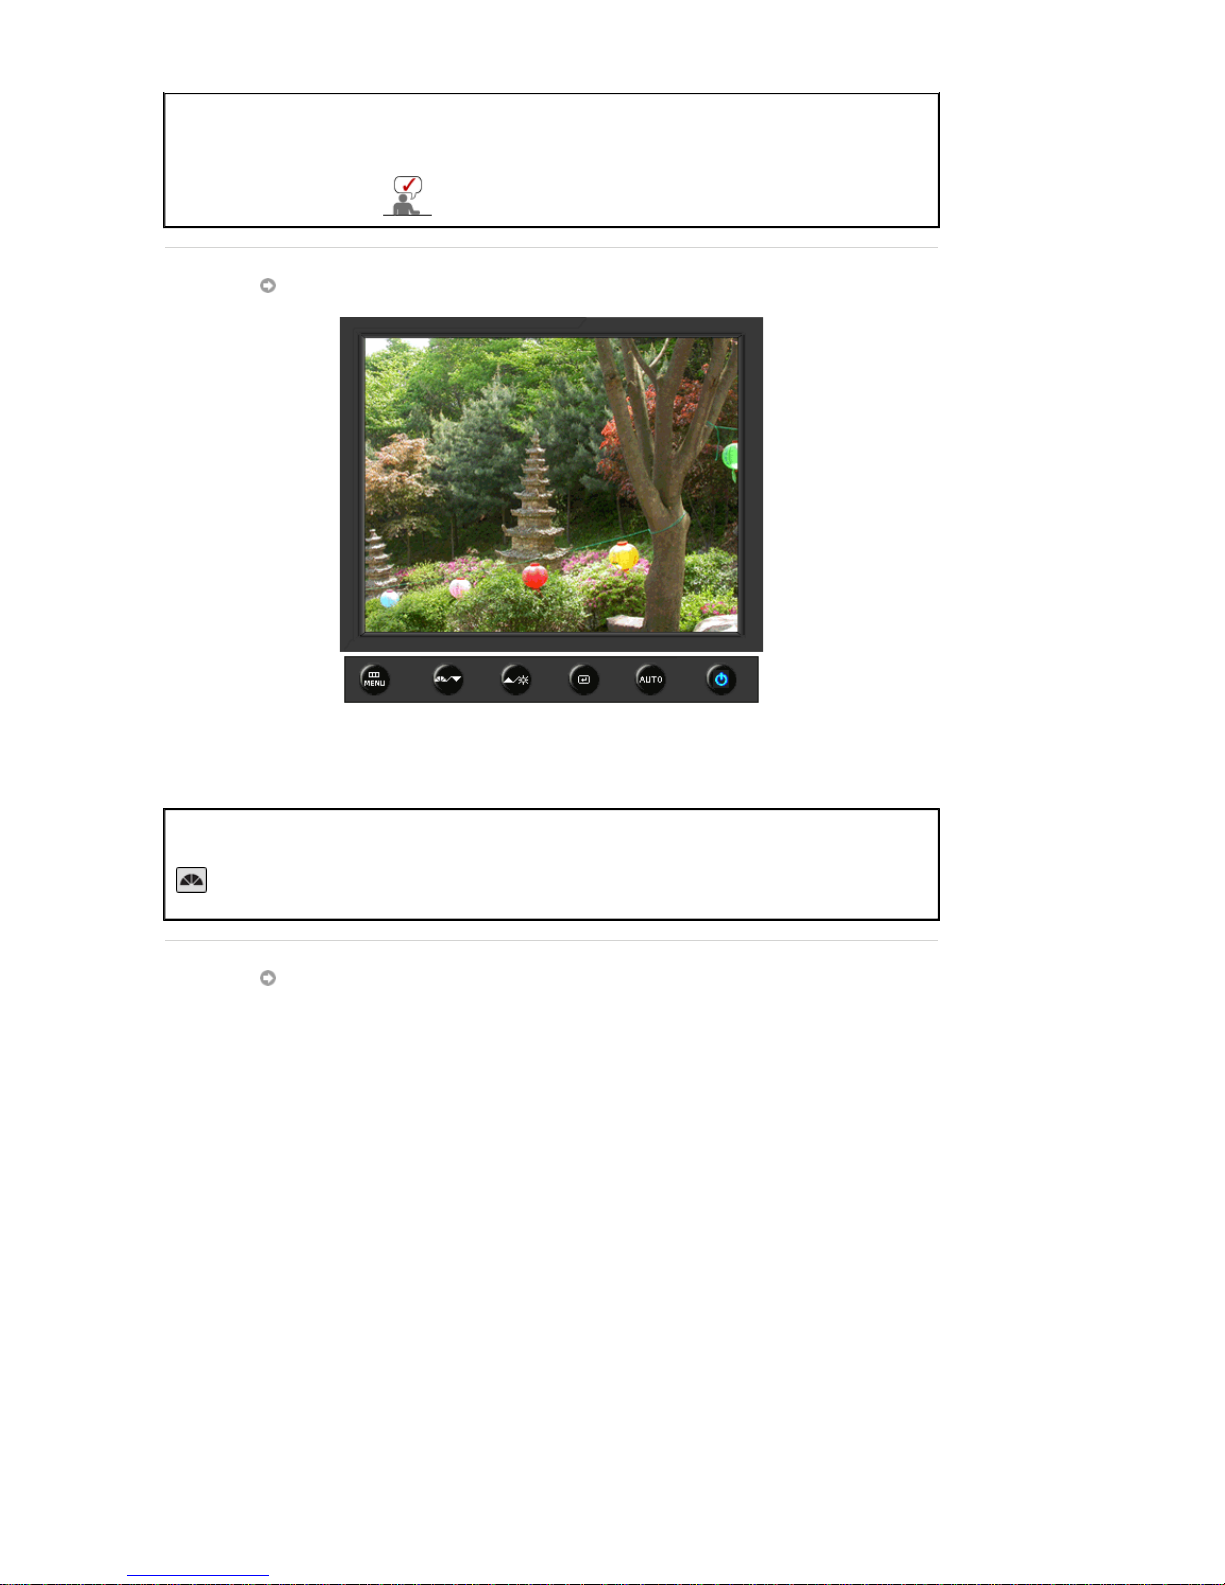
Menu Description
Locked
After pushing the "MENU" button more than 5 seconds, OSD function is
locked (unlocked).
You can also adjust the brightness and contrast of the
monitor with the OSD adjustment locking feature.
MagicBright™
Menu Description
MagicBright™
Push the MagicBright button to circle through available preconfigured
modes.
- Six different modes (Custom/Text/Internet/Game/Sport/Movie)
Brightness
Page 55
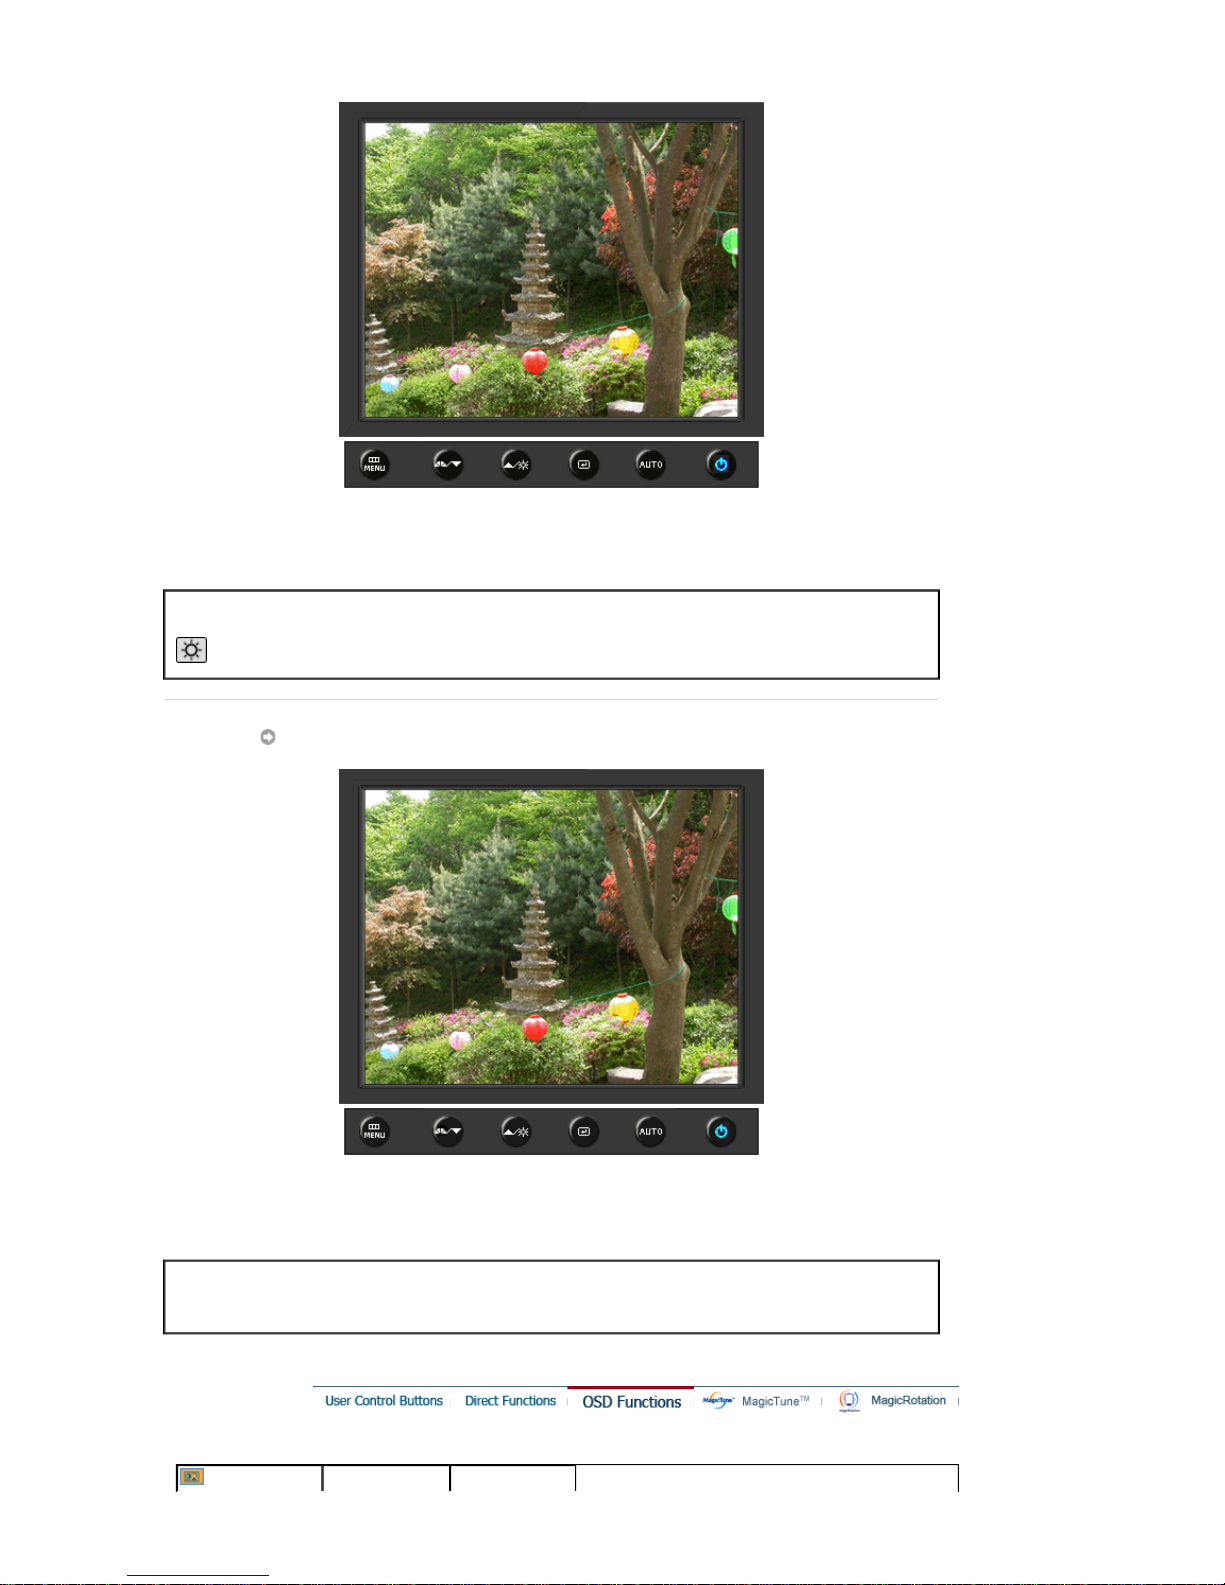
Menu Description
Brightness
When OSD is not on the screen, push the button to adjust brightness.
SOURCE
Menu Description
SOURCE
Selects the video signal while the OSD is off.
Picture
Brightness Contrast
Page 56
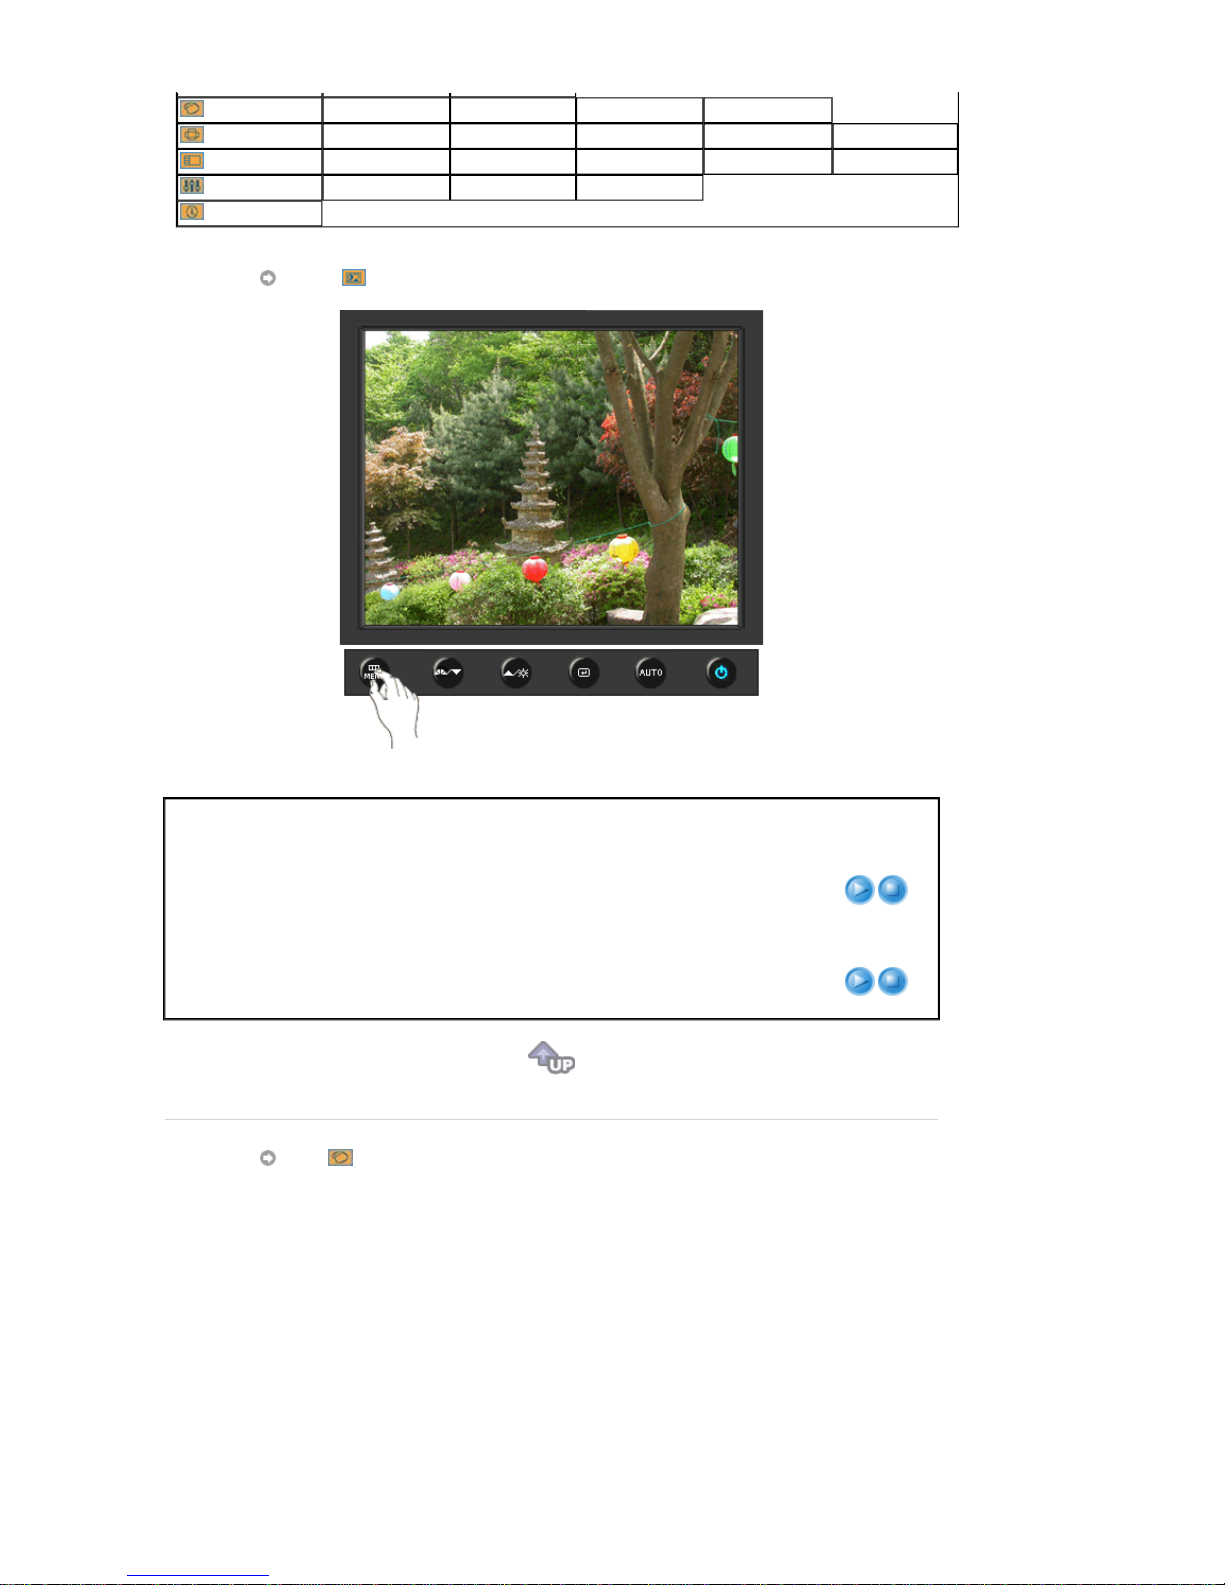
Color
MagicColor Color Tone Color Control Gamma
Image
Coarse Fine Sharpness H-Position V-Position
OSD
Language H-Position V-Position Transparency Display Time
Setup
Auto Source Image Reset Color Reset
Information
Picture
Menu Description Play/Stop
Brightness
You can use the on-screen menus to change the
brightness according to personal preference.
Direct Access Feature
: When OSD is not on the screen,
push the button to adjust brightness.
Contrast
You can use the on-screen menus to change the contrast
according to personal preference.
(Not available in MagicColor mode of Full and Intelligent.)
Color
Page 57
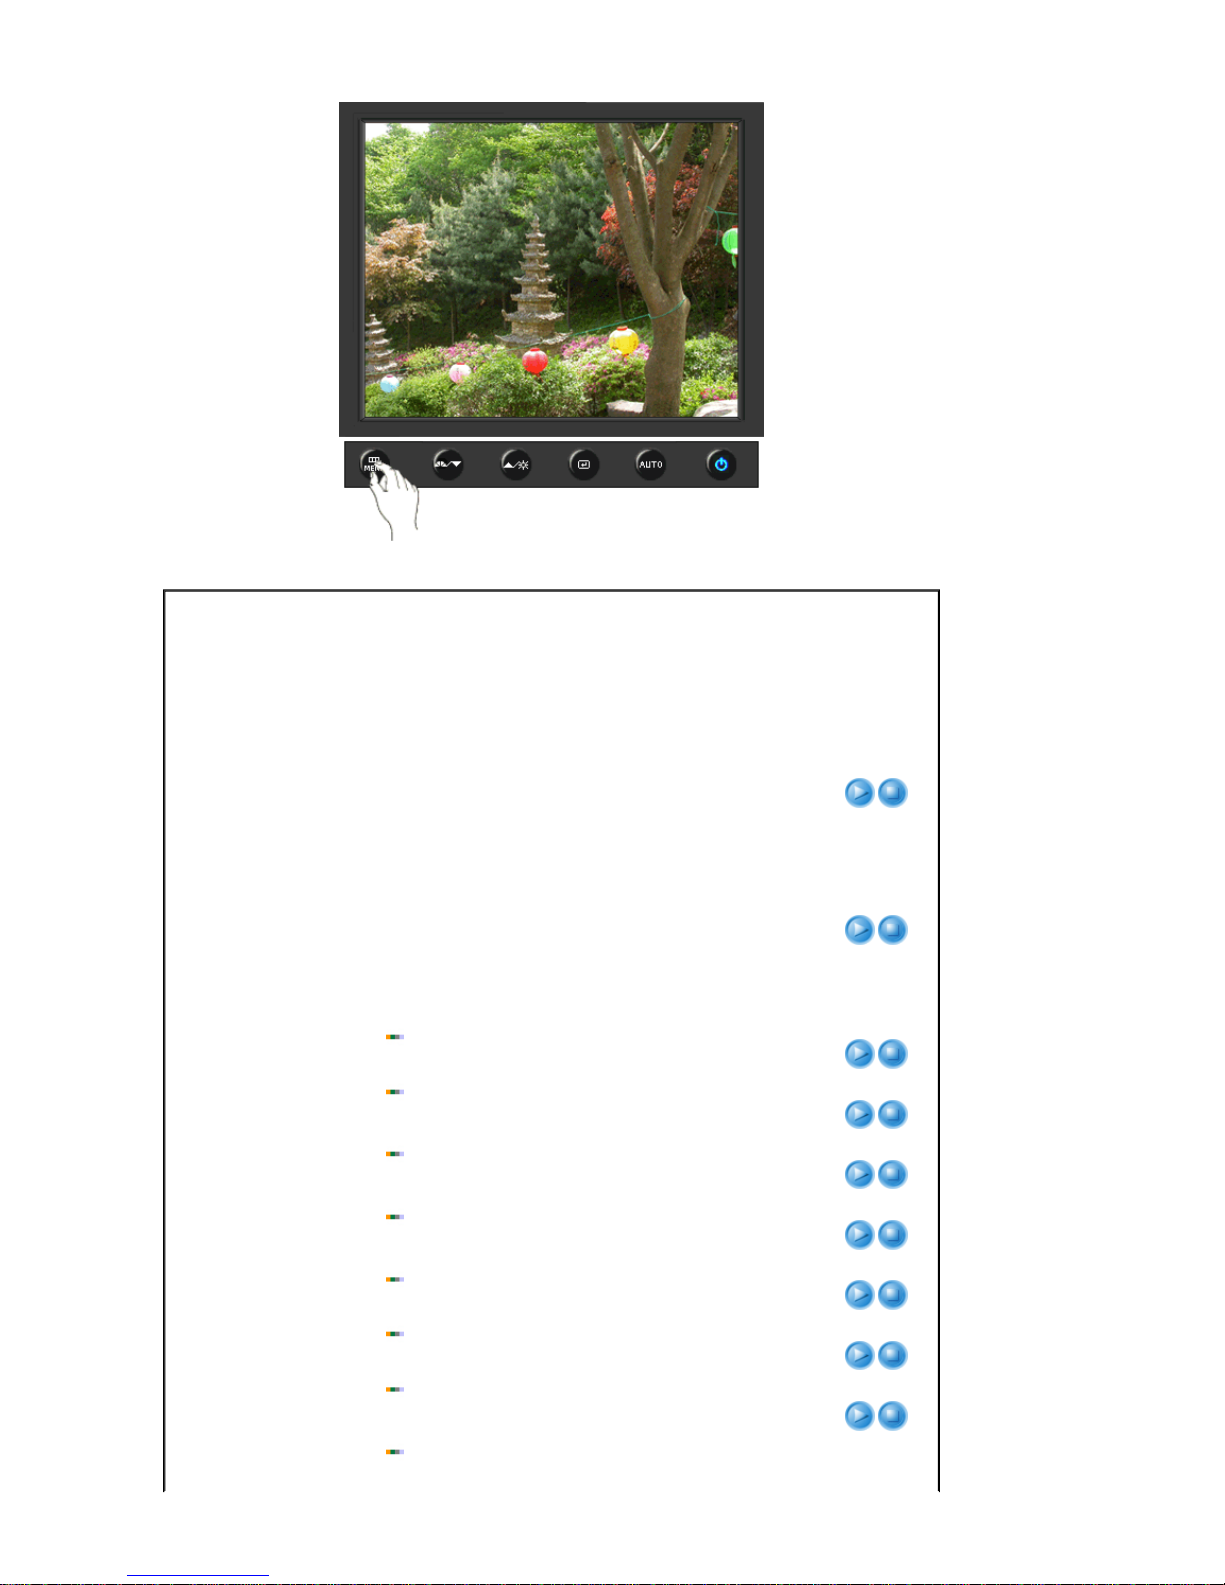
Menu Description Play/Stop
MagicColor
MagicColor is a new technology that Samsung has
exclusively developed to improve digital image and to
display natural color more clearly without disturbing image
quality.
1) Off
- Returns to the original mode.
2) Demo
- The screen before applying MagicColor
appears on the right and the screen after applying
MagicColor appears on the left.
3) Full
- Displays not only vivid natural color but also
more realistic natural skin color with clearness.
4) Intelligent
- Displays vivid natural color with clearness.
5) MagicZone
- The MagicZone ensures the clear and
sharp display of animated multimedia or photo images by
enhancing the brightness, sharpness, saturation, hue of a
certain area on the screen.
Especially, MagicZone is appropriate to using the moving
picture.
MagicZone
Hue
: This function is to adjust the hue of the MagicZone.
Saturation
: This function is to adjust the saturation of the
MagicZone.
Brightness
: This function is to adjust the brightness of the
MagicZone.
Sharpness
: This function is to adjust the sharpness of the
MagicZone.
H-Position
: This function is to move the MagicZone horizontally.
V-Position
: This function is to move the MagicZone vertically.
H-Size
: This function is to adjust the horizontal size of the
MagicZone.
V-Size
Hue
Saturation
Brightness
Sharpness
H-Position
V-Position
H-Size
V-Size
Page 58
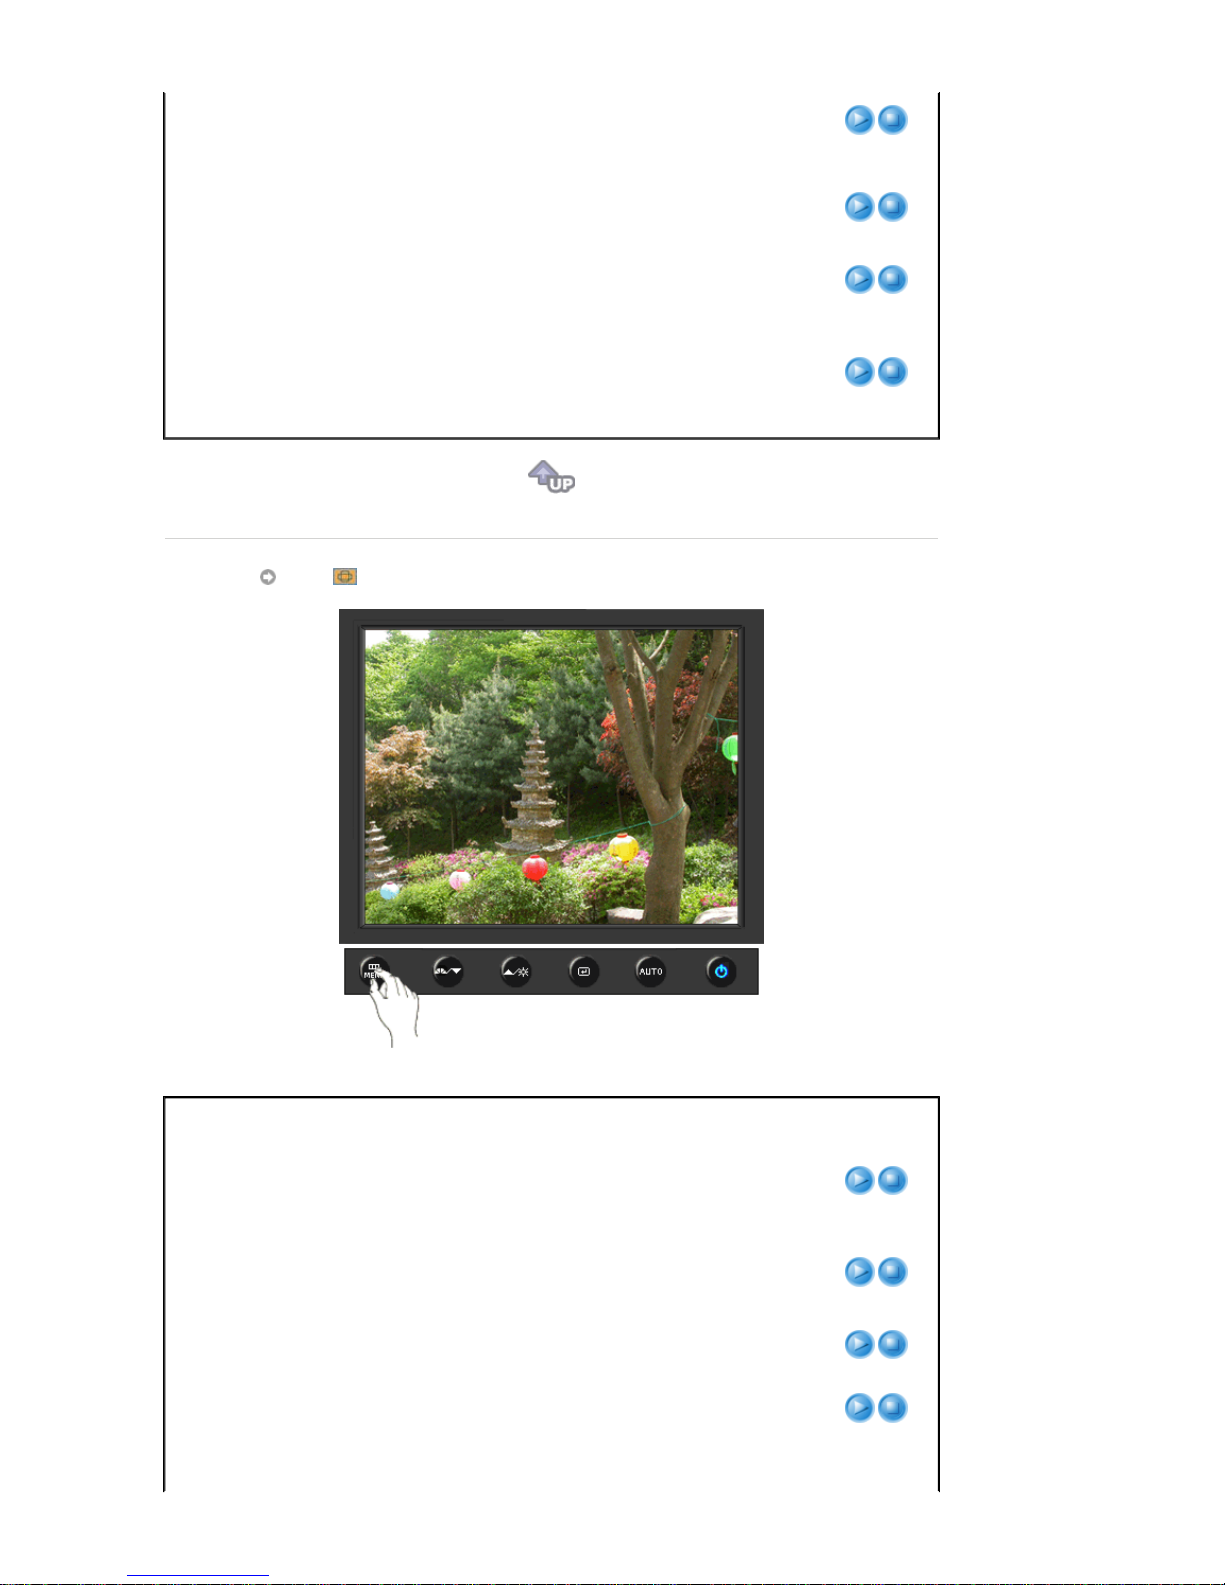
: This function is to adjust the vertical size of the
MagicZone.
Color Tone
The tone of the color can be changed and one of four
modes can be selected - Cool, Normal, Warm and
Custom.
(Not available in MagicColor mode of Full and Intellig ent.)
Color Control
Adjusts individual R,G,B color balance.
(Not available in MagicColor mode of Full and Intellig ent.)
Gamma
Gamma correction changes the luminance of the colors
with intermediate luminance.
z Mode 1
z Mode 2
z Mode 3
Image
Menu Description Play/Stop
Coarse
Removes noise such as vertical stripes. Coarse
adjustment may move the screen image area. You may
relocate it to the center using the horizontal control menu.
(Available in analog mode only)
Fine
Removes noise such as horizontal stripes. If the noise
persists even after fine tuning, repeat it after adjusting the
frequency (clock speed).
(Available in analog mode only)
Sharpness
Changes the clearance of image.
(Not available in MagicColor mode of Full and Intellig ent.)
H-Position
Changes the horizontal position of the monitor's entire
display.
(Available in analog mode only)
Changes the vertical position of the monitor's entire
Page 59
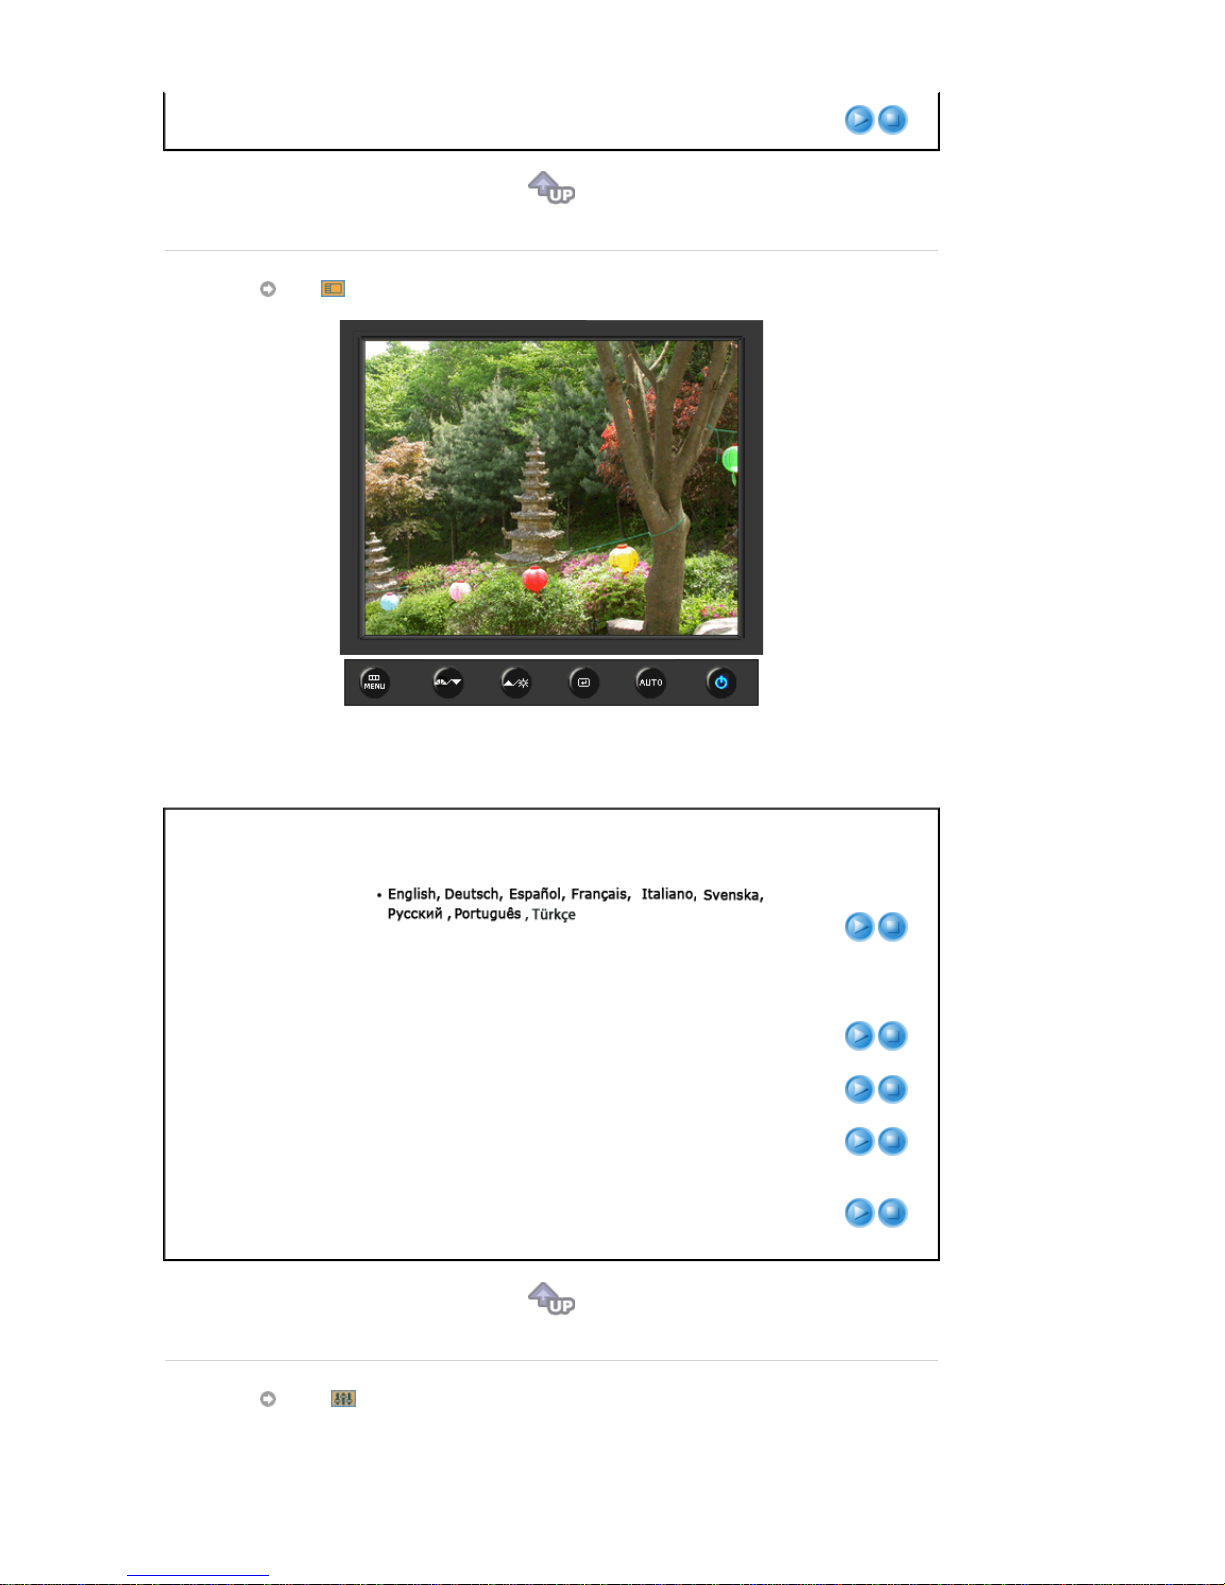
V-Position
display.
(Available in analog mode only)
OSD
H-Position
You can change the horizontal position where the OSD
menu appears on your monitor.
V-Position
You can change the vertical position where the OSD menu
appears on your monitor.
Transparency
Change the transparency of the background of the OSD.
Display Time
The menu will be automatically turned off if no adjustments
are made for a certain time period.
You can set the amount of time the menu will wait before it
is turned off.
Setup
Menu Description Play/Stop
Language
You can choose one of 9 languages.
Note
:The language chosen affects only the language of
the OSD. It has no effect on any software running on the
computer.
Page 60
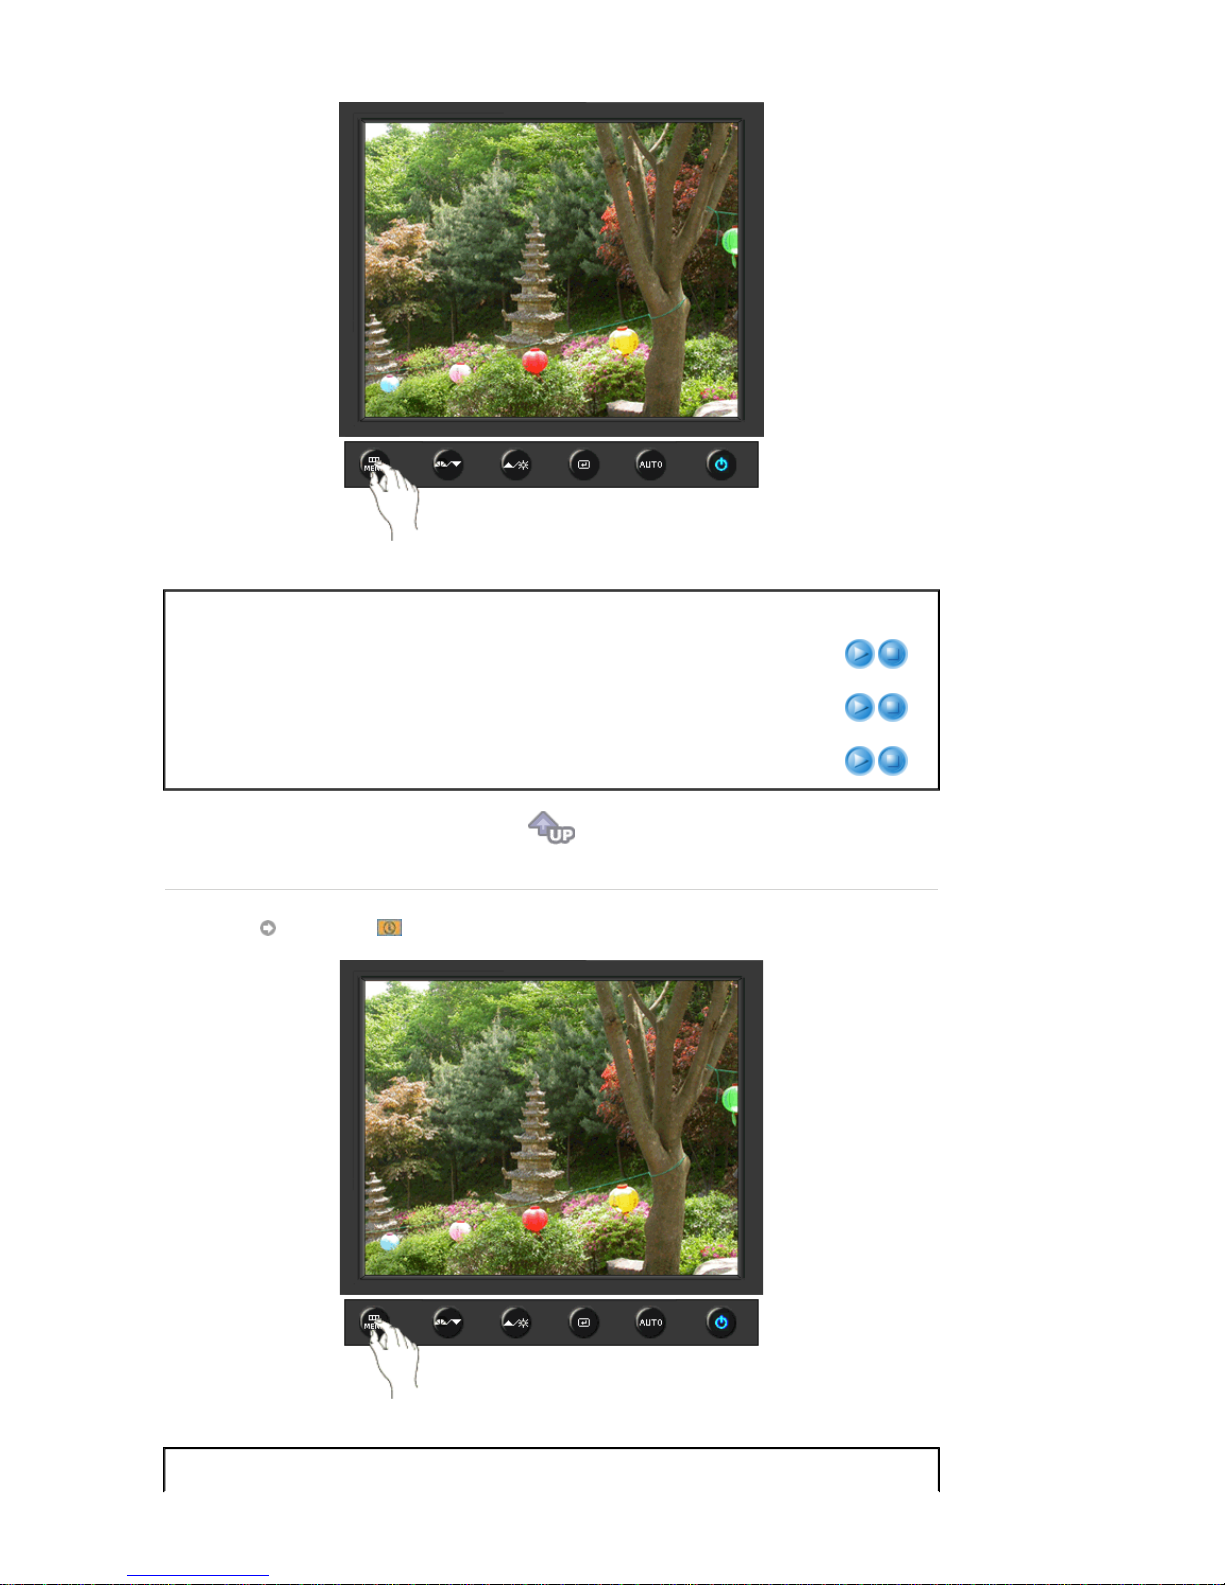
Menu Description Play/Stop
Auto Source
Select
Auto Source
for the monitor to automatically select
the signal source.
Image Reset
Image parameters are replaced with the factory default
values.
Color Reset
Color parameters are replaced with the factory default
values.
Information
Menu Description
Page 61

Information
Shows a video source, display mode on the OSD screen.
Page 62
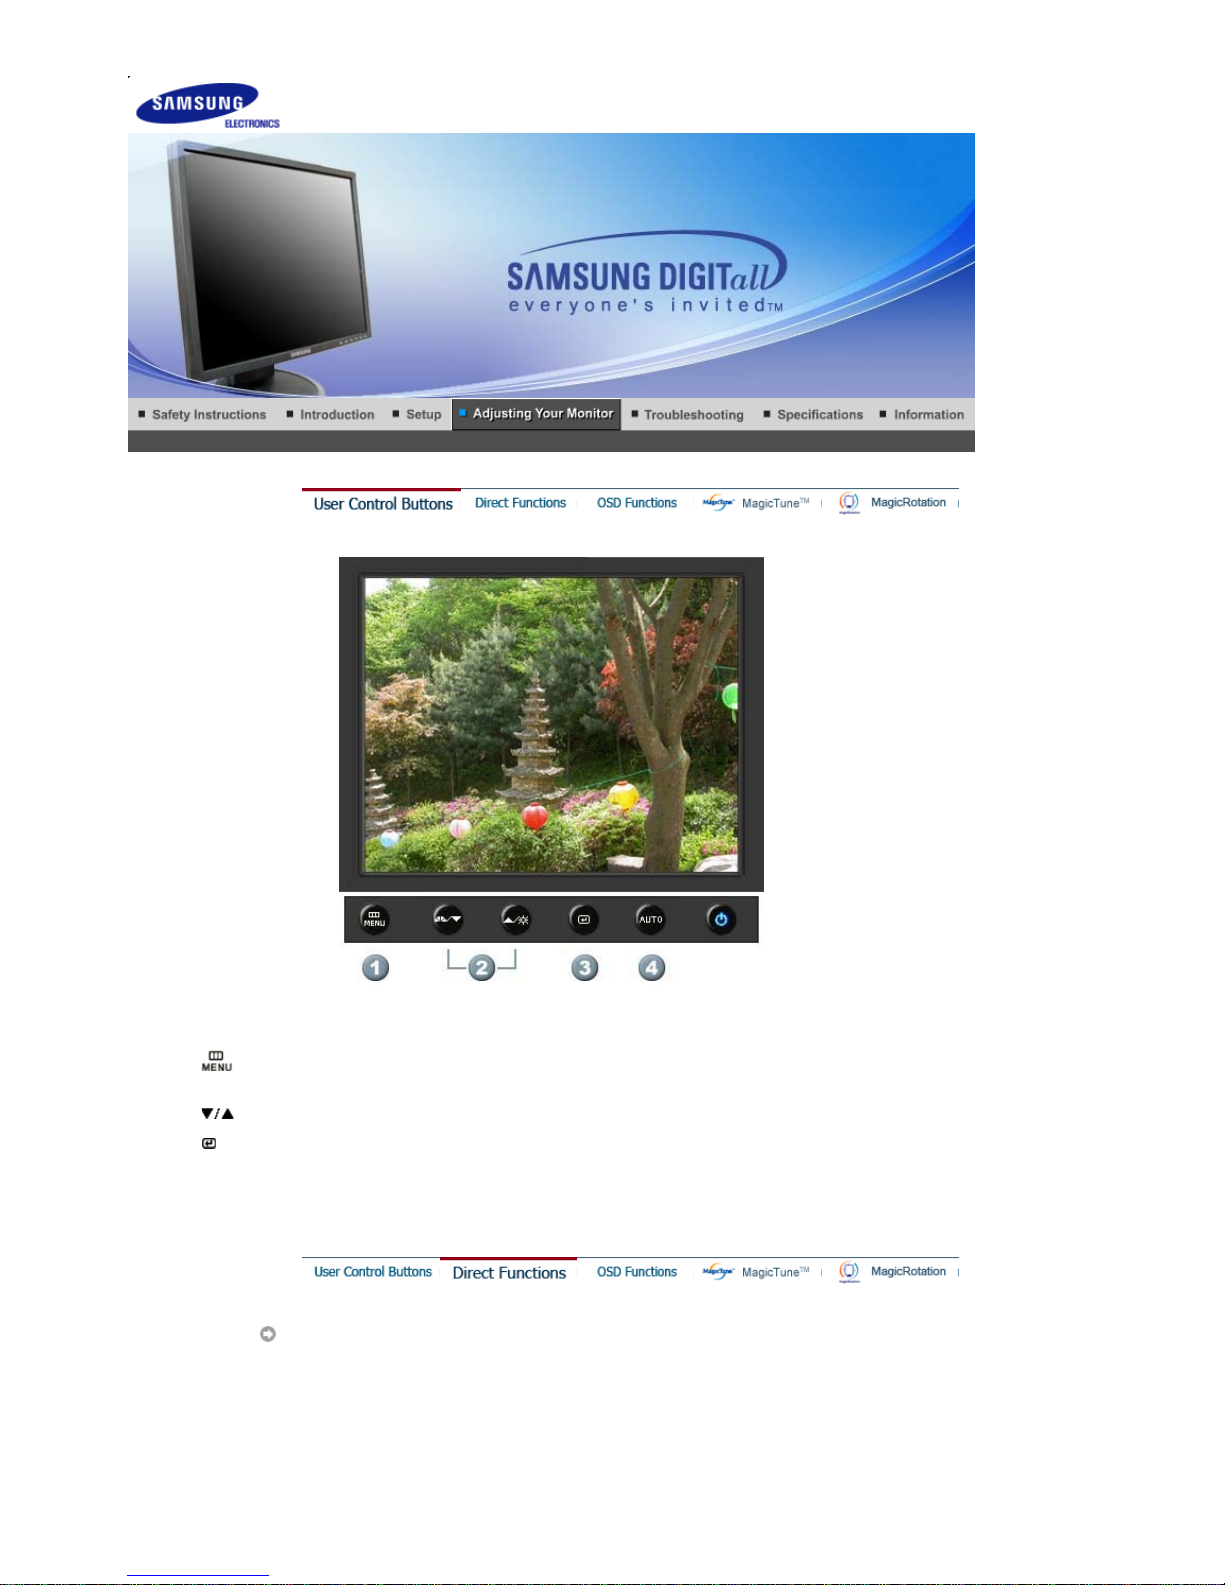
1.
[ ]Use this button to open the on-screen menu and exit from the menu screen or close screen
adjustment menu.
2.
[ ]This button allows you to adjust items in the menu.
3.
[ ]Press this button to activate a highlighted menu item.
4.[AUTO
]Press to self-adjust to the incoming PC signal. The values of fine,coarse and position are
adjusted automatically.
AUTO
SyncMaster 740N / 940N
Page 63
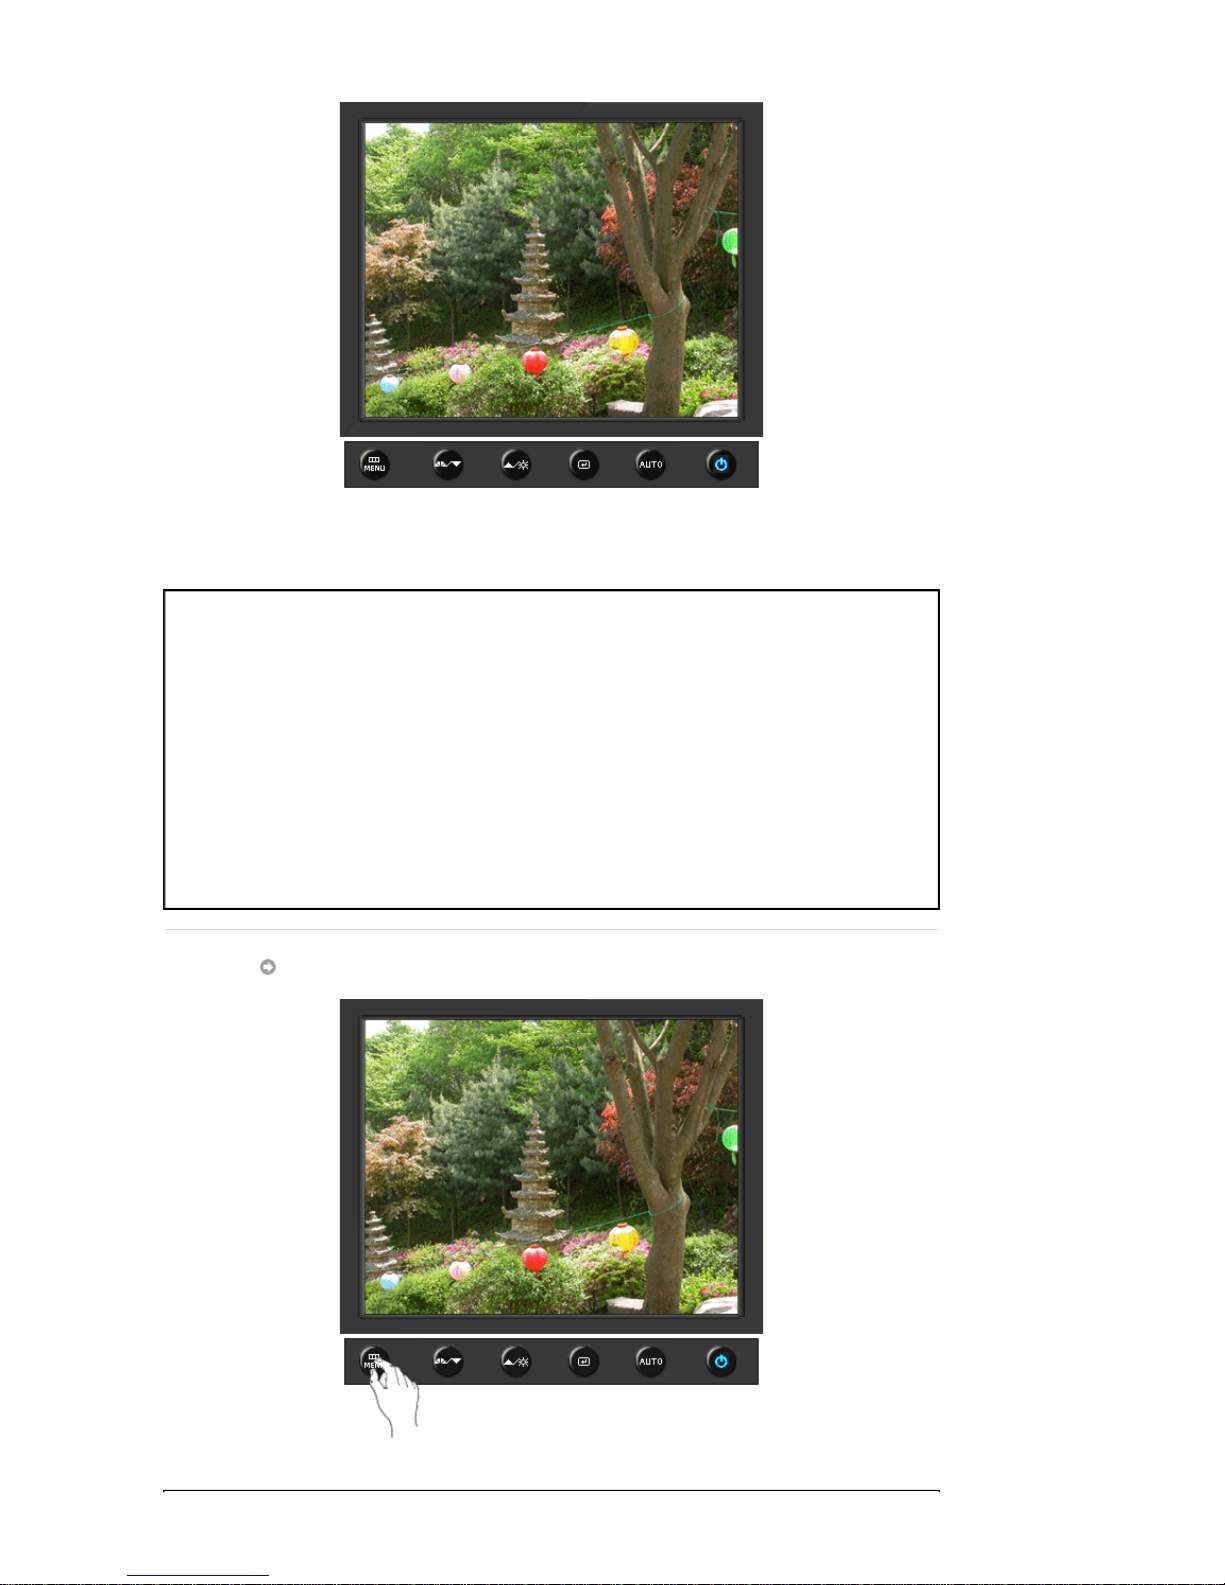
Menu Description
AUTO
When the '
AUTO
' button is pressed, the Auto Adjustment screen appears
as shown in the animated screen on the center.
Auto adjustment allows the monitor to self-adjust to the incoming video
signal. The values of fine, coarse and position are adjusted automatically.
(Available in analog mode only)
To make the automatic adjustment function sharper, execute the 'AUTO'
function while the AUTO PATTERN is on.
- If auto adjustment does not work properly, press AUTO button again to
adjust picture with more accuracy.
- If you change resolution in the control panel, auto function will be
executed automatically.
Locked
Page 64
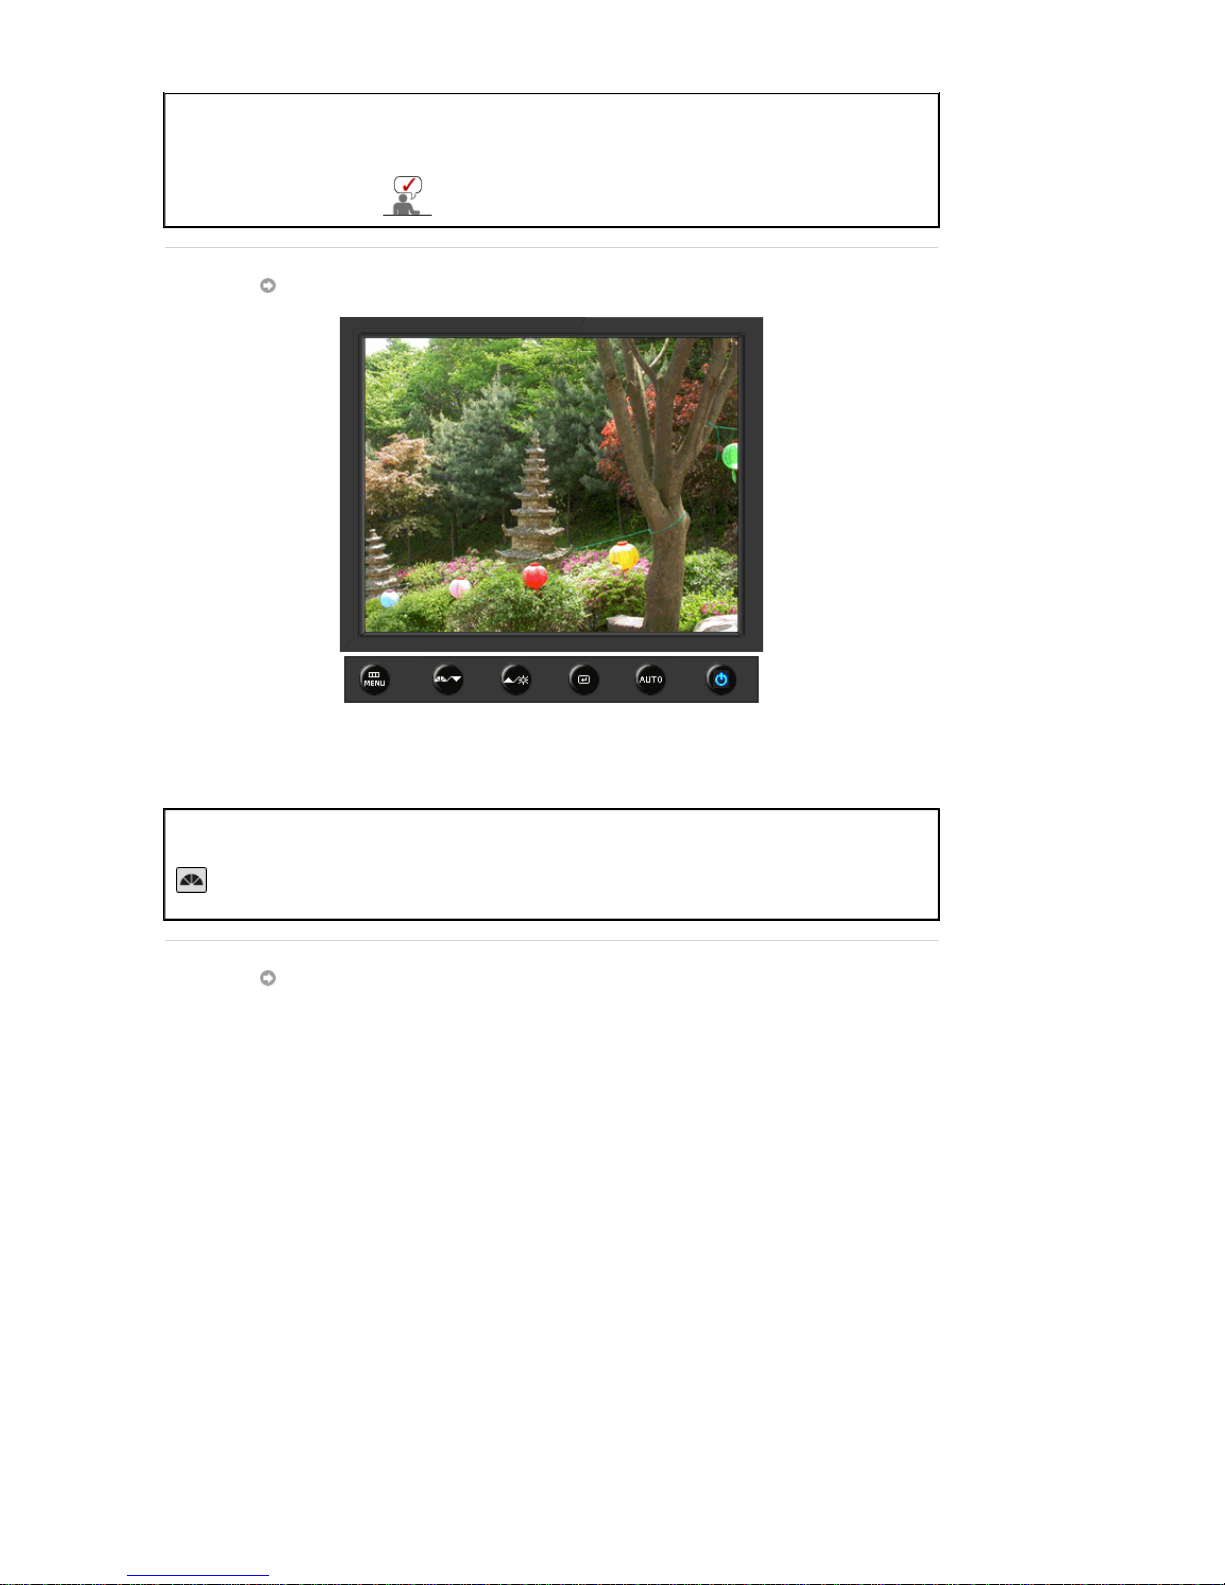
Menu Description
Locked
After pushing the "MENU" button more than 5 seconds, OSD function is
locked (unlocked).
You can also adjust the brightness and contrast of the
monitor with the OSD adjustment locking feature.
MagicBright™
Menu Description
MagicBright™
Push the MagicBright button to circle through available preconfigured
modes.
- Six different modes (Custom/Text/Internet/Game/Sport/Movie)
Brightness
Page 65
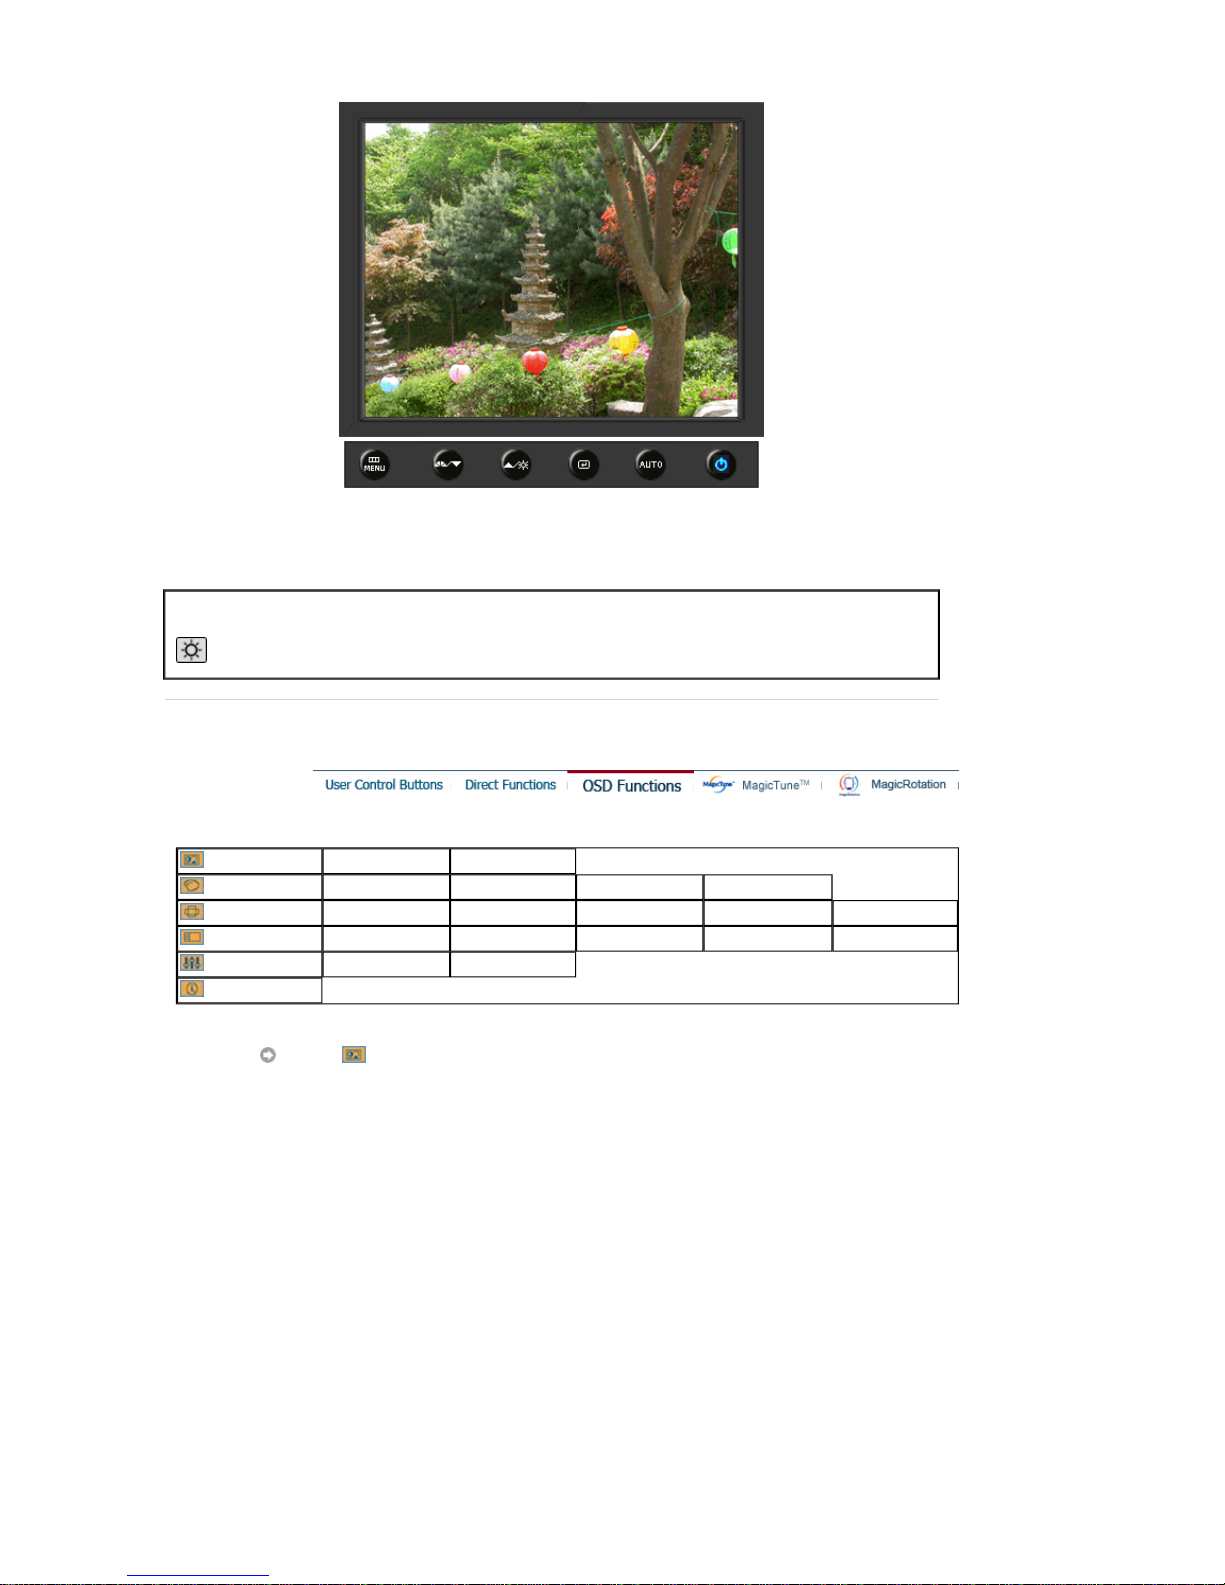
Menu Description
Brightness
When OSD is not on the screen, push the button to adjust brightness.
Picture
Brightness Contrast
Color
MagicColor Color Tone Color Control Gamma
Image
Coarse Fine Sharpness H-Position V-Position
OSD
Language H-Position V-Position Transparency Display Time
Setup
Image Reset Color Reset
Information
Picture
Page 66
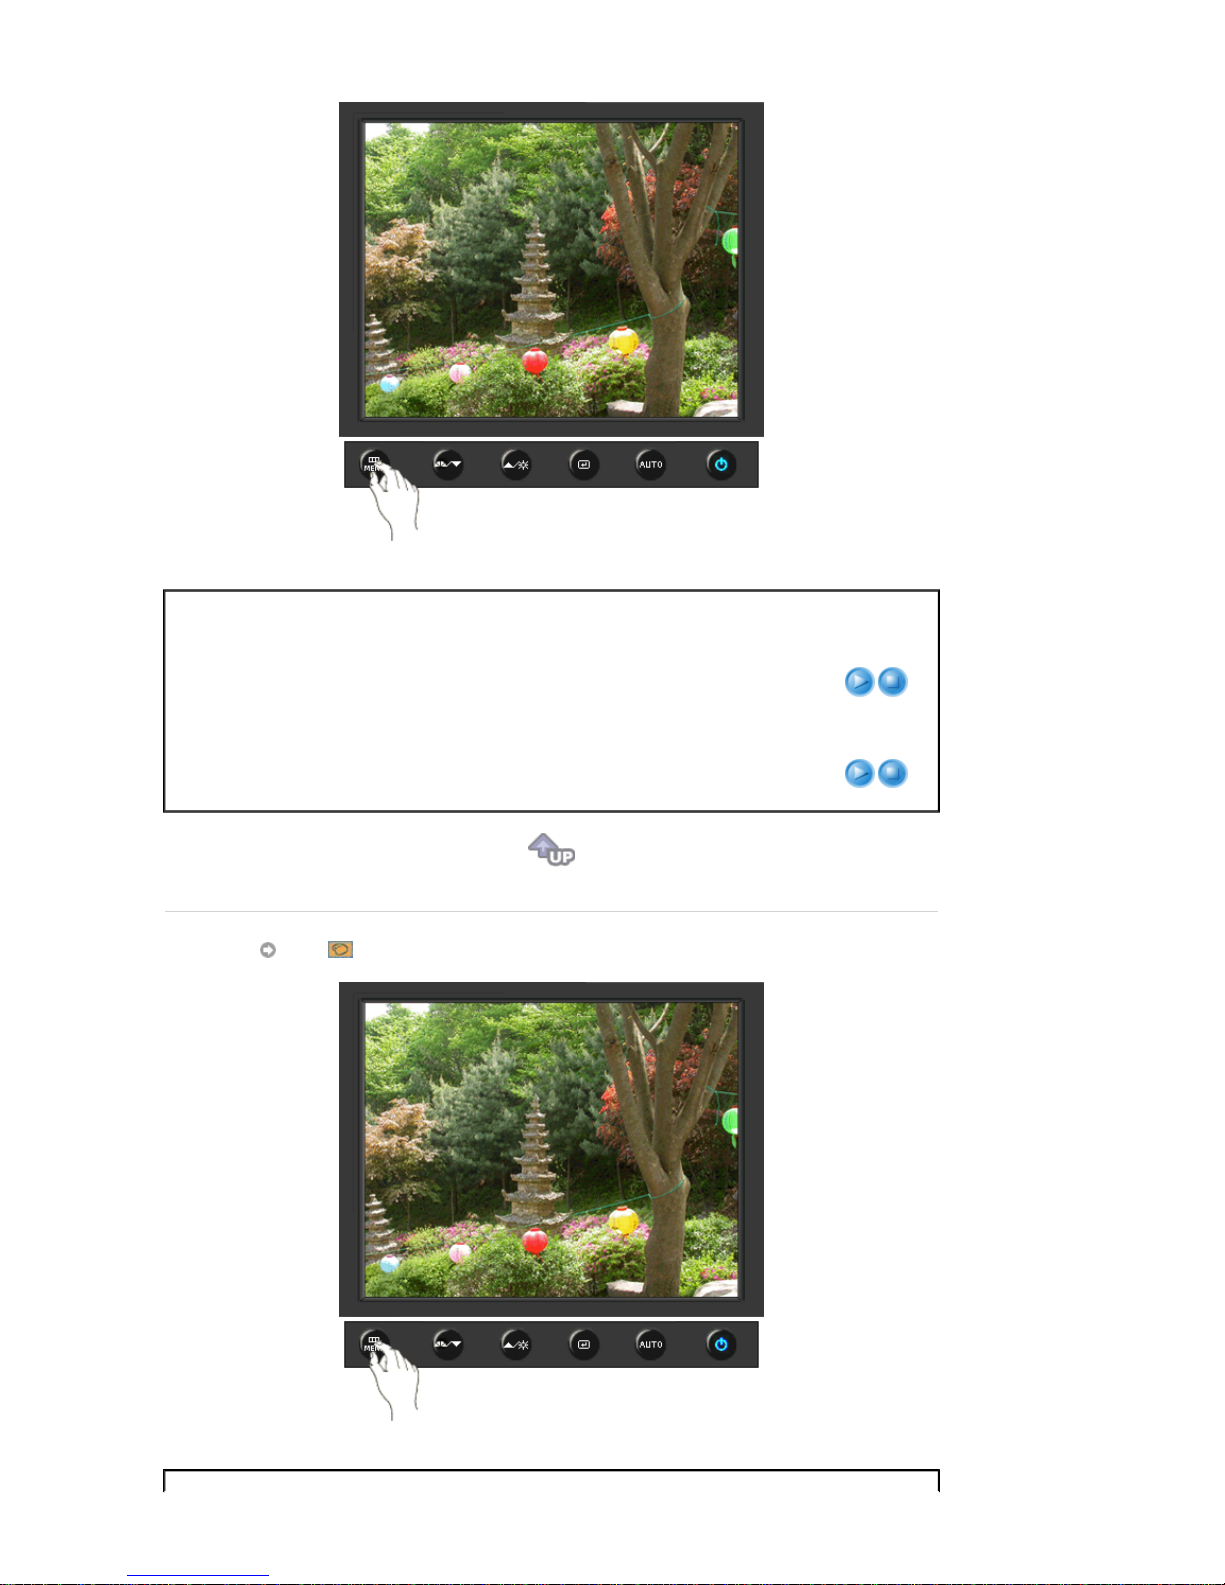
Menu Description Play/Stop
Brightness
You can use the on-screen menus to change the
brightness according to personal preference.
Direct Access Feature
: When OSD is not on the screen,
push the button to adjust brightness.
Contrast
You can use the on-screen menus to change the contrast
according to personal preference.
(Not available in MagicColor mode of Full and Intelligent.)
Color
Page 67
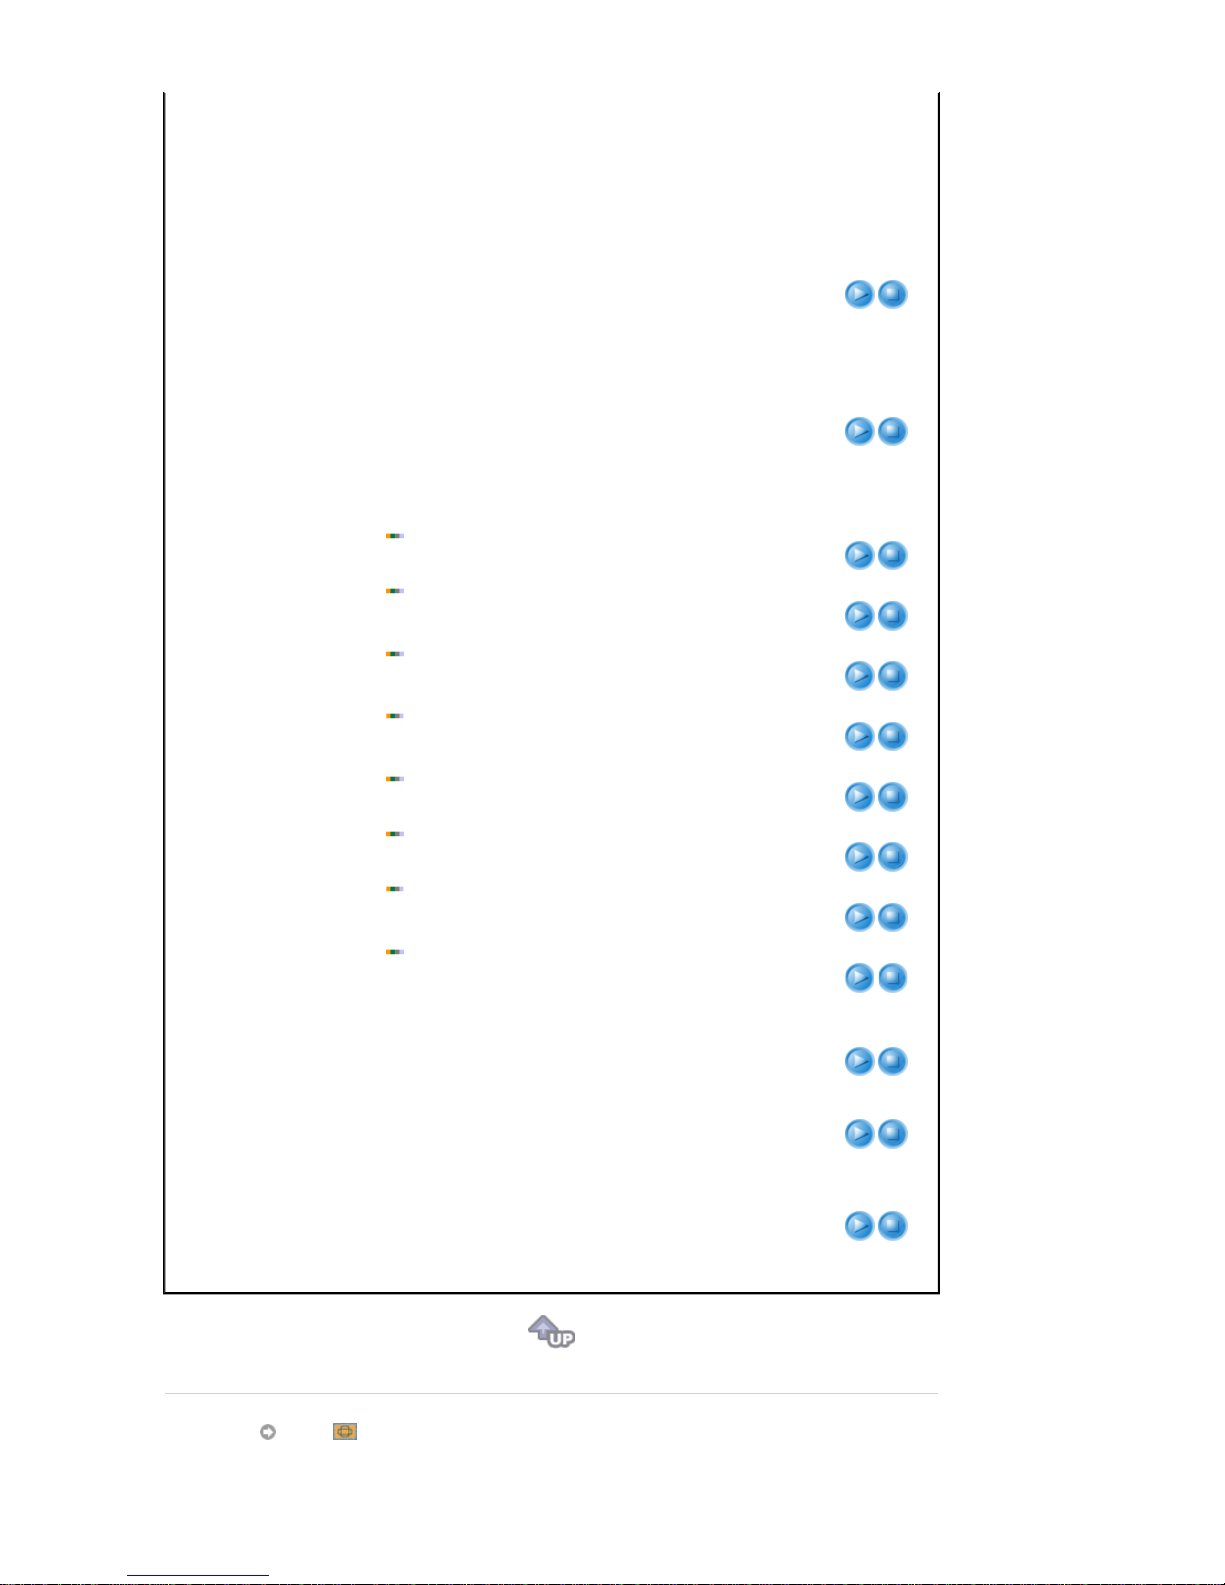
Menu Description Play/Stop
MagicColor
MagicColor is a new technology that Samsung has
exclusively developed to improve digital image and to
display natural color more clearly without disturbing image
quality.
1) Off
- Returns to the original mode.
2) Demo
- The screen before applying MagicColor
appears on the right and the screen after applying
MagicColor appears on the left.
3) Full
- Displays not only vivid natural color but also
more realistic natural skin color with clearness.
4) Intelligent
- Displays vivid natural color with clearness.
5) MagicZone
- The MagicZone ensures the clear and
sharp display of animated multimedia or photo images by
enhancing the brightness, sharpness, saturation, hue of a
certain area on the screen.
Especially, MagicZone is appropriate to using the moving
picture.
MagicZone
Hue
: This function is to adjust the hue of the MagicZone.
Saturation
: This function is to adjust the saturation of the
MagicZone.
Brightness
: This function is to adjust the brightness of the
MagicZone.
Sharpness
: This function is to adjust the sharpness of the
MagicZone.
H-Position
: This function is to move the MagicZone horizontally.
V-Position
: This function is to move the MagicZone vertically.
H-Size
: This function is to adjust the horizontal size of the
MagicZone.
V-Size
: This function is to adjust the vertical size of the
MagicZone.
Hue
Saturation
Brightness
Sharpness
H-Position
V-Position
H-Size
V-Size
Color Tone
The tone of the color can be changed and one of four
modes can be selected - Cool, Normal, Warm and
Custom.
(Not available in MagicColor mode of Full and Intelligent.)
Color Control
Adjusts individual R,G,B color balance.
(Not available in MagicColor mode of Full and Intelligent.)
Gamma
Gamma correction changes the luminance of the colors
with intermediate luminance.
z Mode 1
z Mode 2
z Mode 3
Image
Page 68
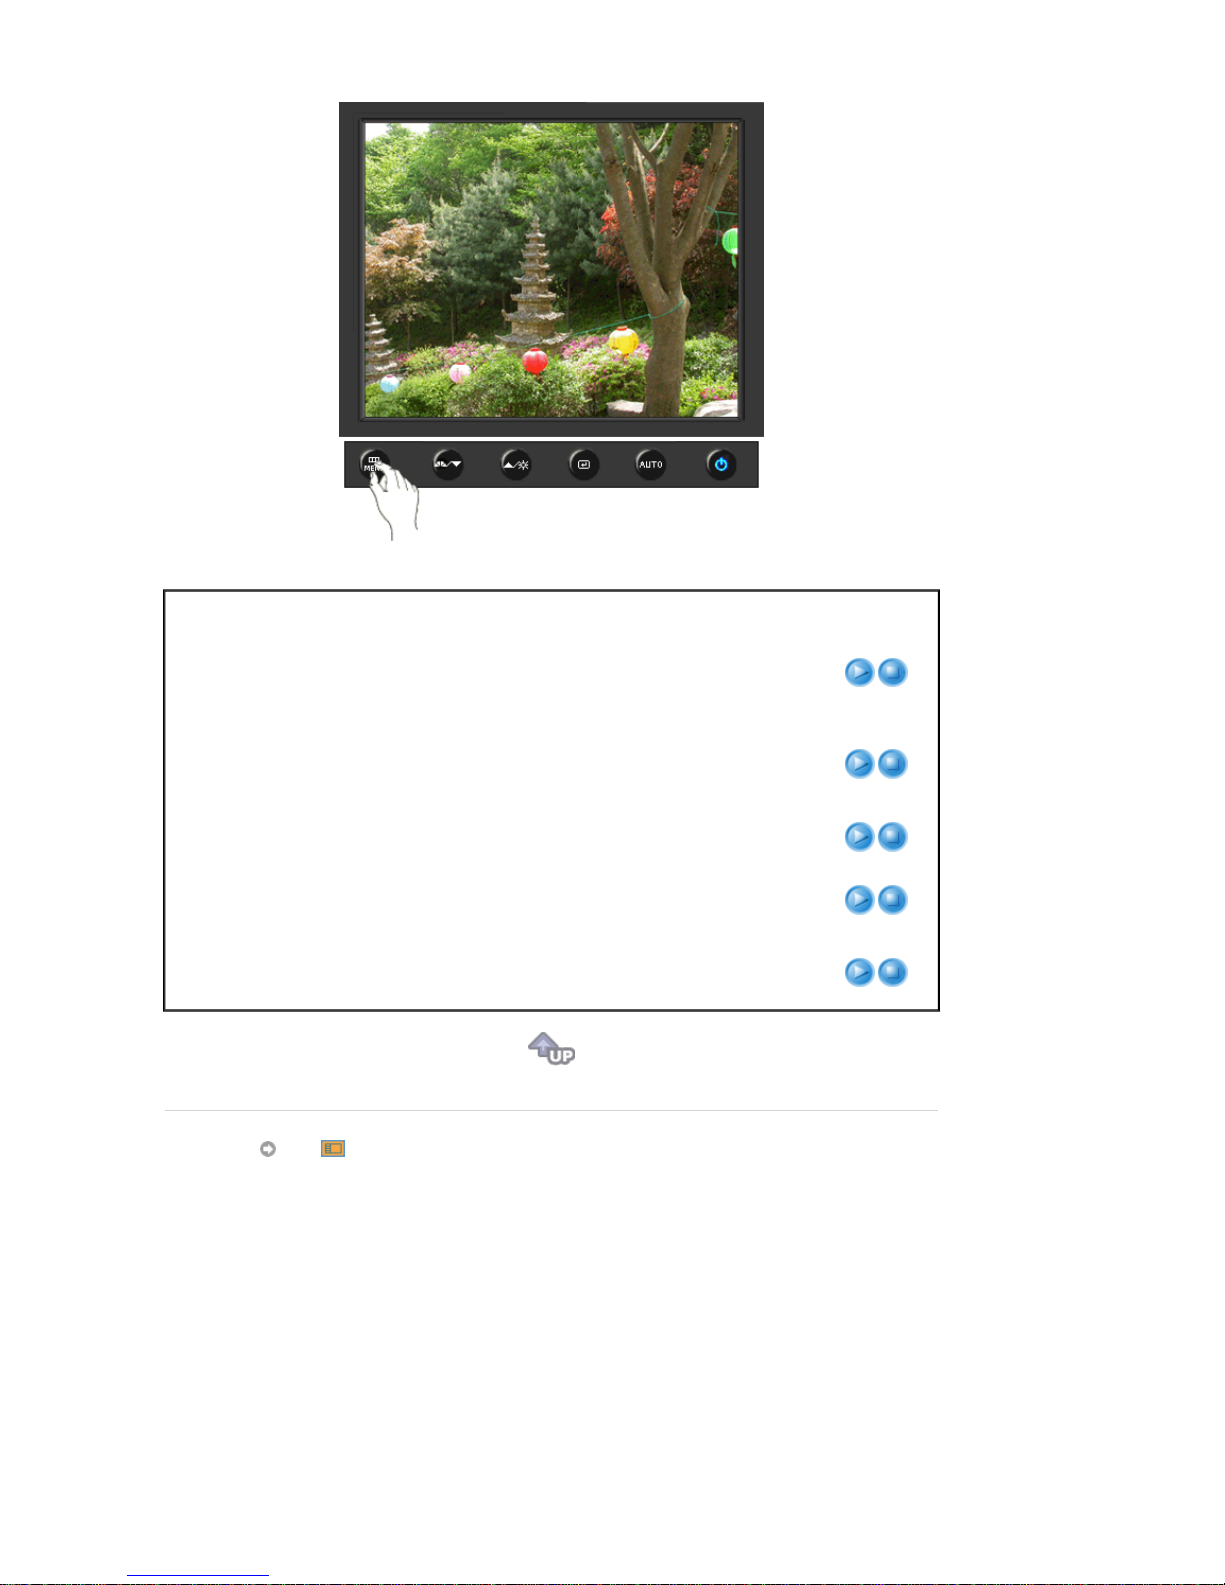
Fine
Removes noise such as horizontal stripes. If the noise
persists even after fine tuning, repeat it after adjusting the
frequency (clock speed).
(Available in analog mode only)
Sharpness
Changes the clearance of image.
(Not available in MagicColor mode of Full and Intelligent.)
H-Position
Changes the horizontal position of the monitor's entire
display.
(Available in analog mode only)
V-Position
Changes the vertical position of the monitor's entire
display.
(Available in analog mode only)
OSD
Menu Description Play/Stop
Coarse
Removes noise such as vertical stripes. Coarse
adjustment may move the screen image area. You may
relocate it to the center using the horizontal control menu.
(Available in analog mode only)
Page 69
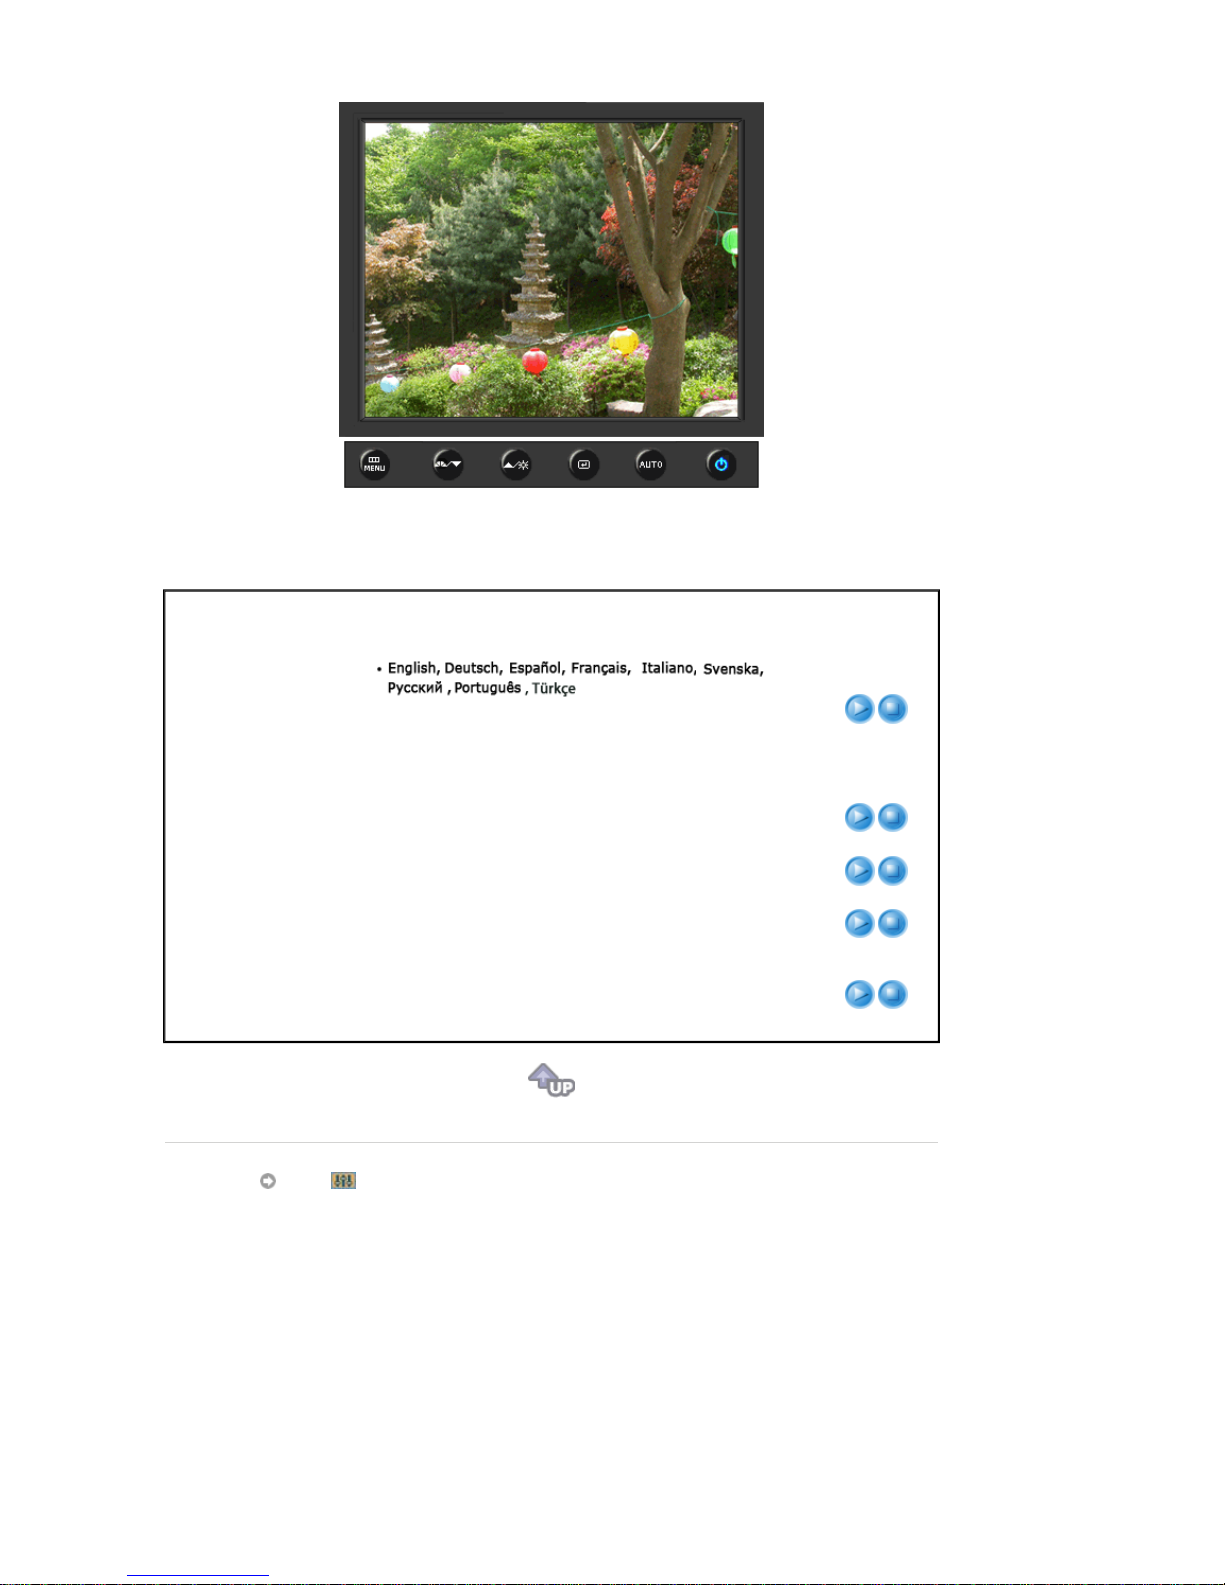
H-Position
You can change the horizontal position where the OSD
menu appears on your monitor.
V-Position
You can change the vertical position where the OSD menu
appears on your monitor.
Transparency
Change the transparency of the background of the OSD.
Display Time
The menu will be automatically turned off if no adjustments
are made for a certain time period.
You can set the amount of time the menu will wait before it
is turned off.
Setup
Menu Description Play/Stop
Language
You can choose one of 9 languages.
Note
:The language chosen affects only the language of
the OSD. It has no effect on any software running on the
computer.
Page 70
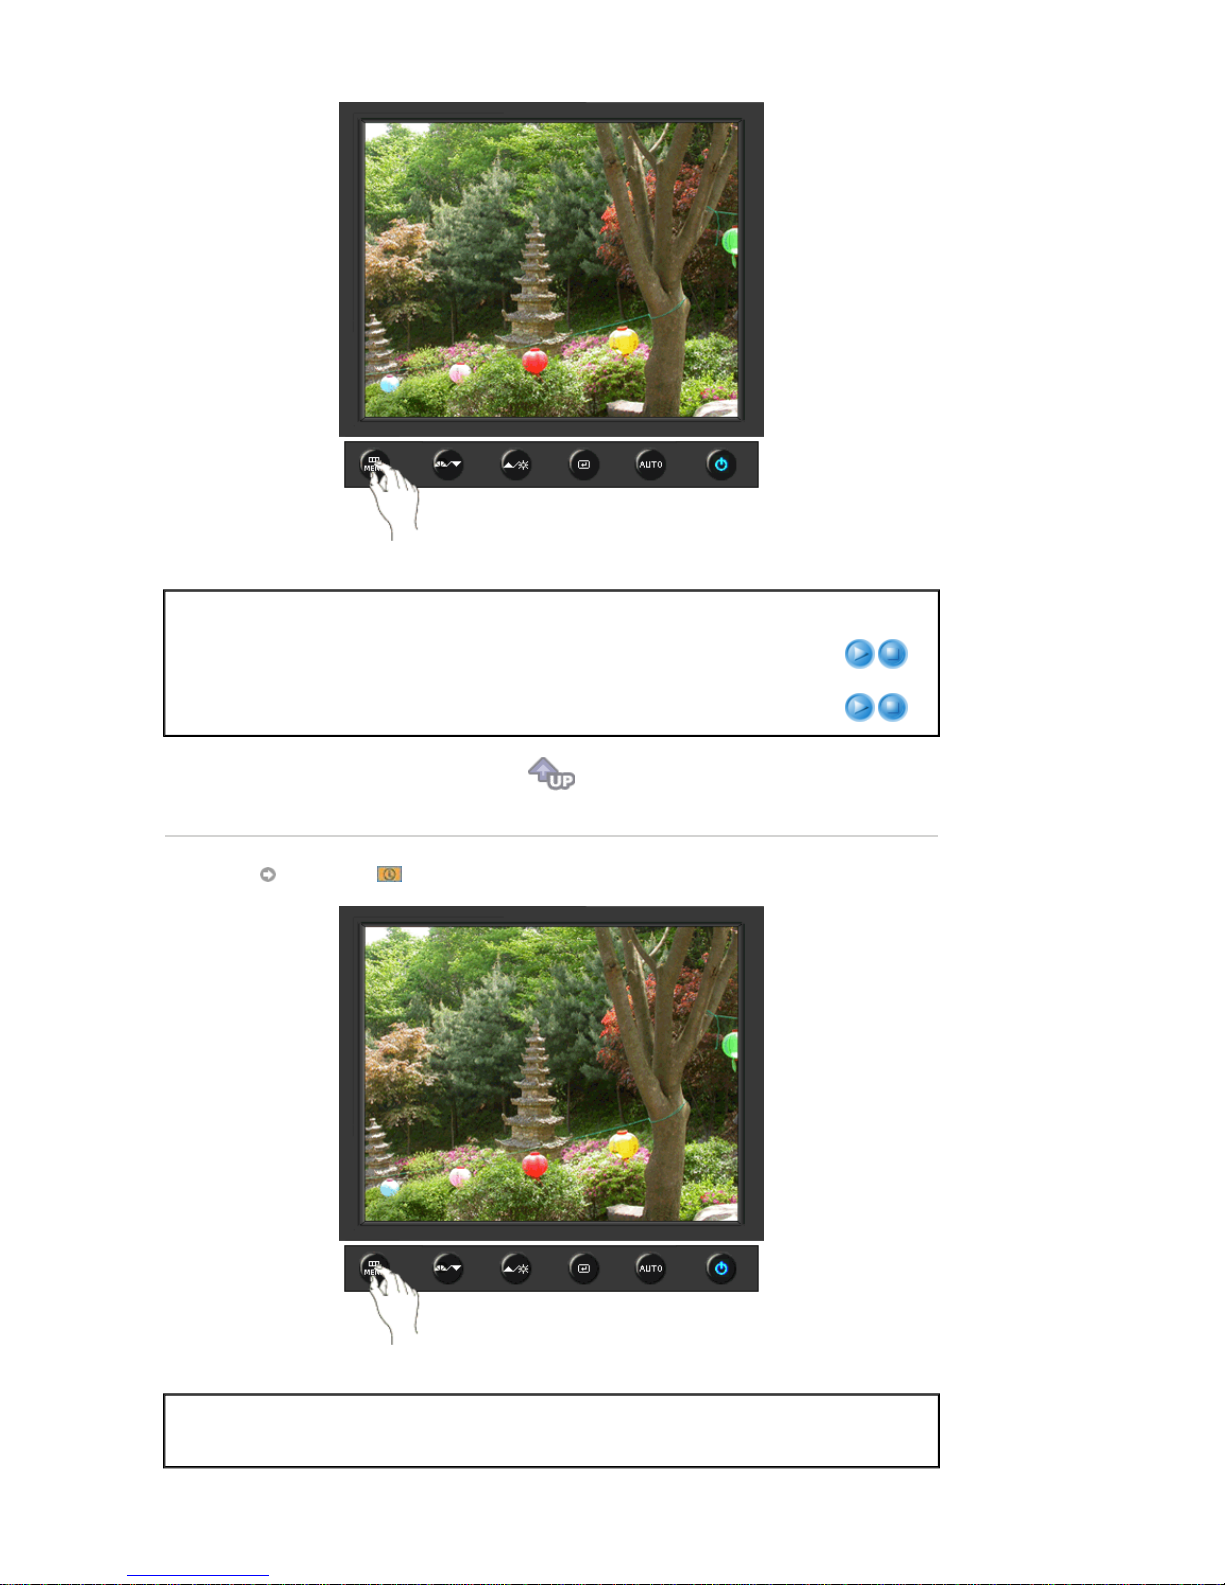
Menu Description Play/Stop
Image Reset
Image parameters are replaced with the factory default
values.
Color Reset
Color parameters are replaced with the factory default
values.
Information
Menu Description
Information
Shows a video source, display mode on the OSD screen.
Page 71
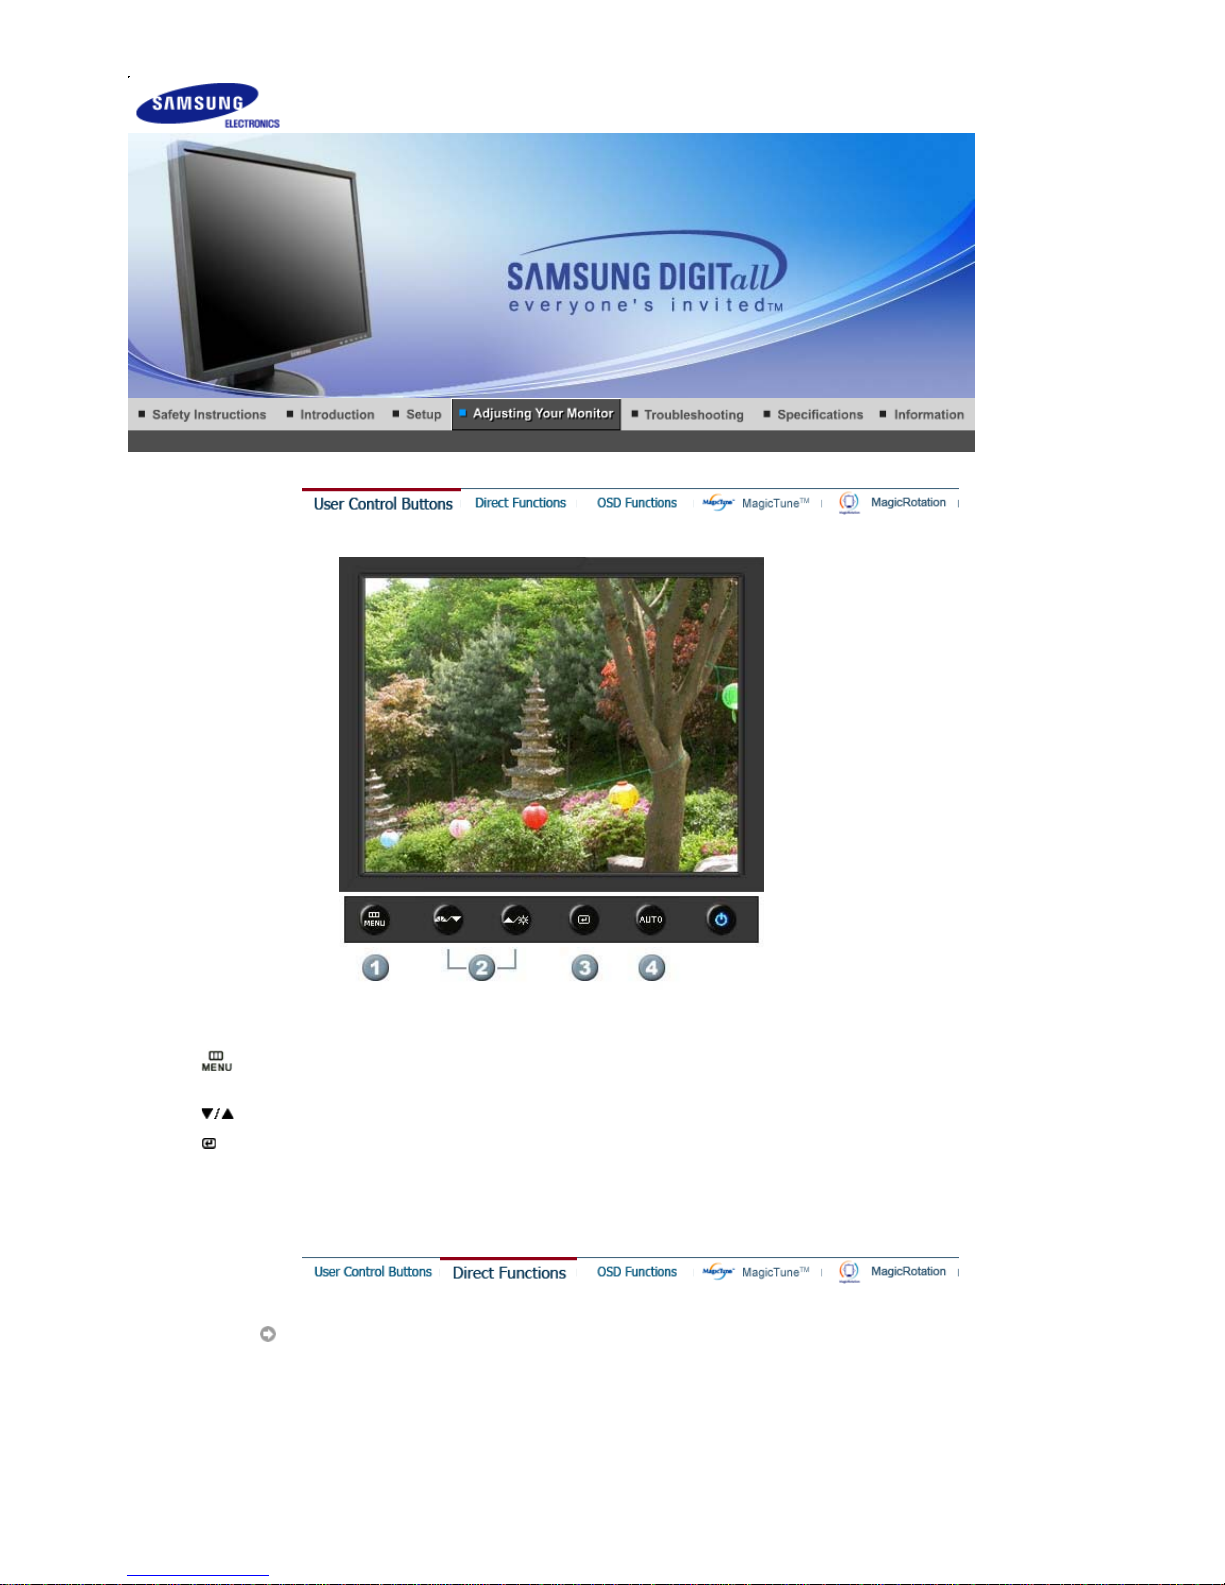
1.
[ ]Use this button to open the on-screen menu and exit from the menu screen or close screen
adjustment menu.
2.
[ ]This button allows you to adjust items in the menu.
3.
[ ]Press this button to activate a highlighted menu item.
4.[AUTO
]Press to self-adjust to the incoming PC signal. The values of fine,coarse and position are
adjusted automatically.
AUTO
SyncMaster 940Fn
Page 72
Menu Description
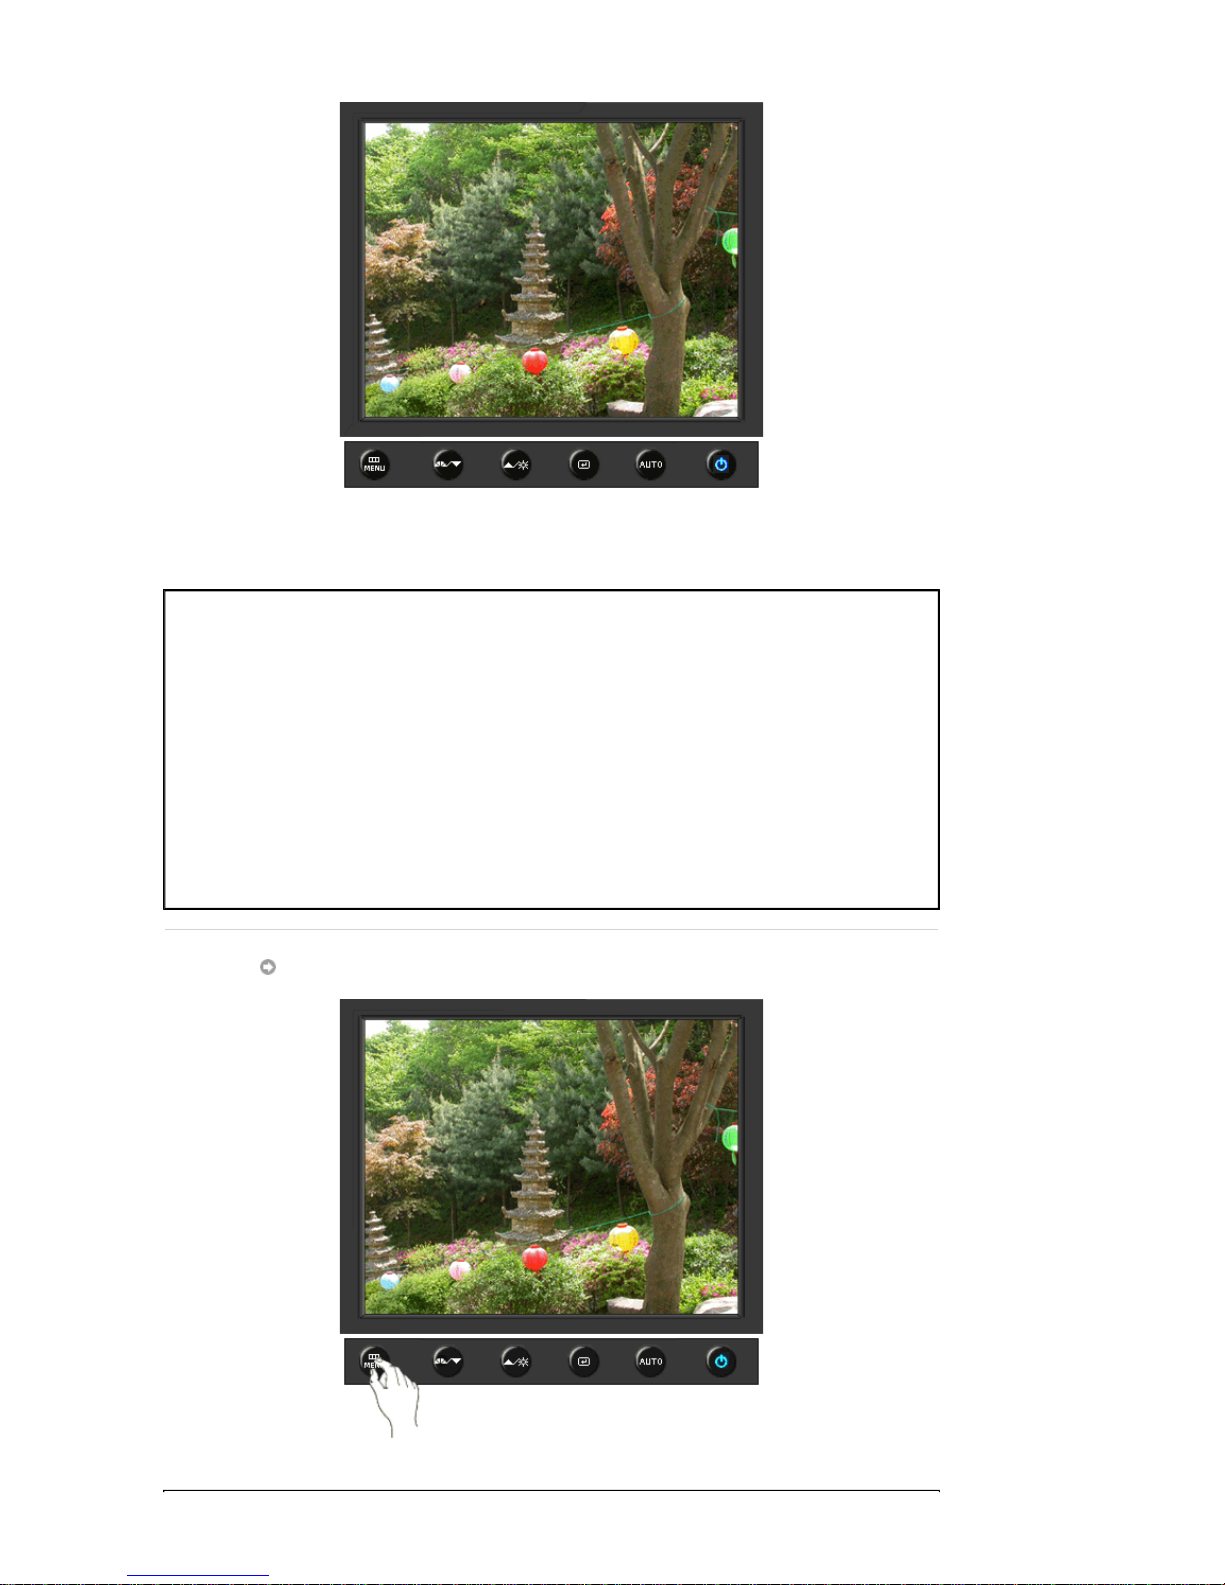
AUTO
When the '
AUTO
' button is pressed, the Auto Adjustment screen appears
as shown in the animated screen on the center.
Auto adjustment allows the monitor to self-adjust to the incoming video
signal. The values of fine, coarse and position are adjusted automatically.
(Available in analog mode only)
To make the automatic adjustment function sharper, execute the 'AUTO'
function while the AUTO PATTERN is on.
- If auto adjustment does not work properly, press AUTO button again to
adjust picture with more accuracy.
- If you change resolution in the control panel, auto function will be
executed automatically.
Locked
Page 73
Menu Description
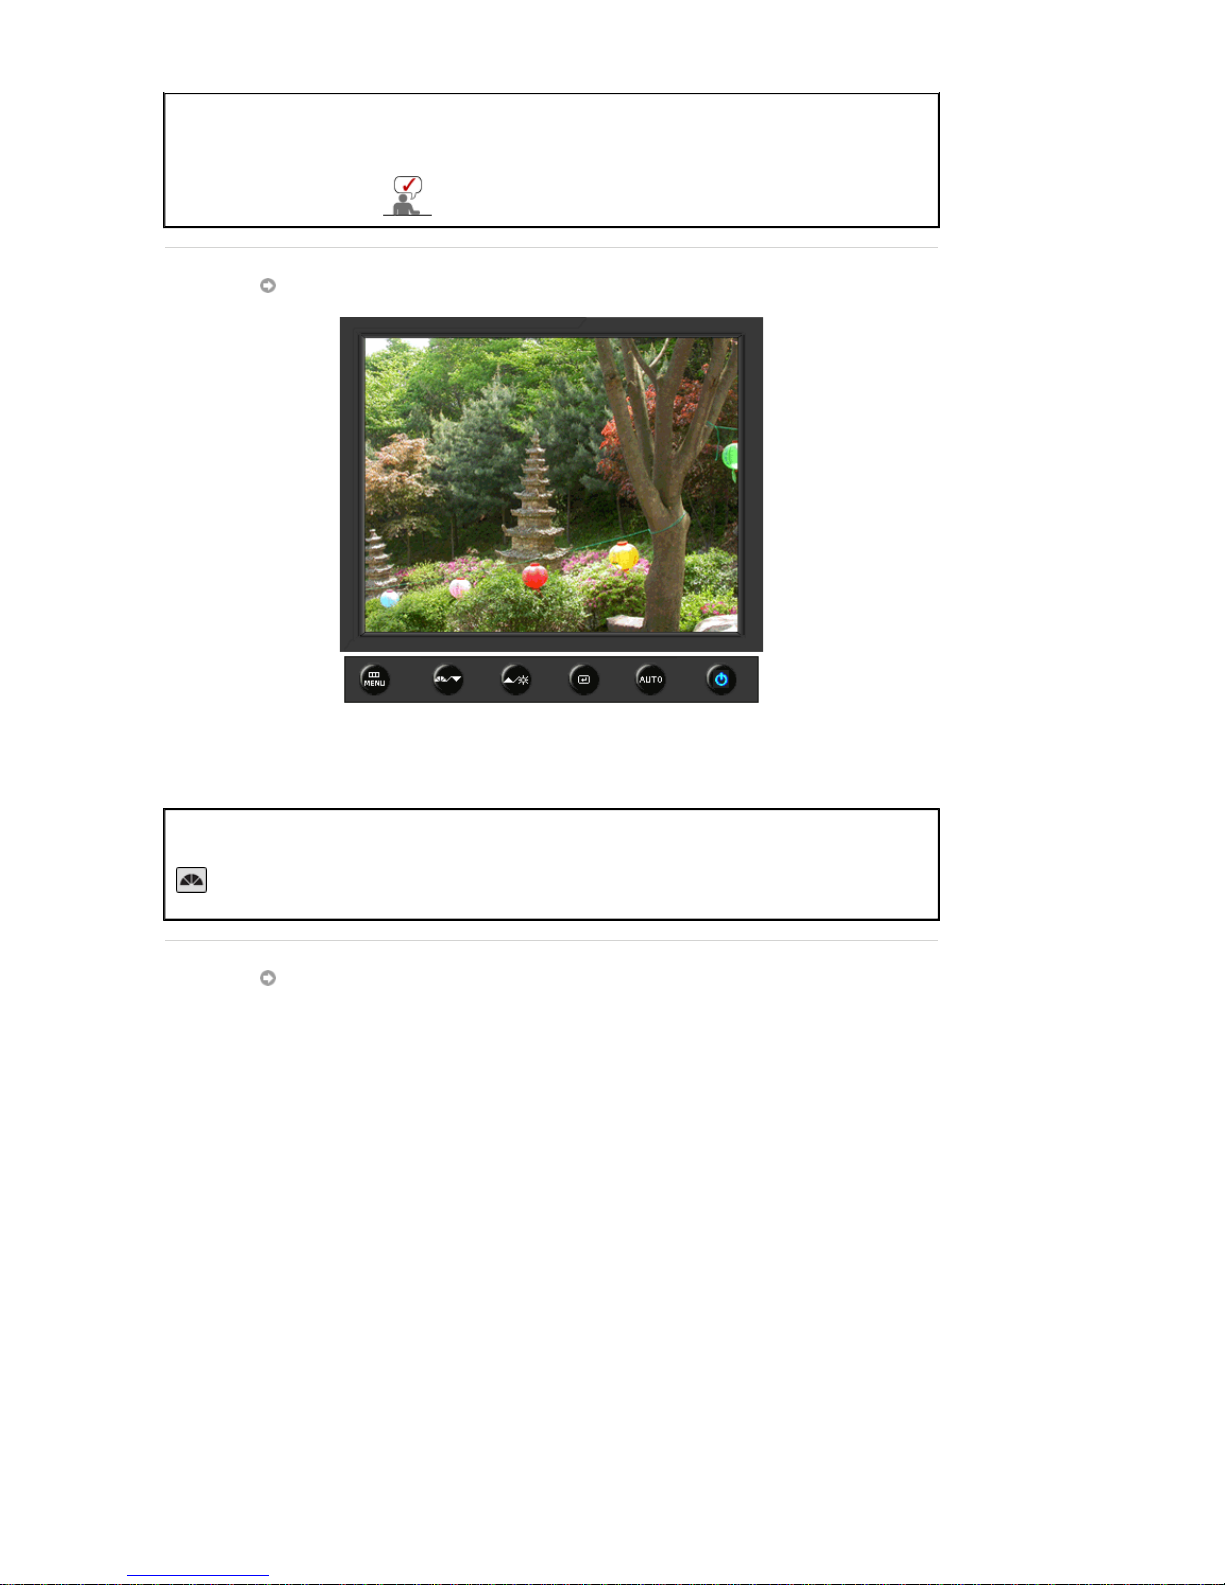
Locked
After pushing the "MENU" button more than 5 seconds, OSD function is
locked (unlocked).
You can also adjust the brightness and contrast of the
monitor with the OSD adjustment locking feature.
MagicBright™
Menu Description
MagicBright™
Push the MagicBright button to circle through available preconfigured
modes.
- Six different modes (Custom/Text/Internet/Game/Sport/Movie)
Brightness
Page 74
Menu Description
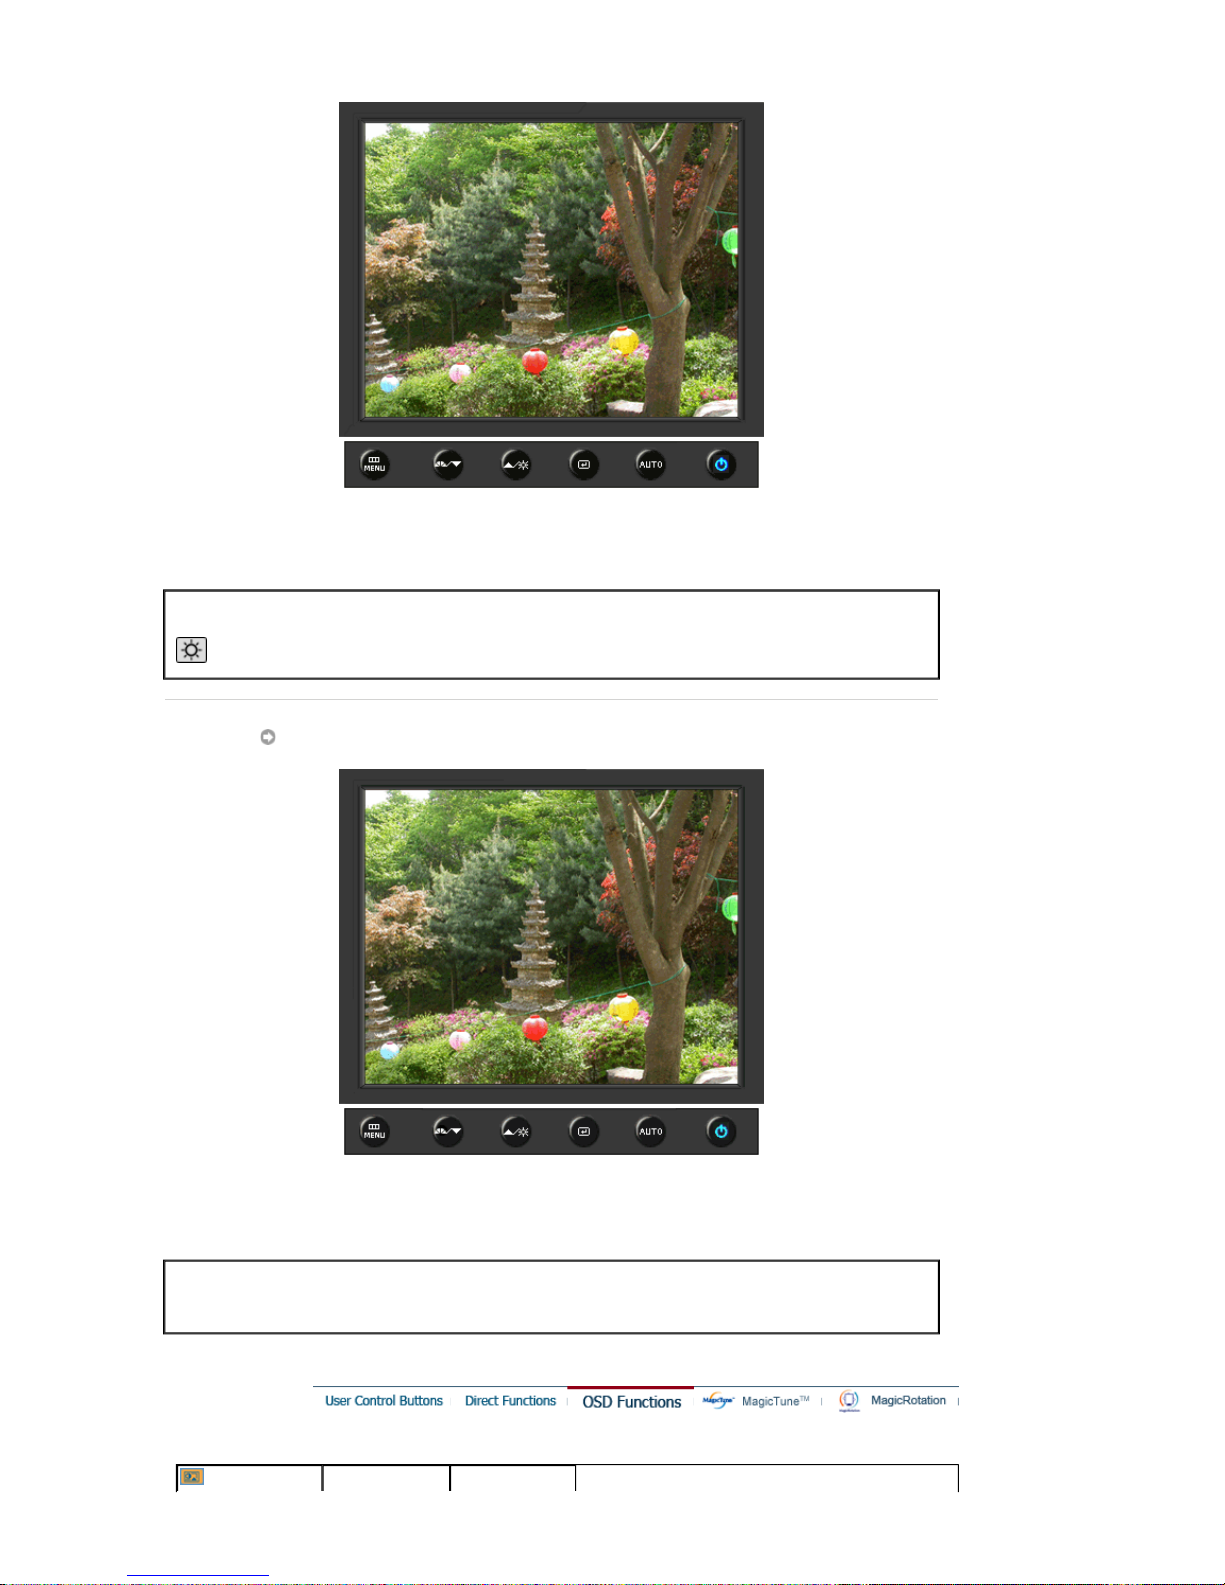
Brightness
When OSD is not on the screen, push the button to adjust brightness.
SOURCE
Menu Description
SOURCE
Selects the video signal while the OSD is off.
Picture
Brightness Contrast
Page 75
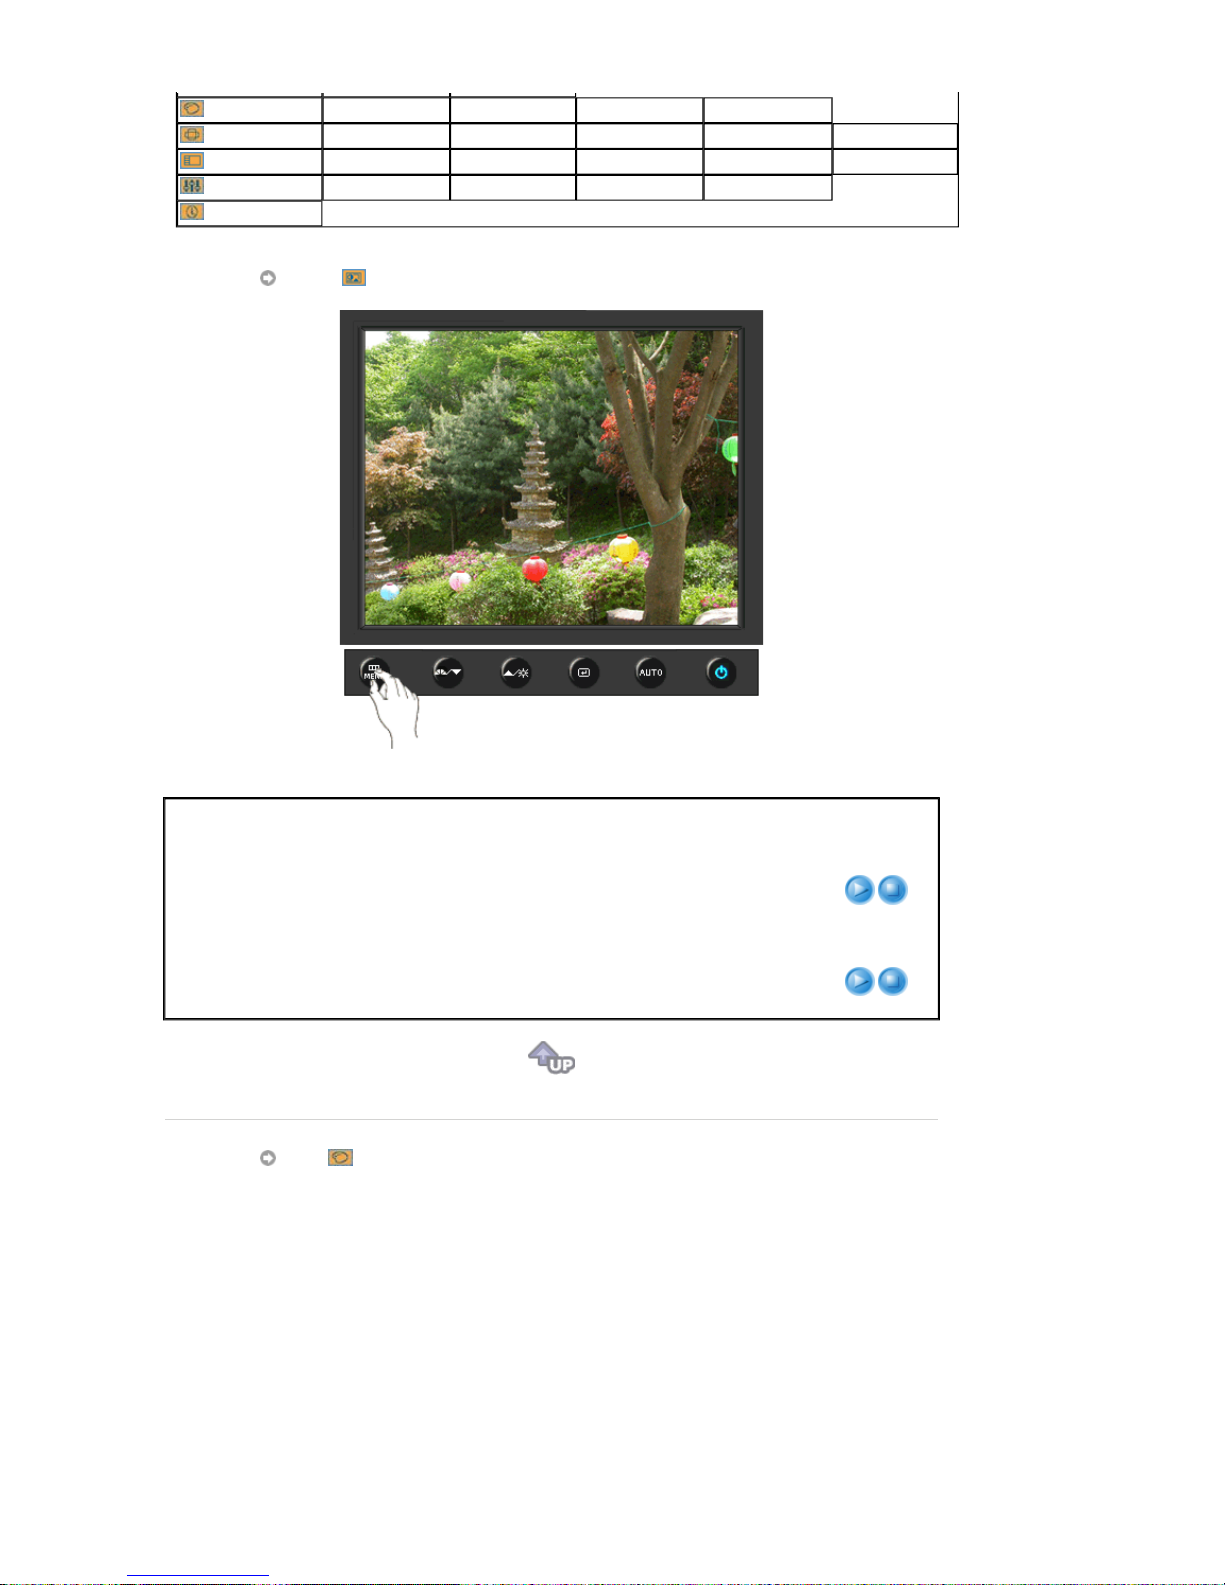
Color
MagicColor Color Tone Color Control Gamma
Image
Coarse Fine Sharpness H-Position V-Position
OSD
Language H-Position V-Position Transparency Display Time
Setup
Auto Source Image Reset Color Reset Priority
Information
Picture
Menu Description Play/Stop
Brightness
You can use the on-screen menus to change the
brightness according to personal preference.
Direct Access Feature
: When OSD is not on the screen,
push the button to adjust brightness.
Contrast
You can use the on-screen menus to change the contrast
according to personal preference.
(Not available in MagicColor mode of Full and Intelligent.)
Color
Page 76
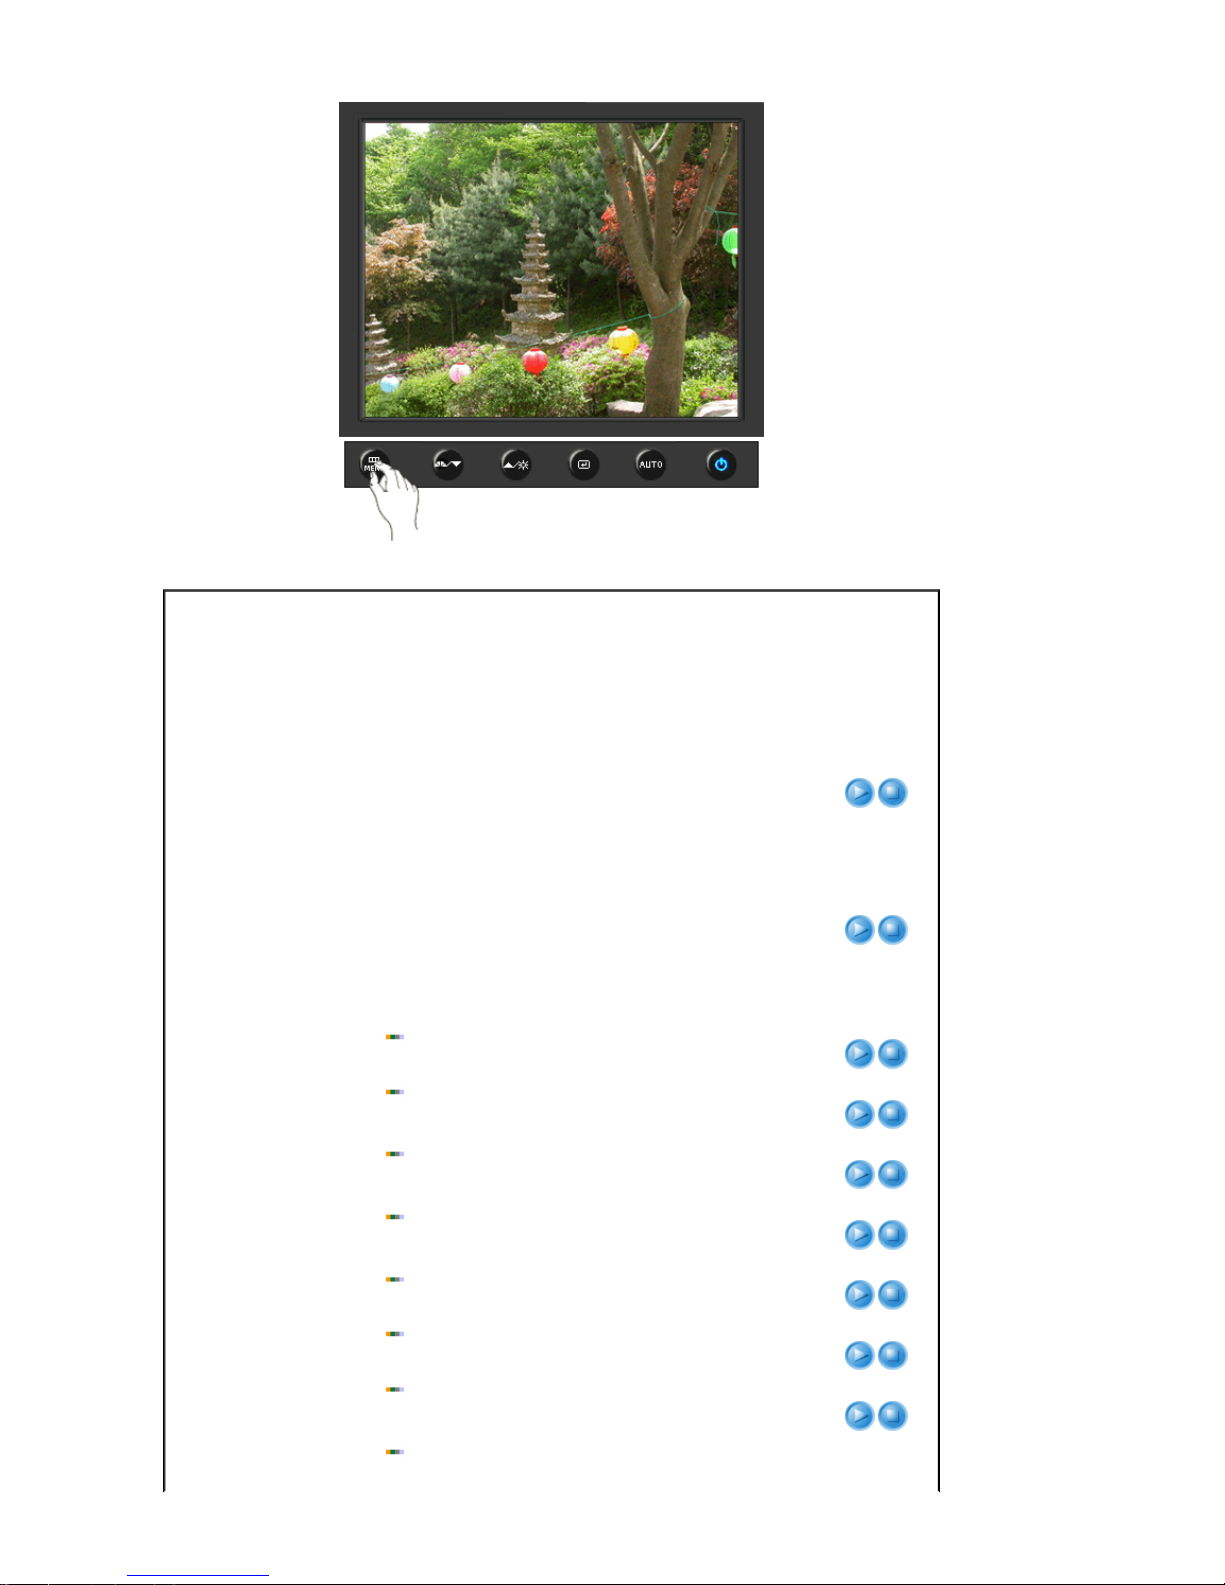
Menu Description Play/Stop
MagicColor
MagicColor is a new technology that Samsung has
exclusively developed to improve digital image and to
display natural color more clearly without disturbing image
quality.
1) Off
- Returns to the original mode.
2) Demo
- The screen before applying MagicColor
appears on the right and the screen after applying
MagicColor appears on the left.
3) Full
- Displays not only vivid natural color but also
more realistic natural skin color with clearness.
4) Intelligent
- Displays vivid natural color with clearness.
5) MagicZone
- The MagicZone ensures the clear and
sharp display of animated multimedia or photo images by
enhancing the brightness, sharpness, saturation, hue of a
certain area on the screen.
Especially, MagicZone is appropriate to using the moving
picture.
MagicZone
Hue
: This function is to adjust the hue of the MagicZone.
Saturation
: This function is to adjust the saturation of the
MagicZone.
Brightness
: This function is to adjust the brightness of the
MagicZone.
Sharpness
: This function is to adjust the sharpness of the
MagicZone.
H-Position
: This function is to move the MagicZone horizontally.
V-Position
: This function is to move the MagicZone vertically.
H-Size
: This function is to adjust the horizontal size of the
MagicZone.
V-Size
Hue
Saturation
Brightness
Sharpness
H-Position
V-Position
H-Size
V-Size
Page 77
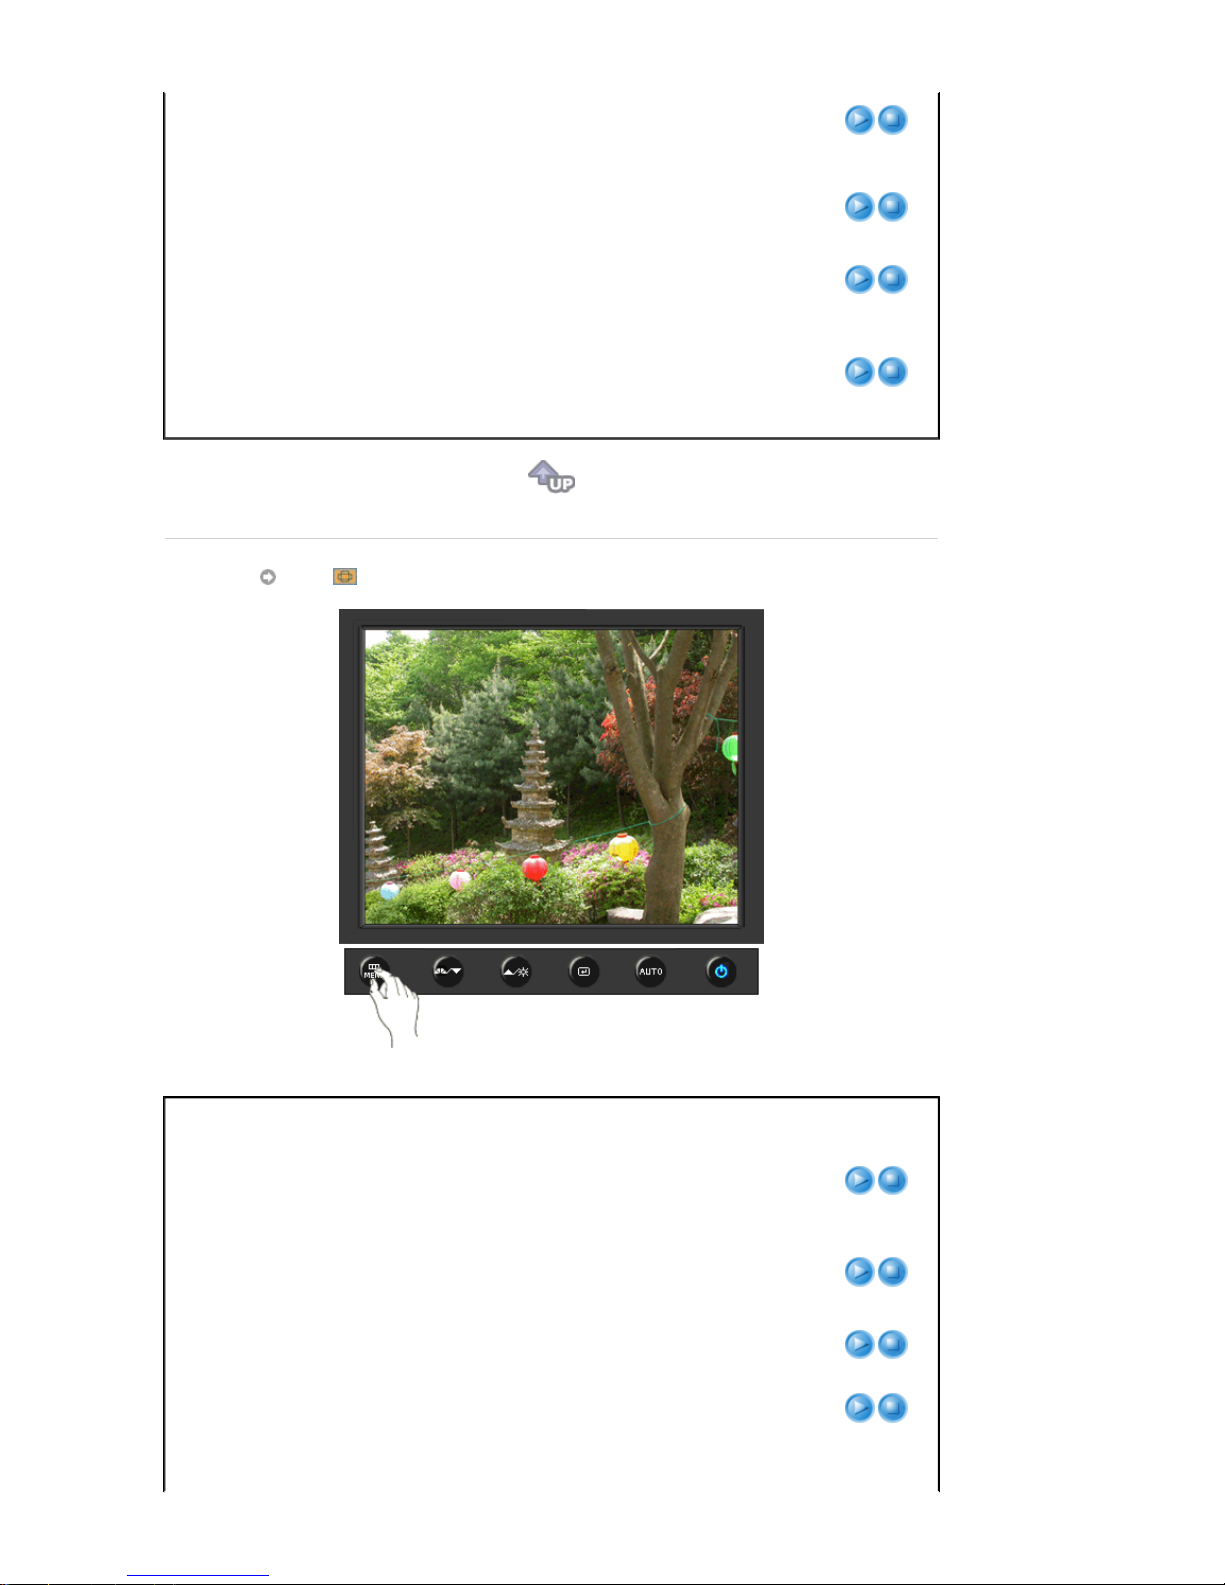
: This function is to adjust the vertical size of the
MagicZone.
Color Tone
The tone of the color can be changed and one of four
modes can be selected - Cool, Normal, Warm and
Custom.
(Not available in MagicColor mode of Full and Intellig ent.)
Color Control
Adjusts individual R,G,B color balance.
(Not available in MagicColor mode of Full and Intellig ent.)
Gamma
Gamma correction changes the luminance of the colors
with intermediate luminance.
z Mode 1
z Mode 2
z Mode 3
Image
Menu Description Play/Stop
Coarse
Removes noise such as vertical stripes. Coarse
adjustment may move the screen image area. You may
relocate it to the center using the horizontal control menu.
(Available in analog mode only)
Fine
Removes noise such as horizontal stripes. If the noise
persists even after fine tuning, repeat it after adjusting the
frequency (clock speed).
(Available in analog mode only)
Sharpness
Changes the clearance of image.
(Not available in MagicColor mode of Full and Intellig ent.)
H-Position
Changes the horizontal position of the monitor's entire
display.
(Available in analog mode only)
Changes the vertical position of the monitor's entire
Page 78
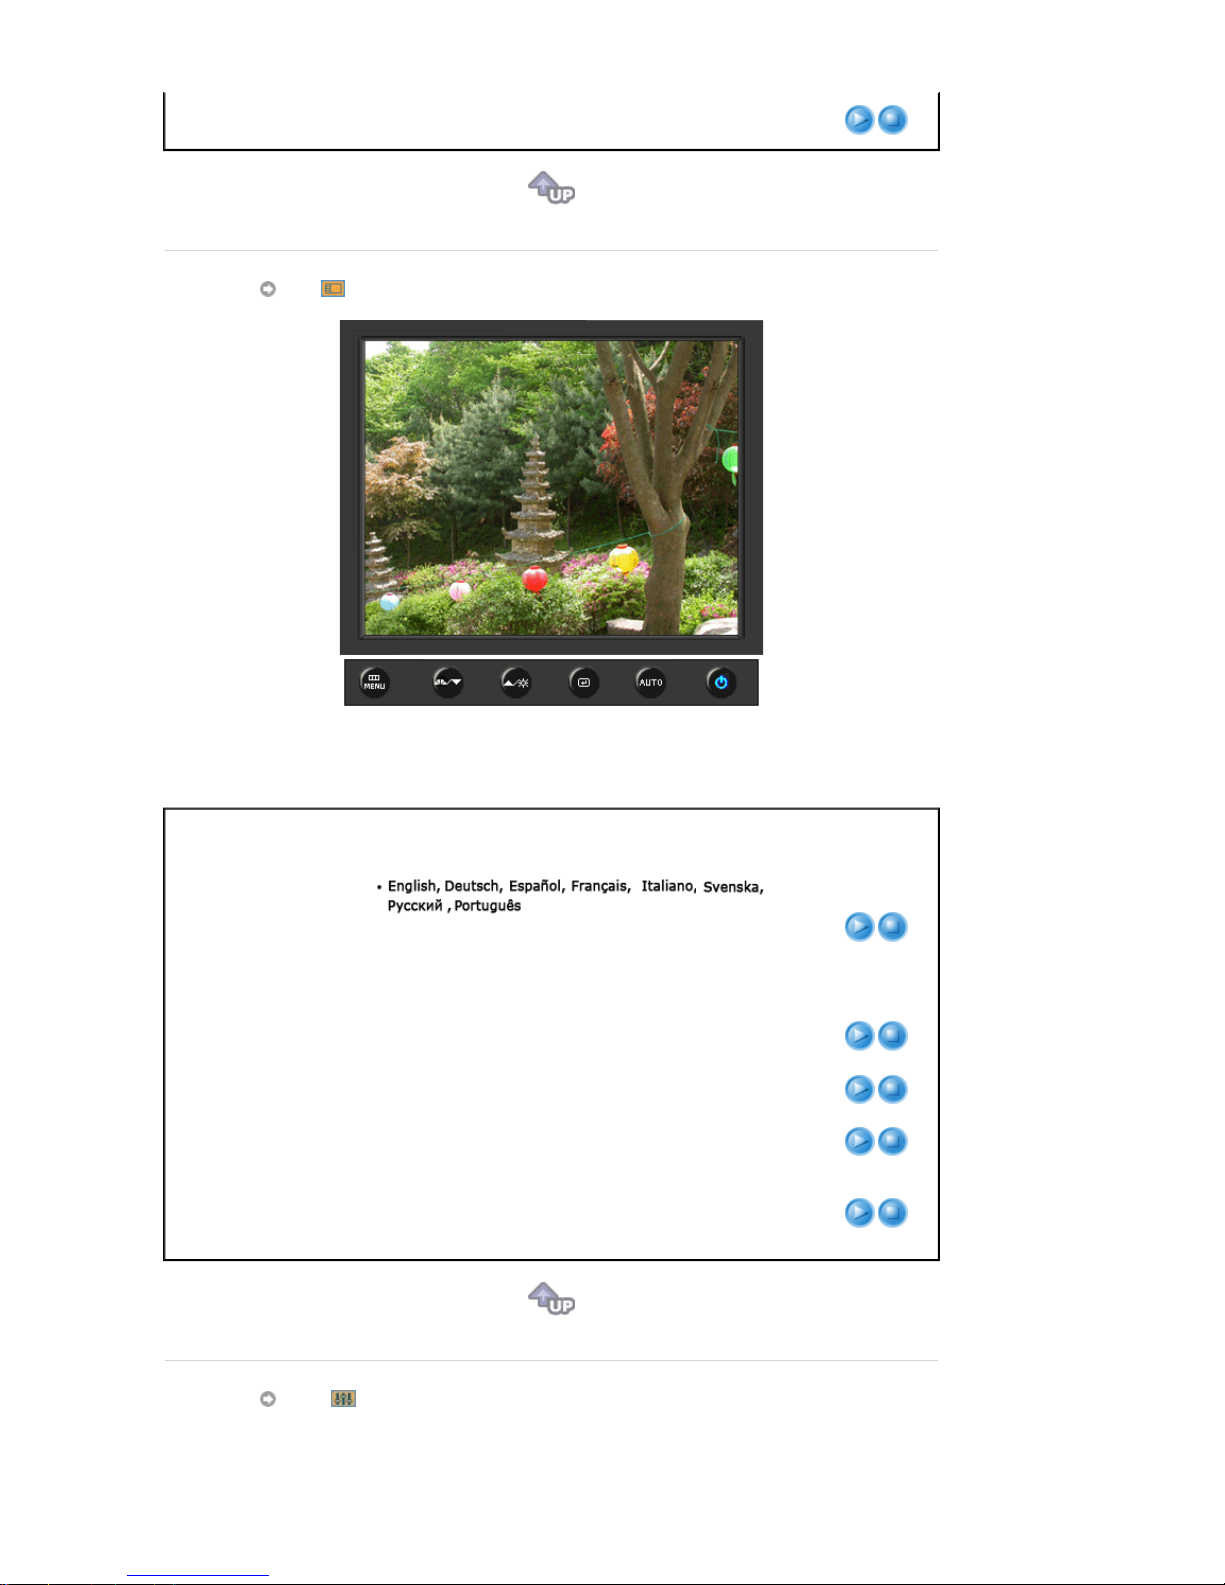
V-Position
display.
(Available in analog mode only)
OSD
Menu Description Play/Stop
Language
You can choose one of eight languages.
Note
:The language chosen affects only the language of
the OSD. It has no effect on any software running on the
computer.
H-Position
You can change the horizontal position where the OSD
menu appears on your monitor.
V-Position
You can change the vertical position where the OSD menu
appears on your monitor.
Transparency
Change the transparency of the background of the OSD.
Display Time
The menu will be automatically turned off if no adjustments
are made for a certain time period.
You can set the amount of time the menu will wait before it
is turned off.
Setup
Page 79
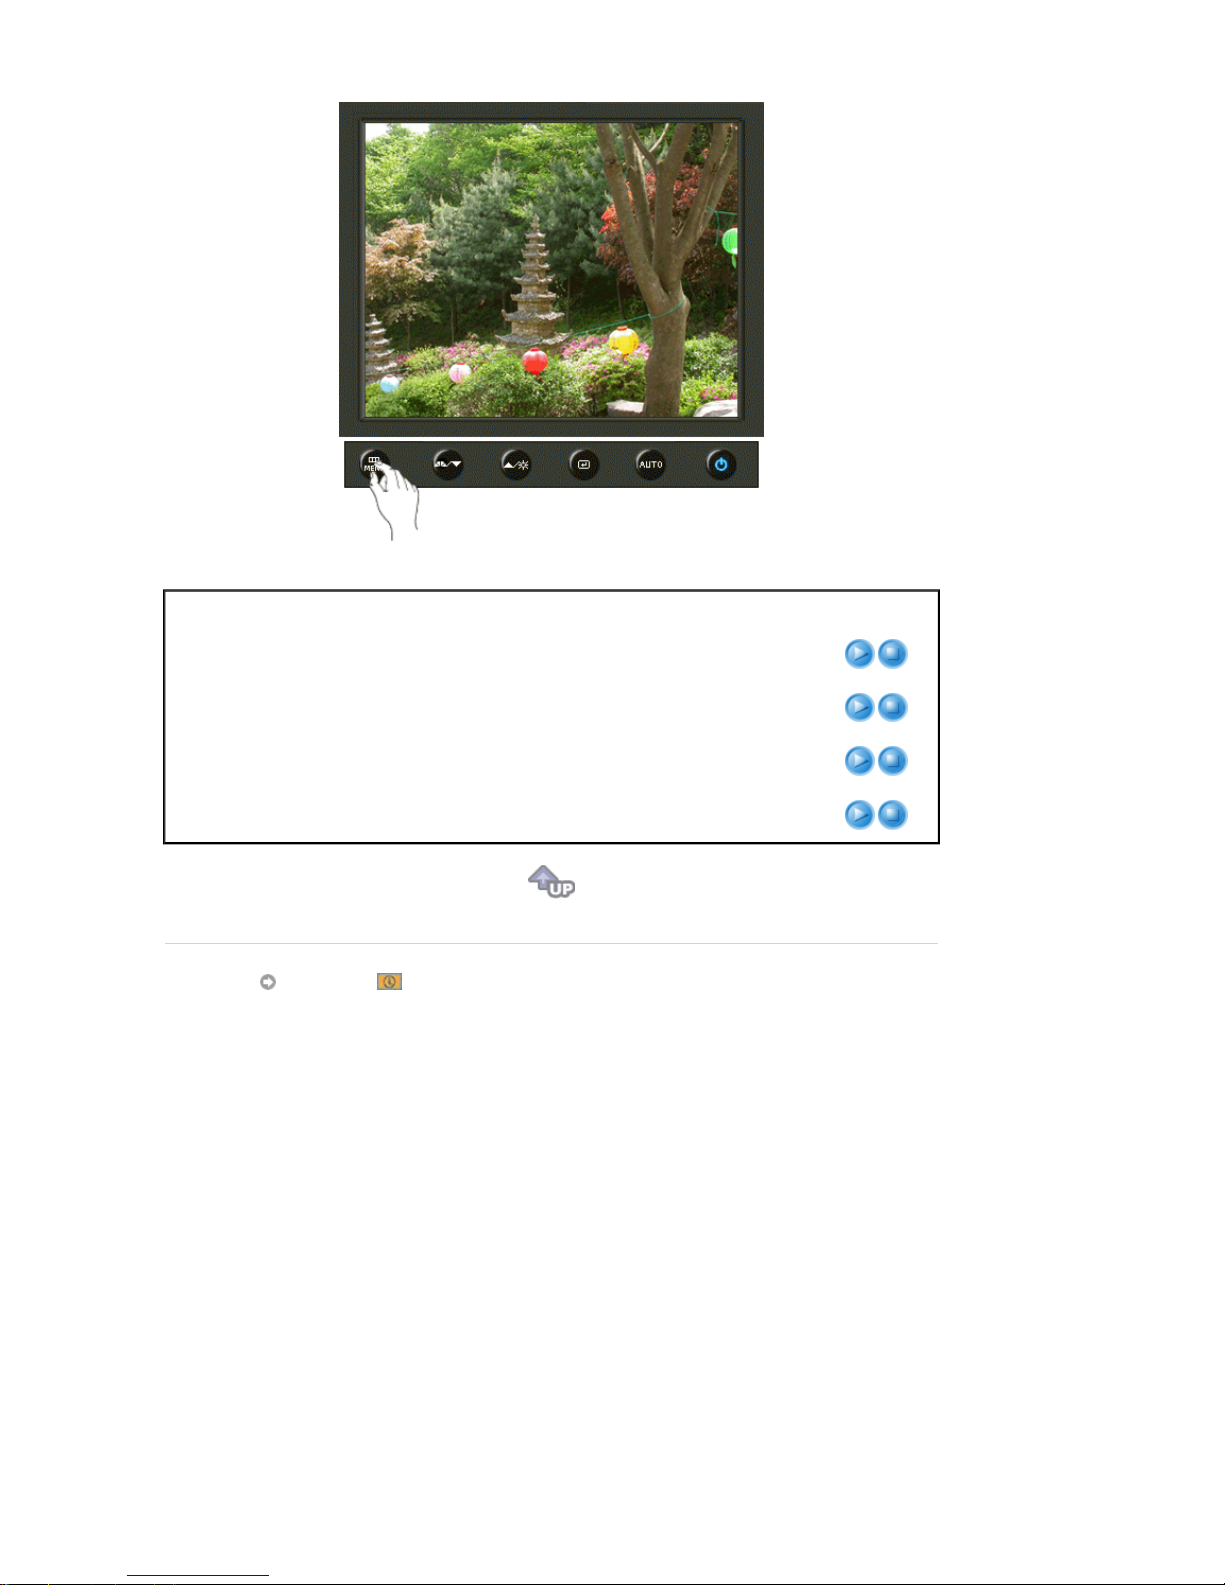
Menu Description Play/Stop
Auto Source
Select
Auto Source
for the monitor to automatically select
the signal source.
Image Reset
Image parameters are replaced with the factory default
values.
Color Reset
Color parameters are replaced with the factory default
values.
Priority
This is a source-switch function according to the priority
that the user has set for the source.
Information
Page 80
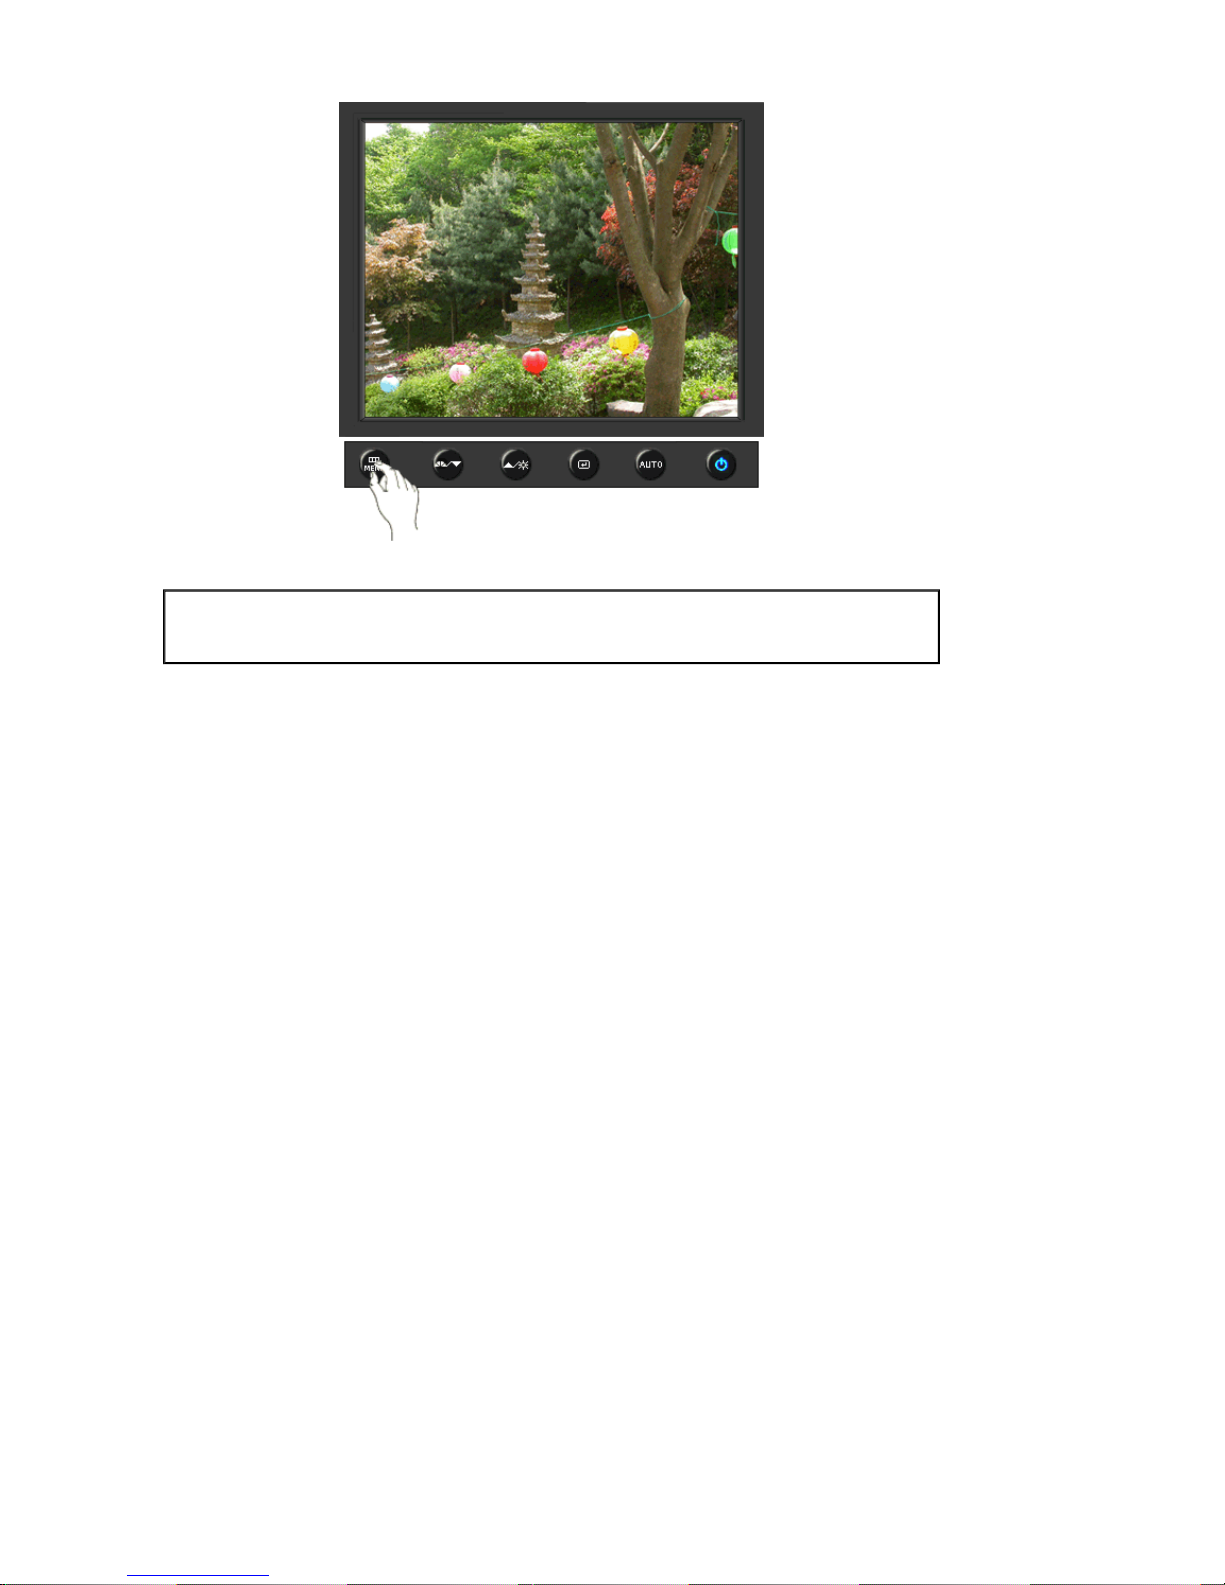
Menu Description
Information
Shows a video source, display mode on the OSD screen.
Page 81
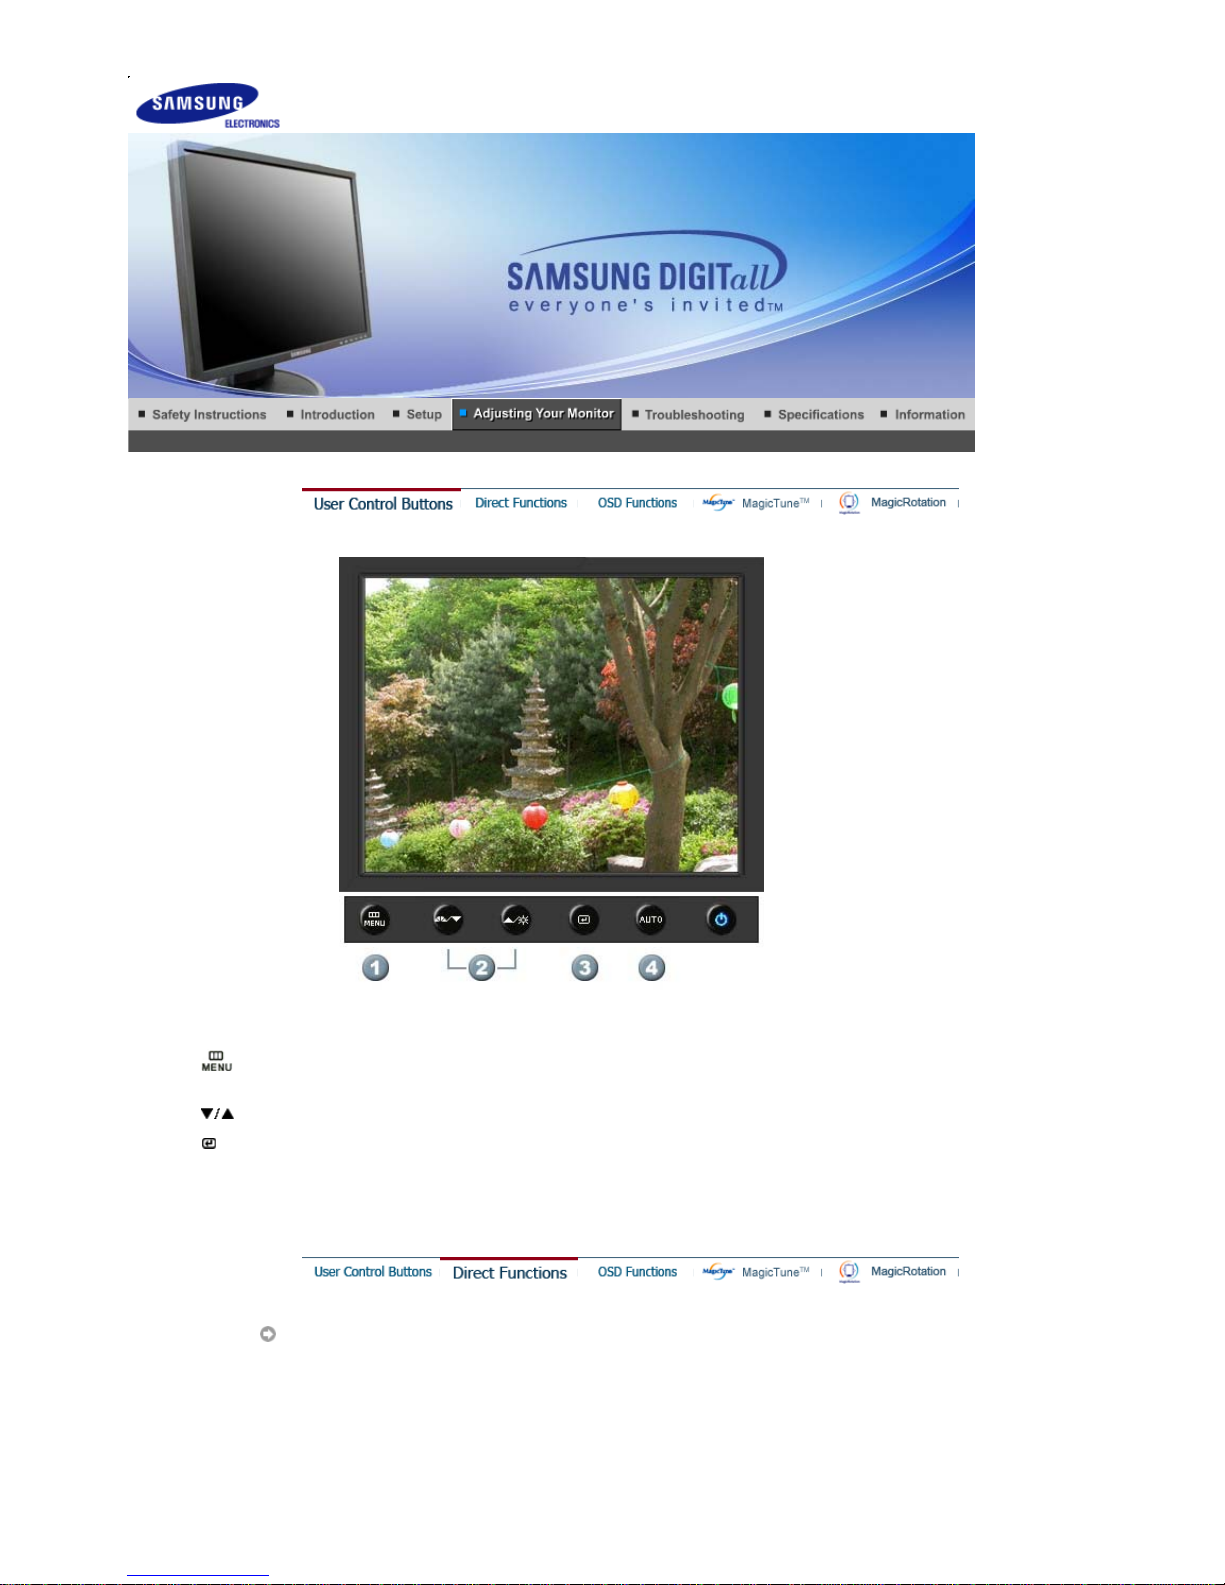
1.
[ ]Use this button to open the on -screen menu and exit from the menu screen or close screen
adjustment menu.
2.
[ ]This button allows you to adjust it ems in the men u.
3.
[ ]Press this button to activate a highlighted menu item.
4. [AUTO
]Press to self-adjust to the incoming PC signal. The values of fine,coarse and position are
adjusted automatically.
AUTO
SyncMaster 540N
Page 82
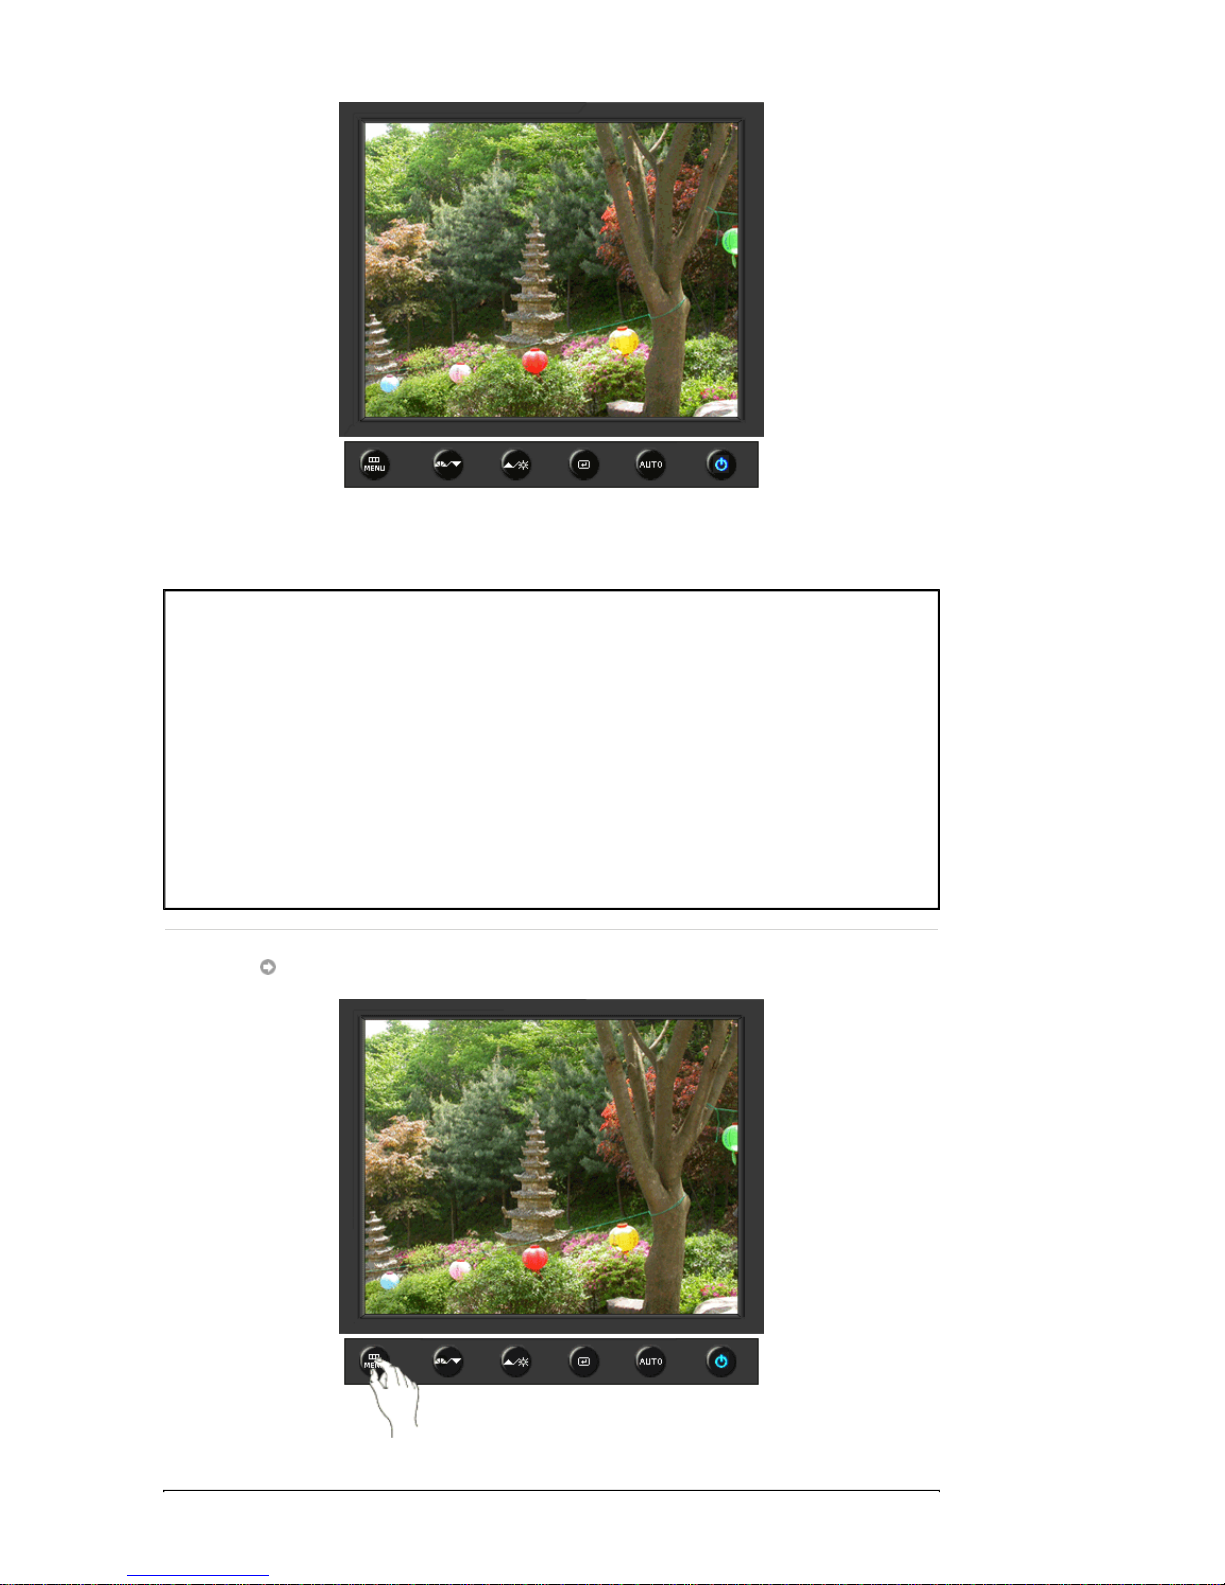
Menu Description
AUTO
When the '
AUTO
' button is pressed, the Auto Adjustment screen appears
as shown in the animated screen on the center.
Auto adjustment allows the monitor to self-adjust to the incoming video
signal. The values of fine, coarse and position are adjusted automaticall y.
(Available in analog mode only)
To make the automatic adjustment function sharper, execute the 'AUTO'
function while the AUTO PATTERN is on.
- If auto adjustment does not work properly, press AUTO button again to
adjust picture with more accuracy.
- If you change resolution in the control panel, auto function will be
executed automatically.
Locked
Page 83
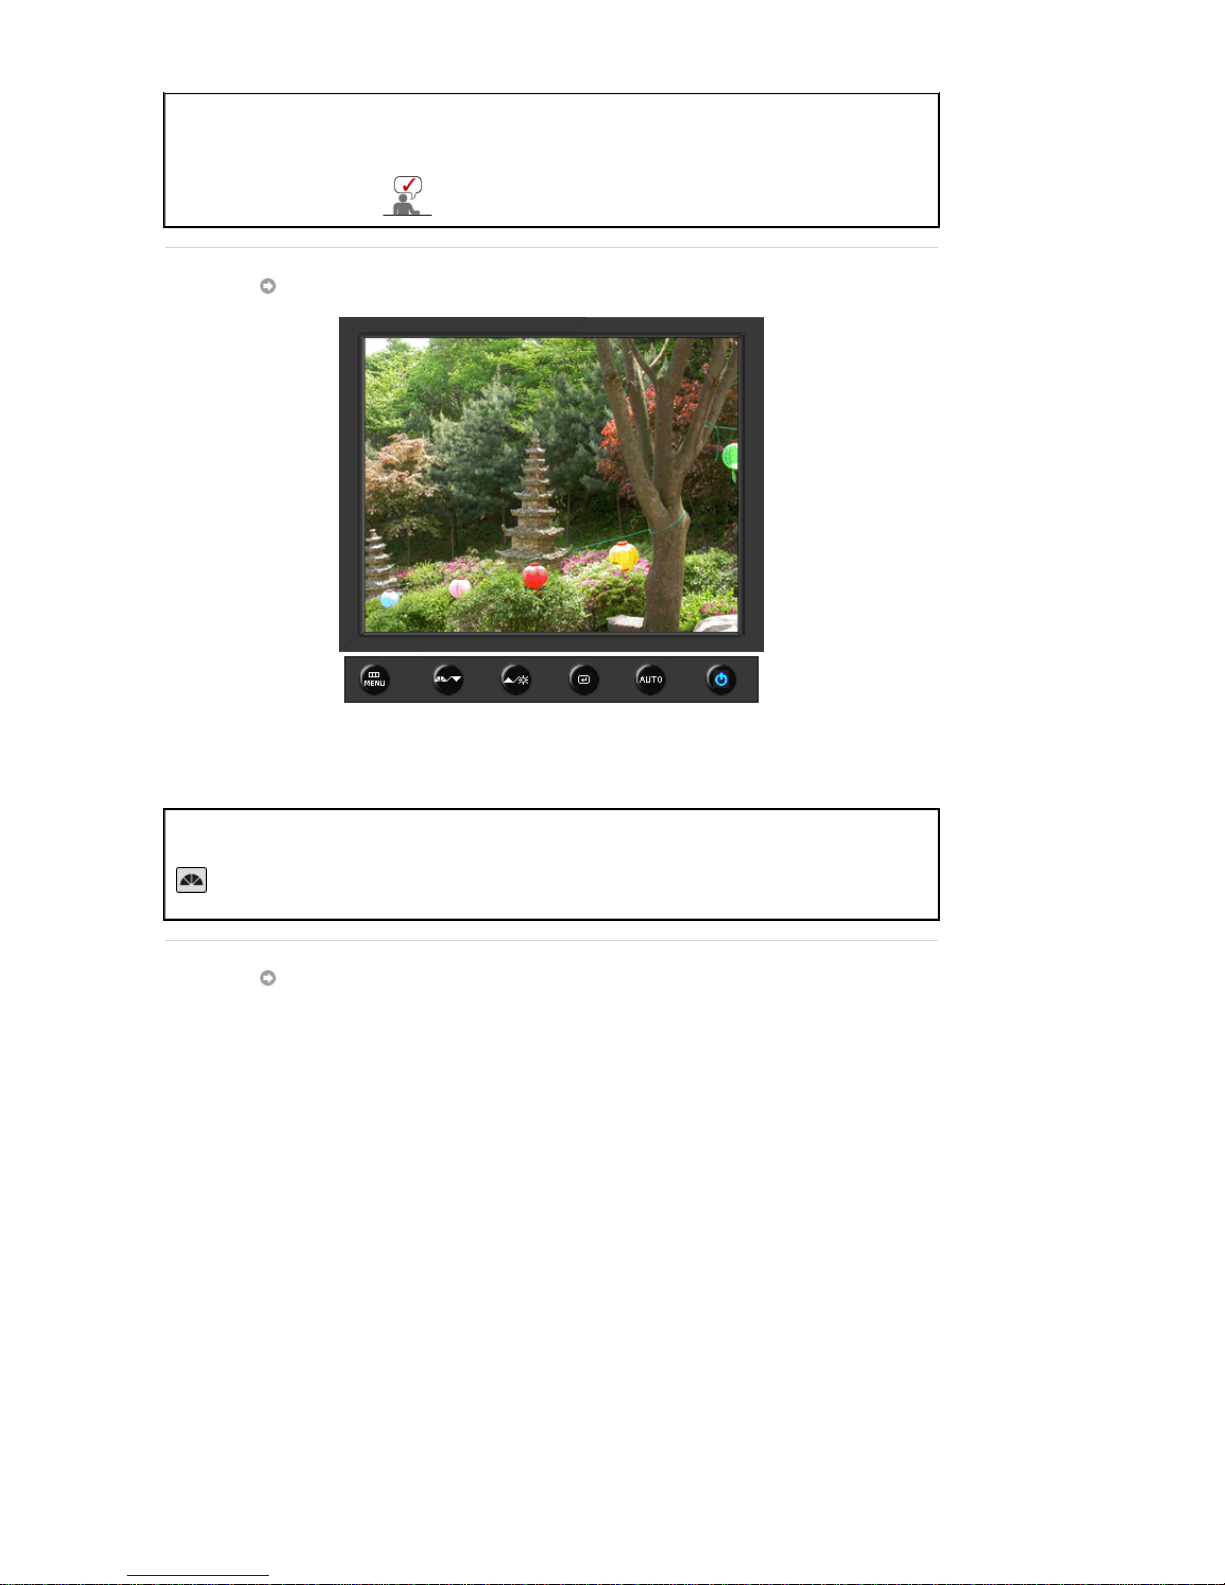
Menu Description
Locked
After pushing the "MENU" button more than 5 seconds, OSD function is
locked (unlocked).
You can also adjust the brightness and contrast of the
monitor with the OSD adjustment locking feature.
MagicBright™
Menu Description
MagicBright™
Push the MagicBright button to circle through available preconfi gu re d
modes.
- Six different modes (Custom/Text/Internet/Game/Sport/Movie)
Brightness
Page 84
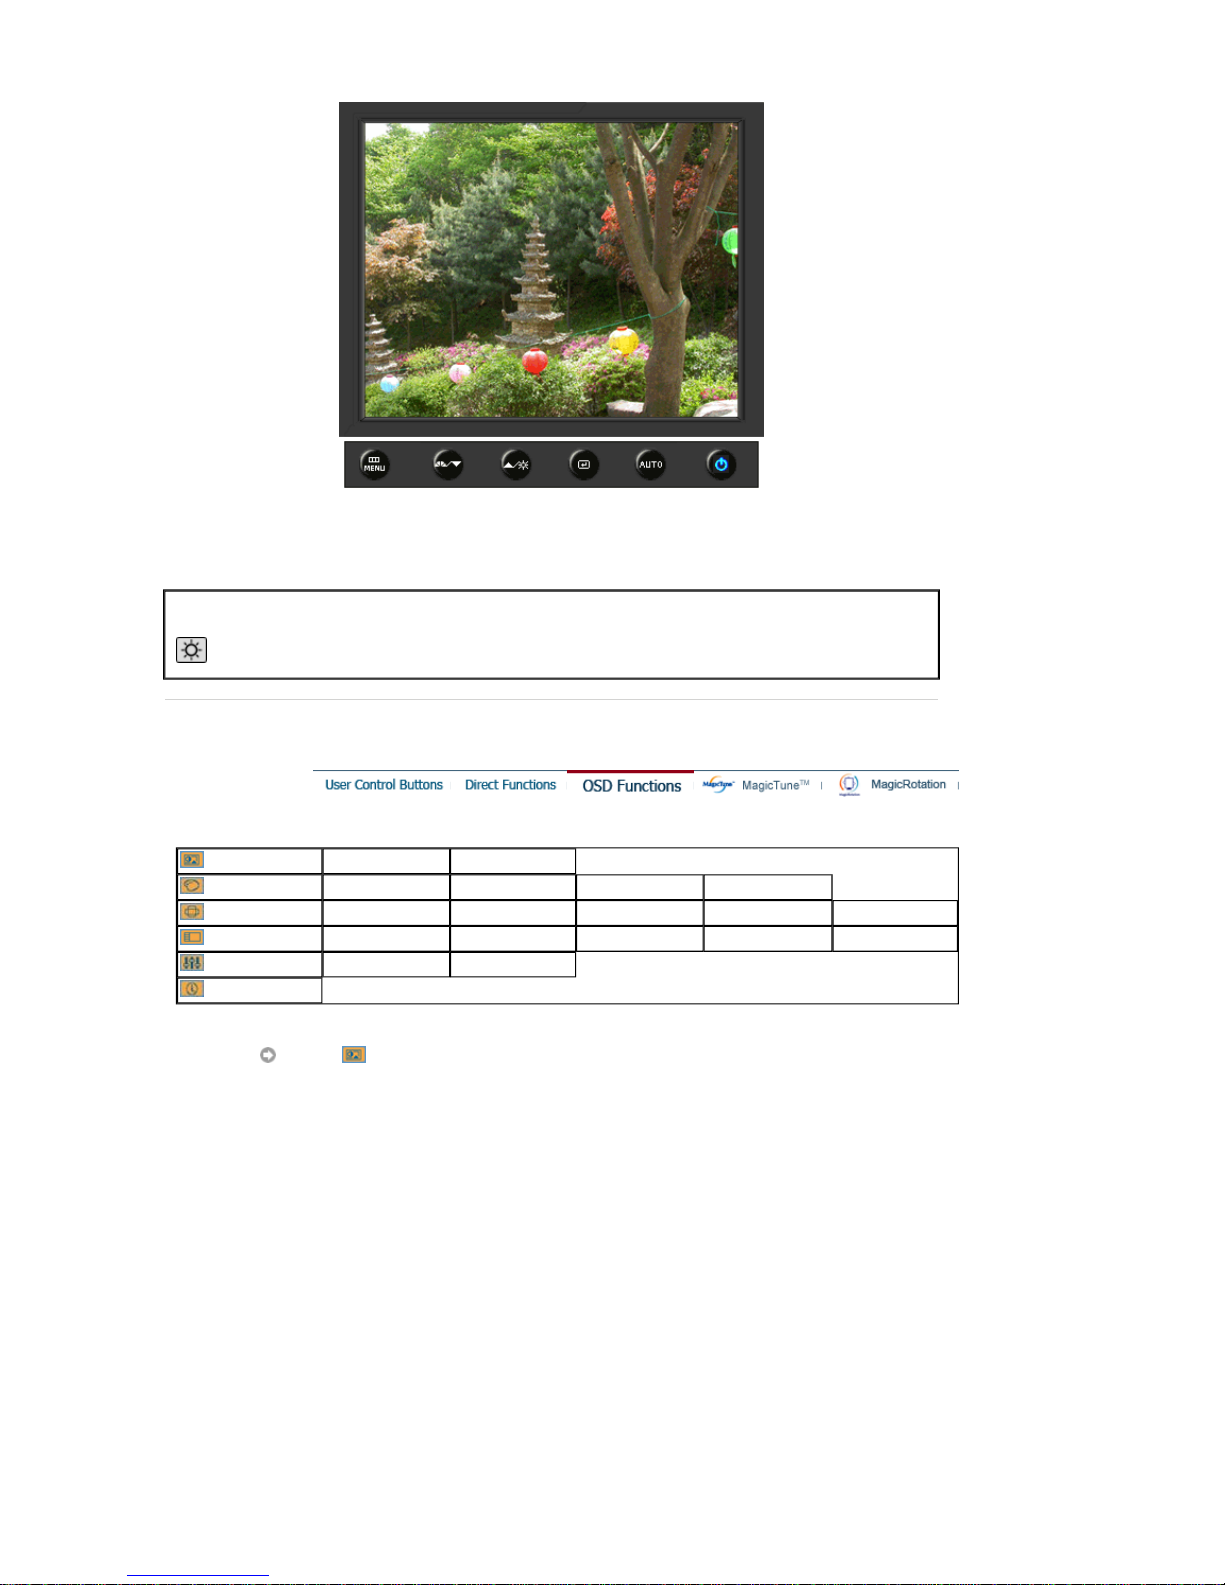
Menu Description
Brightness
When OSD is not on the screen, push the button to adjust brightness.
Picture
Brightness Contrast
Color
MagicColor Color Tone Co l or Co nt rol Gamma
Image
Coarse Fine Sharpness H-Posi ti on V-Position
OSD
Language H-Position V-Position Transparency Display Time
Setup
Image Reset Color Reset
Information
Picture
Page 85
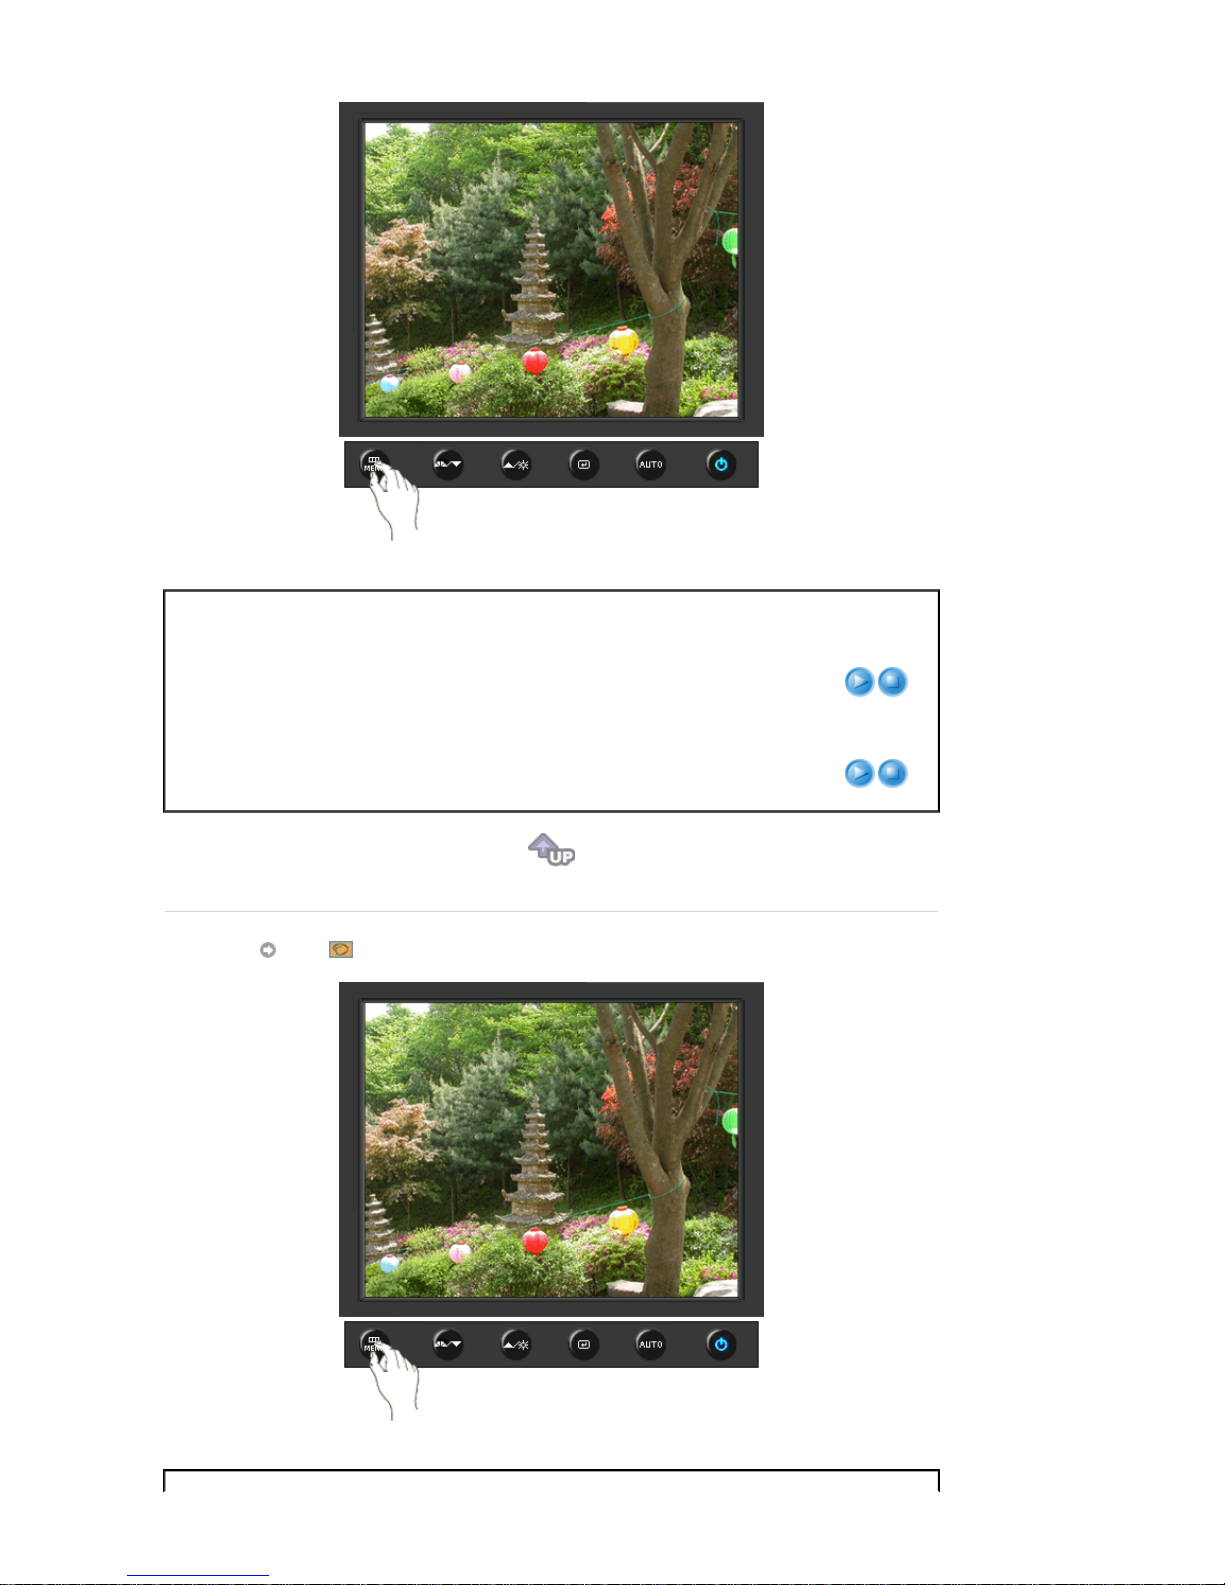
Menu Description Play/Stop
Brightness
You can use the on-screen menus to change the
brightness according to personal preference.
Direct Access Feature
: When OSD is not on the screen,
push the button to adjust brightness.
Contrast
You can use the on-screen menus to change the contrast
according to personal preference.
(Not available in MagicColor mode of Full and Intellig ent.)
Color
Page 86
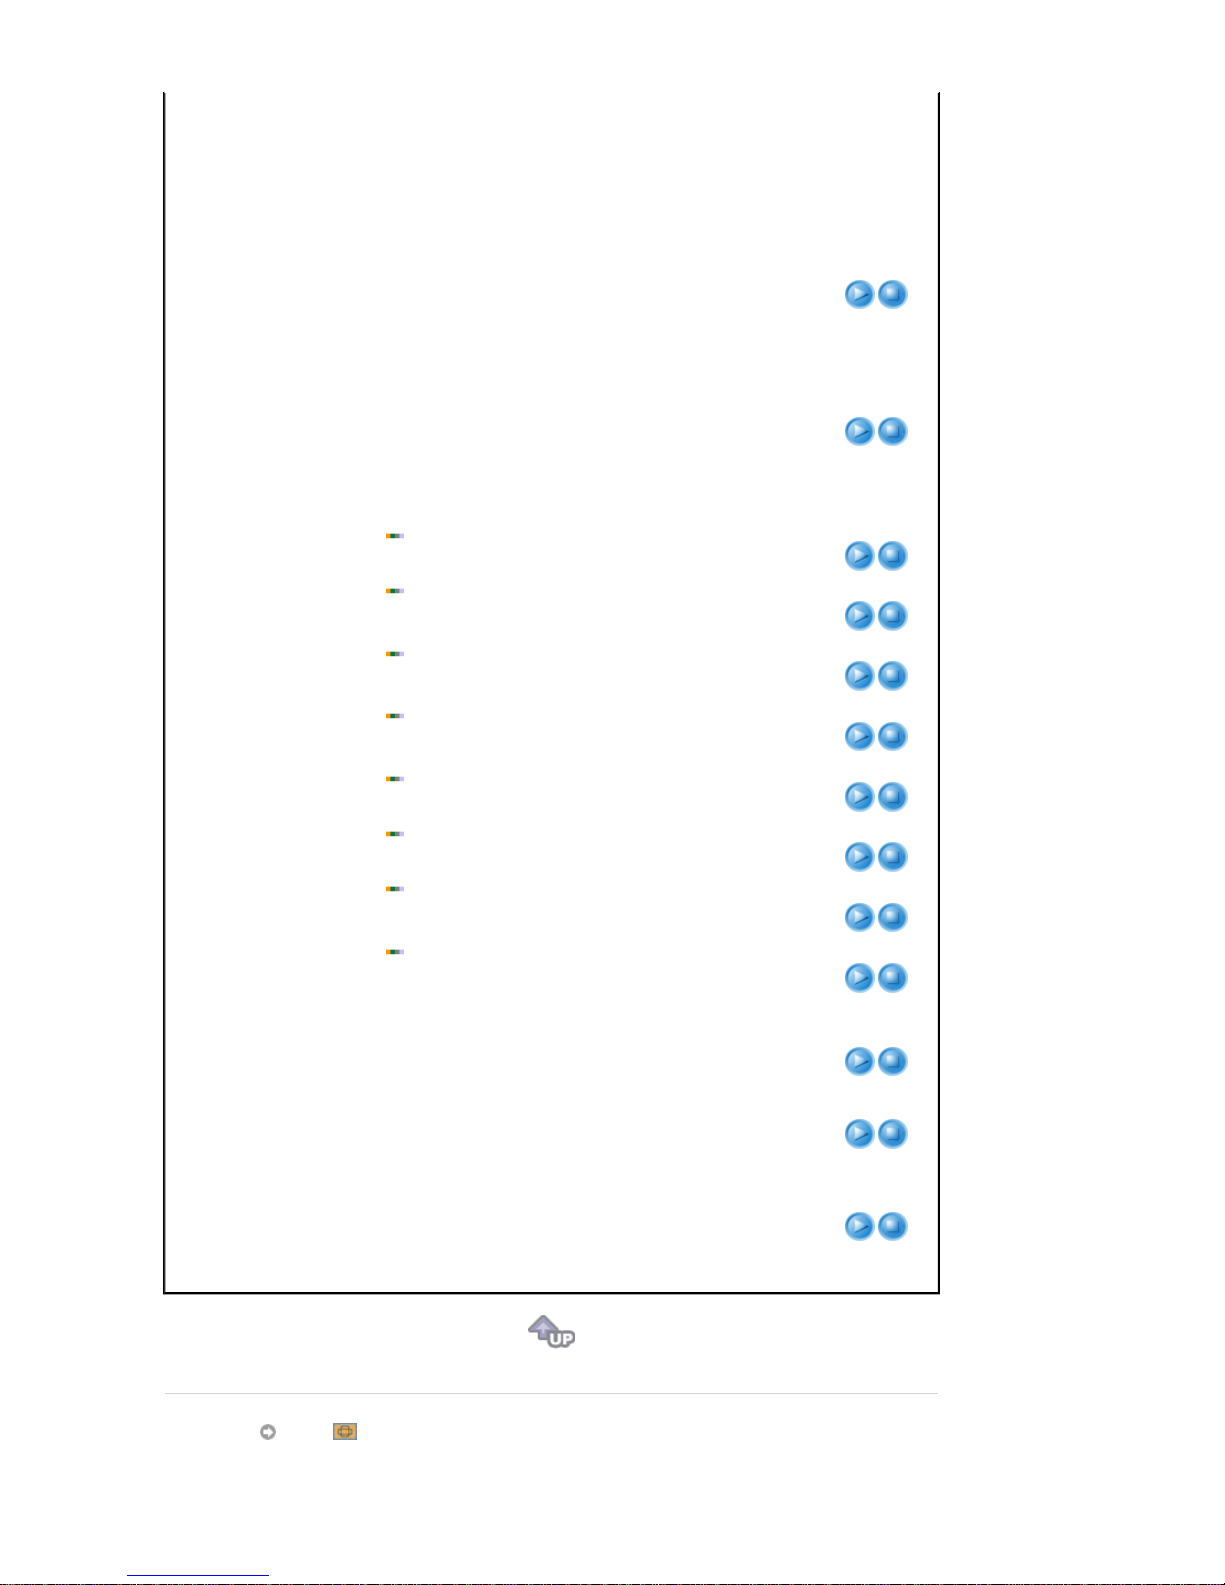
Menu Description Play/Stop
MagicColor
MagicColor is a new technology that Samsung has
exclusively developed to improve digital image and to
display natural color more clearly without disturbing image
quality.
1) Off
- Returns to the original mode.
2) Demo
- The screen before applying MagicColor
appears on the right and the screen after applying
MagicColor appears on the left.
3) Full
- Displays not only vivid natural color but also
more realistic natural skin color with clearness.
4) Intelligent
- Displays vivid natural color with clearness.
5) MagicZone
- The MagicZone ensures the clear and
sharp display of animated multimedia or photo images by
enhancing the brightness, sharpness, saturation, hue of a
certain area on the screen.
Especially, MagicZone is appropriate to using the moving
picture.
MagicZone
Hue
: This function is to adjust the hue of the MagicZone.
Saturation
: This function is to adjust the saturation of the
MagicZone.
Brightness
: This function is to adjust the brightness of the
MagicZone.
Sharpness
: This function is to adjust the sharpness of the
MagicZone.
H-Position
: This function is to move the MagicZone horizontally.
V-Position
: This function is to move the MagicZone vertically.
H-Size
: This function is to adjust the horizontal size of the
MagicZone.
V-Size
: This function is to adjust the vertical size of the
MagicZone.
Hue
Saturation
Brightness
Sharpness
H-Position
V-Position
H-Size
V-Size
Color Tone
The tone of the color can be changed and one of four
modes can be selected - Cool, Normal, Warm and
Custom.
(Not available in MagicColor mode of Full and Intelligent. )
Color Control
Adjusts individual R,G,B color balance.
(Not available in MagicColor mode of Full and Intelligent. )
Gamma
Gamma correction changes the luminance of the colors
with intermediate luminance.
z Mode 1
z Mode 2
z Mode 3
Image
Page 87
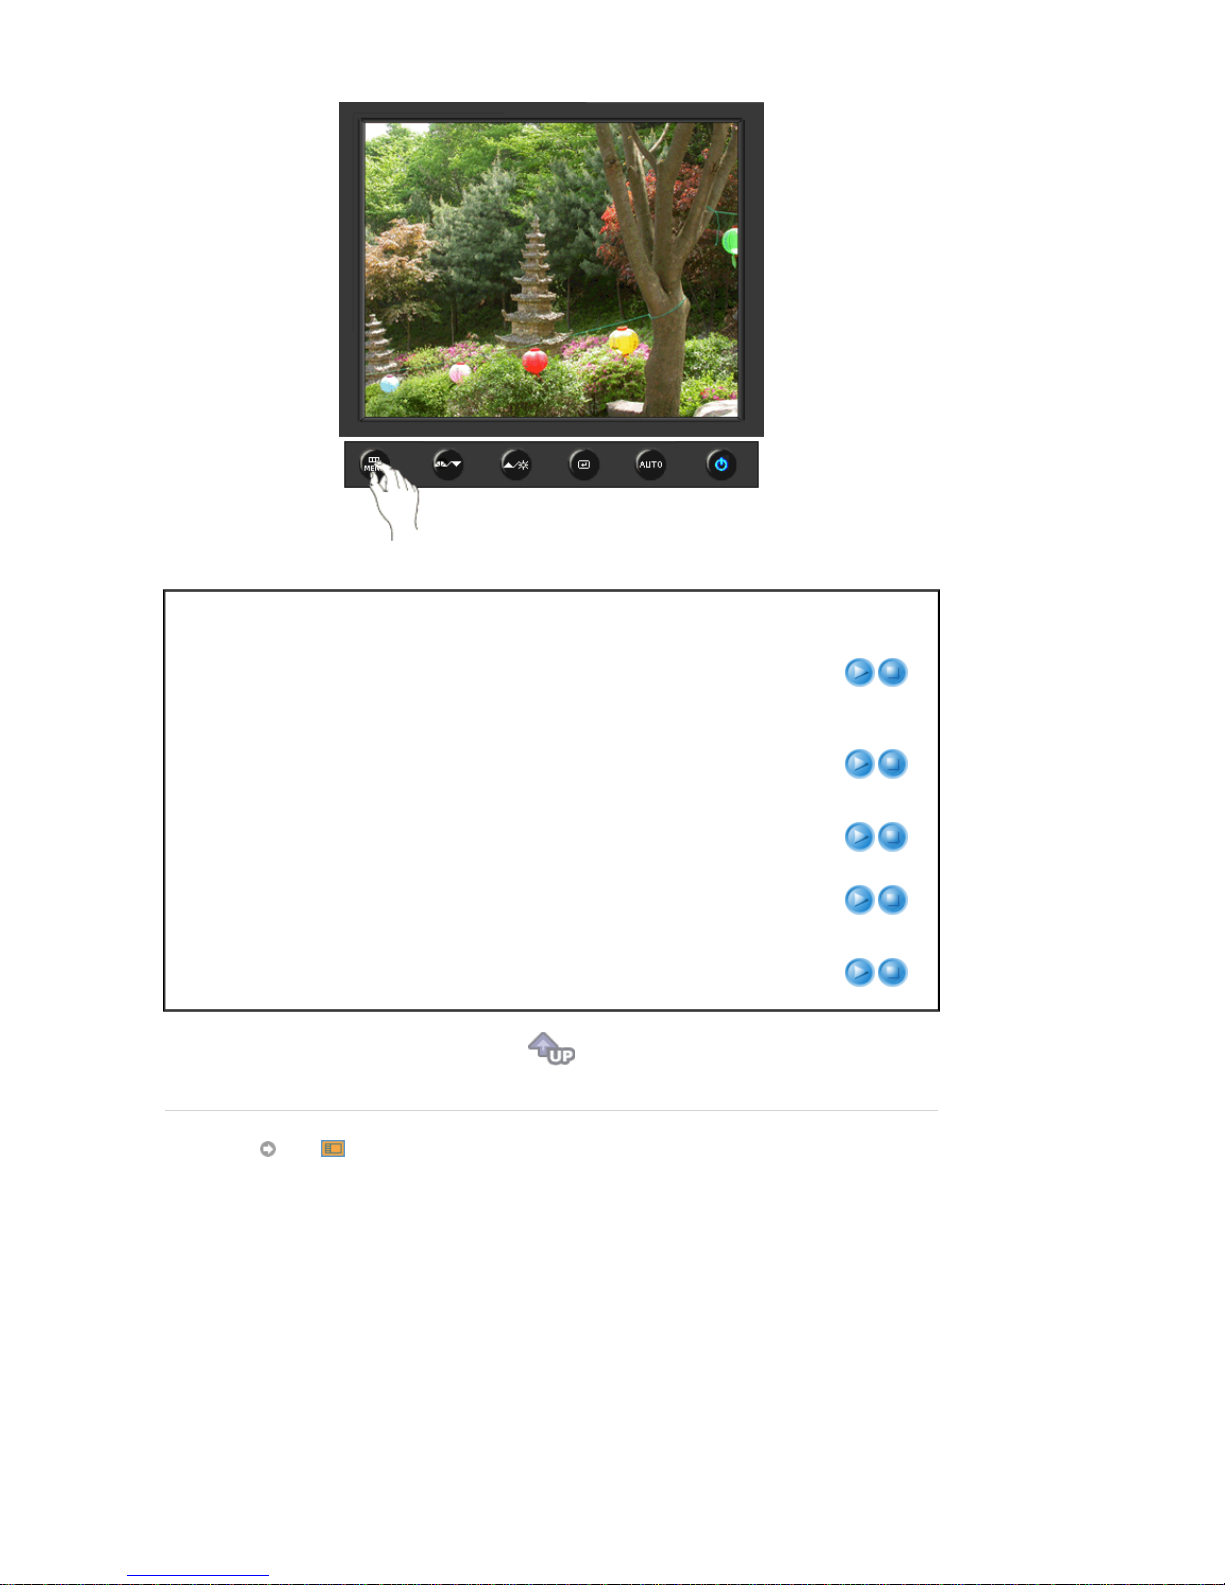
Menu Description Play/Stop
Coarse
Removes noise such as vertical stripes. Coarse
adjustment may move the screen image area. You may
relocate it to the center using the horizontal control menu.
(Available in analog mode only)
Fine
Removes noise such as horizontal stripes. If the noise
persists even after fine tuning, repeat it after adjusting the
frequency (clock speed).
(Available in analog mode only)
Sharpness
Changes the clearance of image.
(Not available in MagicColor mode of Full and Intelligent. )
H-Position
Changes the horizontal position of the monitor's entire
display.
(Available in analog mode only)
V-Position
Changes the vertical position of the monitor's entire
display.
(Available in analog mode only)
OSD
Page 88
H-Position
You can change the horizontal position where the OSD
menu appears on your monitor.
V-Position
You can change the vertical position where the OSD menu
appears on your monitor.
Transparency
Change the transparency of the background of the OSD.
Display Time
The menu will be automatically turned off if no adjustments
are made for a certain time period.
You can set the amount of time the menu will wait before it
is turned off.
Setup
Menu Description Play/Stop
Language
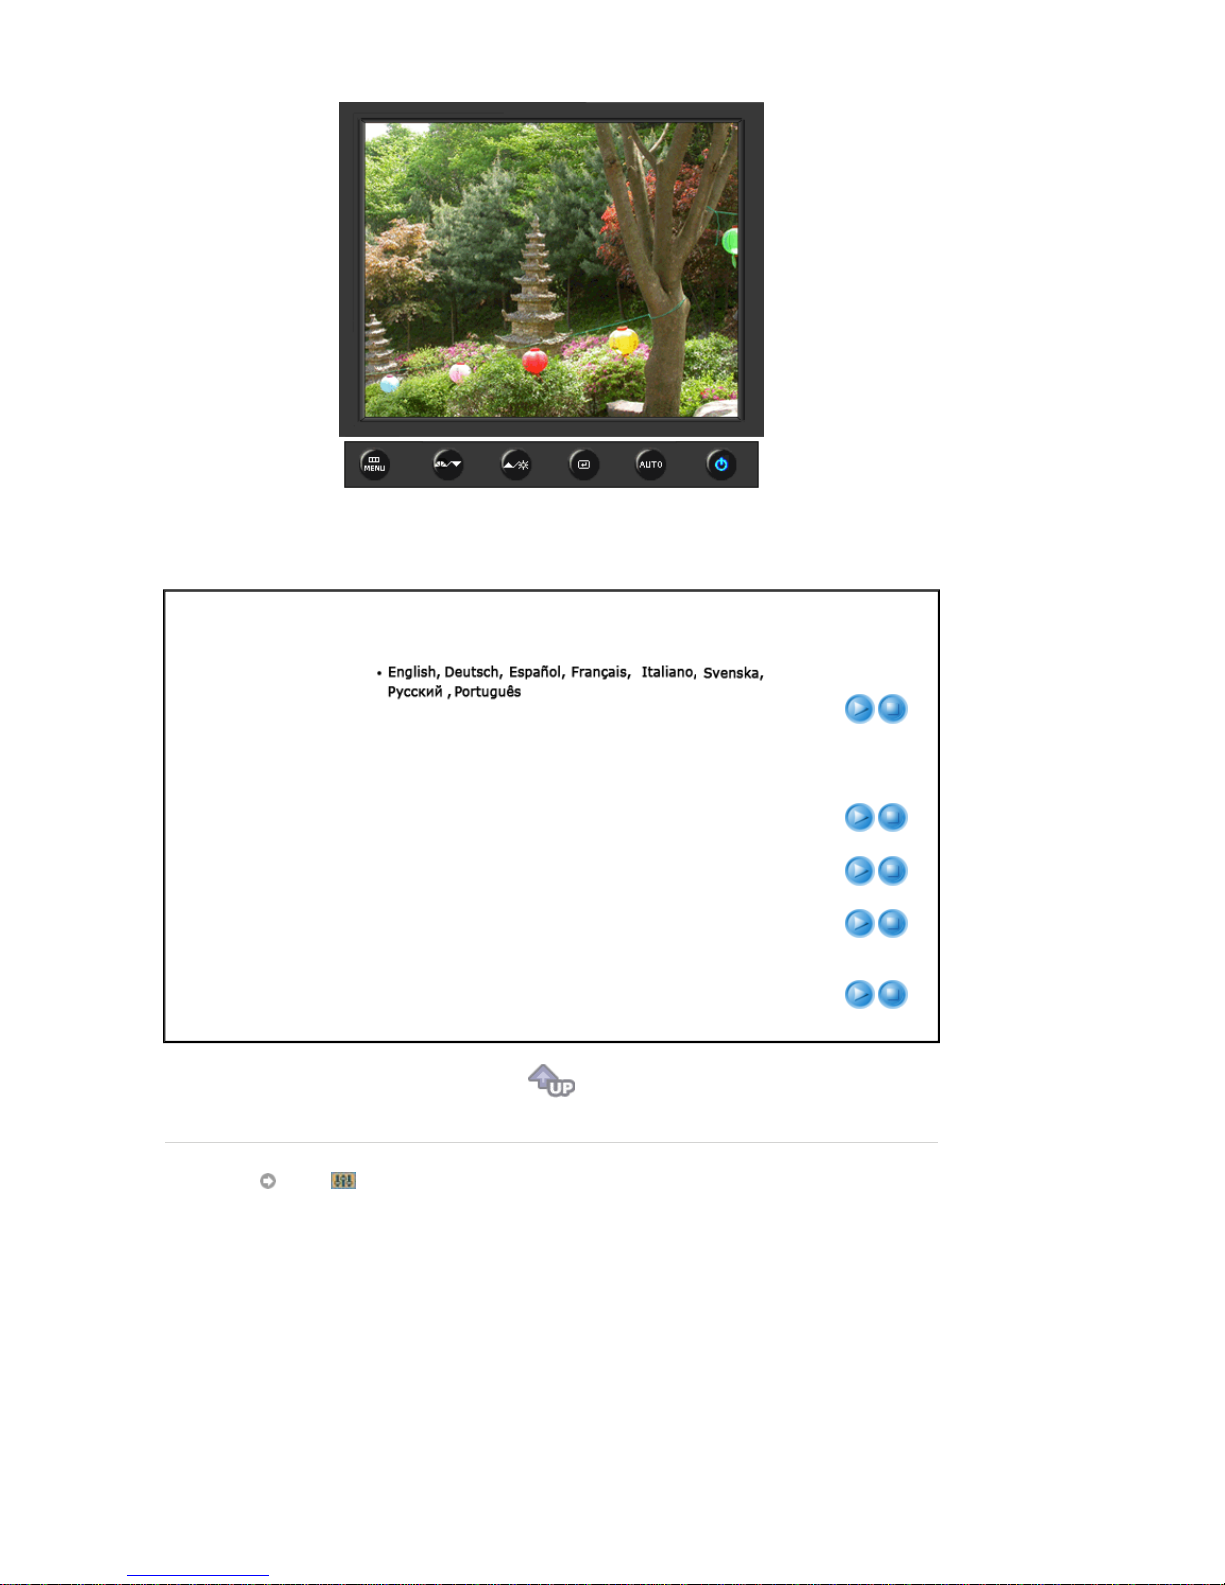
You can choose one of eight languages.
Note
:The language chosen affects only the language of
the OSD. It has no effect on any software running on the
computer.
Page 89
Menu Description Play/Stop
Image Reset
Image parameters are replaced with the factory default
values.
Color Reset
Color parameters are replaced with the factory default
values.
Information
Menu Description
Information
Shows a video source, display mode on the OSD screen.
Page 90

Overview | Installation | OSD Mode |
Color
Calibration
| Uninstall | Troubleshooting
Overview
What is MagicTune™?
Monitor performance can vary due to the graphics card, host computer lighting conditions and other
environmental factors. In order to get the best image on a monitor requires you to adjust it for your unique
setting. Unfortunately, the manual controls available to tune the image often prove to be challenging. Proper
adjustment (tuning) requires an easy to use program that goes through a step-by-step process to obtain the best
overall picture quality.
In most cases even simple adjustments to Brightness, or Contrast require navigation of the multi-level, on-screen
display (OSD) menus that are not easy to understand. Furthermore, there is no feedback to assist in correctly
setting the controls of the monitor. MagicTune™ is a software utility that guides you through the tuning process
with easy to understand instructions and back ground patterns designed for each monitor control. The display
settings for each user can be saved, providing an easy way to select display characteristics in a multi-user
environme or having a single user have multiple defined presets based on content and ambient lighting.
Basic Functionality
MagicTune™ is a software utility that allows monitor adjustment and color tuning using the Display Data
Channel Command Interface (DDC/CI)
protocol. All adjustments to the display are controlled via software
to eliminate the need to use the monitor on-screen display (OSD).
MagicTune™ supports Windows™ 98 SE, Me, 2000, XP Home, and XP Professional.
It is recommended using MagicTune™ in Windows™ 2000 or later.
MagicTune™ allows for quick accurate tuning of the display with the ability to easily save and use monitor
configurations that are best suited for you.
OSD Mode
The OSD mode allows easy adjustment of monitor settings without taking pre-defined steps. You can access the
desired menu item to set with ease.
Page 91
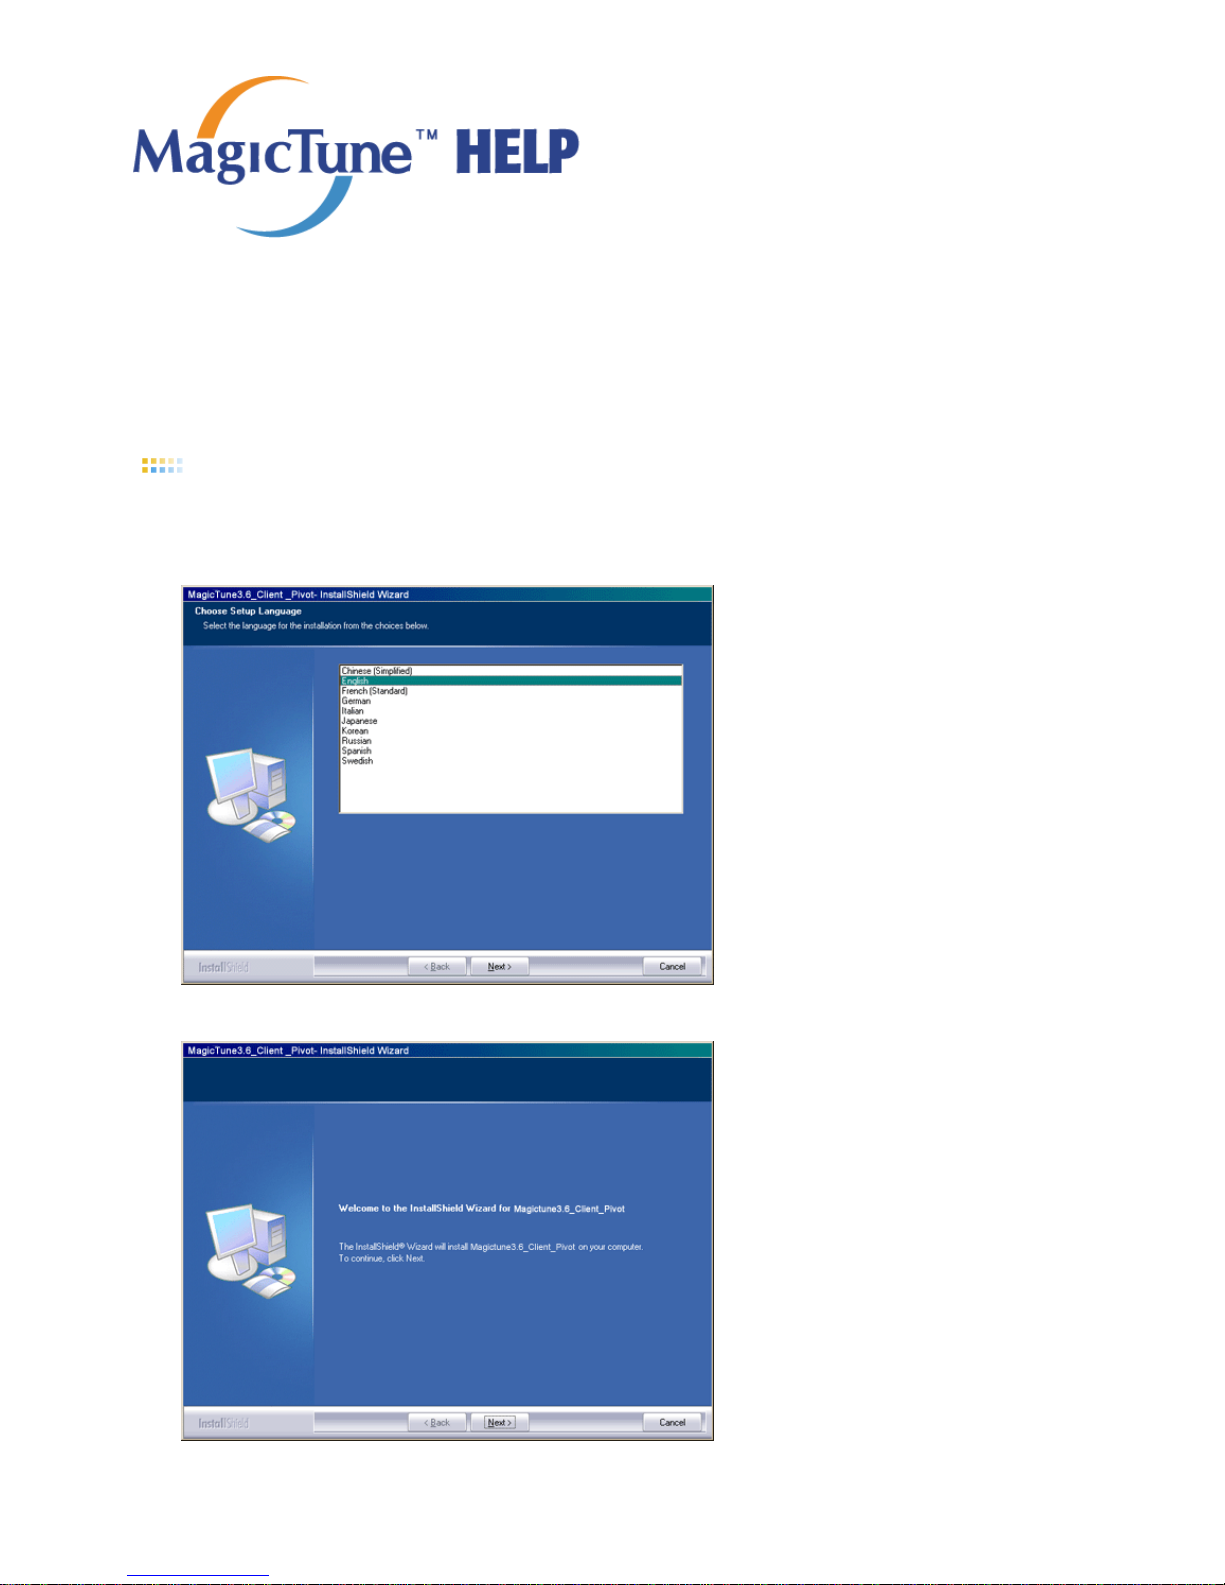
Overview | Installation | OSD Mode |
Color
Calibration
| Uninstall | Troubleshooting
Installation
1. Insert the installation CD into the CD-ROM drive.
2. Click th e Ma gi c T un e™ installation file.
3. Select installation Language, Click "Next".
4. When the Installation Shield Wizard window appears, click "Next."
5. Select "I accept the terms of the license agreement" to accept the terms of use.
Page 92
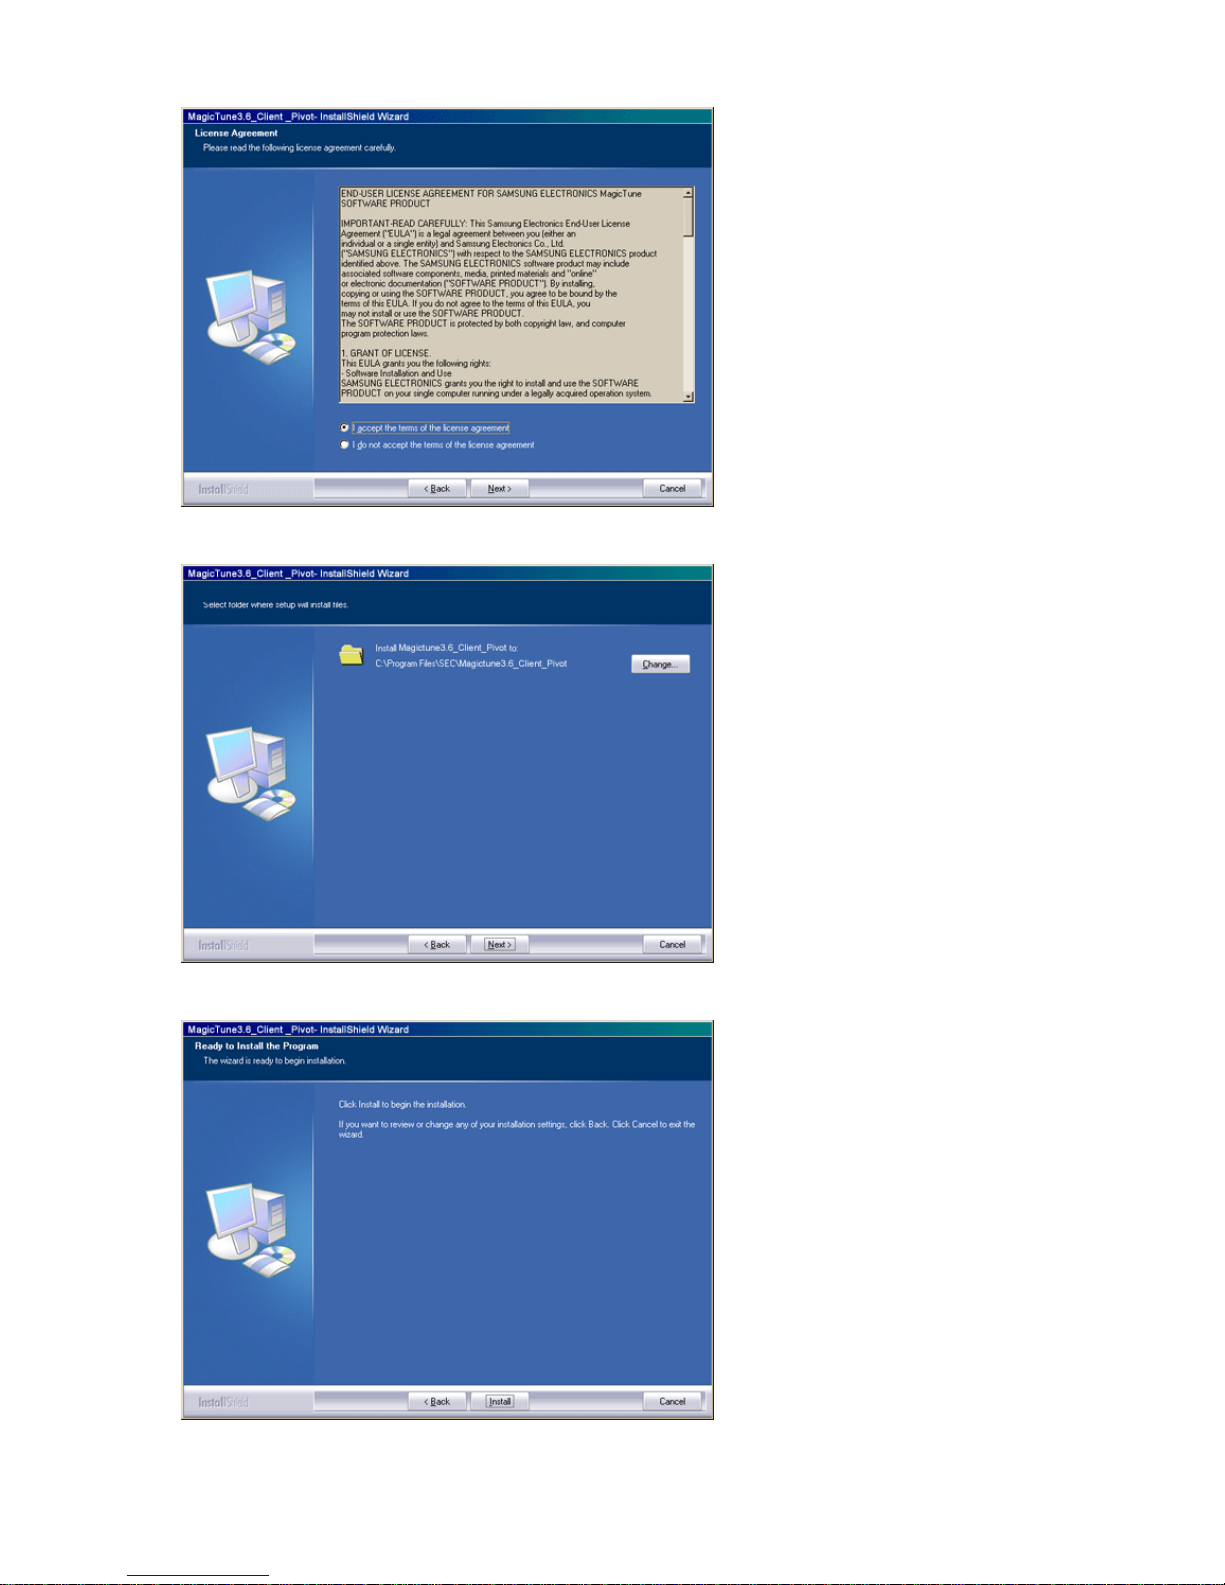
6. Choose a folder to install the MagicTune™ program.
7. Click "Install."
8. The "Installation Status" window appears.
Page 93
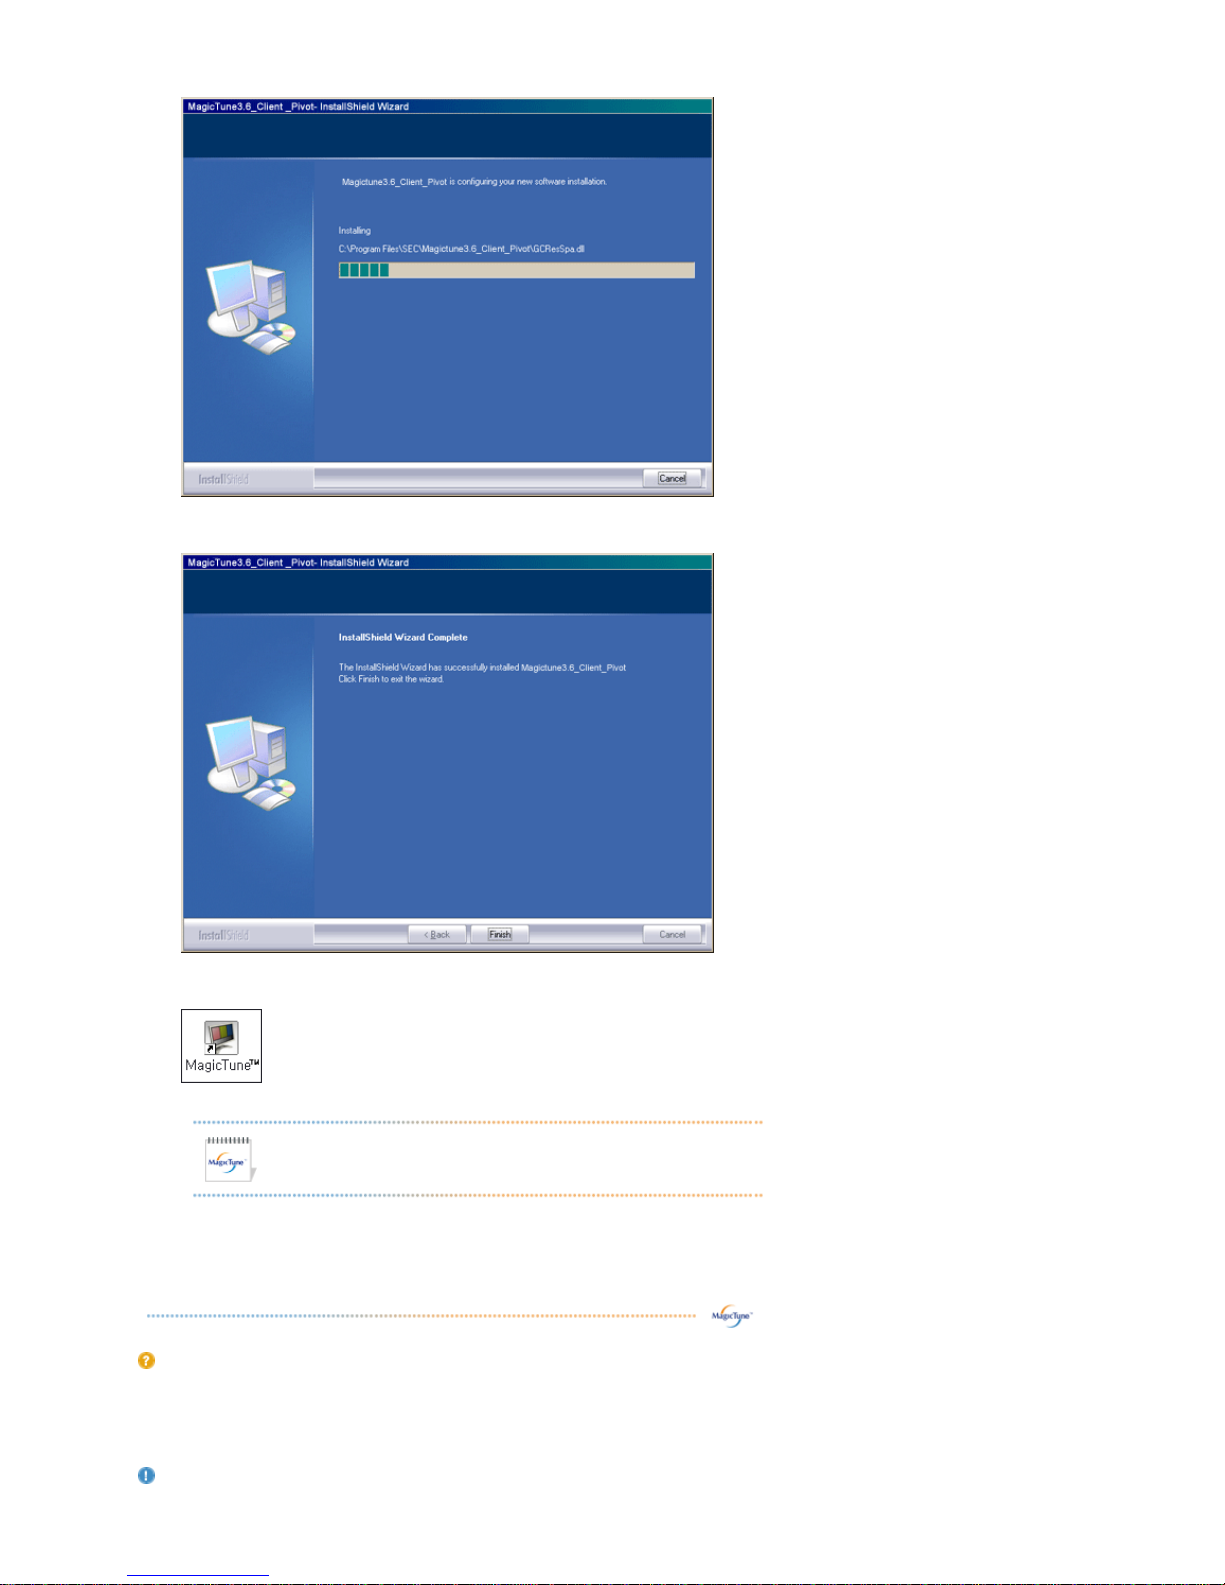
9. Click "Finish."
10. When the installation is complete, the MagicTune™ executable icon appears on your desktop.
Double-click the icon to start the program.
Installation Problems
The installation of MagicTune™ can be affected by such factors as the video card, motherboard and the network
environment.
See
"Troubleshooting"
if you have trouble during installation.
System Requirem en t s
MagicTune™ execution icon may not appear depending on specification of computer
system or monitor. If that happens, press F5 Key.
Page 94
OS
z Windows™ 98 SE
z Windows™ Me
z Windows™ 2000
z Windows™ XP Home Edition
z
Windows™ XP Professional
Hardware
z 32MB Memory above
z 25MB Hard disk space above
* For more information, visit the MagicTune™
website.
It is recommended using MagicTune™ in Windows™ 2000 or
later.
Page 95

Overview | Installation | OSD Mode |
Color
Calibration
| Uninstall | Troubleshooting
OSD Mode
The OSD mode makes the adjustment of settings on all monitors easy. When selected , each tab on top of the control
window displays the general descriptions of the sub-menu items for adjustment.
When selected, each tab displays a list of menus. For quick adjustment of the monitor settings, the OSD mode allows
easy and convenient access to all tabs and sub-menu items.
Button Tab Definition
Picture Tab Definition
Allows the user to adjust the screen settings to the desired values.
MagicTune™ allows for quick accurate tuning of the display with the ability to easily
save and use monitor configurations that are best suited for you.
z OSD mode may appear inconsistent with the explanation in
guidance book depending on specification of each monitor.
z When Rotation is functioning, portion of MagicTune™ pro
g
ram may
not operate normally.
z AutoRotation : The screens display will automatically rotate when
the monitor is rotated.
To execute Auto Rotation, it should be done as below.
z Please install both MagicRotation and MagicTune™ 3.6 programs in
your computer.
z Launch MagicTune™ 3.6
z Option → Preference → Click the small box in the enable task
tray menu.
z MagicTune™ control mode will be different according to monitor
models.
z The permitted an
g
le of rotation of the monitor is determined by the
model of the monitor.
OK
Applies any changes made and exits MagicTune™.
Reset
Restores the display settings to the factory settings.
Cancel
Exits MagicTune™ without applyin
g
the changes made. If you have not made any changes
in the control window, clicking "Cancel" does not cause any actions.
Brightness
Makes the entire screen bri
g
hter or darker. The detailed data of the images in the dark areas can be lost
if the brightness is not adjusted to the proper level. Adjust the brightness for best viewing conditions.
Contrast
Adjusts the difference in brightness between the bright and dark areas on screen. Determines the
crispness of the images.
Page 96
Color Tab Definition
Adjusts the "warmth" of the monitor background or image color.
Resolution
Lists all display resolutions supported by the program.
MagicBright™
MagicBright™ is a new feature providing the optimum viewing environment depending on the contents
of the ima
g
e you are watching. Currently four different modes are available: Text, Internet,Game, Sport,
Movie and Custom. Each mode has its own pre-configured brightness value. You can easily select one of
six settings by simply pressing MagicBright control buttons.
1. Text: For documentations or works involving heavy text.
2. Internet: For working with a mixture of images such as text and graphics.
3. Game : For watching motion pictures such as a Game.
4. Sport : For watching motion pictures such as a Sport.
5. Movie: For watching motion pictures such as a DVD or Video CD.
6. Custom: Although the values are carefully chosen by our engineers, the pre-configured values
may not be comfortable to your eyes depending on your taste. If this is the case, adjust the
Brightness and Contrast by using the OSD menu.
MagicBright control mode will be different according to monitor models.
Some monitor will only support Four modes(Text, Internet, Entertain, Custom)
MagicColor and Gamma will be shown only in the monitor that supports these
functions.
Color Tone
The tone of the color can be changed.
z Warm2 - Warm1 - Cool 1 - Cool 2 - Cool 3 - Cool 4 - Cool 5 - Cool 6 - Cool 7
z Off
Color Tone mode will be different according to monitor models.
Some monitor will only support Four modes( Warm, Normal, Cool, Custom)
Color
Control
Adjusts of the monitor image color.
You can change the monitor color to your desired color.
z R- G - B
Calibration
The process through which the colors of your choice are optimized and maintained. You will find
MagicTune™ extremely useful if you are one of those who wish to view images with their full details
accurately reproduced - including web images and ones produced by a digital camera or scanner.
MagicColor is a new technology that Samsung has exclusively developed to improve digital image and to
display natural color more clearly without disturbing image quality.
1. OFF : Return s to th e original mode.
2. DEMO : The screen before applying MagicColor appears on the right and the screen after
applying MagicColor appears on the left.
3. Full : Displays not only vivid natural color but also more realistic natural skin color with clearness.
4. Intelligent : Displays vivid natural color with clearness.
5. MagicZone
{ The MagicZone ensures the clear and sharp display of animated multimedia or photo
Page 97

Image Tab Definition
Adjusts the Fine , Coarse and Position values.
MagicColor
images by enhancing the brightness, sharpness, saturation, Hue of a certain area on the
screen. This offers an easy-to-use interface that highlights the video-playing portion of
your multimedia program by automatically detecting and highlight the desired area by
dragging.
{ When the mouse cursor is activated( )and it is necessary to de-activate it to use it for
other tasks, right click your mouse, or put the activated cursor ( )on the taskbar and
click. When de-activated, the icon on the screen changes back to the one shown before
activation.
{ Especially, MagicZone is appropriate to using the moving picture.
{
Auto Detect : If you run the Movie in some players, MagicZone will automatically get
the play screen highlighted (it will be supported in players of Gom, Adrenalin, KCP,
Window Media, and Power DVD etc., )Some other players also can be highlighted but
could have some problems.
{ Tusk menu
HUE Adjust the tint of the color.
Saturation Adjusts the color saturation.
Brightness Adjusts the Brightness.
Sharpness
Adjusts the difference between the lightest and darkest areas of the
display.
Zone Off Turn off the zone that you have captured.
Reset Returns to the the default setting that vendor has set.
z Depending on the monitor models Color Control, Sharpness, Contrast,
Color Tone, Brightness will not be adjustable in MagicColor mode of Full
and Intelligent.
z MagicTune™ will be disappear if you excute MagicZone, and closing the
MagicZone after adjusting, will show the MagicTune™ again.
(System Tray is Unhecked)
MagicTune™ will be disappear if you excute MagicZone, and closing the
MagicZone after adjusting. will not show MagicTune™ again.
(System Tray is Checked)
z
MagicColor mode will be different according to monitor models.
MagicZone mode will show if the monitor supports the function.
Gamma
Gamma correction changes the luminance of the colors with intermediate luminance.
Gamma mode will be different according to monitor models. Some monitor will only
support Three modes( Mode1, Mode2, Mode3).
Image Setup
z Fine : Removes noise such as horizontal stripes.
If the noise persists even after Fine tuning, repeat it after adjusting the frequency
(clock speed).
z Coarse : Removes noise such as vertical stripes.
Coarse adjustment may move the screen image area.
You may relocate it to the center using the Horizontal Control menu.
z Auto Setup : Auto adjustment allows the monitor to self-adjust to the incoming
video signal. The values of fine, coarse and position are adjusted automatically.
Position
Adjusts the screen location horizontally and vertically.
Page 98
Option Tab Definition
You can configure MagicTune™ using the following options.
Support Tab Definition
Shows the Asset ID and the version number of the program, and allows you to use the Help feature.
Sharpness
Changes the clearance of image.
Preferences
Loads the Preferences Dialo
g
Box. Preferences in use will have an "V" in the check box. To
turn on or off any Preference, position the cursor over the box and click.
z Enable task tray menu .
- To access the MagicTune™ menus, click the icon on the [task tray menu].
The menus are not displayed if the [Enable System Tray] is deselected in
[Options] ' [Basic Settings].
z Select Language - The language chosen affects only the language of the OSD.
Source Select
z Analog
z Digital
Help
Visit the MagicTune™ website or click to open the Help files (User Manual) if you need any
help installing or running MagicTune™. The User Manual opens within a basic browser
window.
Asset ID
you can use the server to control the Client monitor.
(Server program should be installed to use this program as Client)
User Name
Shows the user name that is registered in PC.
User ID
Shows the user ID that is register in PC.
Server IP
Write down the server IP .
Department
Write down the department.
Location
Write down the location.
Version
Displays the version of MagicTune™.
Page 99

Overview | Installation | OSD Mode |
Color
Calibration
| Uninstall | Troubleshooting
Color Calibration
1. Color Calibration
Color Calibration guides you to get optimal color condition for your monitor.
Proceed following 5steps for getting optimal monitor color condition .
1. Control "Brightness control bar" for matching the brightness of control patch and the brightness of background
pattern
2. When you detect specific color tone on "Control patch", move the control cursor toward to the direction of the
color tone referring to "Color reference Circle".
=> Adjustment is finished properly, you won't detect any color tone on Control patch.
3. When you finish adjustment for step1,Click "Next" button .
4. Repeat 1), 2), 3) procedures for remaining step2 ~ step5.
5. You can easily view the calibration effect through clicking "Preview " button!
How multiple users can use adjusted color values
Definition
When monitor is used by multiple users, color values which are adjusted via Color calibration for each users can be
saved and used. Up to 5 users can use the saved color values.
1. How to save adjusted color values:
Press Next to make it change into Apply and then you can save adjusted color values.
As many as 5 values can be saved.
2. How to apply the saved color values:
Press Multi User button on main screen to select and use one of the saved color values.
2. Preview
Press "Preview" button on the Color Calibration.
The above picture will be shown.
1. Press "View Calibrated" button to see the calibration effect which you adjusted.
Page 100

2. Press "View Uncalibrated" button to see the original image.
 Loading...