How it Works
Log In / Sign Up
Buy Points
How it Works
FAQ
Contact Us
Questions and Suggestions
Users
Samsung
Loading...
S
SM-G935UZSAXAA
SM-G935VZDAVZW
3
SM-G935VZKAVZW
3
SM-G935VZSAVZW
3
SM-G950
SM-G950F
13
SM-G950FD
9
SM-G950U
3
SM-G950W
SM-G955
SM-G955D
SM-G955F
17
SM-G955FD
9
SM-G955FZVAETL
SM-G955W
SM-G960DS
2
SM-G960F
8
SM-G960F-DS
5
SM-G960FZBABTU
SM-G960U
2
SM-G960U1
SM-G960W
SM-G965
SM-G965DS
2
SM-G965F
12
SM-G965F-DS
5
SM-G965U
2
SM-G965W
SM-G970F
17
SM-G970F-DS
10
SM-G970FZKDE50
SM-G970U
2
SM-G970U1
SM-G970W
SM-G973
SM-G973F
18
SM-G973F-DS
10
SM-G973FZBDXEZ
SM-G973FZKDU07
SM-G973FZKDXEZ
SM-G973U1
SM-G973W
SM-G9750
2
SM-G975F
16
SM-G975FCWHBTU
SM-G975FCWHXEZ
SM-G975F-DS
10
SM-G975FZGDXEZ
SM-G975W
SM-G977B
2
SM-G977BZAABTU
SM-G977U
2
SM-G980F
7
SM-G980F/DS
5
SM-G980FLBDEUE
SM-G980FZADEUE
SM-G980FZIDEUE
SM-G980FZWDEUE
SM-G981B
5
SM-G981B/DS
4
SM-G981BZADEUA
SM-G981U
SM-G981W
SM-G985F
6
SM-G985F/DS
5
SM-G985FLBDEUE
SM-G985FZADEUE
SM-G985FZKDEUE
SM-G986B
5
SM-G986B/DS
4
SM-G986U
SM-G986W
SM-G988B
7
SM-G988B/DS
5
SM-G988BZADEUE
SM-G988BZKDEUE
SM-G988U
SM-G988W
SM-G991B
4
SM-G991B/DS
3
SM-G991DS
SM-G991UEXAA
2
SM-G991W
SM-G996B
3
SM-G996B/DS
3
SM-G996DS
SM-G996W
SM-G998B
3
SM-G998B/DS
3
SM-G998DS
SM-G998W
SM-J100FN
7
SM-J100G
6
SM-J100H
14
SM-J100H-DD
6
SM-J100H-DS
7
SM-J100M
2
SM-J100ML/DS
3
SM-J100VPP (Verizon)
SM-J100VZBPVZW
3
Loading...
Loading...
Nothing found
SM-G977BZAABTU
User Manual
171 pgs
4.52 Mb
0
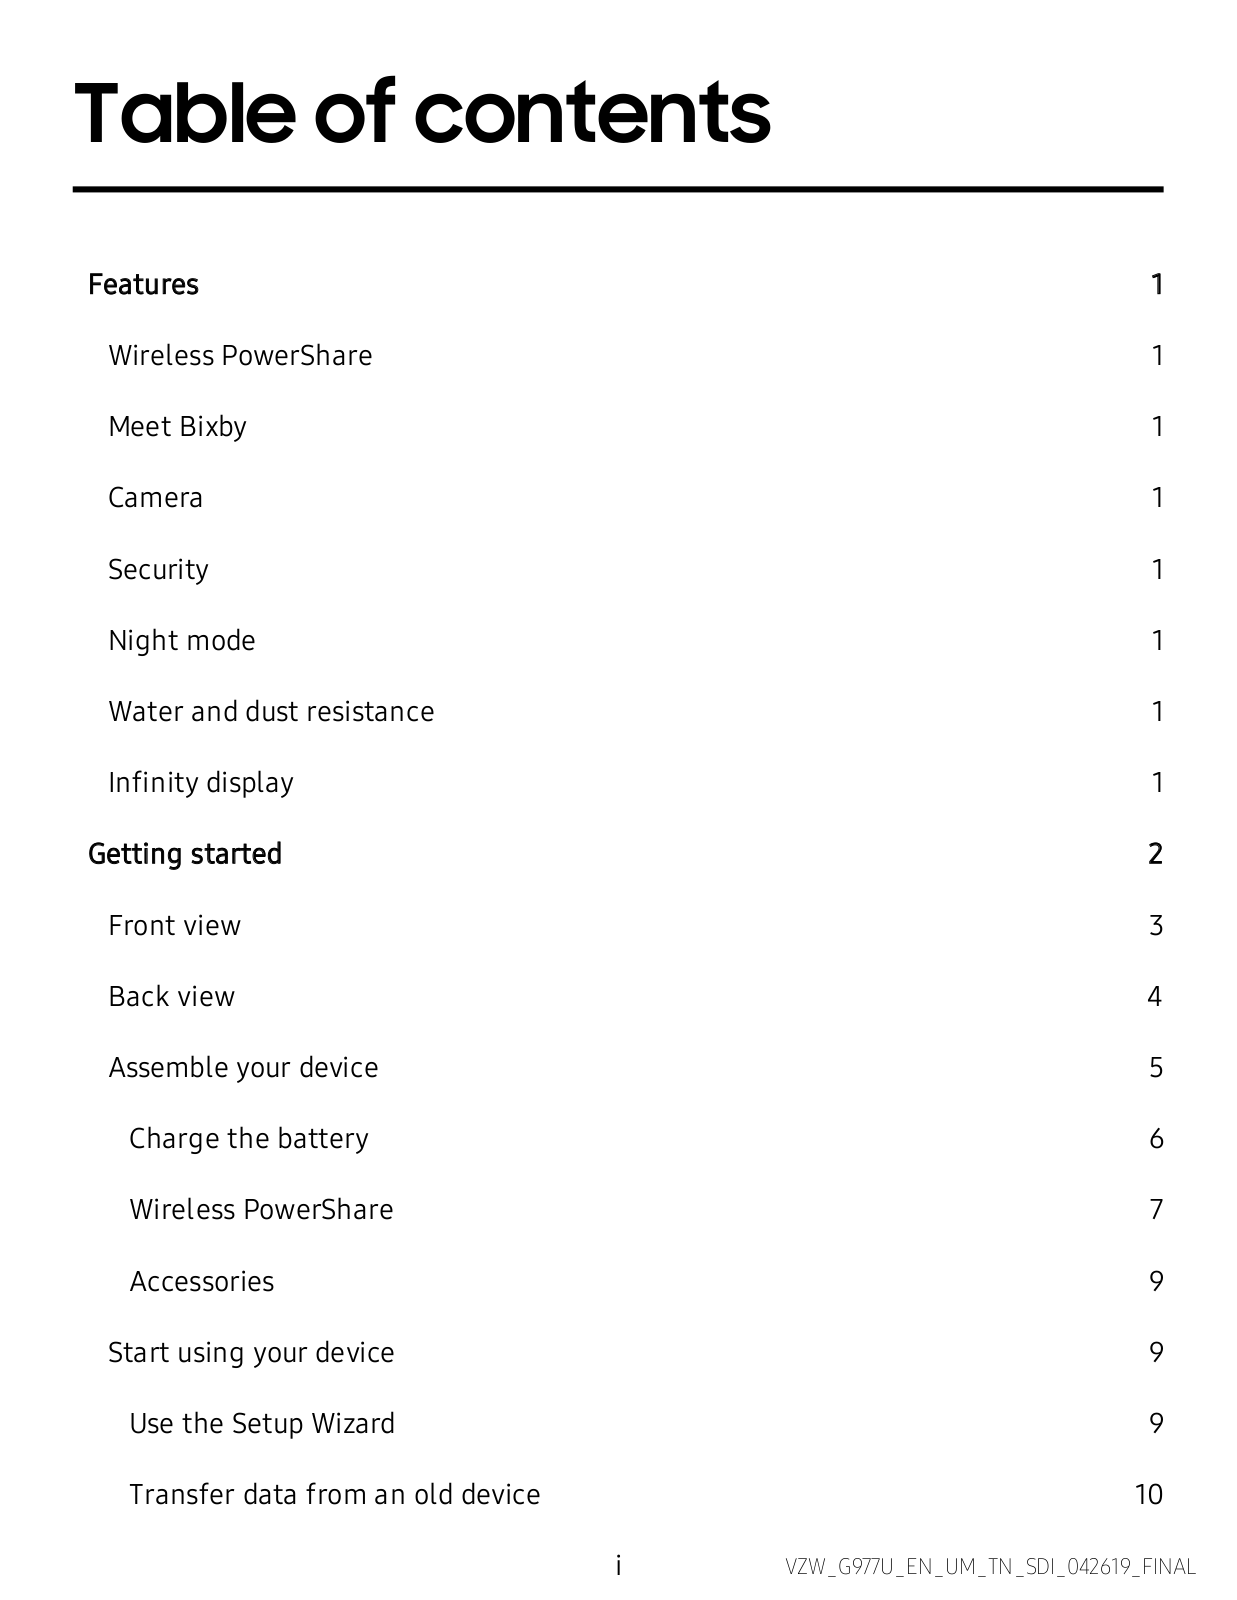
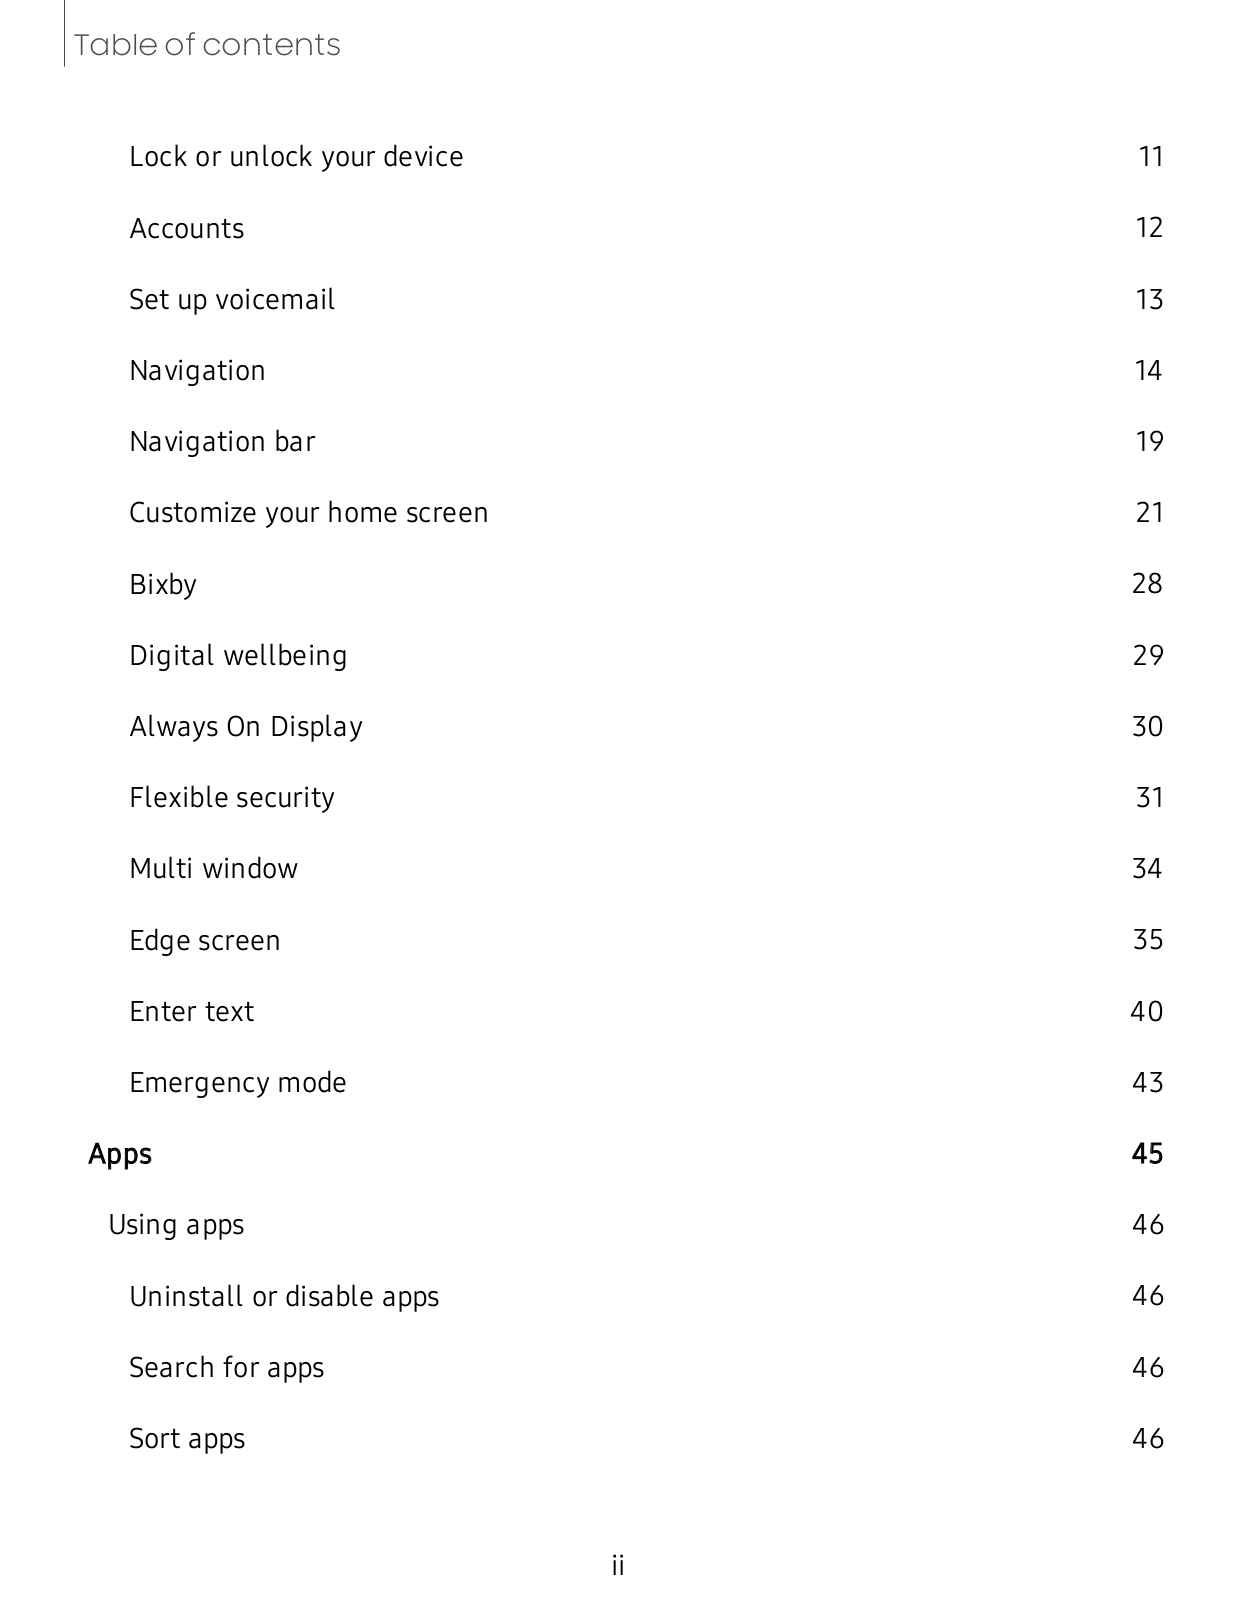
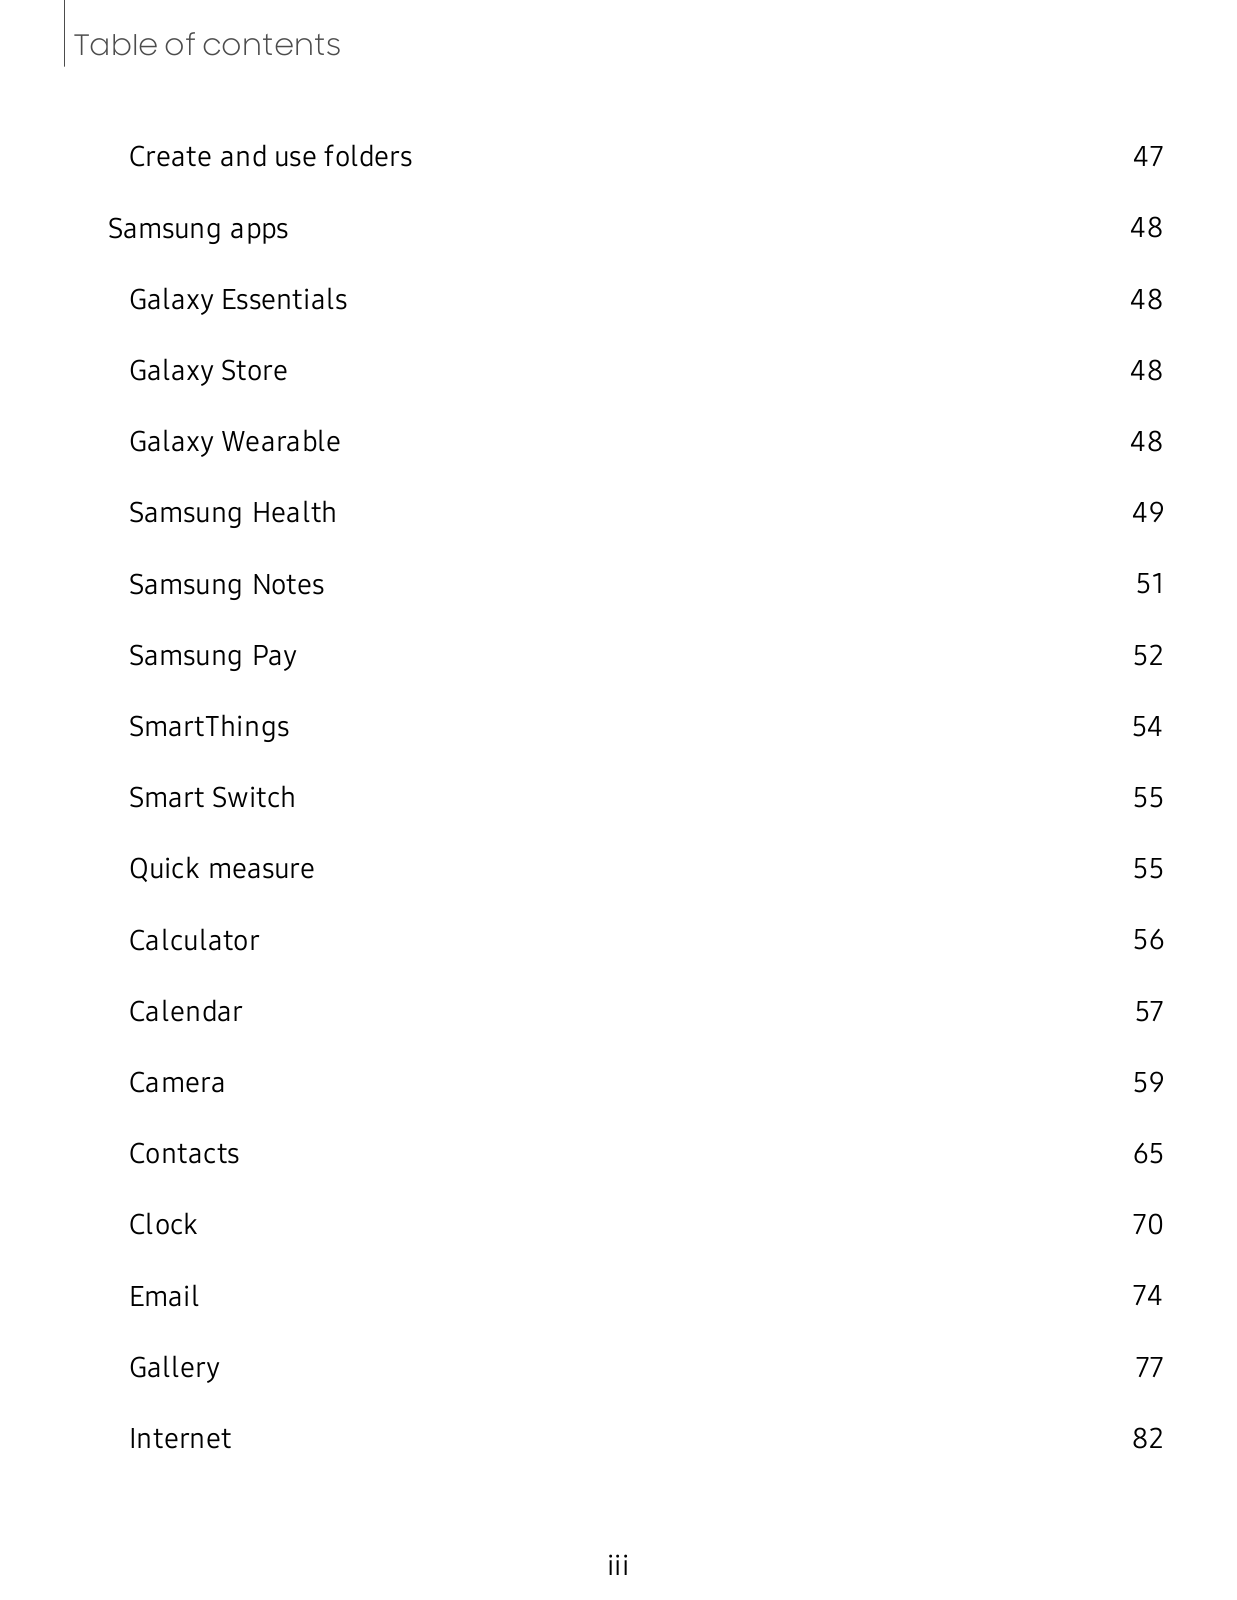
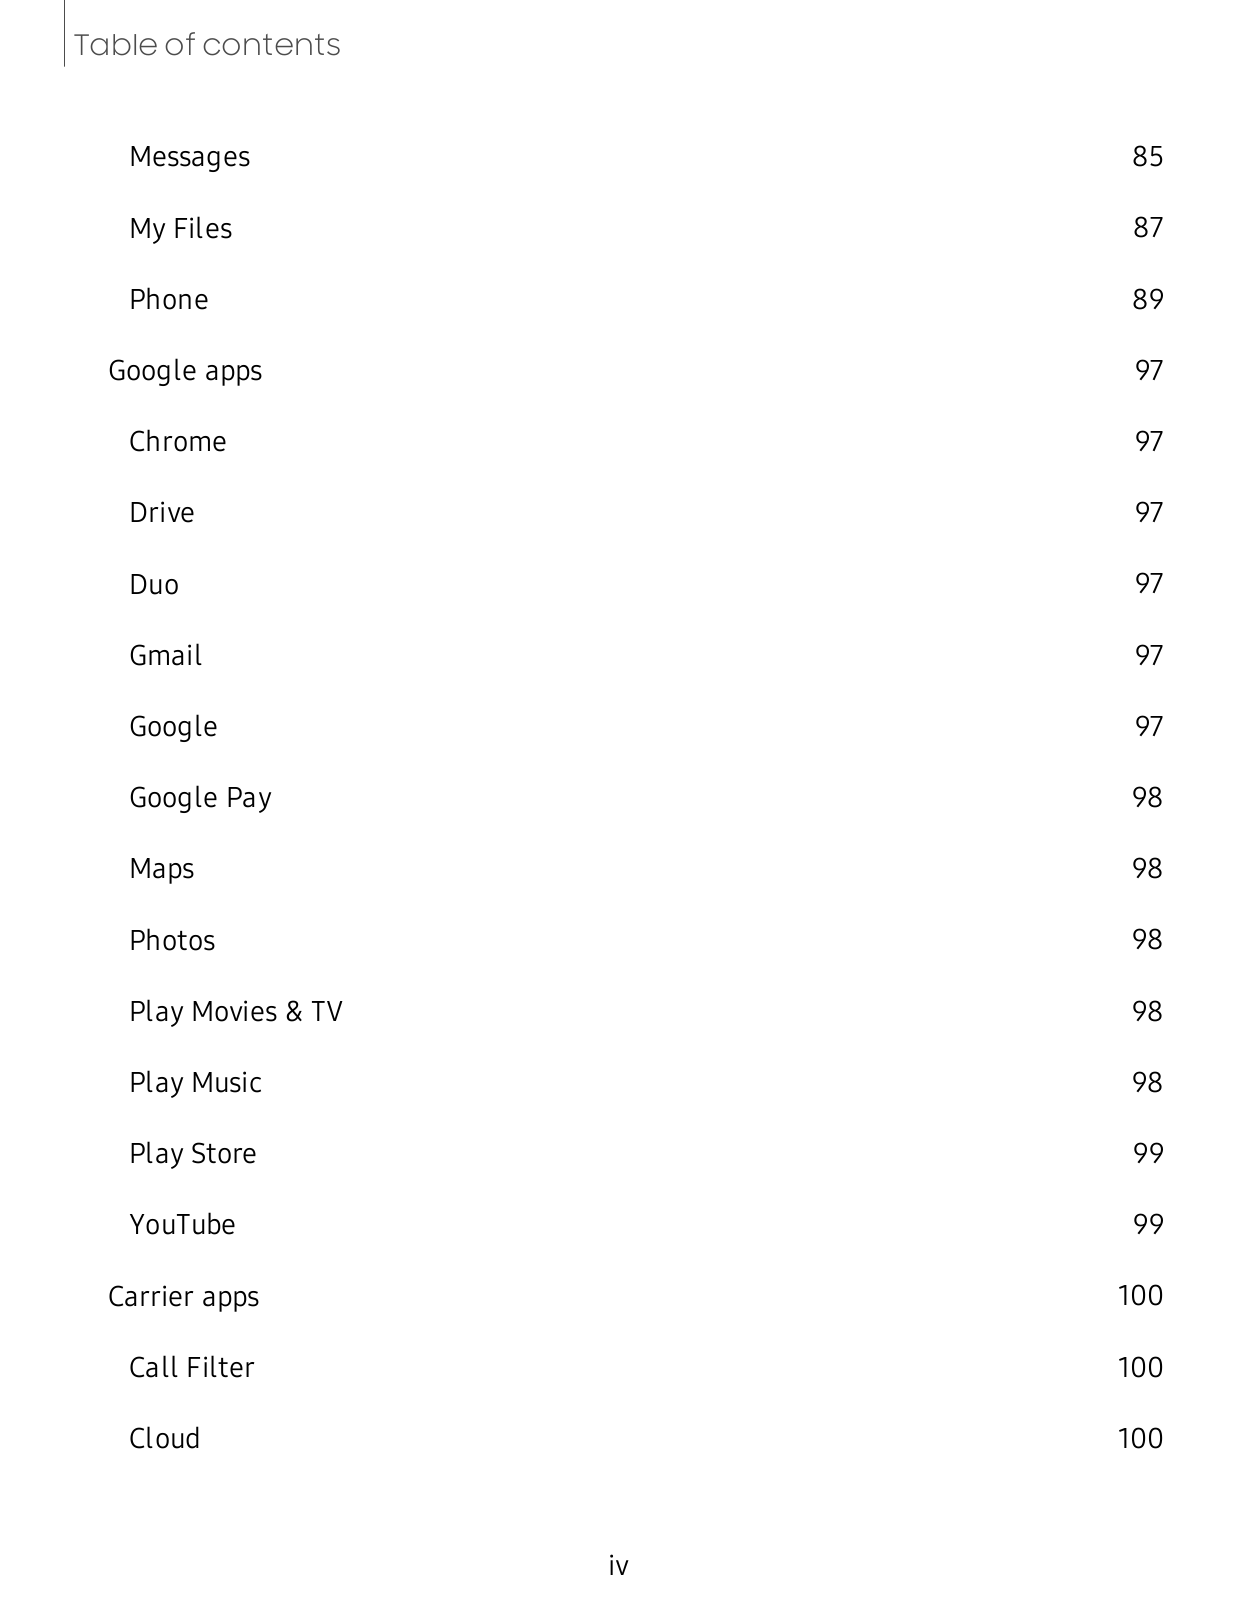
Table of contents
Loading...
Samsung SM-G977BZAABTU User Manual
...
Samsung User Manual
Download
Specifications and Main Features
Frequently Asked Questions
User Manual
Download
Loading...
+
141
hidden pages
Unhide
You need points to download manuals.
1 point = 1 manual.
You can buy points or you can get point for every manual you upload.
Buy points
Upload your manuals
 Loading...