

Samsung Smart TV UE37D5520 E-manual

E-MANUAL
imagine the possibilities
Thank you for purchasing this Samsung
product. To receive more complete service,
please register your product at
www.samsung.com/register
Model __________ Serial No. ____________

Contents
Channel Setting
•
UsingtheINFObutton(Now&Next
guide)
•
UsingChannelmenu(WatchTV)
• ScheduleManager
• ChannelList
• ChannelManager
• RetuningChannels
1
2
5
7
11
17
Basic Features
•
PictureMenu
• SoundMenu
35
52
Preference Features
• Network
forLCD550seriesandabove
• SystemMenu
• SupportMenu
64
92
114
Advanced Features
• My Downloads
• Anynet+
• AllShare™
forLCD550seriesandabove
122
149
163
Other Information
•
AnalogueChannelTeletextFeature
• Anti-theftKensingtonLock
• ConnectionsCommonInterfaceSlot
• Troubleshooting
• Licence
167
171
173
175
192

▶
❑❑ Using❑the❑INFO❑button❑(Now❑&❑Next❑guide)
The display identifies the current channel and the status of certain audio-video
settings.
The Now & Next guide shows daily TV programme information for each channel
according to the broadcasting time.
●
Scroll ◄, ► to view information for a desired programme while watching the
current channel.
●
Scroll ▲, ▼ to view information for other channels. If you want to move to the
currently selected channel, press the ENTERE button.
*
It may differ depending on the model.
All
Information
Eng lish
◀ ▶
◀
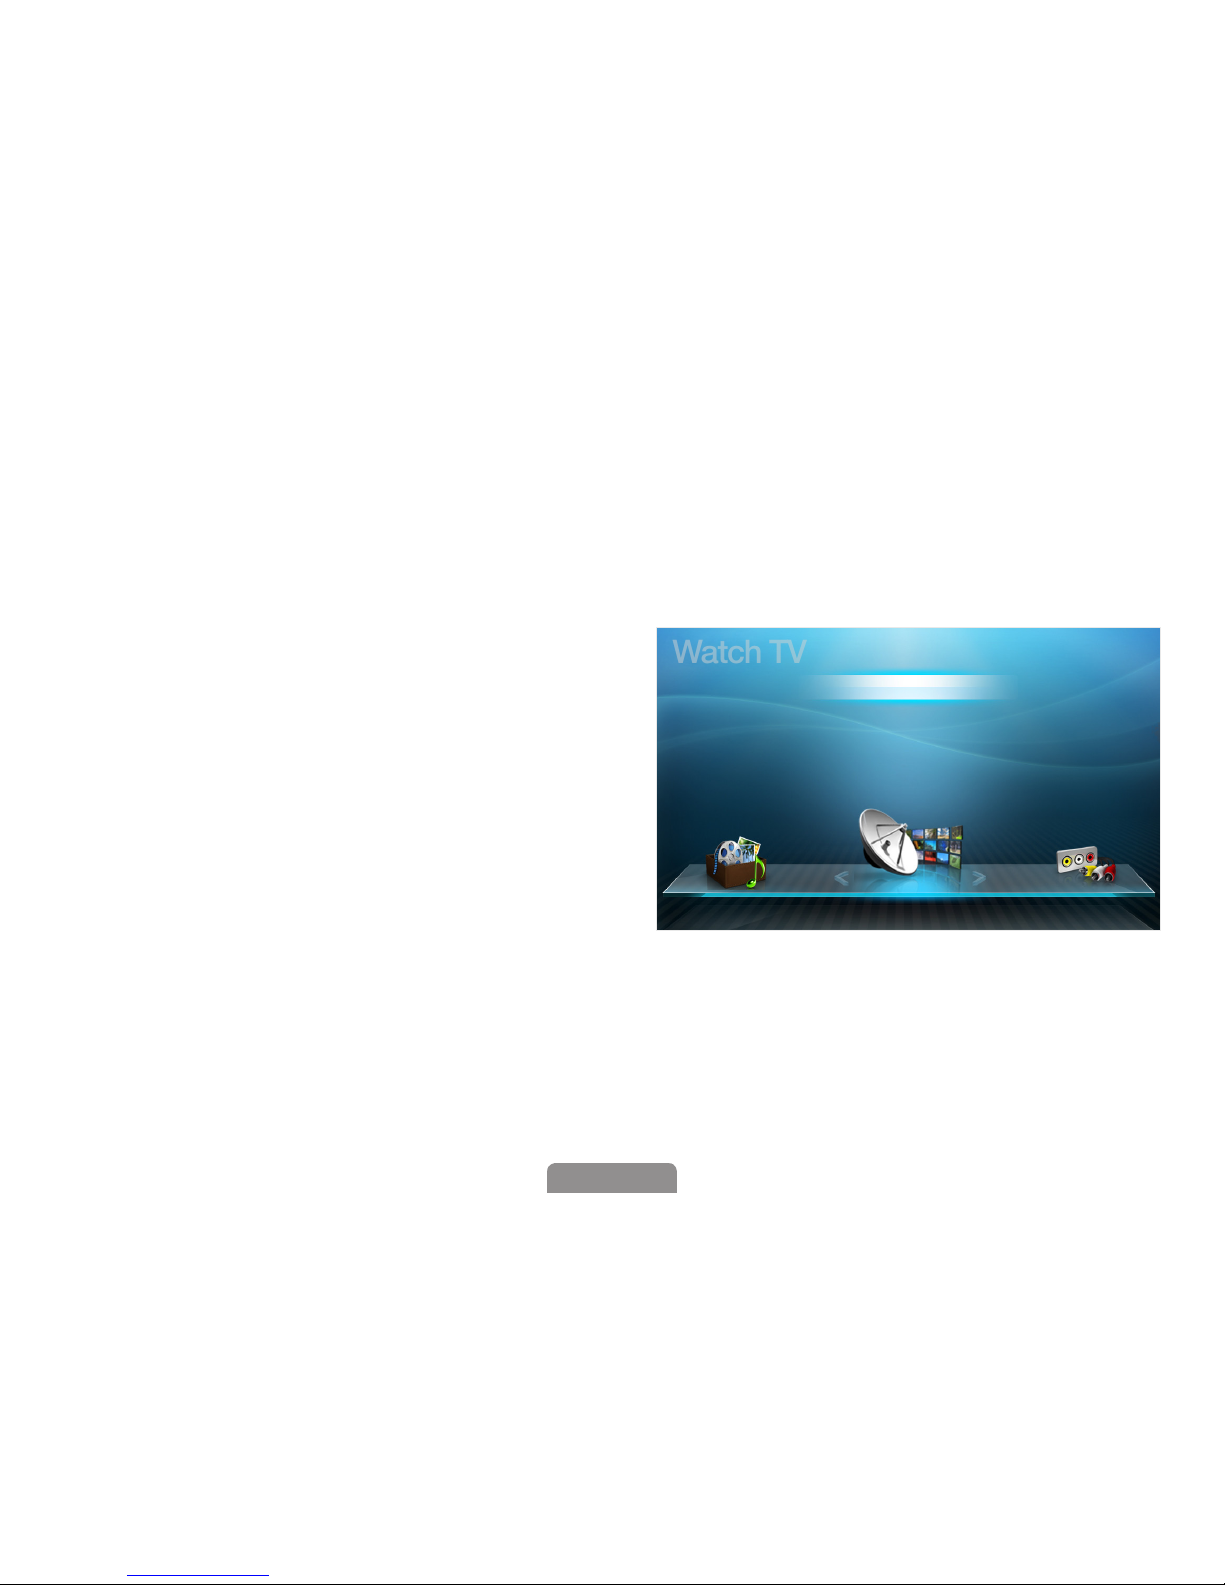
❑❑ Using❑Channel❑menu❑(Watch❑TV)❑
Press the CONTENT button to select Watch❑TV, then select the desired menu.
Each screen will be displayed.
❑
■
Guide
The EPG (Electronic Programme
Guide) information is provided by
broadcasters. Using programme
schedules provided by broadcasters,
you can specify programmes you want
to watch in advance so that the channel
automatically changes to the selected
programme channel at the specified
time. Programme entries may appear
blank or out of date depending on a
channel status.
Guide
Schedule❑Manager
Channel❑List
Channel❑Manager
My❑Downloads
Watch TV
Source
Eng lish
Eng lish
◀ ▶
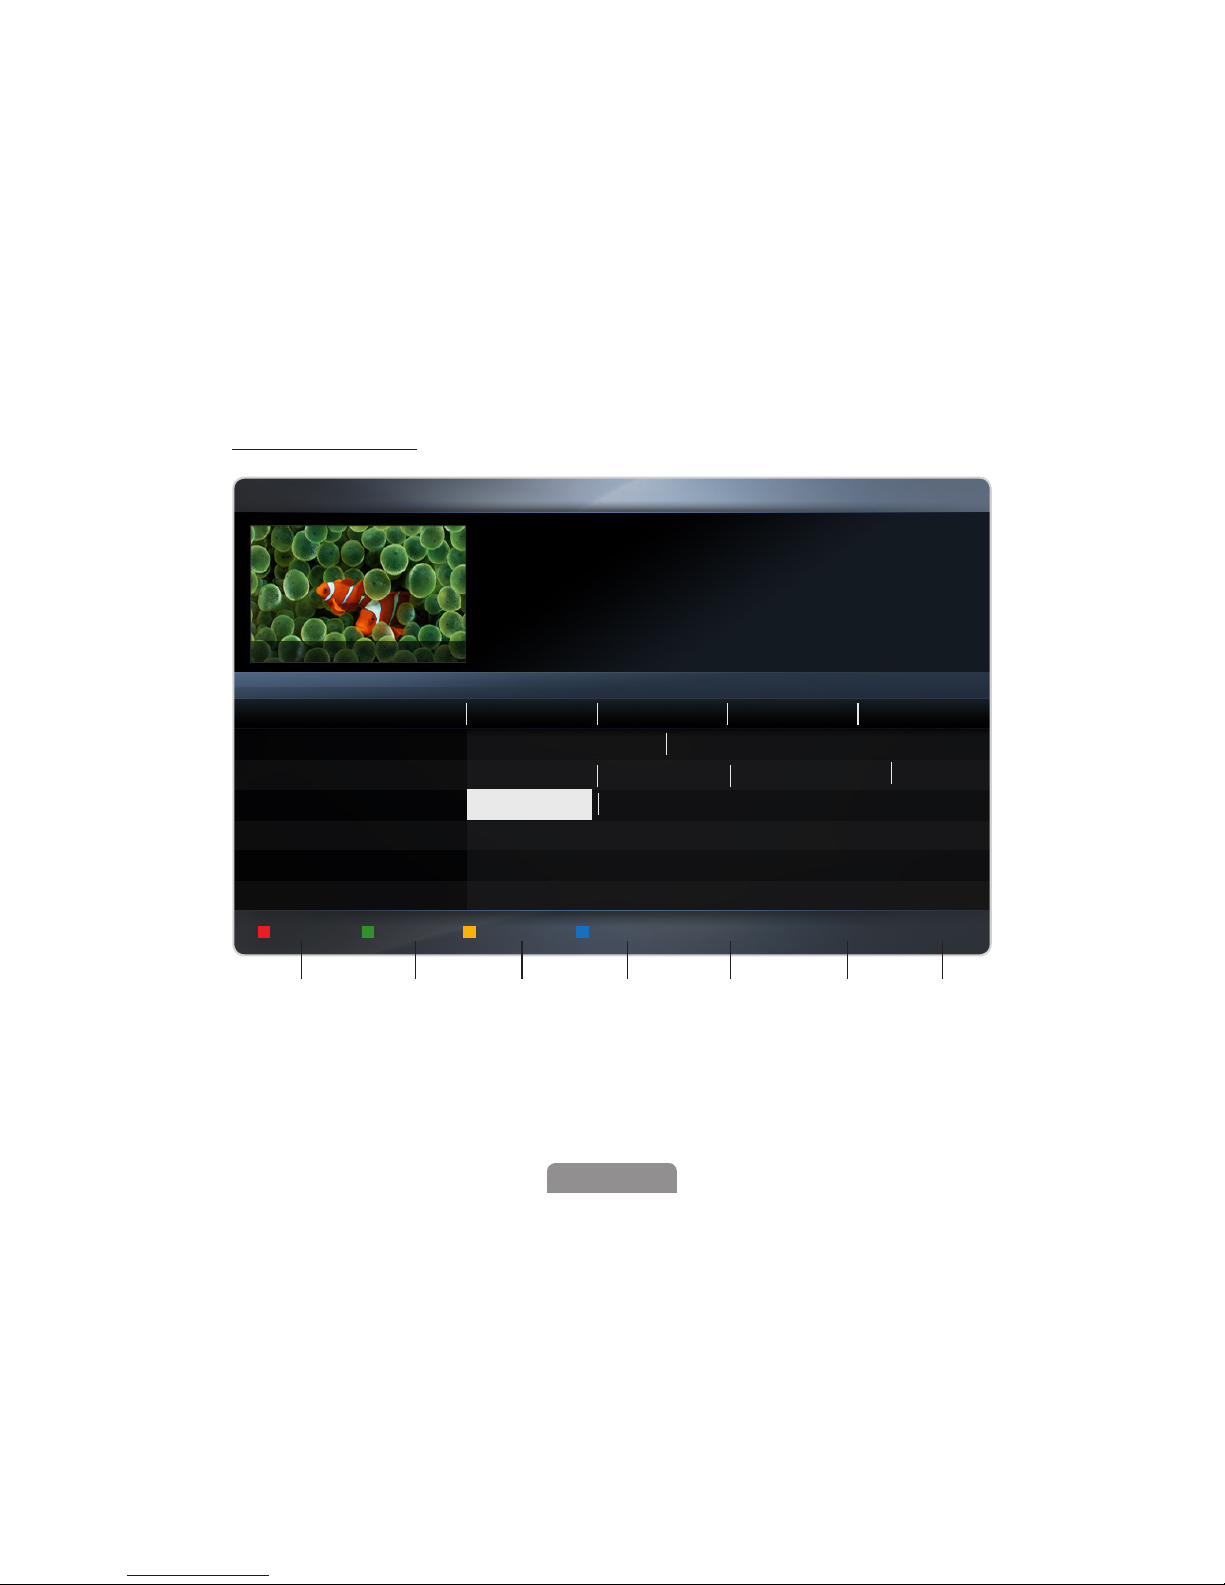
Using❑Guide
AC B D
Sche.Mgr
-24❑Hours
AC B D
+24❑Hours
Ch.❑Mode
; Information k Page E Schedule
DTV Air 3 five
Home and Away
18:00 - 18:30
Drama
Dani is devastated when scott makes clear his views on marriage...
800 five
Guide
❑2:10❑Tue❑1❑Jun
1 2 3 4 5 6 7
*
It may differ depending on the model.
Today
19:00 19:30 20:00 20:30
Tsunami❑Pri... The❑Curious...
No❑Information
No❑Information
No❑Information
1❑❑❑❑❑❑❑❑❑❑Discovery
2❑❑❑❑❑❑❑❑❑❑DiscoveryH&L
3❑❑❑❑❑❑❑❑❑❑five
4❑❑❑❑❑❑❑❑❑❑price-drop.tv
5❑❑❑❑❑❑❑❑❑❑QVC
6❑❑❑❑❑❑❑❑❑❑R4DTT
▼
Tine❑Team
Fiv...
❑No❑Information
Dark❑Angel
American❑Chopper
Channel❑View❑-❑All
Home and...
Eng lish

◀ ▶
◀
1
A
Red (Sche.Mgr): Moves to the reserved programmes in Sche.Mgr.
2
B
D
Green (-24❑Hours): Viewing the list of programmes to be broadcasted before 24
hours.
3
ACB D
Yellow (+24❑Hours): Viewing the list of programmes to be broadcasted after 24
hours.
4
D
Blue (Ch.❑Mode): Select the type of channels you want to display on the Channel❑
List window. (All,❑TV,❑Radio,❑Data/Other,❑Favourites❑1-5)
5
; (Information): Displays details of the selected programme.
6
k (Page): Move to previous or next page.
7
E (Watch❑/❑Schedule)
●
When selecting the current programme, you can watch the selected
programme.
●
When selecting the future programme, you can reserve to watch the selected
programme. To cancel the schedule, press the ENTERE button again and
select Cancel❑Schedules.
Eng lish
Eng lish

◀ ▶
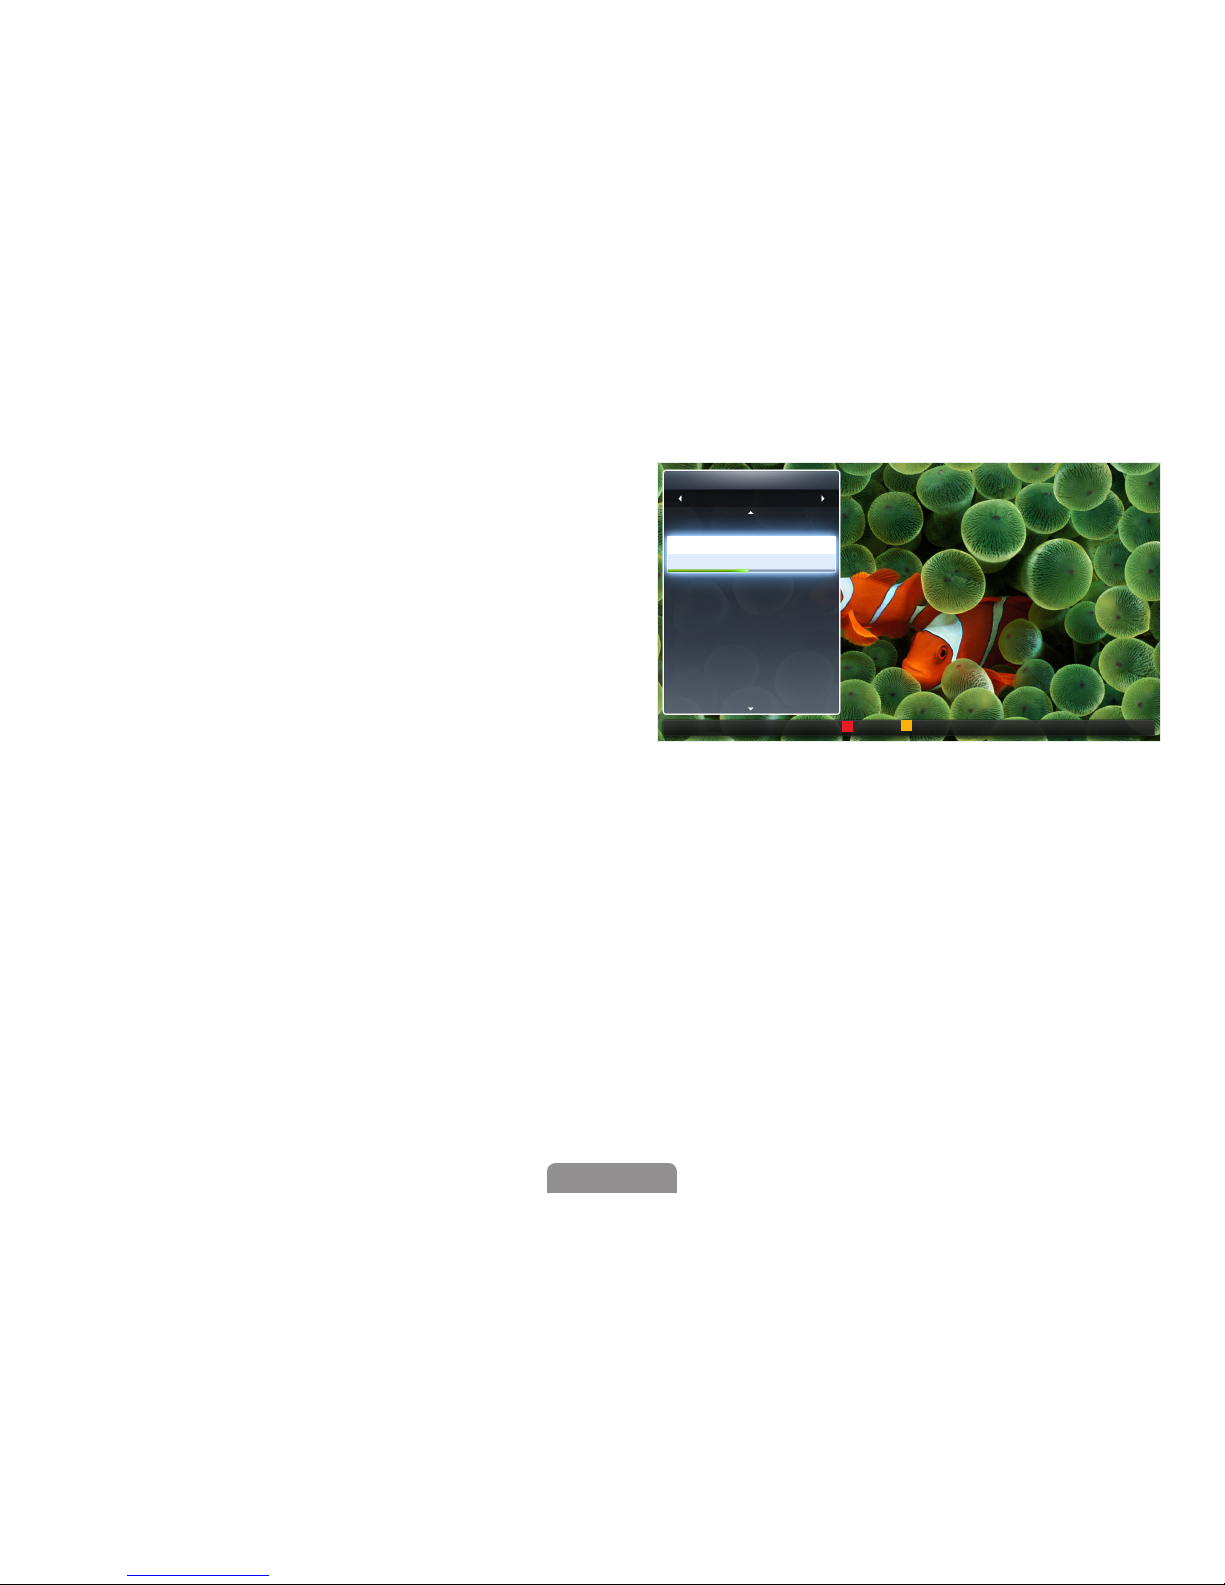
❑■Schedule❑Manager
Cancel or set the Timer❑Viewing to display the channel you want at the intended
time.
Using❑Timer❑Viewing
You can set a desired channel to be displayed automatically at the intended time.
Set the current time first to use this function.
1.
Press the ENTER
E
button to add programme to schedule manually.
2.
Press the
◄/►/▲/▼
button to set the Antenna, Channel, Repeat, Date,
Start❑Time.
●
Antenna: Select the desired broadcasting signal.
●
Channel: Select the desired channel.
Eng lish

◀ ▶
◀
●
Repeat: Select Once, Manual, Sat~Sun,❑Mon~Fri or Everyday to set at
your convenience. If you select Manual, you can set the day you want.
The (c) mark indicates the day is selected.
●
Date: You can set desired date.
It is available when you select Once in Repeat.
●
Start❑Time: You can set start time you want.
If you want to edit or cancel the schedule, select the reserved schedule on
the Schedule❑List, and select the Edit or Cancel❑Schedules.
Eng lish
Eng lish
◀ ▶
❑■Channel❑List
You can view channel information, All,
TV, Radio, Data/Other,❑Analogue❑or
Favourites❑1-5.
When you press the CH❑LIST
button on the remote control,
Channel❑List screen will be
displayed at once.
●
All: Shows all currently available
channels.
●
TV: Shows all currently available TV channels.
●
Radio: Shows all currently radio channels.
●
Data/Other: Shows all currently available MHP or other channels.
●
Analogue: Shows all currently available analogue channels.
●
Favourites❑1-5: Shows all favourite channels.
Air
AC B D
Antenna
AC B D
Programme❑View ❑CH❑Mode E Watch k Page
Channel❑List
All
1
TV#6
2
The❑Spo...
BBC❑ONE❑glogal❑News
3
Pardon...
4
Real❑Sp...
6
The❑Daily
7
Pros❑vs.
8
Today
9
Pardon...
Eng lish

◀ ▶
◀
Favourites❑1-5 will be displayed when you set Add❑to❑Favourites.
If you want to view favourite channels you added, press the CH❑LIST button
and use
(CH❑Mode) button to move Favourites❑1-5.
Using the remote control buttons with the Channel❑List.
●
AC B D
Red (Antenna): Switches to Air, Cable or Satellite
for LCD 570 series
.
●
ACB D
Yellow (Programme❑View❑/Channel❑View): Displays the programme
when digital channel is selected. Returns to the channel view.
●
(
CH❑Mode/Channel): Move to the All,❑TV,❑Radio,❑Data/Other,❑
Analogue❑or❑Favourites❑1-5. / Change channels.
When you press the
ACB D
(Programme❑View) button, you can move to
other channels using (Channel) button.
Eng lish
Eng lish

◀ ▶
●●
E
(Watch/Information): Watches the channel you select. / Displays
details of the selected programme.
●
k●
(Page): Move to next or previous page.
Channel❑Status❑Display❑Icons
Icon Operations
a
An analogue channel.
)
A reserved programme.
\
A locked channel.
Eng lish

◀ ▶
◀
How❑to❑use❑Timer❑Viewing❑in❑Channel❑List❑(digital❑channels❑only)❑
When you set the Timer❑Viewing in Channel❑List, you can only set the programme in
Programme❑View.
1.
Press the CH❑LIST button, then select a desired digital channel.
2.
Press the
ACB D
(Programme❑View) button.
3.
Press the
▲
/ ▼ buttons to select the desired programme, then press the
ENTER
E●
or INFO button.
4.
Select Timer❑Viewing, then press the ENTER
E
button when done.
If you want to cancel Timer❑Viewing, follow steps 1 through 3. Select Cancel❑
Schedules.
Eng lish
Eng lish
◀ ▶
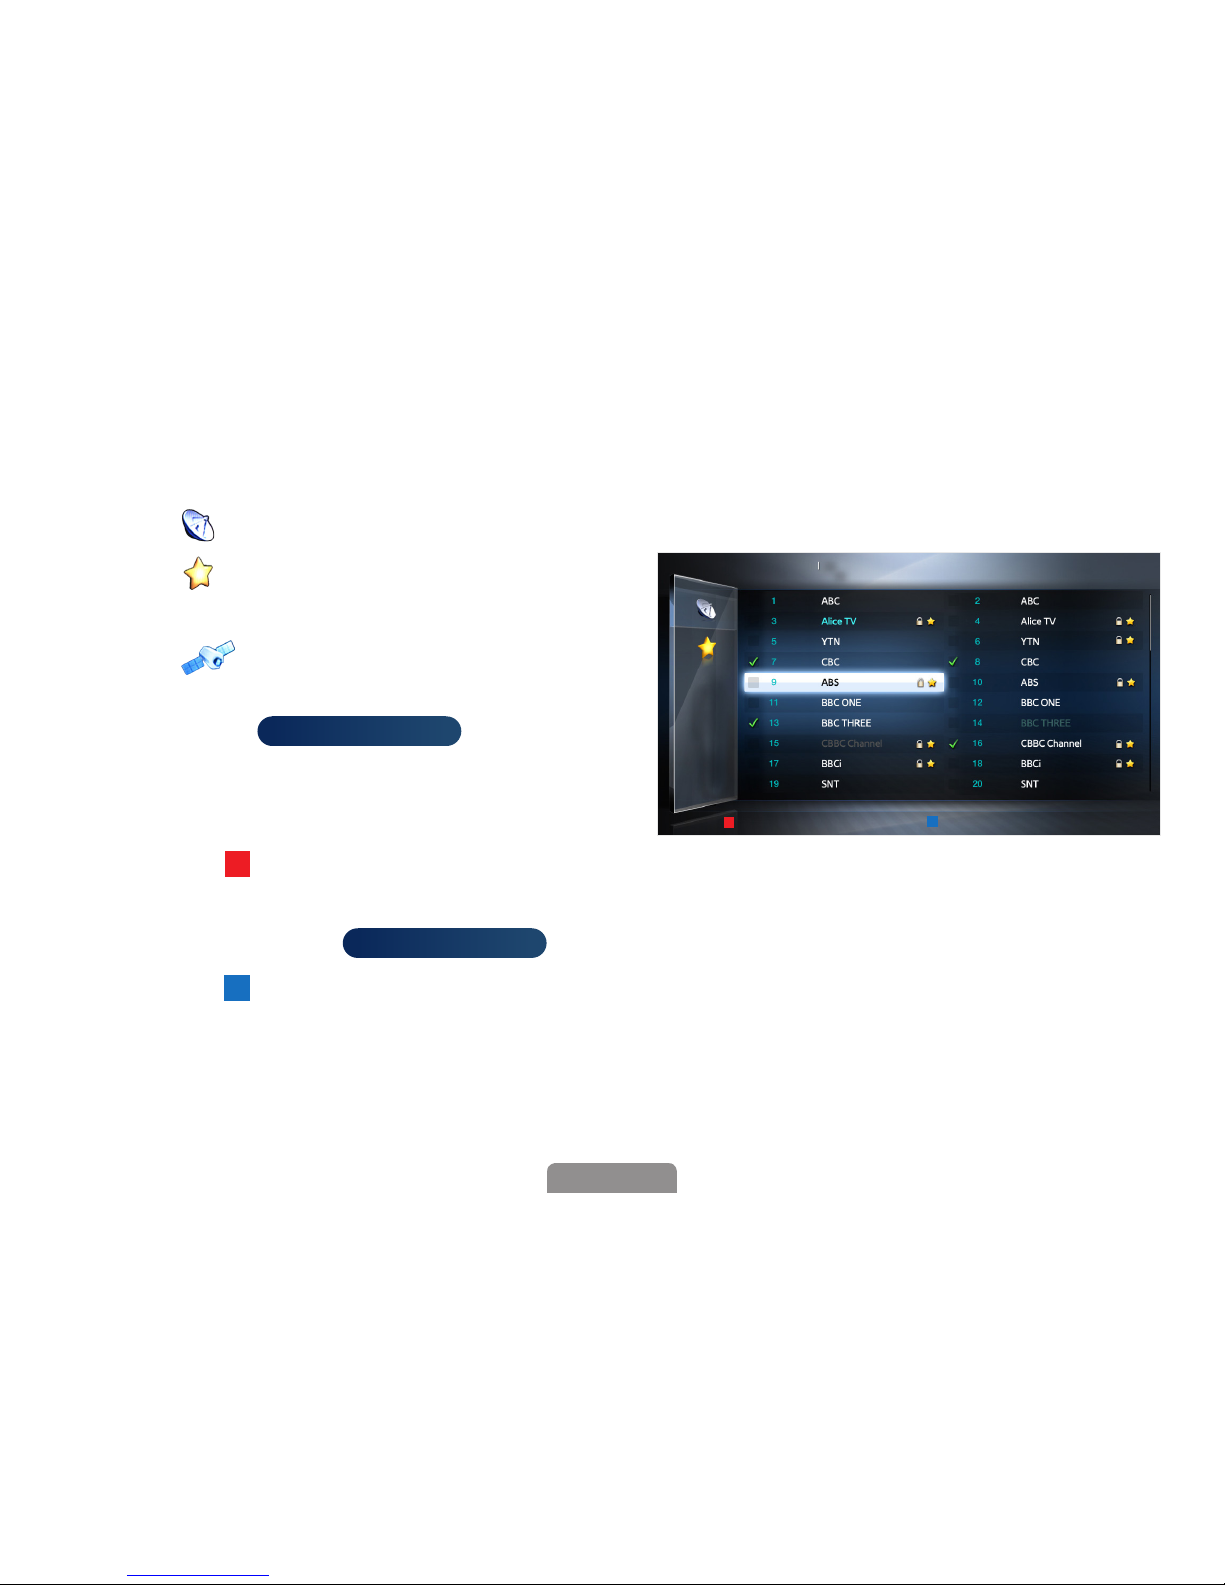
❑■Channel❑Manager
You can edit the channel to your preference.
●
( ) Channels: Shows the channel list according to channel type.
●
( ) Favourites❑1-5: Shows
favourite channels.
●
( ) Satellite: Shows the
channel list according to satellite
signal.
for LCD 570 series
Using the colour buttons with the
Channel❑Manager.
●
A
Red (Antenna):
Switches to Air, Cable or
Satellite
for LCD 570 series
.
●
D
Blue (Sorting): Changes the list ordered by number or name.
Air❑
AC B D
❑Antenna❑
❑Sorting❑❑❑E❑Select❑❑❑T❑Tools❑❑❑R❑Return
Channel❑Manager
All
Selected❑item:❑4❑❑❑❑❑❑❑❑❑ChannelNumber
*
It may differ depending on the model.
Eng lish
◀ ▶
◀
Channel❑Status❑Display❑Icons
Icon Operations
a
An analogue channel.
c
A channel selected.
F
A channel set as a favourite.
\
A locked channel.
T
Displays the
Channel❑Manager option menu.
Eng lish
Eng lish

◀ ▶
Channel❑Manager❑Option❑Menu❑
t
Set each channel using the Channel❑Manager menu options (Watch, Add❑to❑
Favourites/Edit❑Favourites,❑Lock/Unlock,❑Edit❑Channel❑Name,❑Edit❑Channel❑
Number,❑Delete,❑Select❑All/Deselect❑All,❑Reorder❑
for LCD 570 series
).
Option menu items may differ depending on the channel status.
1.
Select a channel and press the TOOLS button.
2.
Select a function and change its settings.
Eng lish

◀ ▶
◀
●
Watch: Watch the selected channel.
●
Add❑to❑Favourites/Edit❑Favourites: Set channels you watch frequently as
favourites. / Add or Delete the selected channel in Favourites❑1-5.
1.
Select the Add❑to❑Favourites/Edit❑Favourites, then press the ENTER
E
button.
If the channel is already added to favourite channel, Edit❑Favourites will
be shown.
2.
Press the ENTER
E
button to select Favourites❑1-5, then press the OK
button.
One favourite channel can be added in several of Favourites among
Favourites❑1-5.
Eng lish
Eng lish

◀ ▶
●
Lock/Unlock: Lock a channel so that the channel cannot be selected and viewed.
NOTE
●
This function is available only when the Channel❑Lock is set to On.
●
The PIN input screen appears. Enter your 4-digit PIN, Change the PIN
using the Change❑PIN option.
●
Edit❑Channel❑Name (analogue channels only): Assign your own channel name.
●
Edit❑Channel❑Number: Edit the number by pressing the number buttons desired.
Some area may not be able to support Edit❑Channel❑Name and Edit❑
Channel❑Number function.
Eng lish

◀ ▶
◀
●
Delete: You can delete a channel to display the channels you want.
●
Deselect❑All: Deselect all the selected channels.
You can only select Deselect❑All when one or more channels are selected.
●
Select❑All: Select all the channels in the channel list.
●
Reorder❑(when the Antenna is set to Satellite)
for LCD 570 series
: Rearrange the
channel list in numerical order.
Eng lish
Eng lish

◀ ▶
❑❑ Retuning❑Channels
❑
MENUm❑→❑Channel❑→❑ENTER
E
❑■Antenna❑(Air❑/❑Cable❑/❑Satellite❑
for LCD 570 series
)❑
t
Before your television can begin memorising the available channels, you must
specify the type of signal source that is connected to the TV (i.e. an Air, Cable or
Satellite❑
for LCD 570 series
❑system).
Eng lish

◀ ▶
◀
❑
■
Country
(depending on the country)
The PIN input screen appears. Enter your 4 digit PIN number.
●
Digital❑Channel: Change the country for digital channels.
●
Analogue❑Channel: Change the country for analogue channels.
Eng lish
Eng lish

◀ ▶
❑■Auto❑Tuning
(depending on the country)
Scans for a channel automatically and stores in the TV.
Automatically allocated programme numbers may not correspond to actual
or desired programme numbers. If a channel is locked, the PIN input window
appears.
●
Auto❑Tuning
Air❑/❑Cable❑/❑Satellite❑
for LCD 570 series
:❑Select the antenna source to
memorise.
Digital❑&❑Analogue❑/❑Digital❑/❑Analogue: Select the channel source to
memorise.
Eng lish

◀ ▶
◀
When❑Antenna❑Source❑is❑set❑to❑Air❑or❑Cable:
When selecting Cable❑→❑Digital❑&❑Analogue❑or❑Digital: Provide a value to
scan for cable channels.
–
Search❑Mode (Full❑/❑Network❑/❑Quick): Scans for all channels with active
broadcast stations and stores them in the TV.
If you select Quick, you can set up the Network,❑Network❑ID,❑
Frequency,❑Modulation and Symbol❑Rate manually by pressing the
button on the remote control.
–
Network (Auto❑/❑Manual): Selects the Network❑ID setting mode among
Auto or Manual.
–
Network❑ID: When Network is Manual, you can set up Network❑ID using
the numeric buttons.
Eng lish
Eng lish

◀ ▶
–
Frequency: Displays the frequency for the channel. (differs in each
country)
–
Modulation: Displays available modulation values.
–
Symbol❑Rate: Displays available symbol rates.
●
Cable❑Search❑Option
(depending on the country & cable channels only)
Sets additional search options such as the frequency and symbol rate for a
cable network search.
Start❑frequency❑/❑Stop❑frequency: Set the start or stop frequency (differs in
each country).
Symbol❑Rate: Displays available symbol rates.
Modulation: Displays available modulation values.
Eng lish

◀ ▶
◀
❑■ Manual❑Tuning
Scans for a channel manually and stores in the TV.
If a channel is locked, the PIN input window appears.
According to channel source, Manual❑Tuning may be supported.
When❑Antenna❑Source❑is❑set❑to❑Air,❑Cable❑or❑Satellite:
●
Digital❑Channel❑Tuning: Scans for a digital channel manually and stores
in the TV. Press the
AC B D
(New) button to search the digital channels. When
scanning has finished, a channel is updated in the channel list.
–
When selecting Antenna → Air:❑Channel,❑Frequency,❑Bandwidth
–
When selecting Antenna → Cable:❑Frequency,❑Modulation,❑Symbol❑
Rate
–
When selecting Antenna → Satellite:❑Satellite,❑Channel❑
for LCD 570 series
Eng lish
Eng lish

◀ ▶
●
Analogue❑Channel❑Tuning❑: Scans for an analogue channel. Press the A
(New) button to search the digital channels by adjusting the Programme,❑
Colour❑System,❑Sound❑System,❑Channel,❑Search.
Channel mode
–
P (programme mode): When tuning is complete, the broadcasting
stations in your area have been assigned to position numbers from
P0 to P99. You can select a channel by entering the position number
in this mode.
–
C (aerial channel mode) / S (cable channel mode): These two modes
allow you to select a channel by entering the assigned number for
each aerial broadcasting station or cable channel.
Eng lish

◀ ▶
◀
When❑Antenna❑Source❑is❑set❑to❑Satellite
for LCD 570 series
:
●
Transponder: Selects the transponder using the up/down buttons.
●
Scan❑Mode❑(All❑Channels❑/❑Free❑Channels❑Only): Selects either free or all
channels to store.
●
Network❑Search❑(Disable❑/❑Enable): Enable / Disable network search using
the up/down buttons.
●
Signal❑Quality: Display the current status of broadcasting signal.
Information on a satellite and its transponder is subject to change depending
on the broadcasting conditions.
When setting is completed, move to Search and press the ENTER
E
button. Channel scan is started.
Eng lish
Eng lish

◀ ▶
❑■Satellite❑System❑
for LCD 570 series
The PIN input screen appears. Enter your 4 digit PIN number.
Satellite❑System
is available when Antenna is set to Satellite. Before running Auto❑Store, set
Satellite❑System. Then channel scan is run normally.
●
Satellite❑Selection:❑You can choose the satellites for this TV.
This function is available when Antenna is set to Satellite.
●
LNB❑Power❑(Off❑/❑On): Enables or disables the power supply for the LNB.
●
LNB❑Settings: Configures the outdoor equipment.
Satellite: Selects the satellite for receiving digital broadcasts.
Transponder: Selects a transponder from the list or adds a new transponder.
DiSEqC❑Mode: Selects DiSEqC mode for the selected LNB.
Lower❑LNB❑Oscillators: Sets the LNB oscillators to a lower frequency.
Eng lish

◀ ▶
◀
Upper❑LNB❑Oscillators: Sets the LNB oscillators to a higher frequency.
Tone❑22❑kHz❑(Off❑/❑On❑/❑Auto): Selects the Tone 22 kHz depending on the
LNB type. For a universal LNB it should be Auto.
Signal❑Quality: Display the current status of broadcasting signal.
●
SatCR/Unicable❑Settings
It is available when LNB Power is set to On.
During using this function, the sound will be mute temporarily.
SatCR/Unicable❑Settings(On❑/❑Off): Enable or disable single cable installation
support.
Slot❑Number: Select the SatCR user slot number for this receiver. Choose it
in the range of 1 to 8.
Eng lish
Eng lish

◀ ▶
Slot❑Frequency: Enter the appropriate frequency to receive the signal from
SatCR.
It has the entire range from 950MHz to 2150NHz. The predefined values
are 1210MHz, 1420MHz, 1680MHz, 2040MHz.
Detect❑Slot❑Frequency: Detect the signal frequency automatically for the
selected slot number.
Verify❑Slot❑Frequency: Verify that the entered frequency corresponds to the
selected slot number.
Eng lish

◀ ▶
◀
●
Positioner❑Settings: Configures the antenna positioner.
Positioner❑(On❑/❑Off): Enables or disables the positioned control.
Positioner❑Type❑(USALS❑/❑DiSEqC❑1.2): Sets the positioned type between
DiSEqC 1.2 and USALS(Universal Satellite Automatic Location System).
–
My❑Longitude: Sets the longitude for my location.
–
My❑Latitude: Sets the latitude for my location.
–
Satellite❑Longitude❑Settings: Sets the longitude of user defined satellites.
Eng lish
Eng lish
 Loading...