

SAMSUNG RA20VHSS User Manual
REFRIGERATOR
HSILGNE
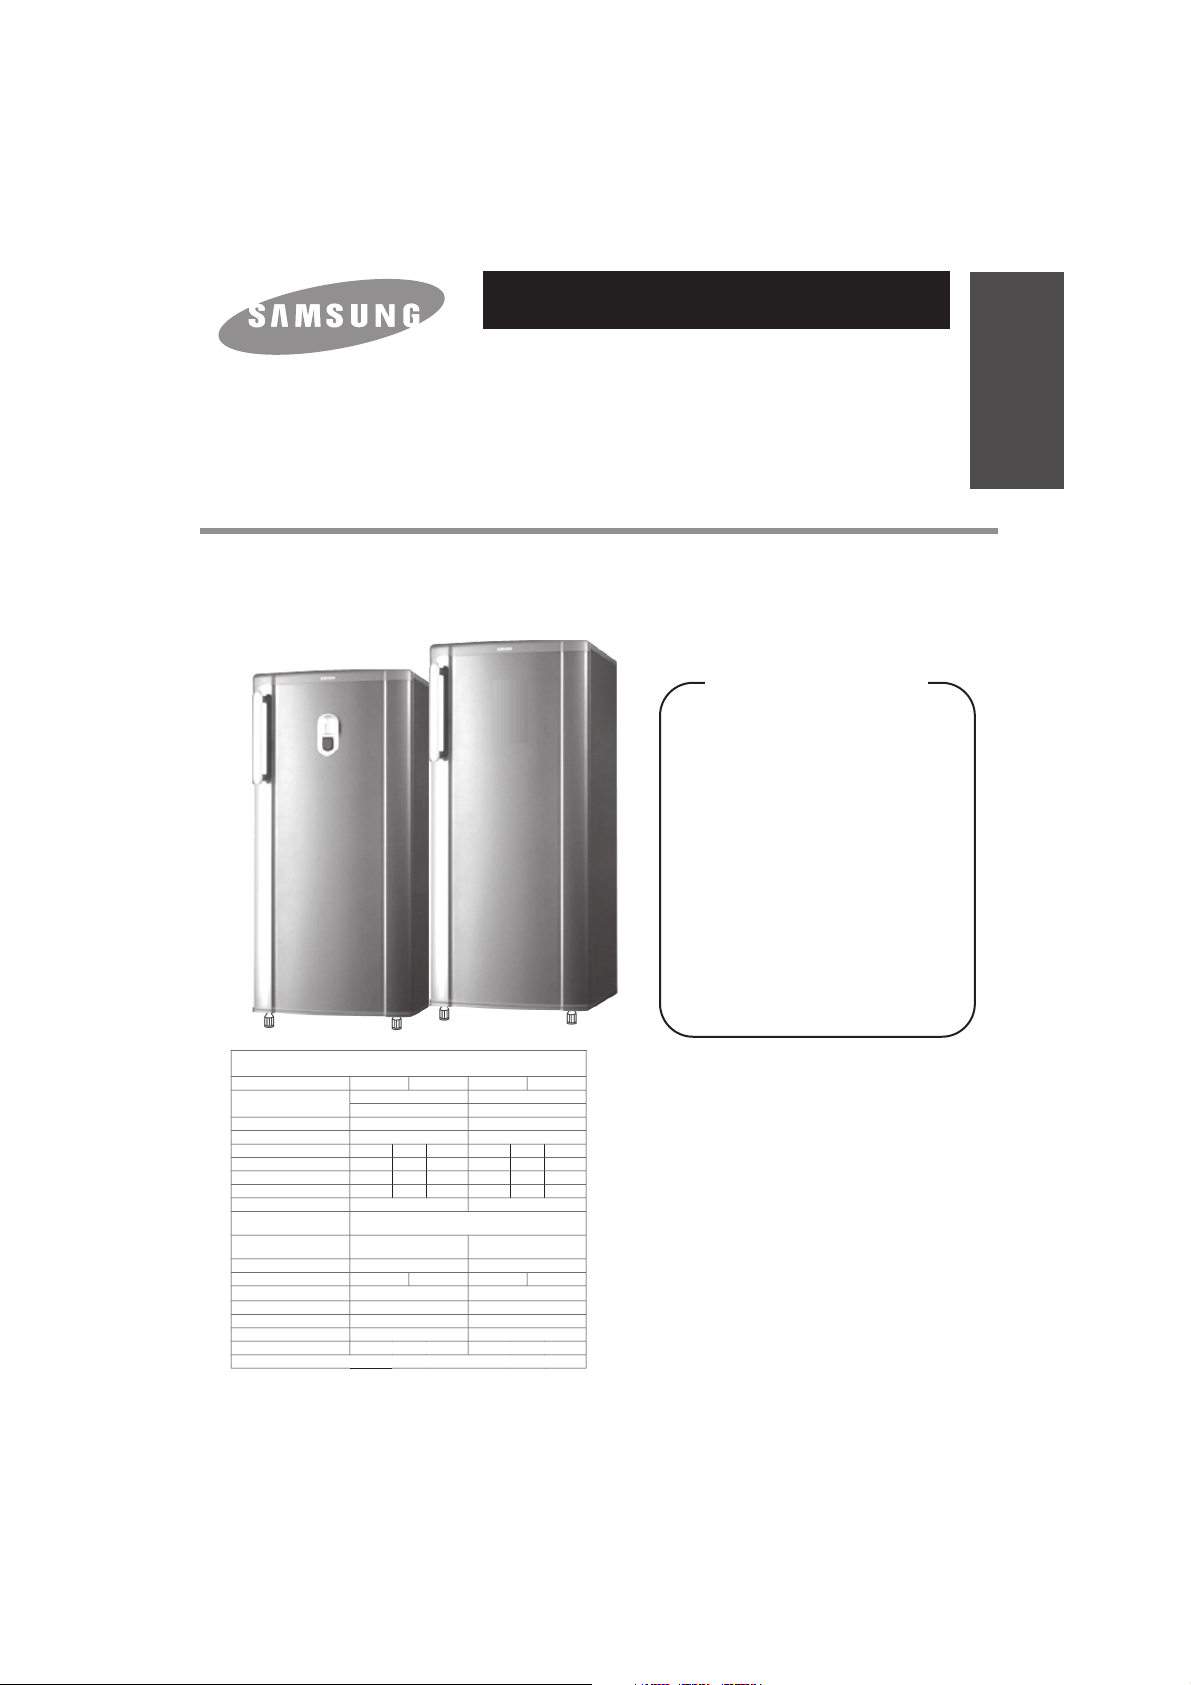
Model RA18VH/RA18FH
RA20VH/RA20FH
Before operating the appliance, please read
this manual thoroughly, and retain for future
reference.
OWNER’S INSTRUCTIONS
Operating Instructions
•
Part features
•
Installing the appliance
•
Safety warning
•
Setting up the refrigerator
•
Ice making
•
Temperature control
•
Defrosting
•
Using the water dispenser
•
Food storage guide
•
Cleaning accessories
•
Trouble shooting
DA68-01338F REV(0.0)
Model RA18FH RA18VH RA20FH RA20VH
Dimension(WxDxH) mm
Gross Capacity
Net Capacity
Rated Voltage
Reted Frequency
Rated Input
Rated Current
Defrosting Input
Climatic Class
of The Appliance
Reted Maximum
Input of Lamp
Refrigerance
Mass
Rated Shelf Area
Power Consumption
Percentage Running Time
Quantity of Ice Making
Freezing Capacity
MADE IN THAILAND
Specification
540x599x1,246(Stand) 540x599x1,340(Stand)
540x599x1,156(No-Stand) 540x599x1,250(No-Stand)
180 liter 200 liter
175 liter 194 liter
127V ~ 220V~ 230-240V~ 127V ~ 220V~ 230-240V~
60 Hz 50/60 Hz 50 Hz 60 Hz 50/60 Hz 50 Hz
W
75
100
W
1.1A 0.5A 0.5A 1.1A 0.5A 0.5 A
- -
15 W 15 W
HFC - 134a (120g) HFC - 134a (120g)
36.8kg 37.2kg 38.0kg 38.5kg
0.917 m 0.917m
0.48 kWh / 24 0.54kWh / 24 h
38 %
2.97Kg / 24 h 2.64 Kg / 24 h
- -
110W
100
T
WARNING
- Keep ventilation openings in the appliance enclosure
or in the built-in structure,clear obstruction
- Do not use mechanical devices or other means
W
75
W 110W
2
42 %
to accelerate the defrosting process,other then
those recommended by the manufacturer.
- Do not damage the refrigerant circuit (applicable only
for appliances with refrigeration circuits which
are accessible to the user)
- Do not use electrical appliances inside the food
storage compartments, unless they are of the type
recommended by the manufacturer.
- Damaged supply cords must be replaced by
the manufacturer,service agent or similarly
qualified person to avoid hazard.
- Keep the key out of reach of children and not in the vicinity
of the refrigerator.
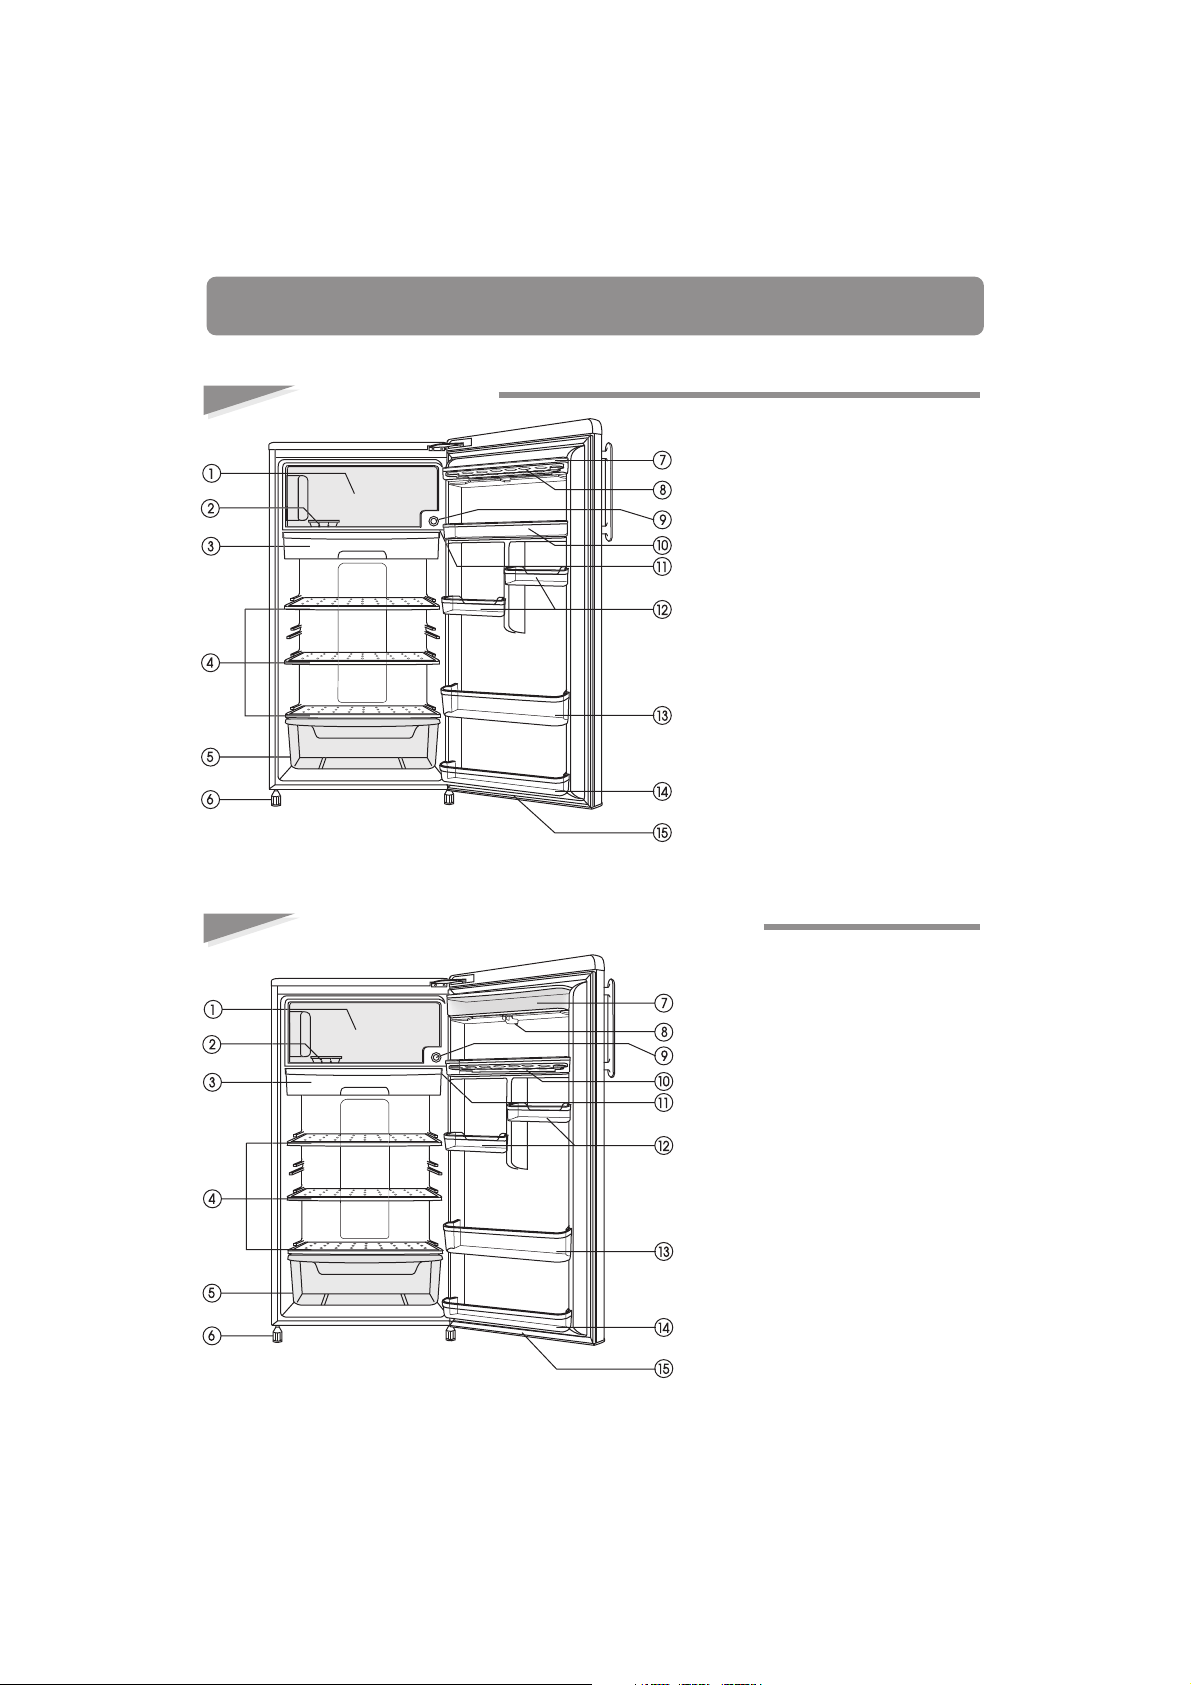
PART FEATURES
Model RA18FH/RA20FH
1. Freezer
2. Ice tray
3. Chilled tray
4. Shelf
5. Vegetable & Fruit Drawer
6. Leveling leg
7. Egg tray
8. Egg shelf
9. Temperature control botton
10. Utility pocket
11. Light
12. Usable Rack
13. Big bottle guard
14. Small bottle guard
15. Rubber door seals
1.Freezer
2.Ice tray
3.Chilled tray
4.Shelf
5.Vegetable & Fruit Drawer
6.Leveling leg
7.Water tank
8.Cover hose
9.Temperature control button
10.Egg tray
11.Light
12.Usable rack
13.Big bottle guard
14.Small bottle guard
15.Rubber door seals
Model RA18VH/RA 20VH
(Model with water dispenser)

INSTALLING THE APPLIANCE SAFETY WARNINGS
Selecting the location for appliance.
• Install the appliance properly on the flat and
firm surface.
Install appliance in the available space.
• Allow 1 foot(30cm)from the ceiling, and 2
inches( 5cm ) from the wall.
Install appliance in the appropriate location.
• Place the appliance away from sunlight or heat.
Install appliance in a damp place.
• There is a risk of eletric shock or
malfunctions.
Specification of electric power.
• The electric power specification of the
appliance is attached inside at the top of
the door or outside at the back.
Do not use any extension cords or
double adaptors.
• Do not plug several appliances into the
same multiple power board. This could
cause over heating and the risk of fire.
Earthing the appliance.
• If the socket is the 2-legged type, the
appliance must be earthed.
• Do not connect the earthing wire to the gas
pipes or telephone lines.
Replacing the lamp.
1. Unplug the power cord from the socket.
2. Remove Chilled tray.
3. Unscrew by plus-type driver then take out
lamp cover. (optional model only)
4. Turn the lamp counter clockwise.
5. Replace new lamp same specification as
original one.
Warning ! : Disconnect power supply before
replacing the lamp.
About 30cm
About 5cm
About 5cm
 Loading...