How it Works
Log In / Sign Up
Buy Points
How it Works
FAQ
Contact Us
Questions and Suggestions
Users
Samsung
Loading...
M
MW610BA
3
MW610WA
7
MW610WB
3
MW614ST
MW614ST-B
MW6174ST
MW6194ST
3
MW6194W
MW61FR
MW620BA
MW620BB
MW620WA
3
MW620WA/XAA-00
MW620WB
4
MW620WB MW630WA
MW630BA
MW630WA
5
MW630WB
3
MW631BA
MW631WA
MW636
MW639
MW63FR
MW640BA
2
MW640WA
2
MW650BA
2
MW650WA
3
MW650WA-XAA
MW6574W
11
MW6574WTHT
9
MW6886W
MW7
MW71
MW711K
MW711KR
MW712AR
2
MW712BR
2
MW712K
2
MW712KR
2
MW712N
2
MW713K
MW71B
5
MW71B/XEN
MW71C
7
MW71E
16
MW71ER
MW71T1KR
MW71X
MW725BB
2
MW725WB
2
MW730
MW730BB
MW730WA
MW730WB
2
MW730WB-XAA
MW731KR
MW732K
2
MW732KR
MW732K-XEF
MW733KB
2
MW733KR
MW735BB
MW735WB
2
MW735WB-XAA
MW73AD
MW73AR
3
MW73B
6
mw73bd
MW73BR
2
MW73BR-X
MW73B-S
MW73C
7
MW73E
3
MW73E3KR
MW73ER
MW73E-S
MW73M1KR
MW73M1KR-X
MW73M2KR
MW73M2KRSX
MW73T2KR
MW73V
MW73VD
MW73VR
MW740BA
MW740GA
MW740LA
MW740SA
MW740WA
2
MW7490W
12
MW7490WXAC
11
MW7491G
10
MW7491G-XAA
8
MW74VR
MW74VR-X
MW7592W
14
MW7592W-XAA
8
MW7593G
2
MW7692
MW7692N
Loading...
Loading...
Nothing found
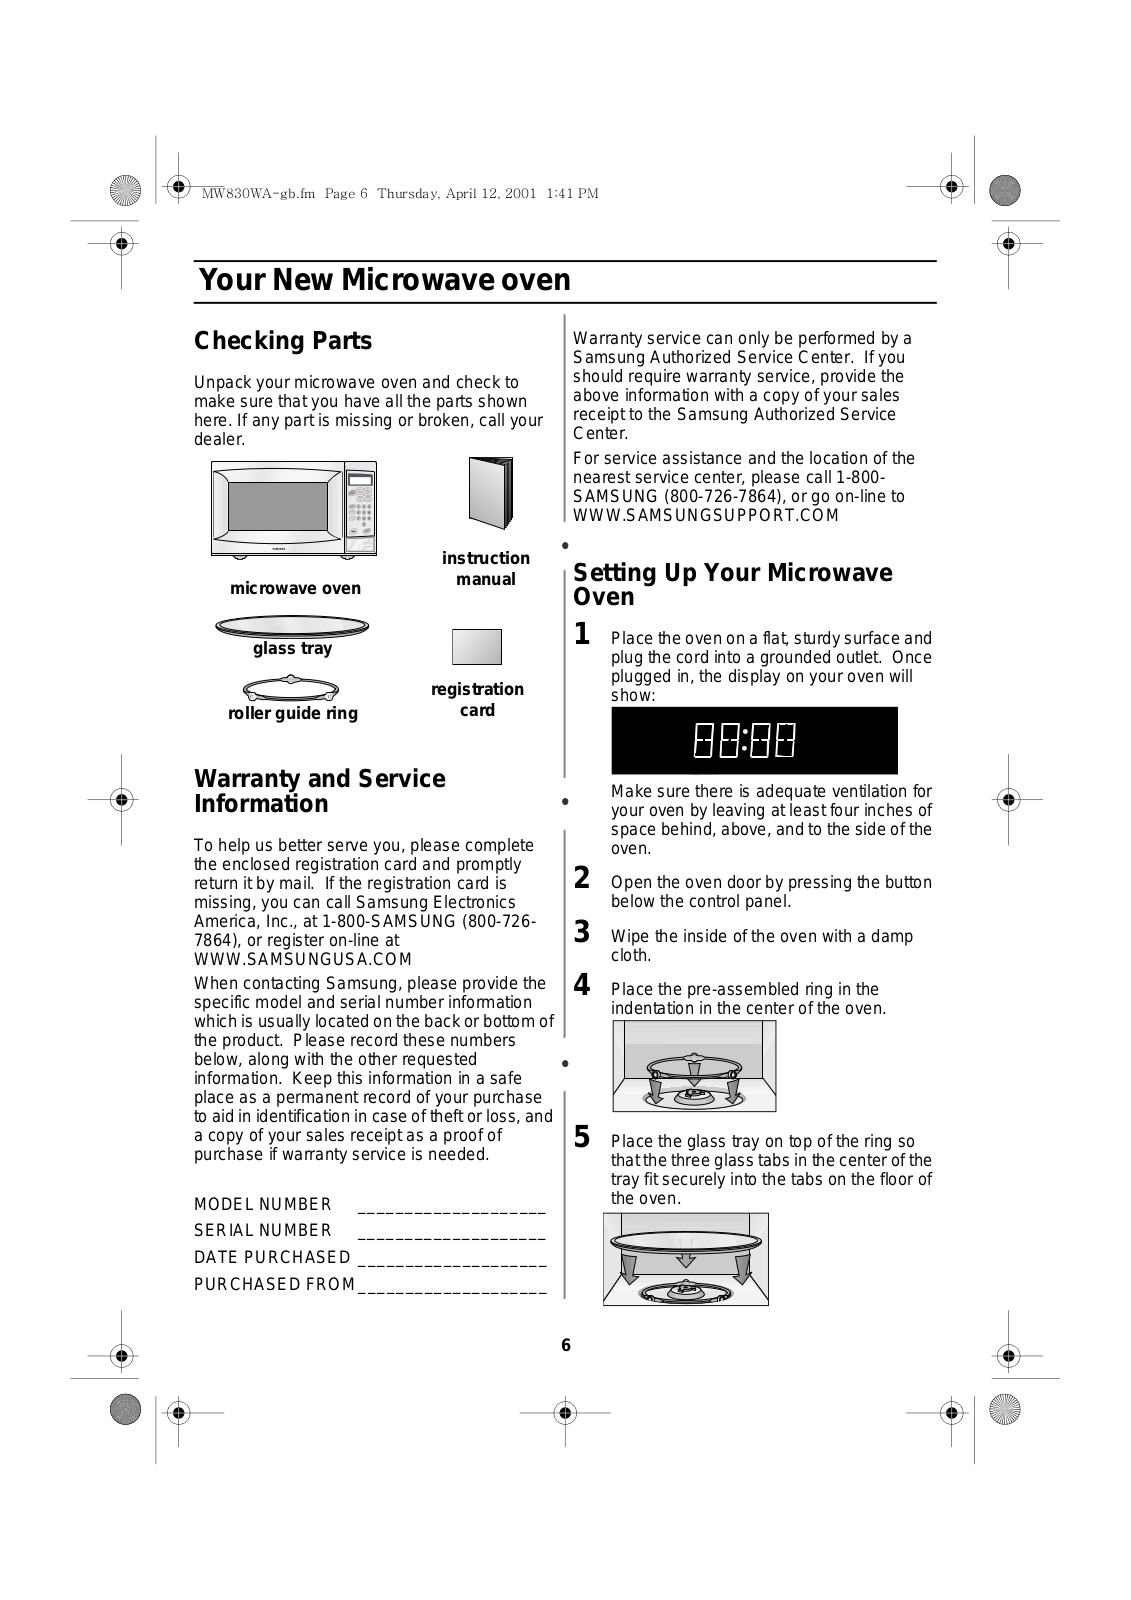
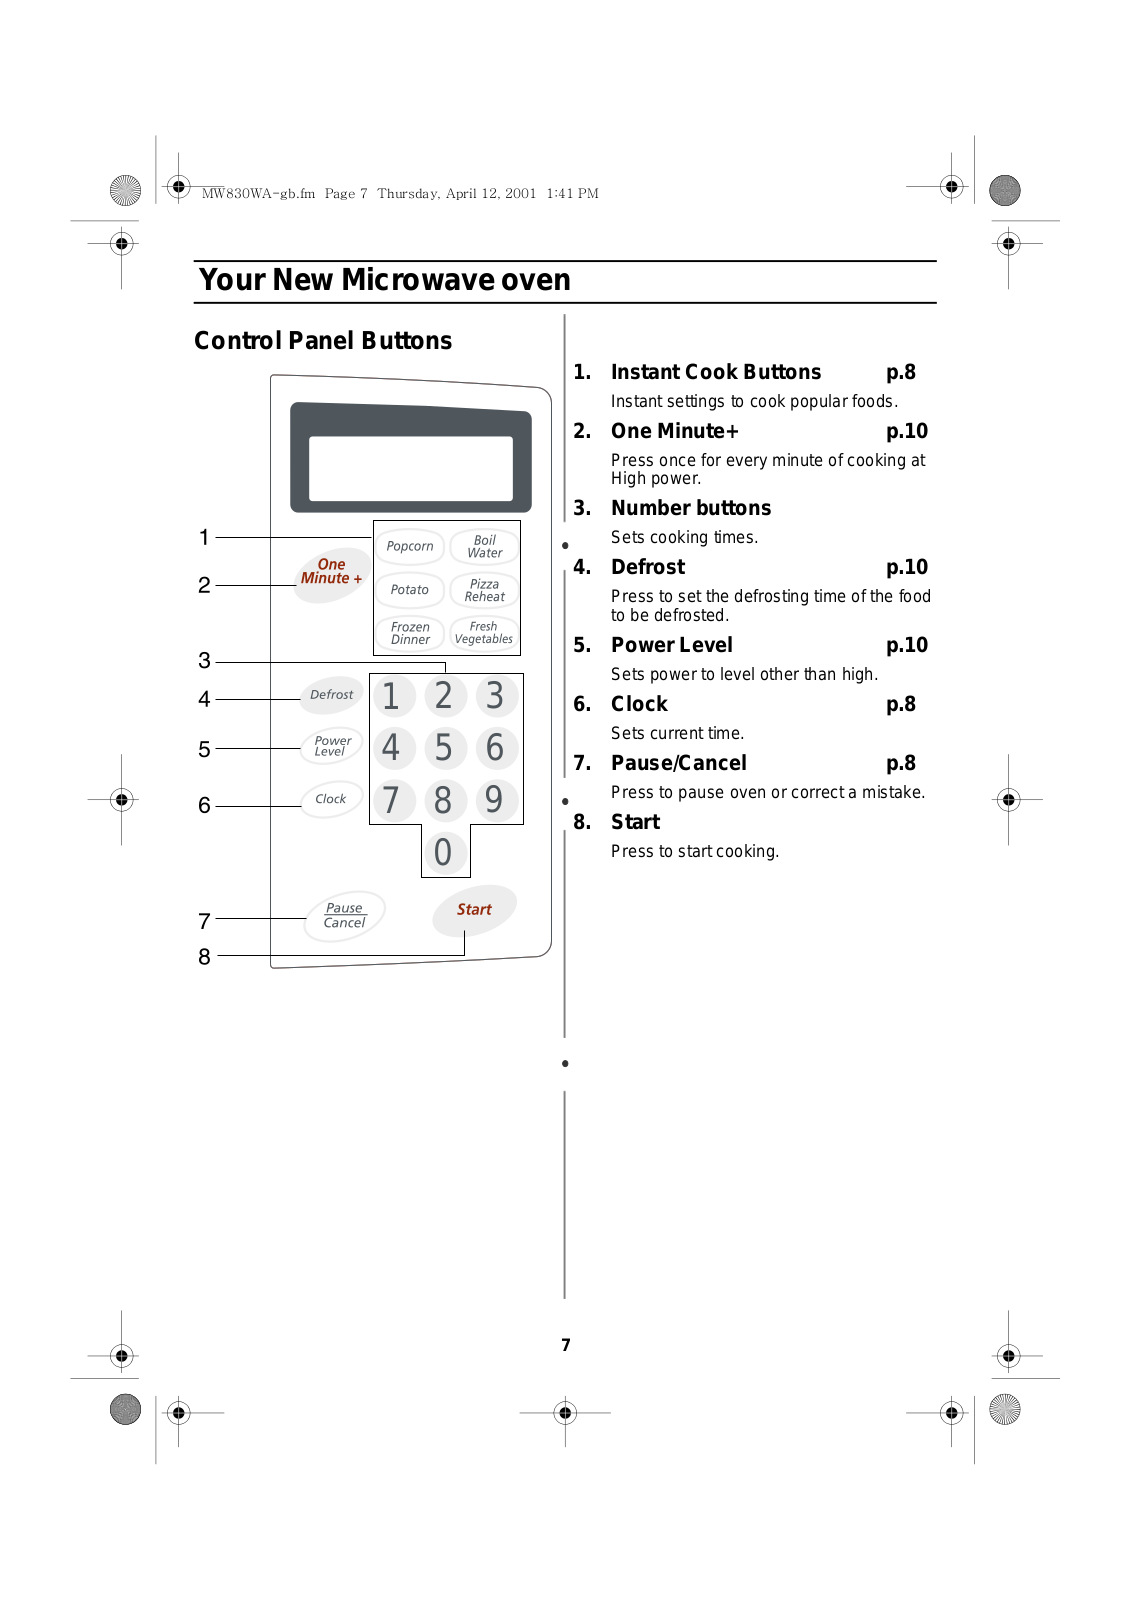
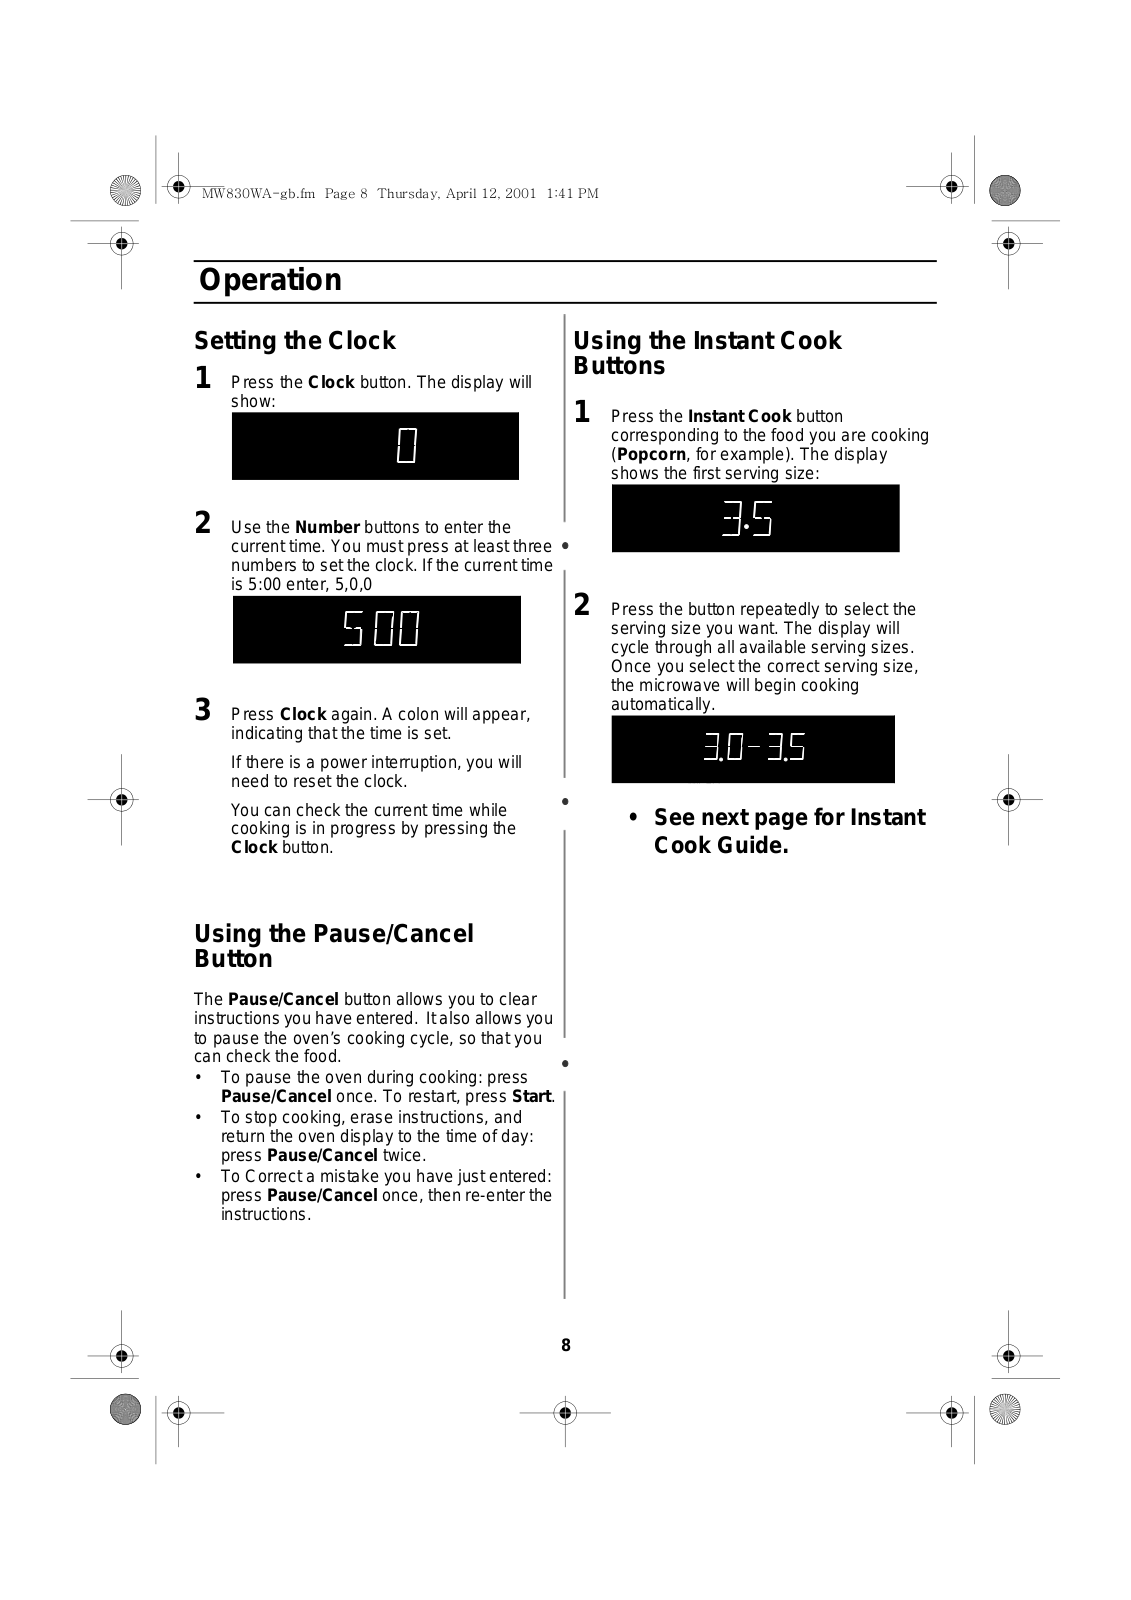
MW730
Users Manual
28 pgs
1.08 Mb
0
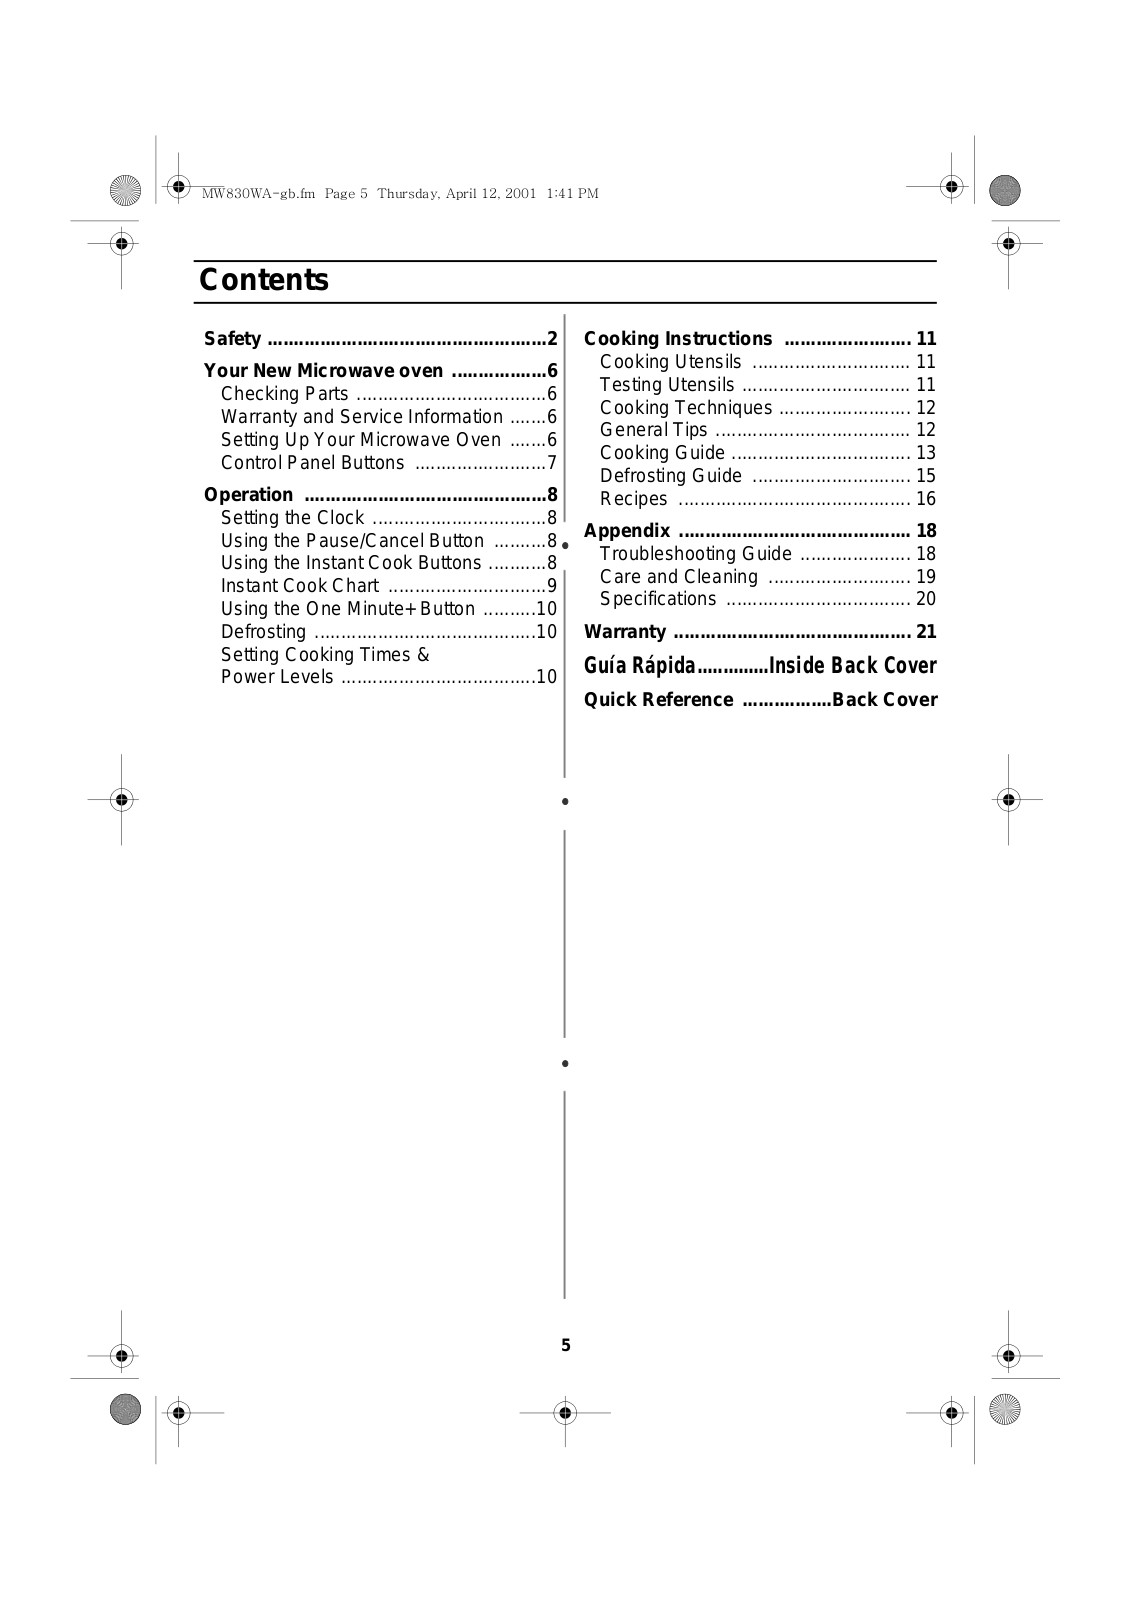
Table of contents
Loading...
Samsung MW730 Users Manual
...
Samsung Users Manual
Download
Specifications and Main Features
Frequently Asked Questions
User Manual
Download
Loading...
+
19
hidden pages
Unhide
You need points to download manuals.
1 point = 1 manual.
You can buy points or you can get point for every manual you upload.
Buy points
Upload your manuals
 Loading...