

Page 1
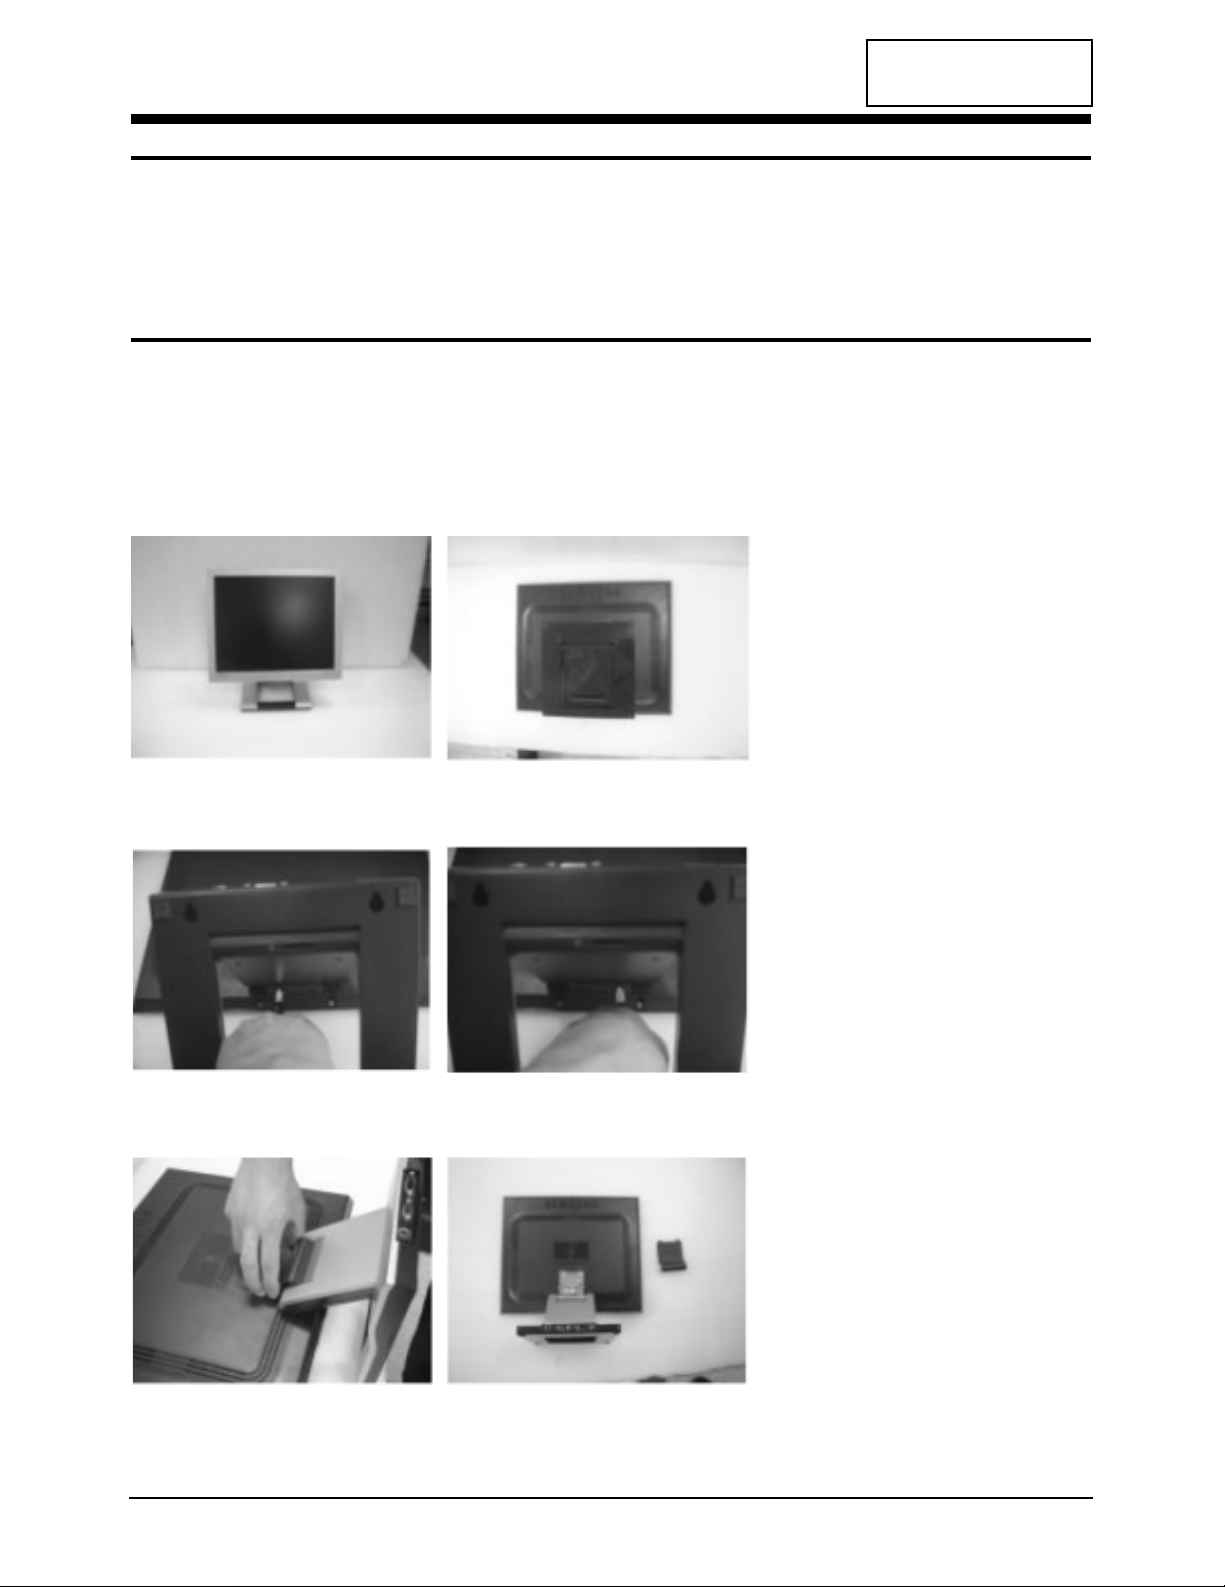
1. Locate the monitor on the table
with face down.
2. Loose the snaps of Hinge cap
through the slot of cover rear.
3. Remove the hinge cap.
CONFIDENTIAL
MO17P*/MO17E* 3-1
3 Disassembly and Reassembly
This section of the service manual describes the disassembly and reassembly procedures for the
MO17P*/MO17E* monitors.
WARNING: This monitor contains electrostatically sensitive devices. Use caution when handling
these components.
3-1 Disassembly
Cautions:1. Disconnect the monitor from the power source before disassembly.
2. Follow these directions carefully; never use metal instruments to pry apart the cabinet.
3-1-1 Main Body Disassembly
Page 2
3 Disassembly and Reassembly
3-2 MO17P*/MO17E*
CONFIDENTIAL
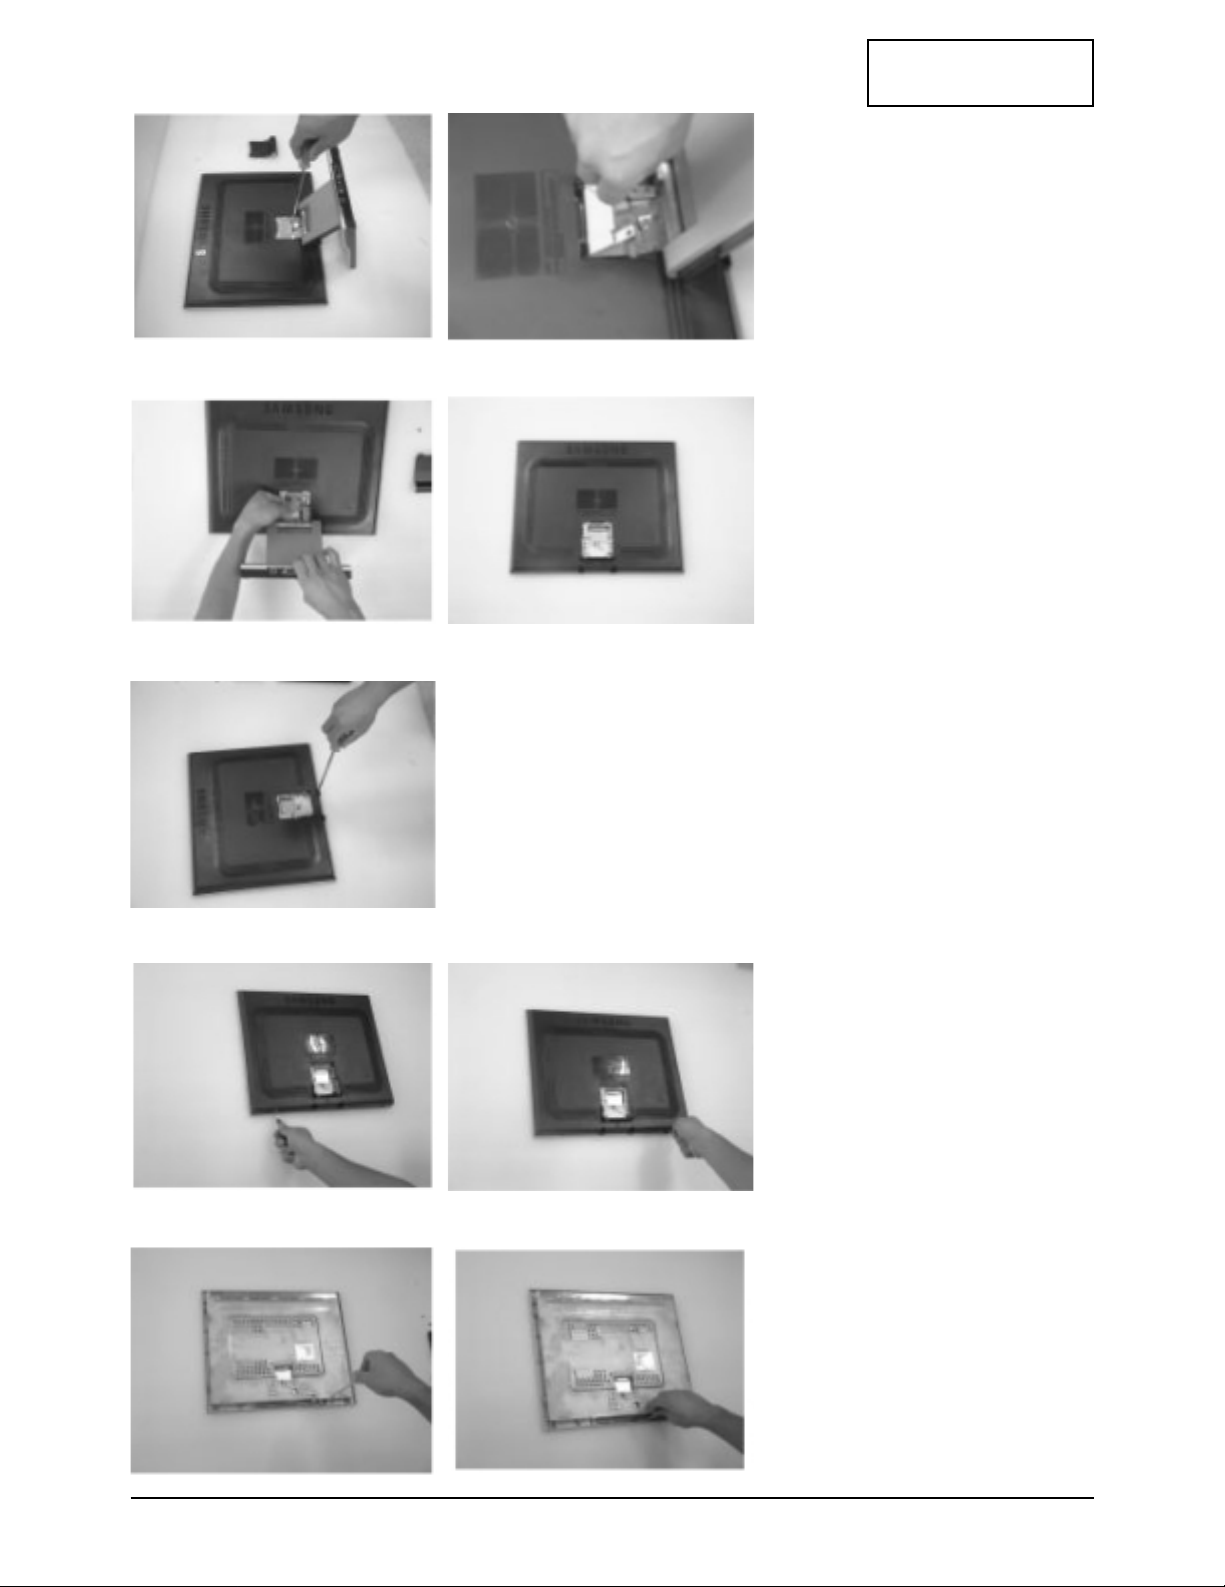
4. Remove 2 screws on the hinge
mounting.
Do not remove the screw for
cable clamp.
5. Disconnect the stand cable from
socket and remove stand
assembly.
6. Remove 2 screws of cover rear.
7. Open the cover rear by using
opening jig.
8. Remove screws arround bracket
panel and pull out function wire
from socket.
Page 3
3 Disassembly and Reassembly
MO17P*/MO17E* 3-3
CONFIDENTIAL
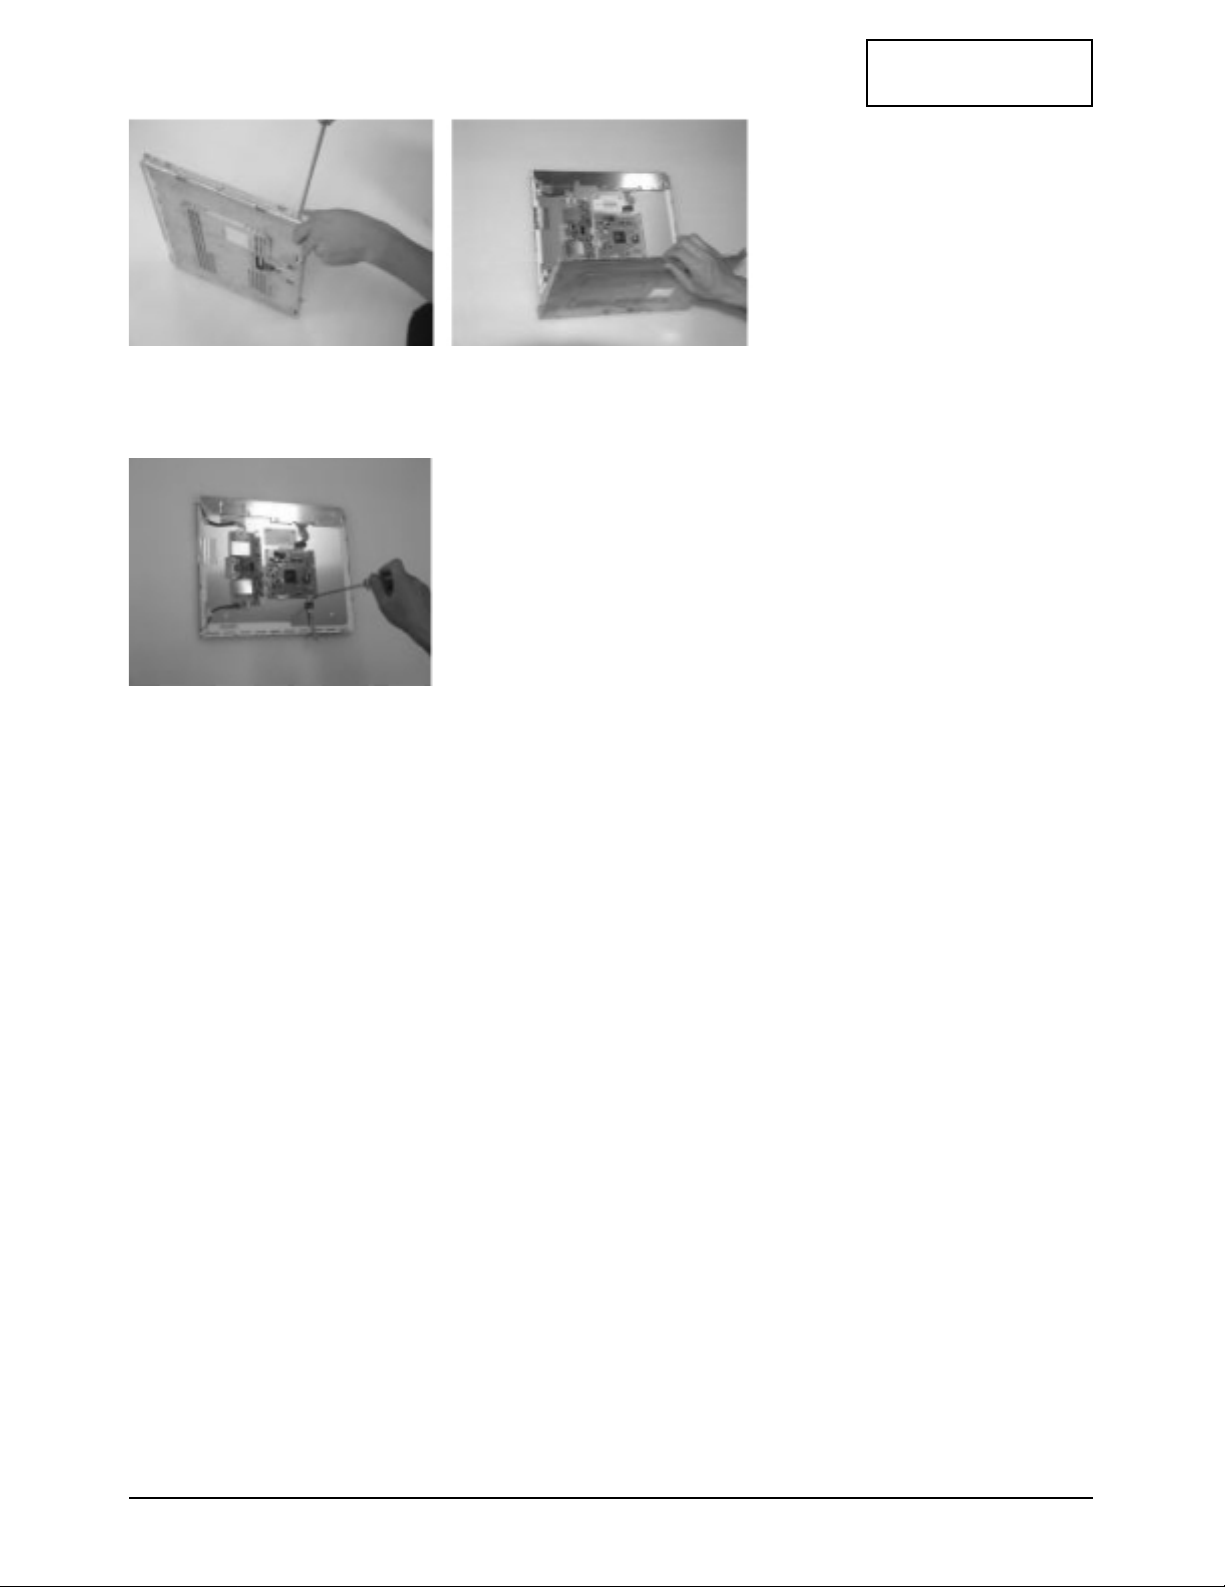
9. Seperate shield ass’y and panel
ass’y.
10. Remove screws on main board
and inverter board.
Page 4
CONFIDENTIAL
3 Disassembly and Reassembly
3-4 MO17P*/MO17E*
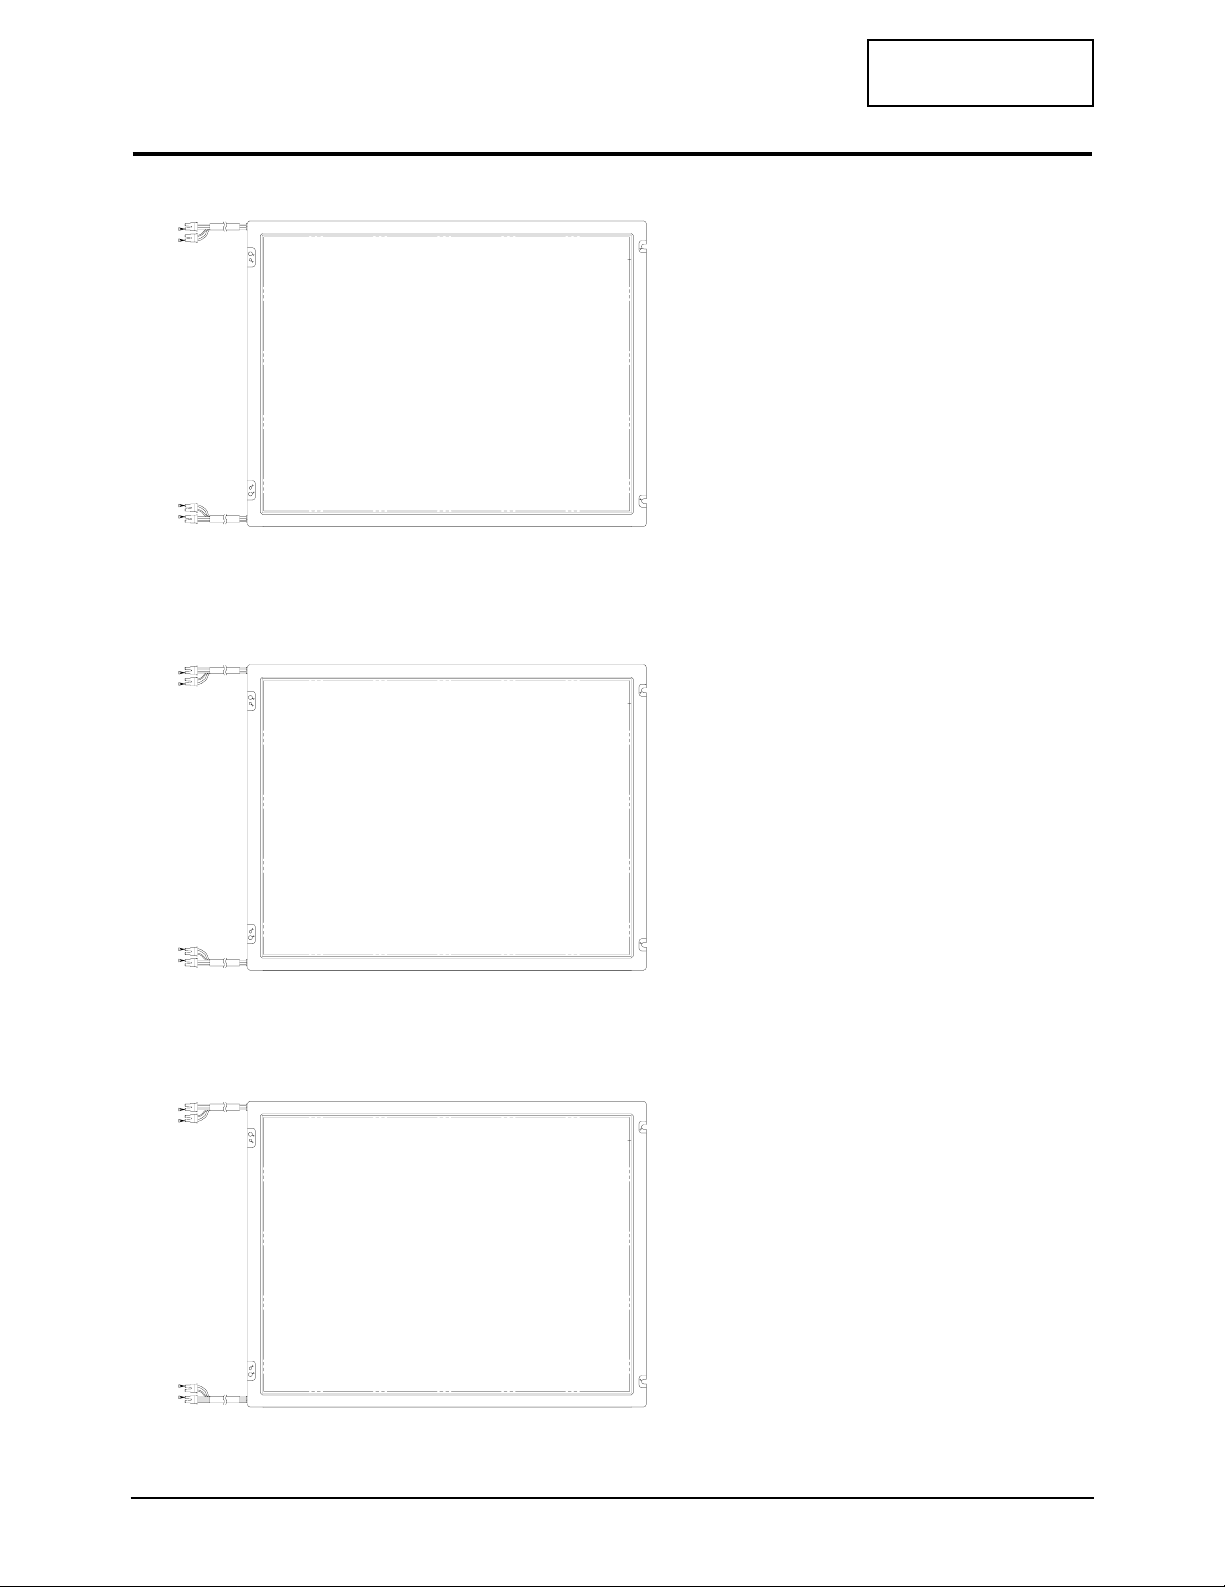
1. After confirm there is nothing
on the disk
Turn the LCD module over
and put it on a flat desk set to
the ground.
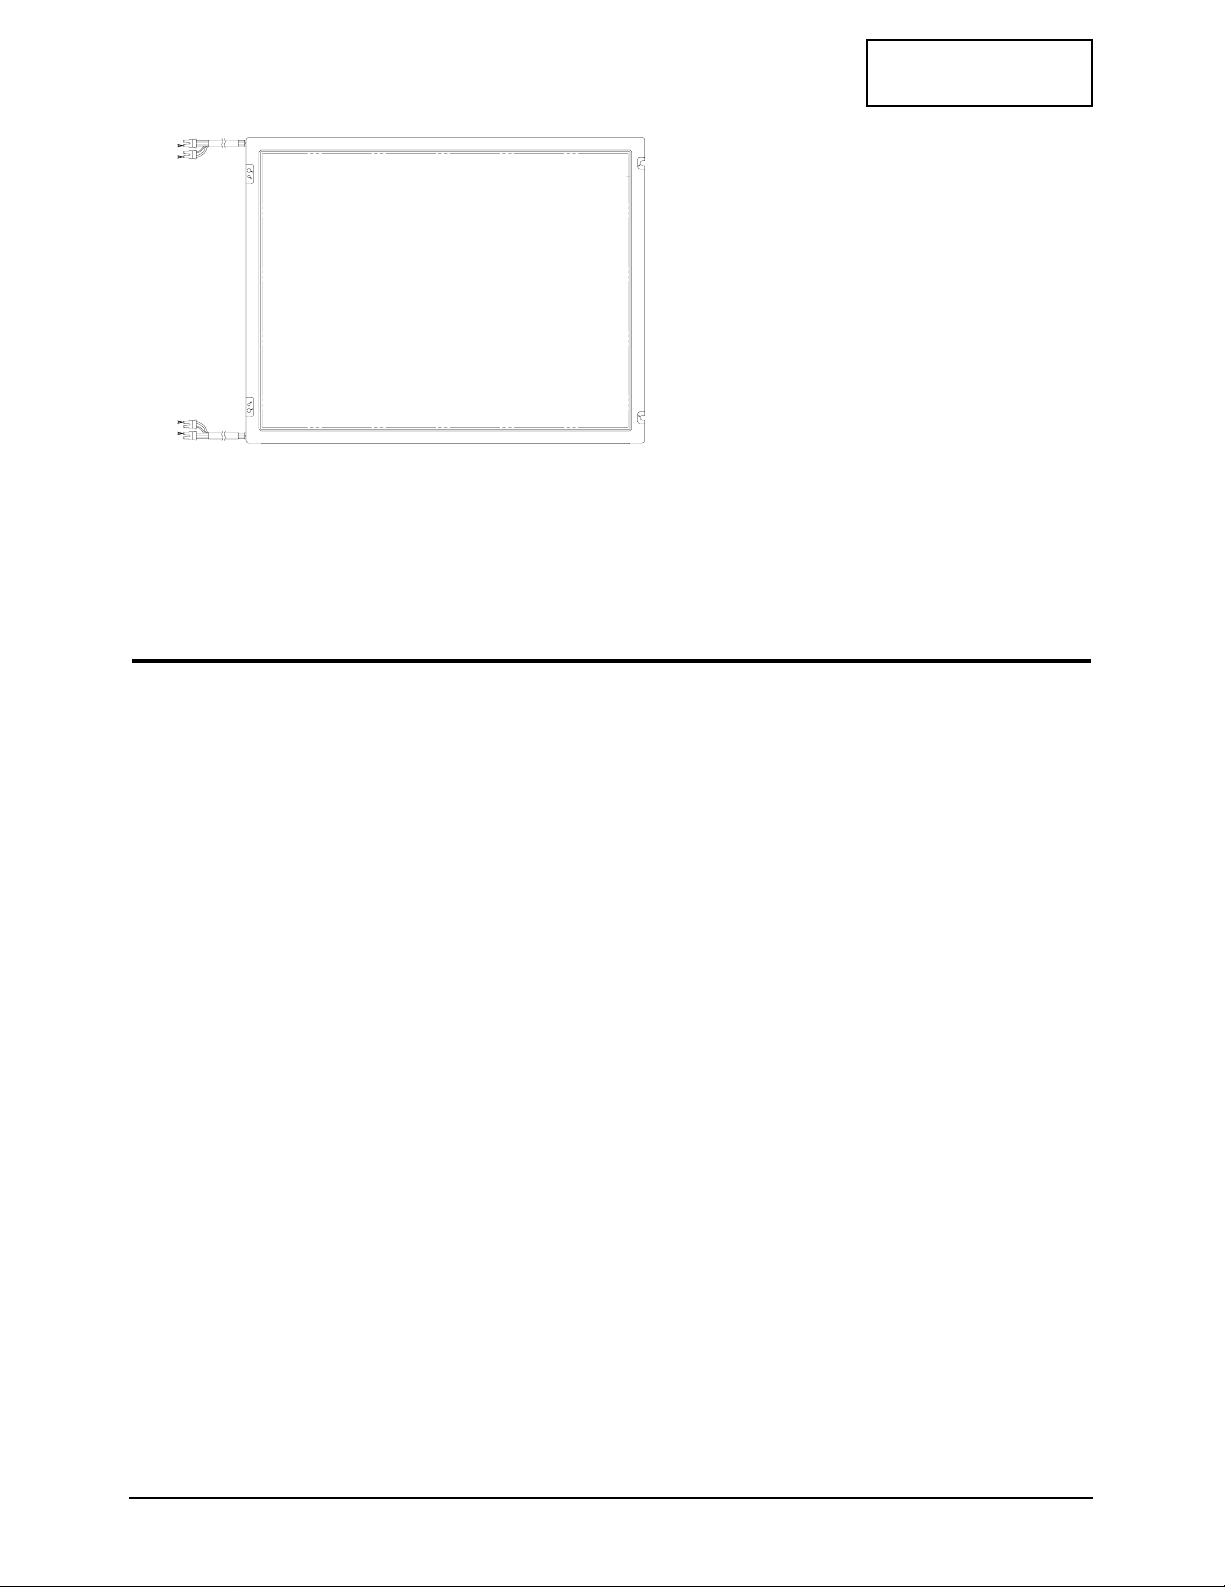
3-2 Replacement Order of Lamp Assemblies
2. Push down the stopper and
slide the lamp unit.
3. Please take out the lamp
unit from the LCD
module.
Page 5
CONFIDENTIAL
3 Disassembly and Reassembly
MO17P*/MO17E* 3-5
4. Please fix the new lamp
units on the LCD module :
opposite process 2 and 3
* Replacement of lamp unit should be done at the power off state and recommanded clean
bench condition.
3-3 Reassembly
Reassembly procedures are in the reverse order of Disassembly procedures.
Page 6

CONFIDENTIAL
Memo
3 Disassembly and Reassembly
3-6 MO17P*/MO17E*
 Loading...