How it Works
Log In / Sign Up
Buy Points
How it Works
FAQ
Contact Us
Questions and Suggestions
Users
Samsung
Loading...
H
HT-C5900
18
HT-C5950
HT-C5950W
HT-C6200
16
HT-C6500
15
HT-C6500-XAA
HT-C650W
9
HT-C650W/XAA
2
HT-C6530
4
HT-C653W
8
HT-C655
HT-C6550
HT-C655W
13
HT-C6600
4
HT-C6600/XAA
HT-C6730
3
HT-C6730W
12
HT-C6730W-XAA
HT-C6750W ALL OS
HT-C6800
17
HT-C6900W
2
HT-C6900W/XAA
HT-C6930
3
HT-C6930W
22
HT-C6930W/XAA
HT-C6930W/XEU
HT-C6950W
4
HT-C720
14
HT-C7200
14
HT-C729
4
HT-C730
8
HT-C7300
12
HT-C750W
2
HT-C750W ALL OS
HT-C7530W
3
HT-C7530W-XAA
HT-C7550
2
HT-C7550W
16
HT-C7559W
4
HT-C9930
9
HT-C9950W
21
HT-C9950W-XAA
2
HT-C9959W
8
HT-D100
HT-D1000
HT-D100S
HT-D150N
HT-D2000
2
HT-D2000B
2
HT-D300
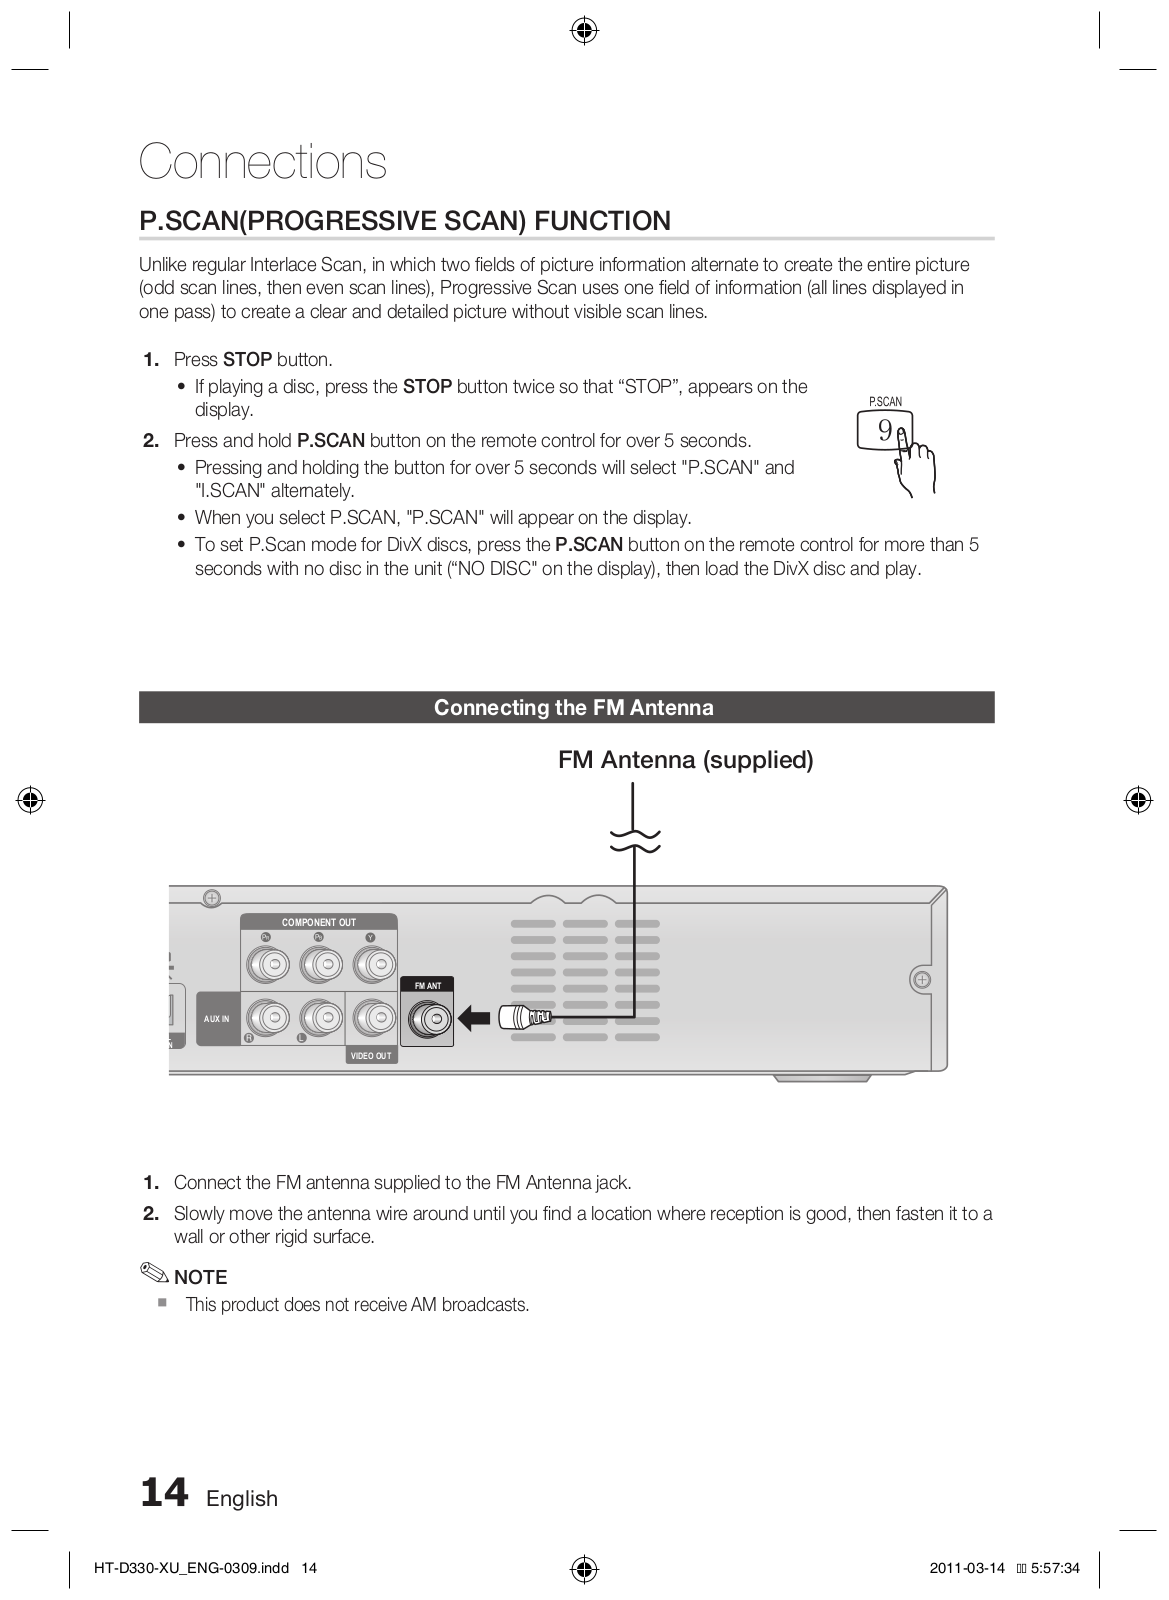
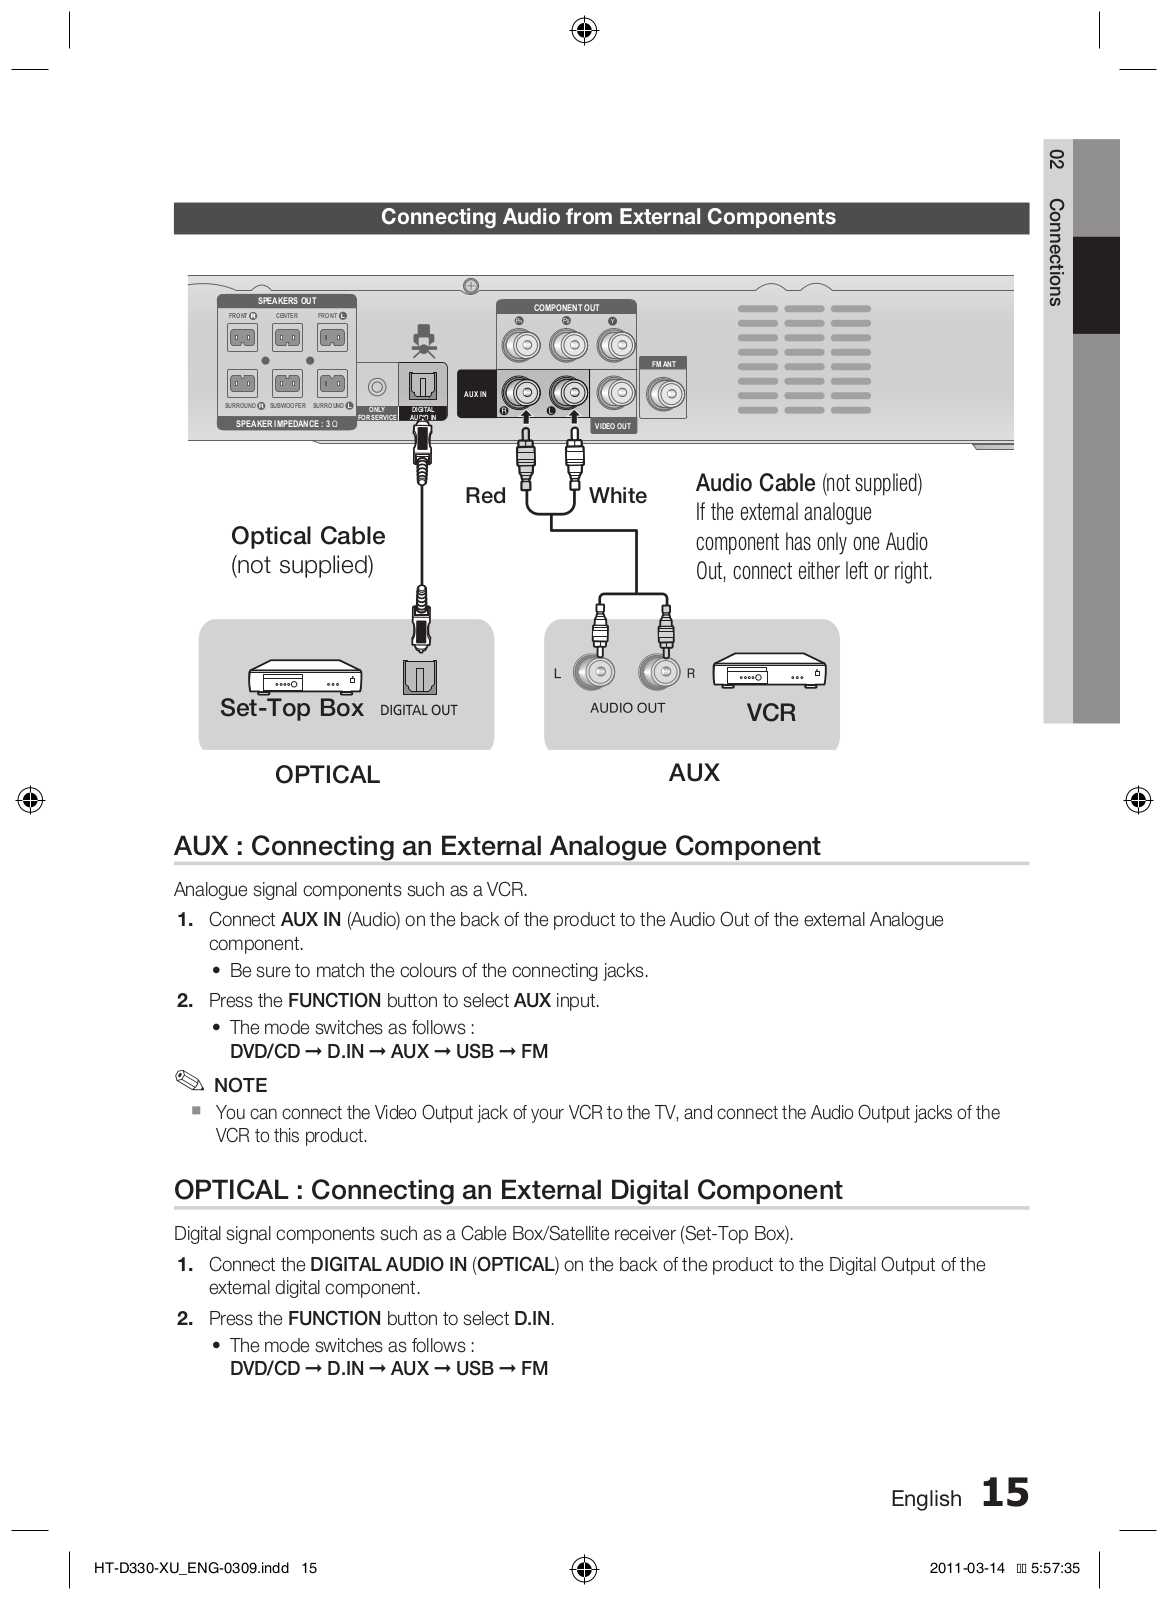
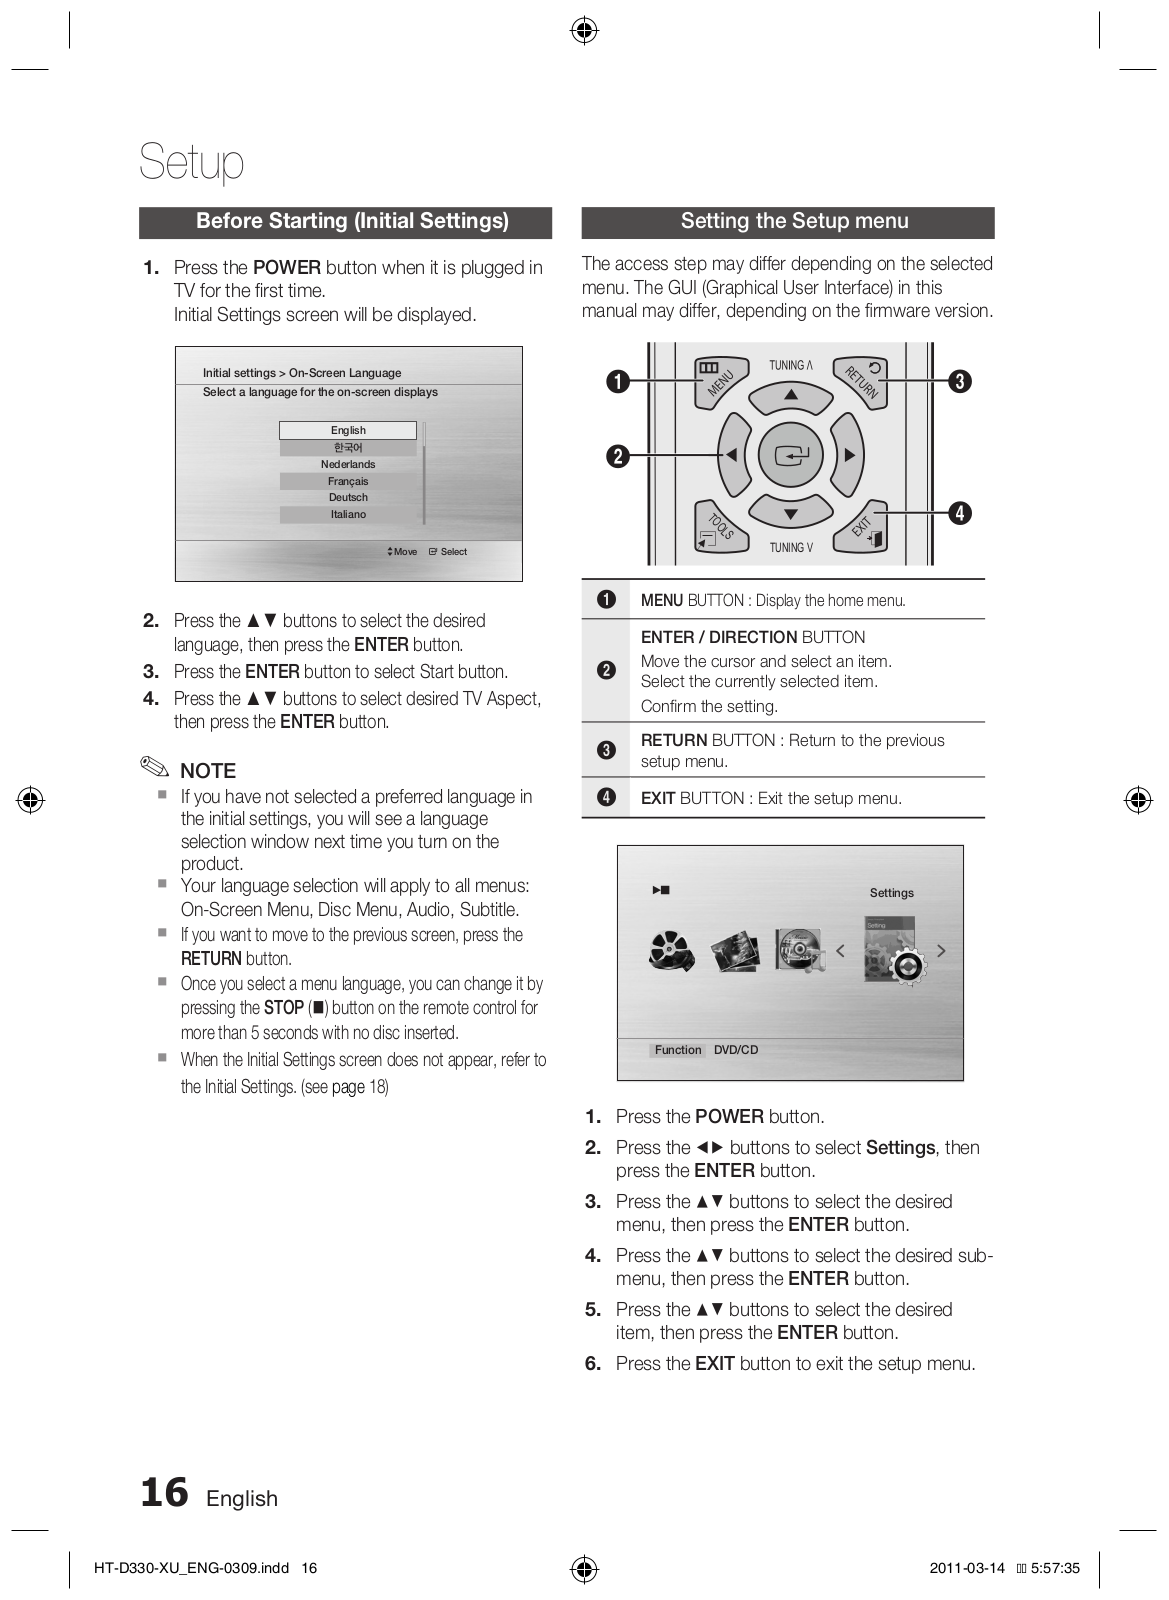
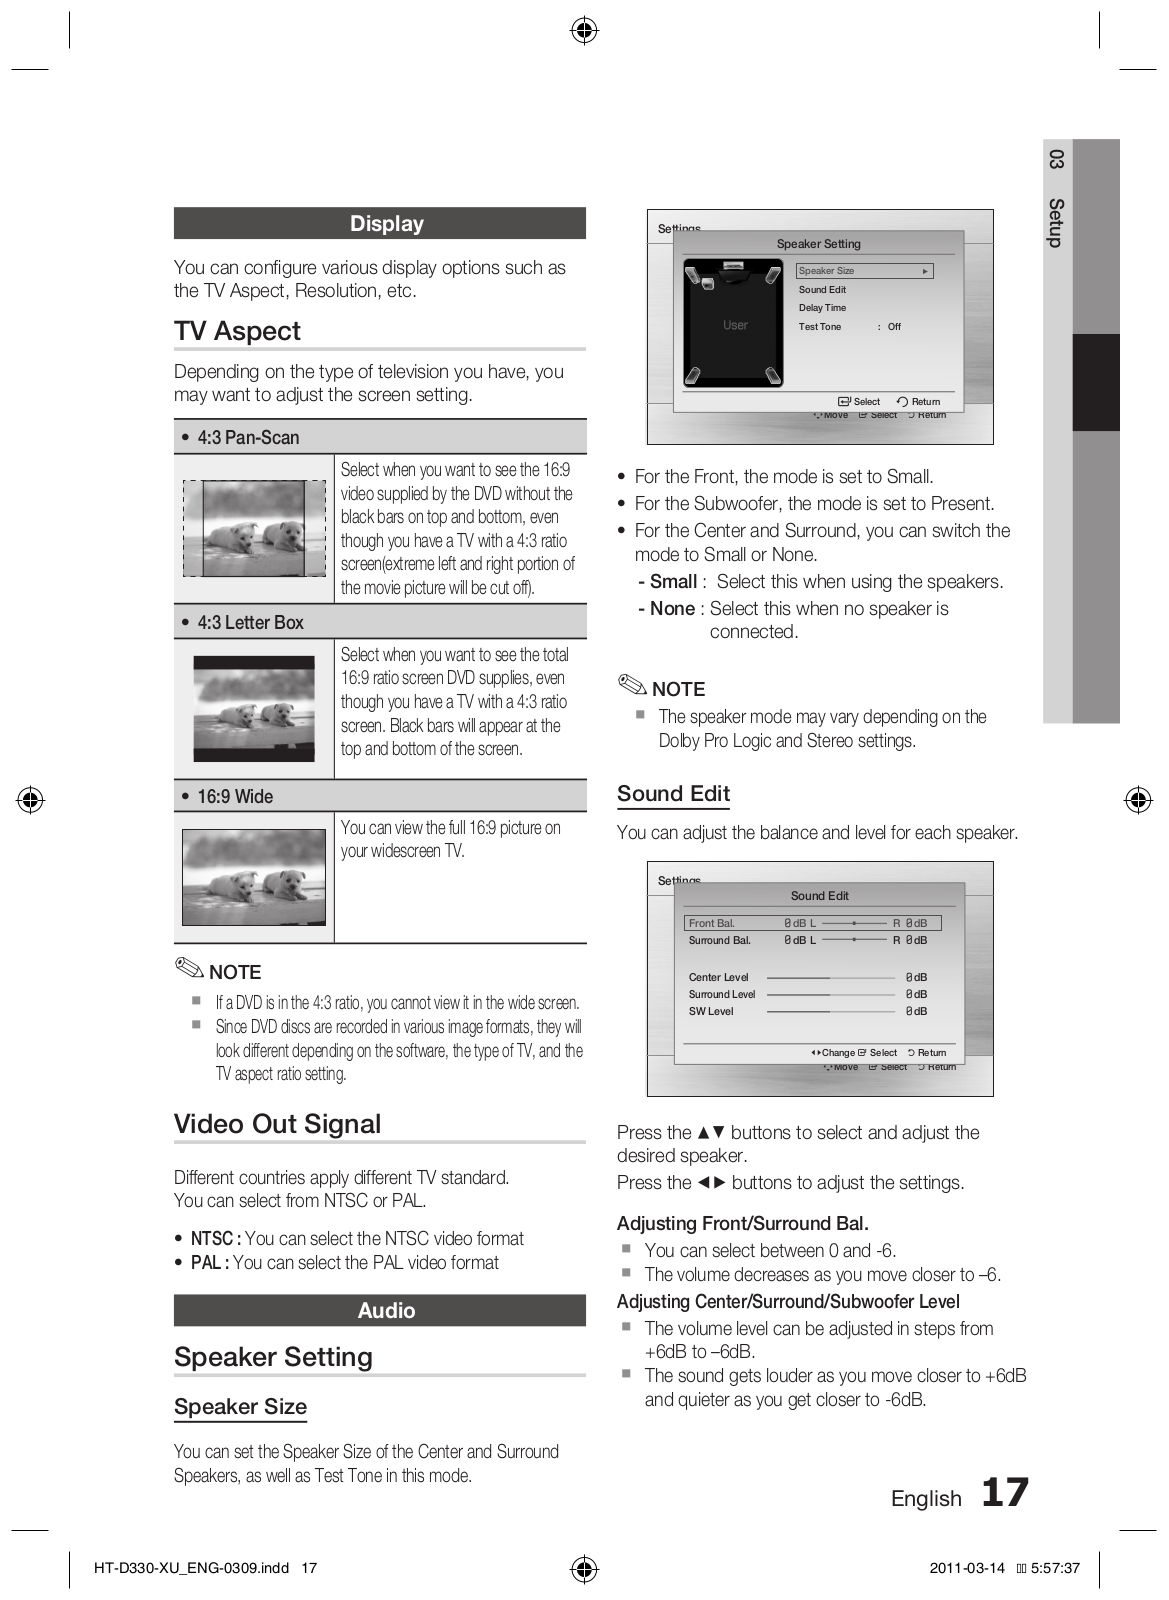
HT-D330
3
HT-D330K
3
HT-D350
11
HT-D350K
4
HT-D350S
HT-D350WXZF
HT-D353HK
4
HT-D353K
HT-D355
6
HT-D355K
3
HT-D400
HT-D4200
9
HT-D4200 2.1ch Home Entertainment System
HT-D423H
3
HT-D445K
HT-D450
4
HT-D4500
10
HT-D4500 5.1ch Home Entertainment System
HT-D4500-ZA
HT-D450K
3
HT-D453
3
HT-D453H
2
HT-D453HK
2
HT-D453K
3
HT-D455
7
HT-D4550
3
HT-D455K
2
HT-D4600
3
HT-D5000
13
HT-D5000 3D Blu-ray 2.1 Home Entertainment System
HT-D5000WXZF
2
HT-D5100
9
HT-D5100 3D Blu-ray 5.1 Home Entertainment System
HT-D5100K
4
HT-D5100-ZC
HT-D5130
2
HT-D5130K
HT-D5150K
HT-D5200
10
HT-D5200WXZF
HT-D5210C
3
HT-D5210C-ZA
HT-D5300
4
HT-D5300-ZA
HT-D5330
3
HT-D5350
3
HT-D550
7
HT-D5500
15
HT-D5500-ZA
HT-D550-ZA
Loading...
Loading...
Nothing found
HT-D330
User Manual
31 pgs
3.44 Mb
0
User Manual [fr]
124 pgs
10.34 Mb
0
User Manual [it]
124 pgs
11.89 Mb
0
Table of contents
Loading...
Samsung HT-D330 User Manual [it]
...
Samsung User Manual [it]
Download
Specifications and Main Features
Frequently Asked Questions
User Manual
Download
Loading...
+
94
hidden pages
Unhide
You need points to download manuals.
1 point = 1 manual.
You can buy points or you can get point for every manual you upload.
Buy points
Upload your manuals
 Loading...