How it Works
Log In / Sign Up
Buy Points
How it Works
FAQ
Contact Us
Questions and Suggestions
Users
Samsung
Loading...
G
GT-I960I
GT-M2310L
GT-M2510
14
GT-M2510L
GT-M2520
4
GT-M2520L
8
GT-M2710
GT-M2710L
8
GT-M3200
6
GT-M3310
2
GT-M3510
20
GT-M3510 Beatz
GT-M3510L
2
GT-M3710
3
GT-M3710 Corby Beat
GT-M3710L
GT-M5650
13
GT-M5650U
10
GT-M7500
5
GT-M7500 EA
GT-M7600
6
GT-M7600B
9
GT-M7600 Beat DJ
GT-M7600H
GT-M7600L
3
GT-M8800
17
GT-M8800B
GT-M8800 Pixon
GT-M8910
16
GT-M8910B
9
GT-N5100
8
GT-N5120
9
GT-N7000
33
GT-N7000 Galaxy Note
GT-N7000ZBADBT
GT-N7005
2
GT-N7100
22
GT-N7100 Galaxy Note II
GT-N7100GRY
GT-N7100WHT
GT-N7105T
GT-N7108
2
GT-N8000
25
GT-N8010
11
GT-N8013EAVXAR
3
GT-N8020
15
GT-N9005
GT-P1000
38
GT-P1000CWAXEU
GT-P1000 Galaxy Tab
GT-P1000L
5
GT-P1000M
GT-P1010
10
GT-P3100
20
GT-P3110
14
GT-P3113
3
GT-P3113TSSXAR
GT-P3113ZWYXAR
GT-P5100
16
GT-P5110
15
GT-P5113
4
GT-P5113TSAXAR
2
GT-P5200
10
GT-P5210
10
GT-P5210X
6
GT-P5210ZWBXAR
2
GT-P5210ZWRXAR
2
GT-P5210ZWSXAR
2
GT-P5210ZWUXAR
2
GT-P5220
7
GT-P6200L
2
GT-P6201
GT-P6210
12
GT-P6210MAAXAR
GT-P6210MAEXAR
2
GT-P6210MAVXAR
GT-P6210MAYXAR
GT-P6211
2
GT-P6800
11
GT-P6800 Galaxy Tab 7.7
GT-P7100
11
GT-P7300
12
GT-P7300L
GT-P7310
14
GT-P7310MAAXAR
2
GT-P7310MAEXAR
GT-P7310UWAXAR
2
GT-P7310UWEXAR
2
GT-P7320
9
GT-P7320T
4
GT-P7500
23
GT-P7500D
GT-P7500L
GT-P7500M
GT-P7500R
GT-P7500V
GT-P7501
2
GT-P7501UWEDBT
GT-P7510
21
GT-P7510FKASPR
Loading...
Loading...
Nothing found
GT-P1000L
User Manual
93 pgs
3.06 Mb
0
QUICK START GUIDE [es]
75 pgs
4.7 Mb
0
User Manual
78 pgs
2.42 Mb
0
User Manual
82 pgs
2.37 Mb
0
Users Manual
54 pgs
783.46 Kb
0
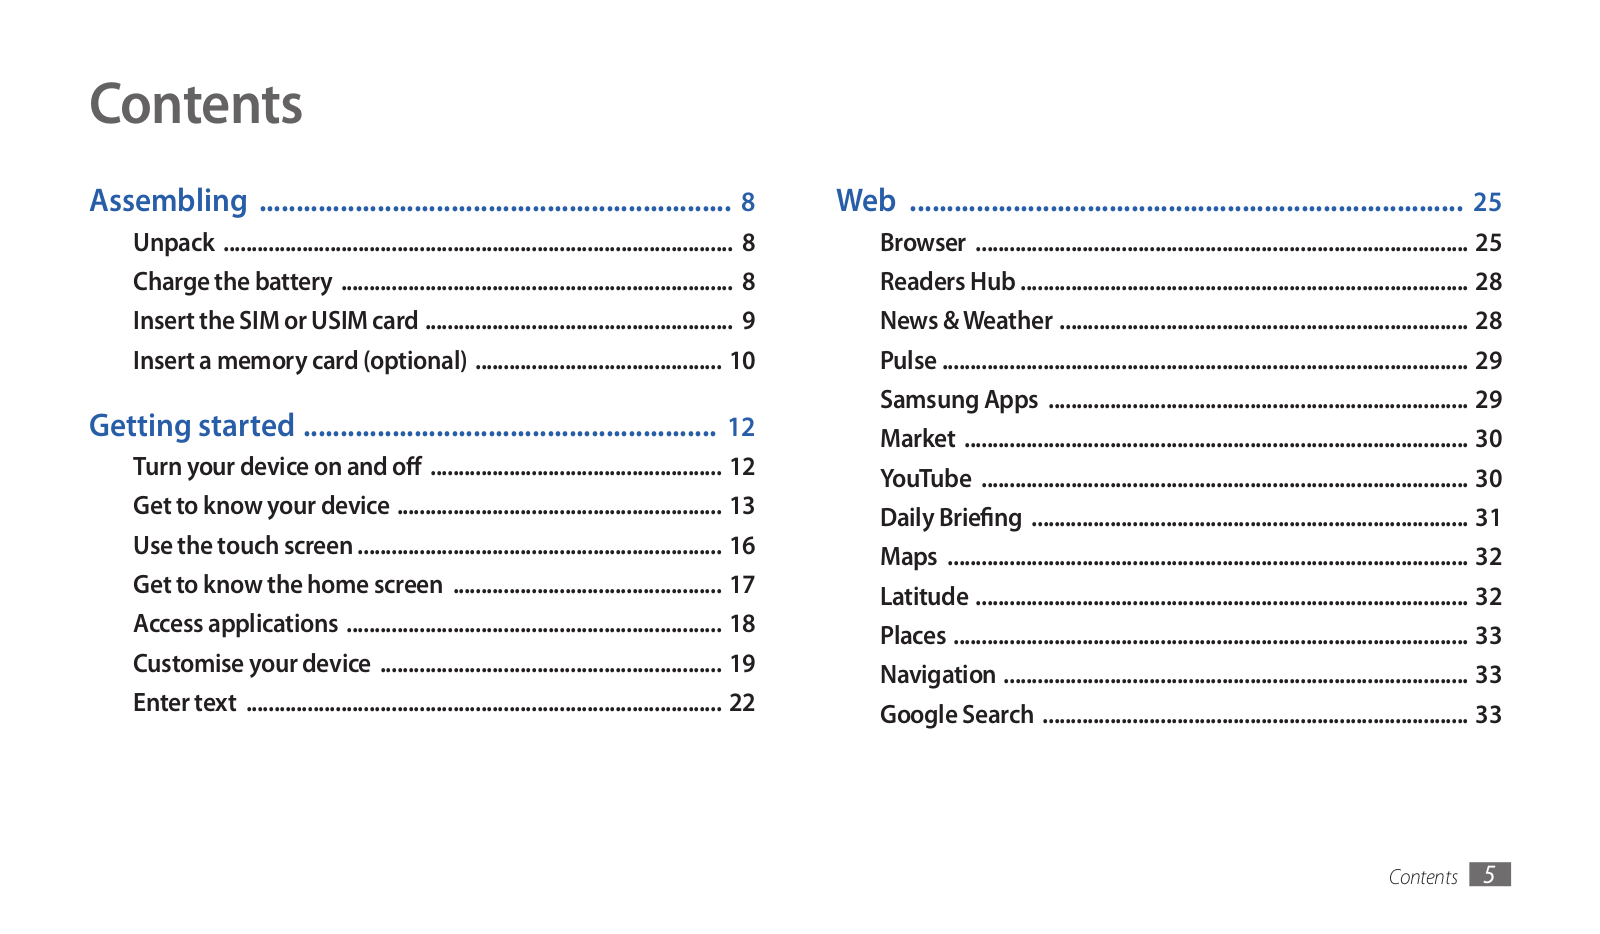
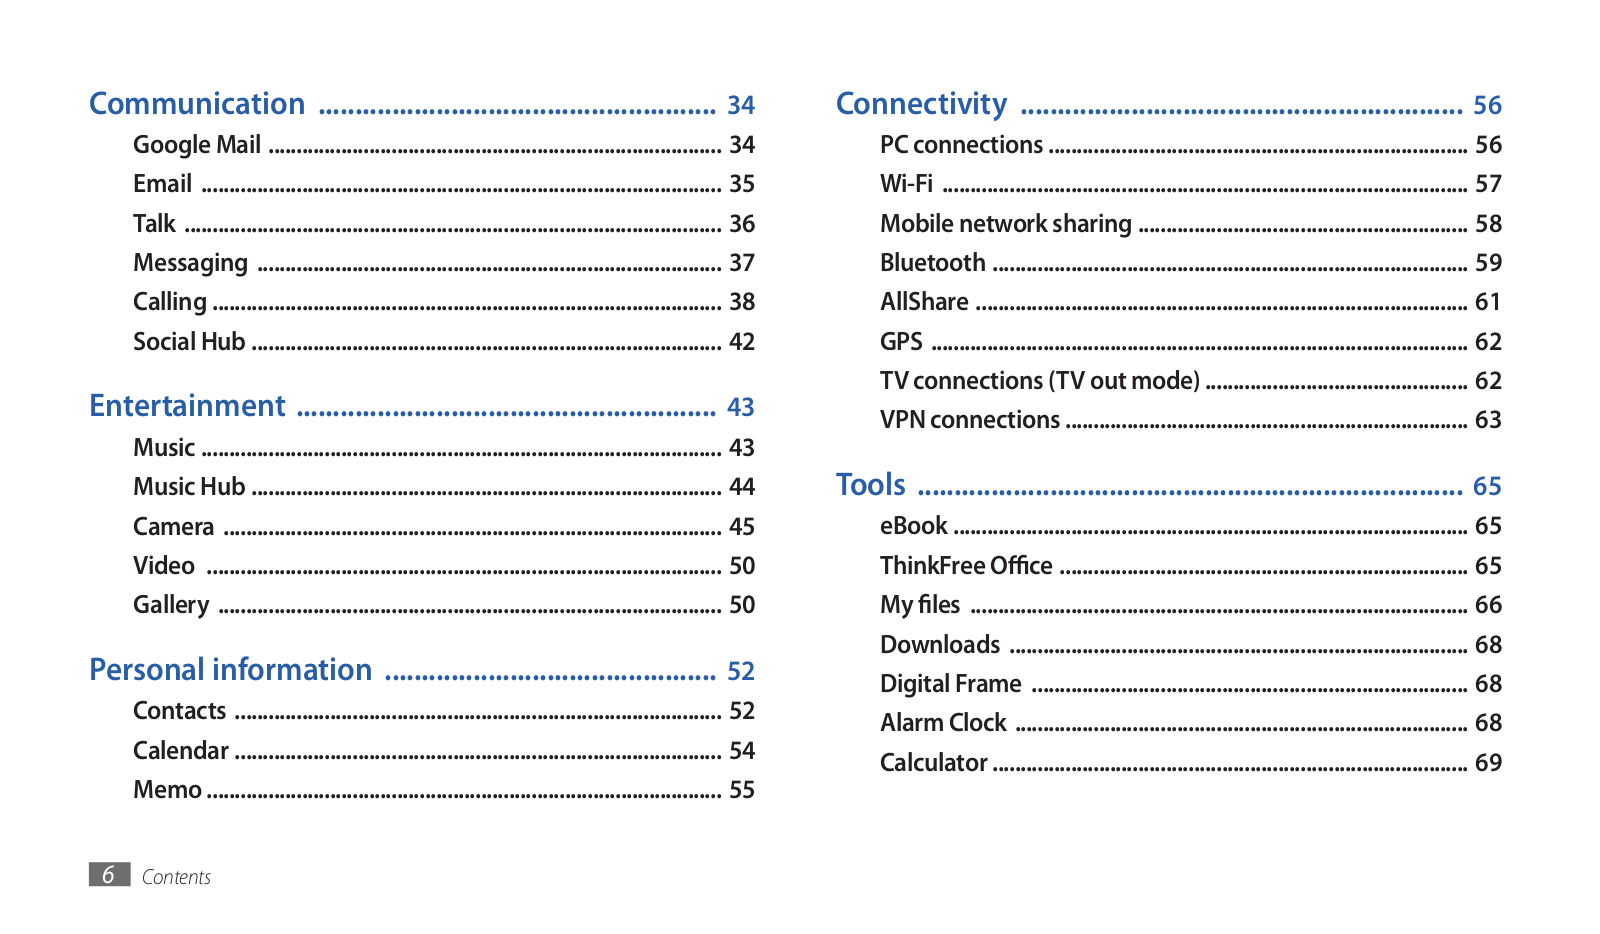
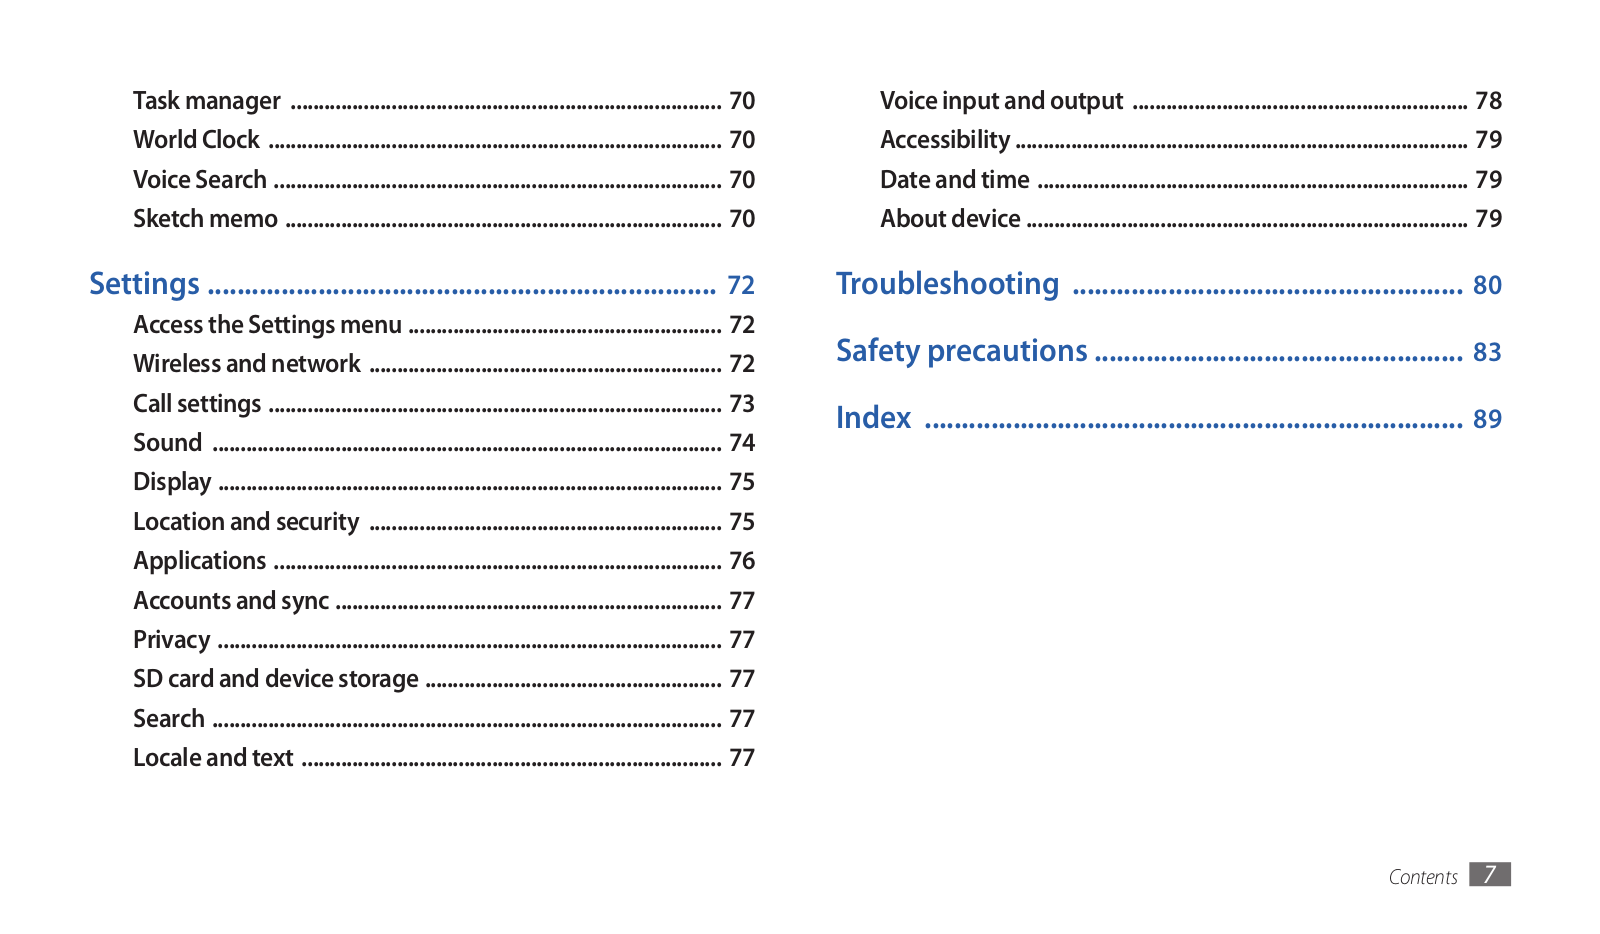
Table of contents
Loading...
Samsung GT-P1000L User Manual
...
Samsung User Manual
Download
Specifications and Main Features
Frequently Asked Questions
User Manual
Download
Loading...
+
65
hidden pages
Unhide
You need points to download manuals.
1 point = 1 manual.
You can buy points or you can get point for every manual you upload.
Buy points
Upload your manuals
 Loading...