

November 2010 Volume 4, Issue 11 Consumer Electronics Newsletter
Samsung Electronics America
Samsung Tech Talk
Your source for service information
Inside this issue:
Setting Up C
Model Hotel TVs
Another Avenue
for Tech Support
Samsung Product
Support TV: Videos
for You
Resolving the
Most Common
Home Theater
NDF Issue
Hot Tech Tips
TV Troubleshooting Test Patterns
Corrected
Plasma TV Repair
Made Simple, Part
2
Samsung’s
Thanksgiving Dinner
1
2
4
6
8
12
13
16
Setting Up C Model Hotel TVs
Scott Whitman
Manager—Product Support
Whenever the ―SI Vendor‖ parameter in the
interactive menu is changed in a C Model
Hotel TV, the TV needs a hard reboot to
load the new information correctly. To do
this properly, follow these steps:
1. After you have finished changing the
settings in the interactive menu, power
down the TV using the remote control.
2. After the TV turns off, unplug the TV
from the AC receptacle.
3. Leave the set unplugged until the red
LED on the front bezel is completely
extinguished. This should take about
10 to 20 seconds.
4. Plug the TV back in, turn it on, and
then test for proper operation using the
vendor’s remote control.
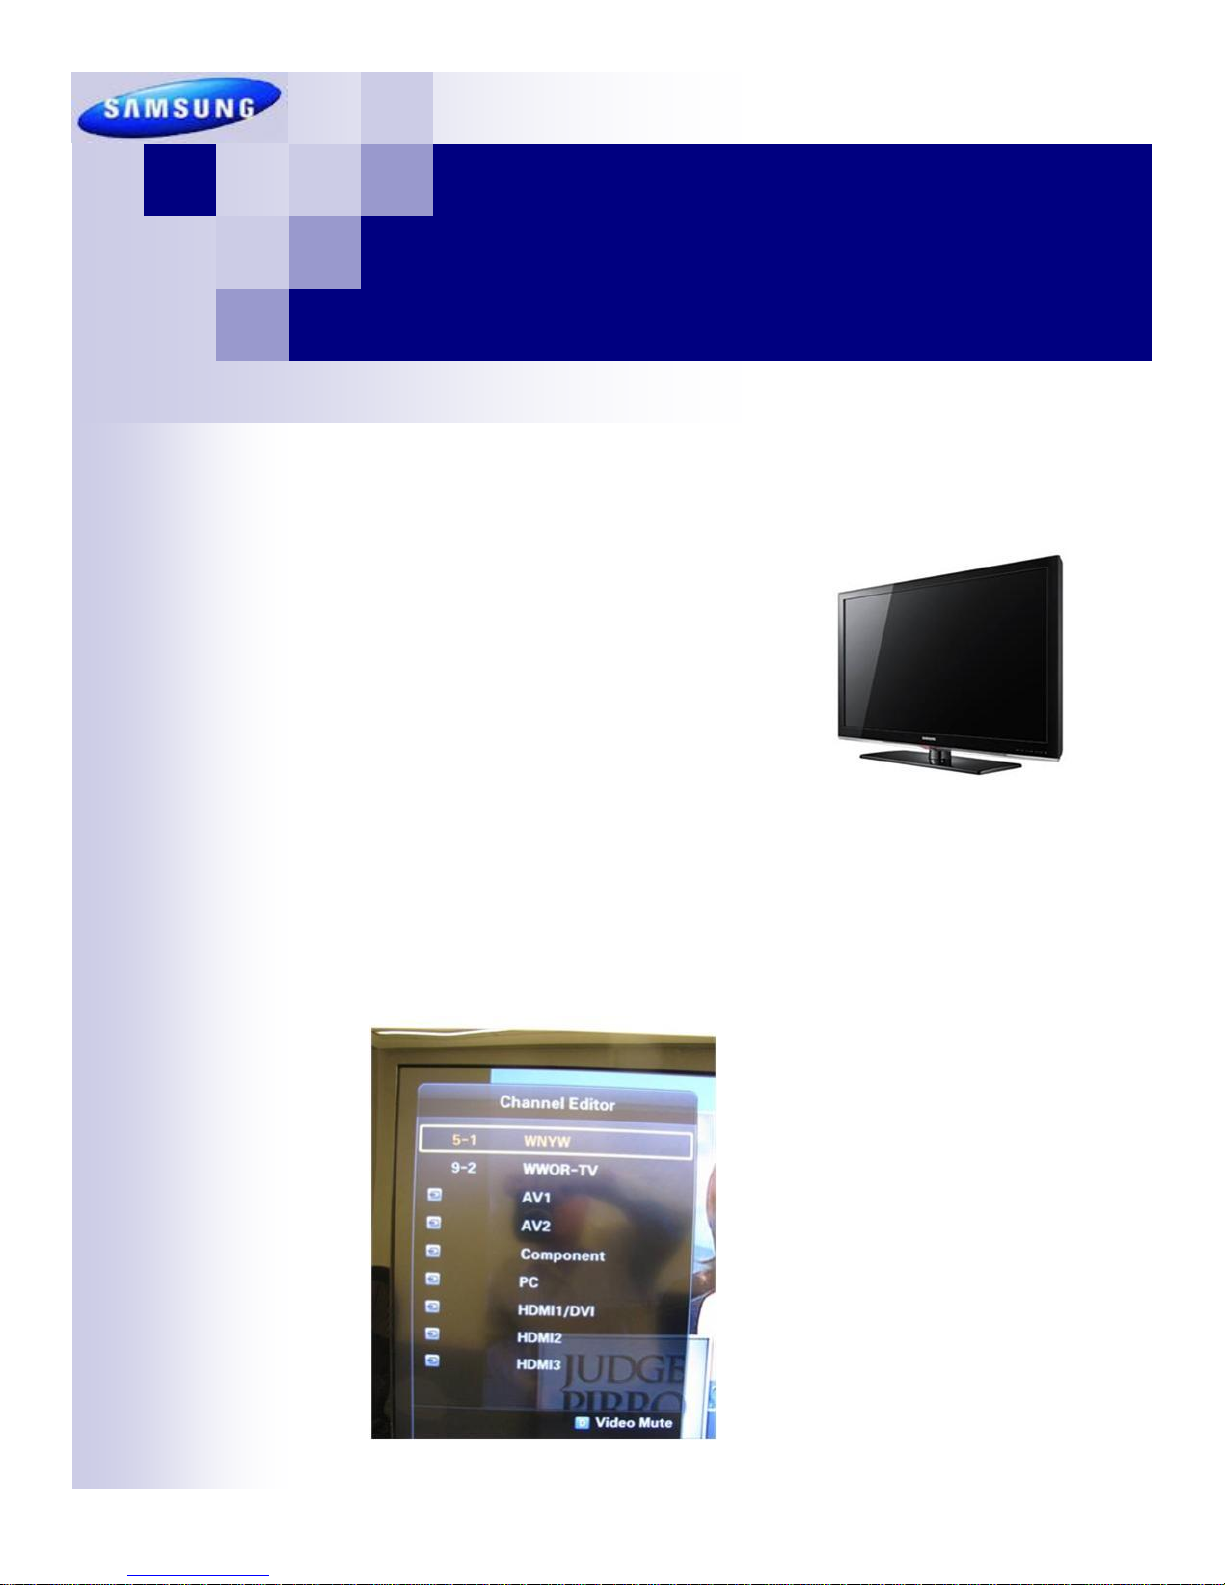
Remapping Channels
To remap channels using Channel Editor
on the C model Hotel TVs, follow these
steps:
1. Turn the ―Dynamic SI‖ feature ―OFF‖.
―Dynamic SI‖ monitors for the addition
of sub channels and automatically
adds them to the list. To remap, this
feature must be off.
2. In the ―Channel Editor‖ menu, select
the channel or source that you want
changed, and then press the ―Tools‖
button on the Samsung remote control.
3. Select ―Edit Channel Number‖ and
then scroll through the available channels to the one desired and press
―Enter‖.
Trick: To change to the root channel (i.e.
from 5-1 to 5), you must select another
channel number and save, and then repeat and select the final channel number.
Volume 4, Issue 11 Consumer Electronics Newsletter Samsung Tech Talk
Another Avenue for Tech Support
Adam Vogel
Product Support
We’ve all been there a time or two, stuck with the TV that we simply don’t know how to fix. We’ve exhausted our efforts
looking through the technical tips and service bulletins, but the TV’s problem simply isn’t there. If you are facing this kind
of predicament, we now have an answer: Tech Support’s new and ever growing ―Repair Assistance‖ portal on GSPN.
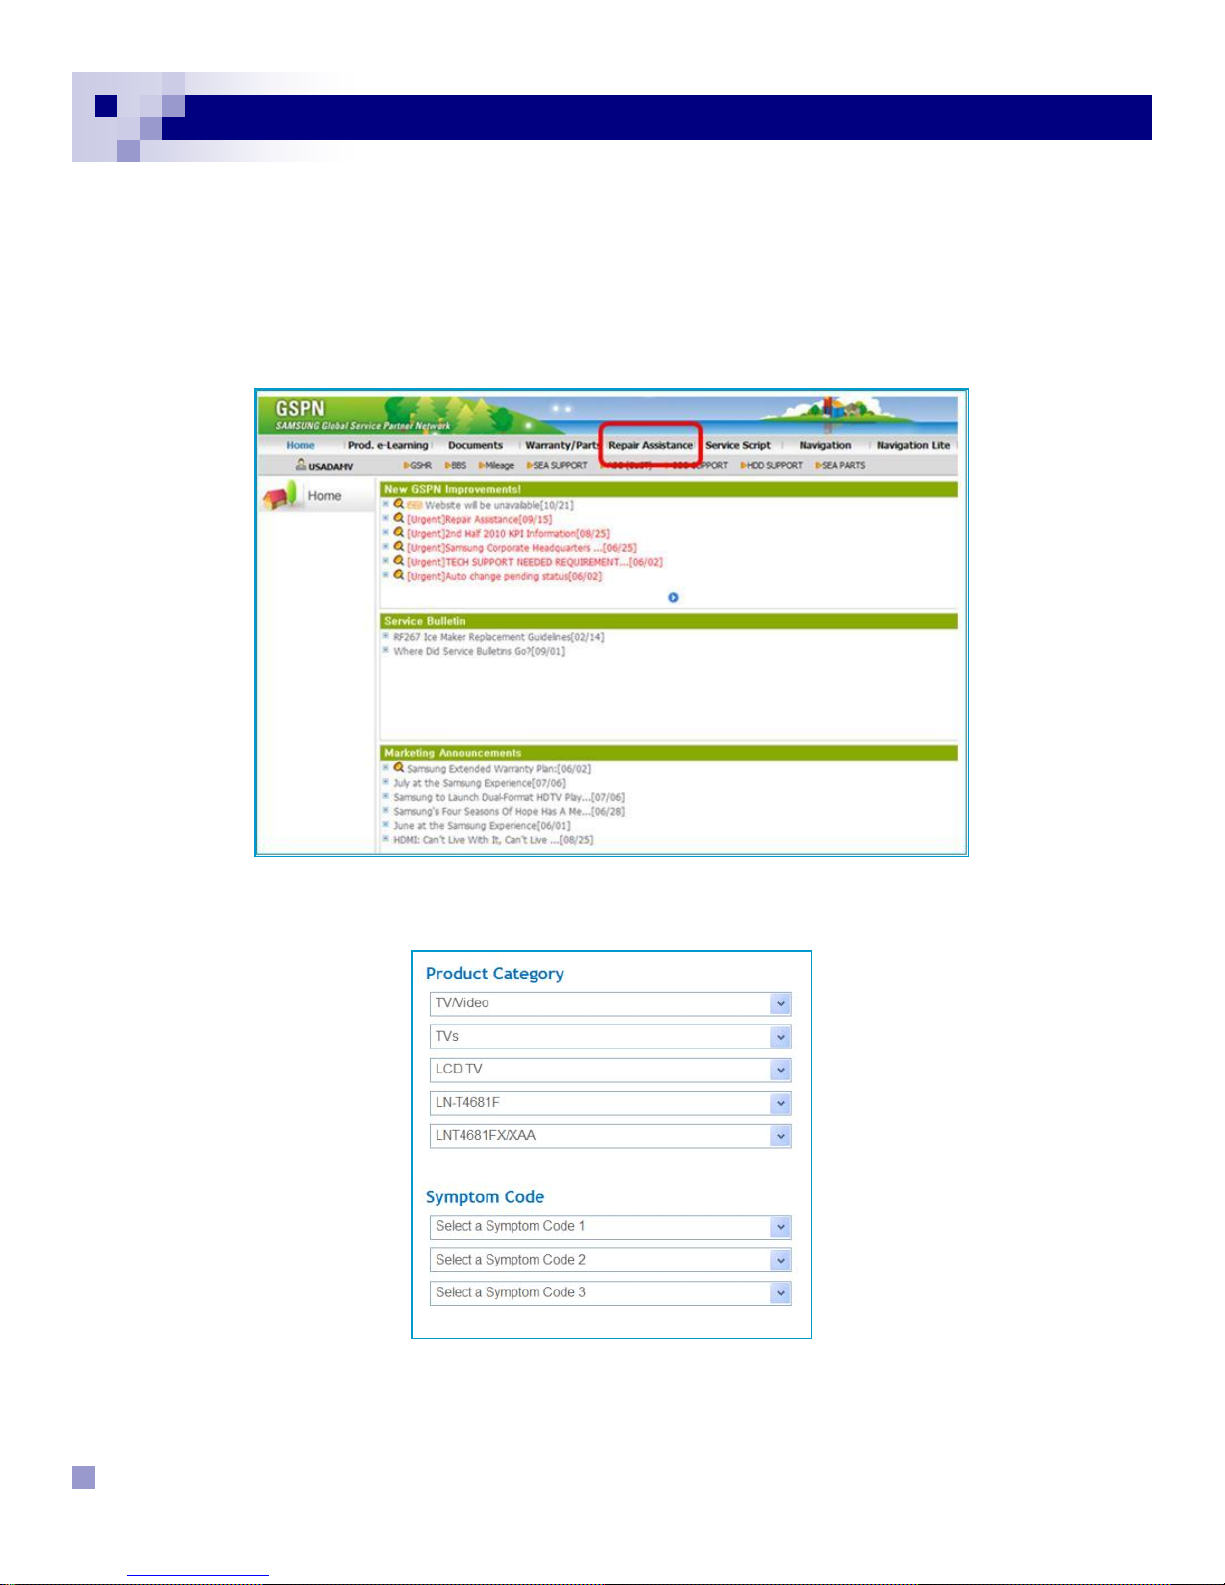
Under the new Repair Assistance tab, you will find a ―model code‖ search box as well as 5 ―product category‖ drop down
boxes. Simply enter the model number in question, or use the drop down boxes to make your model selection.
Once the model number is populated in the 5th drop down box, you are then ready to fill out the ―Symptom Code‖ infor-
mation. For the majority of your repair situations, you will choose option 04-Quality/Trouble in the first drop down box.
Page 2
Volume 4, Issue 11 Consumer Electronics Newsletter Samsung Tech Talk
Another Avenue for Tech Support
continued
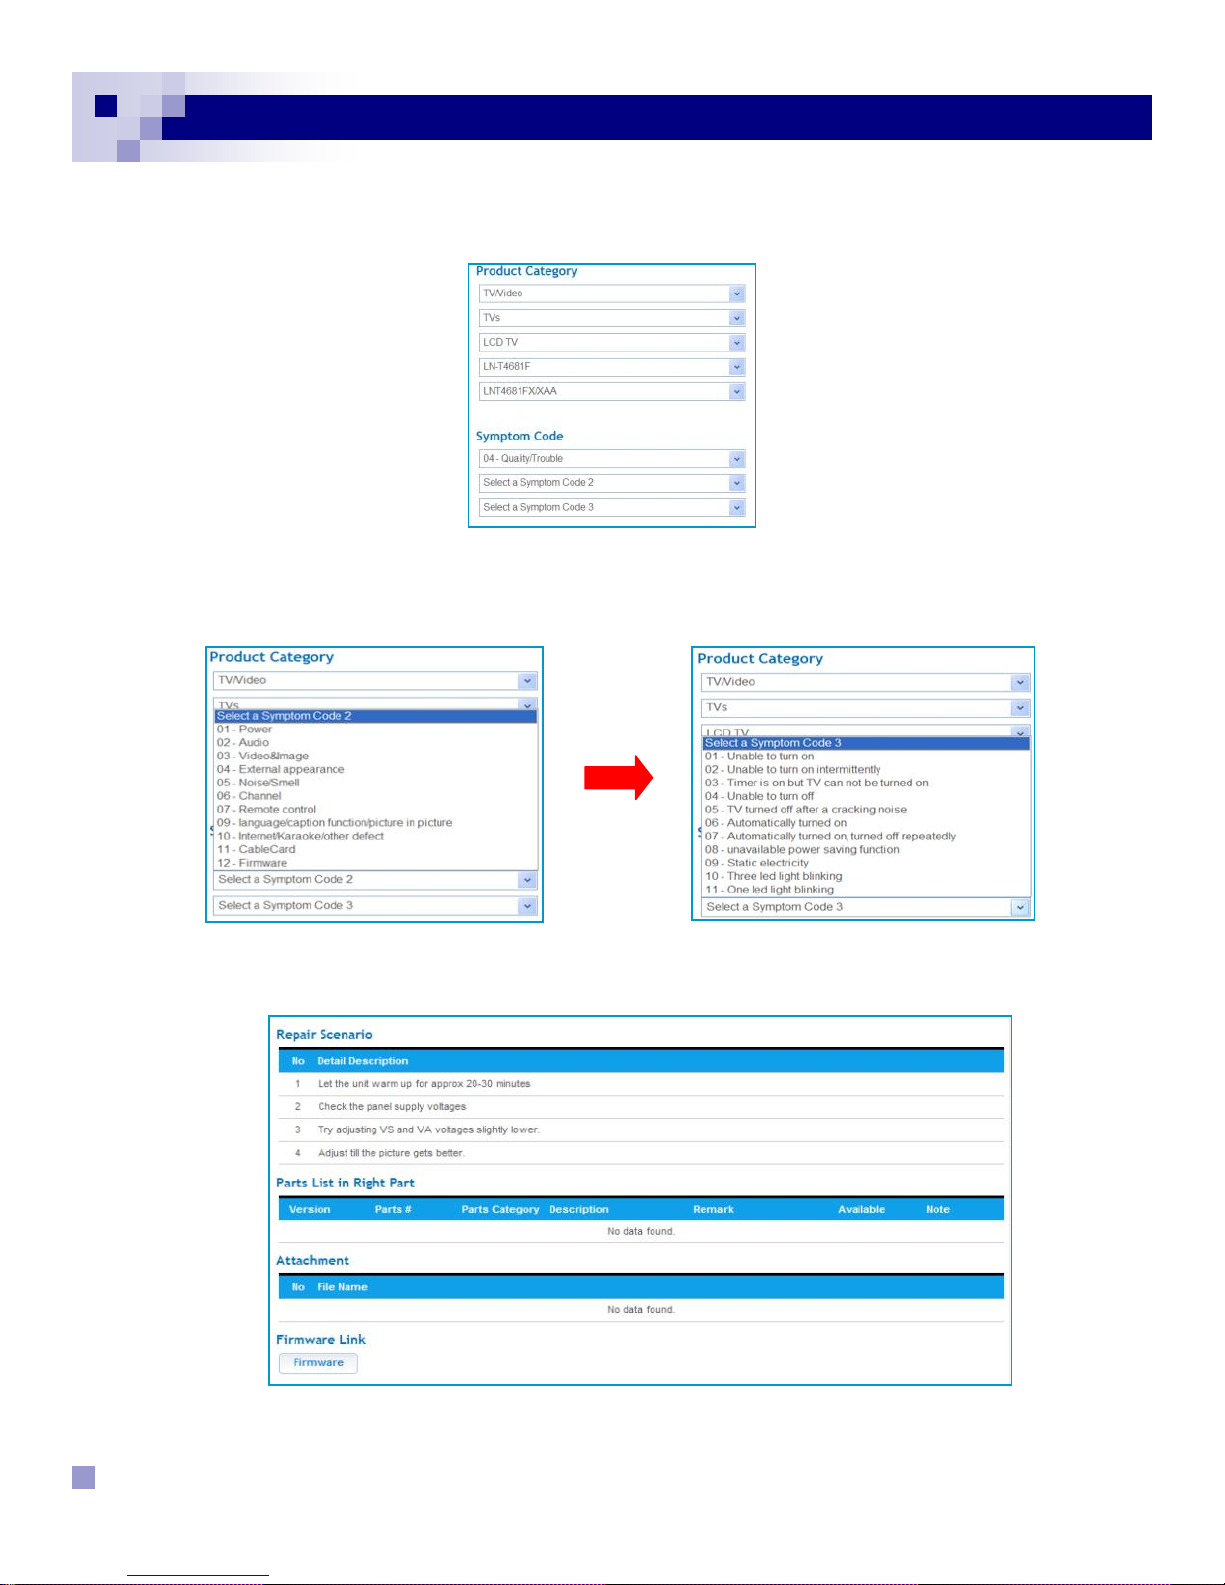
From there, you choose selections from two more drop down filters to pinpoint the problem you are facing.
Symptom Code 2 Symptom Code 3
Once you have all drop down filters correctly filled out, hit the ―Search‖ button at the bottom of the screen. After a few
seconds of loading, a repair scenario should appear, instructing you how to begin repairing the unit.
Please keep in mind, this is a new feature and not all models have been populated with information.
Page 3

Volume 4, Issue 11 Consumer Electronics Newsletter Samsung Tech Talk
Samsung Product Support TV—Videos for You
Scott Whitman and Adam Vogel
Manager—Product Support, Product Support Specialist
Want to know how to disassemble or troubleshoot the UN9000 LED?
Maybe you don’t know how because you just started as a Samsung servicer. Or maybe you just hired a new technician
and you want the tech to get up to speed fast. In either case, Product Support has started a video how-to library covering
2010 product and has uploaded videos to SPSTV just for you. We started with the UN9000 due to its unusual configuration. Shortly, we will be adding the PDP models. And of course, there are the 2010 TV product basic videos already uploaded that you can view at your convenience.
To Log In
To log in, go to www.samsungsupport.com/spsntv/. On the login screen enter:
Username: samsungvd
Password: samsung83
After you have logged in, this is what the screen will look like:
Page 4
Viewing Area
Past shows you can view.
Volume 4, Issue 11 Consumer Electronics Newsletter Samsung Tech Talk
Samsung Product Support TV—Videos for You
continued
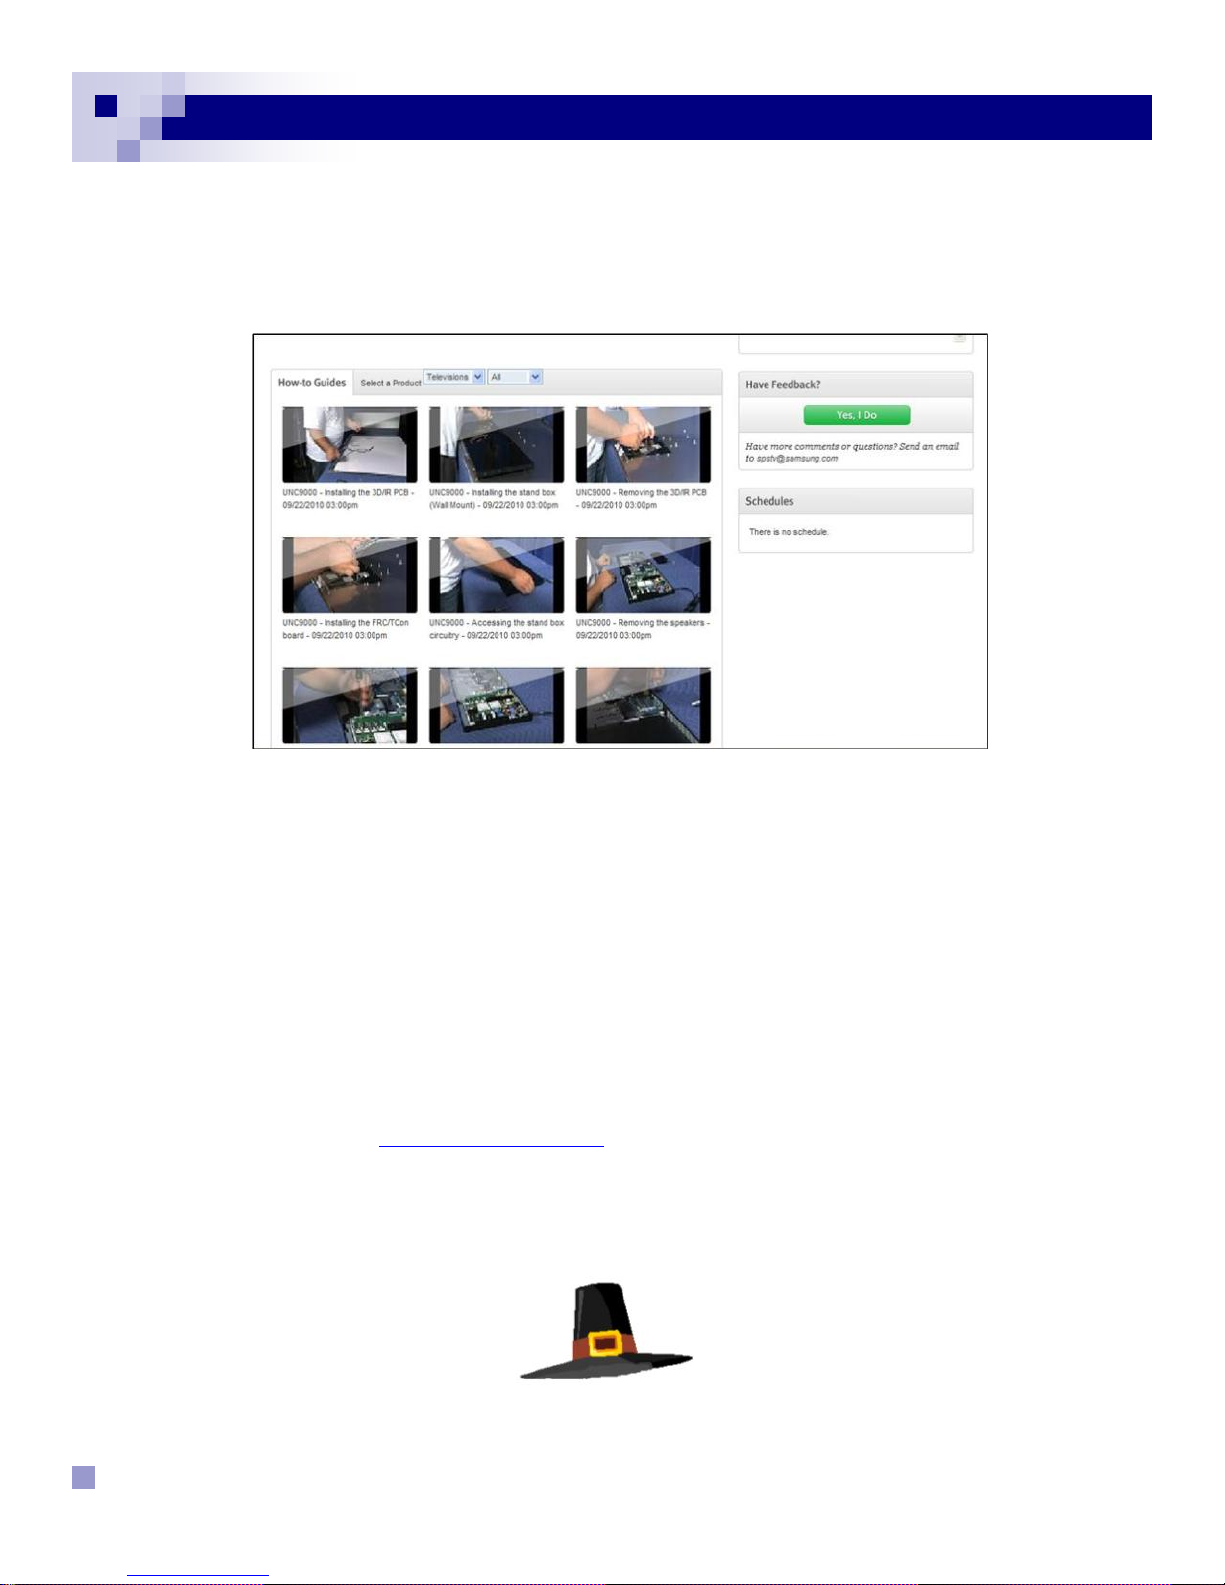
If you scroll down, you will see a list of videos that we have recently posted:
We created this library of service and repair videos for you. Log in and view them. They are chock full of information you
can use right now. Check out the videos today.
Also, if there is a Samsung product or a repair issue you would like to see a video on, send us an e-mail at avogel@sea.samsung.com or productsupport@sea.samsung.com.
Note: SPSTV is fully compatible with Internet Explorer only. It is not fully compatible with Firefox. If you use Firefox,
some portions of SPSTV will not work correctly.
Customer Access to SPSTV
Your customers can also access SPSTV for how-to video guides, weekly live-shows, and interactive chat sessions, all
oriented to customer needs and concerns. In fact, SPSTV offers over 150 how-to videos covering topics from setting up
a Samsung TV to syncing a Samsung mobile phone with a laptop. New videos are added weekly.
Customers can access SPSTV at www.samsung.com/spstv.
Important: Do not give customers the samsungsupport address, Username, or
Password. These are for technicians only.
Page 5

Volume 4, Issue 11 Consumer Electronics Newsletter Samsung Tech Talk
Resolving the Most Common Home Theater NDF Issue
Michael Vigliotti
Product Support
The most common Home Theater, No Defect Found (NDF) issue is when a customer complains that a Home Theater’s
rear speakers (usually wireless) are not working. Most of the time, you can resolve this issue by following these steps:
Complete a Test Tone.
Check the light on the back of the wireless speaker module.
Check the connections of the speakers.
See if the TX card is inserted.
If everything is OK, educate the customer by explaining how wireless rear speakers work.
Run a Test Tone – Run a test tone to find out if the customer’s speakers are connected correctly. If the test tone works
and you hear white noise out of each speaker, then you know the speakers are connected correctly and you can skip
directly to ―educating the customer‖. If the test tone fails, proceed to the next step.
Check the Light – If the rear speakers have no audio during the test tone, check the light on the back of the rear wire-
less module. If the light is solid BLUE, then you know that the connection between the front receiver and the back speakers is good and you can proceed to the next step. If the light is RED or BLUE AND BLINKING, skip the next step and
check the TX card.
Check Speaker Connections – Only check the connections if the light on the TX Card is blue and you still get no sound
out of the rear speakers when you run a test tone. Some customers think that the wireless speaker system does not
need any wires. This is not true. You need to connect a wire from each rear wireless speaker to the wireless module.
Without this connection, the customer will not hear any sound. If the wireless speakers are not connected to the wireless
module, connect them, then skip the ―Check the TX card‖ step and educate the customer about connecting each wire-
less speaker to the wireless module.
Check the TX card – The TX card might not be inserted into the back of the HTS main unit. This has to be done on all
models, except for the HT-C75xx which has it built in. If the TX card is inserted and the connections are good, then the
only thing you can do is try to re-sync the main unit to the wireless module. To re-sync, turn off the main unit, and then
use a pin to press the ID set button on the wireless module. While the blue light is blinking, press Mute > 0 > 1 > 3 > 5 >
Power on the remote control, and then wait for the main unit to turn on. If you do not see a solid blue light, repeat this
step 2 to 3 times. In the worst case scenario, you will need to service the unit.
Educate the Customer – This is all you have to do if the test tone completed successfully. Some customers just do not
understand how surround sound works. If you need help explaining surround to customers, just follow these guidelines:
First, find out if the customer is listening to a 2.1, 5.1, or 7.1 audio track. With 2.1, you can set the audio to play 2 ways:
as 2.1 sound from the Front Left, Front Right and Subwoofer, or as simulated surround which uses all the speakers. If
the customer complains that the rear speakers are not working and he is listening to 2.1 audio, explain that he can press
the PLII Mode button and set the HTS to Prologic or Matrix and get simulated surround sound.
With 5.1/7.1 audio, the HTS cannot simulate surround. It can only reproduce what is on the sound track. If the movie has
a lot of background noise, you will hear that noise in the rear speakers. If there is little to no background noise, then only
the front speakers will output audio. Ask the customer to fast forward to a noisy scene such as a crowded room or an
Page 6
 Loading...