

Samsung AWT17QBHDBD, AWT18QBHDBD, AWT18QBHDDD, AWT18QBHDDK, AWT17QBHDBK User Manual
...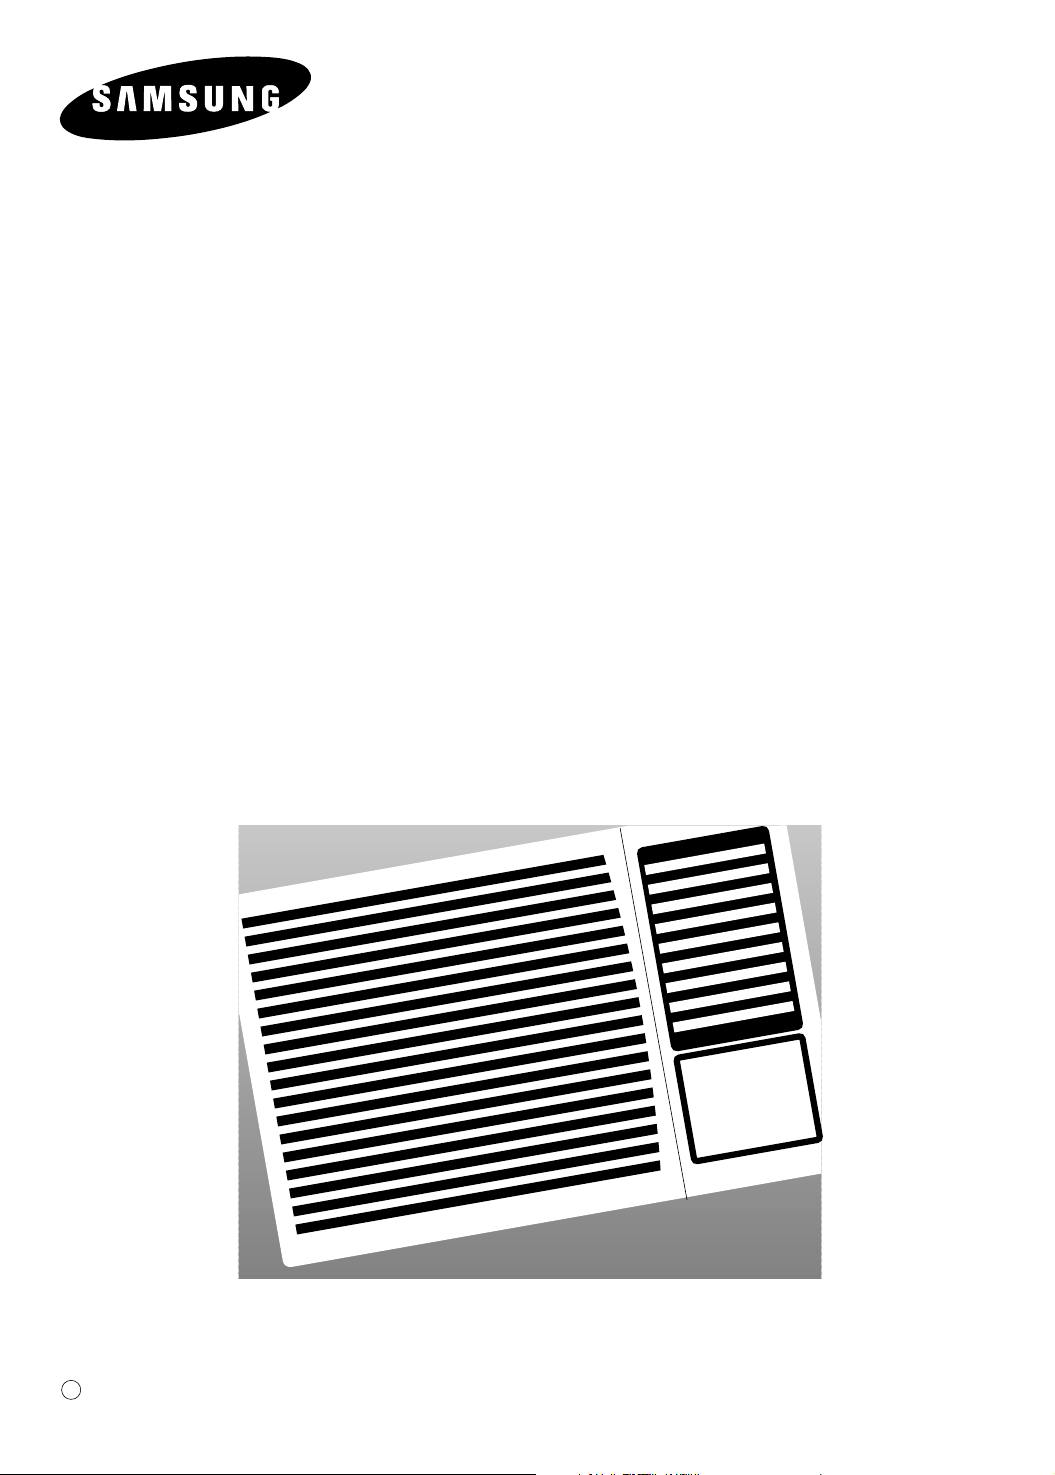
Window-type Room Air Conditioner
(Cool)
E
DB98-15151A(1)
OWNER’S
INSTRUCTIONS
AWT18QBHDA
AWT17QBHD***/XTL
AWT18QBHD***/XTL
MODEL CODE:
E-2
The manufacturer does not assume responsibility for accidents or injury
caused by an incorrectly installed air conditioner. If you are unsure about
installation, contact an installation specialist.
CCCCAAAAUUUUTTTTIIIIOOOONN
NN
The following safety precautions must be taken when using your air conditioner.
Safety Precautions
1 The unit must be plugged into an independent circuit.
The air conditioner must be installed in accordance with national wiring regulations and
safety regulations wherever applicable.
2 Some installation locations may require installation of a short circuit breaker or grounding.
4 MAKE sure that the unit is correctly ventilated at all times ;
do NOT place clothing or other materials over it.
5 NEVER spill any kind of liquid into the unit. Should this happen, unplug the unit and contact
an authorized service center.
6 Do NOT insert anything between the air outlet blades because the inner fan may be damaged
and could cause injury. Keep children away from the unit.
7 Do NOT place any obstacles in front of the unit.
8 Users of this product are cautioned not to attempt repairs.
Instead, they are requested to directly contact a designated service center or the outlet
at which the product was purchased.
9 Do not use an extension cord with this product.
10 The appliance is not intended for use by young children without supervision ;
young children should be supervised to ensure that they do not play with the appliance.
11 Never store or ship the air conditioner upside down or sideways to avoid damage to the
compressor.
12 Max current is measured according to IEC standard for safety
and current is measured according to ISO standard for energy efficiency.
3 If the supply cord is damaged, it must be replaced by a special cord or assembly available
from the manufacturer or its service agent.

E-3
◆ PREPARING Y
OUR AIR CONDITIONER
■ Safety Precautions ......................................................................................... 2
■ Description of Each Component .................................................................... 4
■ Remote Control - Buttons .............................................................................. 5
■ Getting Started ............................................................................................... 6
■ Inserting the Remote Control Batteries .......................................................... 7
◆ OPERATING YOUR AIR CONDITIONER
■ Cooling Your Room ........................................................................................ 8
■ Ventilating Your Room..................................................................................... 9
■ Adjusting the Air Flow Direction Horizontally .................................................. 10
■ Adjusting the Air Flow Direction Vertically ...................................................... 11
◆ P
ROGRAMMING YOUR
AIR CONDITIONER
■ Setting the On Timer ...................................................................................... 12
■ Setting the Off Timer ...................................................................................... 13
■ Setting the Sleep Timer .................................................................................. 14
■ Selecting Energy Saving mode ...................................................................... 15
◆ R
ECOMMENDATIONS FOR
USE
■ Operating Recommendation ........................................................................... 16
■ Temperature and Humidity Ranges ................................................................ 16
■ Cleaning Your Air Conditioner ........................................................................ 17
■ Solving Common Problems ............................................................................ 18
■ Technical Specifications ................................................................................. 19
◆ INSTALLATION ..................................................................................................... 20
Contents
E-4
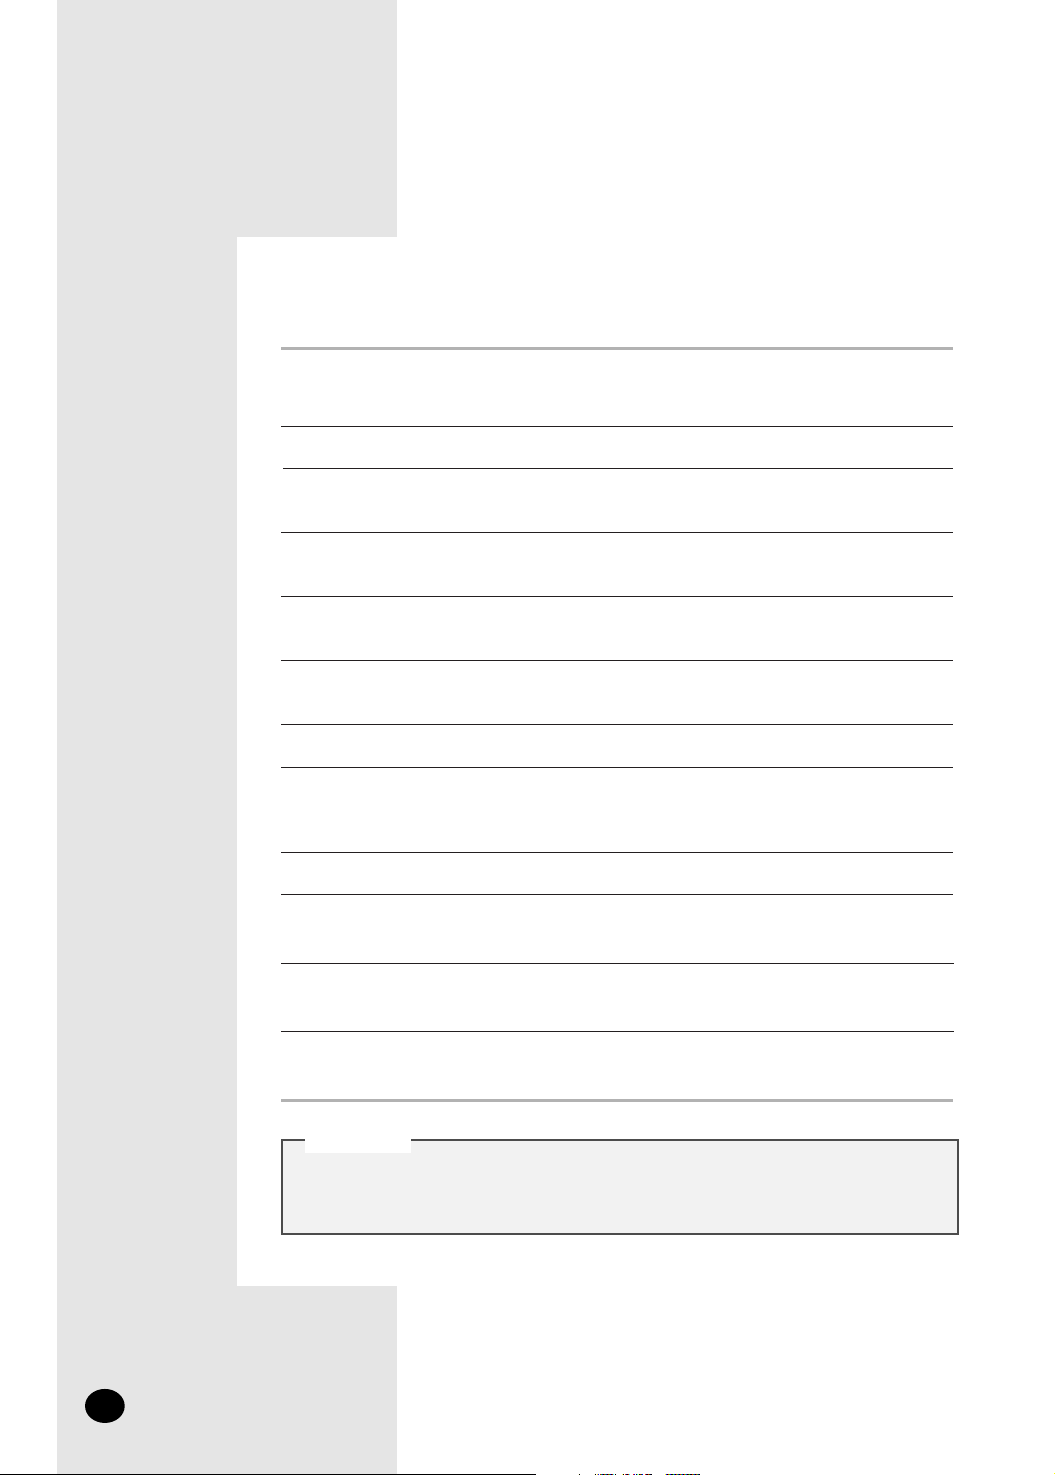
Description of Each Component
Inner air flow blades
(right/left orientation)
Outer air flow blades
(up/down orientation)
Air inlet (Outside)
Air outlet
Ventilation lever
Temperature/Timer
settings
Temperature
adjustment buttons
Timer indicator
Air flow blade
swing button
On/Off button
Remote control signal receiver
Air inlet (Inside)
Air filter (Inside)
Timer setting button
Fan speed adjustment button
Operating mode
indicators (Cool, Fan)
Mode selection button
(Cool, Fan)
Energy Saver indicator
Energy Saver button
Sleep timer indicator
❈
Power cable
connection should
be committed to an
installation engineer.
BLUE BROWN
YELLOW/GREEN
Main Power Earth
Sleep timer
setting button
E-5
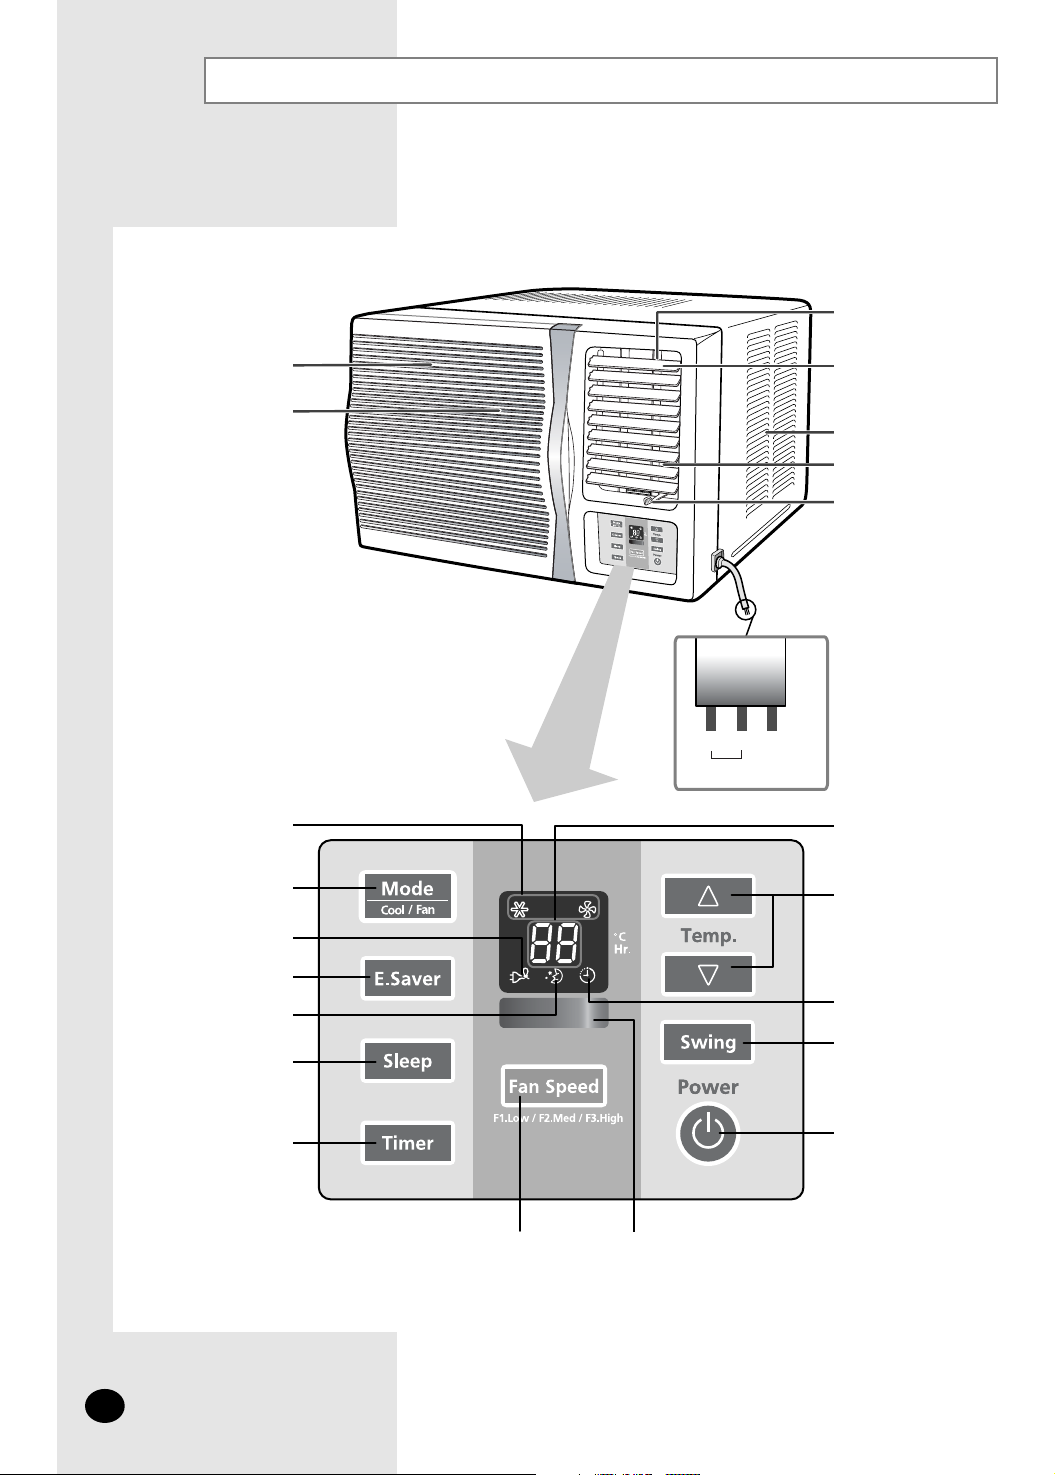
Remote Control - Buttons
Swing
Temperature adjustment
buttons
Fan speed
adjustment buttons
On/Off button
Timer setting button
Sleep timer setting button
Mode selection
buttons
Energy Saver button
Air flow blade swing button
E-6
Getting Started
IMPORTANT NOTE
You have just purchased a Samsung window-type room air conditioner which should be installed
following your installation manual.
Your Owner’s Instructions contain much valuable information on using your air conditioner.
Please take the time to read them as they will help you take full advantage of the unit’s features.
The booklet is organized as follows.
◆ The following figures are shown on pages 4 and 5:
- Description of Each Component
- Remote control (buttons)
They will help you find the buttons and understand the symbols displayed.
◆ In the manual, you will find a series of step-by-step procedures for each function
available.
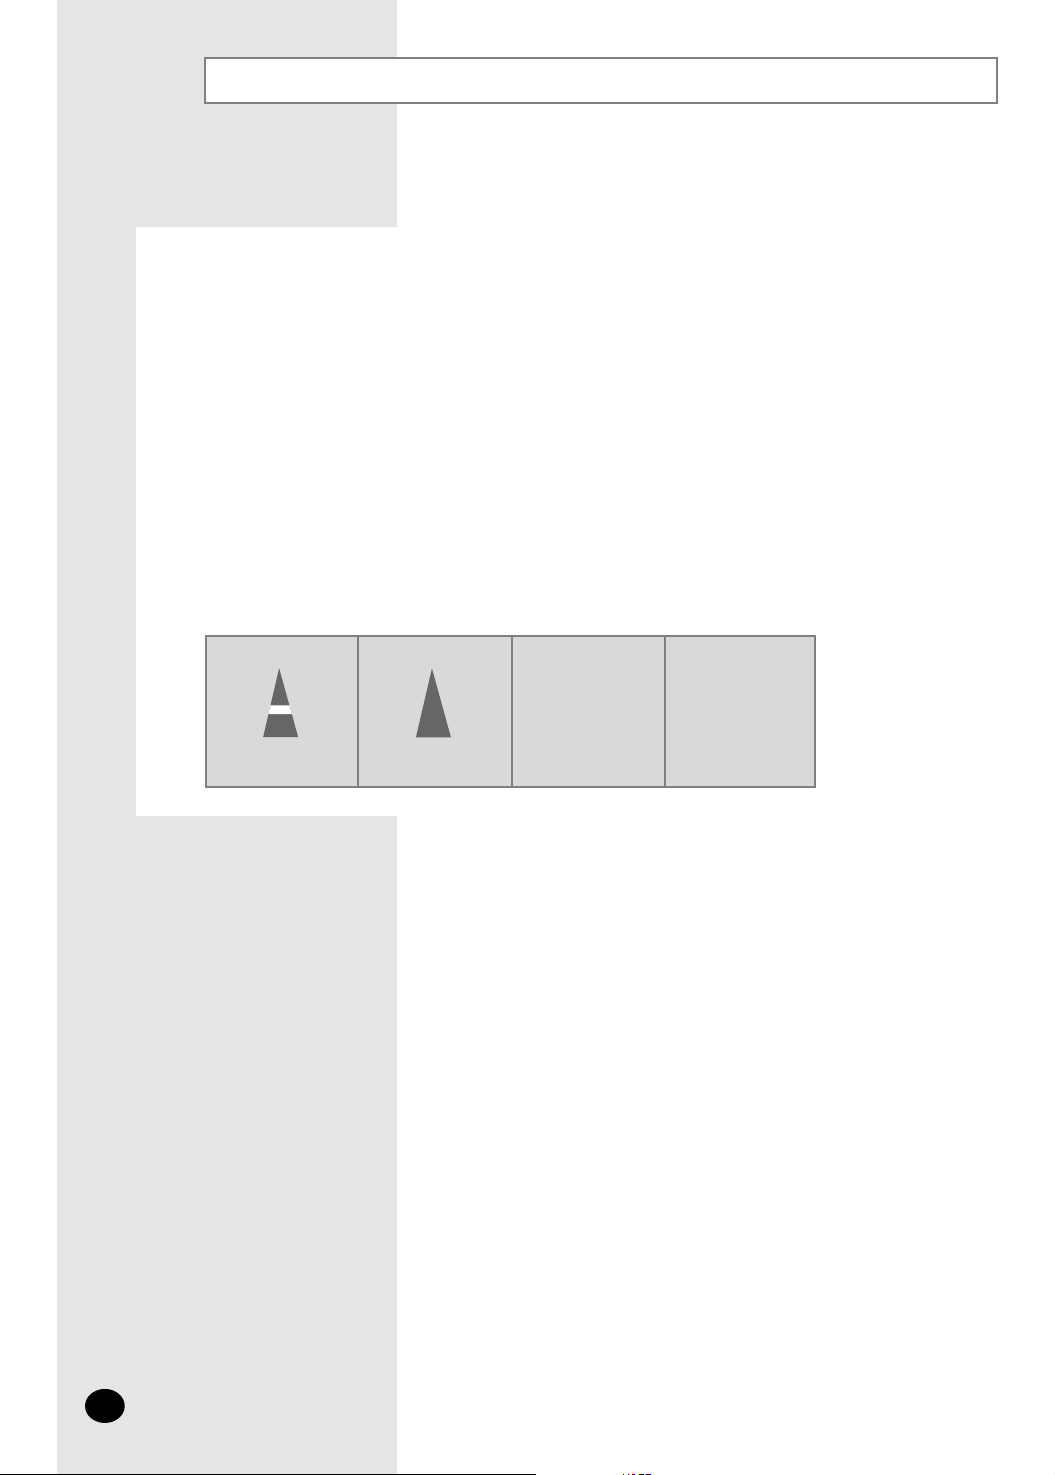
The illustrations in the step-by-step procedures use four different symbols:
☛
➢
PRESS PUSH
E-7
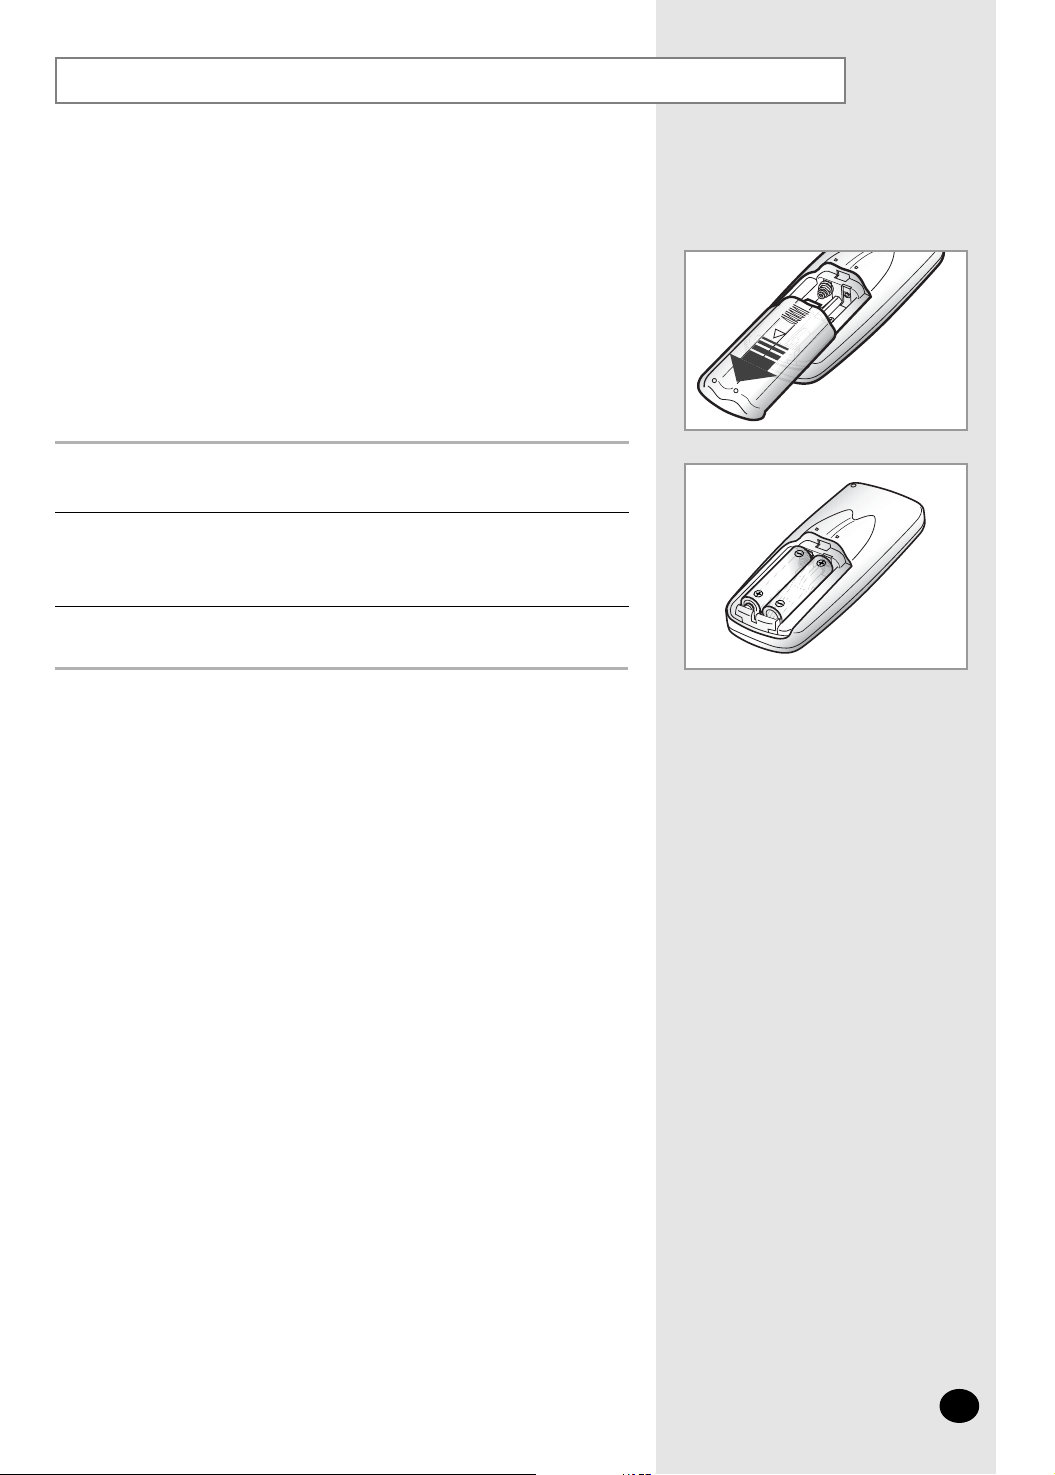
Inserting the Remote Control Batteries
Push the battery cover on the rear of the remote control with your thumb
in the direction of the arrow and remove it.
Insert the two batteries, taking care to respect the polarities :
◆ + on the battery with + on the remote control.
◆ - on the battery with - on the remote control.
1
2
Close the cover by sliding it back until it clicks into place.
3
◆ Use two AAA, LR03 1.5V batteries.
◆ Do not use old batteries or different kinds of batteries together.
◆ Batteries may be completely discharged after 12 months, even
if they have not actually been used.
You must insert or replace the remote control batteries when :
◆ You purchase the air conditioner
◆ The remote control does not work correctly
➢
E-8
Remote Control
Control Panel
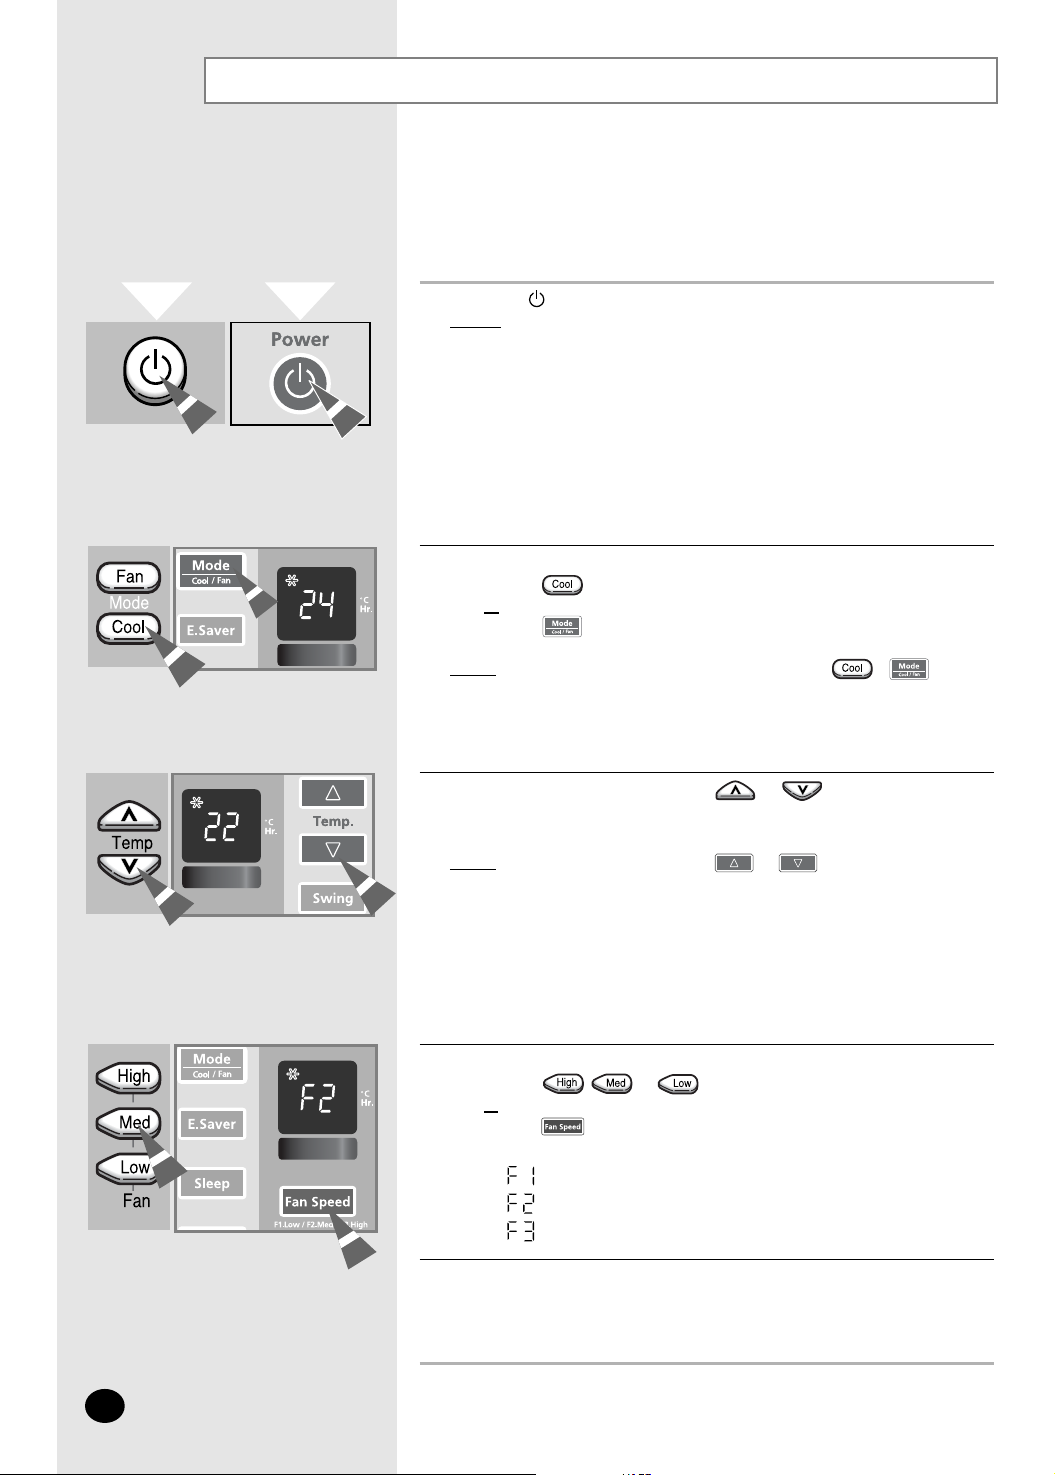
Cooling Your Room
To adjust the temperature, press the or buttons on the remote
control or unit one or more times until the desired temperature is displayed.
The temperature can be set between 18°C and 30°C.
Result
:◆ Each time you press the or buttons:
– The temperature is adjusted by 1°C and displayed on
the control panel
– The unit beeps
◆
The air conditioner starts cooling, if the room temperature is
higher than the selected temperature.
◆
If the room temperature reaches the set temperature, the air
conditioner stops cooling, but the fan is still operating.
3
Press the (On/Off) button.
Result:
◆ The air conditioner starts up in the cool mode(Fan speed
will not be changed).
◆ The unit beeps twice.
☛
The air conditioner is fitted with a protection mechanism to prevent
the unit from being damaged when it is started immediately after
being:
◆ Plugged in
◆ Stopped
It will start up normally after three minutes.
If the temperature is not displayed on the control panel:
◆
Press the button on the remote control
or
◆
Press the button on the unit one or more times until the
temperature is displayed.
Result
:
◆
The unit beeps each time you press the / button.
◆
The air conditioner starts up in the Cool mode.
➢
You can change modes at any time.
You must select the Cool mode if you wish to lower the temperature
in your room. You can also set the Fan speed.
1
2
To set the fan speed:
◆
Press the , or button on the remote control as desired.
or
◆
Press the button on the unit one or more times until the
desired Fan speed(F1, F2 or F3) is displayed.
Low
Medium
High
4
To control the direction of the air flow, refer to pages 10 and 11.
5
 Loading...