

Samsung APH450, APH450PG0K-AFR Disassemble
4. Disassembly and Reassembly
4-1 Indoor Unit
No Parts Procedure Remarks
1
2
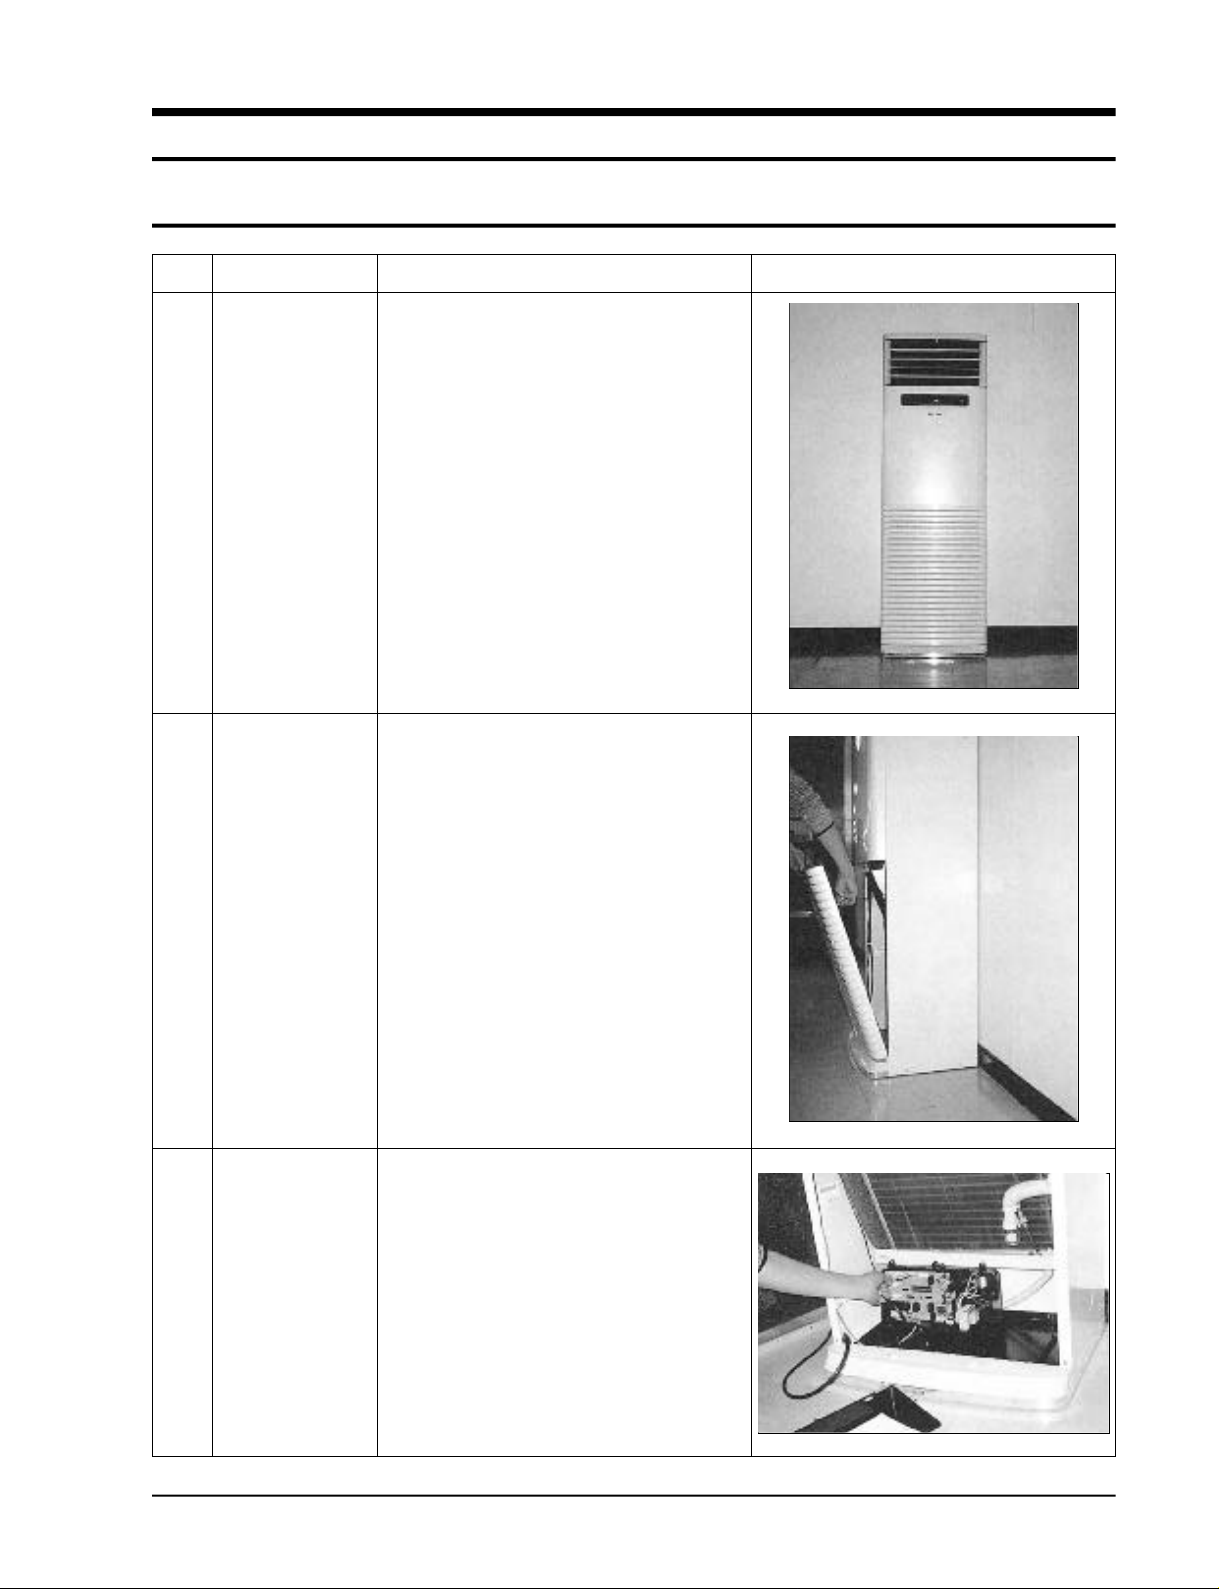
Indoor unit
Inlet grille
1) Open the inlet grille and remove the
connection ring.
3
Samsung Electronics
Main PCB
1) Separate the PCB connect wire after
separating the control box cover.
2) Separate the connection wire to separate the
front cover and duct.
3) The main PCB should be separated by turn
over the mountain tab.
4-1
Disassembly and reassembly
No Parts Procedure Remarks
4
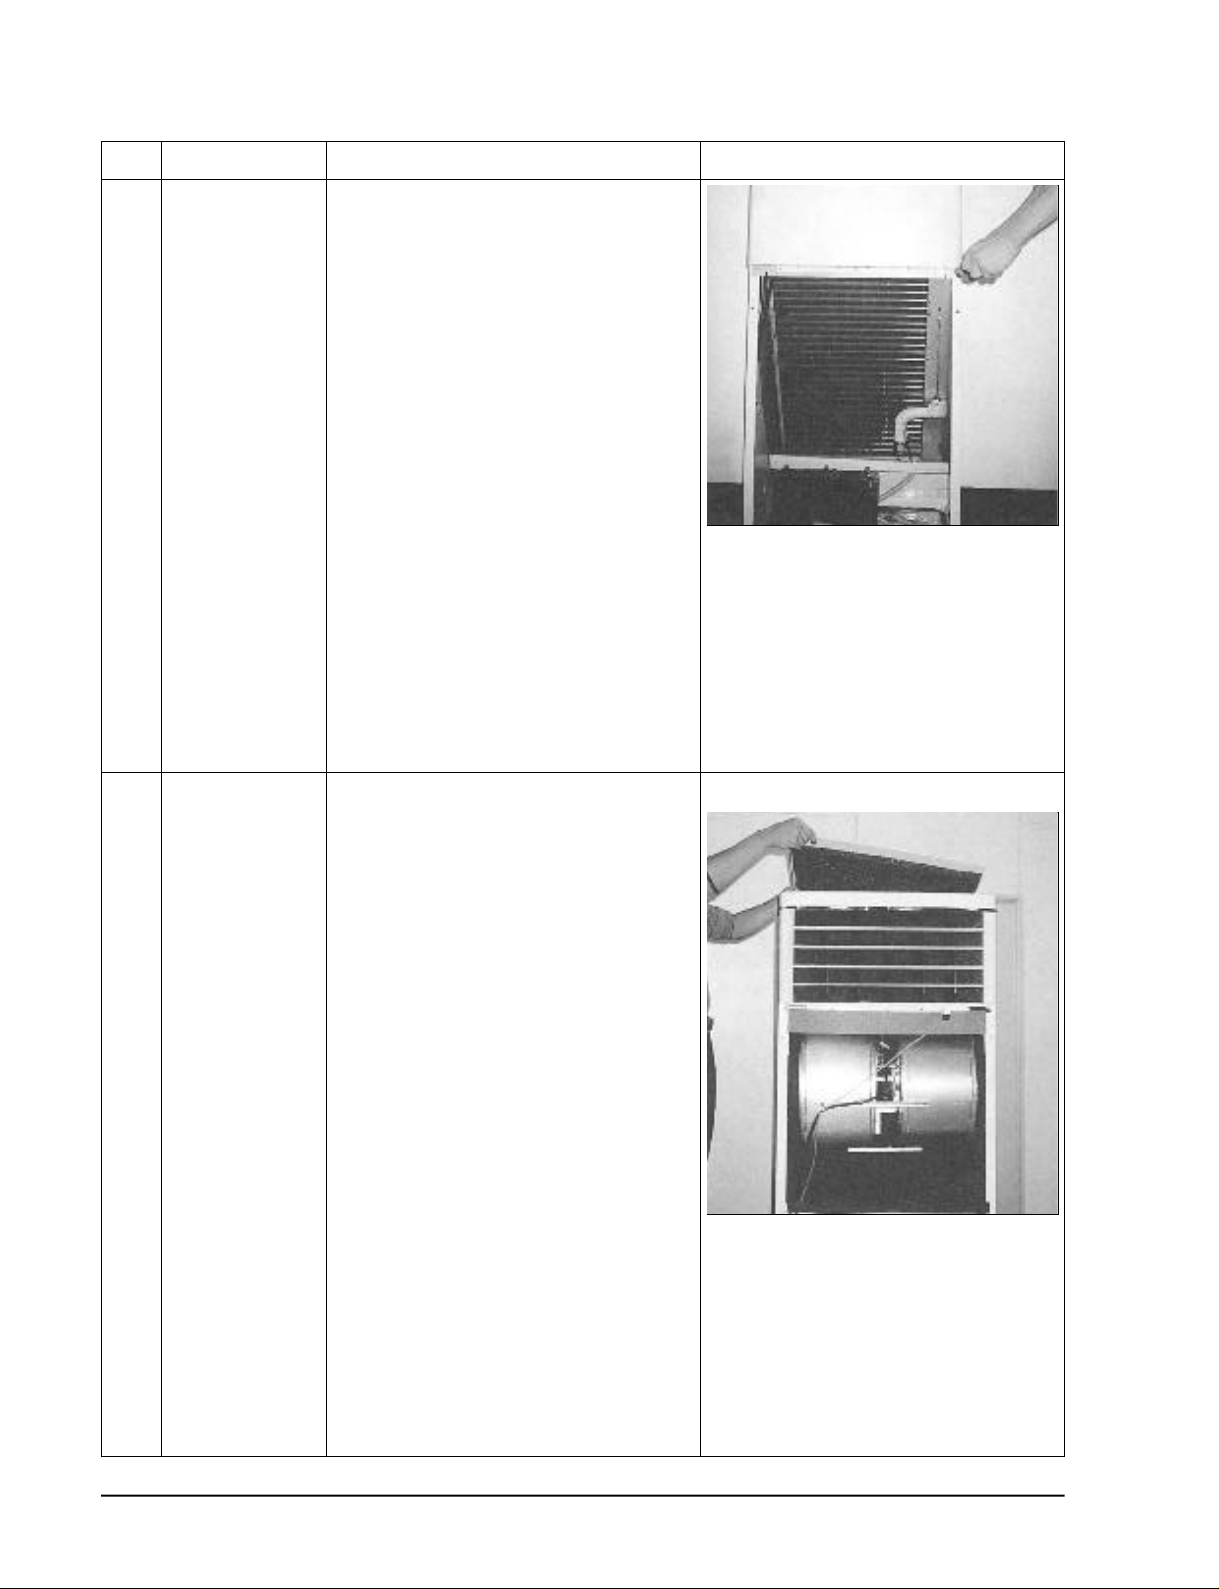
Front cabi
1) The front cabi should be separated by giving
strength downward after loosening 2 screws
at the lower end.
5
Plate top
1) The plate top should be separated by loosening screws.
4-2
Samsung Electronics
Disassembly and reassembly
No Parts Procedure Remarks
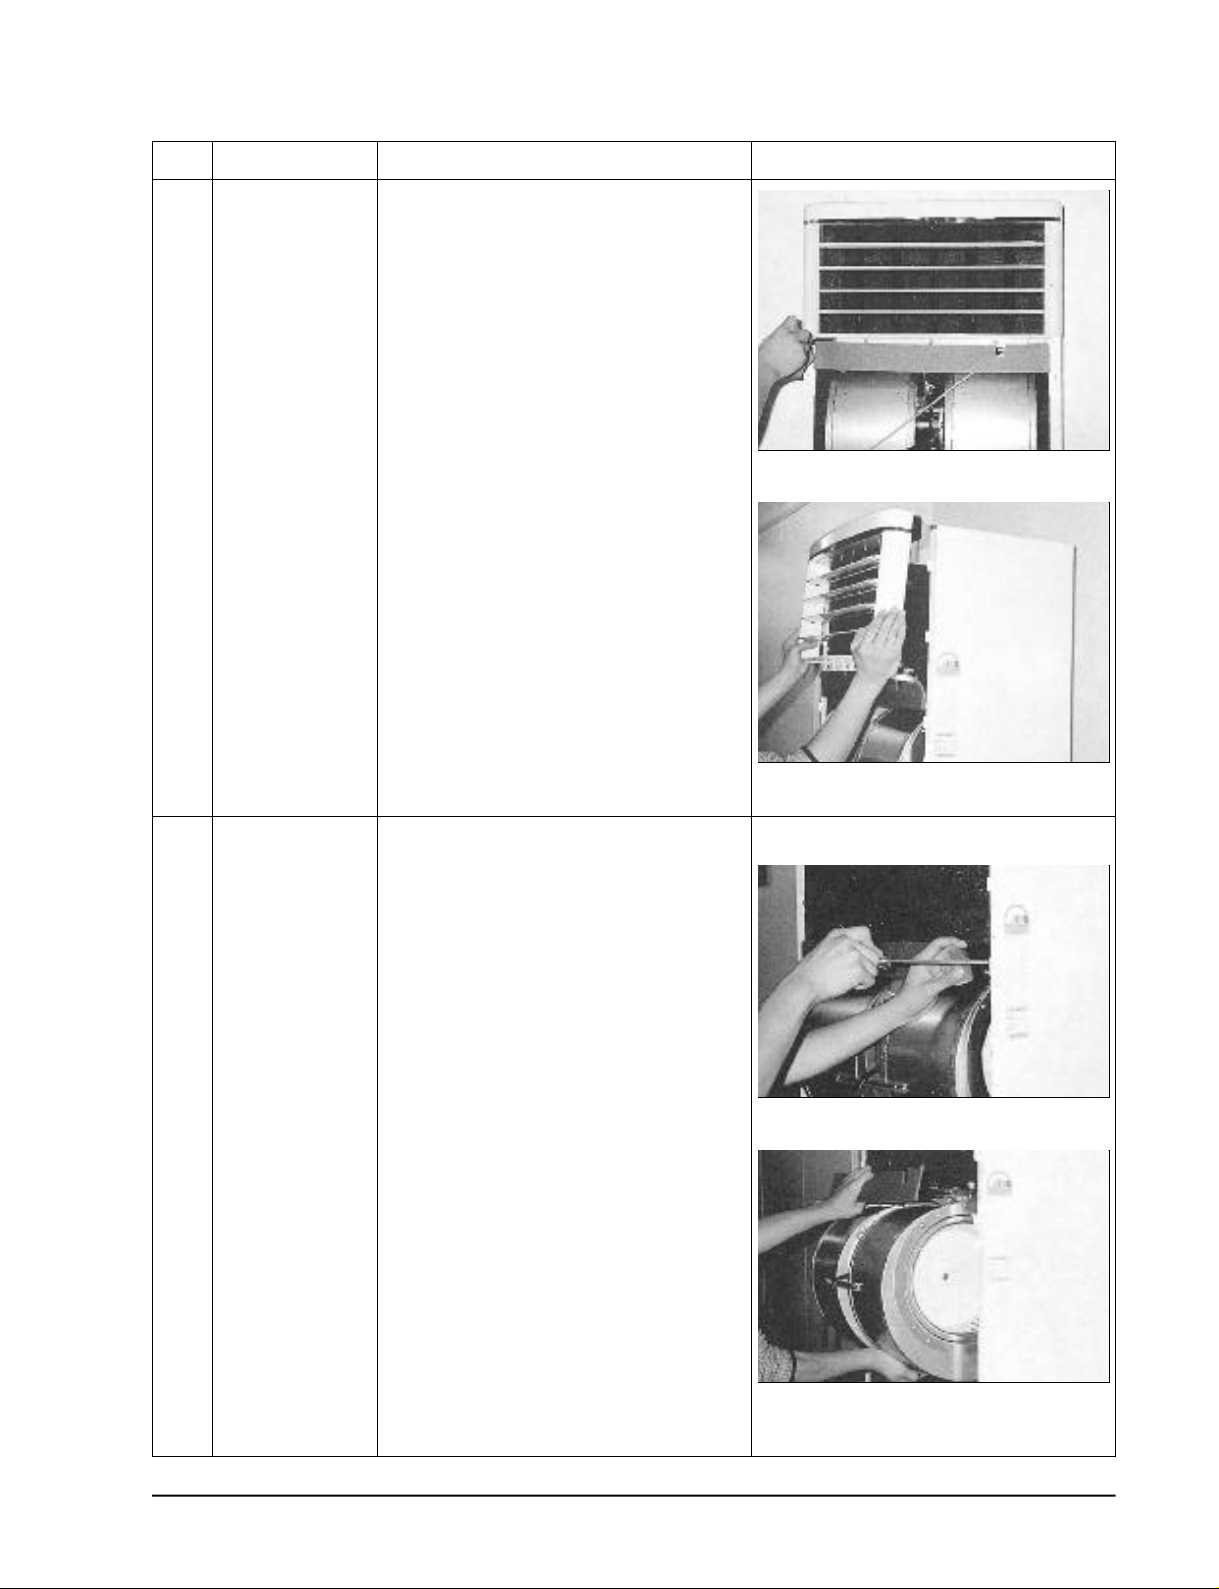
6
Ass’y grille out
1) First loosen screws at left and right sides of
grille out.
2) Then the ass’y grille out should be separated
by giving strength upward (↑).
7
Ass’y Blower in
1) First loosen the 4 screws at left and right
sides.
2) Then the ass’y duct should be separated by
lifting it.
Samsung Electronics
4-3
 Loading...