


A Leader of Green Technology and Solution for Future Lighting
USER GUIDE
Smart LED Remote System
Server & Web Service with Smart LED Remote System (V0.2)
www.samjinled.co.kr

Contents
I. System Administrator ...................................................................................................................................................... 4
1 Initializing the administrator system .............................................................................................................. 4
1.1 Login ................................................................................................................................................................. 4
1.2 Server address settings ............................................................................................................................ 5
1.3 Setting Users ................................................................................................................................................. 5
1.4 Setting Buildings ......................................................................................................................................... 6
1.5 Setting Floors ................................................................................................................................................ 6
1.6 Add Administrator ...................................................................................................................................... 7
1.7 Identify GW key and edit ........................................................................................................................ 8
II. Company Administrator ................................................................................................................................................. 9
1 Initial Setting .............................................................................................................................................................. 9
1.1 Login ................................................................................................................................................................. 9
1.2 PW Change ................................................................................................................................................. 10
1.3 SMTP set-up ............................................................................................................................................... 10
1.4 Device Allocation ..................................................................................................................................... 10
1.5 Linking Devices ......................................................................................................................................... 12
1.6 Creating a Device Group ...................................................................................................................... 13
2 Administrator System Basic Functions ........................................................................................................ 15
2.1 Dashboard ................................................................................................................................................... 15
2.2 List of Errors ............................................................................................................................................... 19
2.3 User List ........................................................................................................................................................ 22
2.4 Schedule ....................................................................................................................................................... 25

2.5 System Settings ......................................................................................................................................... 29
2.6 Statistics ........................................................................................................................................................ 30
.......................................................................................................................................................................................................... 34
3
I. System Administrator
1 Initializing the administrator system
The lighting control system can be used after the initialization settings have been completed.
Initialization is the process of setting up the necessary information while the system is
operating.
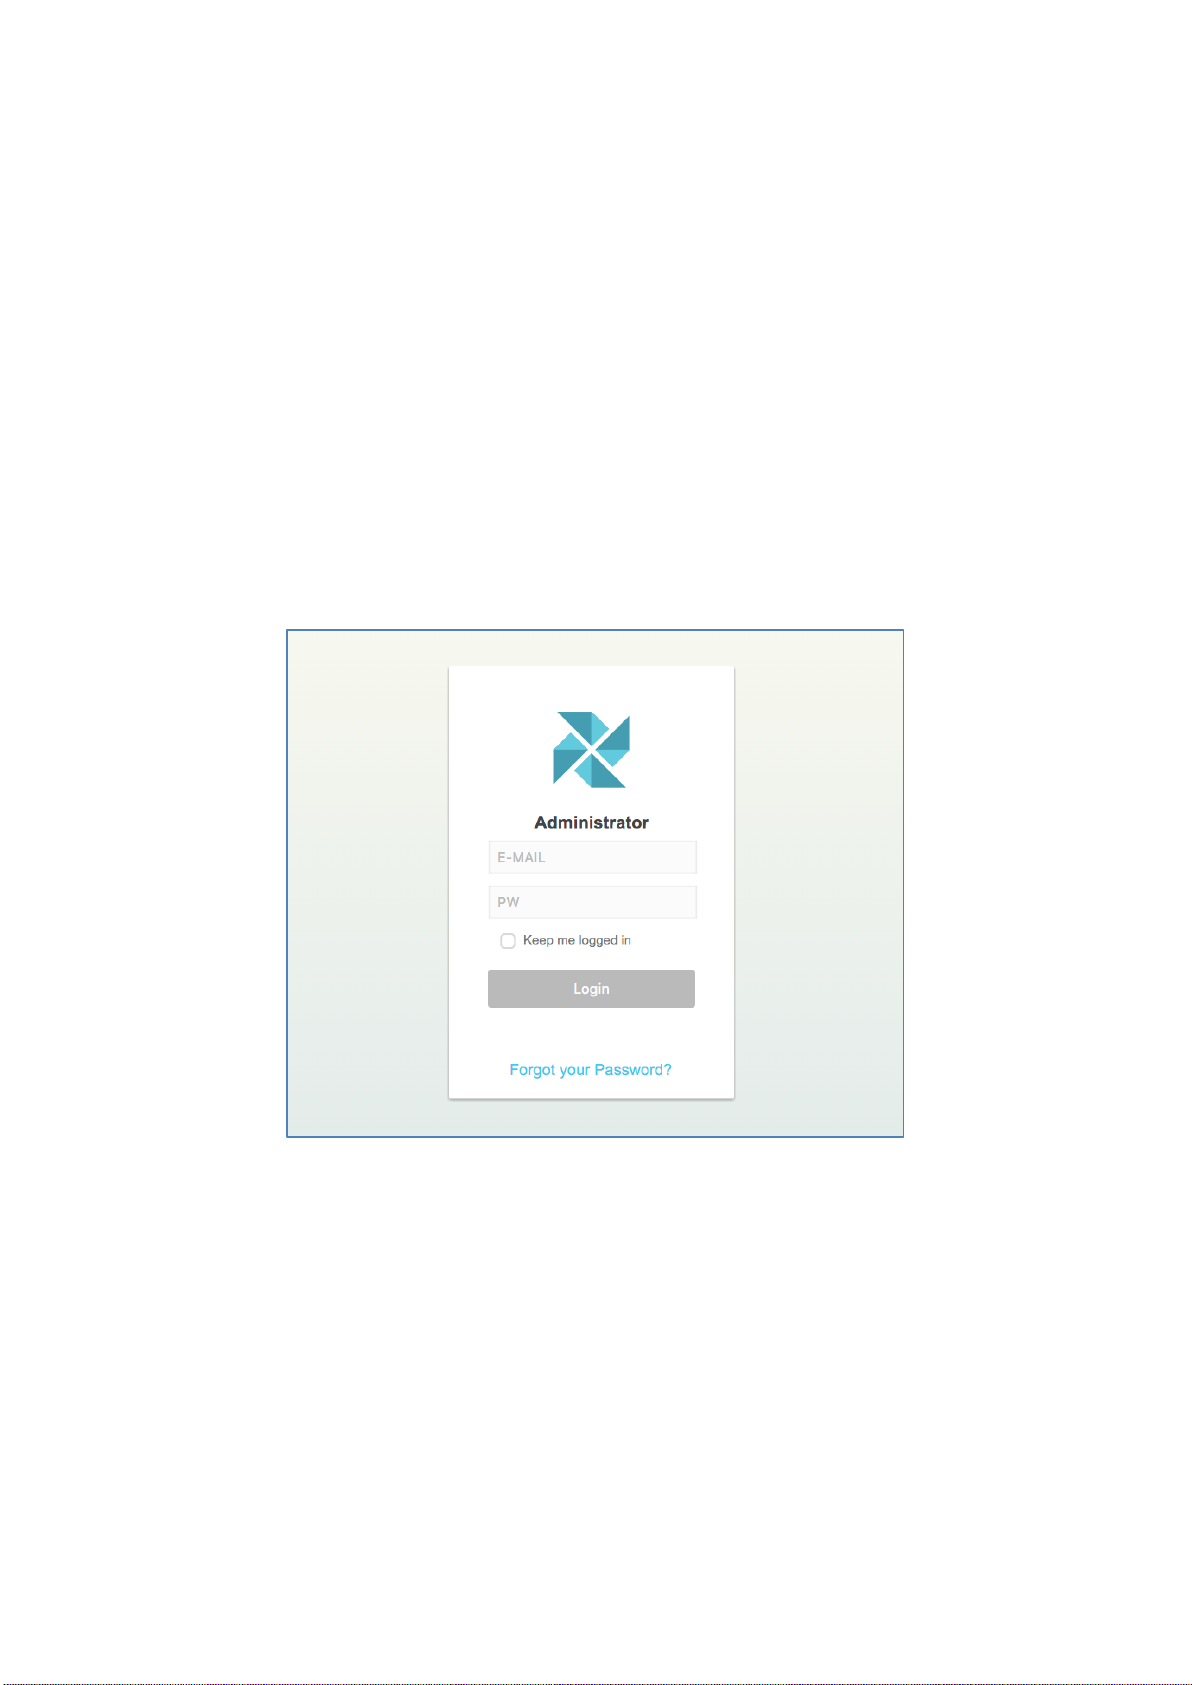
1.1 Login
1.1.1 Address : http://localhost/super/login
1.1.2 Login using administrator’s ID and PW
1.1.3 ID : admin@breeze.com, PW : 123456

1.2 Server address settings
1
1
2
2
1.2.1 When you log in under light control system,
Enter the domain address or IP address
Ex )
www.samjin.co.kr or 192.168.1.100
1.3 Setting Users
1.3.1 Tap New User and add a new company name.
1.3.2 Tap and add New User button
1.3.3 Enter company name
5
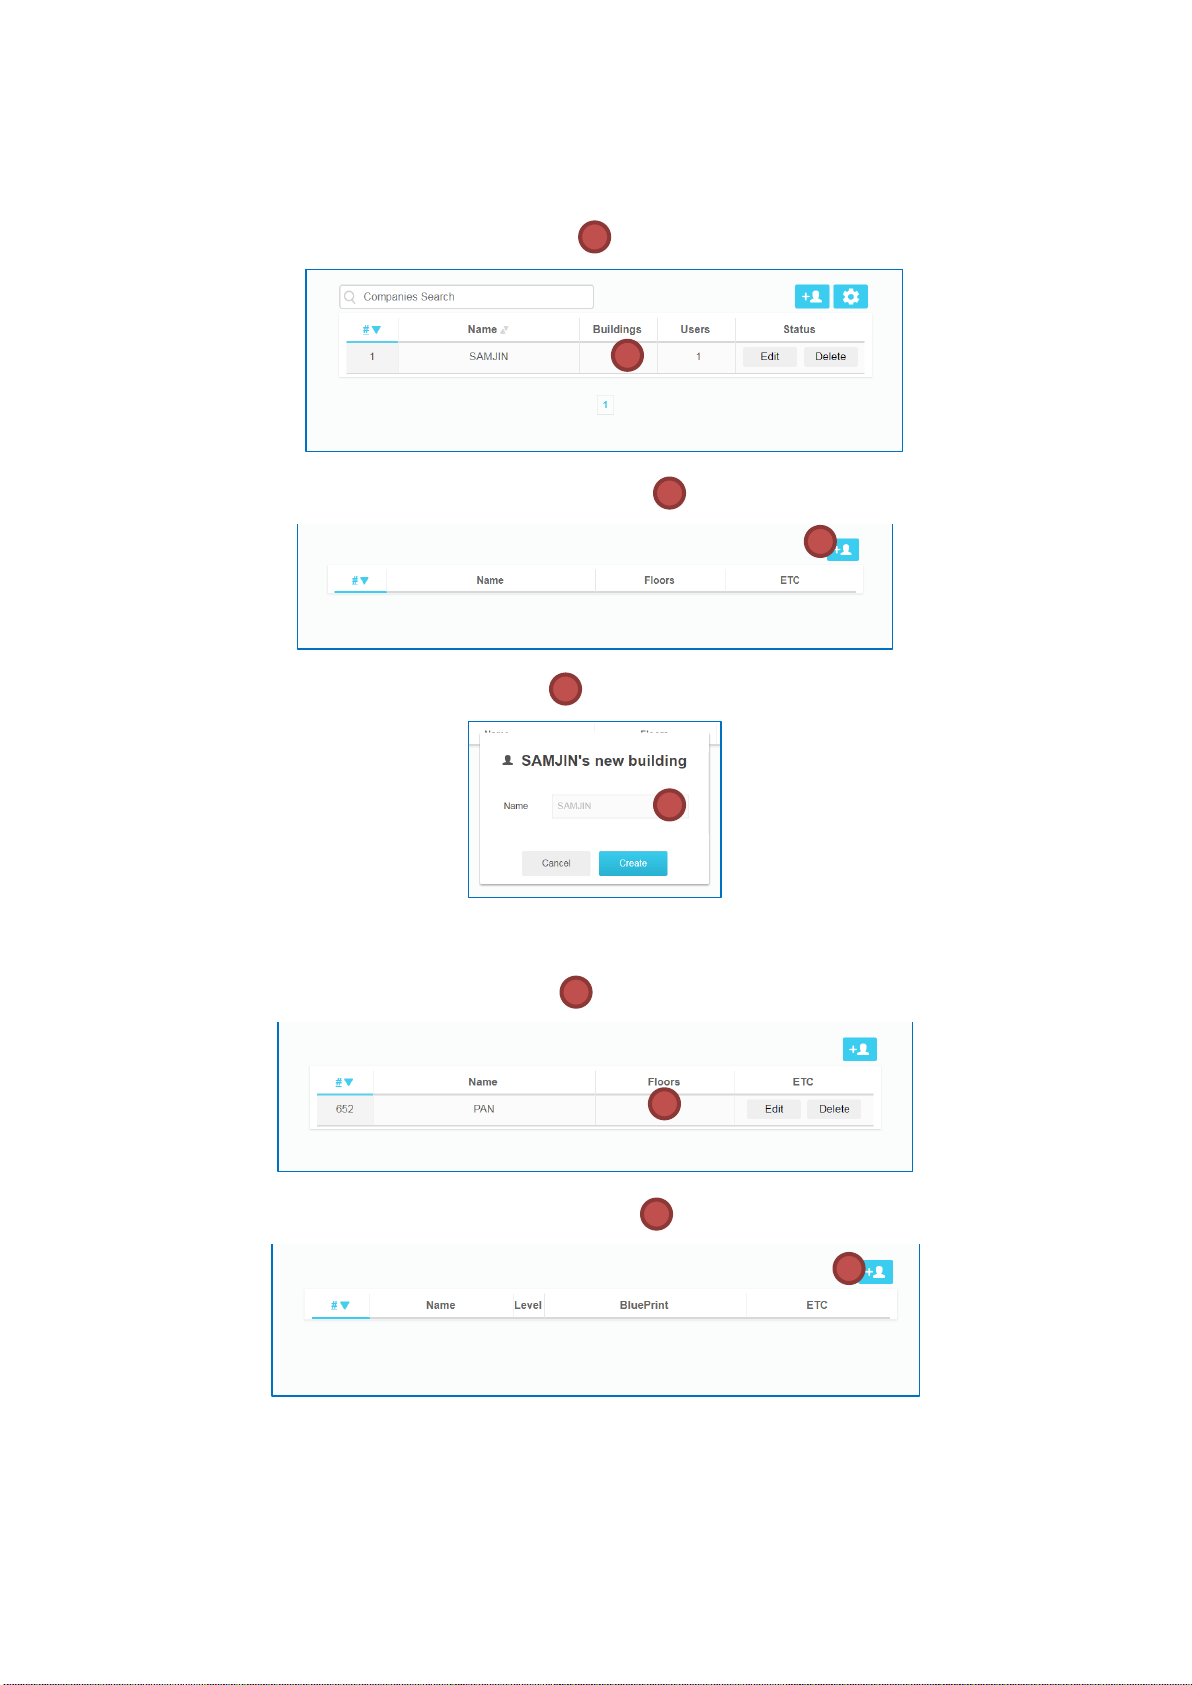
1.4 Setting Buildings
1 1 2 2 3 3 1 1 2
2
1.4.1 Tap Building section
1.4.2 Tap & add New Building button
1.4.3 Enter Building name
1.5 Setting Floors
1.5.1 Tap Floors section
1.5.2 Tap & add New Floor button
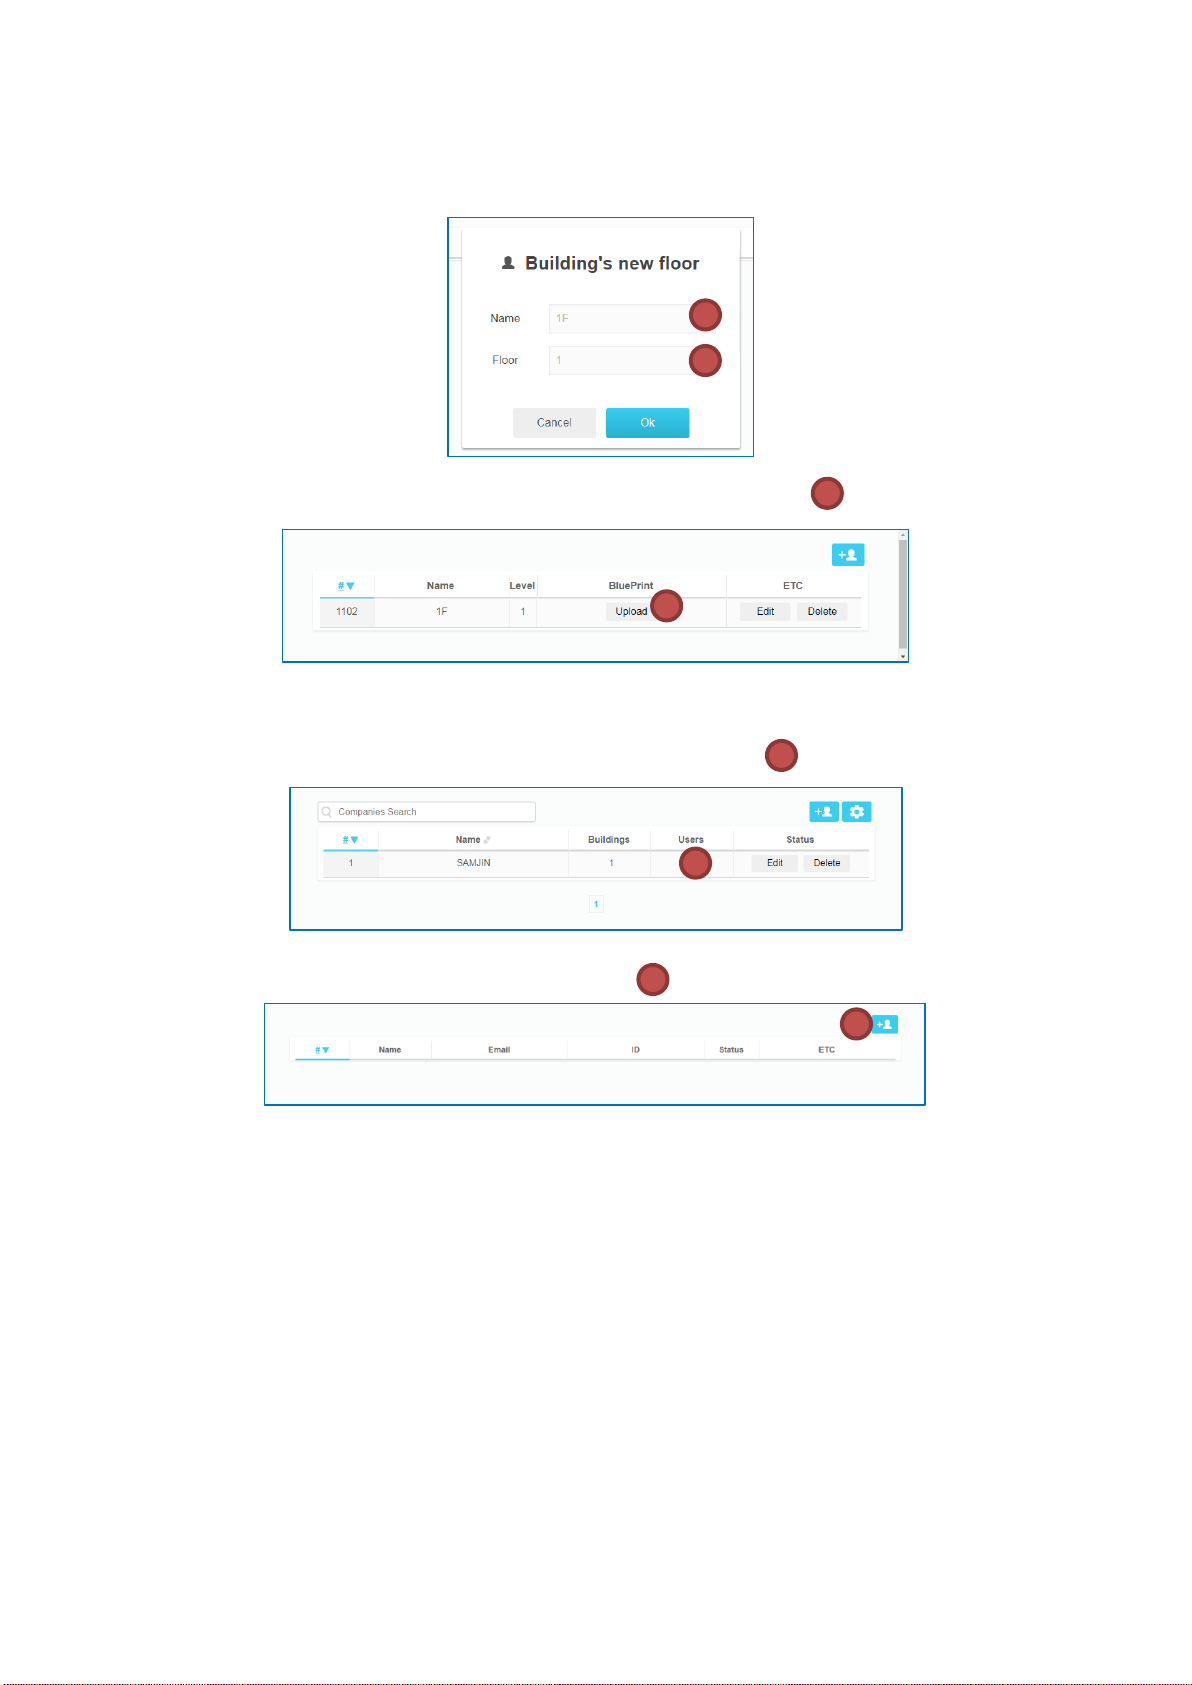
1.5.3 Enter each floors’ information ( Ex: for 1st floor, Name : 1F, Floor : 1 )
3 3 4 4 1
1
2
2
1.5.4 Upload drawings after you tap the Upload button
1.6 Add Administrator
1.6.1 Tap Building User section on Setting building
1.6.2 Tap & add New Administrator
7
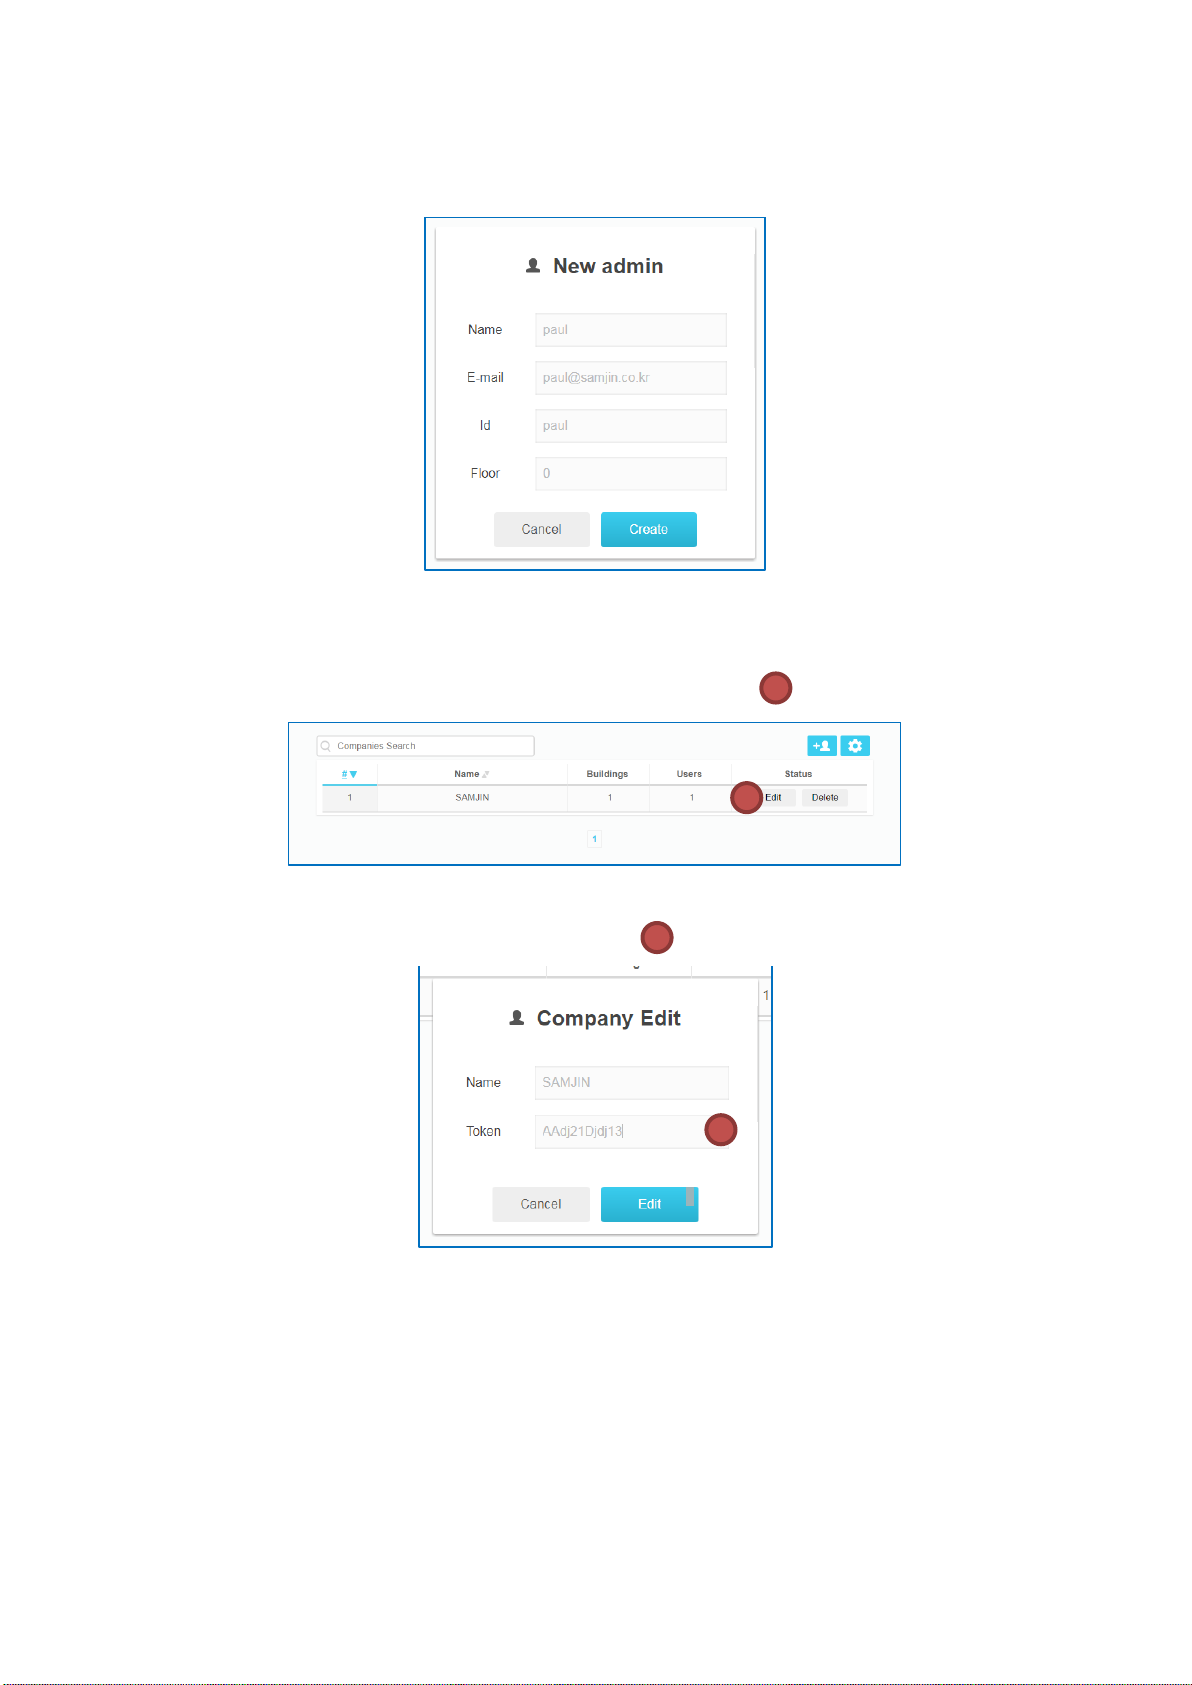
1.6.2.1 Enter New Administrator’s information
1
1 2 2
1.7 Identify GW key and edit
1.7.1 Tap Edit button on settting building schreen
1.7.2 Token Key identify and change
II. Company Administrator
Administrator can use this remote system after completing setting company and administrator.
1 Initial Setting
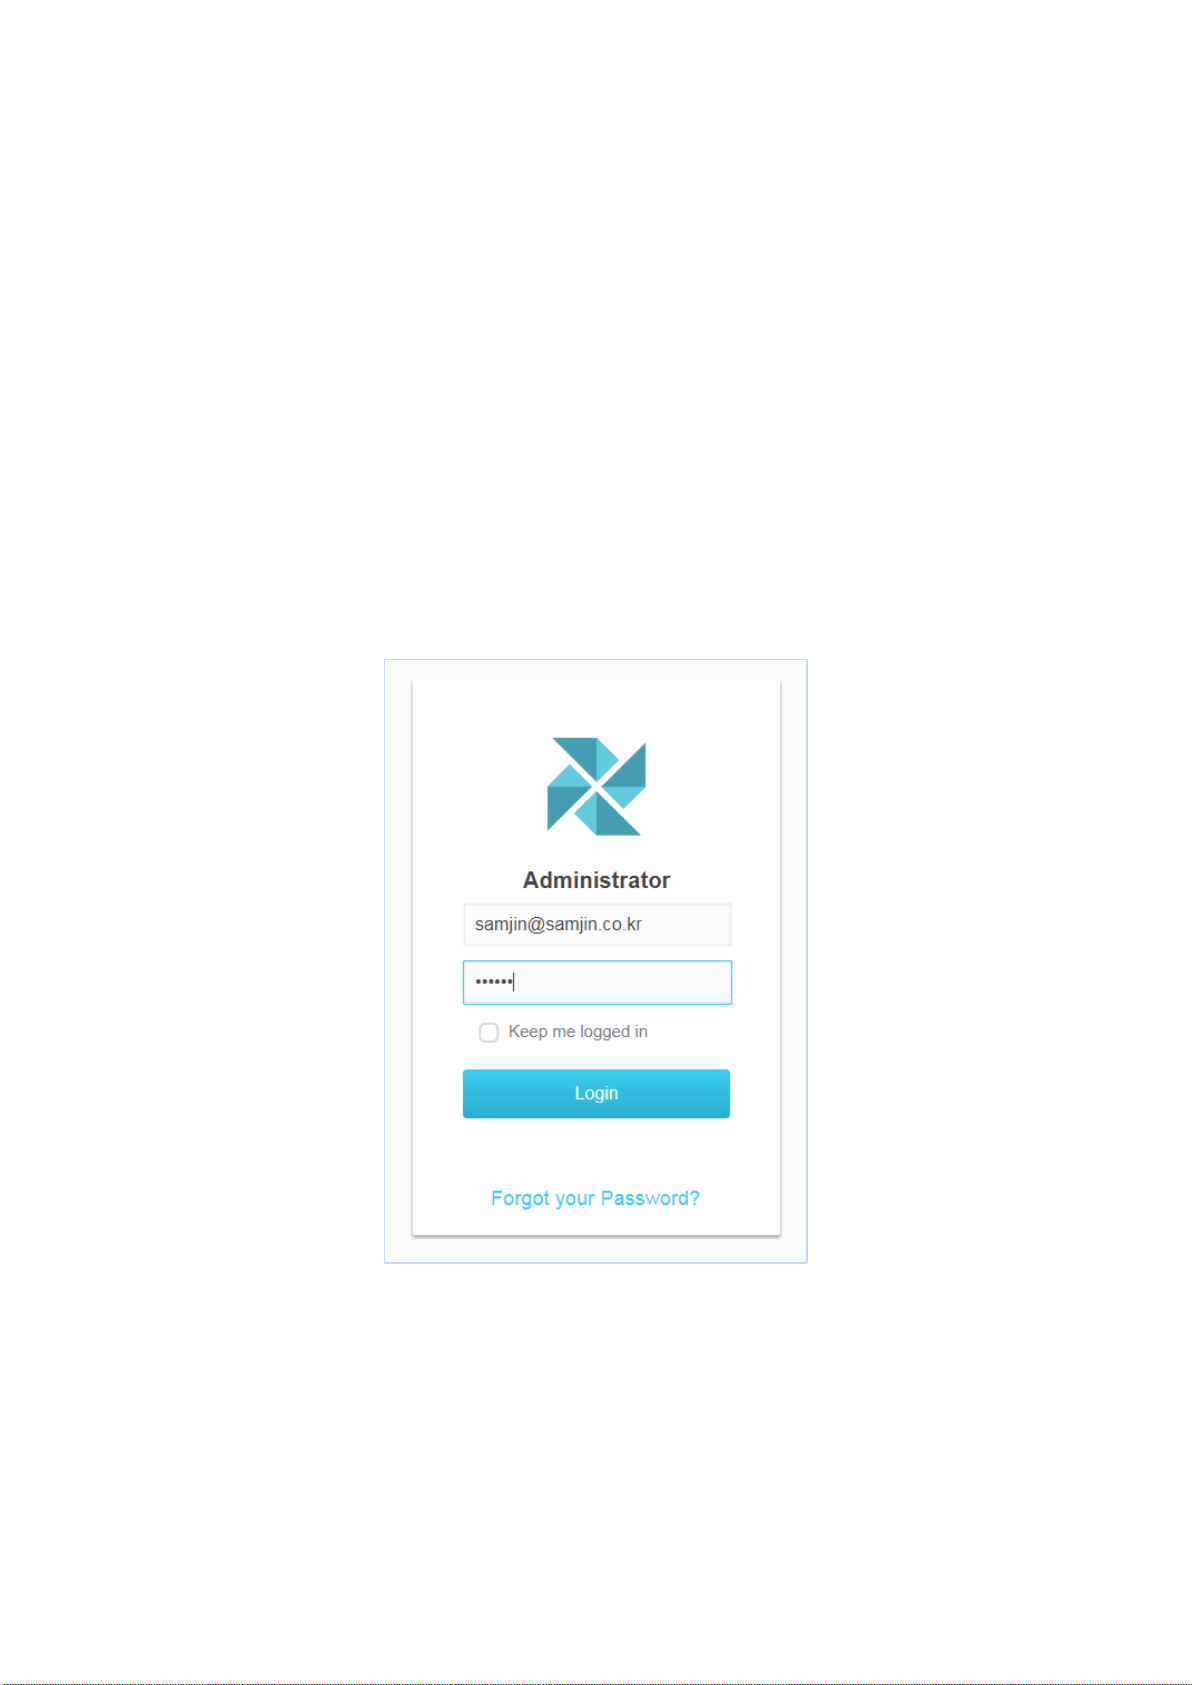
1.1 Login
1.1.1 Login using administrator’s ID and PW
1.1.2 Web address : http://localhost/company/login
1.1.3 Initial PW is account of email address
Ex.) ID : samjin@samjin.co.kr, PW : samjin
9
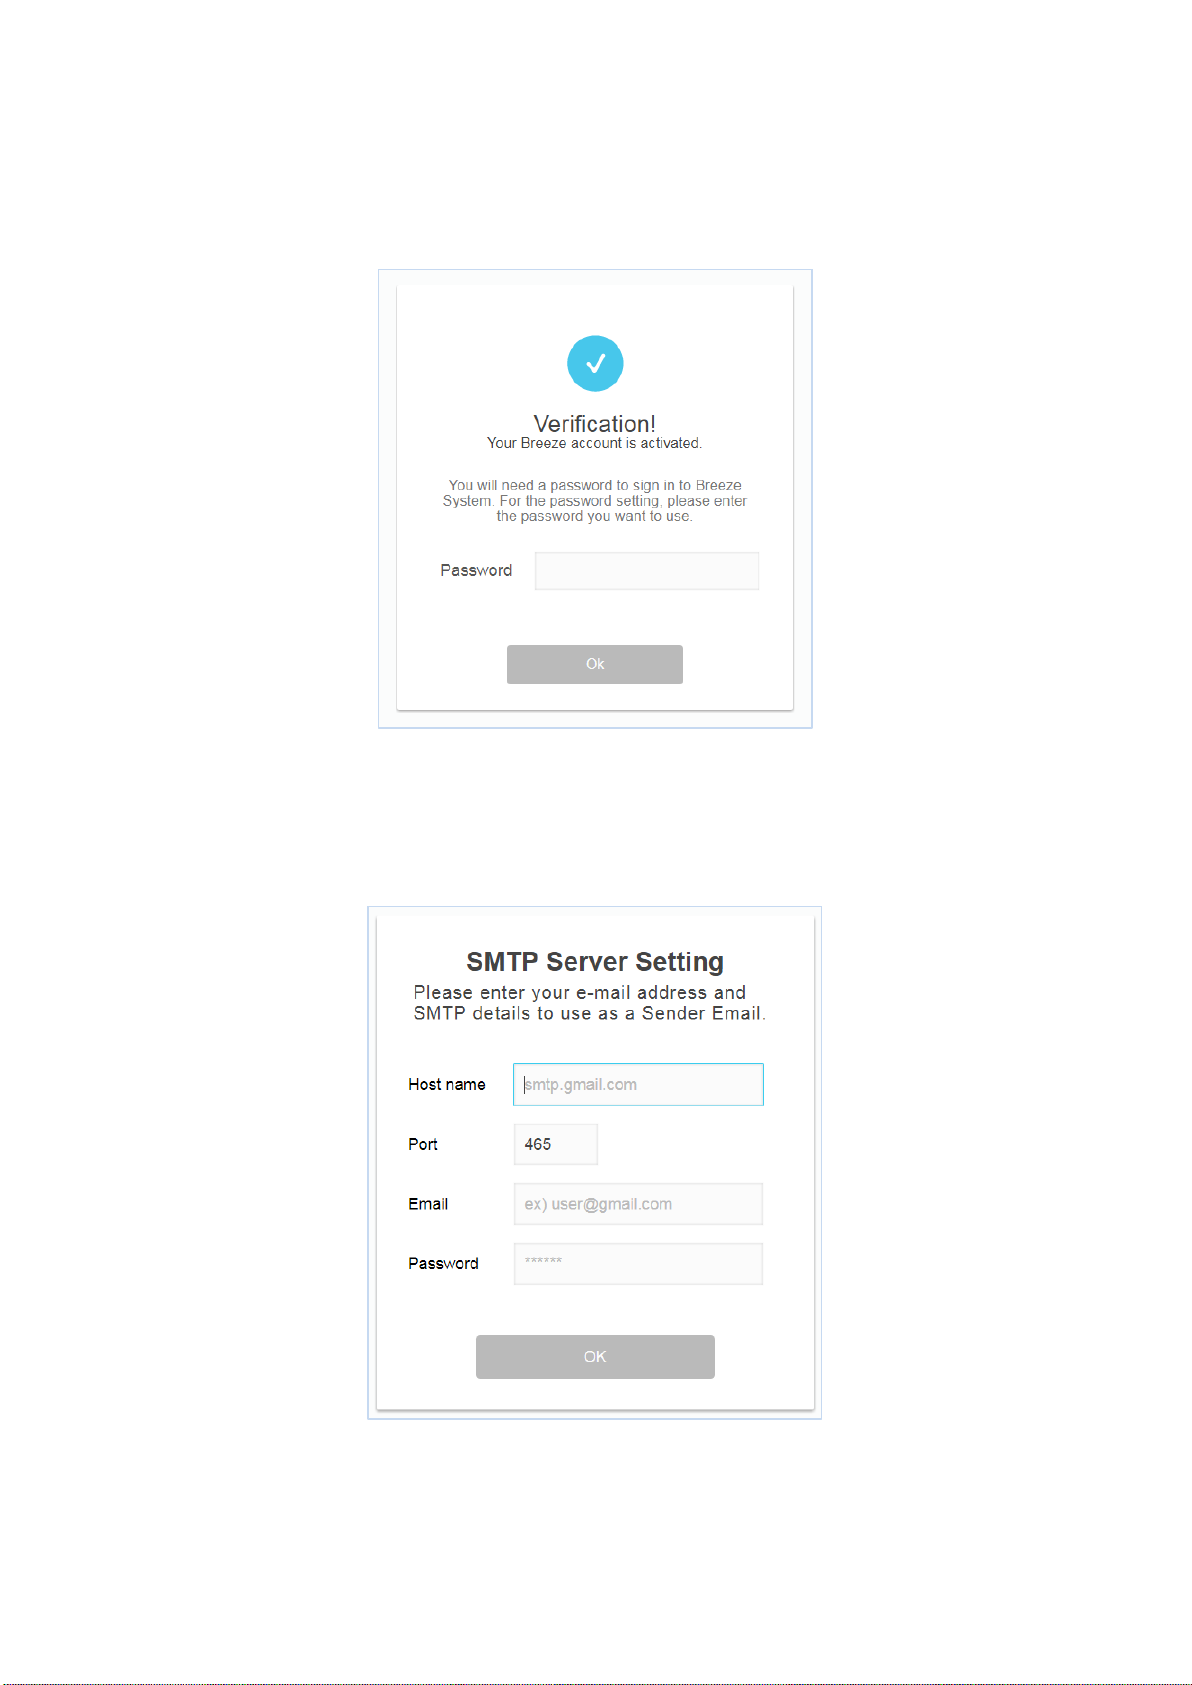
1.2 PW Change
1.2.1 Enter initial PW
1.3 SMTP set-up
1.3.1 SMTP Server setting for administrator
1.4 Device Allocation
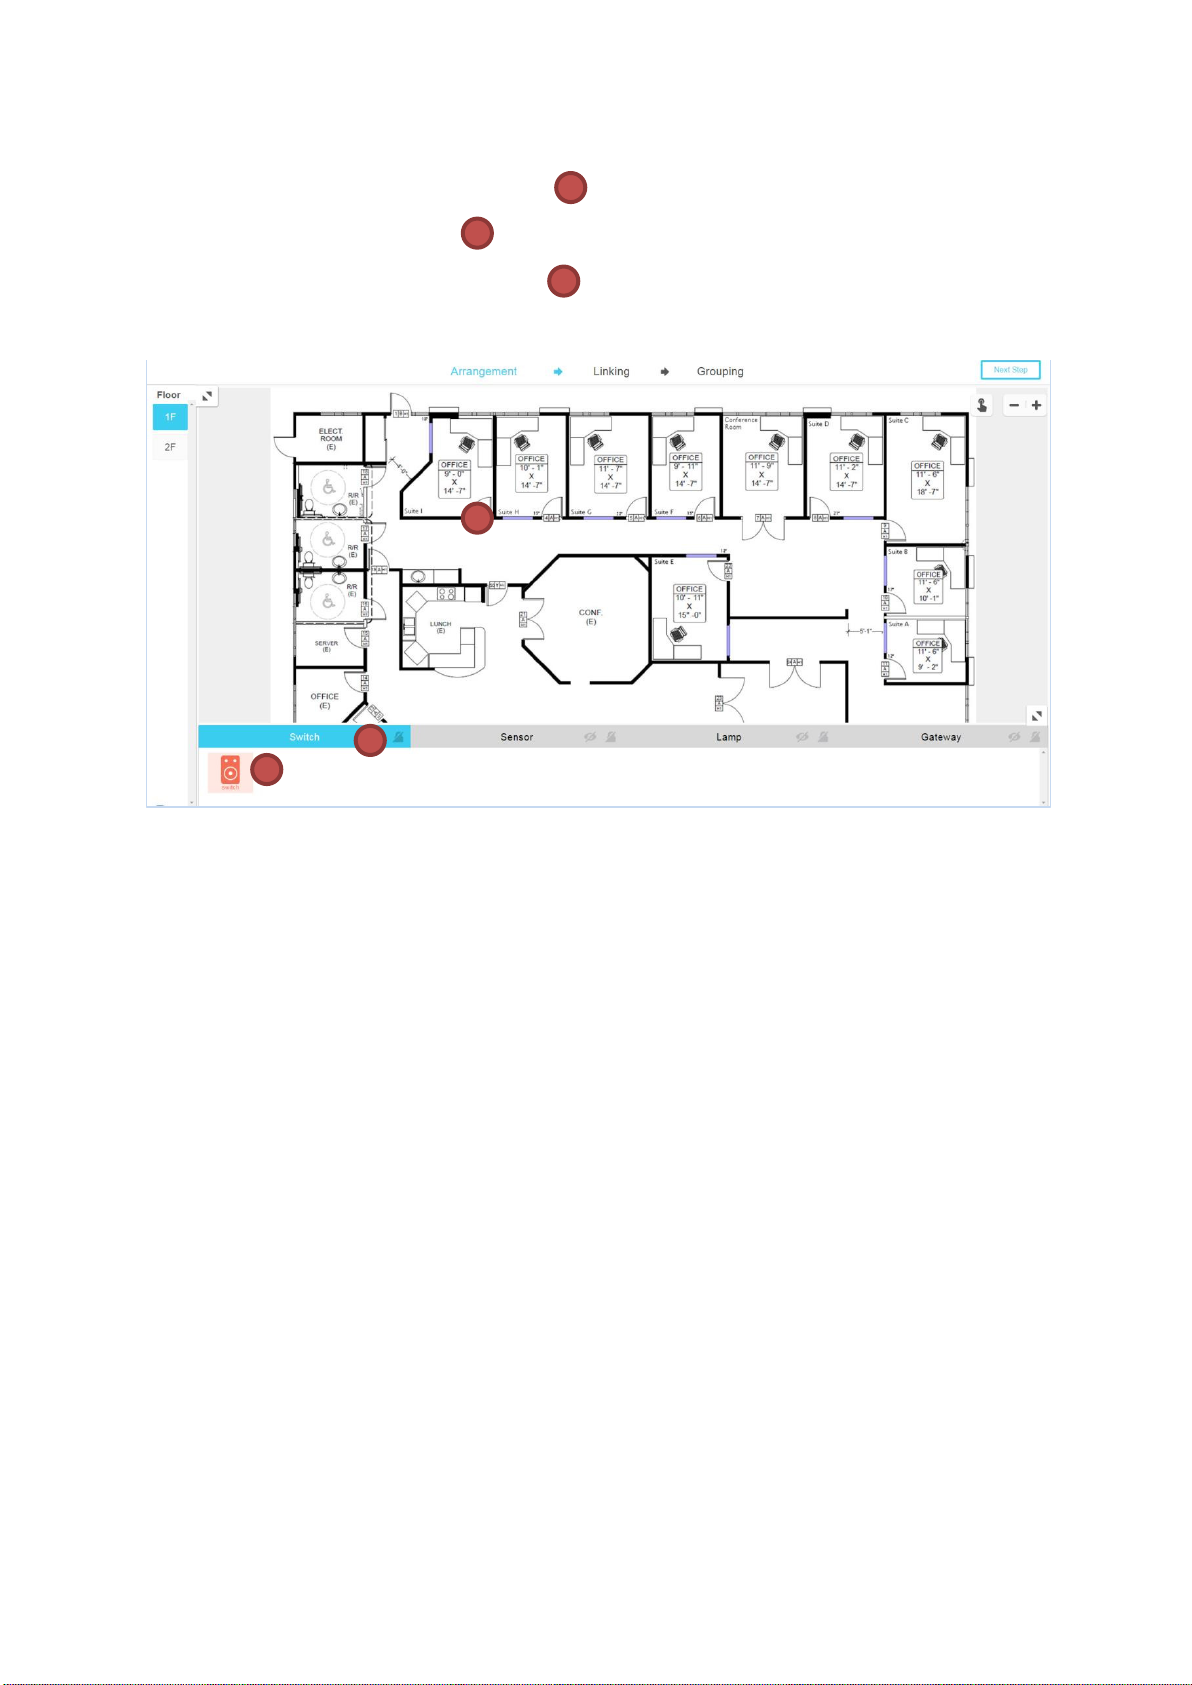
1.4.1 Choose Device type
1 2 1 2 3
3
1.4.2 Tap Device
1.4.3 Tap the right position
1.4.4 Gateway 는 미리 연결되어 있어야 합니다.
11

1.5 Linking Devices
1
1 2 3 3 3
1.5.1 Select gateway located in drawing and click Scan menu
1.5.2
1.5.3
List of scanned BLE lights from Gateway
After selecting the device to be linked, selecting Linked device exposes Link
menu

1.5.4 Device Indication by Linking Status
1
2
2
3
4
1.5.4.1 Linking required (grayed out)
1.5.4.2 Completed linking (indicated by orange)
1.5.4.3 Unlinkable (black background on device)
1.6 Creating a Device Group
1.6.1 Creating Groups
1.6.1.1 Click the "+" button on the right side of group list
1.6.1.2 Automatically created after button click and displayed in front of list
1.6.2 Adding lighting to a group
1.6.2.1 Selecting the desired group
1.6.2.2 Select the lights to include in the group from the lights on the
drawing
1.6.3 작업 완료 하기
1.6.4 Completing the task
1.6.4.1 After all the operations are completed, click the "Complete" button
and go to the main screen
13

1.6.5 Renaming Groups
2
1 4 3
1 2 2
1
1.6.5.1 Selecting Groups to Rename
1.6.5.2 Enter after Enter Name

2 Administrator System Basic Functions
1 2 1
2
2.1 Dashboard
Dashboards make it easy for administrators to see the complete information of a system
and easily navigate to a screen where the desired function is available.
2.1.1 Quick Search
2.1.1.1 Quickly check the information you want without moving to the user
or schedule screen
2.1.1.2 If user name or schedule name is entered in the search box, the
searched list appears in the list below.
15

2.1.2 Connection User
1
1
2 3 3
2 1 1
2
3
2
3
2.1.2.1 In the top right corner, the user name of the currently logged-in
account is displayed.
2.1.2.2 Confirmation of personal information by clicking on user name
2.1.2.3 Logout
2.1.3 Floor Information
2.1.3.1 List of floors registered in current control system
2.1.3.2 Details with Floor Information
2.1.3.2.1 Power-consuming layers
2.1.3.2.2 Floor with Fault Generator
2.1.3.2.3 Schedule running layer

2.1.4 Error Information
2.1.4.1 Number of errors that have not yet been acknowledged
2.1.4.2 Go to error list screen when clicking
2.1.5 Schedule Information
2.1.5.1 A certain number of running or running today and tomorrow
2.1.5.2 Go to the schedule list screen when clicking
17

2.1.6 User Management Information
2.1.6.1 Number of Authorization Requests Generated by General Users after
Membership
2.1.6.2 Approval or rejection processing is required on the user management
screen
2.1.6.3 Go to user management screen when clicking
2.1.7 Power Consumption
2.1.7.1 100% of total current devices Total power
2.1.7.2 Indication of Current Power Consumption
2.1.7.3 Go to click statistics screen

2.2 List of Errors
1
1
2 2 3 3 4
4
An error is a feature that informs the administrator when the status of the device
becomes inaccessible. After the administrator has processed the device that caused
the error, it must be resolved.
2.2.1 Searching
Search for "title, contents" of the error and check the error information you
want to check
2.2.2 State classification
Check the error list by dividing it by "All errors", "Unresolved errors", and
"Resolved errors"
2.2.3 Checking the error occurrence location
Check the location of the error on the drawing
19

1 2 1
2
1
1
4
2.2.4 Creating Comments
2.2.4.1 If you select the Description area
2.2.4.2 Click Edit to create and modify a Comment
2.2.5 Resolving
2.2.5.1 If the error is no longer a problem, press the Clear button to change
it to the Fixed state.
2.2.5.2 Errors once resolved can not be reverted back to open state

21

2.3 User List
1
1
2
4
2
3 3 4
5 5 6
6
You can only control lights that have certain rights. After adding a user, the
administrator must register the lights that the user can control.
2.3.1 Create User
2.3.1.1 Click the top right button
2.3.1.2 Adding Manual
2.3.1.2.1 Enter user information and click "Add" button
2.3.1.3 Adding as a file
2.3.1.3.1 Write user information to a file
2.3.1.3.2 After uploading the created file, click "Add" button
2.3.2 Search
2.3.2.1 Retrieve a user's name, email, or assigned lighting information
2.3.3 State classification
2.3.3.1 Confirm the user list divided into "Full, Activate, and Disable"

2.3.4 Lighting registration
1 1 2 3 2
3
2.3.4.1 Can register and remove user controllable light
2.3.4.2 Click the icon on the "Device" tab to display the setting popup
2.3.4.3 Select the desired layer and device and click "Save" button
2.3.4.4 Click to cancel the setting and return to the previous state
23

2.3.6 Changing User State
1
1
2
2
2.3.6.1 User Status is checked on the Status tab.
2.3.6.1.1 Every time a user's status changes, the content is emailed
2.3.6.1.2 Ready: Waiting for administrator approval after signing up
2.3.6.1.3 Inactive: The state in which a password must be set
2.3.6.1.4 Active: A state in which a function can be normally used
2.3.6.1.5 Locked: Connection is restricted by administrator
2.3.6.2 User state can be changed by using the button in the Action tab
2.3.6.2.1 Reset: Have the password reset
2.3.6.2.2 Lock: Restrict system access
2.3.6.2.3 Unlock: Disable System Access Restrictions
2.3.6.2.4 Remove: Account deleted
2.3.6.2.4.1 Appears when the user account is not "Active"

2.4 Schedule
1 1 2
Schedule is a function that allows you to specify the time and status you want and
automatically control the devices. Registered schedules can be viewed in timeline or
list format. Transformations in the timeline and list format can be done via tabs at
the top center.
2.4.1 Timeline
2.4.1.1 Check the registered schedule by date and time
2.4.1.2 The displayed color differs depending on how the schedule is
executed
2.4.1.2.1 Duration: It returns to the state before the schedule operation
after the specified state is maintained for a certain period of
time.
2.4.1.2.2 Spot: changes the devices to the specified state at a fixed time
without retention time and finishes the operation
2.4.1.3 Change the date unit
2.4.1.3.1 Daily Units
Schedule for the selected date (0 to 24 hours)
2.4.1.3.2 Main Unit
Schedule for the selected week (Monday through Sunday)
2.4.1.3.3 Monthly Unit
Select month's schedule
25

2.4.2 List
2 2 3
3
2.4.2.1 Registered schedules can be checked at a glance with detailed
information
2.4.3 Checking and deleting schedule details
2.4.3.1 If you click on the schedule in the list or timeline, the detailed
information confirmation popup appears
2.4.3.2 Delete schedule Click the top right button of the detail information
popup
2.4.4 Creating Schedules
2.4.4.1 Click the Add button at the top right of the timeline or list
2.4.4.2 Schedule Registration Popup
2.4.4.2.1 Title
2.4.4.2.2 Schedule Description

2.4.4.2.3 Start date
1 2 3
4
2.4.4.2.4 Start Time / End Time
2.4.4.2.5 Target Devices
2.4.4.2.5.1 Select All
2.4.4.2.5.2 Partial Device Selection
2.4.4.2.5.2.1 Select the desired device and click the Save
button
2.4.4.2.6 Repeat
2.4.4.2.6.1 Repeat every day
2.4.4.2.6.1.1 Schedule will run at a fixed time every day from
the start date
2.4.4.2.6.2 Repeat every week
2.4.4.2.6.2.1 Weekly Schedule runs at a specified time of the
specified day of the week
2.4.4.2.6.2.2 The day of the week specified as the start date
must be selected
2.4.4.2.6.3 Repeat monthly
2.4.4.2.6.3.1 Schedule runs at the appointed time on the same
day of the month from the start date
2.4.4.2.7 제어
2.4.4.2.8 Control
2.4.4.2.8.1 Check each control item and change it to the set value.
Unchecked item means to maintain the existing state.
2.4.4.2.8.1.1 Color Temperature
2.4.4.2.8.1.1.1 2700-6500
2.4.4.2.8.1.2 Brightness
2.4.4.2.8.1.2.1 0-100
2.4.4.2.8.1.3 Power
27

1 2 3
4

2.5 System Settings
System setting is the function to set administrator account, password policy,
SMTP server and device layout information. Because all of these functions can
change important information that can have a significant impact on the
operation of the system, you must verify the administrator account when
accessing the functions.
2.5.1.1 Account Identification
2.5.1.1.1 Before using each function, be sure to login again with
administrator account
2.5.1.2 Password Policy
You can set a policy that limits the length of special characters and
passwords that can be used for user or administrator passwords.
The already registered password does not reflect the modified policy, but it
can be modified according to the modified policy at the time of
modification.
2.5.1.2.1 Length Limitations
2.5.1.2.1 Length Limitations
2.5.1.2.2 Available special characters
2.5.1.2.3 Forcing Special Characters
2.5.1.2.4 Complex Case
29

2.5.1.2.5 Character / number combination
2.5.1.2.6 Password Change Cycle
2.5.1.2.6.1 Setting the Password Change Cycle sends a message to
reset all users' passwords for a fixed period of time
2.5.1.3 SMTP Settings
2.5.1.4 setting Up Floor Layout
2.6 Statistics
Statistical information is divided into real-time data and cumulative data.
Real-time data shows real-time power usage from 0 to 24 hours today.
The cumulative data can be seen in two types of graphs of power usage over a
desired period of time.
2.6.1.1 Real-time monitoring
2.5.1.3.1 * Refer to 1-D
2.5.1.4.1 * See 1-F

2.6.1.1.1 Change destination
1
1
1
2 3 4
2.6.1.1.1.1 Function is the same as schedule target selection (see *
2-D schedule registration)
2.6.1.1.2 Automatic information update once a minute
2.6.1.2 Cumulative Data
Cumulative data graph is a function to check the accumulated power usage
data when the system is operated. Each graph can compare up to five
targets at the same time, and you can check up to five graphs at a time.
2.6.1.2.1 Adding a new graph
2.6.1.2.1.1 Graph Type Selection
2.6.1.2.1.1.1 bar
2.6.1.2.1.1.2 Line
2.6.1.2.1.2 Enter a title
2.6.1.2.1.3 Data Period
2.6.1.2.1.3.1 Calendar Popup Exposure When Clicking Calendar
Icon
2.6.1.2.1.3.2 Upper calendar: Start date
31

2.6.1.2.1.3.3 Down Calendar: End date
5
6
2.6.1.2.1.4 Target Selection (* 3-D Schedule Target Selection
Method)
2.6.1.2.1.5 Entire target
2.6.1.2.1.6 Selecting Partial Targets
2.6.1.2.2 Delete Graph
2.6.1.2.2.1 Delete button at the upper right of the graph to be
deleted
2.6.1.2.3 Changing the Graph
2.6.1.2.3.1 Modify Information in the Same Way as Create Popup

1 2 3
4
5
6
33

(CLASS B)
FCC Information to User
This equipment has been tested and found to comply with the limits for a Class B digital device,
pursuant to Part 15 of the FCC Rules. These limits are designed to provide reasonable
protection against harmful interference in a residential installation. This equipment generates,
uses and can radiate radio frequency energy and, if not installed and used in accordance with
the instructions, may cause harmful interference to radio communications. However, there is no
guarantee that interference will not occur in a particular installation. If this equipment does
cause harmful interference to radio or television reception, which can be determined by turning
the equipment off and on, the user is encouraged to try to correct the interference by one of the
following measures:
• Reorient or relocate the receiving antenna.
• Increase the separation between the equipment and receiver.
• Connect the equipment into an outlet on a circuit different from that to which the receiver is
con-nected.
• Consult the dealer or an experienced radio/TV technician for help.
Caution
Modifications not expressly approved by the party responsible for compliance could void the
user’s authority to operate the equipment.
FCC Compliance Information : This device complies with Part 15 of the FCC Rules.
Operation is subject to the following two conditions: (1) This device may not cause harmful
interference, and (2) this device must accept any interference received, including interference
that may cause undesired operation
IMPORTANT NOTE:
FCC RF Radiation Exposure Statement:
This equipment complies with FCC RF radiation exposure limits set forth for an uncontrolled
environment. This equipment should be installed and operated with a minimum distance of 20
centimeters between the radiator and your body.This transmitter must not be co-located or
operating in conjunction with any other antenna or transmitter.

※ For product inquiries and AS, Please contact SAMJIN LND Co., Ltd (representative number:
031-379-2020) for further information
Manufacturer: SAMJIN LND Co., Ltd.
Address: 64-17, Dongtangiheung-ro, Dongtan-myeon
Hwaseong-si, Gyeonggi-do, 18487, Korea
 Loading...