

Page 1

Model: Salora SIL-300B
Page 2

1 Starting the Salora SIL-300B ................................................................................................................................... 4
Starting the Salora SIL-300B ......................................................................... ................................................... .. 4
2 Internet Service ...................................................................................................................................................... 5
Connecting to the Internet ............................................................................................................................... 5
3 Network Settings .................................................................................................................................................... 6
Selecting the Network Type .............................................................................................................................. 6
Searching and Registering Automatically .......................................................................................................... 6
Searching and Registering Manually ................................................................................................................. 7
4 Connection Profile Management ........................................................................ ................................................... . 8
Creating a Dial-Up Profile .................................................................................................................................. 8
Editing a Dial-Up Profile .................................................................................................................................... 8
Deleting a Dial-Up Profile .................................................................................................................................. 9
5 Statistics Information ............................................................................... ............................................................. 10
Viewing the Statistics Information .................................................................................................................. 10
Clearing the Statistics Information .................................................................................................................. 10
6 SMS ............................................... ................................................... ................................................... .................. 12
Creating and Sending a Text Message .................................................................. ........................................... 12
Inbox ................................................................................................ ............................................................... 12
Outbox, Draft, Important, Deleted, and Reports ............................................................................................ 14
Text Message Settings ..................................................................................................................................... 15
7 Phonebook ........................................................................................................................................................... 17
Phonebook Management ............................................................................................................................... 17
Group Management ....................................................................................................................................... 19
Import and Export Management ......................................................................... ........................................... 21
8 Call ........................................................................................................................................................................ 23
Icons on the Call Interface ............................................................................................................................. . 23
Making a Call .................................................................................................................................................. 23
Answering a Call...................................................................................... ................................................... ..... 24
Call Settings ........................................................................................ ................................................... ......... 24
9 Call Log ................................................................................................................................................ ................. 26
Viewing the Call Log ....................................................................................................................................... 26
Operating the Call Log .................................................................................................................................... 26
10 Using the USSD Function .................................................................................................................................... 27
11 Changing the Language....................................................................................................................................... 28
12 Diagnostic Information ............................................................................... ........................................................ 29
Viewing the Diagnostic Information ............................................................................................................... 29
Saving the Diagnostic Information .................................................................................................................. 29
13 PIN Security Settings ................................................................................ ................................................... ....... 30
Enabling and Disabling PIN Verification .......................................................................................................... 30
Changing the PIN ............................................................................................................................................ 30
Verifying the PIN ............................................................................................................................................. 30
Unlocking with PUK......................................................................................................................................... 31
14 FAQs ................................................................................................................................................................... 32
Why the Internet Cannot Be Accessed? .......................................................................................................... 32
Why Only Part of the Pasted Content Is Displayed When Editing a Text Message? ........................................ 32
Why the Prompt Window Is Not Displayed When There Is an Incoming Text Message?................................ 32
Why Phone Numbers Cannot Be Pasted? ....................................................................................................... 33
Page 3
1
Starting the Salora SIL-300B
Starting the Salora SIL-300B
You need to start the Salora SIL-300B, before using various functions of the terminal device.
Context
NOTE:
• When you are required to enter the Personal Identification Number (PIN), enter the
correct PIN. If you fail to enter the correct PIN or PIN Unblocking Key (PUK) code, the
network-related functions would be unavailable.
• Contact your network service provider for whether the User Identity Module (UIM) card,
Subscriber Identity Module (SIM) card, or UMTS Subscriber Identity Module (USIM) card
is required.
• The UIM card, SIM card, or USIM card is provided by your network service provider.
Contact your network service provider for details.
To start the
Salora
SIL-300B manually
Double-click the shortcut icon of the Salora SIL-300B on the desktop.
To start the
Salora
SIL-300B
automatically
The Salora SIL-300B st
arts automatically upon the startup of the
operating system.
To set the Salora SIL-300B to start automatically, do as follows:
1. Choose Tools > Options > General.
2. Select the Launch on OS startup check box.
3. Click OK.
Page 4
2
Internet Service
You can access the Internet by using the terminal device.
Connecting to the Internet
The terminal device must connect to the Internet before you can surf the Internet.
Context
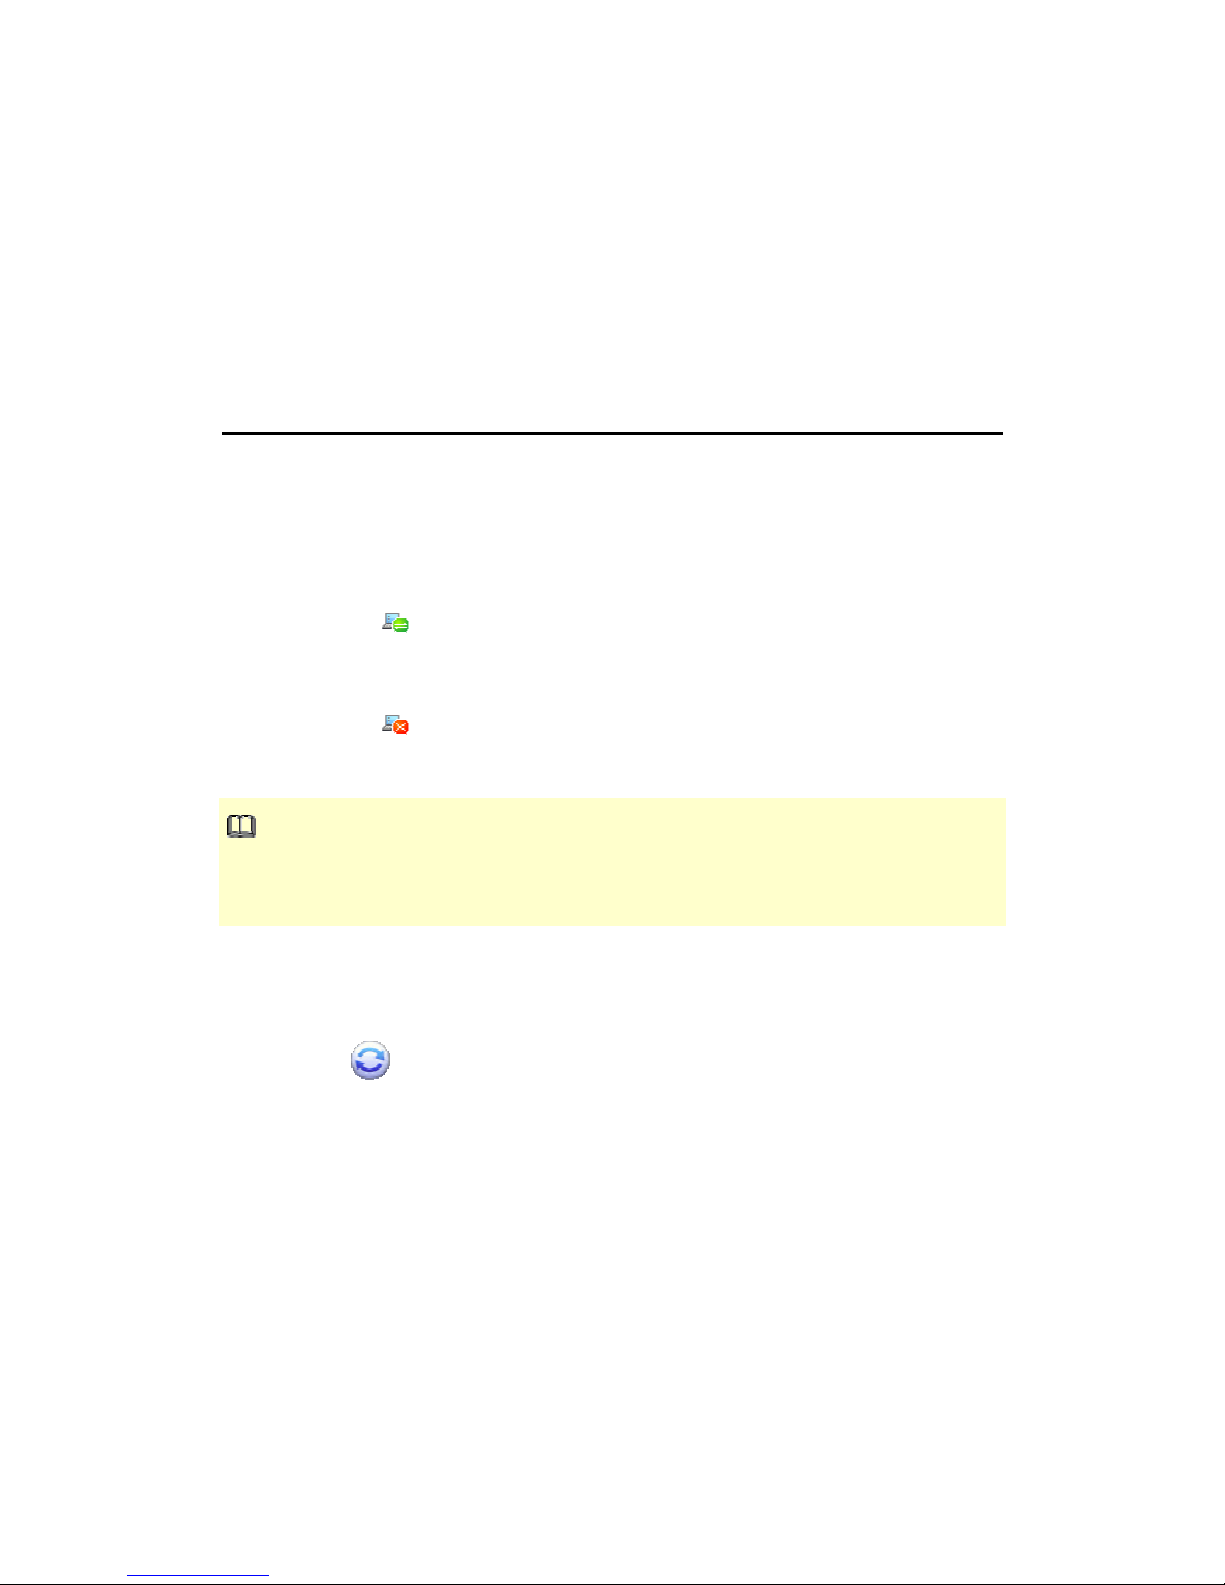
• When the icon is displayed on the Salora SIL-300B interface, it indicates that the
network connection is established.
• When the icon is displayed on the Salora SIL-300B interface, it indicates that the
network connection is disconnected.
NOTE:
After you set the network connection parameters correctly, do as follows to connect to the
network.
Procedure
1. Click .
2. Click the Connect button to connect the network.
3. Launch the browser on the personal computer (PC) to surf the Internet.
Page 5
3
Network Settings
You can set the network settings with the Salora SIL-300B.
Selecting the Network Type
Select the network type of the network service provider when searching for its network, so that
you can find the network and log in to it rapidly.
Context
NOTE:
Contact your network service provider for the network type and frequency band.
Procedure
1. Choose Tools > Options > Network.
2. Click the Network Type tab.
3. Select the corresponding network type in the Network Type drop-down list box.
4. Click Apply.
5. Click OK to save and validate the settings.
Searching and Registering Automatically
This topic describes how to find and register with the network automatically.
Procedure
1. Choose Tools > Options > Network.
2. Click the Registration Mode tab.
3. Select Auto search and register.
Page 6

Searching and Registering Manually
This topic describes how to find and register with the network manually.
Procedure
1. Choose Tools > Options > Network.
2. Click the Registration Mode tab.
3. Select Manual search and register.
4. Click Refresh.
5. Select the network to be registered with from the Operator Name list.
6. Click Register.
Page 7
4
Connection Profile Management
You can manage the connection profiles with the Salora SIL-300B by saving the connection
parameters of different networks.
Creating a Dial-Up Profile
This topic describes how to create a dial-up profile.
Context
NOTE:
Contact your network service provider for parameters need to be set.
Procedure
1. Choose Tools > Options > Profile Management.
2. Click New and set each parameter.
3. Click OK to display the Prompt dialog box.
4. Click Yes to complete the setting.
Editing a Dial-Up Profile
This topic describes how to edit a dial-up profile.
Procedure
1. Choose Tools > Options > Profile Management.
2. Select a profile from the Profile Name drop-down list.
3. Click Edit and reset each parameter.
4. Click OK to display the Prompt dialog box.
5. Click Yes to complete the setting.
Page 8

Deleting a Dial-Up Profile
This topic describes how to delete a dial-up profile.
Procedure
1. Choose Tools > Options > Profile Management.
2. Select a profile from the Profile Name drop-down list.
3. Click Delete to display the Prompt dialog box.
4. Click Yes to delete the dial-up profile.
Page 9
5
Statistics Information
The traffic statistics function is used to record the traffic data, connection duration, and
connection rate.
Viewing the Statistics Information
The statistics information includes the connection duration, upload and download rates, and
uploaded and downloaded traffic data of the current connection.
Context
• When the icon is displayed on the bottom of the Salora SIL-300B interface, it
indicates that data is being downloaded.
• When the
icon is displayed on the bottom of the Salora SIL-300B interface, it
indicates that data is being uploaded.
NOTE:
The statistics information is only for your reference. The actual traffic information is counted on
the basis of the traffic data collected by the network service provider.
Procedure
1. Click Statistics.
2. View the statistics information.
Clearing the Statistics Information
This topic describes how to clear the statistics information.
Procedure
1. Click Statistics.
2. Right-click in the navigation tree.
3. Choose Reset Statistics.
Page 10

4.
Click Yes.
Page 11

6
SMS
You can send, receive, and manage text messages on the Salora SIL-300B.
Creating and Sending a Text Message
With the Salora SIL-300B installed on your PC, you can send text messages to mobile phones
or other terminal devices that support the SMS function.
Context
NOTE:
You can group send a text message. Each phone number should be separated by ;.
Procedure
1. Click Text.
2. Click
.
3. Enter the recipient number in one of the following ways:
• Click Send To and select the phone number or contact group in the pop-up
window.
• Enter the phone number of the recipient directly.
4. Enter the message text.
5. After editing a text message, you can choose from the following options:
• Click Send: to send the text message.
• Click Save: to save the text message as a draft.
• Click Close: to close the text message under editing. If you click Yes in the
displayed prompt window, the text message is saved in Draft.
Inbox
Inbox stores the received text messages. You can manage these messages in Inbox.
Page 12

Searching for a Text Message
You can find a text message rapidly based on the recipient name, recipient number, or the
message content.
Context
NOTE:
• You can enter part of the message content to find a text message.
• When you search for a text message, a list of the matched messages is updated
automatically according to the information currently entered. No result is displayed when
no matched message is found.
• Take searching for a text message stored in Local as an example.
• Local represents the storage memory on PC.
Procedure
1. Click Text.
2. Choose Local > Inbox.
3. Click
and enter the keyword in the text box.
Viewing and Managing a Text Message
After a text message is viewed, you can perform various operations on it.
Context
If the visual prompt for text messages is enabled, a prompt dialog box is displayed on the
lower right corner of the screen when there is an incoming text message.
NOTE:
• You can use the keyboard shortcuts to select several text messages.
• The text messages deleted from Local are stored in Deleted.
• You can forward only one text message at a time.
• Take viewing a text message stored in Local as an example.
• Local represents the storage memory on PC.
Page 13

Procedure
1. Click Text.
2. Choose Local > Inbox.
3. Find the text message to be viewed.
4. Click the text message to display the recipient name, recipient number, message
content, and receiving time in the window on the lower right corner of the screen.
5. Right-click the text message and choose an option to reply, forward, or delete the text
message.
Exporting Text Messages
This topic describes how to export text messages from the storage memory managed by the
Salora SIL-300B to a *.csv file.
Context
NOTE:
• Take exporting text messages from the text in Local as an example.
• Local represents the storage memory on PC.
Procedure
1. Click Text.
2. Choose Local.
3. The following operations are alternative:
• Right-click on the message list and choose Export All SMS.
• Select one or more messages. Right-click the selected messages and choose
Export Selected SMS.
4. Select the path to save the exported file.
5. Enter the filename and click Save.
Outbox, Draft, Important, Deleted, and Reports
The text messages are separately stored in different boxes to facilitate management.
• Outbox stores the sent text messages.
Page 14

• Draft stores the text message drafts.
• Important stores the important text messages. You can click and drag text messages
in other boxes to Important.
• Deleted stores text messages deleted from Local.
• Reports stores the delivery notifications received when text messages are sent.
NOTE:
• Deleted stores only text messages deleted from Local. Text messages deleted from
other locations cannot be stored in Deleted.
• Delivery notifications are not stored in Deleted after being deleted.
Text Message Settings
You can set the text message settings, such as the prompt mode.
Setting the Text Message Prompt
If the text message prompt is set, an alert tone is played or a visual prompt is displayed when
there is an incoming text message.
Procedure
1. Choose Tools > Options > Text Message.
2. Select the audio prompt or visual prompt.
Option Description
Visual
prompt
Select the Show a notification when a new text message arrives check box.
When there is an incoming text message, a prompt dialog box is displayed. You
have the following options:
• Click View to view the text message.
• Click Cancel to view the text message later.
Audio
prompt
Select the Play a sound when a new text message arrives check box and select
an alert tone. When there is an incoming text message, the alert tone is played.
c. Click Browse to select the alert tone file.
d. Click Test to play the alert tone. Click Stop to stop playing the alert tone.
Page 15

Selecting the Message Save Mode
This topic describes how to selecting the message save mode.
Procedure
1. Choose Tools > Options > Text Message.
2. Select the message save mode in the New Message Save Mode area.
Setting the Delivery Report
When the delivery report is enabled, the network delivers a status report for the sent message.
Procedure
1. Choose Tools > Options > Text Message.
2. Select the Request delivery report check box.
Page 16

7
Phonebook
The Salora SIL-300B provides you with a phonebook to facilitate the management of
contacts.
Phonebook Management
You can create contacts, delete contacts, and assign contacts in the phonebook to different
groups for management with the Salora SIL-300B.
Creating a Contact
This topic describes how to create and save a contact.
Context
NOTE:
• The contact information cannot be null or only contain spaces or line breaks.
• The contact information can be saved on the storage memory managed by the Salora
SIL-300B, such as in Local.
• Take creating a contact in Local as an example.
• Local represents the storage memory on PC.
Procedure
1. Click Phonebook.
2. Click Local in the navigation tree.
3. Click
.
4. Enter the contact information.
5. Click OK to save the contact information.
Page 17

Searching for a Contact
This topic describes how to search for a contact.
Context
NOTE:
• You can enter any part of the contact information to search for a contact.
• When you search for a contact, the contact list is updated automatically according to
the information entered. The matched contacts in the searched group are displayed.
When no matched contact is found in the group, no result is displayed.
• Take searching for a contact in Local as an example.
• Local represents the storage memory on PC.
Procedure
1. Click Phonebook.
2. Click Local in the navigation tree.
3. Click
.
4. Enter information of the contact to be searched in the text box.
Viewing and Managing a Contact
This topic describes how to view and manage a contact.
Context
NOTE:
• Take viewing a contact stored in Local as an example.
• Local represents the storage memory on PC.
Procedure
1. Click Phonebook.
2. Click Local in the navigation tree.
3. Find the contact to be viewed.
Page 18

4. Click the contact to display the detailed contact information in the window on the lower
right corner of the screen.
5. Right-click the contact and choose the corresponding option to edit the contact
information, delete the contact, or send a text message to the contact.
Group Management
You can assign the contacts to different groups on the Salora SIL-300B.
Creating a Group
This topic describes how to create a group.
Context
NOTE:
• The group name cannot be null or identical to an existing group name.
• You can assign only contacts stored in Local to groups.
Procedure
1. Click Phonebook.
2. Right-click Local in the navigation tree.
3. Choose New Group and enter the group name.
Changing a Group Name
This topic describes how to change a group name for clearly classifying the contact groups.
Context
NOTE:
The default group names cannot be changed, such as Local.
Procedure
1. Click Phonebook.
2. Right-click the group to be renamed and choose Rename Group.
Page 19

3. Enter the new group name.
Adding a Contact
This topic describes how to add a contact to a group.
Procedure
1. Click Phonebook.
2. Choose the method to add the contact.
Option Description
To directly add a contact
in a group
a. Select the group in the navigation tree.
b. Click
.
c. Enter the contact information to create a
contact.
To add a contact from
Local to another group
d. Select one or more contacts in Local.
e. Drag the selected contact(s) to another group.
NOTE:
When you drag the selected contact(s), press Ctrl/Command
to
copy the contact(s) to another group.
Removing a Contact
This topic describes how to remove a contact from a group. The contact is removed from the
group but not deleted.
Procedure
1. Click Phonebook.
2. Select a contact group.
3. Right-click the contact to be removed from the contact list and choose Remove from
group.
Page 20

Deleting a Group
This topic describes how to delete a contact group. Contacts belong to the deleted group are
automatically stored in Local.
Procedure
1. Click Phonebook.
2. Right-click a contact group in the navigation tree and choose Delete Group.
3. Click OK.
Import and Export Management
The Salora SIL-300B supports importing and exporting contacts. Thus, the storage locations
of contacts can be changed.
Importing Contacts
This topic describes how to import the contacts from a *.csv file to the storage memory
managed by the Salora SIL-300B.
Context
NOTE:
• Take importing contacts to the phonebook in Local as an example.
• Local represents the storage memory on PC.
Procedure
1. Click Phonebook.
2. Choose Local.
3. Right-click on the contact list and choose Import.
4. Select the file to be imported and click Open.
5. In the pop–up window, drag the values in the *.csv file to the Local field. Thus, the
mapping relation between the values in the *.csv file and the local fields is established.
6. Click OK.
Page 21

Exporting Contacts
This topic describes how to export contacts from the storage memory managed by the Salora
SIL-300B to a *.csv file.
Context
NOTE:
• Take exporting contacts from the phonebook in Local as an example.
• Local represents the storage memory on PC.
Procedure
1. Click Phonebook.
2. Choose Local.
3. The following operations are alternative:
• Right-click on the contact list and choose Export All Contacts.
• Select one or more contacts. Right-click the selected contact(s) and choose
Export Selected Contacts.
4. Select the path to save the exported file.
5. Enter the filename and click Save.
Page 22

8
Call
Launch the Salora SIL-300B before making or answering a call.
Icons on the Call Interface
You can make or answer a call by clicking the icons on the Call interface.
The following table lists the icons and their functions.
Click... To...
/
Mute/Unmute the microphone.
/
Decrease/Increase the volume during a call.
Select a phone number from the phonebook.
• Delete the entered numbers one by
one.
• Clear all the characters (by click the
icon and hold the left mouse button for
over two seconds).
Making a Call
With the Salora SIL-300B, you can make a call to a telephone or a mobile phone.
Context
You can use the Salora SIL-300B to make a call by different methods:
• Entering the phone number directly
• Selecting the phone number from the phonebook
• Through the text message
• Through the call log
Page 23

NOTE:
Take dialing by entering the phone number directly as an example.
Procedure
1. Click Call.
2. Enter the phone number.
• Click the number keys on the Call interface.
• Press the number keys on the keyboard.
3. Click
or press Enter on the keyboard to dial.
Answering a Call
You can answer an incoming call with the Salora SIL-300B.
Context
NOTE:
• When there is an incoming call, the icon of the Salora SIL-300B flashes in the system
tray.
• If the visual prompt is enabled, when there is an incoming call, the Prompt dialog box
is displayed on the lower right corner of the screen. Then you can click Answer to
answer the call.
Procedure
1. Click Call.
2. Click
to answer the call. Click to end the call.
Call Settings
You can set the call settings after the Salora SIL-300B is launched.
Page 24

Call Prompt Settings
If the call prompt is set, the Salora SIL-300B plays a ringtone or displays a visual prompt when
there is an incoming call.
Procedure
1. Choose Tools > Options > Call.
2. Select the Visual prompt on incoming call check box to enable the visual prompt.
3. Set the ringtone.
a. Select the Ringtone check box.
b. Click Browse.
c. Click Test to play the ringtone. Click Stop to stop playing.
d. Click OK to set the selected ringtone as the audio prompt.
Page 25

9
Call Log
The Salora SIL-300B can store the answered, missed, and dialed calls in the call log.
Viewing the Call Log
You can view the answered, missed, and dialed calls in the call log of the Salora SIL-300B.
Procedure
1. Click Call Log.
2. Choose the following items in the navigation tree to display the corresponding list:
• Answered Calls: It stores the records of answered calls, including the names
and phone numbers of the callers, call start time, and duration of each call.
• Missed Calls: It stores the records of missed calls, including the names and
phone numbers of the callers and the call start time.
• Dialed Calls: It stores the records of dialed calls, including the names and
phone numbers of the called parties, call start time, and duration of each call.
Operating the Call Log
You can perform several operations on the call log.
Procedure
1. Click Call Log.
2. Right-click a call record and choose different options to delete the record, save the
phone number, or make a call.
Page 26

10
Using the USSD Function
The Unstructured Supplementary Service Data (USSD) services are interactive data services.
You can use an interactive data service supplied by the network service provider after sending
an USSD command from your terminal device.
Context
NOTE:
• The USSD commands are supplied by the network service provider.
• Contact your network service provider for the charging scheme of the USSD services.
Procedure
1. Click USSD.
2. Click Edit Command.
3. Define a name for an USSD command and click Save.
4. Enter the USSD command in the Enter the command code or select the command
from the drop-down list text box or select the corresponding command name.
5. Click Send. Then you can use the corresponding service.
Page 27

11
Changing the Language
This topic describes how to change the language of the Salora SIL-300B interface.
Procedure
1. Choose Tools > Language.
2. Select the language you require.
Page 28

12
Diagnostic Information
You can view the diagnostic information on the Salora SIL-300B.
Viewing the Diagnostic Information
This topic describes how to view the diagnostic information of the terminal device.
Context
NOTE:
The diagnostic information of different types of terminal devices may differ.
Procedure
1. Choose Tools > Diagnostics.
2. View the diagnostic information of the terminal device.
Saving the Diagnostic Information
This topic describes how to save the diagnostic information of the terminal device.
Context
NOTE:
You can save the diagnostic information in a *.txt file.
Procedure
1. Choose Tools > Diagnostics.
2. View the diagnostic information of the terminal device.
3. Choose Save.
Page 29

13
PIN Security Settings
You can enable the PIN verification, and the PIN protects your UIM card, SIM card or USIM
card against unauthorized use.
Enabling and Disabling PIN Verification
When the PIN verification is enabled, next time you launch the terminal device, you need to
enter the PIN. When the PIN verification is disabled, next time you launch the terminal device,
you do not need to enter the PIN.
Context
• Choose Tools > PIN Operations > Enable PIN Verification.
• Choose Tools > PIN Operations > Disable PIN Verification.
Changing the PIN
By changing the PIN, you can enhance the effectiveness of PIN protection.
Procedure
1. Choose Tools > PIN Operations > Modify PIN.
2. Enter the current PIN and the new PIN in the Modify PIN dialog box.
3. Confirm the new PIN.
4. Click OK.
Verifying the PIN
When the PIN verification is enabled, you need to enter the PIN to launch the Salora SIL-300B.
The network-related functions (including accessing the Internet) of the UIM card, SIM card, or
USIM card can be used only after the correct PIN is entered.
Context
NOTE:
Page 30

• If a wrong PIN is entered, the system prompts the remaining attempts for you to enter
the correct PIN.
• If a wrong PIN is consecutively entered over the allowed times, the UIM card, SIM
card, or USIM card is locked and the related operations cannot be performed.
• The PUK needs to be entered to unlock the UIM card, SIM card, or USIM card.
Procedure
1. Choose Tools > PIN Operations > Enter PIN.
2. Enter the correct PIN in the displayed window.
3. Click OK to complete the PIN verification.
Unlocking with PUK
A locked UIM card, SIM card, or USIM card can be unlocked by the PIN Unblocking Key
(PUK).
Procedure
1. Launch the Salora SIL-300B, and the Unlock PIN dialog box is displayed.
2. Enter the correct PUK.
3. Enter the new PIN.
4. Click OK.
Page 31

14
FAQs
The frequently asked questions and the corresponding solutions are provided.
Why the Internet Cannot Be Accessed?
Context
NOTE:
• Contact your network service provider if the wireless network-accessing service is not
activated.
• Acquire the network settings from the local network service provider.
Procedure
1. Ensure that you are in the service area covered by the network signals.
2. Ensure that you have activated the wireless network-accessing service.
3. Ensure that the network settings meet the requirements of the local network service
provider.
Why Only Part of the Pasted Content Is Displayed When Editing a Text
Message?
A text message contains up to 2048 characters. If the pasted content exceeds this limit, only
2048 characters of the content can be displayed, and the extra part is automatically deleted.
Why the Prompt Window Is Not Displayed When There Is an Incoming Text
Message?
Context
The visual prompt for text messages is not enabled.
Procedure
1. Choose Tools > Options > Text Message.
Page 32

2. Select the Show a notification when a new text message arrives check box.
Why Phone Numbers Cannot Be Pasted?
A valid phone number can contain only 0-9, #, *, and +. Confirm that no other character is in
the cut or copied text.
 Loading...