

Sakar TR-4 Quick Start Manual
!"#"$%&$'(%&$)*+,
-.)/#%!0"$0%1.),2
F.?*%0+%"%!2/0)+7
32",%+4%052%&$)*+,6%!"#$%"$
&'()*'$+")*$(,-'*,$,./$,/0)&%$1%$
2"*13".%,44+$
3"7,826%5/0)&%1.6$%2'$5.64'$7"*$
%2'$8'*7'(%$91(%)*'
9,:.;0)7<%052%=2/#%+4%052%
&$)*+,6%!162'*$"*$4"#'*:
9)$'>.;5)+7%>+8.?76%
;'()*1.6$%2'$4'6&
@A027,"B82%C2<;6$5/0)&%,<4'$
!'162%&$=,>'$%2'$9'*7'(%$91(%)*'$
?<%,1.,<4'
97%@";)8D%!0+$"B82%E02?
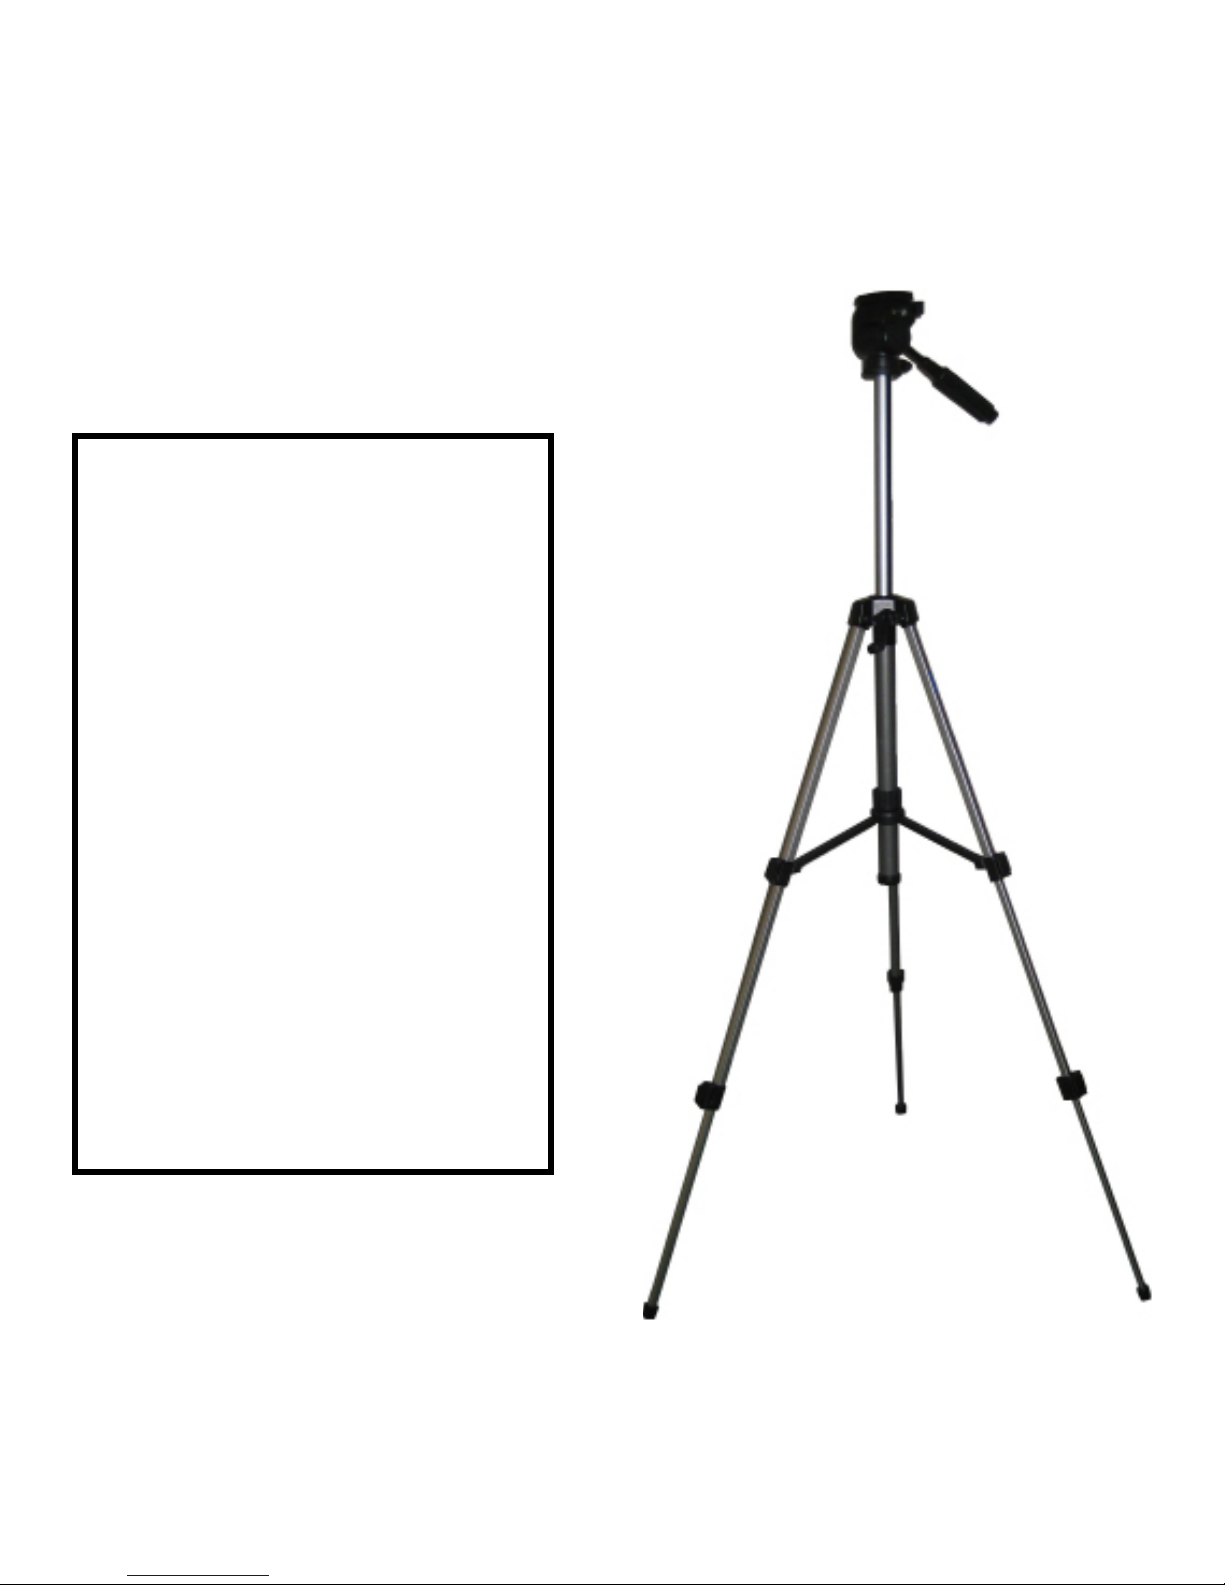
This guide provides basic instructions for getting started with your Sakar Tr-4 Tripod. The tripod does not require
any assembly but only slight adjustments in order to set up for photography or videography. For more information,
consult the full user’s manual. Call the Sakar help line at 800-867-5309 or email sakarhelp.com for additional help.
GH2$H)2K%+4%&$)*+,%!20'.*
9%!.??"$D%+4%052%GH2$"88%!20'I*%J$+/2;;
In order to get a quality photo or video, there are a few simple steps that need to be taken. Connect the camera
to the head of the tripod by threading the camera onto the removable piece. Then, one needs to decide on the
XZWXMZPMQOP\NWZ\PM\ZQXWL\W[\IVL,MXMVLQVOWV\PMMV^QZWVUMV\Q\UIaJMJMVMÅKQIT\W\ZaU]T\QXTMPMQOP\[
before one is selected. Adjust the legs, themselves, by opening the two clasps on each of the legs and sliding the
leg to the desired position. Don’t forget to look at the bubble level on the head of the tripod in order to make
sure that all is level with the ground. The next step is to adjust the height of the head of the tripod through spinning the height toggle to the right or to the left. Again, once a height is chosen, double check with the bubble
level to verify that the level has been maintained. The tripod is now ready for professional photography and
videography.
&$)*+,%!20'.*%BD%!2/0)+7
@A027,"B82%C2<;
The SAKAR TR-4 comes complete with legs that come with the capability to extend to a new desired height.
Each of the legs have two clasps that, when opened, loosen the grip
on the leg and allow for the leg to extend. When the second switch is
released, the leg can be extended, again, allowing a total of 20 inches
to choose from. This option allows for the photographer to take steady,
quality photos without the worry of having to hold the camera by hand.
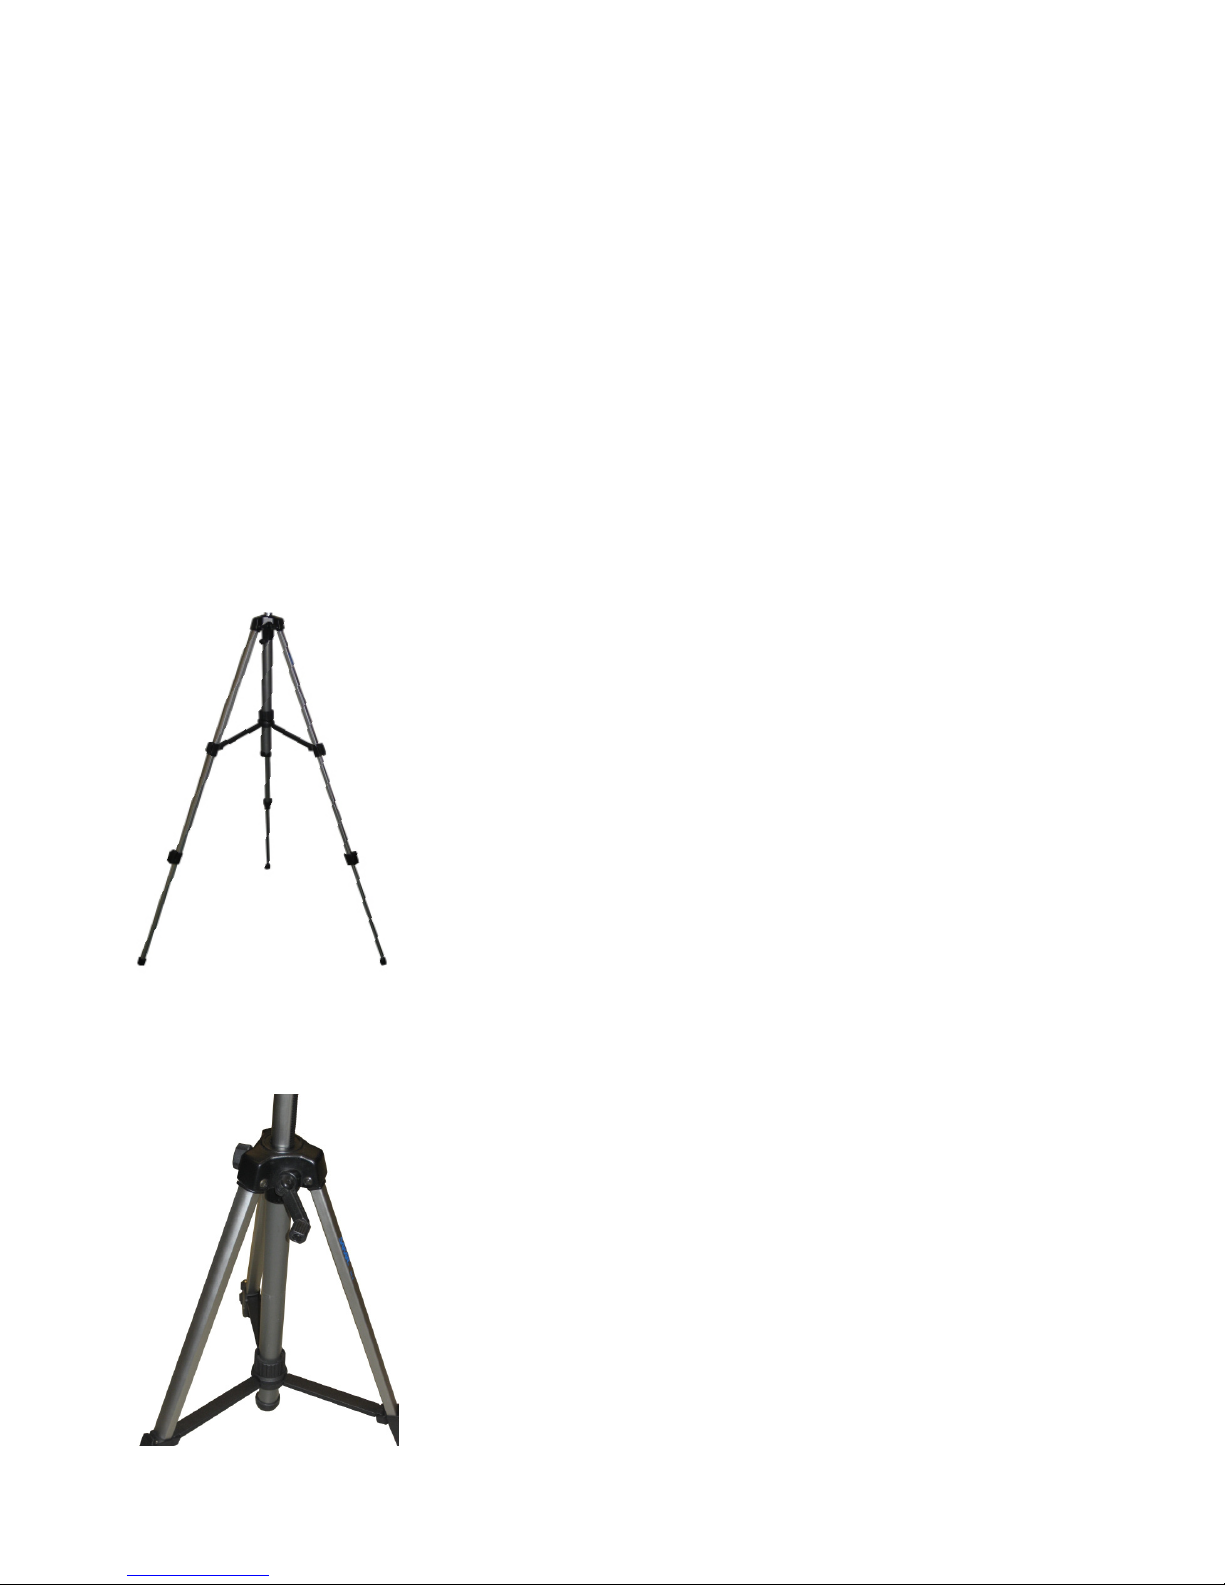
L"/#%0+%F.?*%0+%"%!2/0)+7
9)$'>.;5)+7%>+8.?7
The legs are all connected to the Air-Cushion Column by a device that
has the ability to tighten or to loosen.
When tightened by twisting it to the right, the connectors to the legs
lock into place and reduce the possibility of the legs slipping outward.
In comparison, when this device is loosened by twisting it to the left,
the legs can spread wider or can be brought closer together giving the
photographer full control over the legs.
L"/#%0+%F.?*%0+%"%!2/0)+7
 Loading...