

Sakar 94379 Owner's Manual
94379 Owner’s Manual
Content System Requirements
*Digital camera *Windows 98/2000/Me/XP
*USB Cable *Pentium-based PCs (or equivalent)
*Installation CD-ROM *80MB hard disk free space and 32 MB or more of RAM
*Owner's Manual *Color display (24-bit or higher recommended)
*Strap
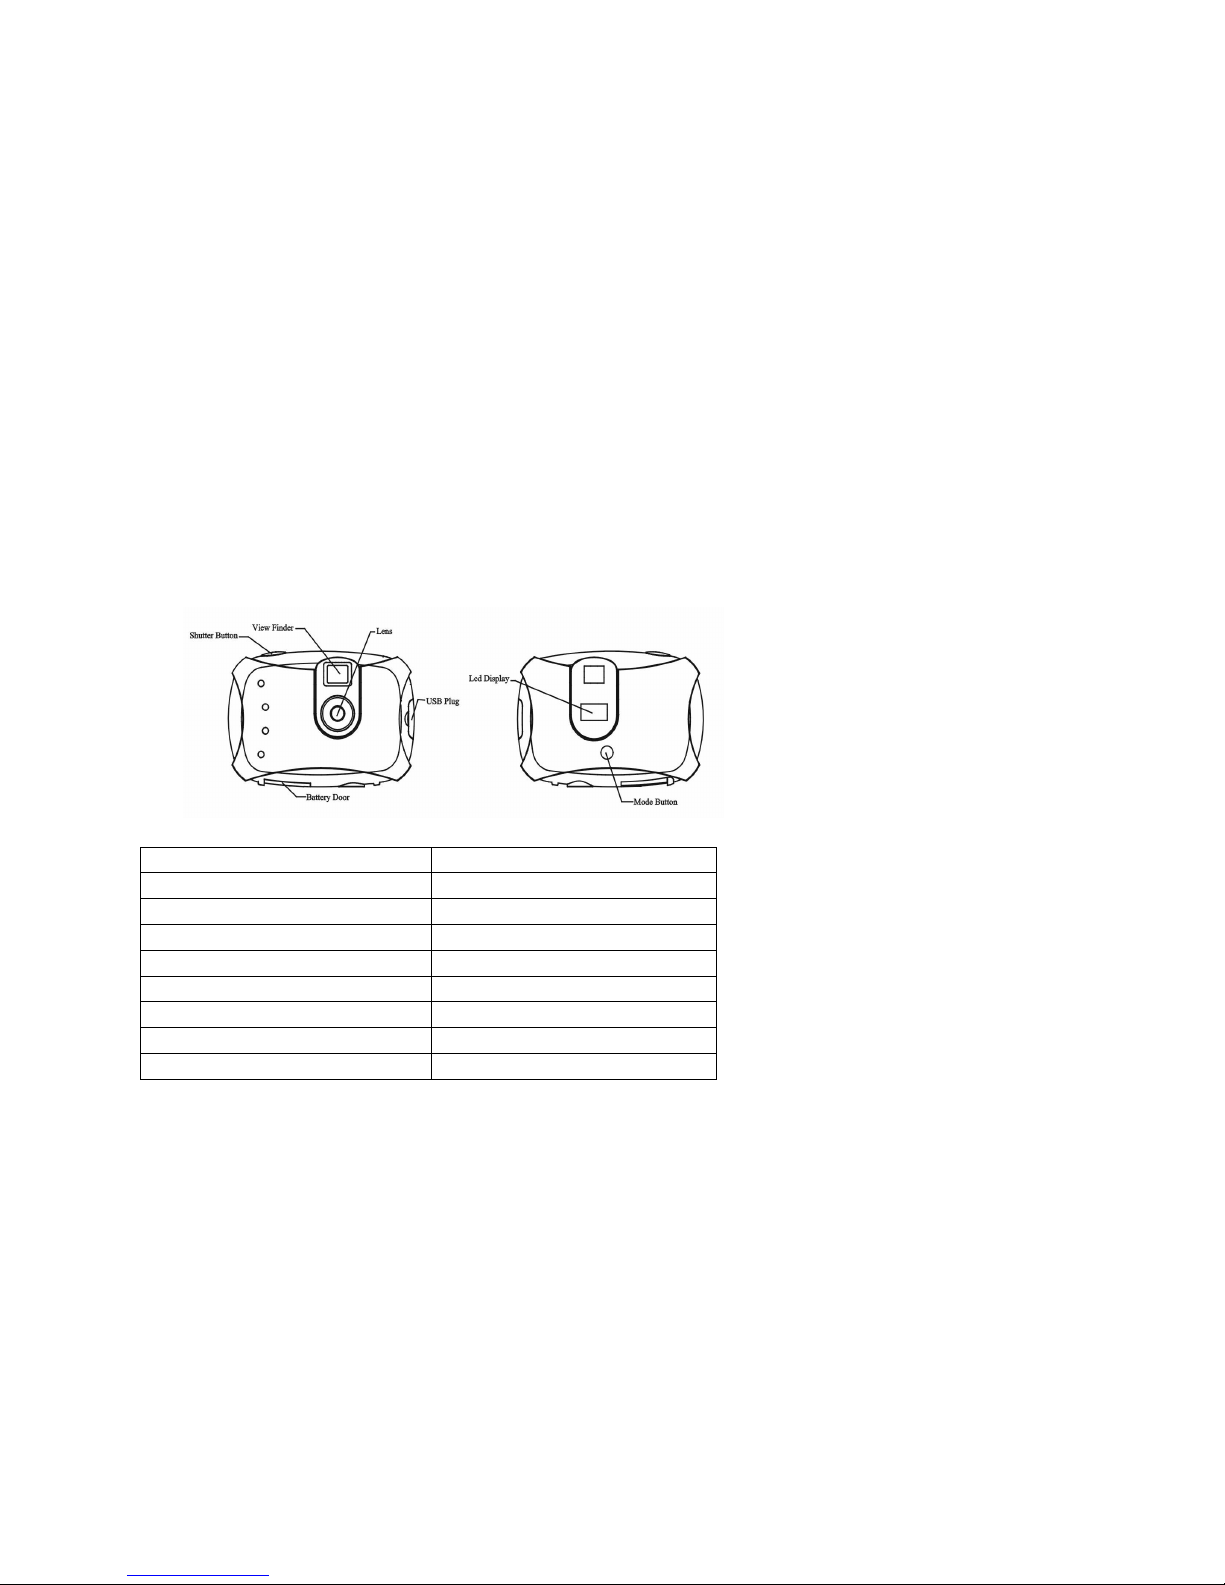
Getting to know the camera
Specification
Image Sensor CMOS Sensor 300K pixels
Resolution 640 x 480(VGA) 320 x 240(CIF)
Memory 4 x 16M bytes SDRAM
Number of pictures Up 32 VGA; up 128 CIF
Lens Fixed lens: f= 7.2 / F 4.7(52°)
Focus Range 40cm to Infinity
Shutter Range 1/6 ~1/16000 second
Status LCD display Numeric LCD

Self-Timer Timer with 10 sec delay
Video mode 24 bits(R/G/B)
Video frame rate 12 fps (Hr), 25 fps (Lr)
Expose / White balance Auto/Auto
Power source 2 x 1.5V AAA alkaline / USB 5V
Auto power off 30 sec.
PC interface USB 1.1
Operation System Windows98/2000/Me/XP
Weight Approx. 80g(without 2 AAA batteries)
Dimension 68(H) x 98(L) x 34(T) mm
Start to use camera stand along:
1.Battery installation:
On the bottom of the camera, slide the battery door in the direction
indicated by the arrow to open it. Insert two AAA size alkaline batteries as +/- marking
indicated on the inner side of the battery door. Close the battery cover.
Note:
LCD will flash when the batteries in the unit are running out, you can’t take photos at this time
and please replace new batteries. When the voltage drop down to 2.2 volts, "Lo” appears
on the LCD and blinks then the unit will be power off automatically.
2.Turn on the power:
Press mode button about two seconds to turn on the power, and then operate after beep.
(Automatic power off after idling 30 seconds).
3.Photo taking:
Press shutter button, camera will beep once after the image saved, it means you
take a picture successfully and number on the LCD display increase by 1. When pressing the
shutter button, the buzzer will ring out twice. It indicated that the digital camera is at full capacity.
4.Mode selection:
A. Hr: High resolution Lr: Low resolution
4.1. Press the mode button to select Hr or Lr shown on the LCD display.
4.2. Hr means VGA mode of 300K resolutions and Lr means CIF mode of 100K resolutions.
4.3. If the LCD shows Hr means the present resolution mode is setting for Lr. Press the
shutter button within 5 seconds to change the resolution to Hr and the rest of photos
you may take will change upon this resolution. If the LCD shows Lr means the present
resolution mode is setting for Hr. Press the shutter button within 5 seconds to change

the resolution to Lr.
Note:
"Hr mode": When you take pictures in outdoor, you can take about 32 pictures; When you take pictures indoor,
you can take about 55 pictures.
"Lr mode": When you take pictures in outdoor, you can take about 128 pictures; When you take picture indoor,
you can take about 256 pictures.
B. Continuous mode:
select" CE" appears on the LCD display by pressing mode button, you can take
continuous pictures by pressing shutter button continuously, and do not release the shutter button until you
want to stop. The camera will beep once for each photo taken till the shutter button released or the memory is full.
Under the continuous mode photo shooting, the shooting may fail due to poor lighting. If so the continuous shooting
will stop.
C. Video:
When you select “AI” by pressing mode button and then press shutter button at once, you can shoot your desired
videos and do not release the shutter button until you want to stop shooting and the memory is full.
D. Self-timer
Select “SE” appears on the LCD display by pressing mode button and then press shutter button instantly,
it will beep every second and a picture will be taken automatically after ten seconds.
E. Delete Choose:
(a). Delete Last
Select "CL"appears on the LCD display by pressing mode button. Press shutter button the photo counter will flash.
Press shutter button again within 5 seconds will delete the last image.And number of pictures would be decreased by 1.
(b). Delete All
Select “CA” appears on the LCD display by pressing mode button. Press shutter button the photo counter wll flash.
Press shutter button again within 5 seconds, all of photos in the camera would be deleted. And "00" appears on the LCD.
F. Main Frequency
You can switch"F5" (50HZ) or"F6"(60HZ) in different zones by pressing mode button or shutter button.
G. P o w er of f
Select“OF” appears on the LCD display by pressing mode button then press the shutter button.
It switches off automatically when there no operations for over 30 seconds.
H. Photo Download
You have to install the software driver at first, please refer to driver installation section.
94379 Software Installation
IMPORTANT: Before attempting to install the software, make sure that you do not have the camera or the
USB cable attached to your computer. This will affect the install process and will cause your installation to
fail. Do not connect the cable to the computer until the entire installation process of both PhoTags Express
and the Camera Driver has been completed. We suggest you follow the step by step instructions that will
appear on your screen during the installation process.
SECTION ONE- Software & Camera Driver Installation
1. Insert the CD into your CD-Rom drive. Make sure that your camera is not
connected to the computer.
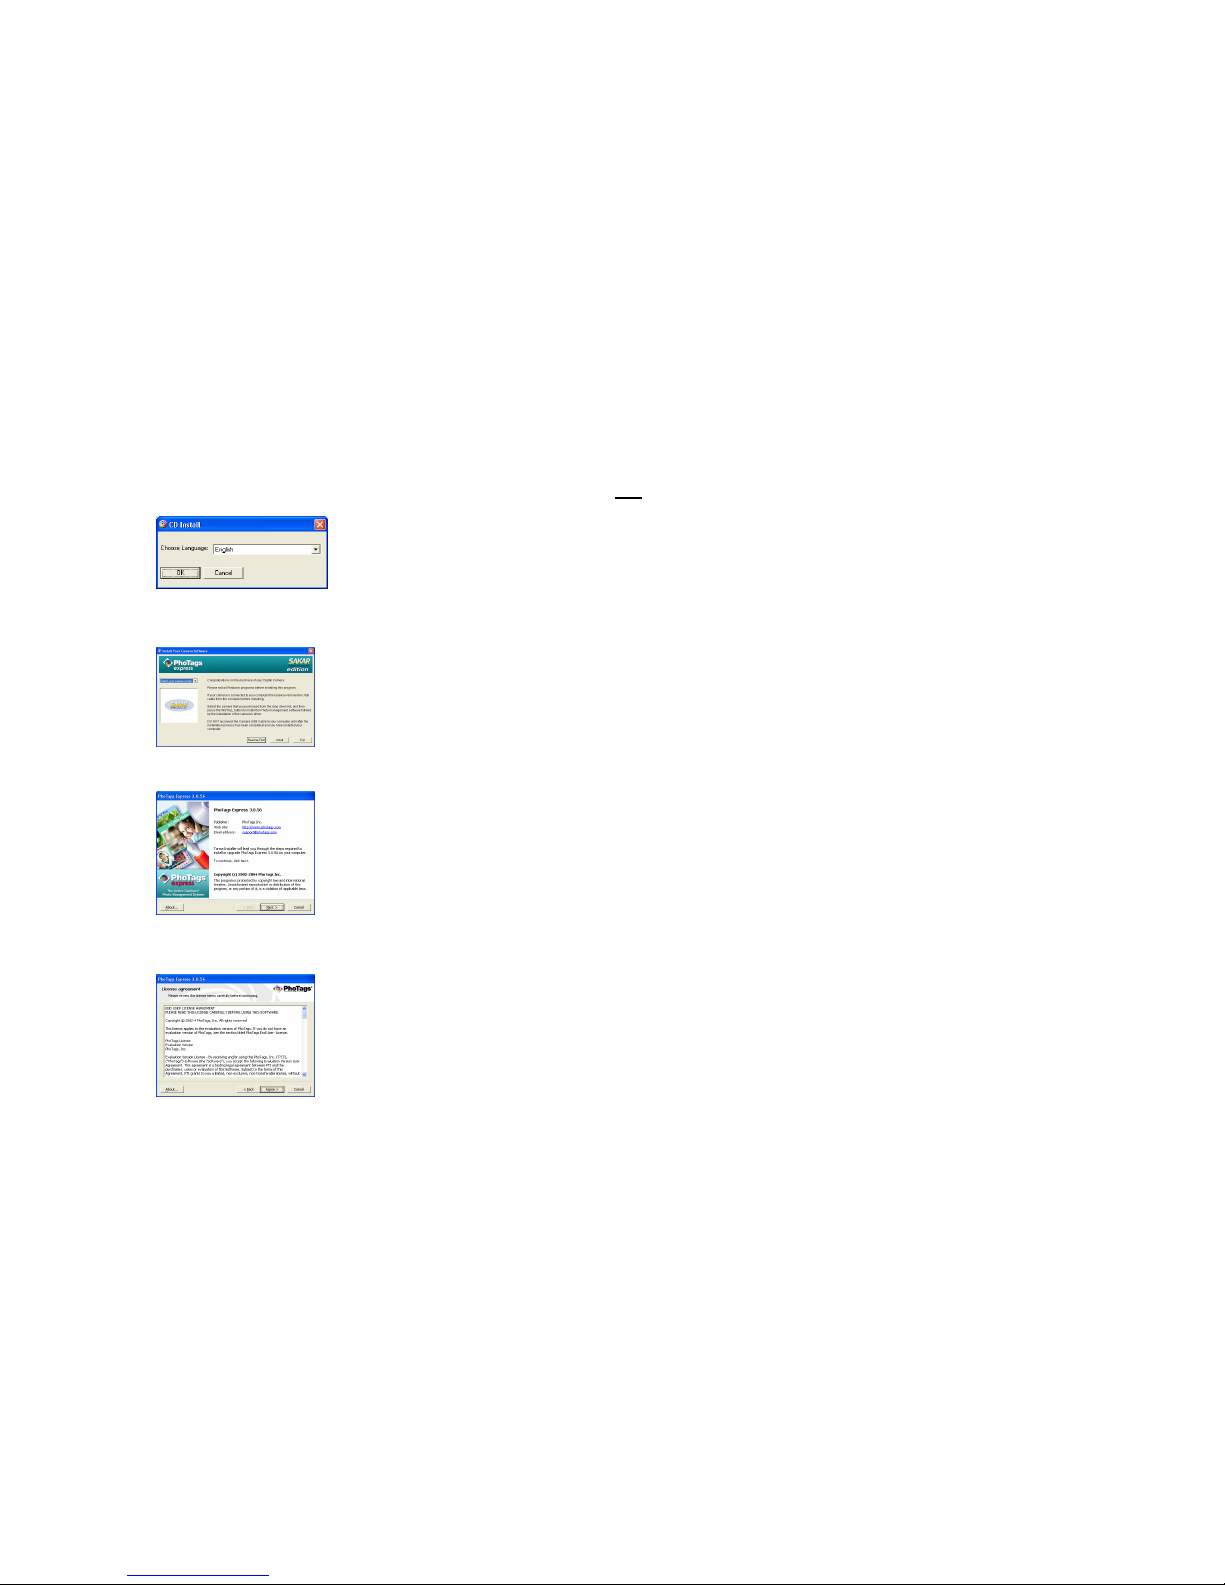
2. You will be prompted to select an installation language. Select the language you want.
3. On the “Install your camera software” screen, select your camera model from the drop down list and click the “Install”
button to install PhoTags Express followed by the installation of PhoTags WebCam Express and your camera driver.
4. On the “PhoTags Express" screen, click the “Next” button.
5. Please review the license terms and click the “Agree” button to continue.
 Loading...