

Sabio Storage CM-404 User Manual

CM 404
4-bay User Guide

1
INDEX
Index ........................................................................................................................................... 1
Log in .......................................................................................................................................... 2
Basic - Quick Setup ..................................................................................................................... 3
Wizard ....................................................................................................................................................................... 3
Add User ..................................................................................................................................... 6
Add Group ................................................................................................................................................................ 7
Add Share ...............................................................................................................................................................10
Control Panel ............................................................................................................................ 12
User Management...................................................................................................................................................12
Control Panel - User and groups .............................................................................................. 13
Group Management ................................................................................................................................................13
Control Panel - File and Print .................................................................................................... 15
File Server ...............................................................................................................................................................15
Share Management .................................................................................................................................................16
Printer Server ..........................................................................................................................................................17
Control Panel - System .............................................................................................................. 18
LAN Settings ...........................................................................................................................................................18
Wireless Settings ....................................................................................................................................................19
Time Settings ..........................................................................................................................................................20
Turn Off Server .......................................................................................................................................................20
Information .............................................................................................................................................................21
Disk Usage ..............................................................................................................................................................21
Error Notification ....................................................................................................................................................22
Control Panel - Network Service ............................................................................................... 23
HCP Server ..............................................................................................................................................................23
Bonjour ...................................................................................................................................................................24
BitTorrent................................................................................................................................................................24
Control Panel - Maintenance ..................................................................................................... 25
Disk Utility ..............................................................................................................................................................25
RAID Setting............................................................................................................................................................26
Firmware Upgrade ..................................................................................................................................................27
Save Configuration .................................................................................................................................................28
Restore Configuration ............................................................................................................................................28
Factory Reset ..........................................................................................................................................................29
Control Panel - Log File............................................................................................................. 30
Samba Log ..............................................................................................................................................................30
FTP Log ...................................................................................................................................................................30
DHCP Server Log .....................................................................................................................................................31
System Log .............................................................................................................................................................31
Administration Log .................................................................................................................................................32
Personal Info ............................................................................................................................. 33
Personal Info - Personal Information ........................................................................................ 34
Account...................................................................................................................................................................34
Logout ....................................................................................................................................... 35
Active Directory Installation ..................................................................................................... 36
Add user ................................................................................................................................... 38
Appendix (Important Operation Information)
2
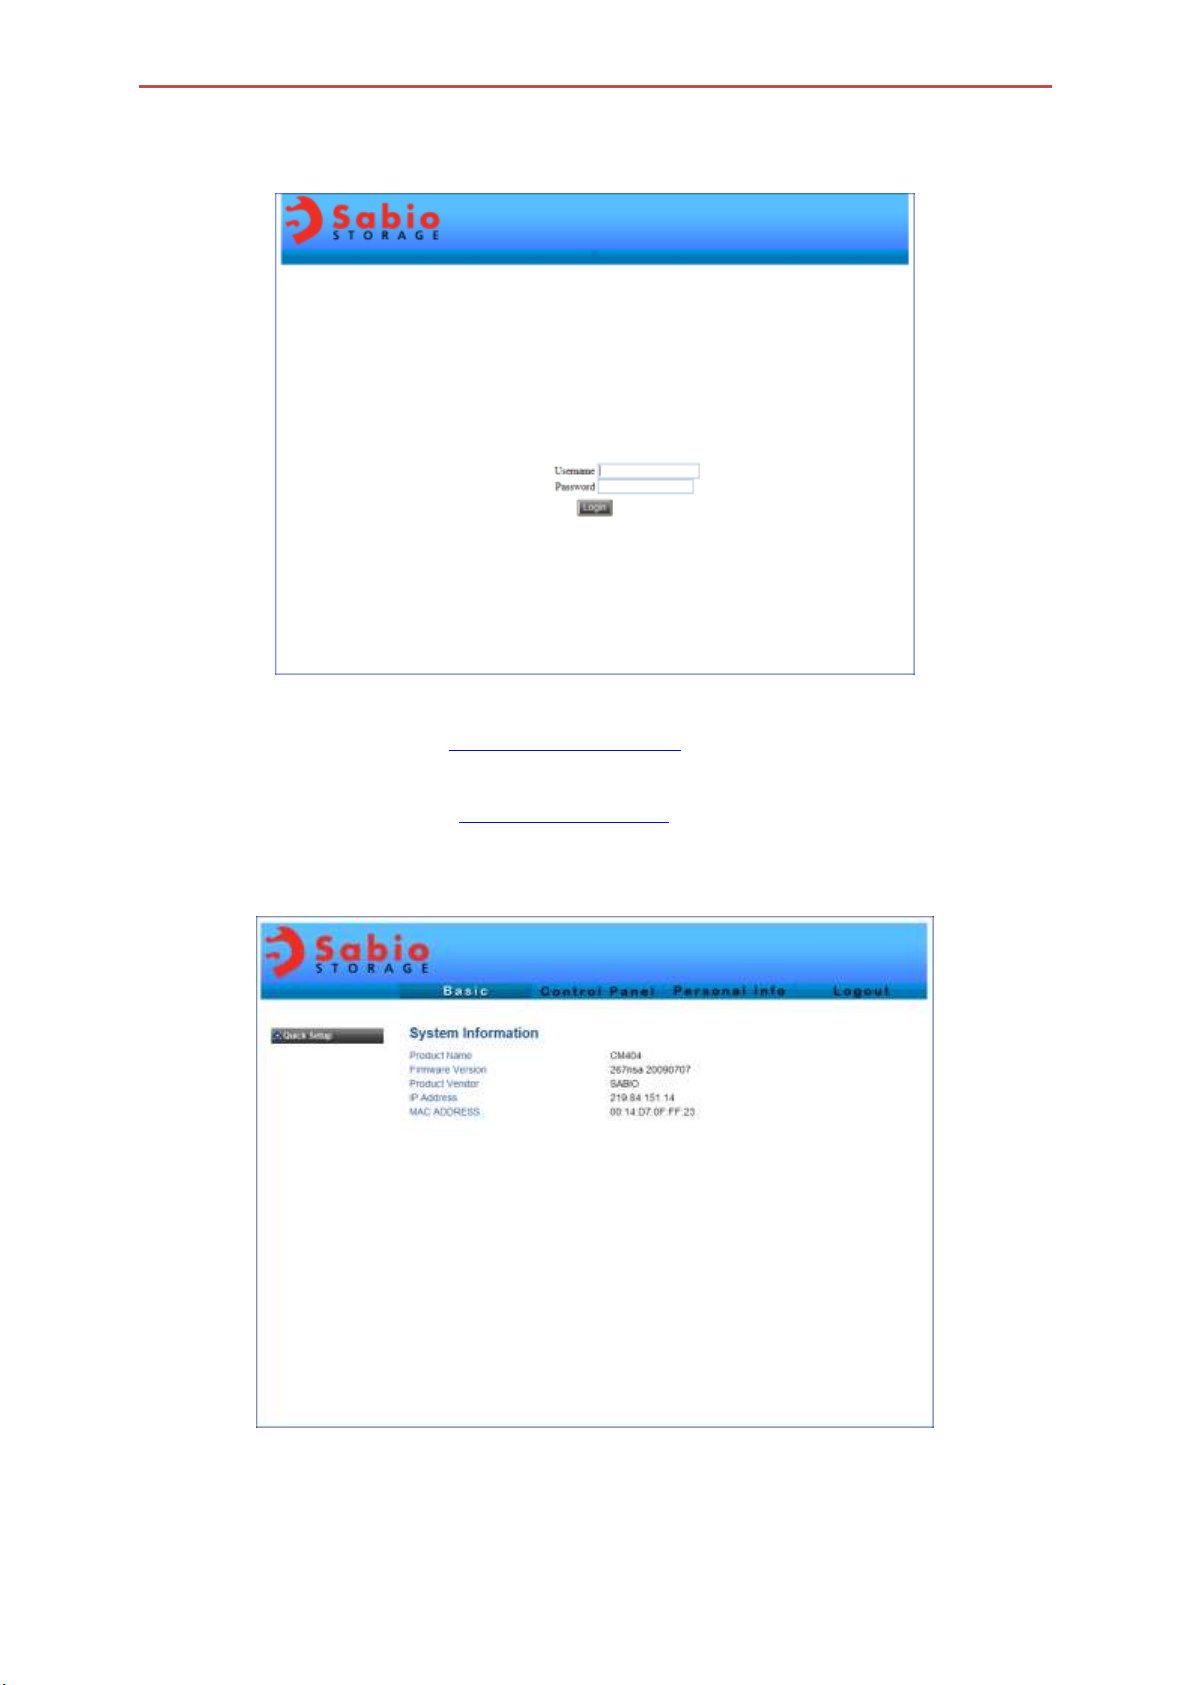
LOG IN
Please refer to the IP address shown on the NAS Chassis’s front LCD panel, launch your web
browser, and type the address: http://xxx.xxx.xxx.xxx.
In most cases, the user will see http://192.168.1.xxx (xxx being the IP address assigned to
this device). The main log-in screen will pop-up.
For the first time log-in, the default user name and password are both “admin”.

3
WIZARD
BASIC - QUICK SETUP
Step 1 of 6
Please make sure you have at least one hard disk installed. ALL DATA ON HARD DRIVE WILL BE
ERASED! Follow the 6-step setup wizard by clicking “Next”.
Step 2 of 6
Set new password for the administrator, it is highly recommended for users to change and use
a distinct password. Remember this password for future log-in.

4
Step 3 of 6
Set up host name of your choice
Step 4 of 6
For users with a router setup and DNS server turned on, both settings can be set
“Automatically”. In this case, each time the system boots, an IP address will be assigned to the
system depending on the IP availability. For some users who prefer a fixed IP, just type in the IP
address for this machine (make sure the IP address does not conflict with other devices in the
same network system). The DNS server can be set “Automatically” or usually to the router IP
address.
5
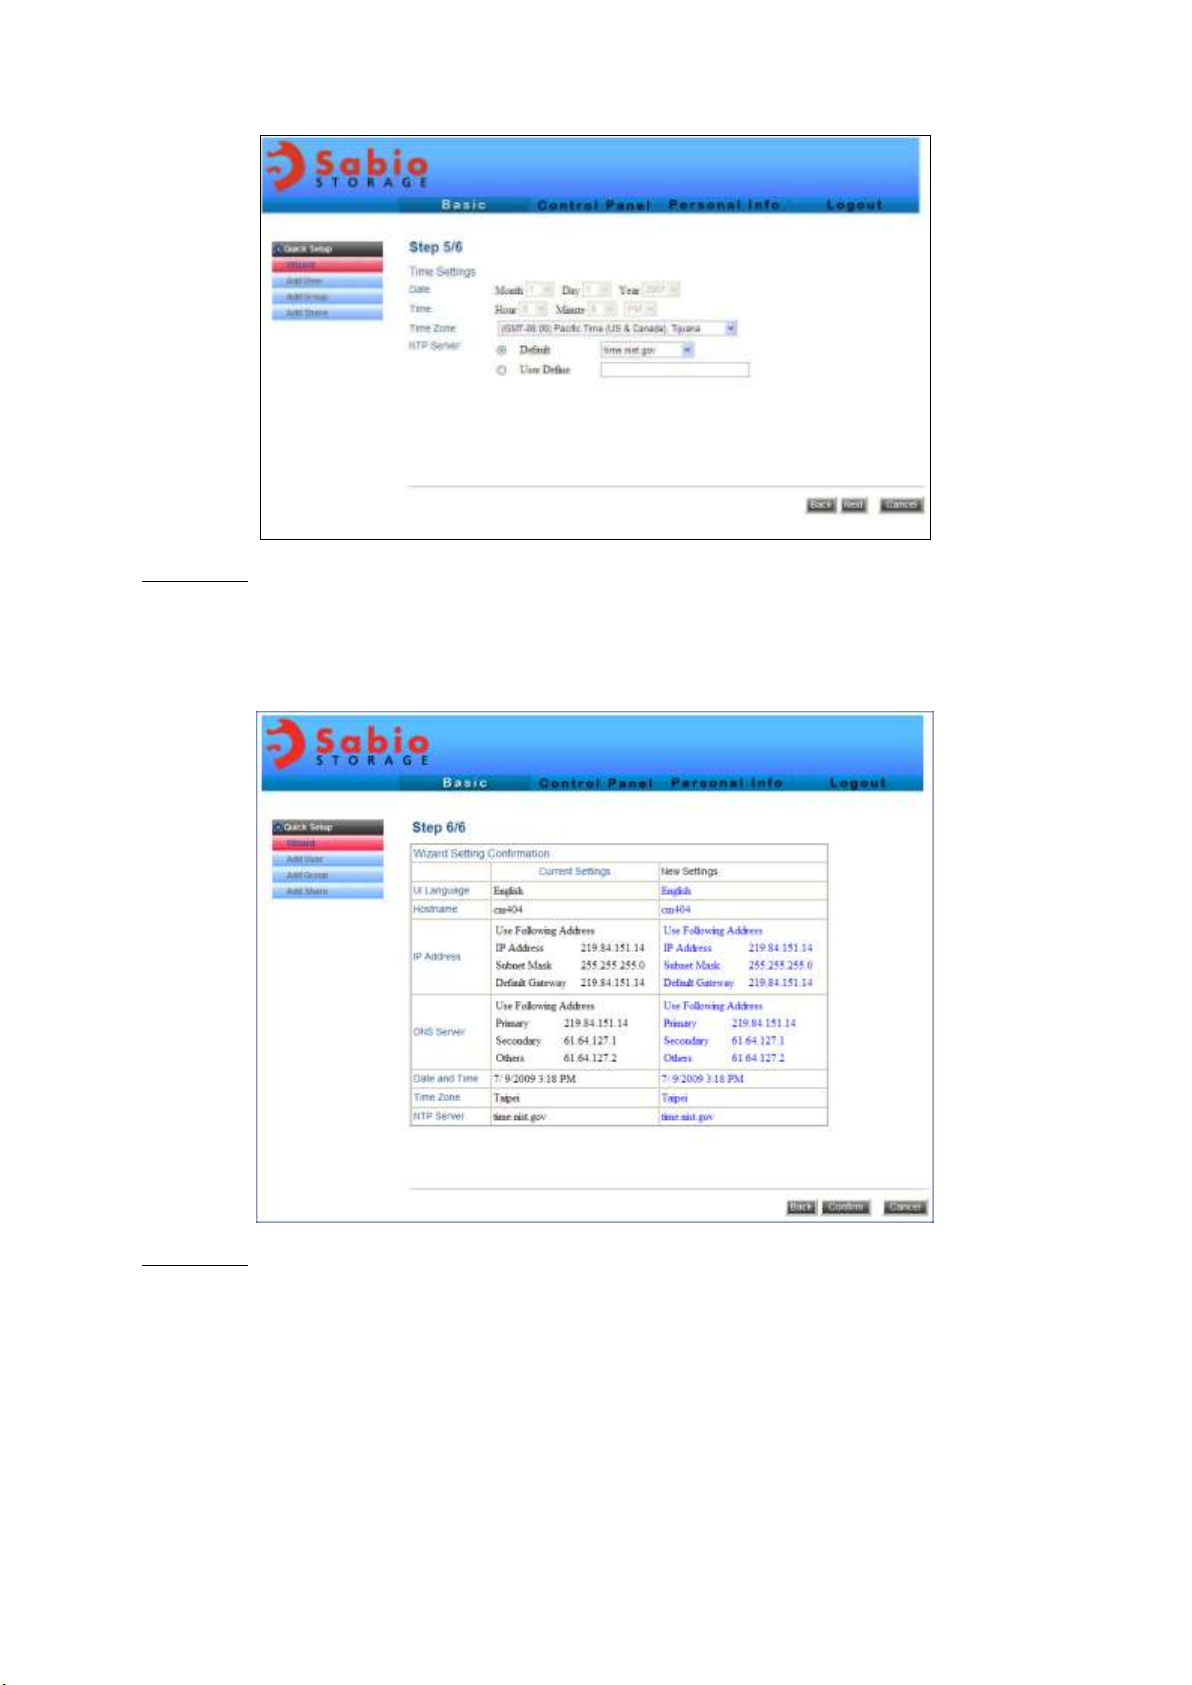
Step 5 of 6
You can set up the time manually or get it from the internet. If you would like to get the time
information from the internet, please specify the server of your choice.
Step 6 of 6
This is a summary page of all of the information you have just chosen. Just click “Complete”
to finish the Wizard, or “Back” if you want to change anything.
6
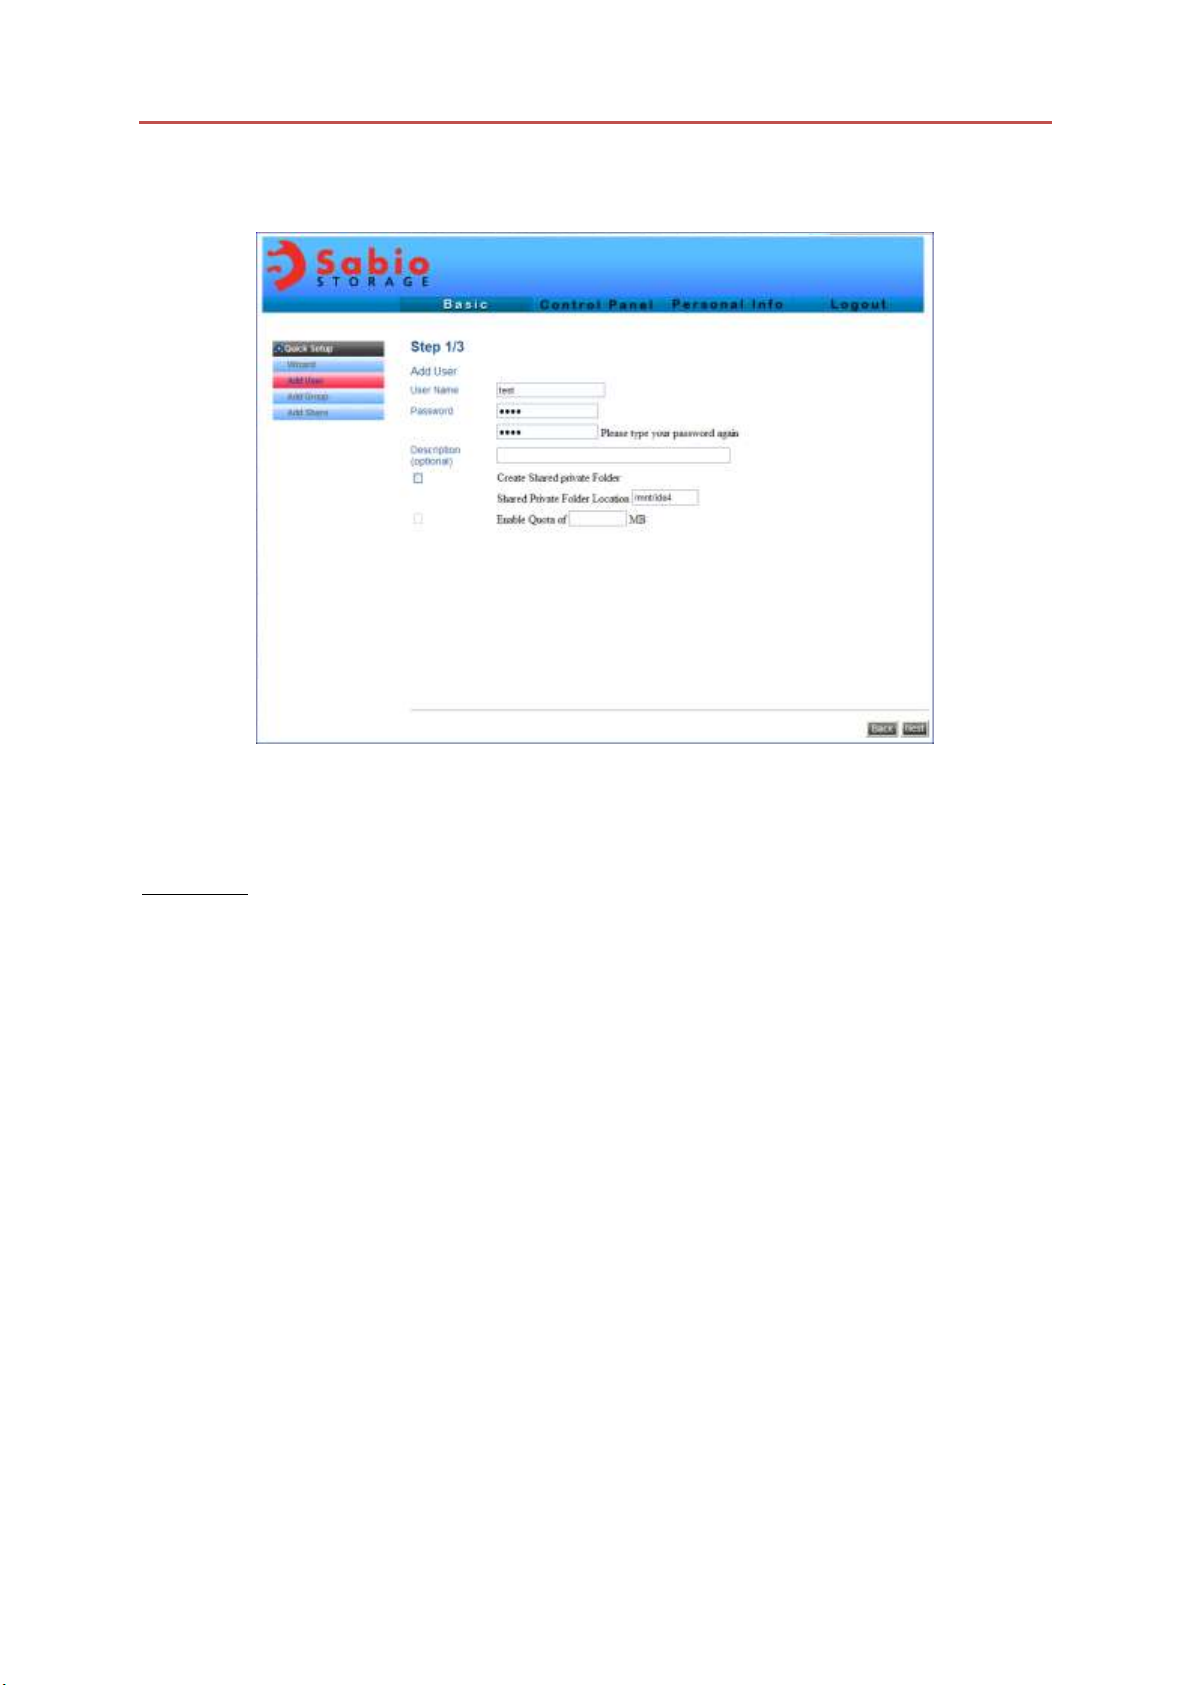
ADD USER
This is the 3-step sub-menu in the Wizard to add users. After the users are added, users can
access the files stored in the device.
Step 1 of 3
Type in the user name and password, if “Create Private Folder (Share)” is checked, a new folder
will be created for security and privacy. Also, the directory has to be specified. If not checked,
the added user will only be able to access the public area.
7
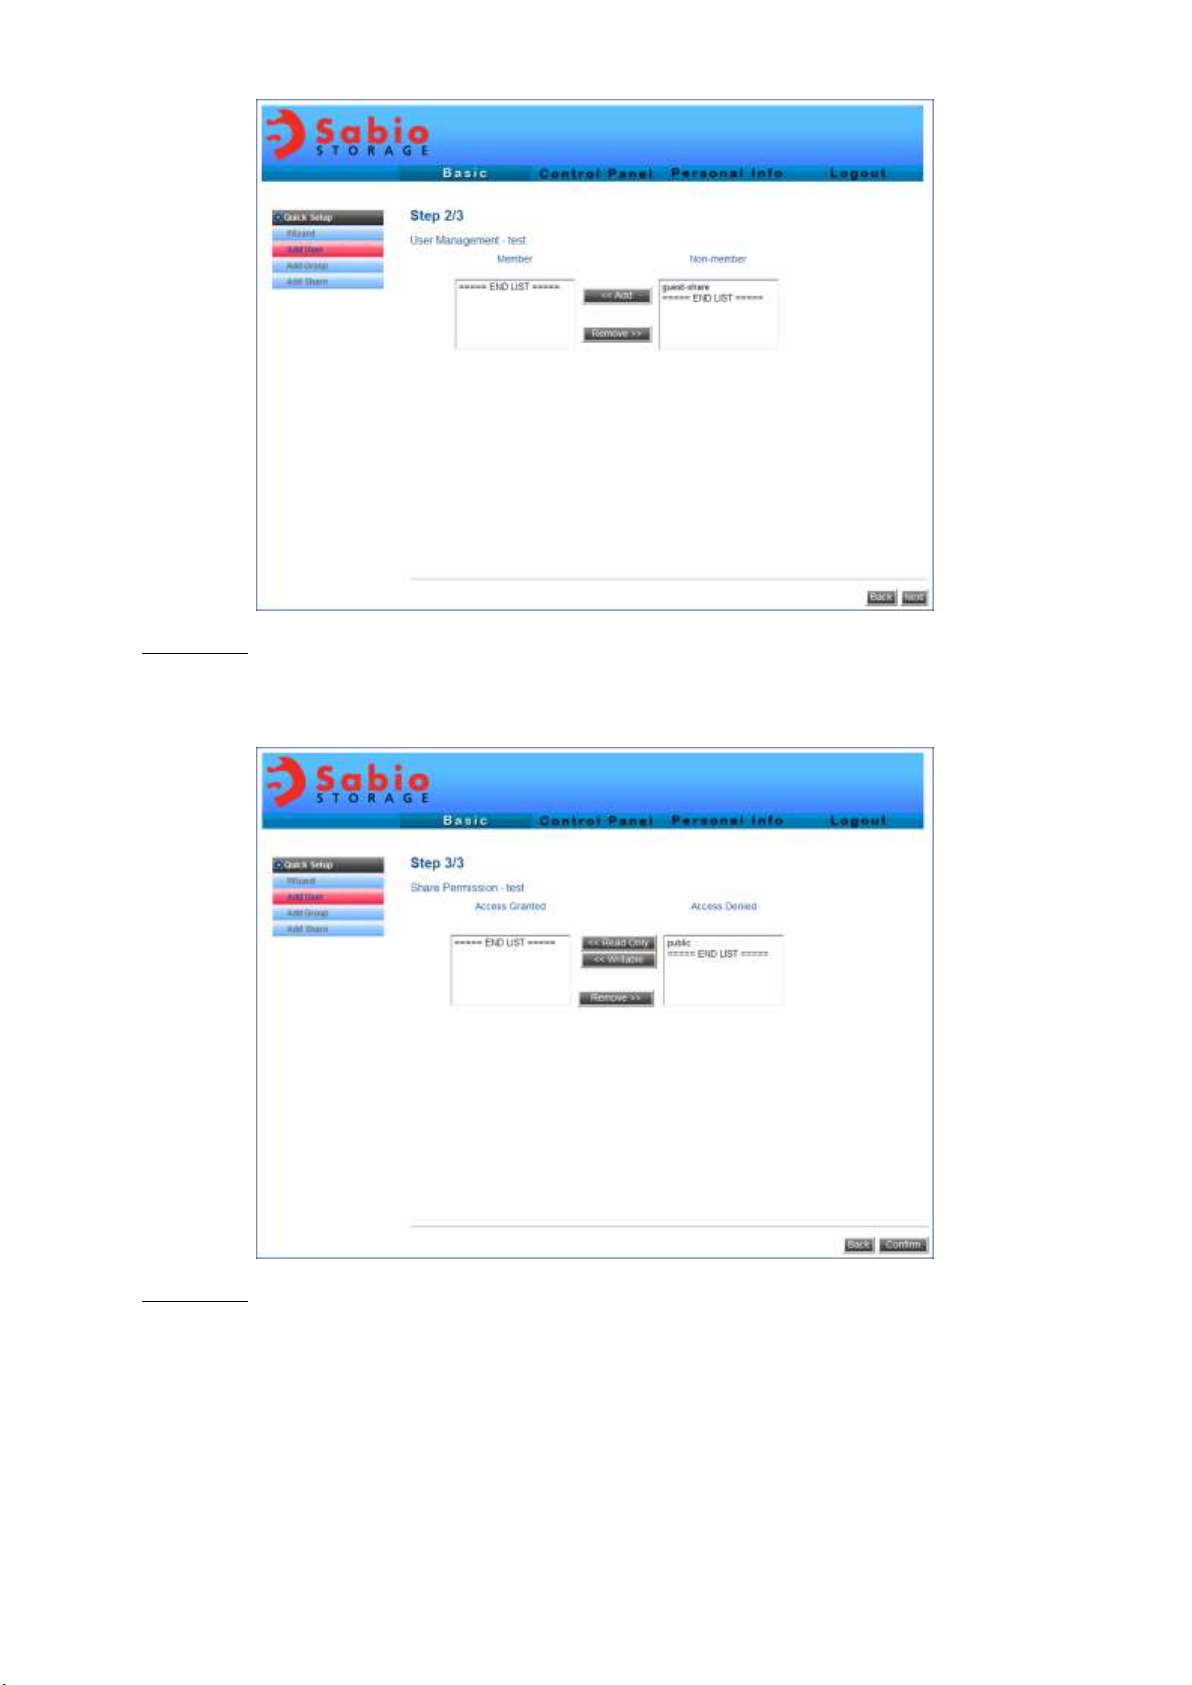
Step 2 of 3
Add user to a certain group for assigning them the group access rights.
Step 3 of 3
To specify the right of permission “Read Only” or “Writable”.
ADD GROUP

8
Using Groups is an easier way to manage users: the same group of users have the same rights
to access device.
Step 1 of 3
Adding group, specify the name of the group.
Step 2 of 3
Adding group members in the group
9
Step 3 of 3
Specify the right of the group.
10
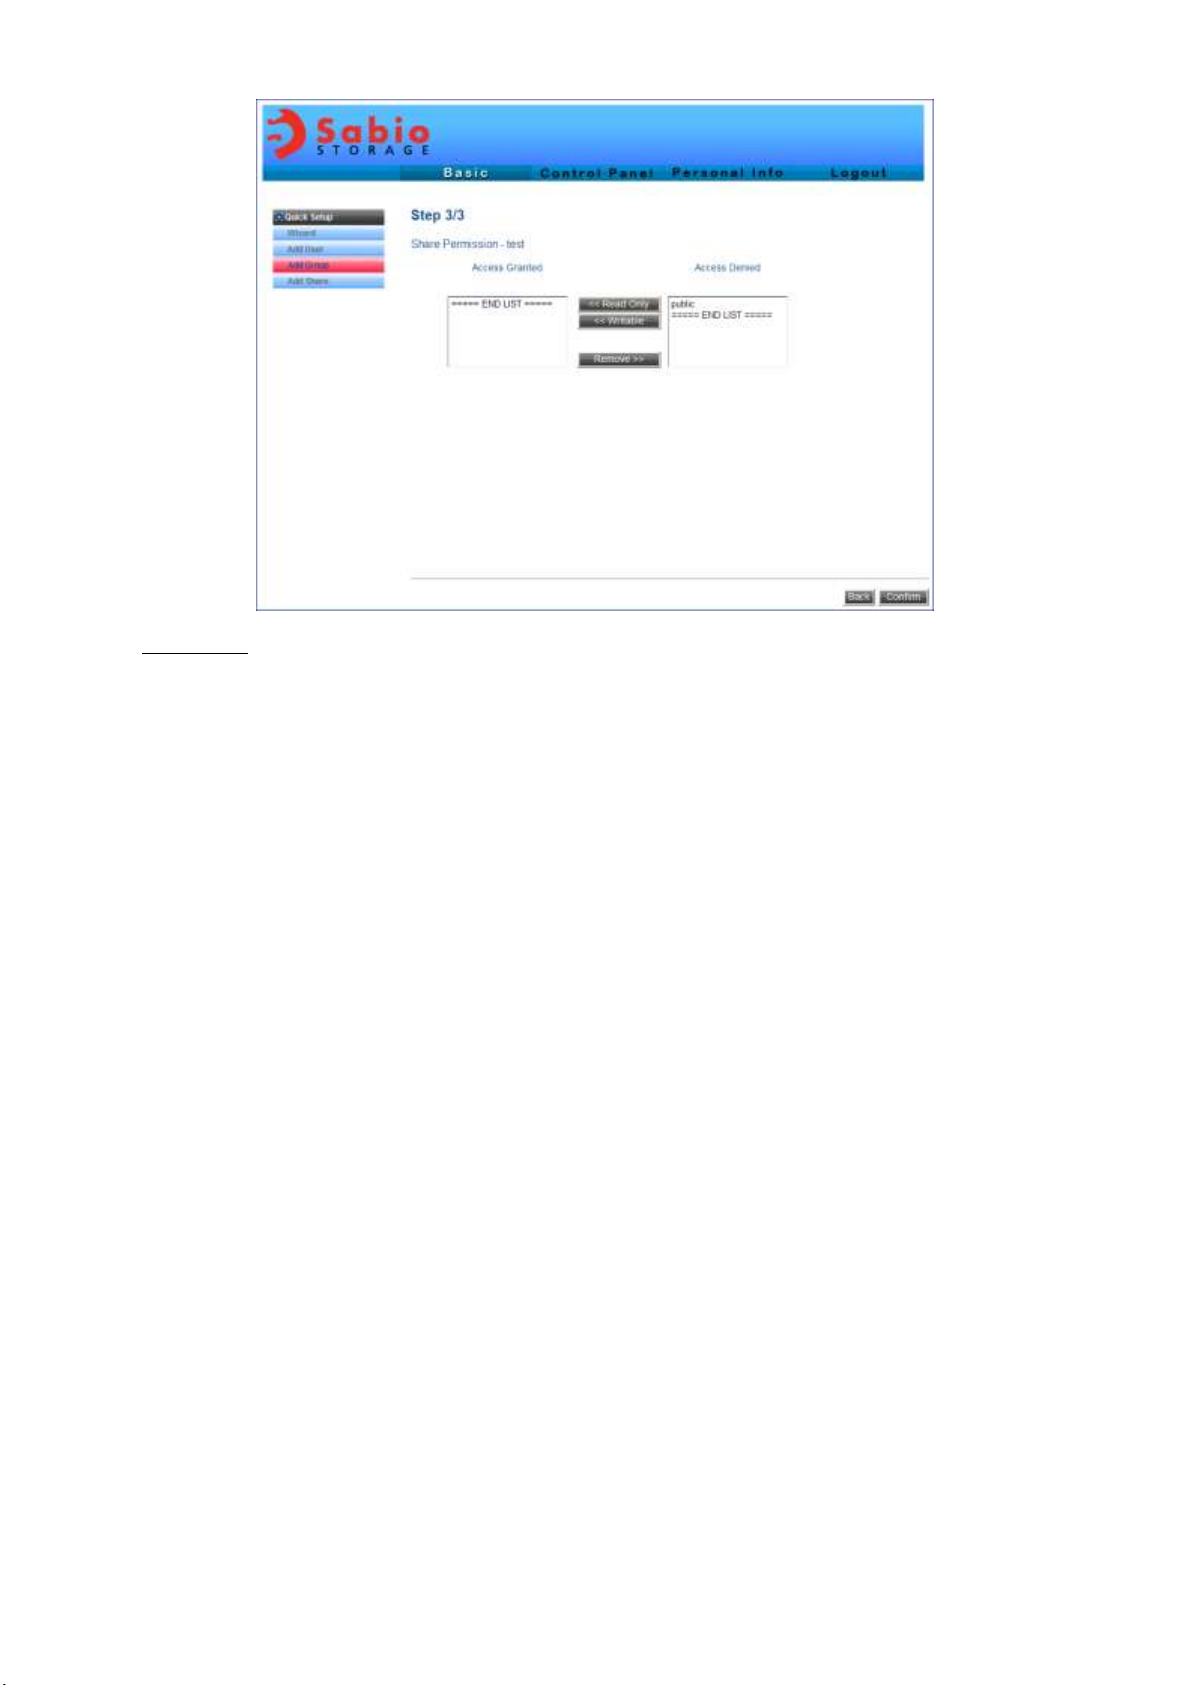
ADD SHARE
The Add Share setting is to set “Share” of the directory for specific users.
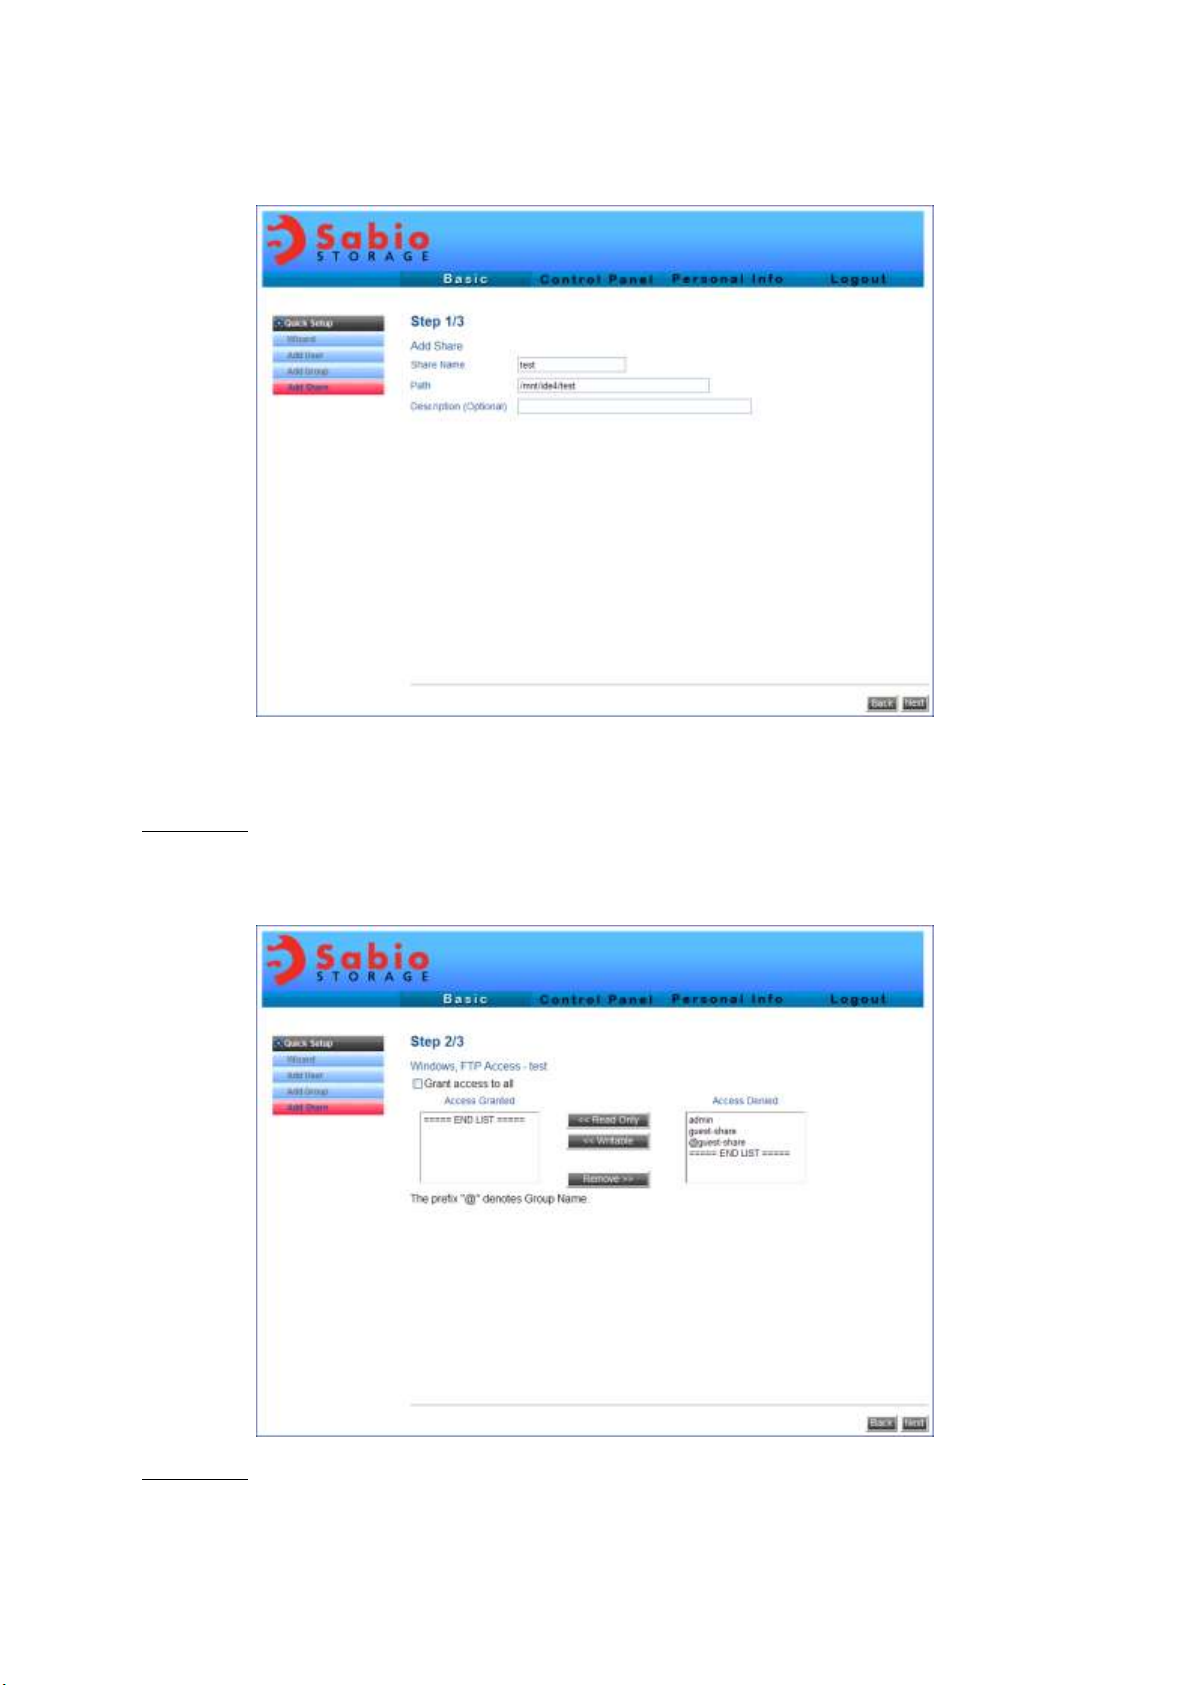
Step 1 of 3
Type the share name and path.
Step 2 of 3
This step specifies users’ right to access this directory.
11
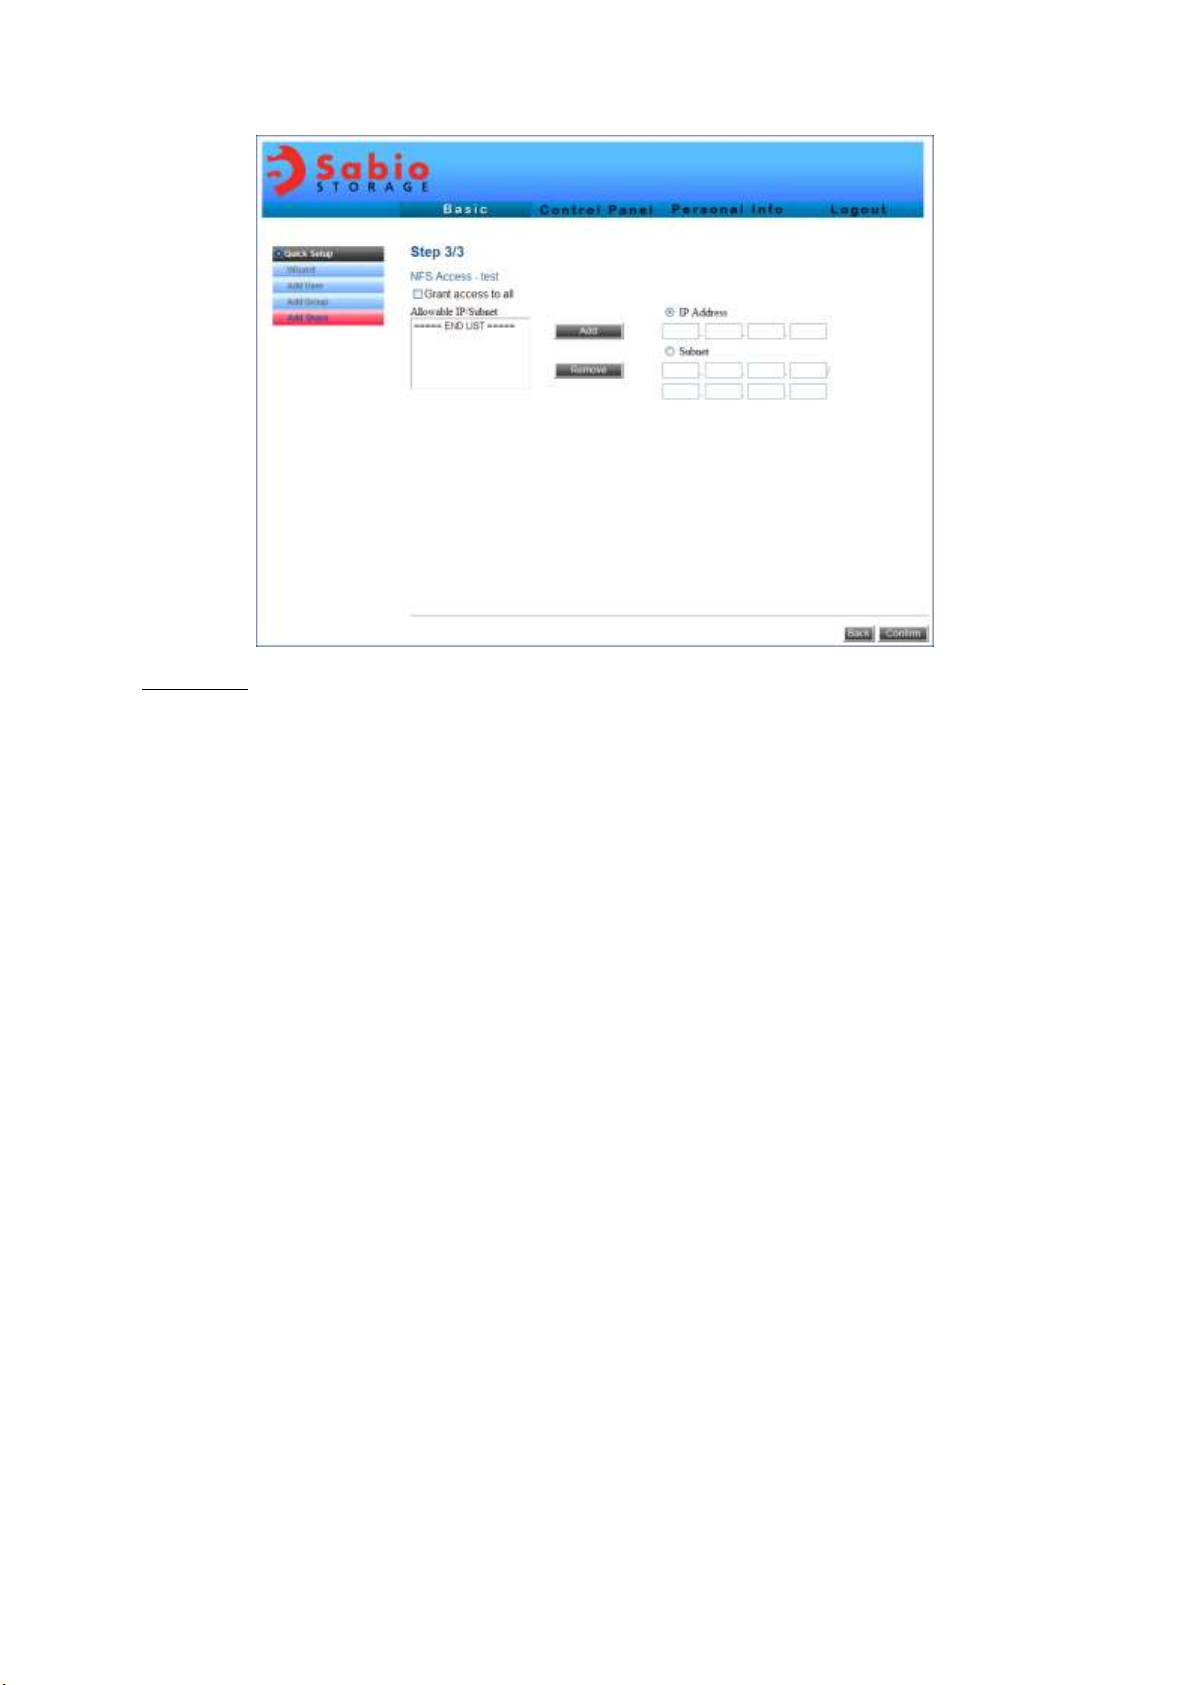
Step 3 of 3
This step specifies the IP addresses or Subnet address to access the device. If “Allow for all” is
checked, there will be no restriction for all users.

12
USER MANAGEMENT
CONTROL PANEL
This screen shows the status of the device.
 Loading...