

Page 1
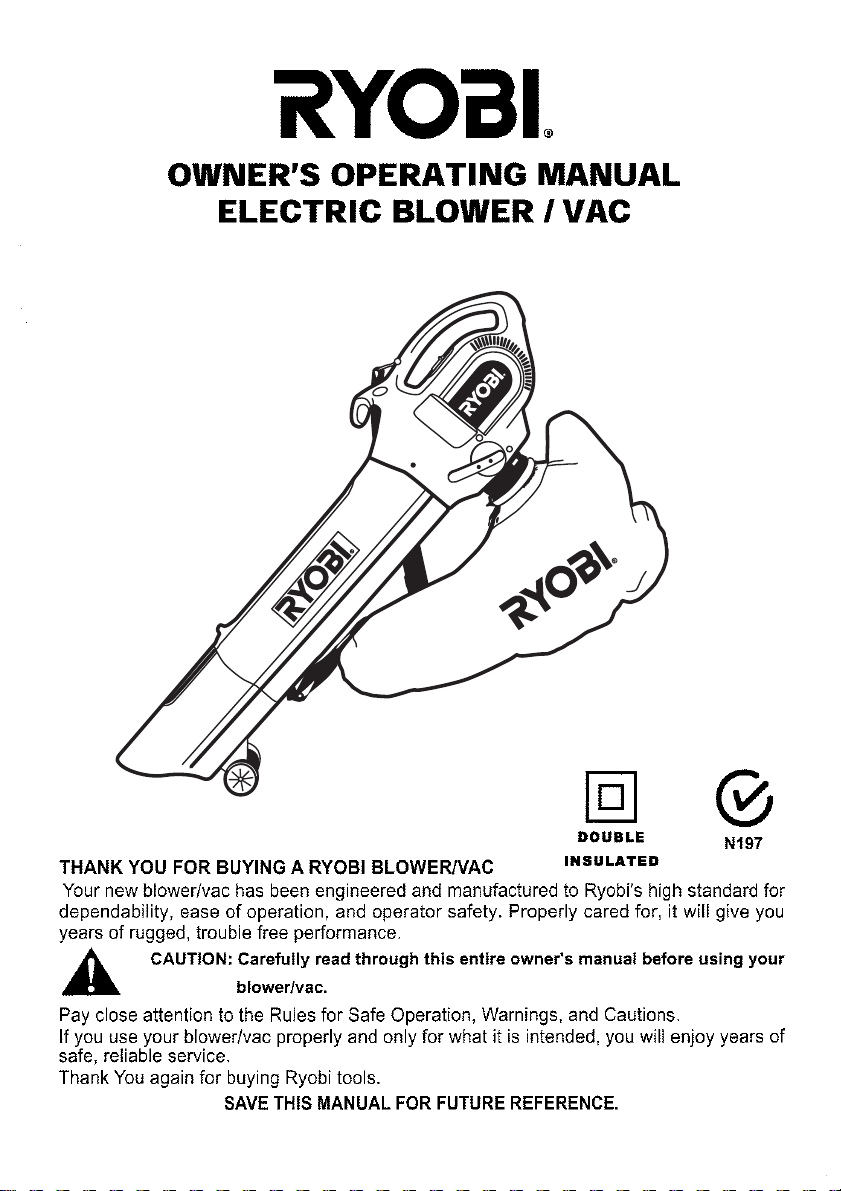
MODEL EMB1800ET & EMB2000ET
Page 2
Page 3

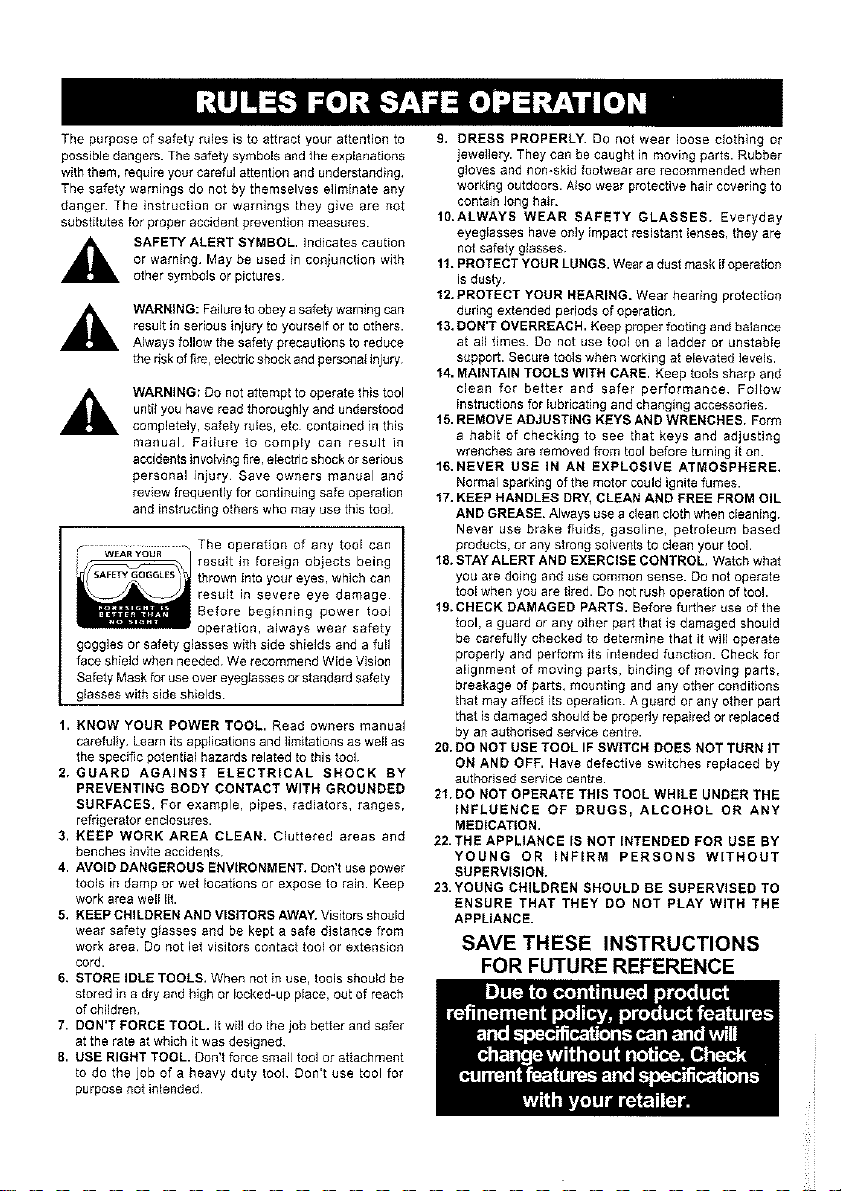
Please Read and Save these instructions
When using an electrical appliance, basic precautions should always be followed to
assure maximum safety and optimum performance. Read the Owners Manual
before assembling and operating this appliance. Failure to comply with instructions
may result in fire, electrical shock or personal injury.
Warning
To reduce the risk of electric shock:
1. Use only with an extension cord intended for outdoor use, match wire
gauge to the cord length. A two-wire cord without a ground connection
may be used since the appliance is double insulated. Keep the
extension cord away from heat, oil and sharp edges.
2. Do not abuse cord. Never carry appliance by cord or pull cord to
disconnect from outlet. Grasp the plug, not the cord.
3. Keep cord clear of operator and obstacles at all times. Do not expose
cord to heated surfaces, oil, water, or pull around sharp edges, corners,
or close door on cord.
4. Avoid unintentional starting. Be sure the switch is in the "0"(off)
position while connecting and disconnecting to a power supply. Do not
carry plugged-in appliance with finger on switch.
5. Place switch in the "0" position and disconnect appliance from power
supply when not in use and before servicing.
6. Do not operate the tool near people, especially children or pets. Turn it
off if they get too close. Maintain a safe distance of at least 5m from
other people when using the tool.
7. Only use the tool according to the instructions given in this manual.
Use only spare parts and accessories recommended by the
manufacturer.
8. Never use appliance if the cord or plug has been damaged, the motor
or the unit itself is not working as it should, or it has been dropped,
damaged, left outdoors or dropped into water.
9. This appliance is provided with double insulation.
10. Never operate the appliance in wet or damp conditions or around
swimming pools, hot tubs, etc. Do not use to blow snow.
11. Do not handle the plug or the tool with wet hands and do not use the
tool in the rain.
12. Inspect appliance for any damage to the housing, cord or plug, Keep all
fasteners tight.
13. Do not use if the switch does not turn the appliance on and off properly.
14. Always inspect the area before starting the appliance to remove debris and
hard or sharp objects that can be blown or cause damage during operation.
15. Do not overreach or use from unstable surfaces such as ladders, trees, steep
slopes, rooftops, etc. Keep firm hold of handle and walk, never run. Keep firm
footing and balance at all times.
16. Never blow debris in the direction of bystanders or solid objects. The force of
the air can cause objects to be blown or ricochet, which can harm people.
Never place objects inside blower tubes.
17. Never operate with any air openings blocked. Keep air openings free of dust,
lint, hair and anything that may reduce airflow. Do not plug anything into
openings or blowers tubes.
18. Never use the appliance for spreading chemicals, fertilizer, or any other
substances that may contain toxic materials. Do not use appliance as a sprayer
of flammable liquids.
Page 4

19. Keep all the air intakes and the blower tube free of dust, lint, hair and
other material that may cause a reduction in air flow.
20. Use extra care when using on stairs.
21. Do not switch on the tool in enclosed or poorly ventilated spaces or in the
presence of inflammable and/or explosive substances such as liquids, gas
and powders.)
22. Disconnect electrical supply before opening inlet cover or installing pick up
tubes. Never operate unit without inlet cover secured or pick-up tubes in place.
Double Insulated
Use at distance of at least 5m from other people
Do not use in the rain
Conforms to relevant safety standards
Wear eye, ear and breathing protection
Read the instructions
Product description
1. Power cord restraint
2. Handle
3. On/Off switch
4. Additional handle
5. Blower Vac Tubes
6. Motor Housing
7. Function switch
8. Vacuum bag
A. Screws
Page 5

Specifications
Assembly instructions(Fig.1)
• The blower vac tubes must be assembled before the machine is used.
• Fit the guiding grooves in the blower vac tube upper section 5 and lower
section one on top of the other.
• Push two sections firmly together until the clip in the moulding engages.
• Undo 2 screws A to the place where the blower vac tube can not reach.
•Slide the blower vac tube into motor housing 6.
•Tighten 2 screws A and make sure the blower vac tubes are firmly closed
with the motor housing.
•Attach the Vacuum bag to the hook on the blower vac tubes.
Caution: In the interests of safety, the pipes should not be dismantled after they
have been assembled.
Operation
Operating instructions
1. Always wear safety goggles or other suitable eye protection.
2. Always wear long pants, shoes and gloves. Do not wear loose clothing, jewelry,
short pants, sandals or go barefoot.
3. Always wear a respirator or face mask when working with the blower in a dusty
environment.
4. Always inspect the area before starting the appliance to remove debris and
hard or sharp objects that can be blown or cause damaged during operation.
5. Never operate this appliance when you are tired, ill or under the influence of
alcohol, drugs or medication.
6. Use only 240V~ voltage supply as shown on the nameplate of the appliance.
7. Always run the appliance with the blower tubes attached to the unit.
EMB1800ET
Voltage ………..….......................240V~50Hz
Input Power…….........................1800W
No Load Speed………..…………15000 min-1
Blower velocity…………..………270km/h
Maximum blower air output….13m3/min
Net Weight……………….. .........5.5Kgs
Gross Weight:……………………7.5Kgs
Vacuum bag capacity…………..40 Litre
Cable dimension (length)……...35cm
Weighted sound pressure……. 86.2 dB(A)
Weighted sound power………..99.2 dB(A)
Vibration of front handle.......... 2.58 m/s_
Vibration of main rear handle...2.32m/s_
EMB2000ET
Voltage ………..….......................240V~50Hz
Input Power…….........................2000W
No Load Speed………..…………15000 min-1
Blower velocity…………..………270km/h
Maximum blower air output….13m3/min
Net Weight……………….. .........5.5Kgs
Gross Weight:……………………7.5Kgs
Vacuum bag capacity…………..40 Litre
Cable dimension (length)……...35cm
Weighted sound pressure……. 86.2 dB(A)
Weighted sound power………..99.2 dB(A)
Vibration of front handle.......... 2.58 m/s_
Vibration of main rear handle...2.32m/s_
WARNING: Always disconnect the
power supply before dismantling
the vacuum tube.
Page 6

8. Always work moving away from solid objects such as walls, large stones,
automobiles and fences.
9. Clean spaces with corners by starting in corners and moving outward to
straight areas to prevent an accumulation of debris, which could fly into face.
10. Be careful when working near valuable plants. The force of air could damage
tender plants.
11. Uses for your blowers: sweeping debris or grass clippings from driveways,
sidewalks, patios, parks etc. Gathering grass clippings,
straw or leaves into piles. Removing debris from corners, around joints and
between bricks.
Before starting
Before starting the machine, make sure that the vacuum bag is fitted and the
shoulder strap is adjusted to a suitable working position.
Cable connection (Fig. 2)
Attach the extension cord to one side of the cable hook as shown in Fig. 2.
On/Off switch (Fig. 3)
• The On/Off switch 3 is on the handle 2 of the motor housing 6.
•To switch on, push the switch forward to position "1" .
•To switch off, push the switch back to position "0".
Blowing (Fig. 4 and 5a)
Blow mode can be also used to clean corners, fences, walls, wooden areas or
beneath cars. Be careful how you point the jet of air as it could move heavy material
and cause injury or damage.
•Turn the Function switch anti-clockwise (B) to the position of blow mode.
•Turn the switch to on, point the jet of air in front of you and move forward,
slowly to gather together the leaves or to move the leaves from inaccessible
areas.
Vacuum mode (Fig. 4)
•Set the Function switch clockwise (A) to the position of vacuum mode.
•Make sure that the vacuum bag is fitted properly.
• Hold the blower vac tube several centimeters over the leaves which you are
going to suck up. Now switch the machine on.
• Hold the machine as shown in Fig. 5b and 5c, tilting the Blower/ Vacuum tube
slightly and use a sweeping action to collect light debris with approximately
50mm distance between the opening of Blower/ Vacuum tube and the floor or
ground.
• The leaves will be sucked up into the tube, mulched up and thrown into the
vacuum bag.
Page 7

When the vacuum bag is full, the vacuum power will be greatly reduced. When this
happens, turn the switch to position "0" (off) and disconnect the plug from the
electricity supply. Wait until the suction fan has stopped completely before opening.
Open the zip fastener inside the bag, spread out the opening and empty it
completely. If you have collected only leaves or vegetable matter, they will already
have been shredded and will be ready for composting. Zip up the bag and resume
work.
MAINTENANCE
1. Place switch in "0"(off) position and unplug the power supply before the
appliance is serviced, cleaned or maintenance is performed.
2. Keep air intake clean and air vents free of debris to avoid overheating the
motor.
3. Do not use cleaning agents to clean the plastic parts of the tool. A mild
detergent on a damp cloth is recommended. Water must never come into
contact with the tool.
4. When you have finished work, remove the vacuum bag, turn it upside down
and inside out and clean it thoroughly. Debris caught between the zipper teeth
may cause the zipper to break.
5. The vacuum bag is a consumable item and is susceptible to wear and tear,
therefore is not covered by warranty.
6. Leaving wet or damp leaves, grass clippings etc... in the bag will cause the
bag material to rot. Always thoroughly clean the vacuum bag after use before
storage.
7. If the blower vibrates abnormally, stop motor immediately. Abnormal vibration
usually indicates a mechanical problem continued operation could lead to
injury or damage.
8. No lubrication is necessary as the motor is equipped with lifetime-lubricated
bearings.
Caution! Before re-fitting the bag, clean the inside of the exhaust opening,
removing any shredded deposits. Pay special attention to the cleaning of
the supporting edges of the air flow deviator on the inside of the tube.
Warning! Always disconnect the power supply before dismantling the
vacuum tube.
Warning! Before any maintenance work, first unplug the machine
from the mains power.
Page 8

9. If the blower does not operate, turn switch to "0" position and disconnect from
power supply first, then from blower. If the blower still does not operate,
contact an authorised Ryobi service agent. Do not attempt to repair it yourself.
There are no serviceable parts inside.
Storage
1. Clean blower before storing
• Free debris from air intake
•Clean plastic parts with a mild soap and sponge damped with warm water.
• Do not spray blower with water
• Store the vacuum bag free of wet leaves or grass clippings and in a dry
place out of the sun.
Warning
Do not expose to rain. Avoid all types of detergents, cleaners or solvents. Never
submerge in water or other liquids.
2. When not in use, store your appliance indoors in a dry place out of reach of
children.
Page 9
RYOBI TECHNOLOGIES AUSTRALIA PTY . LTD.
GUARANTEE
RYOBI TECHNOLOGIES AUSTRALIA PTY. LTD.
A.B.N. 98 002 277 509
SYDNEY: 359-361 Horsley Road, Milperra, N.S.W. 2214.
Contact during normal business hours.
RYOBI NEW ZEALAND PTY. LTD.
AUCKLAND: 27 Clemon Drive, Mt Wellington, N.Z.
Contact during normal business hours.
Subject to the guarantee condition below, this Ryobi tool
(hereinafter called “the product”) is guaranteed by Ryobi
(hereinafter called “the Company”) to be free from
defects in material or workmanship for a period of 24
months from the date of original purchase covering
both parts and labour. Under the terms of this
guarantee, the repair or replacement of any part shall
be the opinion of the Company or its authorised agent.
Should service become necessary during the warranty
period, the owner should contact the Authorised Ryobi
servive agent, or the nearest Company Branch Office.
In order to obtain guarantee service, the owner
must present the sales docket and Guarantee Certifcate to confirm date of purchase. This product is
sold by the dealer or agent as principal and the dealer
has no authority from the Company to give any
additional guarantee on the Company’s behalf
except as herein contained or herein referred to.
Guarantee Conditions
This guarantee only applies provided that the Product
has been used in accordance with the manufacturer’s
recommendations under normal use and reasonable
care (in the opinion of the Company) and such
guarantee does not cover damage, malfunction or
failure resulting from misuse, neglect, abuse, or used
for a purpose for which it was not designed or is not
suited and no repairs, alterations or modifications
have been attempted by other than an Authorised
Service Agent. This guarantee will not apply if the tool is
damaged by accident or if repairs arise from normal
wear and tear.
The Company accepts no additional liability pursuant to
this guarantee for the costs of travelling or
transportation of the Product or parts to and from the
service dealer or agent - such costs are not included in
this guarantee.
Certain legislation, including the Trade Practices Act,
1974 (as amended) and other state and territorial laws
give rights to the buyer and impose liability on the seller in
certain circumstances. Nothing herein shall have the effect
of excluding, restricting or modifying any condition,
guarantee, right or liability imposed, to the extent only
that such exclusion, restriction or modification
would render any term herein void.
BRISBANE: All enquiries Tel : 1300 361 505
TOWNSVILLE: All enquiries Tel : 1300 361 505
MELBOURNE: 960 Stud Road, Rowville,Vic. 3178
Tel : (03) 9764 8655
HOBART:
All enquiries Tel : 1300 360 216
ADELAIDE:
All enquiries Tel : 1300 360 216
PERTH:
33-35 Sorbonne Cres., Canning Vale,W.A. 6155.
Tel : (08) 9455 7775
Purchased From
Address Of Dealer
Date Model No Serial No
This Guarantee Form Should Be Retained By The Customer At All Times
For your record and to assist in establishing date of purchase (necessary for in-guarantee service)
please keep your purchase docket and this form completed with the following particulars.
Present This Form With Your Purchase Docket When Guarantee Service Is Required.
Tel: (02) 9792 9888 - Fax: 1800 807 993 - www.ryobi.com.au
Tel: (09) 573 0230 - Free Call: 0800 279 624 - Fax: (09) 573 0231 - www.ryobi.co.nz
 Loading...