

Page 1
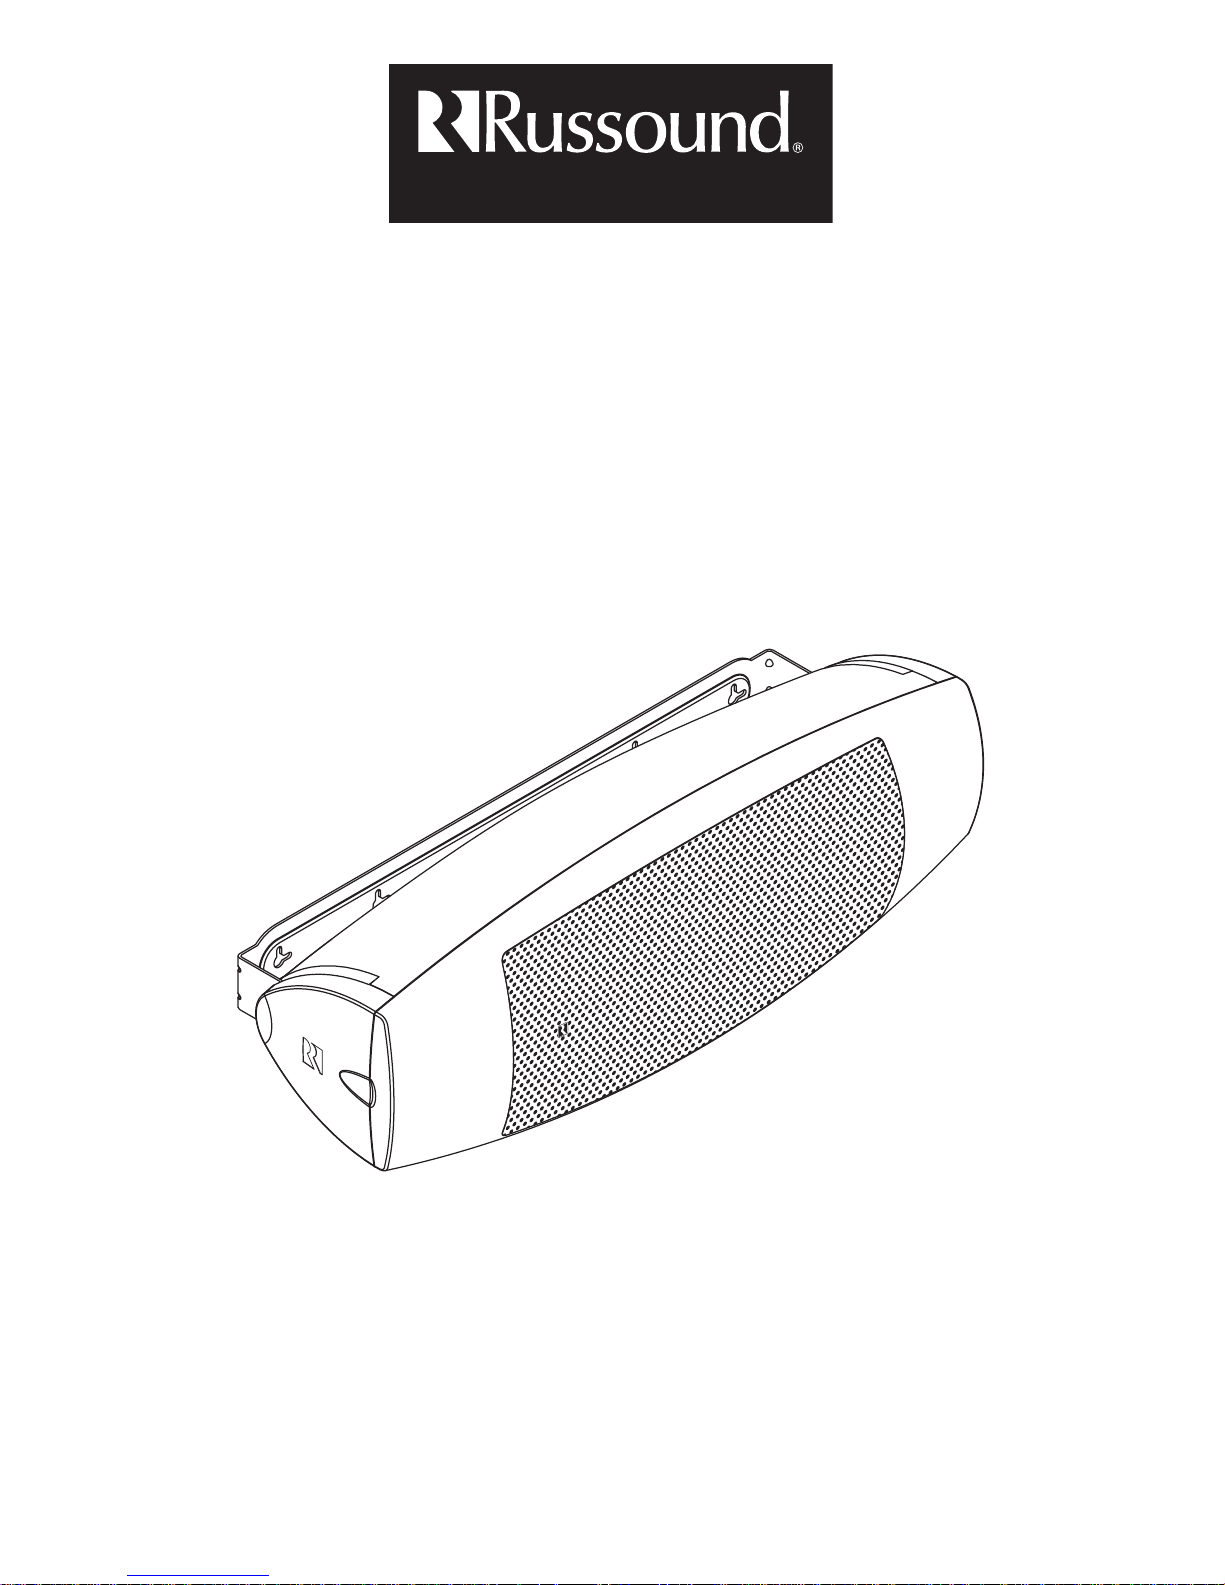
Ratio® RM691
High-Effi ciency Indoor/Outdoor Loudspeaker
Instruction Manual
Page 2

2
INTRODUCTION
Product Description
The Russound RM691 High-Effi ciency Indoor/Outdoor
Loudspeaker is designed to provide high acoustic output
with low amplifi er power. This makes it perfectly suited
for use in outdoor areas with low- powered amplifi ed
keypads and volume controls.
Low-mass driver materials and state-of-the-art
engineering allow this speaker to produce higher sound
pressure levels than ordinary outdoor speakers without
sacrifi cing sound quality.
When ordinary speakers are used with low-powered
amplifi ed keypads, they have limited output, since they
are designed to handle higher power levels from other
types of amplifi ers. Because of its high effi ciency, the
RM691 plays more loudly than conventional speakers
when used with amplifi ed keypads.
The RM691 and its mounting bracket are easy to install.
Once the bracket is installed, the speaker slips into slots
Caution
The RM691 is for use only with amplifi ed keypads
and volume controls, or amplifi ers with a power
output of up to 20 watts per channel. Do not use
the RM691 with receivers or amplifi ers rated at
more than 20 watts per channel.
on the bracket so you don’t have to hold the speaker in
place while securing it. The bracket and speaker have
knurls for secure alignment to the desired angle.
Designed and built to withstand the rigors of outdoor
environments, the RM691 will provide years of troublefree service. It will work in a wide range of temperatures
and be unaffected by extremes of humidity. The only
consideration when installing the speaker outdoors is
to angle it slightly downward when mounting it in the
horizontal position to keep rain from entering the ports.
A corrosion-resistant aluminum grille couples with
the speaker’s rugged environmental design to assure
durability in any kind of weather. Adding to its versatility, the speaker can also be mounted indoors on walls,
posts, or joists—wherever it’s impractical to install inwall or in-ceiling speakers.
Page 3

3
INSTALLATION
Painting the Speaker
The speaker mounting bracket, enclosure, end caps, and
grille can be painted. If you paint the speaker, be sure
not to get paint on the speaker drivers. Also be sure to
minimize paint buildup so as not to clog the grille holes.
1. Gently pull off the speaker grille, making sure not to
distort it.
2. Mask the speaker terminals and baffl e (the area on
the front of the enclosure that houses the drivers).
3. Paint the bracket, enclosure, end caps, and grille
separately. Spraying is ideal, but if you can’t spray the
paint, a roller with a short or medium nap will work
better than a brush. Apply one or two light coats.
4. While the paint is still wet, clear any clogged holes in
the grille with bursts of compressed air.
5. After the paint has thoroughly dried, remove the
masking. Gently press the grille back into place on
the speaker, using even pressure around the edge.
Prewiring
Run a separate 2-conductor stranded copper speaker
cable of at least 16 AWG (1.5 mm) from the amplifi ed
keypad or amplifi er to each speaker. Be sure to use
cable with the appropriate fi re resistance rating for the
application. Check the local building code for specifi c
requirements. Russound offers 2- and 4-conductor
speaker cables with a Class 3 fi re rating for in-wall
installation.
When running a speaker cable parallel to an AC power
cable, keep them at least 12 inches (30 cm) apart to
minimize electromagnetic interference. If the speaker
cables must cross AC wiring, cross them at right angles.
Leave about 2 feet (0.6 m) of cable at each end for connecting to the speakers and keypad or amplifi er. Label
the cables so you will know which cable connects to
each keypad or amplifi er output channel.
Enclosure
Mounting bracket
End cap Knob
Grille
Baffle
Drivers
RM691 speaker assembly
Page 4

4
Installing the Mounting Bracket
The RM691 can be installed horizontally or vertically.
For a horizontal installation, install the mounting bracket with its end slots at the top. Also, when installing
the speaker outdoors in the horizontal position, locate
the mounting bracket high enough so the front of the
speaker will point down toward the listening area.
Note: The bracket must be securely attached to the
mounting surface. For an exterior plywood wall with
siding, use rust-resistant screws long enough to penetrate the siding and plywood. For a standard interior
hollow wall, we recommend screwing the bracket to the
wall studs whenever possible. If the speaker must be
mounted between studs, use a minimum of two hollowwall anchors to secure the bracket. For a masonry wall,
use suitable anchors.
Installation on wood
1. Using the mounting bracket as a template, mark the
locations of the mounting screws.
2. Drill pilot holes for the screws.
3. For an exterior wall, apply a ring of caulk or sealant
around each pilot hole.
4. Screw the bracket to the wall or other surface.
Installation on a hollow wall
1. Once you have determined roughly where to mount
the speakers, use a stud fi nder to locate the wall
studs and mark their location.
2. Using the mounting bracket as a template, mark the
mounting screw locations.
3. If you are attaching the bracket to studs, use a small
drill to make pilot holes for the mounting screws. If
you are using hollow-wall anchors, use a drill of the
size recommended by the anchor manufacturer.
4. Screw the mounting bracket to the wall studs with
the screws provided, or secure the wall anchors in the
wall and attach the bracket to them.
Installation on masonry
1. Obtain masonry anchors suitable for the type of wall
material.
2. Using the mounting bracket as a template, mark the
locations of the mounting screws.
3. Use a masonry drill to make pilot holes for the
anchors.
4. Insert the anchors into the pilot holes and attach the
mounting bracket with screws.
INSTALLATION
Attaching the Speaker
1. Thread the knobs halfway into the the ends of the
speaker, leaving about ¼ inch (6 mm) of their threads
exposed.
2. Slip the knob threads into the slots in the mounting
bracket.
3. Rotate the speaker so you have access to the
terminals.
Page 5

5
4. Check to make sure there are no stray strands of wire
outside the terminals. If there are, remove the wire,
twist the strands together, and reconnect the wire to
the terminal.
INSTALLATION
Connecting the Speaker
1. Strip 1 to 2 inches (2.5 to 5 cm) off the end of the
cable jacket. Then strip ½ inch (1.3 cm) of insulation
off each wire.
2. Twist the wire strands together so there are no
strands separated from the bundle.
3. Connect the wires to the speaker terminals, being
sure to observe proper polarity. For standard speaker
cable with red and black wires, connect the red wire
to the red positive (+) terminal and the black wire to
the black negative (–) terminal.
Note: Some speaker cables may have other ways of
designating polarity. For example, cable with a clear
jacket usually has a copper-colored wire for positive and
a silver-colored wire for negative. In a cable with white
and black wires, the white is positive and the black is
negative. Cable with both wires the same color may
have grooves, ribs, or stripes on the positive wire.
Final Assembly
1. Rotate the speaker to the desired angle.
Note: If you are installing the speaker outdoors in the
horizontal position, rotate it so the front points down
toward the listening area. Avoid pointing the speaker
upward to keep rain from entering the ports.
2. Tighten the knobs on both ends.
3. Slip the end caps onto the ends of the speaker, from
the rear toward the front.
Rotating the Logo Badge
The logo badge is permanently attached to the grille, but can be rotated to accommodate both vertical and horizontal speaker orientations. To rotate the badge, simply pull it straight away from the grille and turn it.
Page 6

6
INSTALLATION
Connecting the Amplifi ed Keypad or
Amplifi er
1. Make sure the keypad or amplifi er is turned off.
2. Strip 1 to 2 inches (2.5 to 5 cm) off the end of each
cable’s jacket. Then strip just enough insulation off
each wire to allow inserting the wires fully into the
keypad’s or amplifi er’s speaker terminals.
3. Twist the wire strands together so there are no
strands separated from the bundle.
4. Connect the wires to the speaker terminals, being
sure to observe proper polarity.
5. Check to make sure there are no stray strands of wire
outside the terminals. If there are, remove the wire,
twist the strands together, and reconnect the wire to
the terminal.
Taking Care of Your Speakers
Your speakers are made of durable materials that need
very little care. All we recommend is an occasional
wiping with a soft, damp cloth. Do not use any harsh
detergents, chemical solvents, or abrasive materials on
your speakers. Also, do not spray water or other liquids
into the grilles.
Page 7

7
REFERENCE
Warranty
The Russound RM691 Loudspeaker has a fi ve-year warranty against defects in materials and workmanship. During the warranty
period, Russound will replace any defective part and correct any defect in workmanship without charge for either parts or labor.
Russound may replace returned speakers with a product of equal value and performance. In such cases, some modifi cations to the
mounting may be necessary and are not Russound’s responsibility.
For this warranty to apply, the speaker must be installed and used according to its written instructions. If repairs are necessary,
they must be performed by Russound. The speaker must be returned to Russound at the owner’s expense and with prior written
permission. Proof of purchase must accompany all claims. Accidental damage and shipping damage are not considered defects,
nor is damage resulting from abuse or from servicing performed by an agency or person not specifi cally authorized in writing by
Russound.
This warranty does not cover:
• Damage caused by abuse, accident, misuse, negligence, or improper operation or installation.
• Products that have been altered or modifi ed.
• Any product whose identifying number or serial number has been altered, defaced, or removed.
• Normal wear and maintenance.
Damage to or destruction of components due to application of excessive power voids the warranty on those parts. In these cases,
repairs will be made on the basis of the retail value of the parts and labor. To return for repairs, the speaker must be shipped to
Russound at the owner’s expense, along with a note explaining the nature of service required. Be sure to pack the speaker in a corrugated container with at least 3 inches of resilient material to protect the speaker from damage in transit.
Before returning a speaker for repair, call Russound at 603.659.5170 for a Return Authorization number. Write the RA number on
the shipping label and ship to: Russound, ATTN: Service, 5 Forbes Road, Newmarket NH 03857.
Russound sells products only through authorized Dealers and Distributors to ensure that customers obtain proper support and
service. Any Russound product purchased from an unauthorized dealer or source, including retailers, mail order sellers and online
sellers will not be honored or serviced under existing Russound warranty policy. Any sale of products by an unauthorized source or
other manner not authorized by Russound shall void the warranty on the applicable product.
Specifi cations
Loudspeaker type: Passive two-way, single input, multipurpose surface-mount
Enclosure: Dual-ported, calcium-carbonate-fi lled ABS
Low-frequency driver: 6” × 9” (15.2 × 22.9 cm) polypropylene cone
High-frequency driver: ½” (13 mm) polyetherimide dome
Frequency response: 85 Hz – 20 kHz ±3 dB
Frequency range: 76 Hz – 20 kHz –6/+3 dB
Nominal impedance: 8 ohms
Sensitivity: 94 dBSPL (2.83 V @ 1 m)
Recommended amplifi er power: 3–20 watts RMS
Terminals: Nickel-plated binding posts with ½” (13 mm) hex nuts
Enclosure dimensions: 23.6” W × 7.9” H × 8.0” D (60.0 × 20.1 × 20.3 cm) in horizontal orientation
Mounting depth: 8.5” (21.6 cm) at 0° rotation
9.25” (23.5 cm) at 45° rotation
8.0” (20.3 cm) at 90° rotation
Weight: 11.3 lb (5.13 kg)
Finish: White or black
Page 8

Ratio® RM691
High-Effi ciency Indoor/Outdoor Loudspeaker
Instruction Manual
Russound
5 Forbes Road, Newmarket NH 03857 USA
Tel 603.659.5170 • Fax 603.659.5388
www.russound.com
Technical Support: tech@russound.com
28-1271 11/30/07
Copyright © 2007 Russound. All rights reserved. All trademarks are the property of their respective owners. Specifi cations are subject
to change without notice. Russound is not responsible for typographical errors or omissions.
 Loading...