

Page 1
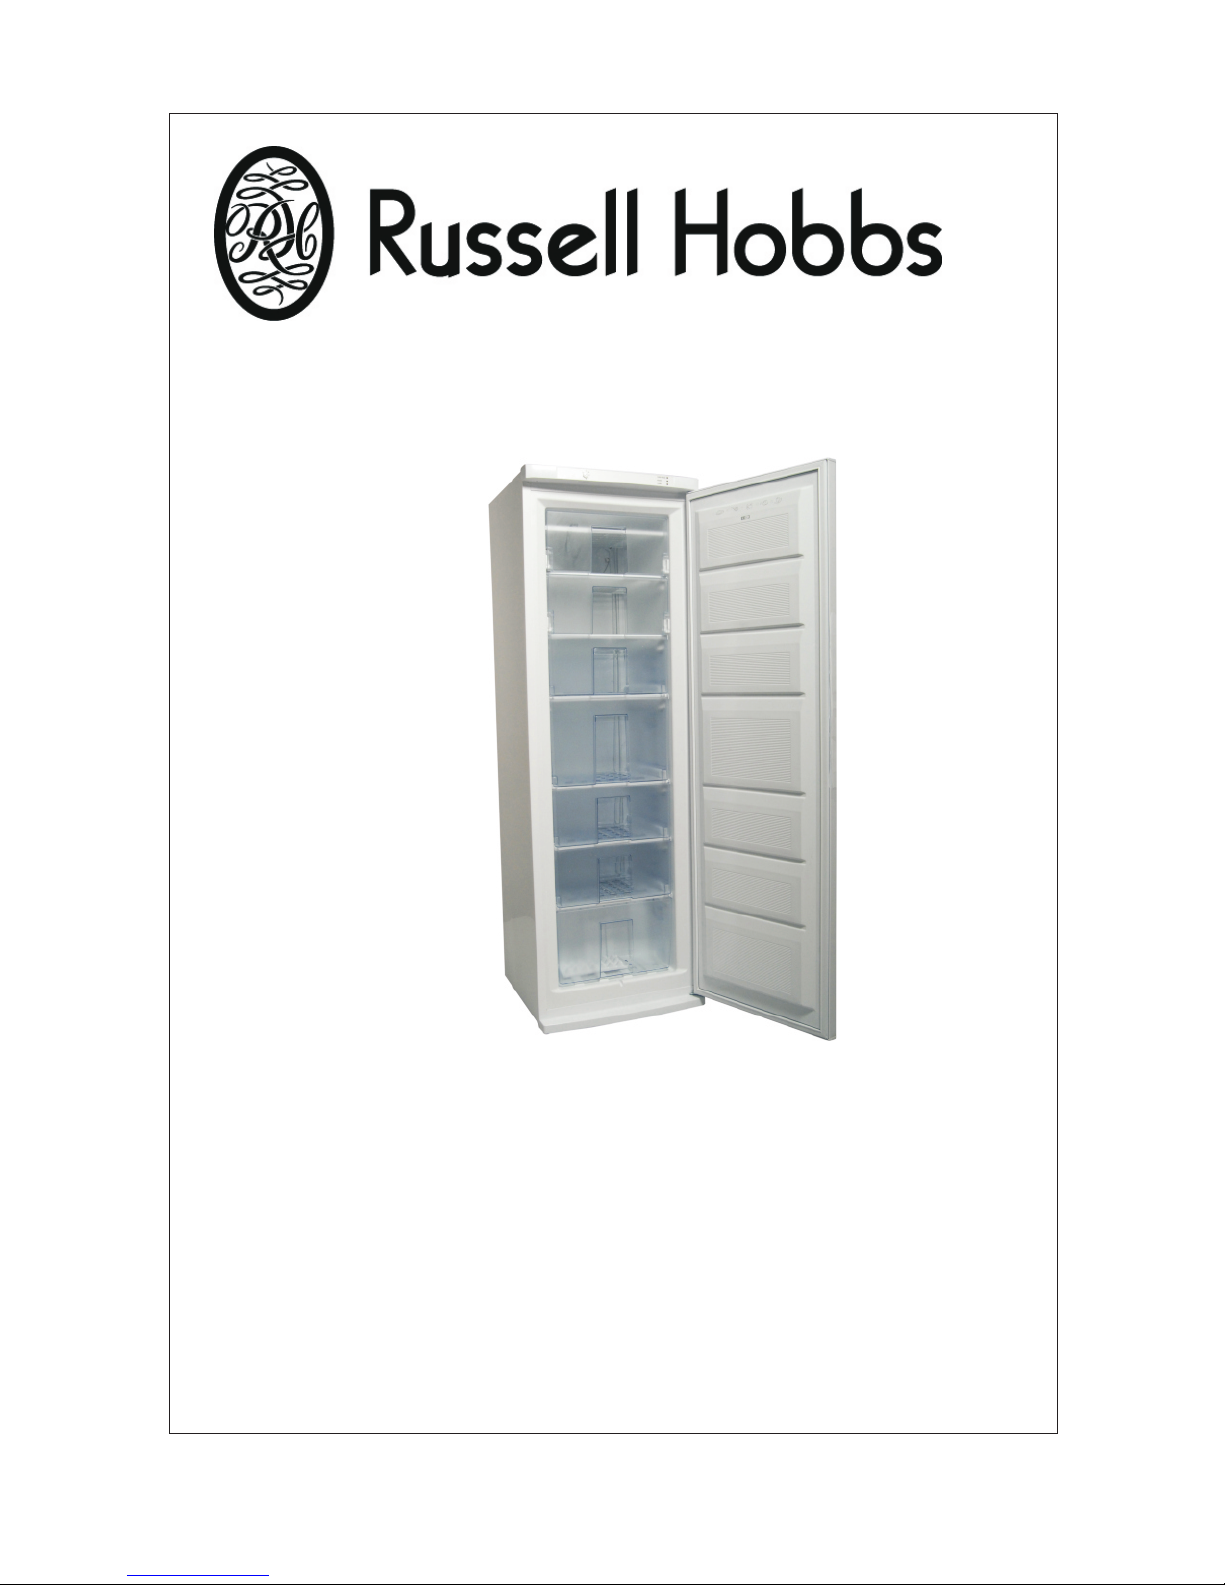
60cm WIDE FREESTANDING
UPRIGHT 185cm HIGH FREEZER
INSTRUCTION MANUAL
Model number: RHFZ1
Please read these instructions carefully and
keep them for future reference
For Customer Services, Spare parts &
Warranty Information please call
0845 683 8717
Opening times:
Monday - Friday 8am until 8pm
Saturday & Sunday 10am until 4pm
Page 2

Page 3
TECHNICAL SPECIFICATIONS
Supplier's name or trade markRUSSELL HOBBS
Model / ItemRHFZ1
Type of applianceGT/N390P
The energy efficiency classA
Voltage220-240V / 50HZ
Power1,2A
Energy consumption1,020kwh/24h
Gross storage volume of frozen food286 lt.
Net storage volume of frozen food265 lt.
Star rating of frozen food storage compartment4
Refrigeration systemStatic
Power cut safe Z h' (32oC)
Power cut safe Z h' (25oC)
840 mins (-18ºC to -9ºC)
960 mins (-18ºC to -9ºC)
Freezing capacity'26 lt.
Climate class'T / N
Size (mm) (H x W x D)1850 x 595 x 634
Net weight68 Kg.
Noise'40 db (A)
For Customer Services, Spare Parts & Warranty Information please call 0845 683 8717
- 1 -
Page 4

Index
TECHNICAL SPECIFICATIONS..........................................................................1
BEFORE USING THE APPLIANCE.....................................................................3
Safety instructions..............................................................................................................3
Safety warnings..................................................................................................................3
Before Switching On..........................................................................................................4
Installing and operating your freezer................................................................................5
THE PARTS OF THE APPLIANCE AND THE COMPARTMENTS.........................6
THE VARIOUS FUNCTIONS AND POSSIBILITIES.............................................7
Thermostat setting.............................................................................................................7
Display panel......................................................................................................................8
FOOD STORAGE...............................................................................................9
CLEANING AND MAINTENANCE.......................................................................10
Defrosting.........................................................................................................................11
CHANGING THE DOOR SWING DIRECTION TO RIGHT HAND.........................12
ASSEMBLY INSTRUCTION (FREEZER-LARDER)...............................................15
TRANSPORTATION AND CHANGING OF INSTALLATION POSITION...............20
Before Switching On........................................................................................................20
BEFORE CALLING YOUR AFTER SALES SERVICE..........................................20
For Customer Services, Spare Parts & Warranty Information please call 0845 683 8717
- 2 -
Page 5

BEFORE USING THE APPLIANCE
Safety instructions
• If the model contains R600a-see name plate under refrigerant (the coolant isobutane),
naturals gas that, is very environmentally friendly but also combustible. When
transporting and installing the unit care must be taken to ensure that none of the
refrigeration circuit components become damaged. In the event of damage avoid
naked flames or ignition sources and ventilate the room in which the unit is placed
for a few minutes.
Warning: Keep ventilation openings in appliance enclosure or in structure for building
in, clear of obstruction.
• Do not use mechanical devices or other artificial means to accelerate the defrosting
process.
• Do not use electrical appliances in the refrigerator or freezer compartment of the
appliance.
• If this appliance is to replace an old refrigerator with a lock; break or remove the lock
as a safety measure before storing it, to protect children while playing might lock
themselves inside.
• Old refrigerators and freezers contain insulation gases and refrigerant, which must
be disposed of properly. Entrust the disposal of a scrap unit categorically to
competence of your local waste disposal service and contact your local authority or
your dealer if you have any questions. Please ensure that the pipe of work of your
refrigerating unit does not get damaged prior to being picked-up by the relevant waste
disposal service.
Important note:
Please read this booklet before installing and switching on this appliance. The
manufacturer assumes no responsibility for incorrect installation and usage as described
in this booklet.
Safety warnings
Warning: Do not use mechanical devices or other means to accelerate the defrosting
process, other than those recommended by the manufacturer. Do not use electrical
appliances inside the food storage compartments of the appliance, unless they are of
the type recommended by the manufacturer. Keep ventilation openings, in the appliance
enclosure or in the built-in structure, clear of obstruction. Do not damage the refrigerant
circuit.
• Do not use adaptors multiple receptacles or extension cord.
• Do not plug in damaged, torn or old plugs.
• Do not pull, bend, twist or damage the cord.
For Customer Services, Spare Parts & Warranty Information please call 0845 683 8717
- 3 -
Page 6
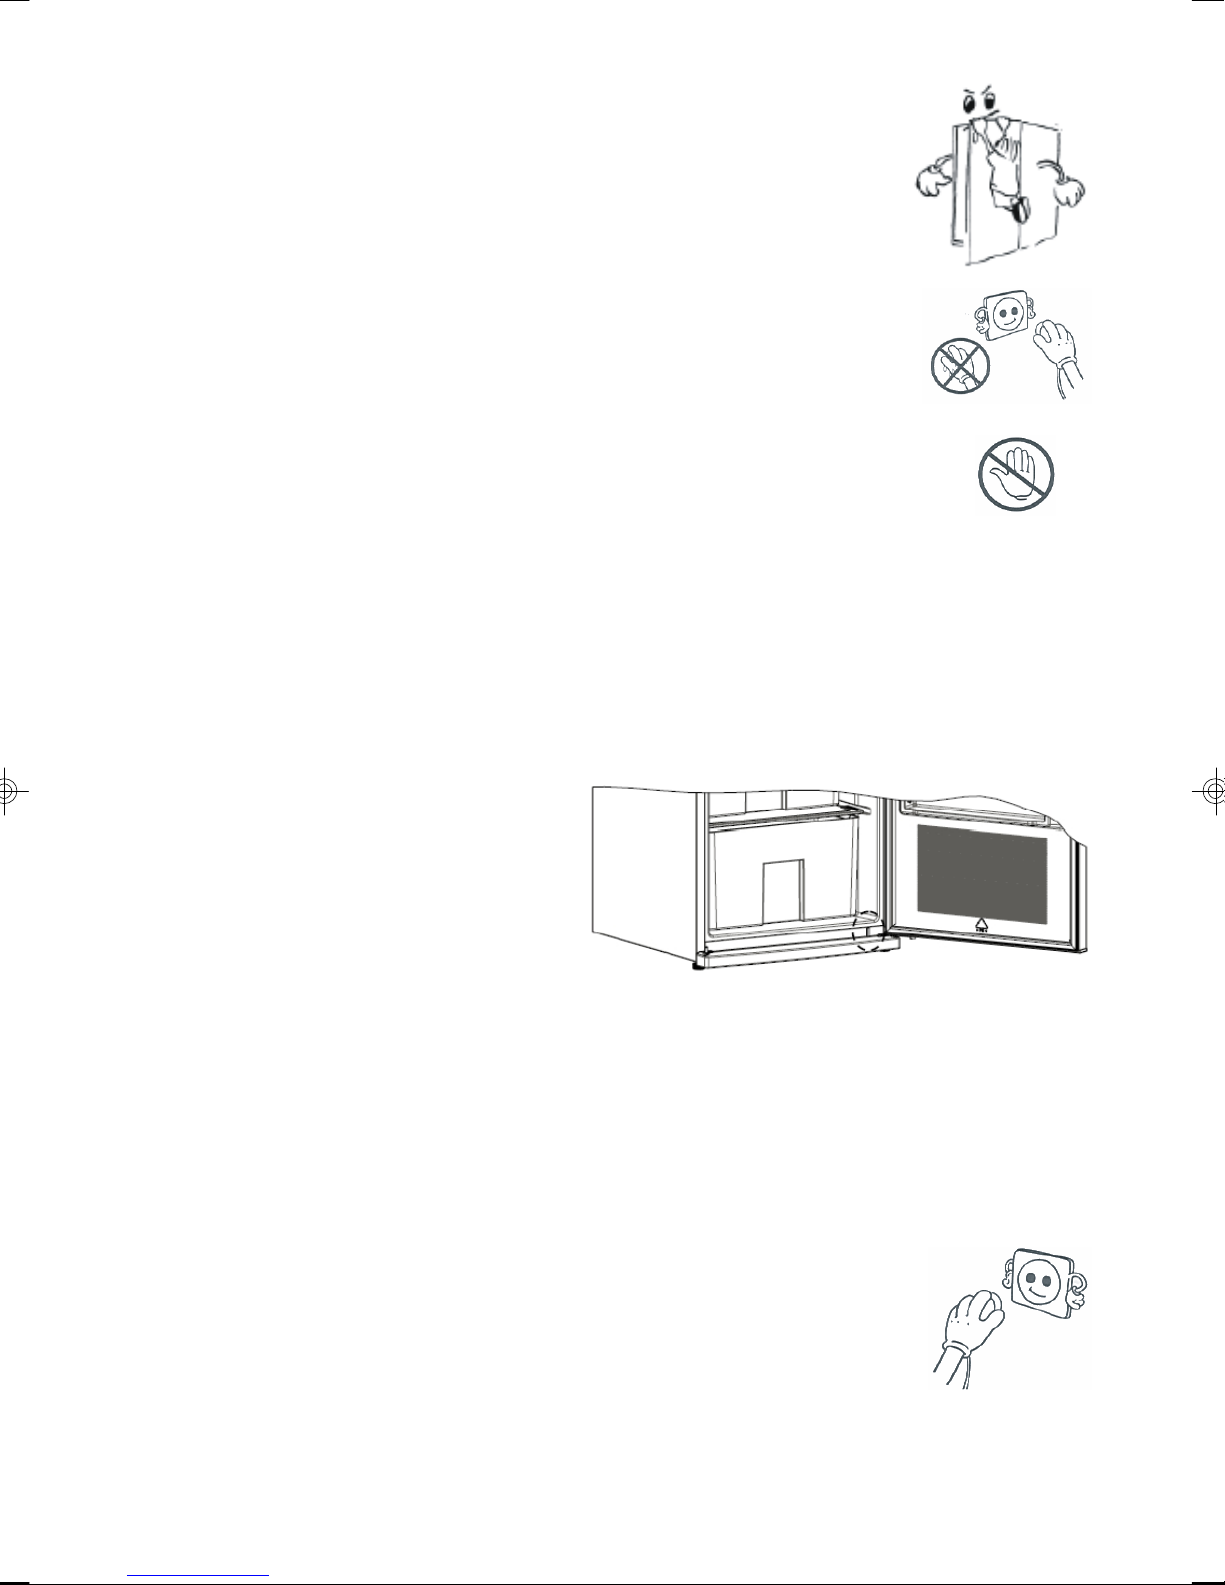
• This appliance is designed for use by adults, do not allow
children to play with the appliance or let them to hang over the
door.
• Do not plug-in or pull out the plug from the plug socket with wet
hands to prevent electrocution!
• Do not place glass bottles or beverage cans in the freezer
department. Bottles or cans may explode.
• Do not place explosive or flammable material in your freezer for
your safety. Place drinks with higher alcohol amount vertically
and by closing their necks tightly in the freezer department.
• When taking ice made in the freezer department, do not touch it,
ice may cause iceburns and/or cuts.
• Do not touch frozen goods with wet hands! Do not eat ice-cream
and ice cubes immediately after you take them out of the freezer
department!
• Do not re-freeze frozen goods after thay have thawed. This may cause health issues
like food poisoning.
• Do not cover the body or top of freezer with lace. This effects the performance of your
freezer.
• Fix the accessories in the freezer during transportation to prevent damage to
accessories.
• When the door of the freezer is closed, vacuum will occur. Wait for about 1 minute
to reopen it.
• This application is optional for easy
opening door. With this application,
a little condensation may occur
around this area and you may take
it out.
• The appliance is not intended for use by people (including children) with reduced
physical, sensory or mental capabilities, or lack of experience and knowledge, unless
they have been given supervision or instruction concerning use of the appliance by
a person responsible for their safety. Children should be supervised to ensure that
they don’t play with the appliance.
• If the supply cord is damaged it must be replaced by the manufacturer or service
agent or similary qualified people in order to avoid a hazard.
Before Switching On
• Wait 3 hours before plugging the appliance in to the main power
to ensure proper performance.
• There can be an odour when you first switch on the appliance, it
will disappear after the appliance starts to cool.
For Customer Services, Spare Parts & Warranty Information please call 0845 683 8717
- 4 -
Page 7
Installing and operating your freezer
• Before making the connection to the power supply, ensure that the voltage on the
nameplate corresponds to the voltage of electrical system at your home.
• Operating voltage for your freezer is 220-240 V at 50Hz.
• Before starting to use your freezer, please call the nearest authorized service and get
help on the installation, operation and usage of your freezer.
• The mains cord of your freezer has a grounded plug. This plug should be used with
a grounded receptacle that has a 16 amper fuse minimum. If you don’t have a
receptacle confirming with this, please have it done by a qualified electirician.
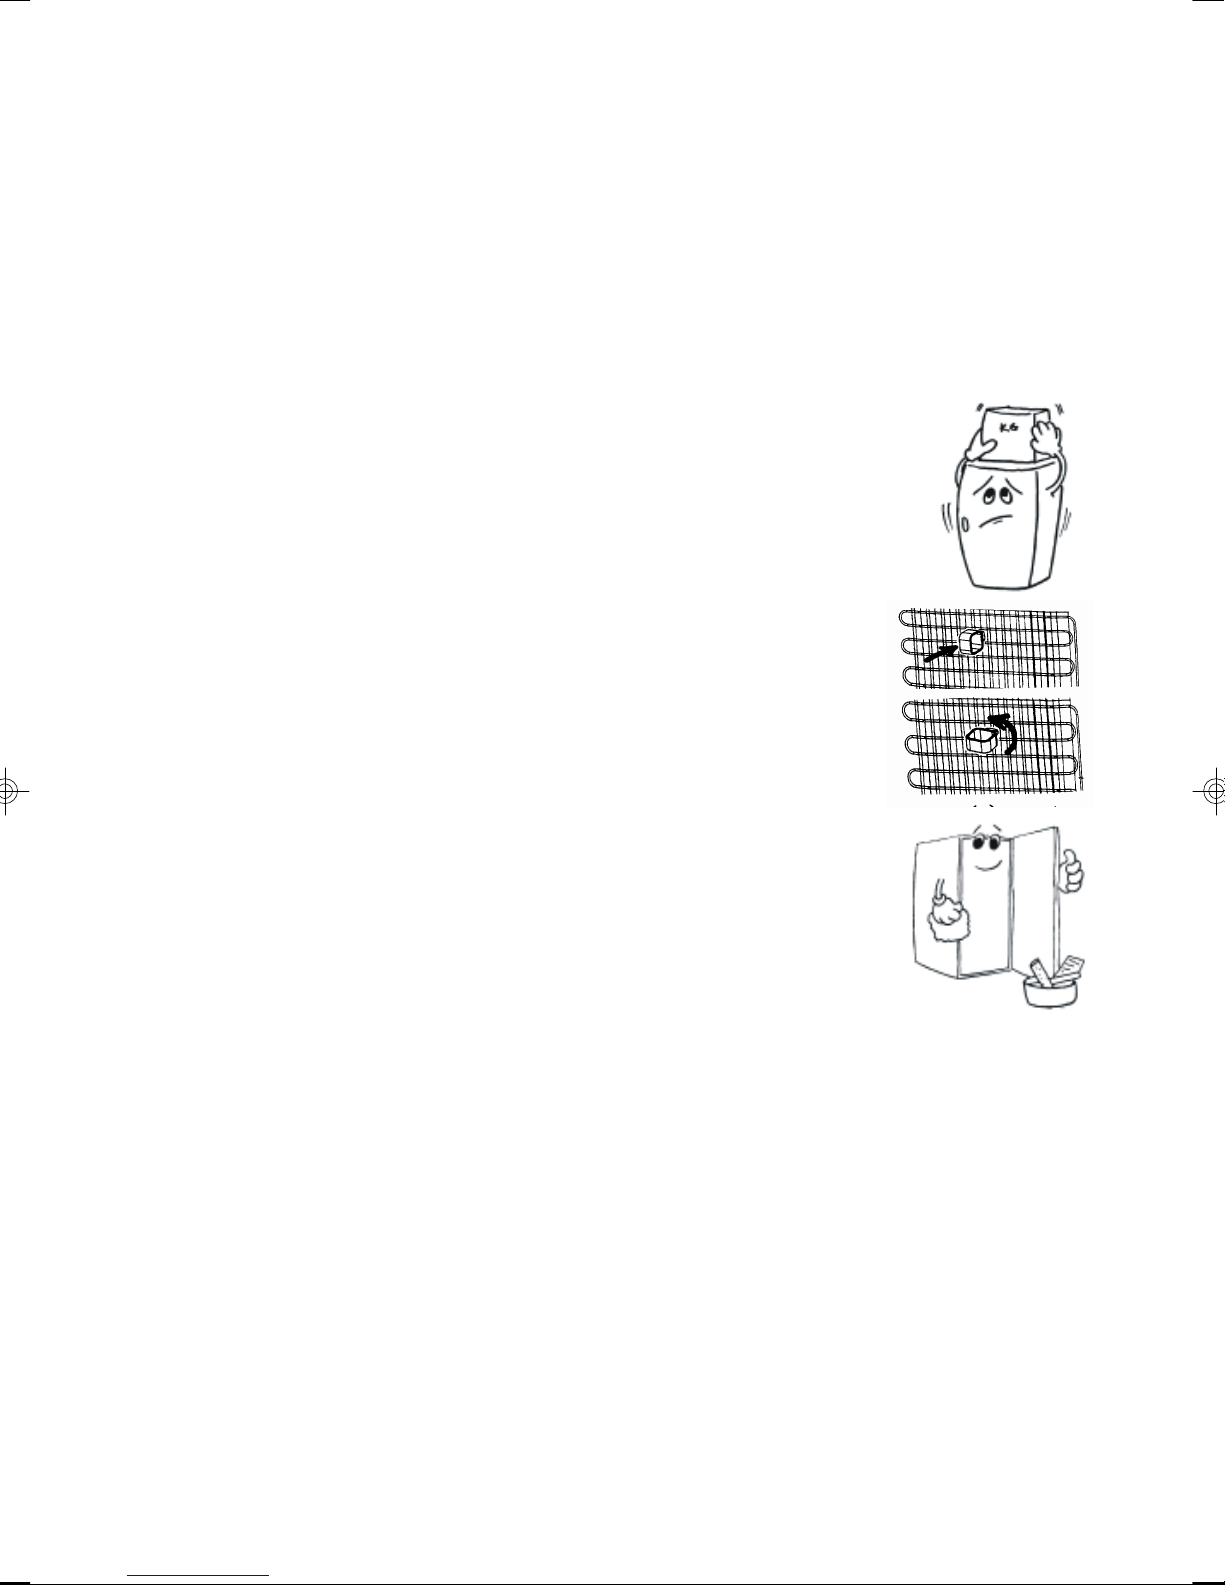
• We do not take the responsibility of the damages that occur due
to ungrounded usage.
• Place your freezer in a place that it would not be exposed to
direct sunlight.
• Your appliance should be at least 50 cm away from stoves, ovens
and heater cores, and should be at least 5 cm away from
electrical ovens.
• It should never be used outdoors or left in the rain.
• Fit the plastic wall spacers to the condenser at the back of the
freezer in order to prevent cleaning of the wall and for good
performance.
• When your freezer is placed next to a deep freezer, there should
be at least 2 cm between them to prevent humidity on the outer
surface. Do not place anything on your freezer, and install your
freezer in a suitable place so that at least 15 cm is available on
the upper side.
• If you will place your freezer next to your kitchen cabinets, leave
a space of 2 cm between them.
• Install the distance adjustment plastic (the part with black vanes
at the rear) by turning it 90° to prevent the condenser from
touching the wall.
• The adjustable front legs should be stabilized at an appropriate height to allow your
freezer operate in a stable and proper way. You can adjust the legs by turning them
clockwise (or in the opposite direction). This should be done before placing food in
the freezer.
• Before using your freezer, wipe all parts with warm water added with a tea spoonful
of sodium bicarbonate, and then rinse with clean water and dry. Place all parts after
cleaning.
• Do not put very (!) hot food or bowl on the top table. It can damage the toptable.
• Fit the plastic wall spacers to the condanser at the back of the refrigerator in order to
prevent leaning to the wall for good performance.
For Customer Services, Spare Parts & Warranty Information please call 0845 683 8717
- 5 -
Page 8
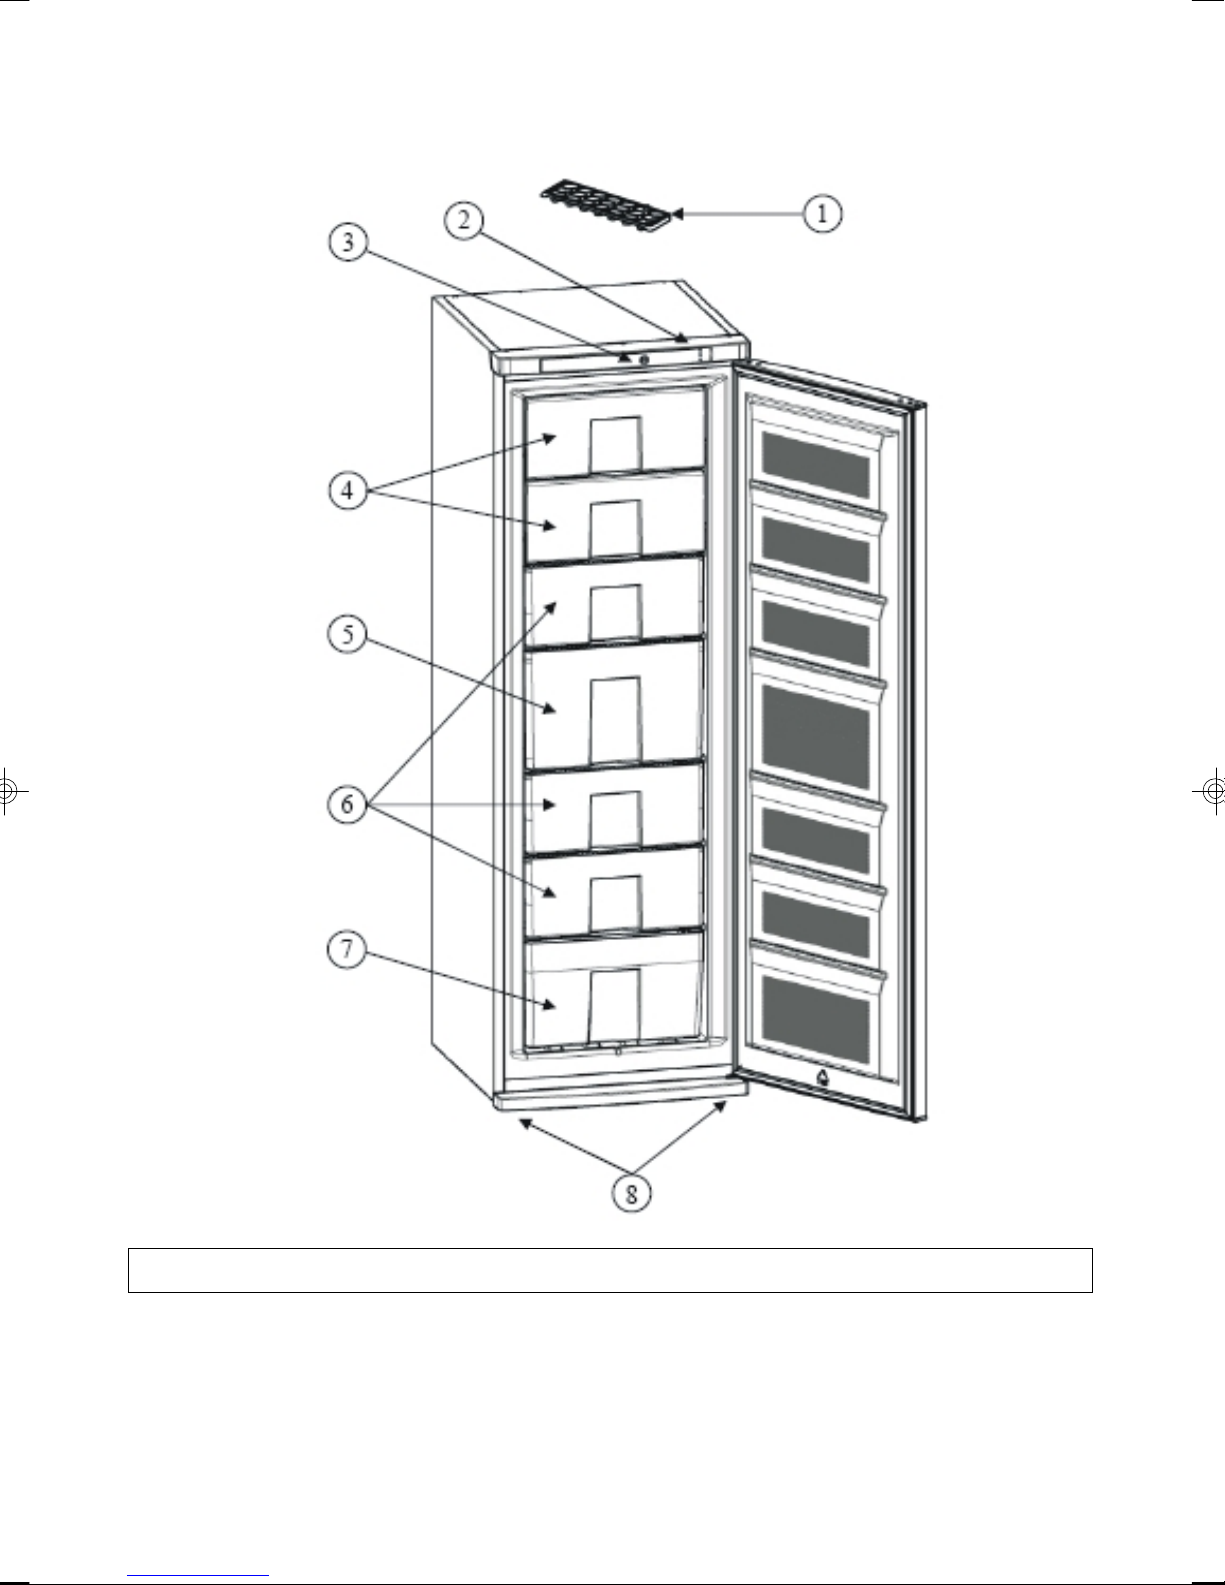
THE PARTS OF THE APPLIANCE AND THE COMPARTMENTS
Parts may vary according to the appliance model.
1. ICE TRAY
2. DISPLAY PANEL
3. FREEZER THERMOSTAT DIAL
4. FREEZER FLAPS
For Customer Services, Spare Parts & Warranty Information please call 0845 683 8717
5. FREEZER BIG DRAWER
6. FREEZER DRAWERS
7. FREEZER BOTTOM DRAWER
8. LEVELLING FEET
- 6 -
Page 9

THE VARIOUS FUNCTIONS AND POSSIBILITIES
Thermostat setting
FREEZER THERMOSTAT
5
4
3
Freezer control
Freezer thermostat automatically regulates the inside temperature of the compartments.
By rotating the knob from position “1” to “5”, colder temperatures can be obtained.
SF
0
1
2
Freezer thermostat setting;
0 : This position shows thermostat is closed and no cooling is available.
1 – 2 : For short-term storage of food in the freezer compartment, you can set the knob
between minimum and medium position.
3 – 4 – 5 : For long-term storage of food in the freezer compartment, you can set knob
medium position.
SF : “SUPER FREEZING” For freezing the fresh food. The appliance will work longer.
So after you get the cold condition you must position to previous position.
Note that; the ambient temperature, temperature of the freshly stored food and how often
the door is opened, affects the temperature in the freezer compartment. If required, change
the temperature setting.
For Customer Services, Spare Parts & Warranty Information please call 0845 683 8717
- 7 -
Page 10

Display panel
Orange Lamp
Green Lamp
Red Lamp
ORANGE LAMP:
When the “Super Freezing” operation is on (thermostat dial is in SF
position), the orange lamp will turn on.
GREEN LAMP:
When the appliance is connected to the power supply, the green lamp
on the display panel will turn on automatically.
RED LAMP:
When the freezer compartment is not cold enough, the red lamp will
turn on. Set the thermostat dial to SF (Super Freeze) position until the
red lamp is off. After you get the cold condition you must position to
previous position. Check the frozen foods. And if the foods gets thaw,
remember to consume them in a short period of time.
Turning on the appliance
Once the appliance has been connected to the power supply make sure that the RED
lamp is on. Then turn the freezer thermostat dial to position SF “SUPER FREEZING” until
the red lamp is off (Note that; for best internal temperature the indicator in the freezer
thermostat should be positioned between 2 and 4.)
• When you first switch on the appliance, for starting a suitable cooling, the appliance
should work 24 hours continuously until it cools down to sufficient temperature.
• In this time do not open the door so often and place a lot of food inside the appliance.
• If the unit is switched off or unplugged, you must allow at least 5 minutes before
restarting or re-plugged the unit in order not to damage the compressor.
For Customer Services, Spare Parts & Warranty Information please call 0845 683 8717
- 8 -
Page 11

FOOD STORAGE
• Do not put fresh and warm food with frozen food side by side as it can thaw the frozen
food.
• While freezing fresh food (i.e. meat, fish and mincemeat) divide them to partions in
order to use individually.
• Maximum load; if you want to load large quantities and use the maximum net capacity,
you can remove the drawers (Except the bottom one).You can store bulky items directly
on the shelves
• For storing the frozen food; the instructions shown on frozen food packages should
always be followed carefully and if no information is provided, food should not be
stored for more than 3 months from the purchased date.
• When buying frozen food ensure that these have been frozen at suitable temperatures
and that the packing is intact.
• Frozen food should be transported in appropriate containers to maintain the quality
of the food and should be returned to the freezing surfaces of the unit in the shortest
possible time.
• If a package of frozen food shows the sign of humidity and abnormal swelling it is
probable that it has been previously stored at an unsuitable temperature and that
the contents have deteriorated.
• The storage life of frozen food depends on the room temperature, thermostat setting,
how often the door is opened, the type of food and the length of time required to
transport the product from the shop to your home. Always follow the instructions
printed on the package and never exceed the maximum storage life indicated.
• While freezing food ; Maximum amount of fresh food (in kg) that can be frozen in 24
hours is indicated on the appliance label. For optimum appliance performance to
reach maximum freezing capacity , turn the thermostat knob to position SF (Super
Freeze) 24 hours before placing fresh food in the freezer. 24 hours on Super Freeze
function would generally be sufficient after placing fresh food in the freezer. After 24
hours, deactivate the Super Freeze function.
• Attention; In order to save energy, When freezing small amounts of food, the Super
Freeze function can be deactivated.
For Customer Services, Spare Parts & Warranty Information please call 0845 683 8717
- 9 -
Page 12

CLEANING AND MAINTENANCE
• Disconnect unit from the power supply before cleaning.
• Do not clean the appliance by using
encessive amounts of water.
• The freezer compartment should be cleaned
periodically using a solution of bicarbonate of soda
and lukewarm water.
• Clean the accessories separately with soap and water.
Do not clean them in the dish washer machine.
• Do not use abrasive products, detergents or soaps.
After washing, rinse with clean water and dry carefully.
When the cleaning operations have been completed
reconnect the plug of the unit with dry hands.
• You should clean the condenser (back of the
appliance) with broom ones a year in order to provide
energy saving and increase the productivity.
THE POWER SUPPLY MUST BE DISCONNECTED.
For Customer Services, Spare Parts & Warranty Information please call 0845 683 8717
- 10 -
Page 13

Defrosting
WARNING: Never use sharp metal tools, unless recommended by manufacturer, for this
operation as they can damage the freezing circuit.
After a period of time, frost will build up in certain areas in the freezer compartment. The
frost, accumulated in the freezer compartment, should be removed periodically (use the
plastic scraper if available).
Complete defrosting will become necessary if the frost layer exceeds 3-5 mm to maintain
the efficiency of the freezer.
• The day before you defrost, set the thermostat dial to position “SF” to freeze the foods
completely.
• During defrosting, frozen foods should be wrapped in several layers of paper and
kept in a cool place. The inevitable rise in temperature will shorten their storage life.
Remember to use these foods within a relatively short period of time.
• Set the thermostat knob to position “0” and switch off the appliance.
• Leave the door open to accelerate defrosting. Remove the defrost water from the
compartment.
• This appliance is provided with a special drain system.
1. Remove all freezer drawers.
2. Put a basin on floor for collecting defrost water.
3. Take the drain pipe from the documentation bag, then place it in the groove on
the front side of the floor of the appliance.
4. If there is still water on the freezer floor, you can clear it away by using a sponge.
• Clean the interior by hand with lukewarm water and a little detergent. Never use
abrasive products or aggressive cleaning agents.
• Dry the inside of the unit, plug on the mains, and set the thermostat knob to position
“SF”. After 24 hours, reset the thermostat to the desired position.
For Customer Services, Spare Parts & Warranty Information please call 0845 683 8717
- 11 -
Page 14

CHANGING THE DOOR SWING DIRECTION TO RIGHT HAND
1- Remove the kick plate by pulling forward.
(Fig-1)
Figure 1Figure 2
2- Unscrew the bottom hinge fixing screws
and remove it (Fig-2)
3- Dismantle the door from the top hinge by pulling the door downwards.
4- Unscrew the pin of the right top hinge.
(Fig-3)
5- Then by using a knife cut the left side of
the head panel. (Fig-4)
Figure 3Figure 4
6- Screw the pin of the left top hinge. (Fig-5)
Figure 5
For Customer Services, Spare Parts & Warranty Information please call 0845 683 8717
- 12 -
Page 15

7- Replace the door top bushing (Fig-6) and top bushing cap. (Fig-7)
Figure 6Figure 7
8- Remove the door bottom bushing and
bottom stopper and then insert them the left
9- Remove the door bottom bushing and
insert it into left hole. (Fig-9)
side. (Fig-8)
Figure 8Figure 9
10- Unscrew the pin of hinge from Hole 1,
rotate the bottom hinge 90° and screw the
pin to Hole 2. (Fig-10)
Hinge pin
Hole 2
Hole 1
Figure 10
For Customer Services, Spare Parts & Warranty Information please call 0845 683 8717
- 13 -
Page 16

11- Assemble the door together with bottom
hinge. Then screw the hinge to bottom left
12- Finally,by using a knife cut left side of
the kick plate and assemble it. (Fig-12)
side of refrigerator. (Fig-11)
Figure 11Figure 12
Knife cut
For Customer Services, Spare Parts & Warranty Information please call 0845 683 8717
- 14 -
Page 17

For Customer Services, Spare Parts & Warranty Information please call 0845 683 8717
- 15 -
ASSEMBLY INSTRUCTION
FREEZER - LARDER
Side By Side
Page 18

For Customer Services, Spare Parts & Warranty Information please call 0845 683 8717
- 16 -
1) Flat metal kit; 2 pcs. 2) Bent metal kit; 2 pcs.
3) Gasket; 1 pc. 4) Flat screw (M4); 2 pcs.
5) Conic screw; 4 pcs.
7) Fixing bracket front; OPTIONAL
Must be ordered as a spare part.
8) Adjustable feed
9) Double sided tape
6) Flat screw; 2 pcs.
Part list
Page 19

For Customer Services, Spare Parts & Warranty Information please call 0845 683 8717
- 17 -
- 7 -
5
1
Fig. C
5
2
1
6
Fig. B
Fig. A
-8-
Adjustable feet
Page 20

For Customer Services, Spare Parts & Warranty Information please call 0845 683 8717
- 18 -
ASSEMBLY INSTRUCTION
Before assembling process,cabinets should be closer regularly.(min 6mm - max 10mm)1.
Align both headpanels by using adjustable feet. (g F)2.
See page 2 for the necessary attachment components.3.
Position the assembly kit4.
1
on the back side - down and fasten it up by using screws6
(g.A)
Position the assembly kit5.
2
on the back side - up and fasten it up by using screws5 (g B)
Position the assembly kit6.
1
on the upside and fasten it up by using screws5 (g C)
Take out the kickplate part for each cabinets.7.
Position the assembly kit8.
2
on the front side-down and fasten it up by using screws4
(g D)
Take out the double sided tape located inner side of the gasket9.
3
, mount it between two
cabinets beginning from upside to down in the proper form. (g E)
Unscrew the headpanel screws(top and bottom) (g G) , position the assembly kit10.
7
and
fasten it up again by using headpanel screws (g H).
Page 21

For Customer Services, Spare Parts & Warranty Information please call 0845 683 8717
- 19 -
Fig. G
Fig. H
Fig. F
Fig. E
Fig. D
3
2
4
-9-
Double sided tape
Page 22

TRANSPORTATION AND CHANGING OF INSTALLATION POSITION
Transportation and Changing of Installation Position
• The original packages and foamed polystyrene (PS) can be concealed if required.
• In transportation the appliance should be tied with a wide stripe or a strong rope.
The rules written on the corrugated box must be applied while transporting.
• Before transporting or changing old
installation position, all the moving objects
(ie,shelves,crisper…) should be taken out
or fixed with bands in order to prevent the
shake.
Before Switching On
• Wait after 3 hours before plugging the appliance in to the power
to ensure proper performance.
• There can be an odor when you first switch on the appliance. It will disappear after
the appliance starts to cool.
BEFORE CALLING YOUR AFTER SALES SERVICE
If your freezer is not working properly, it may be a minor problem, therefore check the
following, before calling an electrician to save time and money.
What to do if your appliance does not operate;
Check that;
• There is no power, (GREEN lamp is off)
• The general switch in your home is disconnected ,
• The thermostat setting is on « 0 » position ,
• The socket is not sufficient. To check this, plug in another appliance that you know
which is working into the same socket.
For Customer Services, Spare Parts & Warranty Information please call 0845 683 8717
- 20 -
Page 23

What to do if your appliance performs poorly; (Red lamp is on)
Check that;
• You have not overloaded the appliance ,
• The freezer thermostat settings is “1” position (if so set the thermostat dial suitable
value)
• The doors are closed perfectly ,
• There is no dust on the condenser ,
• There is enough place at the rear and side walls.
If there is noise;
The freezing gas which circulates in the freezer circuit may make a slight noise (bubbling
sound) even when the compressor is not running. Do not worry this is quite normal. If
these sounds are different check that;
• The appliance is well levelled
• Nothing is touching the rear.
• The stuffs on the appliance are vibrating.
If your freezer is not cooling enough;
Your freezer is designed to operate in the ambient temperature intervals stated in the
standards, according to the climate class stated in the information label. We do not
recommend operating your fridge out of stated temperatures value limits in terms of cooling
effectiveness.
Climate ClassAmbient Temperature (°C)
T
Between 16 and 43 (°C)
ST Between 16 and 38 (°C)
N Between 16 and 32 (°C)
SN
Between 10 and 32 (°C)
Conformity Information
• Tropical Class is defined for the environment temperatures between 16°C and 43°C
in accordance with the TS EN ISO 15502 Standards.
• The appliance is designed in compliance with the EN15502, IEC60335-1 /
IEC60335-2-24, 2004/108/EC standards.
Recommendations
• If the appliance is not used for long time (for example during the summer holidays)
unplug or set the thermostat dial to “0” position and clean the appliance and leave
the door open to prevent the formation of mildew and smell.
• To stop the appliance completely, unplug from main socket (for cleaning and when
the doors are left open)
For Customer Services, Spare Parts & Warranty Information please call 0845 683 8717
- 21 -
Page 24

For Customer Services, Spare Parts &
Warranty Information please call
0845 683 8717
Opening times:
Monday - Friday 8am until 8pm
Saturday & Sunday 10am until 4pm
Customer Service Department
Picktree Court
Picktree Lane
Chester-le-Street
Co Durham
DH3 3SY
Revision 1
This symbol is known as the 'Crossed-out wheelie bin Symbol'. W hen this
symbol is marked on a product/batteries, it means that the product/batteries
should not be disposed of with your general household waste. Only discard
electrical/electronic/battery items in separate collection schemes, which cater
for the recovery and recycling of materials contained within. Your co-operation is
vital to make sure the success of these schemes and for the protection of the
environment. For your nearest disposal facility, visit or
ask in store for details.
W e reserve the right due to possible changes to design to alter the instruction
manual without prior notice.
www.recycle-more.co.uk
52044684
 Loading...