

Page 1
INSTRUCTIONS AND WARRANTY
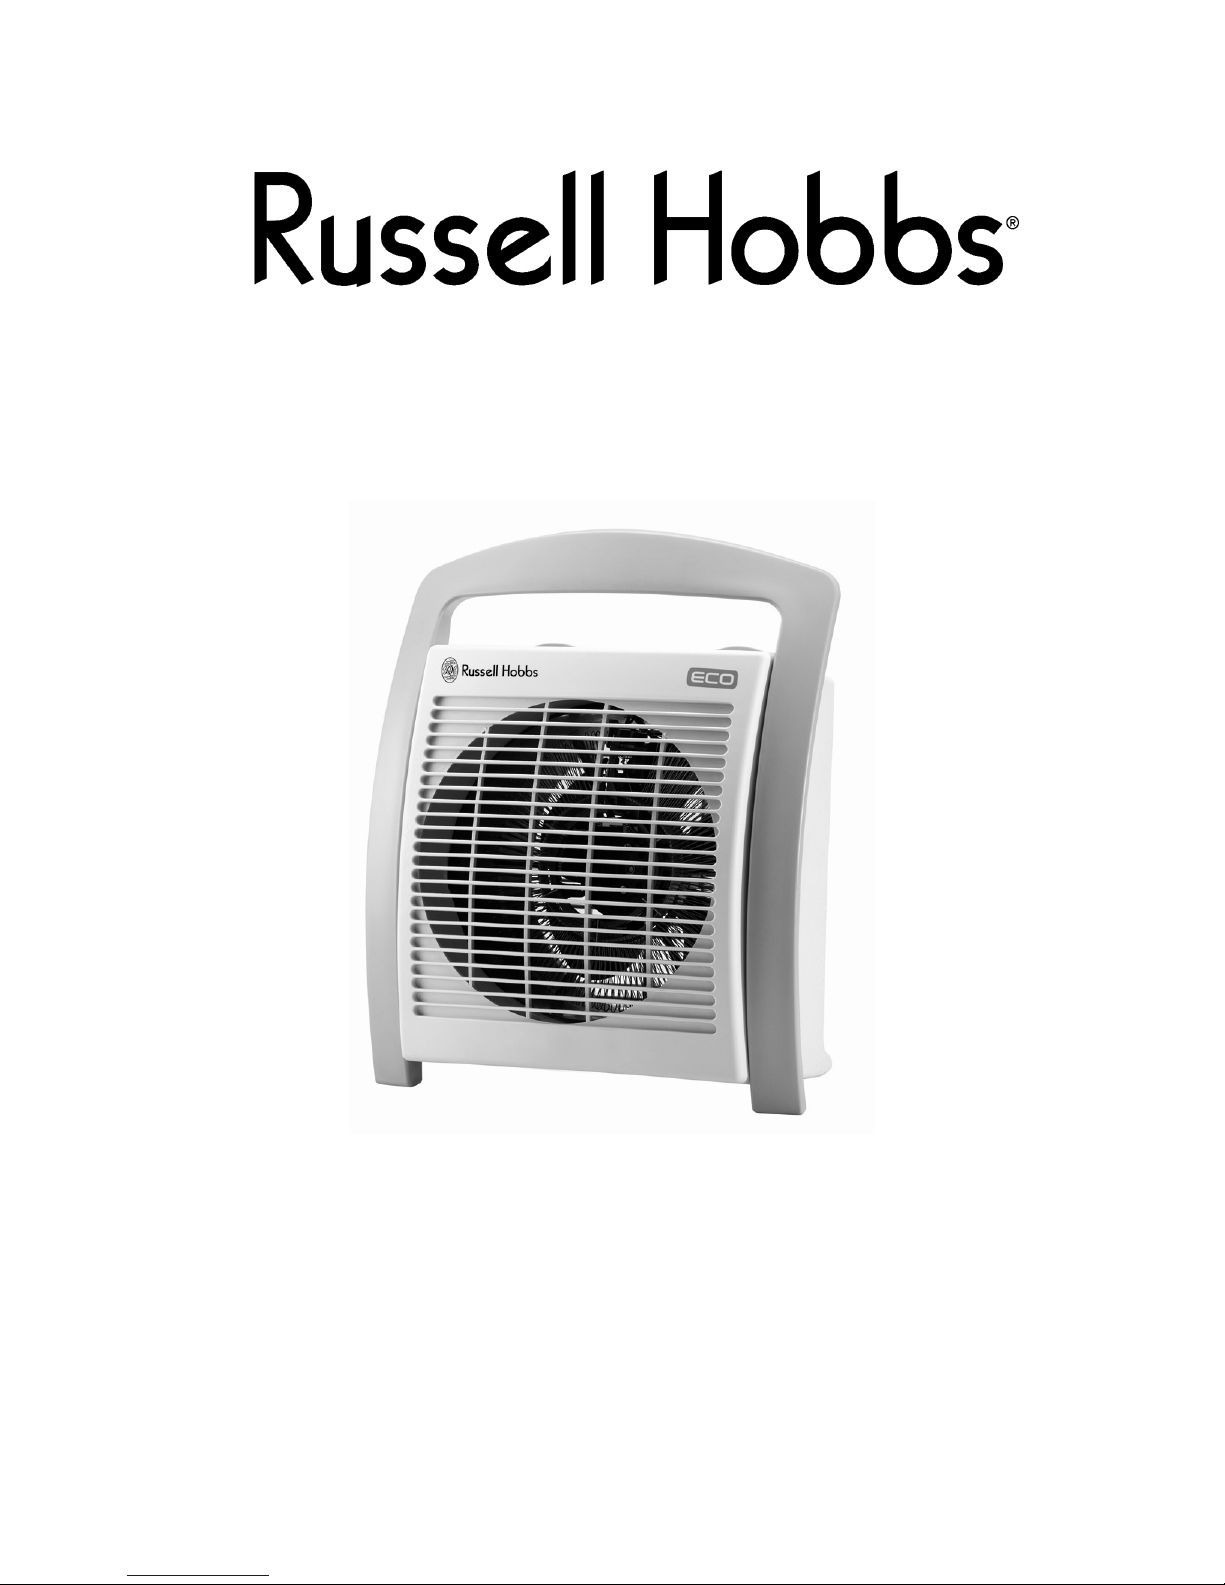
MODEL NO. RHFH913
Russell Hobbs EXTREME ECO Fan Heater
Page 2

2
Congratulations on purchasing our Russell Hobbs Extreme Eco Fan Heater. Each unit is
manufactured to ensure safety and reliability. Before using this appliance for the first
time, please read the instruction manual carefully and keep it for future reference.
FEATURES OF THE FAN HEATER
IMPORTANT SAFEGUARDS
When using any electrical appliance, basic safety precautions should always be followed
including the following:
1. Please read the instructions carefully before using the fan heater.
2. Always ensure that the voltage on the rating label corresponds to the mains
voltage in your home.
3. Incorrect operation and improper use can damage the fan heater and cause
injury to the user.
4. The fan heater is intended for household use only. Commercial use invalids the
warranty and the supplier cannot be held responsible for injury or damage
caused when using the appliance for any other purpose than that intended.
5. Avoid any contact with moving parts.
6. This fan heater is not intended for use by persons (including children) with
reduced physical, sensory or mental capabilities, or lack of experience and
knowledge, unless they have been given supervision or instruction concerning
use of the heater by a person responsible for their safety.
7. Children should be supervised to ensure that they do not play with the fan heater.
8. Check the power cord and plug regularly for any damage. If the cord or the plug
is damaged, the manufacturer or a qualified person must replace it in order to
avoid an electrical hazard.
9. Do not use the fan heater if it has been dropped or damaged in any way. In case
of damage, take the unit in for examination and/or repair by an authorised service
agent.
10. To reduce the risk of electric shock, do not immerse or expose the motor
assembly, plug or the power cord to water or any other liquid.
11. Never immerse the unit in water or any other liquid for cleaning purposes.
Page 3

3
12. Remove the plug from the socket by gripping the plug. Do not pull on the cord to
disconnect the heater from the mains. Always unplug the unit when not in use,
before cleaning or when adding or removing parts.
13. The use of accessory attachments that are not recommended or supplied by the
manufacturer may result in injuries, fire or electric shock.
14. A short cord is provided to reduce the hazards resulting from becoming
entangled in or tripping over a longer cord.
15. Do not let the cord hang over the edge of a table or counter. Ensure that the cord
is not in a position where it can be pulled on inadvertently.
16. Do not allow the cord to touch hot surfaces and do not place on or near a hot gas
or electric burner or in a heated oven.
17. Do not use the fan heater on a gas or electric cooking top or over or near an
open flame.
18. Use of an extension cord with this heater is not recommended. However, if it is
necessary to use an extension lead, ensure that the lead is suited to the power
consumption of the fan heater to avoid overheating of the extension cord,
appliance or plug point. Do not place the extension cord in a position where it can
be pulled on by children or animals or tripped over.
19. This fan heater is not suitable for outdoor use. Do not use this appliance for
anything other than its intended use.
20. DO NOT carry the fan heater by the power cord.
21. Do not leave this heater unattended during use. Always unplug the unit when not
in use or before cleaning.
22. Always operate the heater on a smooth, even, stable surface. Do not place the
unit on a hot surface.
23. Ensure that the switch is in the “Off” position after each use.
24. The manufacturer does not accept responsibility for any damage or injury caused
by improper or incorrect use, or for repairs carried out by unauthorised personnel.
25. In case of technical problems, switch off the machine and do not attempt to repair
it yourself. Return the fan heater to an authorised service facility for examination,
adjustment or repair. Always insist on the use of original spare parts. Failure to
comply with the above mentioned pre-cautions and instructions, could affect the
safe operation of this machine
Page 4

4
PARTS DIAGRAM
1. Thermostat
2. Power selector switch
3. Motor unit and air grid (front)
4. Air inlet grid
OPERATING INSTRUCTIONS
• Power selector switch
POSITION
FUNCTION
O OFF
Appliance off
SUMMER Cool air
٭ ECO
Warm air Eco function
٭RAPID
Rapid heating
• Room Thermostat
The thermostat maintains the desired temperature: once reached, the appliance
automatically turns off and will turn on again as soon as the temperature level drops.
Page 5

5
POSITION
FUNCTION
٭
Antifreeze
MAX
Maximum temperature
• Fan heater function
-Turn the power selector switch as seen below according to the desired type of heating:
Position ٭: ECO heating
AT the ECO position you save up to 35% energy consumption. You will be able to warm
your room to 60°C at 1400W where a normal heater will work at 2200W to heat the
same room up to 60°C.
The Eco Extreme fan heater heats the environment in just a few minutes, using 35%
less electricity. The high velocity blade is positioned slightly behind the heating element
and uses ambient air temperature which is heated and circulated using considerable
less electricity.
Position ٭: RAPID heating
-Regulate the thermostat depending on the temperature you wish to maintain.
•
Cool air function
-Turn the thermostat to the maximum temperature MAX.
-Turn the power selector switch to position SUMMER.
• Antifreeze function
This function maintains the room temperature at +5ºC.
When the temperature drops below this level, the fan heater turns on automatically.
-Turn the thermostat to the antifreeze setting ٭.
Page 6

6
-Turn the power selector switch as follows:
Position ٭: ECO to gradually increase the temperature by +5ºC.
Position
٭: RAPID to quickly increase the temperature by +5ºC.
CLEANING AND MAINTENANCE
• This appliance is for household use only and is not user-serviceable.
• Do not open or change any parts by yourself. Please refer to a qualified electrical
service department or return to the supplier if servicing is necessary.
• Always remember to unplug the unit from the electrical outlet when not in use
and before cleaning. Ensure that the heater is switched off.
• The body of the appliance and the stand should be cleaned with a damp cloth.
Do not let water enter the appliance or the stand.
• Do not use bleach or other abrasive substance or solvents to clean your
appliance as it can be damaging to the finish.
• Do not immerse the heater in water or any other liquid, or hold it under a running
tap to clean.
• To remove stubborn spots/marks, wipe the surfaces with a cloth slightly
dampened in soapy water or mild non-abrasive cleaner.
STORING THE APPLIANCE
• Unplug the unit from the wall outlet and clean all the parts as instructed above.
Ensure that all parts are dry before storing.
• Store the appliance in its box or in a clean, dry place.
• Never store the appliance while it is still wet or dirty.
• Never wrap the power cord around the appliance.
SERVICING THE APPLIANCE
Page 7

7
There are no user serviceable parts in this appliance. If the unit is not operating correctly,
please check the following:
• You have followed the instructions correctly
• That the unit has been wired correctly and that the wall socket is switched on.
• That the mains power supply is ON.
• That the plug is firmly in the mains socket.
If the appliance still does not work after checking the above
:
- Consult the retailer for possible repair or replacement. If the retailer fails to resolve the
problem and you need to return the appliance, make sure that:
• The unit is packed carefully back into its original packaging.
• Proof of purchase is attached.
• A reason is provided for why it is being returned.
If the supply cord is damaged, it must be replaced by the manufacturer or an authorised
service agent, in order to avoid any hazard. If service becomes necessary within the
warranty period, the appliance should be returned to an approved Tedelex Trading (Pty)
Ltd service centre. Servicing outside the warranty period is still available, but will,
however, be chargeable.
CHANGING THE PLUG
Should the need arise to change the fitted plug, follow the instructions below.
This unit is designed to operate on 230V-240V current only. Connecting to other
power sources may damage the appliance. Connect a three-pin plug as follows:
The wires in this mains lead are coloured in accordance with the following code:
Green/Yellow = Earth
Blue = Neutral
Brown = Live
PLEASE AFFIX YOUR PROOF
OF PURCHASE/RECEIPT HERE
Page 8

 Loading...