

Page 1

R-TEC Smart Controls - Handheld Remote, 5 Channel
RTMHR5C
5 Channel Handheld Remote with Wall Mount fuses luxury and functionality in a
well-crafted, minimal design.
The 5 channel remote features soft tactile rubber buttons that can control 5
individual or 5 groups of window treatments, as well as an “ALL” button that
conveniently activates all programmed channels.
Handheld remotes are compatible with all ARC™ motors.
FEATURES - 5 CHANNEL
2-Way RF
Communication
Distinct Slim
Design
Slim
Magnetic
Wall Mount
Tactile
Buttons
Durable
Build
© 2021 Rowley® Company. All rights reserved. R-TEC Automation® is a registered trademark of the Rowley® Company, LLC.
1
Page 2

TABLE OF CONTENTS
Technical Data / Pack Contents 3
Safety 4
Installation 5
Wall Mounting
Remote Battery
Functional Overview 6 - 7
Buttons
Selecting a Channel
Group Control
Programming
8 - 9
Quick Start Programming
Set a Favorite Position
Disable Limit Setting Function of Remote
Adding or Removing Controllers & Creating Group Channels
Using Motor P1 Button
Using a Pre-Existing Controller
Troubleshooting
11
10
© 2021 Rowley® Company. All rights reserved. R-TEC Automation® is a registered trademark of the Rowley® Company, LLC.
2
Page 3
COMPLIANCE STATEMENT
This device complies with part 15 of the FCC Rules. Operation is subject to the following two conditions:
• This device may not cause harmful interference.
• This device must accept any interference received, including interference that may cause undesired operation.
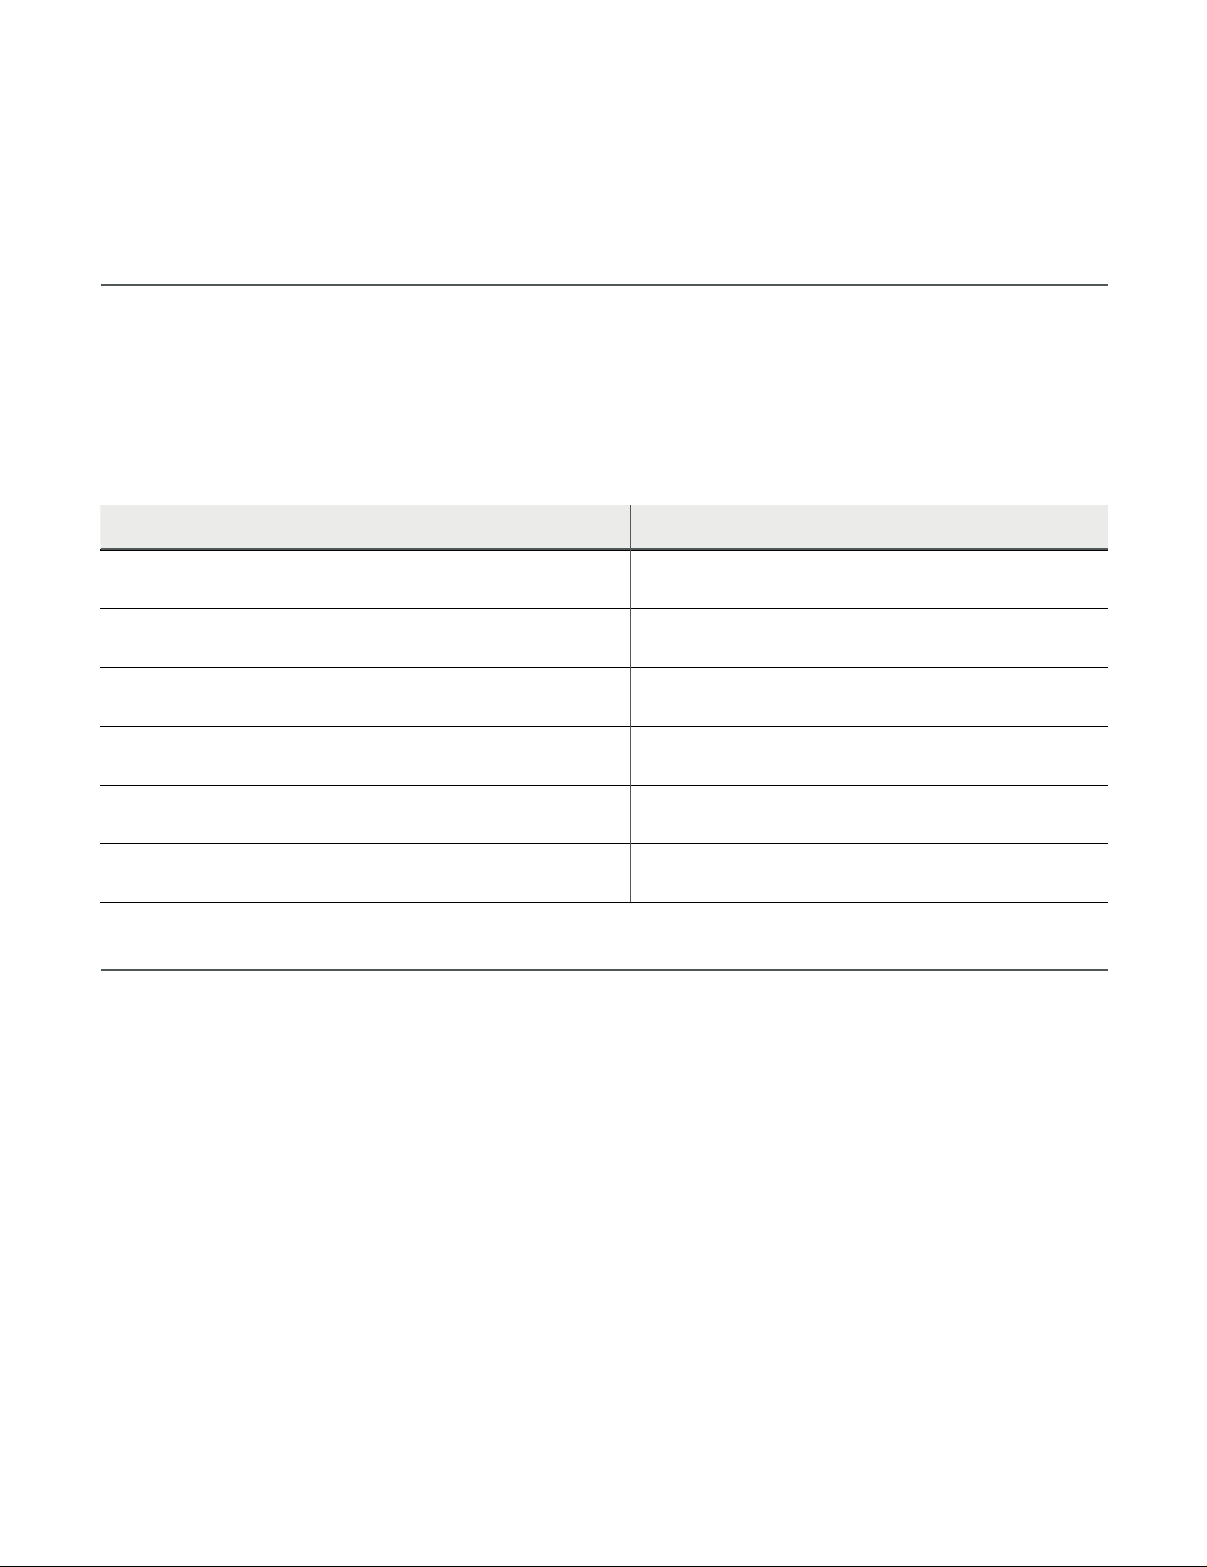
TECHNICAL DATA / PACK CONTENTS
PRODUCT SPECIFICATIONS
Parameters Value
Voltage 3 V DC
Battery CR2430
Radio Frequency 433.92 MHz
Transmitting Power 10 milliwatt
Transmission Range 65'
Temperature Working Range 50º F - 122º F (10º C - 50º C)
PACK CONTENTS
1. Handheld Remote with Wall Mount, 5 Channel
2. Cradle and Wall Fixing Screws
3. Instruction Manual
4. 3 V - CR2450 Battery
5. Screwdriver
© 2021 Rowley® Company. All rights reserved. R-TEC Automation® is a registered trademark of the Rowley® Company, LLC.
3
Page 4
SAFETY
WARNING
Any changes or modifications to this unit not expressly approved by the party responsible for compliance could
void the user’s authority to operate the equipment. Incorrect installation can lead to serious injury and will void
manufacturer’s liability and warranty.
CAUTION
• Do not expose to moisture or extreme temperatures.
• Do not allow children to play with this device.
• Use or modification outside the scope of this instruction manual will void warranty.
• Installation and programming to be performed by a suitably qualified installer.
• Use only R-TEC Automation
• Keep clear when in operation.
• Replace battery with correctly specified type.
®
hardware.
IMPORTANT SAFETY INSTRUCTIONS TO BE READ PRIOR
TO OPERATION
• It is important for the safety of persons to follow the enclosed instructions. Save these instructions for future reference.
• Persons (including children) with reduced physical, sensory or mental capabilities, or lack of experience and knowledge
should not be allowed to use this product.
• Frequently inspect for improper operation. Do not use if repair or adjustment is necessary.
• Keep away from children.
Do no dispose of in general waste.
Please recycle batteries and damaged electrical
products appropriately.
© 2021 Rowley® Company. All rights reserved. R-TEC Automation® is a registered trademark of the Rowley® Company, LLC.
4
Page 5

INSTALLATION
WALL MOUNTING
Use supplied fasteners and anchors to attach the base to wall.
Replace cover by pressing snap latches into place.
REMOTE BATTERY
Remove cover from remote;
unscrew with screwdriver included,
then firmly press down and slide left.
Insert battery as directed, then slide
cover back on remote and screw on
with screwdriver included.
© 2021 Rowley® Company. All rights reserved. R-TEC Automation® is a registered trademark of the Rowley® Company, LLC.
5
Page 6

FUNCTIONAL OVERVIEW
BUTTONS
UP
STOP
DOWN
1
2
3
4
5
ALL
CHANNEL
SELECTING A CHANNEL
IMPORTANT
To determine which channel is activated prior to programming or operating the control simply press and release any of
the ‘channel’ buttons or the ‘stop’ button once and the active channel or channels will illuminate.
IMPORTANT
You can program one channel at a time but you can operate several channels at once if desired after the programming
has been completed.
SETTING (P2)
LOCK
Select a channel by ‘toggling’ it on until a blue LED is
showing next to it. This will require pressing and releasing
the channel once or twice until the light appears.
1
2
3
4
5
ALL
IMPORTANT
When a channel is selected, the blue LED will stay illuminated for four seconds and then go out. The channel remains active.
Programming and operation of the window treatment(s) on the channel can proceed without reselecting the channels.
© 2021 Rowley® Company. All rights reserved. R-TEC Automation® is a registered trademark of the Rowley® Company, LLC.
Deselect the channels that you don’t
want to be active by ‘toggling’ them off
until the blue LED disappears.
1
2
3
4
5
ALL
Now only the channel that you want to program or operate will be active.
Your selected channel is now ready to be programmed or operated.
6
Page 7

GROUP CONTROL
Channel ALL is preset to control all window treatments paired to your multi channel remote.
1
2
3
4
5
ALL
© 2021 Rowley® Company. All rights reserved. R-TEC Automation® is a registered trademark of the Rowley® Company, LLC.
7
Page 8

PROGRAMMING
IMPORTANT
Please refer to the relevant documentation of your motor model for instructions on adjusting motor settings.
QUICK START PROGRAMMING
Select a single or multiple channels by
toggling channels (3) as required.
Note the corresponding LED next to
each channel.
1
2
3
4
5
ALL
Press UP or DOWN to check the
motor direction. If correct, skip to
step 5 of setting the upper limit.
Hold P1 button on motor
head for 2 seconds until the
motor responds as below.
* Internal Tubular
pictured. Refer to
P1 LOCATIONS on page
10 for specific devices.
Motor Response
Approx.
Move window treatment to desired top
limit by pressing the UP arrow repeatedly.
Then press and hold UP and STOP
together for 5 seconds to save the limit.
Within 4 seconds, hold the
STOP button on remote for
3 seconds. The motor will
respond as below.
1
2
3
4
5
ALL
Motor Response
Approx.
Repeat steps 1-6 for all motors.
Once complete, press and hold
the LOCK button for 6 seconds
while looking at the LED, and
hold until solid.
or
If the window treatment direction
needs to be reversed; press and
hold the UP and DOWN together
for 5 seconds until the motor Jogs.
* Reversing
motor direction
using this
method is only
possible during
initial set up.
Motor Response
Approx.
5
© 2021 Rowley® Company. All rights reserved. R-TEC Automation® is a registered trademark of the Rowley® Company, LLC.
Approx.
* Tap the arrow
several times
or hold down if
needed; press
arrow to stop.
Motor Response
5
Approx.
6
1
2
3
4
5
ALL
8
Page 9

SET A FAVORITE POSITION
Move window treatment to
desired position by pressing
UP or DOWN on the remote.
or
Press P2 on the controller.
Press STOP on
the controller.
Press STOP again
on the controller.
Motor Response Motor Response Motor Response
DISABLE LIMIT SETTING FUNCTION OF REMOTE
IMPORTANT
This mode is intended to be used after all window treatment programming is completed.
User Mode will prevent accidental or unintended changing of limits.
Push LOCK button to lock or
unlocked position
Pressing the LOCK button for 6
seconds will toggle between locked and
unlocked LED show solid or flashing.
LED solid on when locked
LED blinking when unlocked
1
2
3
4
5
ALL
© 2021 Rowley® Company. All rights reserved. R-TEC Automation® is a registered trademark of the Rowley® Company, LLC.
9
Page 10

ADDING OR REMOVING CONTROLLERS &
CREATING GROUP CHANNELS
USING MOTOR P1 BUTTON
Hold P1 button on motor head. Hold STOP on switch.
P1 LOCATIONS
1
* Internal Tubular
pictured. Refer to
P1 LOCATIONS to right
for specific devices.
2
3
4
5
ALL
Drapery
Motor Response
Motor Response
Large Tubular
Approx. Approx.
USING PRE-EXISTING CONTROLLER
A = Existing button or channel (to keep). B = Button or channel to add or remove.
Select the channel (5)
you want to transfer.
Press P2 on existing remote.
Press P2 a second time on
existing remote.
Press the channel (1)
on new remote.
1
2
3
4
5
ALL
© 2021 Rowley® Company. All rights reserved. R-TEC Automation® is a registered trademark of the Rowley® Company, LLC.
1
2
3
4
5
ALL
Motor ResponseMotor ResponseMotor Response
10
Page 11

TROUBLESHOOTING
Problem Cause Remedy
Remote battery is discharged Replace battery.
Battery is inserted incorrectly Check battery polarity.
Ensure remote is positioned away from metal objects and
Radio interference / Shielding
Motor is not responding
that antenna on motor or receiver is kept straight and away
from metal.
Cannot set limits on a single
motor (multiple motors
respond)
Receiver distance is too far
from remote
Power failure Check power supply to motor is connected and active.
Incorrect wiring
Using “Group” channels to
adjust motor limits
Red LED is solid
Move remote to a closer position or consider a repeater for
improved performance.
Check wiring is connected correctly (refer to motor
installation instructions).
Always reserve an individual channel
for programming functions.
SYSTEM BEST PRACTICE - Provide an extra 5 channel
remote in your multi motor projects, that provides individual
control for each motor for programming purposes.
Any Questions?
Contact our R-TEC Automation® in-house experts at 866.985.3423. Email us at RTECAutomation@RowleyCompany.com.
© 2021 Rowley® Company. All rights reserved. R-TEC Automation® is a registered trademark of the Rowley® Company, LLC.
11
 Loading...