

FEATURES
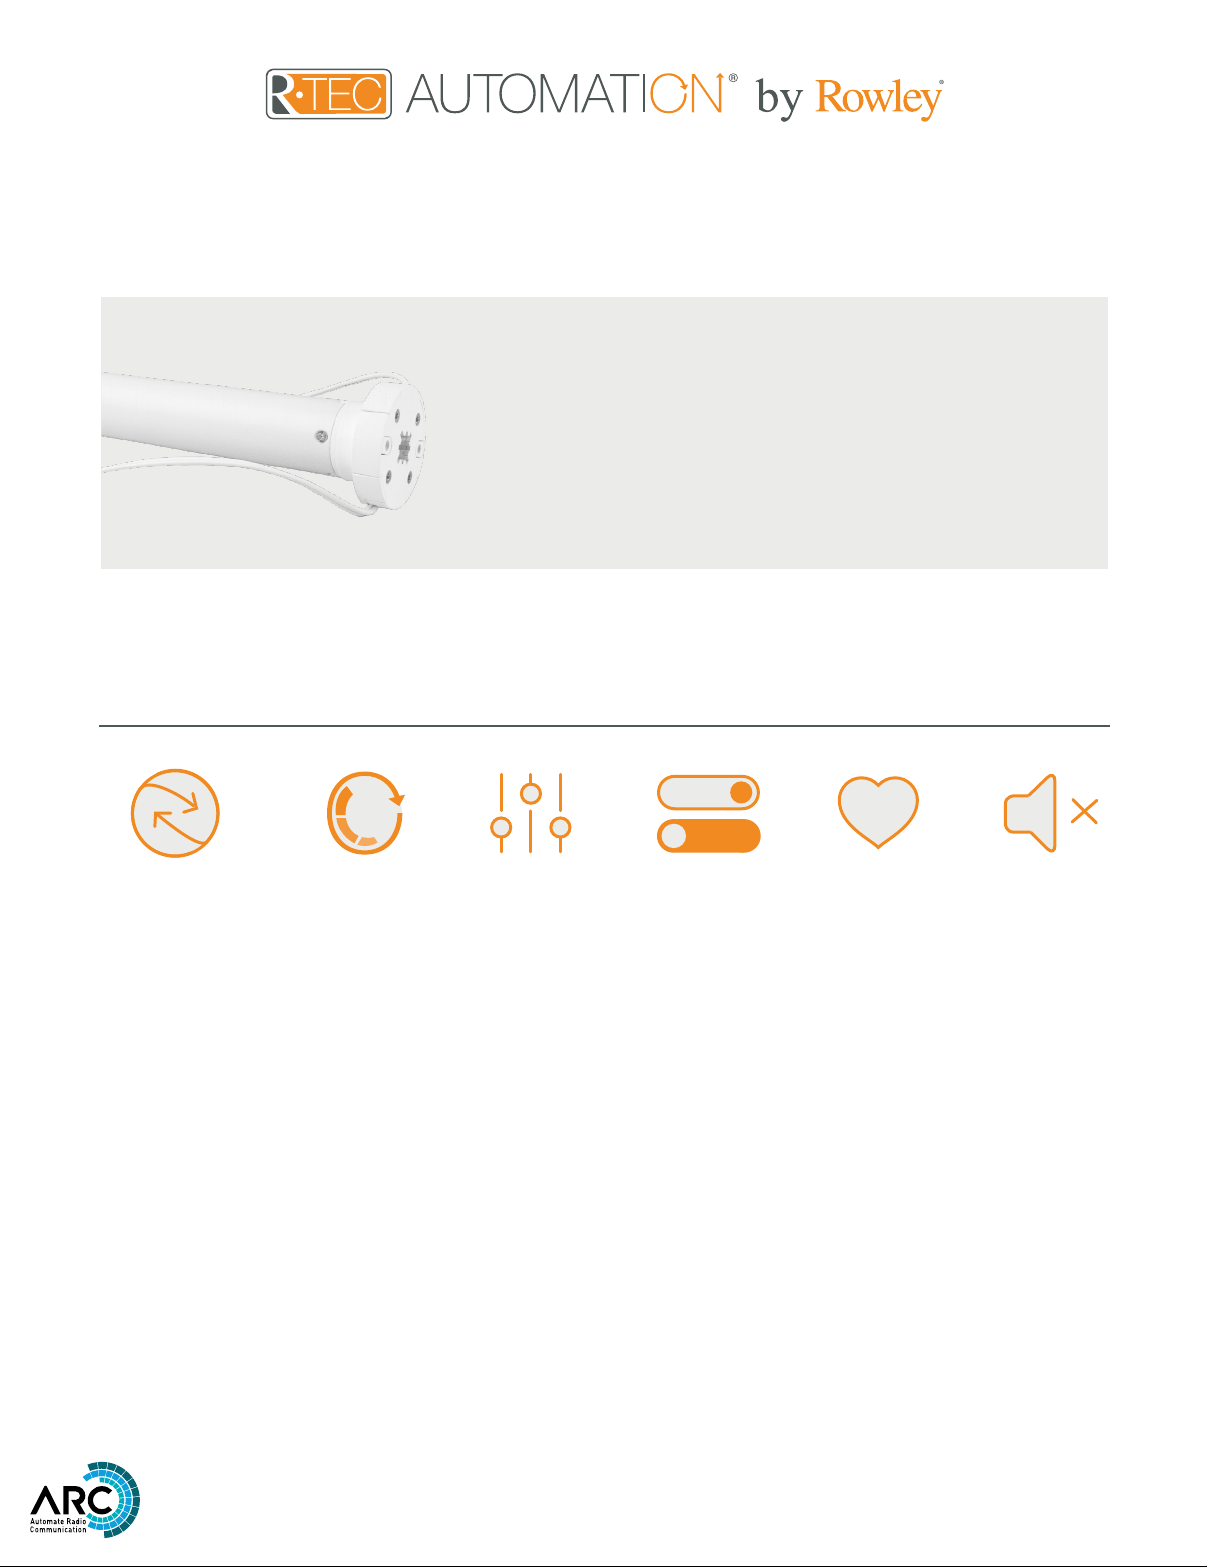
DC Tubular Motors
RTMDC25, RTMDCQ28, RTMDC35
DC Tubular Motors - DC motorized shades are ideal when designing a new
home, motorizing an existing home or planning a commercial project.
Available in three motor sizes, DC wired shades are maintenance free and the
AC power supply adapter keeps installation costs to a minimum.
They offer a low voltage, easy-to-use and program solution to suit a large
range of applications, including narrow applications, setting this tubular
motor apart from other options.
2-Way RF
Communication
Adjustable
Speed
Leveling
Control
Preferred
Upper / Lower
Limit Settings
Favorite
Position
Quiet
Operation
© 2021 Rowley® Company. All rights reserved. R-TEC Automation® is a registered trademark of the Rowley® Company, LLC.
1

TABLE OF CONTENTS
Technical Data / Pack Contents 3
Installation 3
Safety 4
Wiring 5
Power Options
Functional Overview 6
P1 Button
Programming / Initial Set Up
7 - 8
Pair Motor with Controller
Check Motor Direction
Set Limits
Adjusting Limits
9
Adjust Upper Limit
Adjust Lower Limit
Adding or Removing Controllers & Creating Group Channels
Using Motor P1 Button
Using a Pre-Existing Controller
Favorite Positioning
11
Set a Favorite Position
Send Shade to Favorite Position
Delete Favorite Position
Adjusting Motor Speed
12
Increase Motor Speed
Decrease Motor Speed
10
Step & Roller Mode
Enter Step Mode
Enter Roller Mode (Default)
Sleep Mode
14
Enter Sleep Mode
Exit Sleep Mode
Troubleshooting
© 2021 Rowley® Company. All rights reserved. R-TEC Automation® is a registered trademark of the Rowley® Company, LLC.
15
13
2
COMPLIANCE STATEMENT
This device complies with part 15 of the FCC Rules. Operation is subject to the following two conditions:
• This device may not cause harmful interference.
• This device must accept any interference received, including interference that may cause undesired operation.
TECHNICAL DATA / PACK CONTENTS
PRODUCT SPECIFICATIONS
Parameters Value for 25 mm Value for 28 mm Value for 35 mm
Voltage 12 V DC
Torque 1.1 Nm 2.0 Nm 3.0 Nm
Max. Run Time 10 min.
Speed 40 RPM (Adj. to 30 or 20) 28 RPM (Adj. to 24 or 20) 28 RPM (Adj. to 24 or 20)
Radio Frequency 433.92 MHz
Amps 0.83 A 1.25 A 1.67 A
Sound Level ~46 DB ~44 DB ~53 DB
Limit Switch Type Electronic
Temperature Working Range 32º F - 140º F (0º C - 60º C)
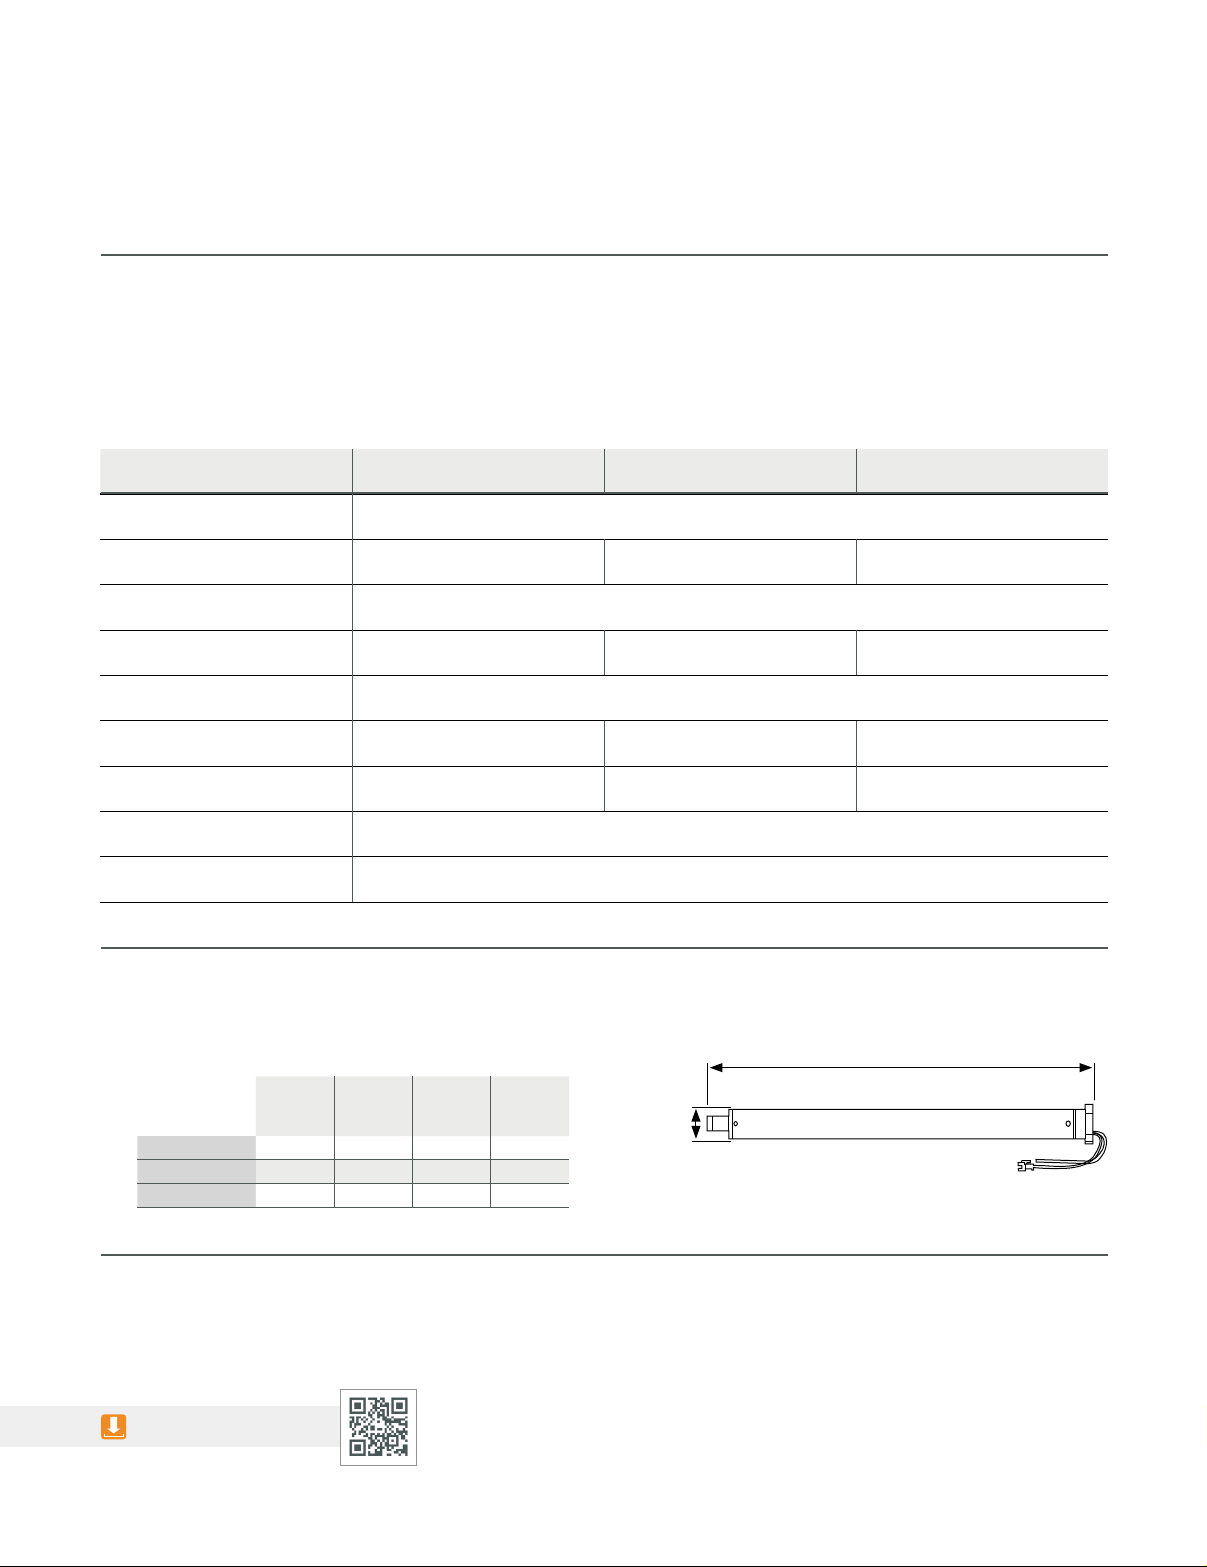
PACK CONTENTS
1. DC Tubular Motor
2. Instruction
Manual
RTMDC25 25 mm 11.77" 0.98" 6.25"
RTMDCQ28 28 mm 17.41" 1.13" 6.25"
RTMDC35 35 mm 18.07" 1.38" 6"
Motor
Size
Motor
Length
Motor
Dia.
Motor
Cable
Length
Motor
Diameter
Motor Length
Motor Cable Length
INSTALLATION
Installation Instructions:
© 2021 Rowley® Company. All rights reserved. R-TEC Automation® is a registered trademark of the Rowley® Company, LLC.
3
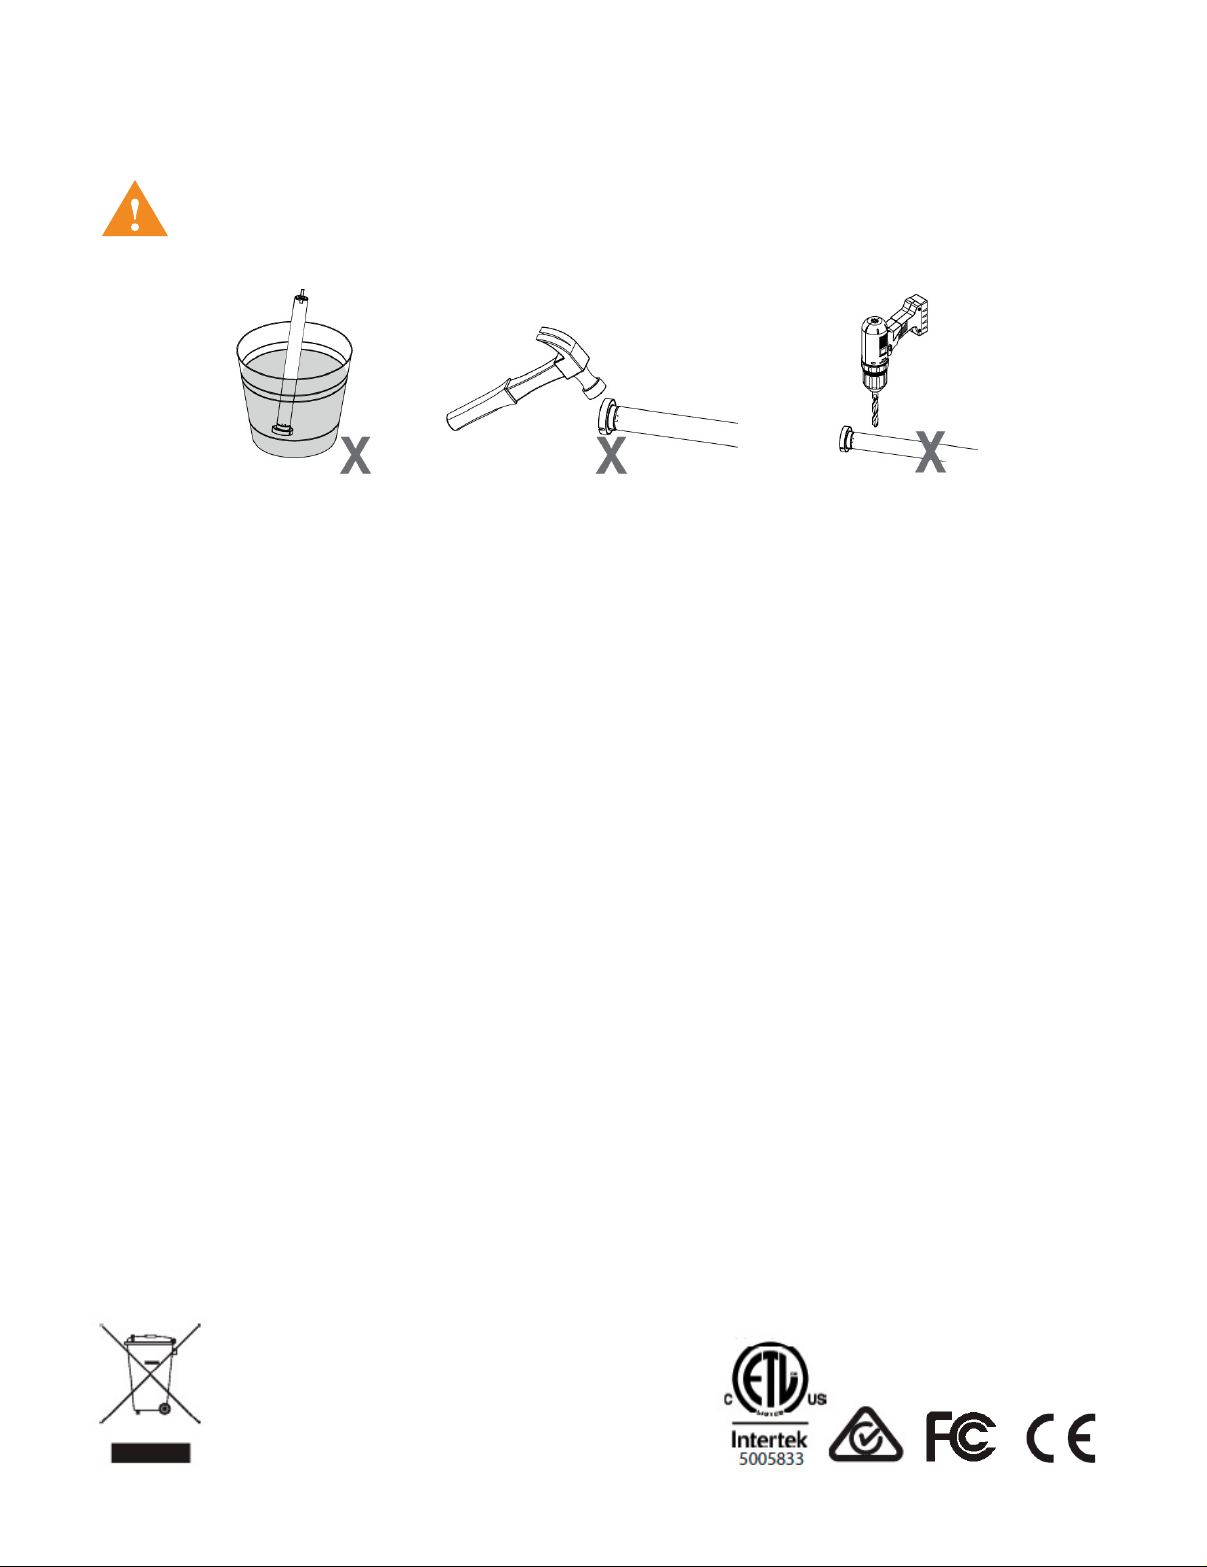
SAFETY
WARNING
Incorrect installation can lead to serious injury and will void manufacturer's liability and warranty.
CAUTION
• Do not expose to moisture or extreme temperatures.
• Do not allow children to play with this device.
• Use or modification outside the scope of this instruction manual will void warranty.
• Installation and programming to be performed by a suitably qualified installer.
• For use within tubular shades.
• Ensure correct crown and drive adapters are used for the intended system.
• Keep antenna straight and clear from metal objects.
• Do not cut the antenna.
• Use only R-TEC Automation
• Before installation, remove any unnecessary cords and disable any equipment not needed for powered operation.
• Ensure torque and operating time is compatible with end application.
• Do not expose the motor to water or install in humid or damp environments.
• Motor is to be installed in horizontal application only.
• Do not drill into motor body.
• The routing of cable through walls shall be protected by isolating bushes or grommets.
• Ensure power cable and antenna are clear and protected from moving parts.
• If cable or power connector is damaged, do not use.
®
hardware.
IMPORTANT SAFETY INSTRUCTIONS TO BE READ PRIOR
TO OPERATION
• It is important for the safety of persons to follow the enclosed instructions. Save these instructions for future reference.
• Persons (including children) with reduced physical, sensory or mental capabilities, or lack of experience and knowledge
should not be allowed to use this product.
• Keep remote controls away from children.
• Frequently inspect for improper operation. Do not use if repair or adjustment is necessary.
• Keep motor away from acid and alkali.
• Do not force the motor drive.
• Keep clear when in operation.
Do no dispose of in general waste.
Please recycle batteries and damaged electrical
products appropriately.
© 2021 Rowley® Company. All rights reserved. R-TEC Automation® is a registered trademark of the Rowley® Company, LLC.
4

WIRING
POWER OPTIONS
DC motors are powered from a 12V DC power source. Rechargeable Battery Pack, Battery Tube or Power Supplies are
available, with a variety of quick connect extension cords. For centralized installations, power supply range can be extended
with 18/2 wire (not available through R-TEC Automation
• During operation, if the voltage drops to less than 10V, the motor will beep 10 times to indicate a power supply issue.
• Motor will stop running when the voltage is lower than 7V, and it will resume again when the voltage is greater than 7.5V.
®
).
High Capacity
Battery Pack
Solar Panel Battery Charger
(use if using High Capacity
Battery Pack option above)
Battery Tube
DC Power Supply
Item # Power Option Extension Cables Motor
RTMDCHCBP
RTMDCBT
High Capacity Battery Pack for 25/28 mm Motors
(requires Battery Charger RTMLBC 12', .4 Amp, 12V)
Battery Tube for 25 mm DC Motors
(requires 8 AA Li-ion Batteries - not included)
RTMLCXT48 48"
RTMLCXT96 96"
RTMDC25
RTMDCQ28
RTMDC25
RTMSOLAR2
RTMDC18/25 Power Supply for 25 mm DC Motors 5' RTMDCXT48 48" RTMDC25
RTMDC28/35 Power Supply for 28/35mm DC Motors 10 ½' RTMDCXT48 48"
Solar Panel Battery Charger
(use if using High Capacity Battery Pack option above)
RTMDC25
RTMDCQ28
RTMDCQ28
RTMDC35
IMPORTANT
Ensure cable is kept clear of fabric. Ensure antenna is kept straight and away from metal objects.
© 2021 Rowley® Company. All rights reserved. R-TEC Automation® is a registered trademark of the Rowley® Company, LLC.
5

FUNCTIONAL OVERVIEW
P1 BUTTON
Motor State Test:
This table describes the function of a short P1 button press/release (<2 seconds) depending on current motor configuration.
P1 Press Condition
If limit is NOT set None No Action None No Action
Short Press
If limits are set
If motor is in
"Sleep Mode" &
limits are set
Function
Achieved
Operational control
of motor, run to limit.
Stop if running
Wake and control
Visual Feedback
Motor runs None
Motor wakes and
runs in a direction
Audible
Feedback
None
Function Described
Operational control of motor
after pairing and limit setting
is completed first time
Motor is restored from
Sleep Mode and RF control
is active
Motor Configuration Options:
The P1 button is utilized to administer motor configuration as described below and beginning on page 7.
Activate Pairing Mode
Approx.
Motor Response
Hold P1.
Sleep Mode
Approx.
Motor Response
Reverse Direction
Approx.
Motor Response
Reset to Factory Settings
Approx.
Motor Response
© 2021 Rowley® Company. All rights reserved. R-TEC Automation® is a registered trademark of the Rowley® Company, LLC.
6

PROGRAMMING / INITIAL SET UP
PAIR MOTOR WITH CONTROLLER
Select a channel (15)
on the controller.
Disregard if using 1 channel controller.
IMPORTANT
Consult your user
manual for information
on selecting channel.
IMPORTANT
Motor is now in set up mode and ready for setting limits.
Hold P1 button on motor head.
Motor Response
Approx.
Hold STOP on switch.
Motor Response
Approx.
CHECK MOTOR DIRECTION
To check travel direction, press
UP or DOWN on controller.
or
Quick Press = Step
Long Press = Continuous Travel
IMPORTANT
Damage to window treatment may occur
when operating motor prior to setting limits.
Attention should be given.
To reverse travel direction, hold both
UP and DOWN on controller.
Motor Response
Approx.
IMPORTANT
Reversing motor direction using this method
is only possible during initial set up.
© 2021 Rowley® Company. All rights reserved. R-TEC Automation® is a registered trademark of the Rowley® Company, LLC.
7

SET LIMITS
Move shade to the desired highest or lowest
position by pressing the UP or DOWN on the controller.
or
IMPORTANT
Cycle shade up and down prior to setting
limits to settle fabric
Initial set up is now complete.
To save upper limit,
hold UP and STOP.
Motor Response
Approx.
5
IMPORTANT
After setting limits, motor will automatically
exit from initial set up mode.
To save lower limit,
hold DOWN and STOP.
© 2021 Rowley® Company. All rights reserved. R-TEC Automation® is a registered trademark of the Rowley® Company, LLC.
8

ADJUSTING LIMITS
ADJUST UPPER LIMIT
Hold UP and STOP
on the controller.
Motor Response
Approx.
5
ADJUST LOWER LIMIT
Move shade to the desired
highest position by pressing
the UP button.
Approx.
To save upper limit,
hold UP and STOP.
Motor Response
5
Hold DOWN and STOP
on the controller.
Motor Response
Approx.
5
Move shade to the desired
lowest position by pressing
the DOWN button.
Approx.
To save lower limit,
hold DOWN and STOP.
Motor Response
5
© 2021 Rowley® Company. All rights reserved. R-TEC Automation® is a registered trademark of the Rowley® Company, LLC.
9

ADDING OR REMOVING CONTROLLERS &
CREATING GROUP CHANNELS
USING MOTOR P1 BUTTON
Hold P1 button on motor head. Hold STOP on switch.
Motor Response
Approx. Approx.
Motor Response
USING PRE-EXISTING CONTROLLER
A = Existing switch or channel (to keep). B = Switch or channel to add or remove.
Press P2 on
existing switch.
Press P2 a second time on
existing switch.
Press P2 on new switch
or remote controller.
IMPORTANT
Consult your user manual for your controller or sensor.
© 2021 Rowley® Company. All rights reserved. R-TEC Automation® is a registered trademark of the Rowley® Company, LLC.
Motor ResponseMotor ResponseMotor Response
10

FAVORITE POSITIONING
SET A FAVORITE POSITION
Move shade to the desired position by pressing the UP or DOWN button on the controller.
or
Press STOP on controller. Press STOP on controller.Press P2 on controller.
Motor ResponseMotor Response Motor Response
SEND SHADE TO FAVORITE POSITION
Press STOP on controller for 2 seconds.
Approx.
DELETE A FAVORITE POSITION
Press STOP on controller. Press STOP on controller.Press P2 on controller.
Motor Response
Motor Response Motor Response
© 2021 Rowley® Company. All rights reserved. R-TEC Automation® is a registered trademark of the Rowley® Company, LLC.
11

ADJUSTING MOTOR SPEED
INCREASE MOTOR SPEED
Press P2 on controller. Press UP on controller. Press UP on controller.
Motor Response
Motor Response
Motor Response
IMPORTANT
If motor does not react to speed adjustment, the maximum speed has already been reached.
DECREASE MOTOR SPEED
Press P2 on controller. Press DOWN on controller. Press DOWN on controller.
Motor Response
Motor Response
IMPORTANT
If motor does not react to speed adjustment, the minimum speed has already been reached.
© 2021 Rowley® Company. All rights reserved. R-TEC Automation® is a registered trademark of the Rowley® Company, LLC.
Motor Response
12

STEP & ROLLER MODE
ENTER STEP MODE
Hold UP and DOWN on the controller.
Motor Response
Approx.
5
Press STOP.
Motor Response
ENTER ROLLER MODE (DEFAULT)
Hold UP and DOWN on the controller.
Press STOP.
Approx.
Motor Response
5
© 2021 Rowley® Company. All rights reserved. R-TEC Automation® is a registered trademark of the Rowley® Company, LLC.
Motor Response
13

SLEEP MODE
ENTER SLEEP MODE
Sleep mode is utilized to prevent a motor from moving during shipping of a fabricated shade.
Hold P1 button on motor head.
Motor Response
EXIT SLEEP MODE
Exit sleep mode once the shade is installed.
Hold P1 button on motor head.
Motor Response
© 2021 Rowley® Company. All rights reserved. R-TEC Automation® is a registered trademark of the Rowley® Company, LLC.
14

TROUBLESHOOTING
Problem Cause Remedy
Recharge Battery Pack with compatible AC adapter and
Battery Pack or Tube is depleted
check connection and positioning of PV panel. Replace 8
AA Li-ion Batteries in Battery Tube.
Motor is not responding
Insufficient charging from Solar
(PV) Panel
AC Power Supply not plugged in Check motor to power cable connection and AC plug.
Transmitter battery is discharged Replace battery.
Battery is inserted incorrectly
into transmitter
Radio interference / Shielding
Receiver distance is too far
from transmitter
Power failure Check power supply to motor is connected and active.
Check connection and orientation of PV panel.
Check battery polarity.
Ensure transmitter is positioned away from metal objects
and that antenna on motor or receiver is kept straight and
away from metal.
Move transmitter to a closer position.
Check wiring is connected correctly (refer to motor
installation instructions).
Recharge with AC adapter or check connection and
positioning of PV panel.
Always reserve an individual channel
for programming functions.
SYSTEM BEST PRACTICE - Provide an extra 15 channel
remote in your multi motor projects, that provides individual
control for each motor for programming purposes.
Place all other motors into sleep mode (see page 14).
Motor beeps 10 times when
in use
Cannot program a single
Motor (multiple motors
respond)
Incorrect wiring
Battery voltage is low / PV (solar)
panel issue
Multiple motors are paired to
the same channel
Any Questions?
Contact our R-TEC Automation® in-house experts at 866.985.3423. Email us at RTECAutomation@RowleyCompany.com.
Please use the Custom Solutions Form when ordering a Custom Solution.
© 2021 Rowley® Company. All rights reserved. R-TEC Automation® is a registered trademark of the Rowley® Company, LLC.
15
 Loading...