

Page 1
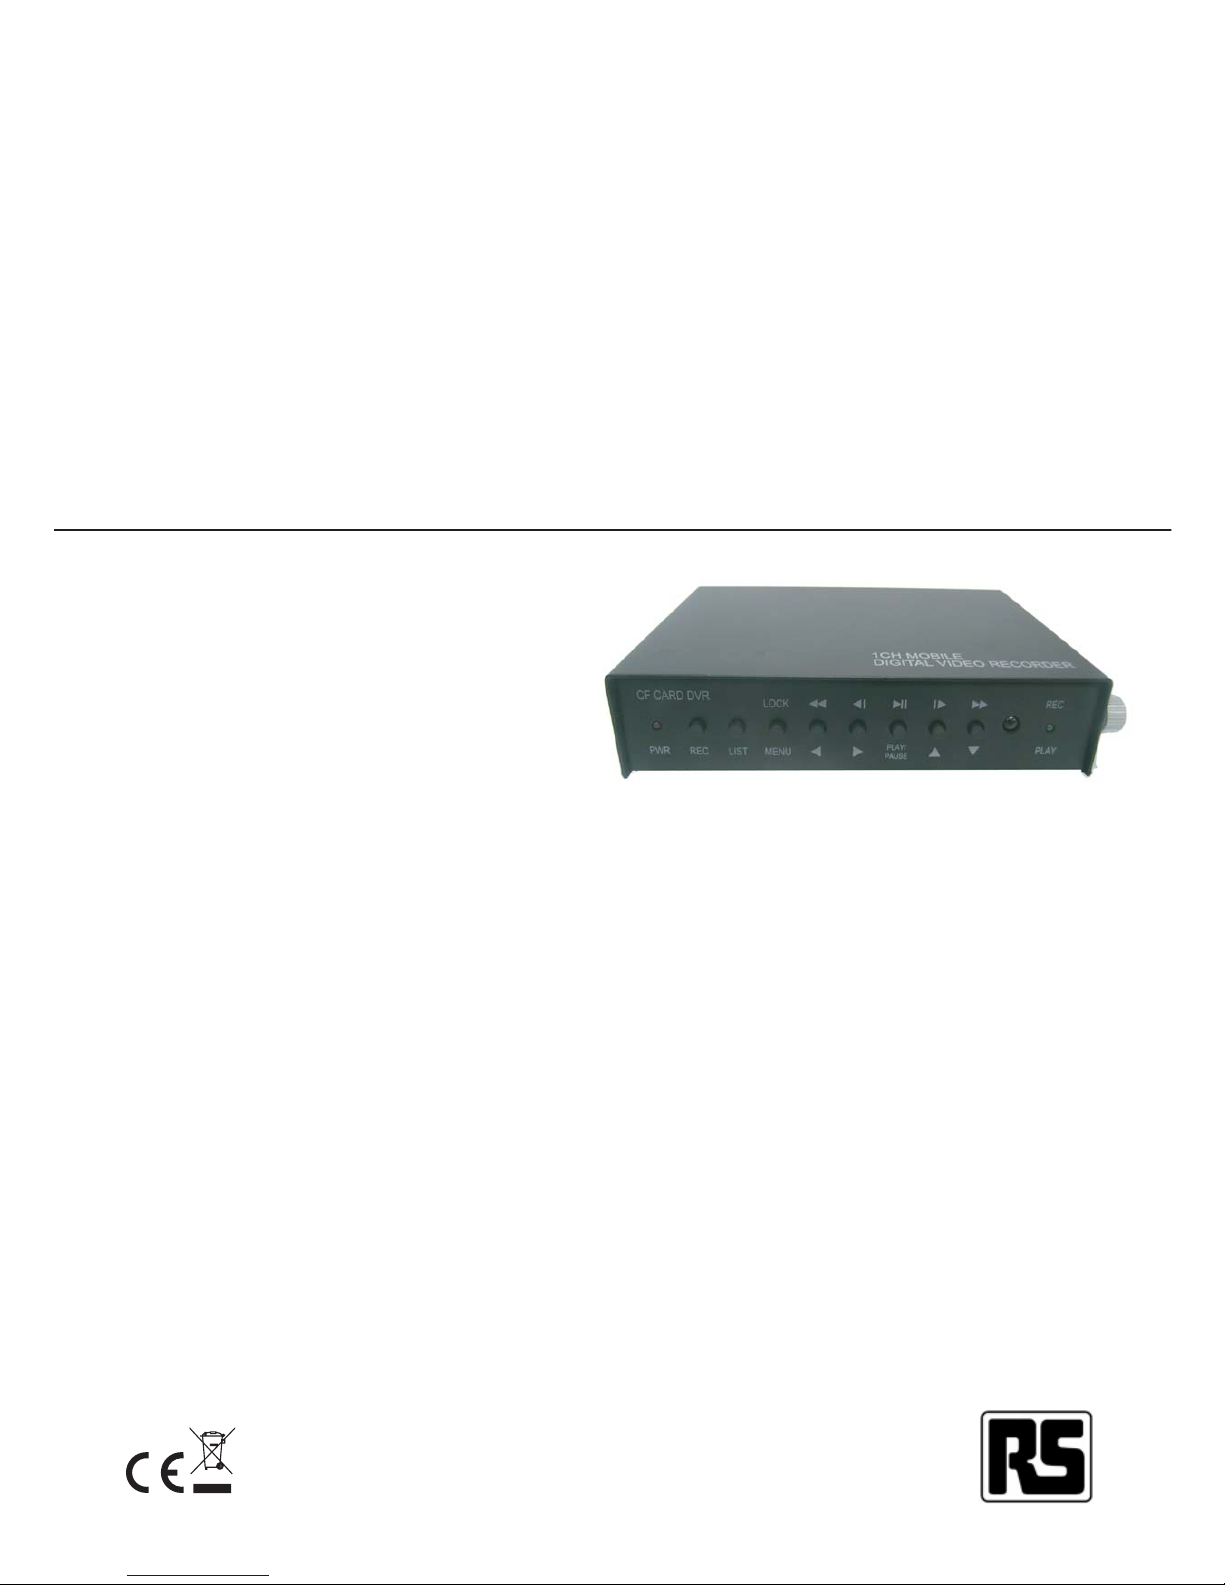
RS Part No. 696-1210
Instruction Manual
Solid State DVR
SSD01CA
(Single Chanel for Mobile)
Page 2
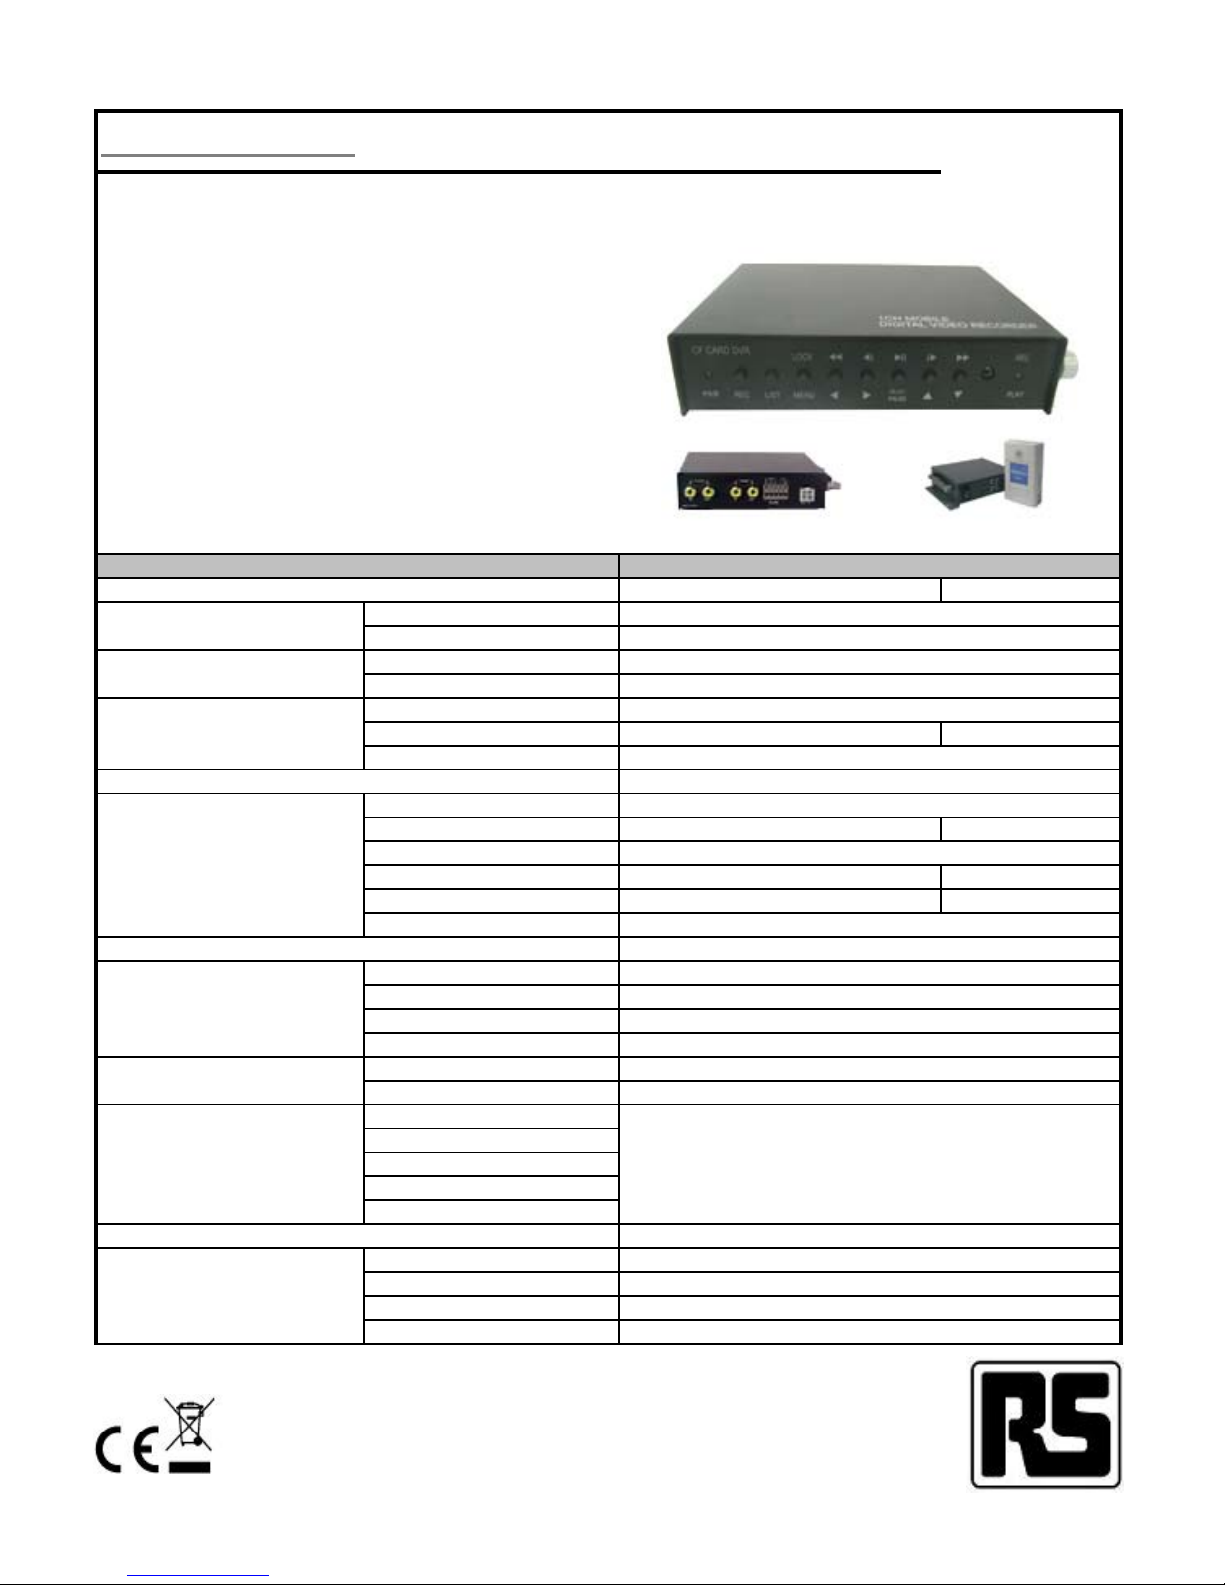
MJPEG 1CH CAR DVR
(Compact size 1ch Stand Alone DVR)
Simple & Max
Low cost but great guality
MJPEG
Recording, Playback and Search
Power Loss Auto-recovery
Remote Controller
Over Writable CF Memory (CF Memory Card - Option)
Read time recording
Motion Detction, Senibility Selectable, Easy control
Selectable Rec Quality(High/Medium/Low)
NTSC
PAL
Input
Output
Input / Output
Recording Mode
Dis
play
Frame
SSD01CA
Spec. Details SSD01CA
System Type
Video Signal
Vp-p 75 Ohm, Input RCA (1Ch)
Vp-p 75 Ohm, Output RCA
Audio
2 X wafer (1CH Input, 1CH Output)
Mono PCM
120 FPS
(
Total
)
RS PART NO.: 696-1210
Display Frame
Display Resolution 720 X 480 720 X 576
Screen Split Mode
Video Compression
Video Resolution 720 X 480 720 X 576
Recording method
Recording FPS 30 FPS 25 FPS
Image File Size 3 ~ 25 KB 4 ~ 27 KB
External CF Memory
Playback mode
Playback Screen Mode
Search
Zoom Mode
External Alarm Input
Alarm Output
Protocol
Resolution
Remote Control
Browser
Recording
Remote Control
Power Supply
Dimension
Weight
Display
120 FPS (Total)
Full
Triplex Mode Duplex (Simultaneous Recording/Playback/Live)
Search by Date / Time List, Event List
N/A
Recording
Real-time full duplex M-JPEG codec core
Continuous, Scheduled, Event (motion detect)
MLC, SLC Type of CF Memory Card supported
Remote access through Internet N/A
Data Backup N/A
Others
IR Remote Control, RS-485
12V 3.5A DC Adaptor
Board: 88.5X59.5 (mm)
Alarm Control
Alarm Input : Terminal Block 1
N/A
Network N/A
Playback
Live & Playback, Playback
Full, Split
Page 3
RS PART No.:696-1210
OWNER’S MANUAL
How to use 1 Channel Mobile DVR
SSD01CA
I. INTRODUCTION
1. Before Usages
This manual is help to understand how to use GN701JLC for all users. Also, must be read carefully before
use it. All users must follow the steps this manual before
installation hardware and set up the menu.
2. Important Safeguard and Warning
Warning
1. Use the adaptor, which is supplied or recommended by the
supplier. It may cause fire.
2. Do not dismantle or assemble the product. It may cause
malfunction or fire.
3. Do not touch the product with wet hands. It may cause malfunction
or fire.
4. Matters must be ensured to a professional for installation. It may
cause malfunction, electric shock or fire.
5. Consult the place of purchase if the need for installation arises.
Delinquent installation may be the reason for malfunction, electric
shock or fire.
6. Ground applies to video products equipped with a 3-wire
grounding type plug having a third (grounding) pin. This plug only fits
into a grounding-type power outlet. If grounding is not done, it may
cause malfunction or electric shock.
7. Ground connection must not touch gas pipe, water pipe or
telephone line. If grounding is not done properly, it may cause electric
shock.
8. Prevent metallic foreign substance inside the product. It may
cause malfunction or electric shock.
9. Do not spray insecticide or flammable spray while driving. It may
cause fire.
10. Prevent water from entering inside electrical parts. Clean with a
dry towel or malfunction or electric shock could result.
Caution
1. Use the power cord, which is supplied or recommended by the
supplier. The internal fan rotates at high speed and may cause an
accident.
2. Do not drop, give strong vibration, or shock to the product. It may
cause malfunction.
3. The air inhaler on each sides and the fan of the back panel must
not be blocked during installation. The internal temperature of the
product would be greater than allowable and could cause malfunction
or fire.
4. Do not touch the product or the power cord when there is thunder.
It may cause electric shock.
5. Do not install the product near or on top of heating source. The
internal temperature would be greater than allowable and could
cause malfunction or fire.
6. Do not install the product on inclined or unstable location or where
vibration could be committed. It may cause malfunction.
7. Do not remove or insert CF-Card before turn off the electric
power.
8. Must use CF-Card at least 1G or more.
9. Manufacturer or seller never response any problem related CFCards.
II FUNCTIONS
Our 1 channel DVR (Stand Alone Digital Video Recorder) for
CF-card interface is a Digital Security System designed to
record/retrieve 1 channel video streams at the same time. It
adopts a digital image compression technology to compress
the input channel video streams, and uses a CF-memory
card to record the compressed video stream.
1ch dvr display channels partition on a screen by user’s
control. It can be surveillance 24 hours 7 days. It will be
applied car or regular users.
All functions are;
* Duplex (Record / Playback )
* Real Time Quad Display
* High Quality / Compact designed DVR
* Stand Alone Type (Non-PC, Non-OS)
* Programming the MENU in OSD (On Screen Display)
* Built-in Time / Date / Title Generator
* Motion Detection Function (230 Lists)
* Motion / schedule recording
* Quick Search : Time
* CF-Memory Card Auto-Overwrite
* MJPEG Compression
* Remote Control
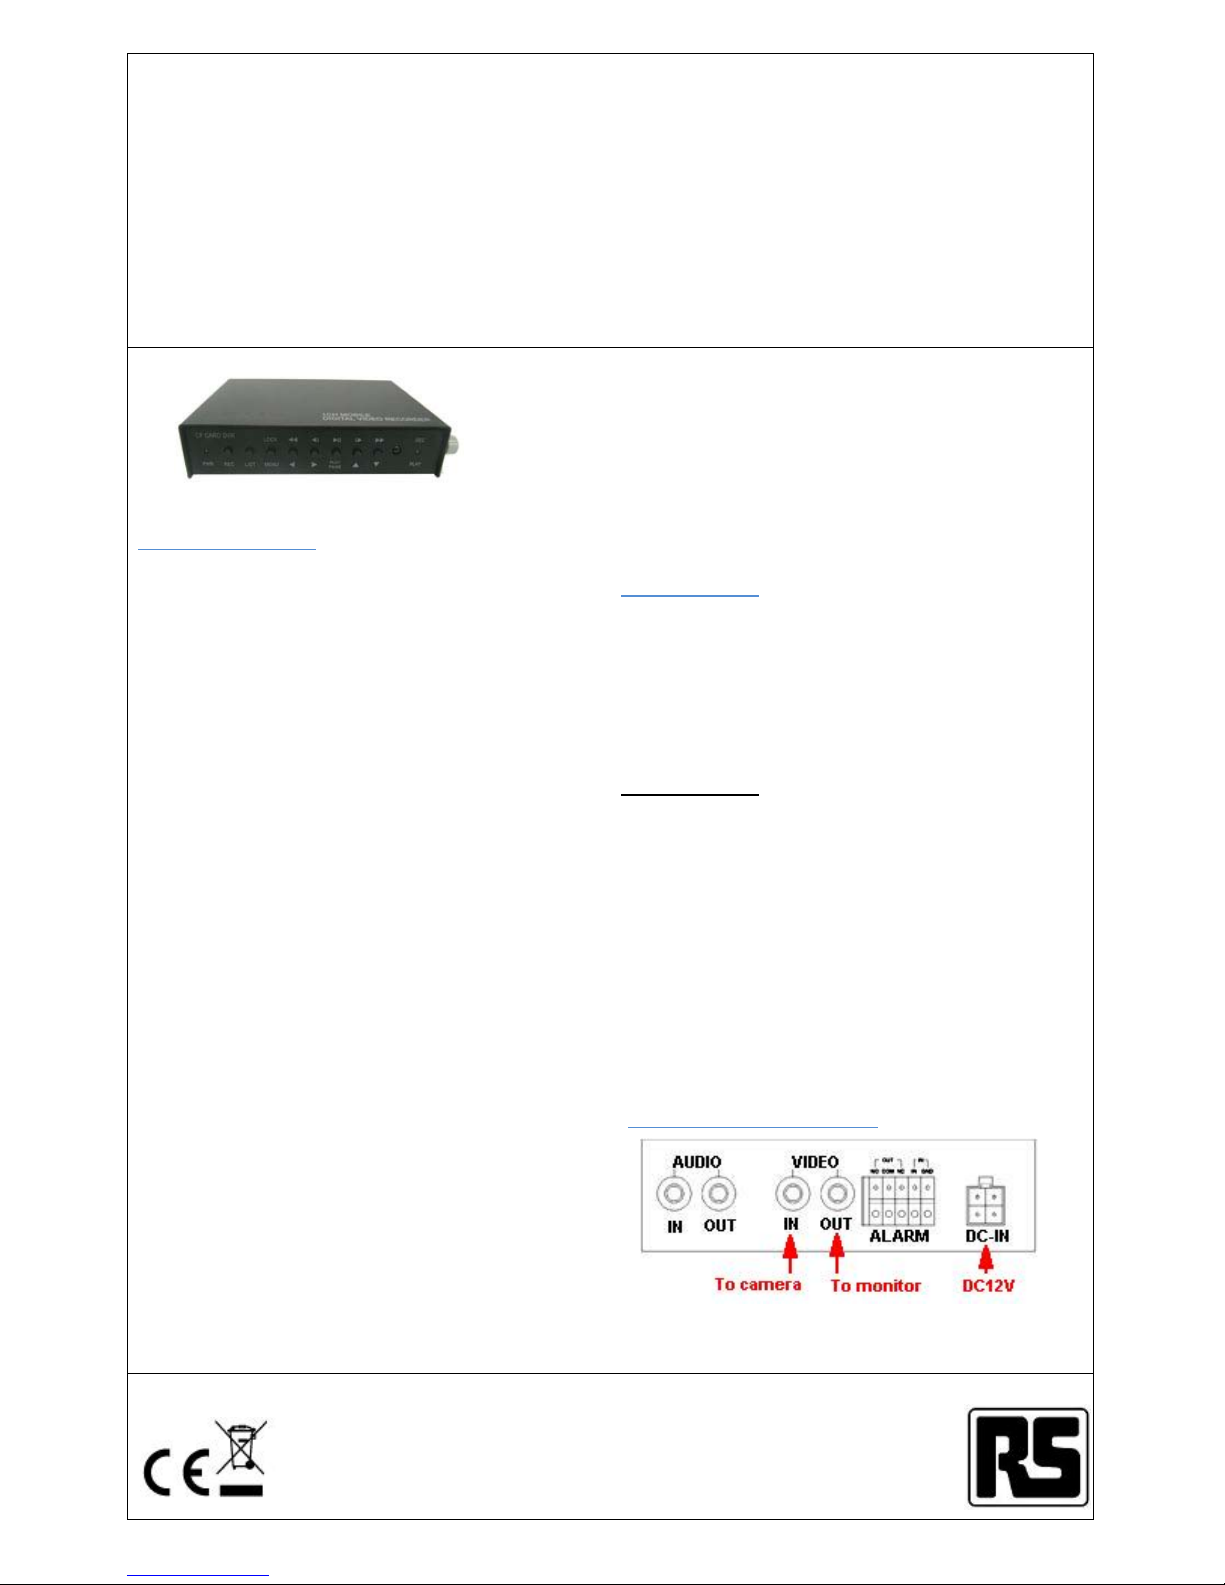
III SYSTEM CONNECTION
Page 4
RS PART No.:696-1210
OWNER’S MANUAL
How to use 1 Channel Mobile DVR
SSD01CA
Iv OPERATION
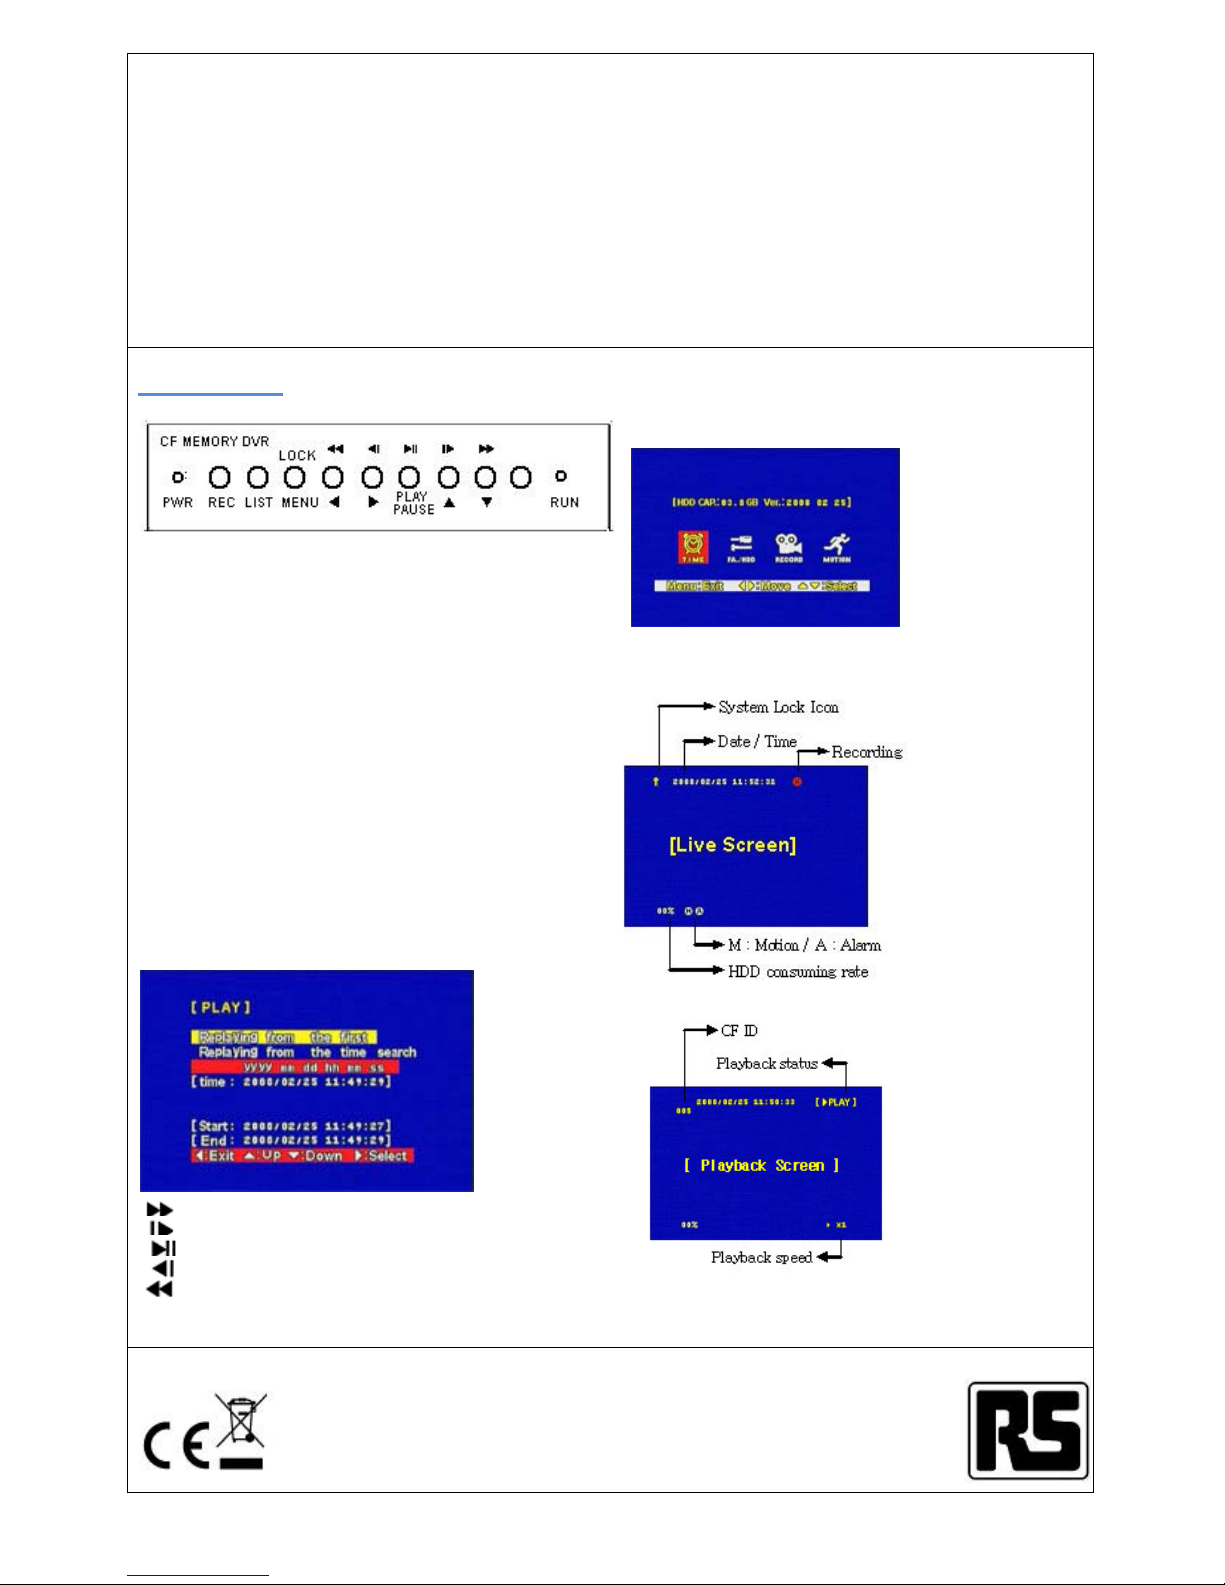
4-1 FRONT PANEL
1. LED
It shows status of each operations.
PWR LED : This LED shows status of DVR is power ON/OFF..
RUN LED : This LED is flash when DVR is operating (Play or
Record)
2. Buttons
Front Panel has 8 buttons which have multi functions applied by
modes. Must be careful how to use all buttons by different situations.
It will explain special key with any actions.
1) REC
Press REC button to start recording. While recording, R icon
appears on top of the screen.
If want to stop recording, press REC button again.
2) PLAY / PAUSE ( ▶||)
Press PLAY/PAUSE (▶||) button to start playback. Below screen
menu appears for searching
Replaying from the first : Playback the recorded image from the first
of data.
Replaying from the time search : Select the time for searching.
Note : Select the time within time rage from Start time to End time.
Otherwise, “Out of rage” message appears then playback from the
first.
: Fast forward button (x2, x4, x8, x16)
: Play image picture by picture
: Play / Pause
: Rewind image picture by picture
: Fast rewarding (x2, x4, x8, x16)
3) MENU (LOCK)
Press Menu button to start system setup. Then below screen
appears.
Using the ◄, ► ▲,▼
button, move the cursor
and select the setup.
Note : In order to enter
into setup menu, record
must be stopped.
To protect DVR, press
MENU button for 3 sec
and more then system is
locked.
When system is locked, all of buttons and remote controller doesn’t
work. Press MENU button for 3 sec again, DVR is unlocked.
Page 5
RS PART No.:696-1210
OWNER’S MANUAL
How to use 1 Channel Mobile DVR
SSD01CA
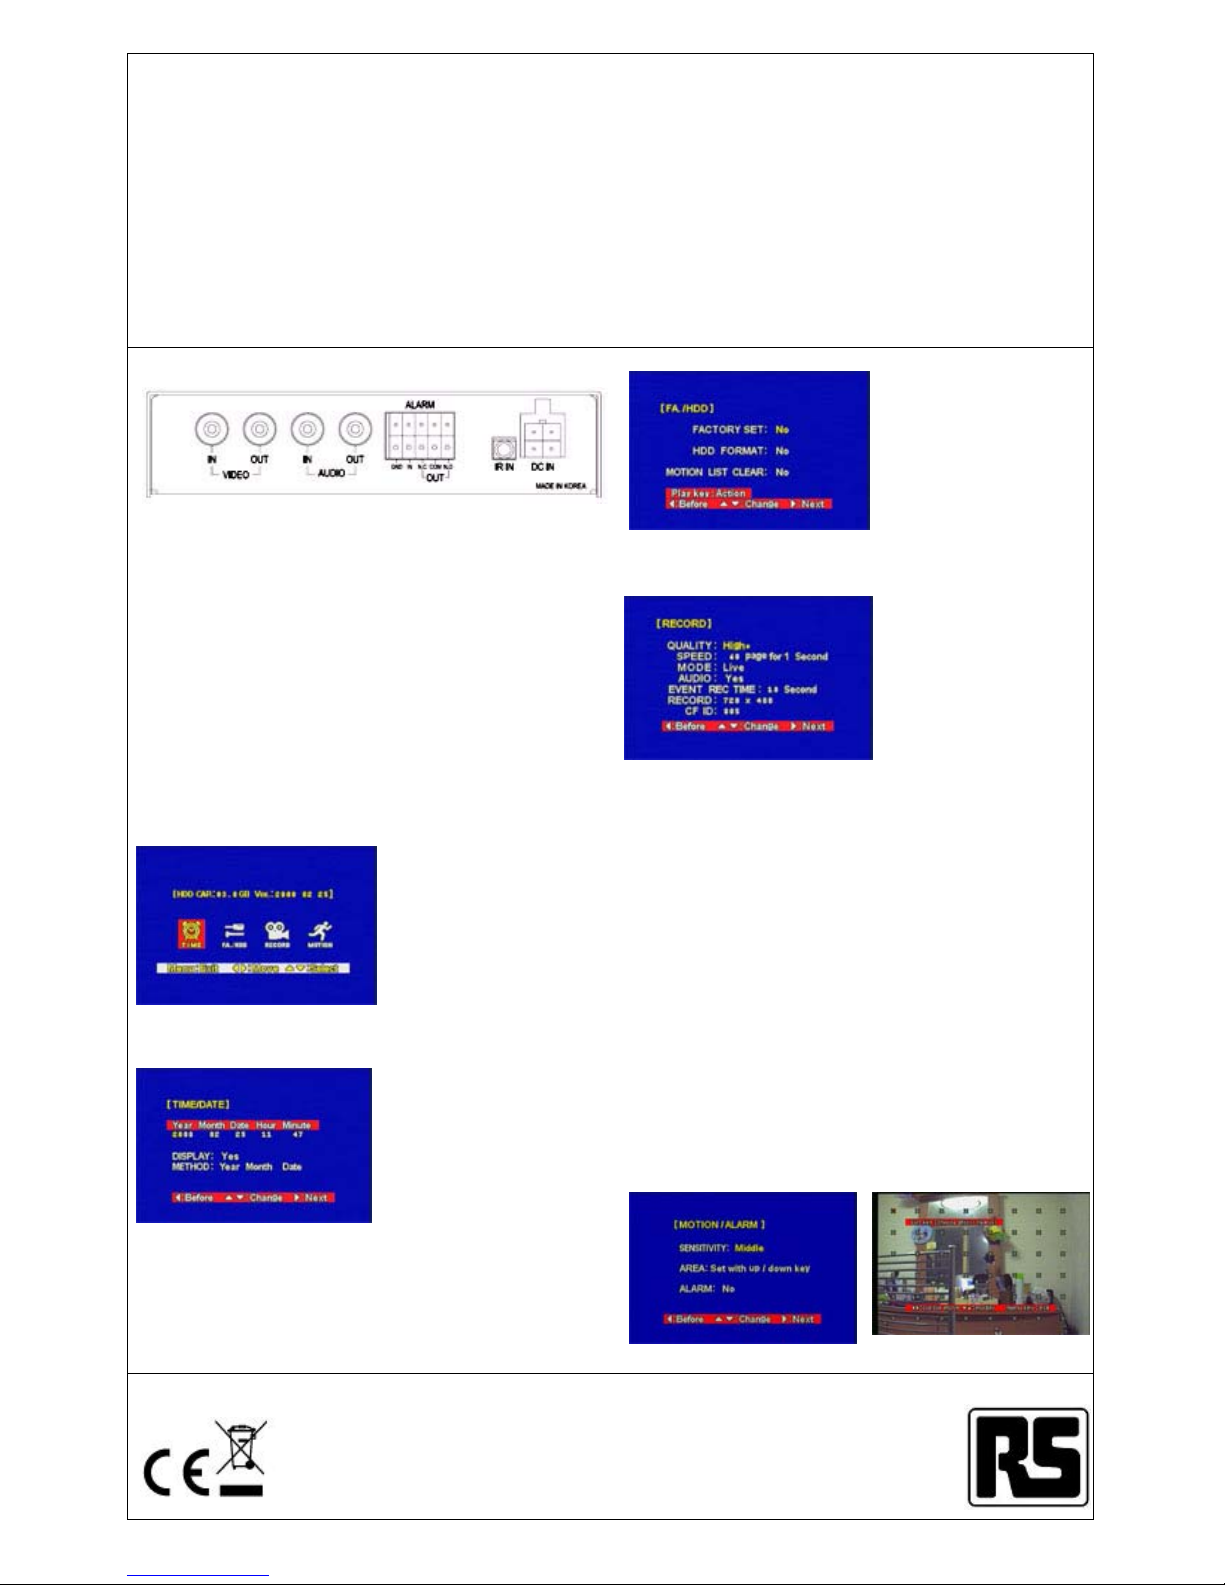
4-2 REAR PANEL
1.VIDEO IN
Connect the camera to the VIDEO IN port.
2. VIDEO OUT
Connect the monitor to the VIDOE OUT port.
3. AUDIO IN / OUT
Connect the MIC to the AUDIO IN port in order to record sound.
Connect the speaker to the AUDIO OUT .
4. ALARM IN AND OUT
Connect the sensor device to the ALARM IN and connect the
alarm device to the OUT port.
5. IR IN
Connect the IR receiver to the IR IN port.
6. DC IN (POWER)
Input the DC12 volt or 24 volt.
4-3. SETTING MENU
1. MENU (Function Selection)
Press MENU button to
start setup then setup
menu appears as left
picture.
Press
◄,► button to
move the menu and
press the up/down
button to select .
Press MENU button again, it will be exit the Menu
screen.
2. TIME / DATE
Press Adjust Time.
Press
◄, ► to move
year. date, time and
press
▲, ▼ to adjust.
DISPLAY : Press Yes or
No to select Time
display on the screen.
METHOD : Select the
format of time display.
3. FA /MEMORY ( Initialize CF-card )
FACTORY SET : Initialize the
DVR as factory default.
HDD FORMAT : Initialize the
CF memory card
MOTION LIST CLEAR : Delete the event list
4 . RECORD
① Quality: Press ▲, ▼
to Adjust 5 level of
image quality.
(High+, High, Middle,
Low, Low-)
②
Speed: Press ▲, ▼
to adjust 8 level of
camera speed 60/
30/ 15/ 10/ 5/ 3/ 2/ 1
field per second.
③
MODE : Press ▲, ▼ to select record type which is ‘Live’
and ‘Multiplexer’. When you choose ‘Live’ it will be
record normal but ‘Multiplexer’ it will be ready to use
multiplexer.
④
AUDIO : Press ▲, ▼ to select Yes or No. It mean user
want to use audio or not.
⑤ Event recording Time : Press ▲, ▼ to set the event
recording time. It can be set 1 to 99 Second
⑥ RECORD : Select the recording resolution. (720x480 /
360x480)
⑦
CF ID : Select the identification number of CF memory
by numeric (000~255
5. MOTION / ALARM
1. SENSITIVITY : Press ▲, ▼ to adjust sensitivity (High,
medium, Low)
2.
AREA : Press ▲, ▼ to Setting detection area.
Press
▲, ▼, ◄, ► to set the motion Partition (O,X)
and after selecting camera
channel.
3. ALARM : Select the alarm event recording enable or disable
Page 6
RS PART No.:696-1210
OWNER’S MANUAL
How to use 1 Channel Mobile DVR
SSD01CA
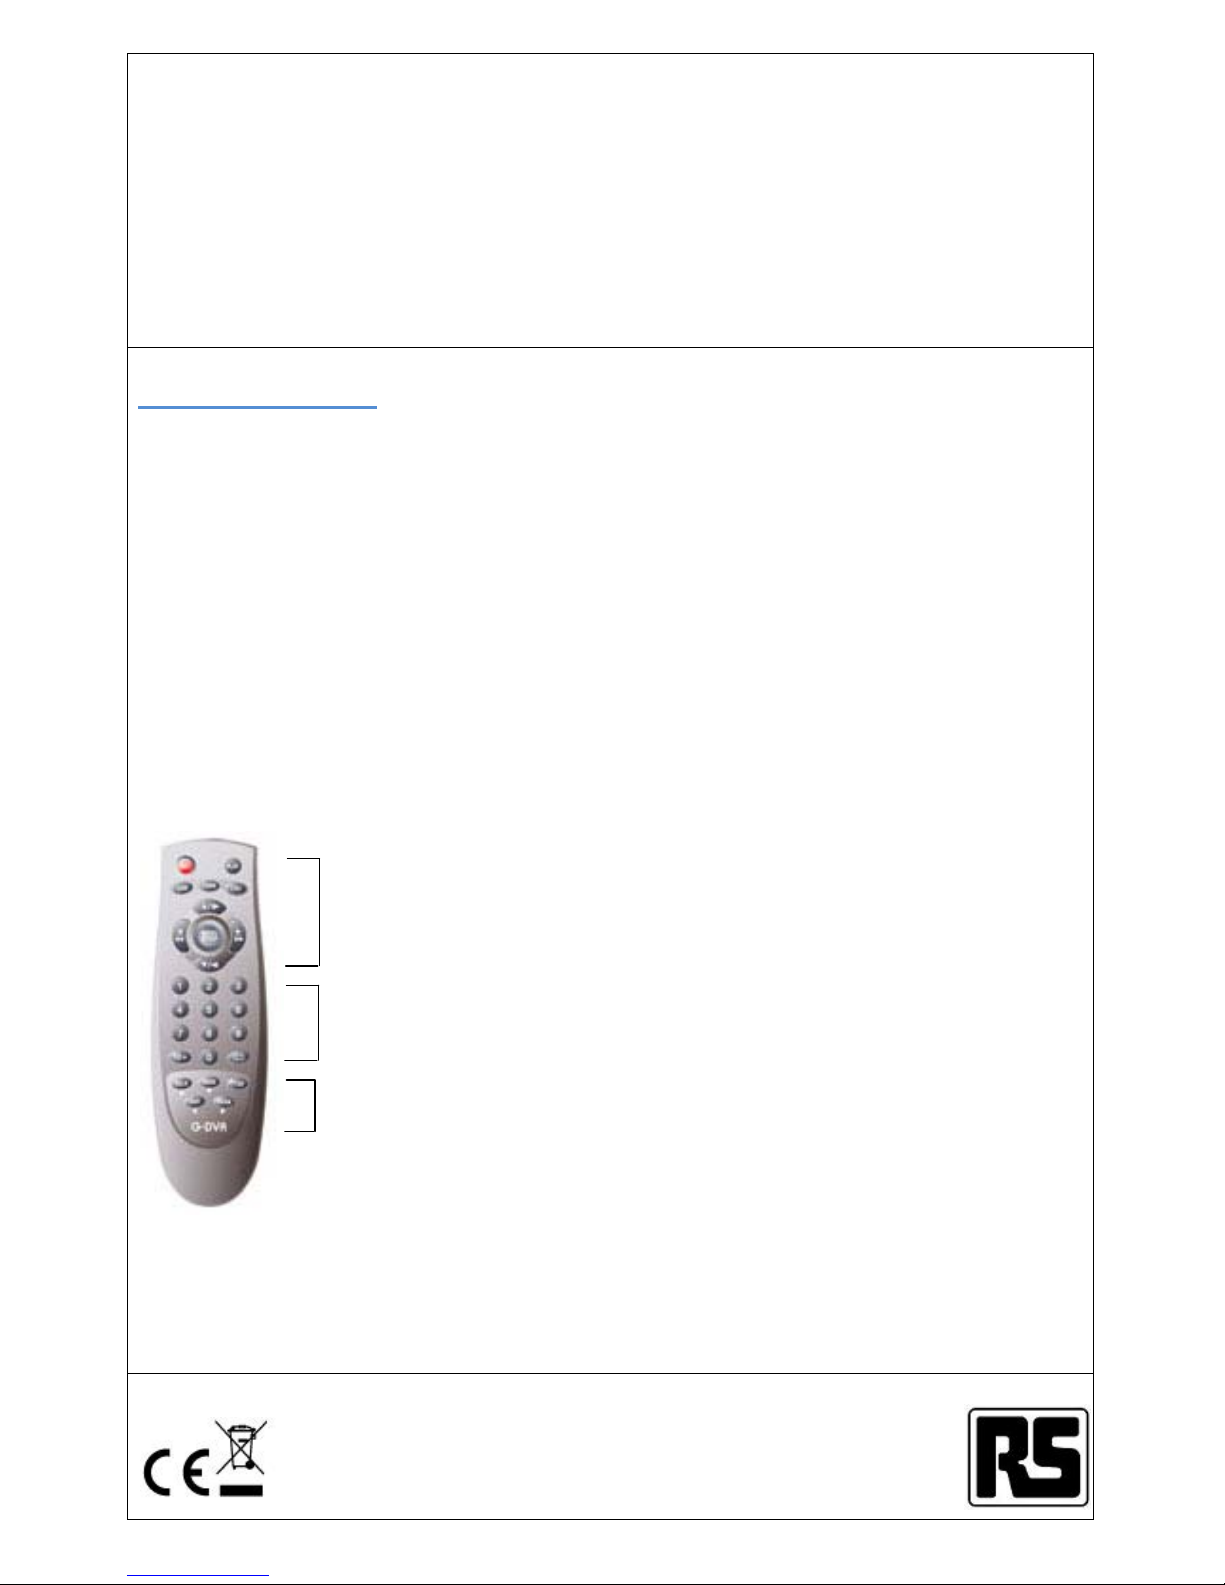
V. Remote Controller
The picture is the Remote Controller for this DVR, and
with this remote controller, you can get into the SETUP
MENU. As you can see, remote controller can be
divided into three different sections:
1. Top part is DVR operation with cursor movement
which user can change SETUP MENU.
2. Middle part is number key which user can change to
see full screen of each camera.
3. Bottom part is PAN/TILT control of a speed dome
camera. This remote controller is designed to work
for both DVR and Speed dome camera. By using
buttons in side of bottom black box, you can
control a speed dome camera without help of a
speed dome controller. However, GN-701JLC
doesn’t have PAN/TILT control function.
Recording button from left.
Play button from right.
Motion list button right.
Rewind, Fast forward from left
Menu/Stop button from middle
Camera 1,2,3,4 button and
Quad/Full display button
PAN/TILT control of a speed
dome camera.
 Loading...