

Page 1
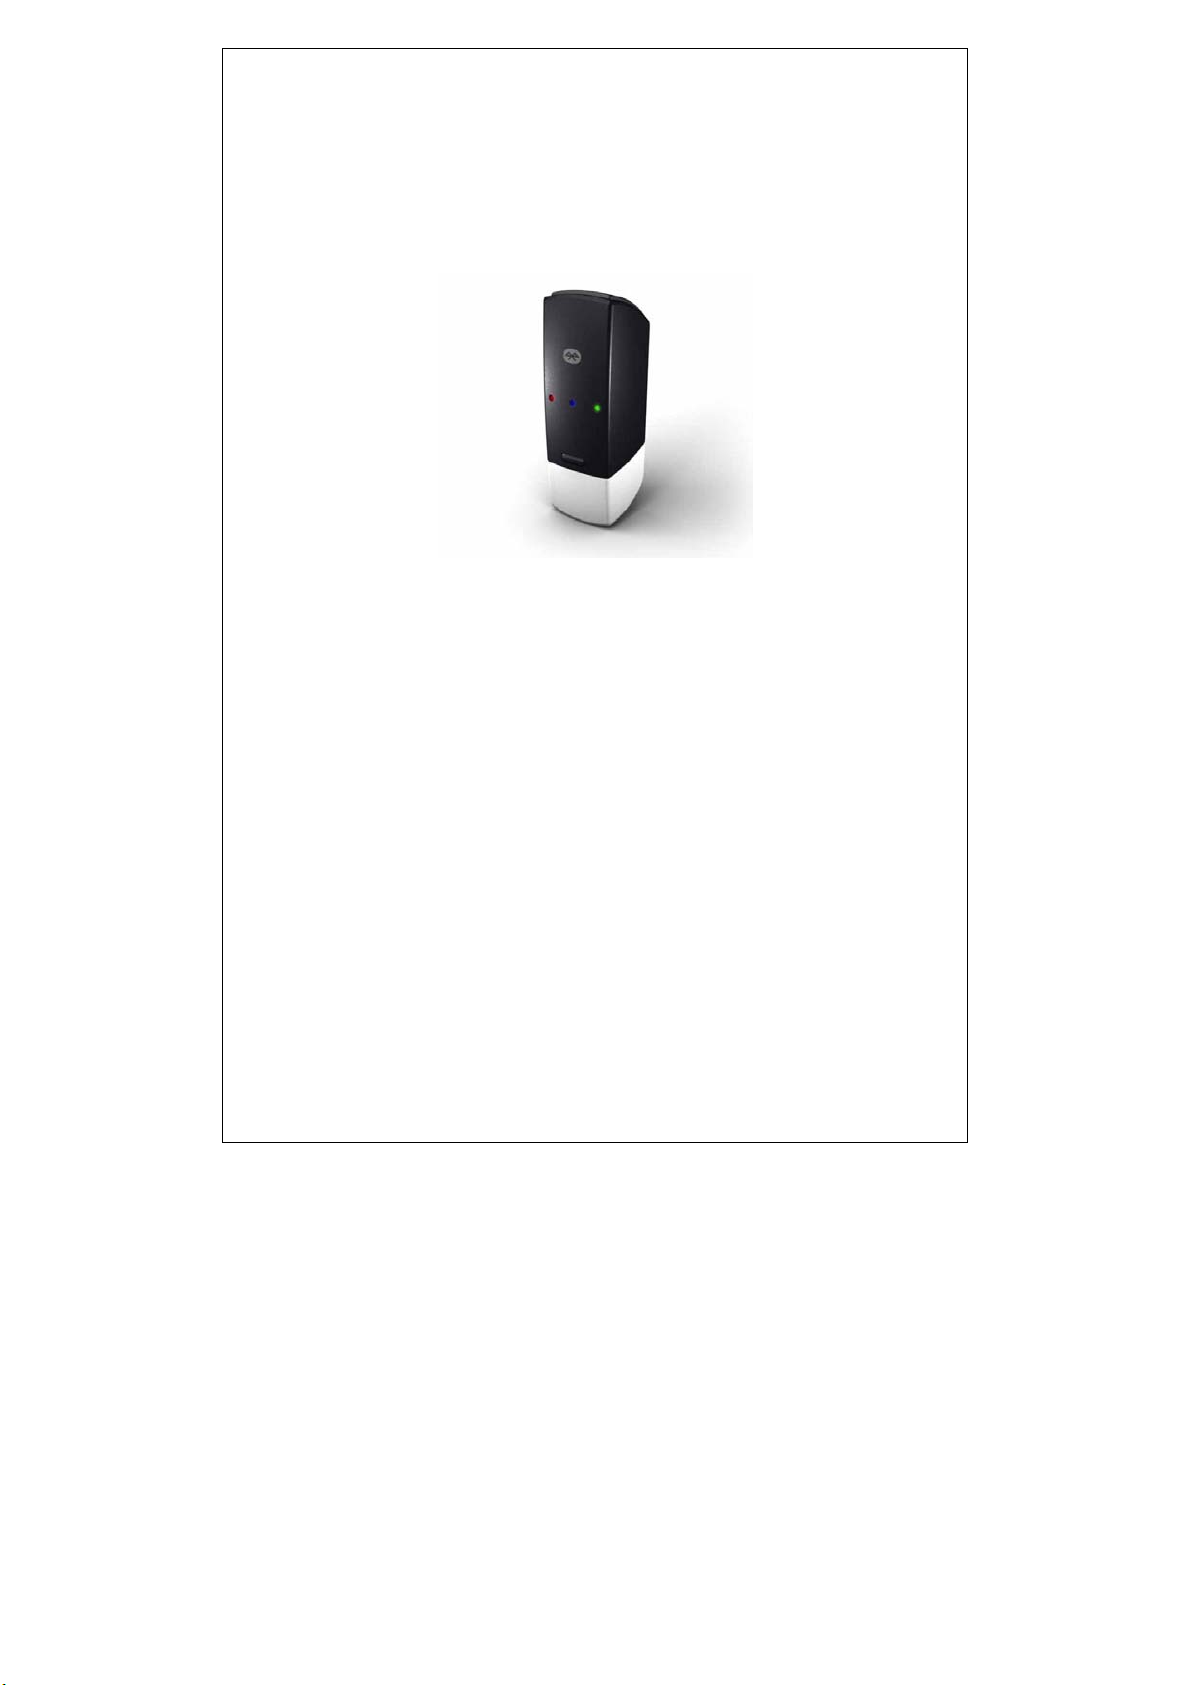
MBT-1000
BT GPS Receiver
Quick Guide
Congratulations on your purchase of the MBT-1000. With the latest in GPS
technology, MBT-1000 will enhance your overall navigation experience.
The MBT-1000 is equipped with the latest generation MTK digital processor
specially designed for fast and accurate fix on GPS signals. This latest round
of technology advancements give the users an “instant on” feel, and the
experience in navigation becomes more natural.
Before starting using the device , please refer to the following for content
checking.
Contents packaged with your MBT-1000 purchase:
1. BT GPS Receiver
2. Car adaptor
3. USB cable for charge
4. AC adaptor (optional)
English 1
Page 2
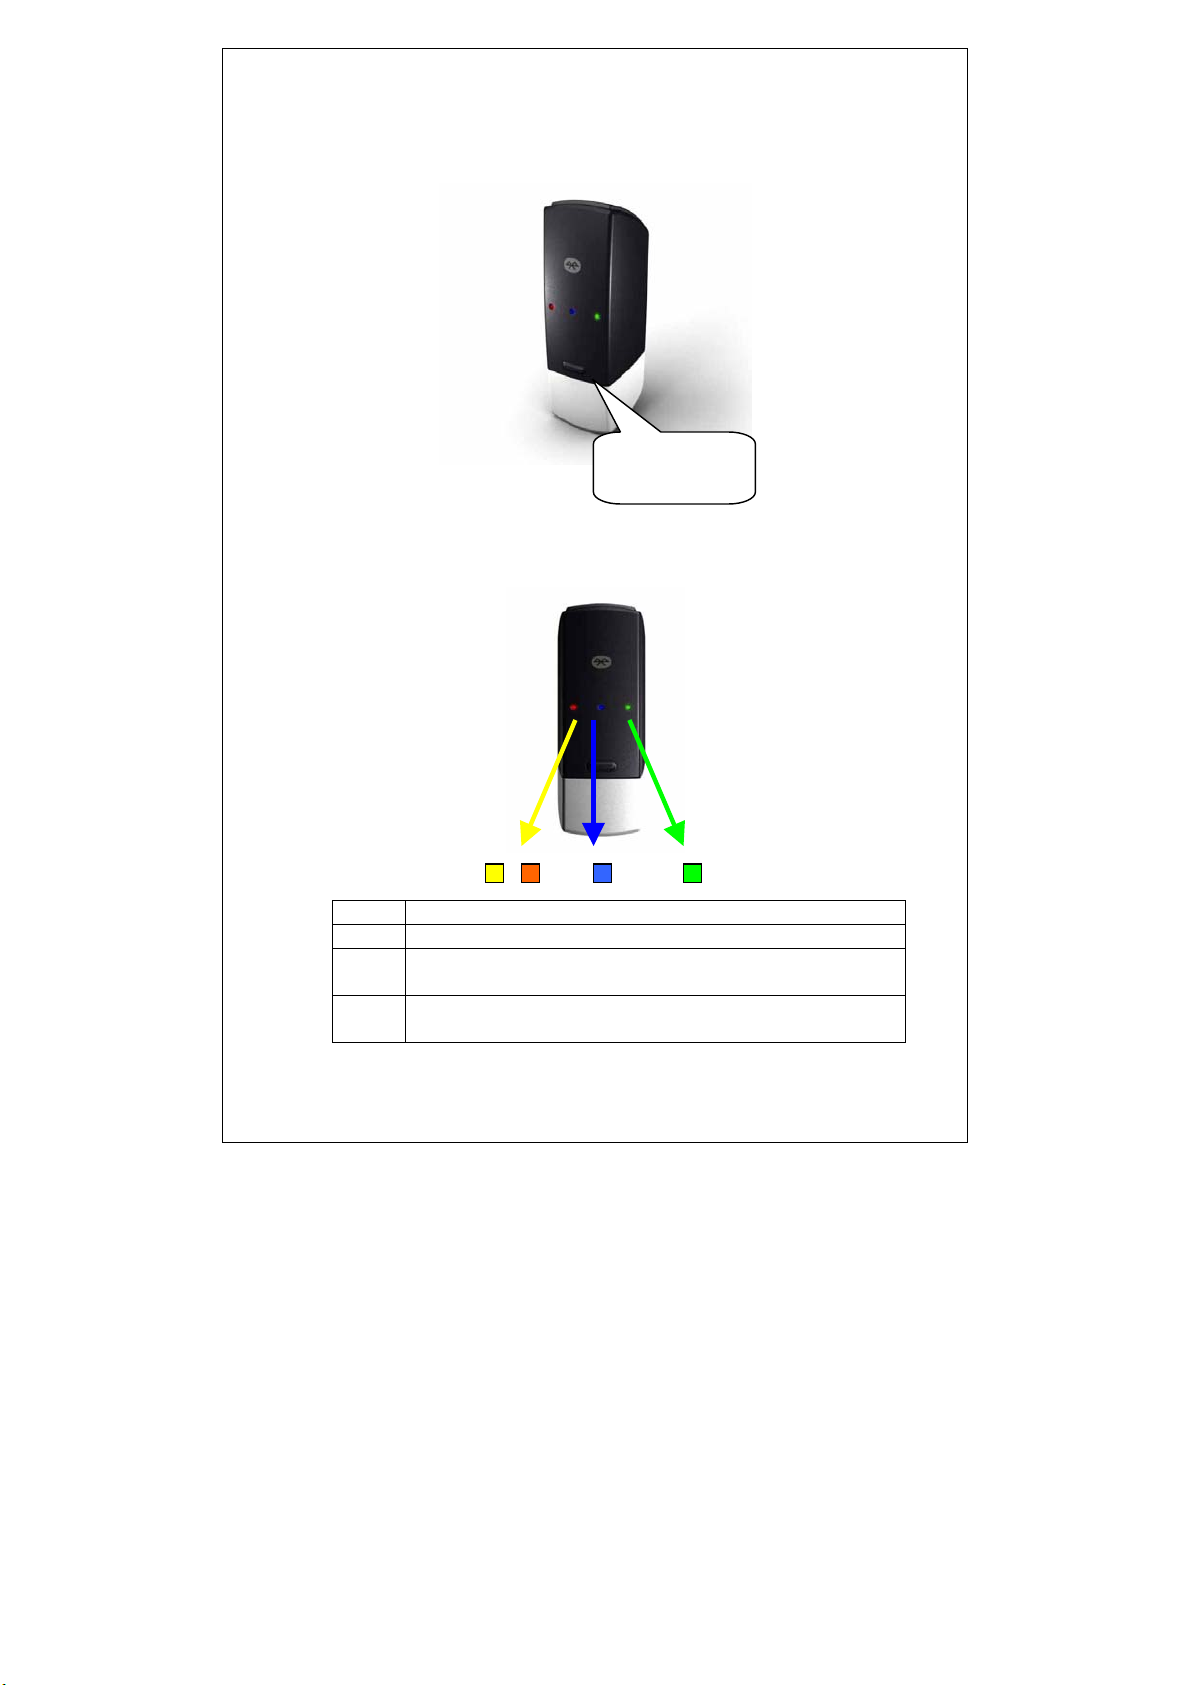
Power Button
Right View
LED Display
Front View
1 Blinking Yellow LED indicates Battery Low
2 Glowing Orange LED indicates power is in charging
3 Glowing Blue LED indicates Bluetooth is connected
4 Glowing Green LED indicates position is fixed
Power On/Off
button
1 2 43
Blinking Blue LED indicates Bluetooth is not fixed
Blinking Green LED indicates position not fixed
English 2
Page 3
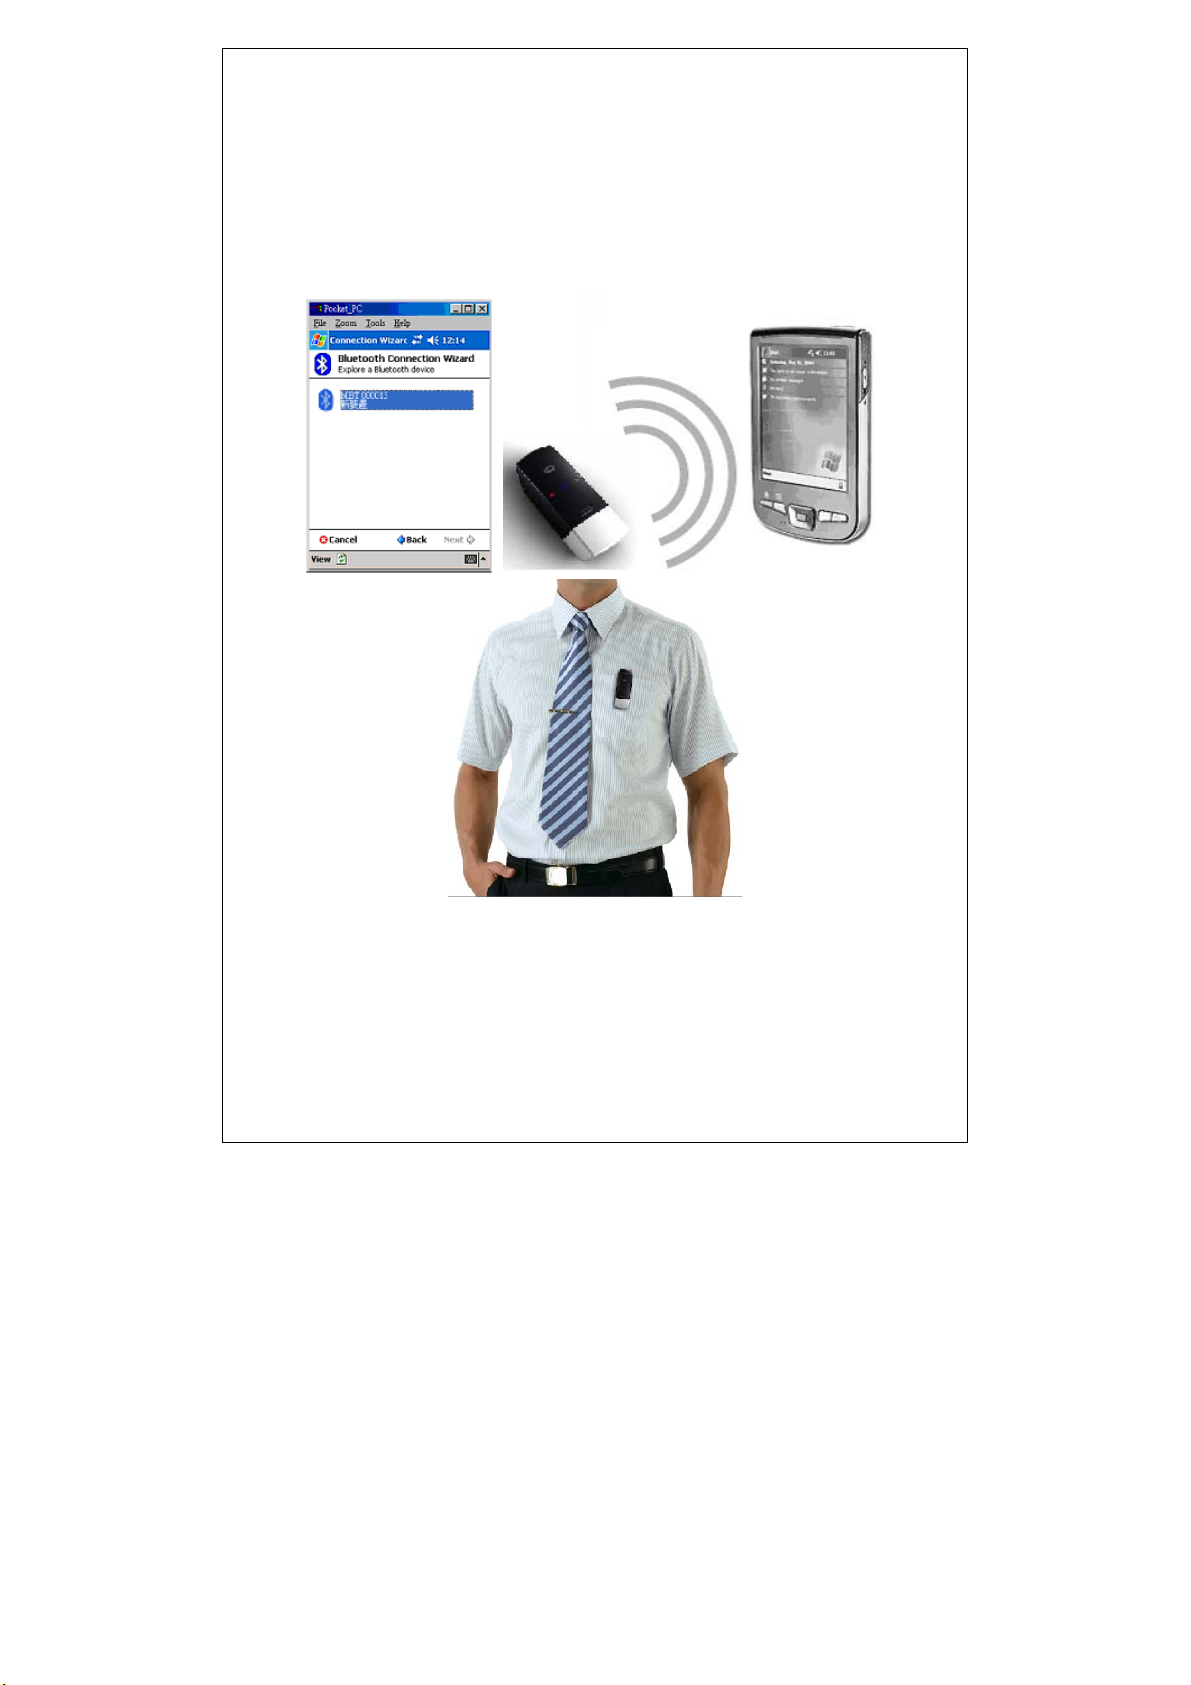
Getting Started
To make MBT-1000 work with your devices, a simple pairing step is required
for the first time. (Please follow the pairing instruction for Blue Tooth from your
PDA or PC manufacturer.) To get MBT-1000 into pairing mode, all you need to
do is simply switch on the power button.
Once MBT-1000 is properly set up and connected to your PDA or PC, please
refer to your navigation software guidebook for instruction on navigation
operation. MBT-1000 works with all NMEA enabled navigation software.
English 3
Page 4

Tips
1. Place your MBT-1000 below the windshield for car navigation.
2. Cars that are equipped with heat dissipation films for the windshield and
windows will degrade the GPS performance.
3. For the most accurate position fix results and quickest acquisition time,
please make sure that your MBT-1000 is not in motion but stationary and
in open spaces.
4. The high sensitivity and minimalist design make MBT-1000 an ideal
candidate for personal navigator. With the integrated strap loop, users
can easily wear the unit.
English 4
Page 5

RoyalTek
Bluetooth GPS
Datalog Receiver
MBT-1100
User Manual
V1.0
Published on July, 2007 by RoyalTek Company Ltd.
Design and specification are subject to change without notice.
1
Page 6

Content
1. Product Introduction ............................................................... 3
1.1 Overview..........................................................................................................3
1.2 Main Features...................................................................................................3
1.3 Product Notification.........................................................................................3
1.4 Application.......................................................................................................3
2. Before Start............................................................................. 4
2.1 Check the Package Content .............................................................................4
2.2 Power Button (Right View)..............................................................................4
2.3 LED Display ....................................................................................................5
2.4 Hardware Features ...........................................................................................5
2.4.1. Power Button .......................................................................................5
2.4.2. Bluetooth Status LED (Blue) ...............................................................5
2.4.3. GPS Status LED (Green) .....................................................................5
2.4.4. Memory Status LED (Red) ..................................................................6
2.4.5. Battery Status LED (Amber/Yellow) ...................................................6
2.5. Getting Started ................................................................................................6
2.5.1. STEP 1: Turn on Receiver and Wait for GPS Fix ................................6
2.5.2. STEP 2: Connect to Bluetooth-Enabled Devices.................................6
2.5.3. STEP 3: Connect to your Navigation Software ...................................6
2.6 How to use Car Charger to charge your handheld device................................7
2
Page 7

1. Product Introduction
1.1 Overview
The MBT-1100 is equipped with the latest GPS solution for fast and
accurate fix on GPS signals. This latest round of technology
advancements give the users an “instant on” feel, and the experience
in navigation becomes more natural. The dimension of 69.5(L) x 23(W)
x 20(H) and weight only 38g, making it an ideal solution to carry
everywhere.
1.2 Main Features
NMEA0183 compliant protocol
Extreme fast TTFF at low signal level.
Adopt TCXO as GPS core clock source
Industrial Standard
Selectable Baud Rate
WAAS/ ENGOS is supported
1.3 Product Notification
Charger operating temperature range 0 ºC to +50 ºC
Discharger operating temperature range -20 ºC to +60 ºC
Battery Storage temperature range -20 ºC to +60 ºC
10hr at full charge continuous operation mode.
Humidity range up to 95% no condensing
1.4 Application
PDA and Cellular Phone Navigation
Consumer wireless GPS
Automotive Vehicle Tracking
Personal Positioning
Sporting and Recreation
3
Page 8

2. Before Start
2.1 Check the Package Content
Before you start using MBT-1100, please check out if your package
includes the following items. If any item is damaged or missed, please
contact your reseller at once.
● MBT-1100 Bluetooth GPS datalog receiver
● Car Charger
● CD
● AC Adapter (optional)
● USB cable
● PU GRIP PAD
2.2 Power Button (Right View)
Power On/Off
button
Page 9

2.3 LED Display
1 2 43
1 Yellow LED indicates power is in charging
2 Blinking Amber LED indicates Battery Low
3 Glowing Blue LED indicates Bluetooth is connected
Blinking Blue LED indicates Bluetooth is not fixed
4 Glowing Green LED indicates position is fixed
Blinking Green LED indicates position not fixed
5 Glowing RED LED indicates Memory Full
Erased memory data, RED LED Blinking
5
2.4 Hardware Features
2.4.1. Power Button
Power ON / Power OFF
2.4.2. Bluetooth Status LED (Blue)
Glowing - Bluetooth is on and ready to transmit.
2.4.3. GPS Status LED (Green)
Glowing - Position is fixed.
Steady light – Device is on but position is not fixed.
Page 10

2.4.4. Memory Status LED (Red)
Glowing – Memory is full.
RED LED blinking when erasing memory data.
2.4.5. Battery Status LED (Amber/Yellow)
None - Battery has adequate power supply.
Amber - Power is low. Charging immediately is required.
Yellow - Connected to power charger, charging.
LED off - Battery is fully charged.
2.5. Getting Started
2.5.1. STEP 1: Turn on Receiver and Wait for GPS
Fix
If the position has not been fixed yet, the Green LED will be still. If
the position has been fixed, the Green LED will be Glowing.
You are ready to connect to your Bluetooth-enabled mobile device
and use your GPS application.
2.5.2. STEP 2: Connect to Bluetooth-Enabled
Devices
From your Bluetooth-enabled handheld device, execute Bluetooth
application software to search MBT-1100 and then connect it to
your device. If the connection between your device and MBT-1100
is successful, the Blue LED will be Glowing.
Note: Type in pin code=0000 during configuration.
2.5.3. STEP 3: Connect to your Navigation
Software
Load your GPS mapping or routing software, along with the
corresponding maps of the areas that you are occupying or
plan to travel to.
Start the application. Make sure the application is set for the
COM port that your Bluetooth-enabled mobile device will use
for serial communication. Now you should be ready to use
your GPS application as directed by the user documentation
that came with the software. More configurations may be
necessary.
Refer to the following software application user manual to set
Page 11

up the parameters of the device via Bluetooth radio.
2.6 How to use Car Charger to
charge your handheld device
Connect car charger into your adapter connector of MBT-1100.
Plug adapter connector into handheld device connector and plug car
charger into cigar-lighter.
Page 12

FEDERAL COMMUNICATIONS COMMISSION
INTERFERENCE STATEMENT
This equipment has been tested and found to comply with the limits for a Class B digital
device, pursuant to Part 15 of the FCC Rules. These limits are designed to provide
reasonable protection against harmful interference in a residential installation. This
equipment generates, uses and can radiate radio frequency energy and, if not installed
and used in accordance with the instructions, may cause harmful interference to radio
communications. However, there is no guarantee that interference will not occur in a
particular installation. If this equipment does cause harmful interference to radio or
television reception, which can be determined by turning the equipment off and on, the
user is encouraged to try to correct the interference by one or more of the following
measures:
– Reorient or relocate the receiving antenna.
– Increase the separation between the equipment and receiver.
– Connect the equipment into an outlet on a circuit different from that to which the
receiver is connected.
– Consult the dealer or an experienced radio/TV technician for help.
CAUTION:
Any changes or modifications not expressly approved by the party responsible for
compliance could void the user's authority to operate the equipment.
"This device complies with Part 15 of the FCC Rules.Operation is subject to the following two
conditions:
(1) this device may not cause harmful interference and(2) this device must accept any
interference received, including interference that may cause undesired operation ."
RF exposure warning
This equipment must be installed and operated in accordance with provided instructions
and the antenna(s) used for this transmitter must be installed to provide a separation
distance of at least 20 cm from all persons and must not be co-located or operating in
conjunction with any other antenna or transmitter. End-users and installers must be
provide with antenna installation instructions and transmitter operating conditions for
satisfying RF exposure compliance.
Page 13

Revision History
Data Revision Note
Jan, 2008 V1.0 Final Release
Contact information
Headquarters
1071 Chung Cheng RD., Suite 9F-1
Tao Yu an Cit y, Ta iw an.
Tel: 886-3-356-9666
FAX: 886-3-358-0050
Http://www.royaltek.com
Sales: Http://www.royaltek.com/contact
FAE: fae@royaltek.com
 Loading...