

Page 1
Owner’s Manual
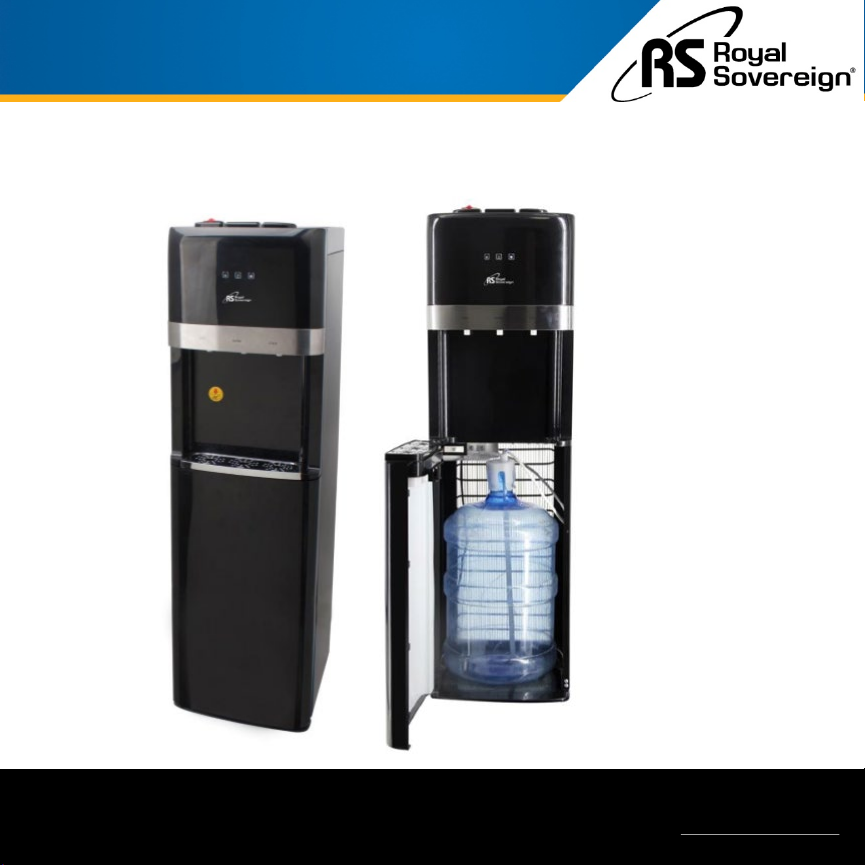
Bottom-Load Water Dispenser
RWD-1600B
Royal Sovereign International,Inc.
To register your product, please go to www.royalsovereign.com
Please read and retain these instructions.
Page 2
Thank you for purchasing the Royal Sovereign Bottom-Load Water Dispenser,
RWD-1600B. This manual will provide you with safety information, instructions
for optimal use, and proper care and maintenance for your product. Please read
this manual carefully before operating.
CONTENTS
SAFETY INSTRUCTIONS ............................................................................... 3 - 4
PRODUCT VIEW / SET-UP ............................................................................. 5
PRODUCT OPERATION ................................................................................. 6 - 8
MACHINE MAINTENANCE .............................................................................. 9
TROUBLESHOOTING ................................................................................... 10
SPECIFICATIONS ....................................................................................... 11
WARRANTY ............................................................................................. 12
2
Read & Fully Understand This Owner’s Manual Before Using This Machine.
Page 3
SAFETY INSTRUCTIONS
When using this appliance follow these safety precautions to reduce the risk of fire, electric shock, or injury.
WARNING
Electrical Safety
1. Keep this appliance away from high temperatures and in a dry / ventilated place.
2. Never install this appliance in the open air, under rain, or direct sunlight.
3. For your safety, this appliance should be properly grounded on a level surface indoors.
4. The appliance should be placed near an electrical outlet so that the outlet is easily accessible.
5. Make sure the voltage meets the appliance’s electricity requirements (115-120V / 60Hz).
6. Do not operate if the electrical plug or power cord is damaged.
7. Only plug the appliance into an exclusive properly installed-grounded three prong wall outlet.
8. Do not under any circumstances alter the electric plug.
9. Do not use an adapter plug or extension cord with this appliance.
10. To prevent accidental injury, the cord should be secured behind the appliance and not left exposed or dangling.
11. Do not pull out the cable to unplug.
12. Do not turn this appliance on/off by connecting/disconnecting it from the source of electricity.
3
Page 4
SAFETY INSTRUCTIONS
When using this appliance follow these safety precautions to reduce the risk of fire, electric shock, or injury.
CAUTION
Operating Safety
1. A full water bottle must be connected to the appliance prior to being turned on (See Page 6).
2. Pour water from the hot water faucet before plugging in and switching the appliance on to hot water. If the
dispenser is turned on with an empty tank, it can cause damage.
3. To reduce the possibility of malfunction, let the water cooler stand upright for approximately 24 hours before
connecting the appliance to the power source.
4. This appliance best operates in an environmental temperature between 18°C - 38°C (64°F - 100°F).
5. Only use compatible sized water bottles (3 or 5 gallons).
6. Keep the ventilation openings at the back of the appliance uncovered and unobstructed.
7. Keep gasoline or any other flammable vapors and liquids away from the water cooler.
8. Do not store explosive substances such as aerosol cans with a flammable propellant in this appliance.
9. Do not place other appliances inside this equipment unless those are recommended by the manufacturer.
10. If you want to move the water cooler, do not tilt more than 45º to avoid damage to the compressor.
11. This water cooler dispenses hot water at a temperature range of 88°C - 95°C (190°F - 203°F) so use caution
when handling the hot water tap.
12. Supervision of children when using is advised.
13. Do not operate the machine for any other purpose other than its intended use.
4
Page 5

PRODUCT VIEW
Hot Water Button & Child Safety Lock
Room Temperatur e Water Button
Cold Water Button
Cold Power Switch (Green)
Hot Power Switch (Red)
Condenser
Power Cord
Reset Button
Drain Plug
Cabinet Door
Drip Tray
Indicator Lights
Water Bottle Cap
with Hose
Water Bottle
(Not Included)
5
Page 6

PRODUCT OPERATION
BEFORE PLUGGING IN THE UNIT TO A POWER SOURCE:
1. Let the appliance stand upright for about 24 hours. This will reduce the chance of malfunction
in the cooling system from possible mishandling during delivery.
WARNING: The drain cap on the back of the unit may become loose during shipping. Fasten
the drain cap tightly before you start to operate the unit. If the drain cap is loose, the unit may
leak and cause floor damage.
2. Open the lower cabinet door.
3. Place full water bottle on the floor and remove the plastic cover over the mouth of the water
bottle.
4. Place the stainless tube inside the bottle and place the water bottle cap firmly over the mouth
of the water bottle.
5. Attach the hose to the top of the cap, using the quick connect system shown at the bottom of
the page.
6. Slide the bottle inside the cabinet and close the door.
Quick Connect System
6
Page 7

PRODUCT OPERATION
1. Place the water dispenser on a level surface. Plug the water dispenser into a grounded power
outlet.
2. First, turn the Hot Water switch on the back of the unit into the ON position. Next, turn the
Cold Water switch into the ON position. DO NOT TURN ON BOTH SWITCHES AT THE SAME
TIME. Once this is completed both cooling and heating indicator lights should light up.
3. Once both power switches are turned on, the water dispenser will be ready to dispense water.
First, the unit will pump the water from the water bottle into the cooling and heating tanks, and
then the unit’s compressor and heater will start to operate.
4. For ideal usage, it is recommended that 1 or 2 bottles of water runs through the water
dispenser before use. This is recommended as the unit has been sitting idle during
manufacturing.
5. After being plugged in, it is recommended that you wait 30 minutes before usage.
6. It is recommended that if the Hot Water option is not used, the Hot Water Switch (Red) be
turned OFF. This will help conserve energy.
NOTE: The appliance is designed to provide hot or cold water whenever you need it. It will
automatically turn on and off when hot and cold water reaches the desired temperatures.
7
Page 8

PRODUCT OPERATION
When operating the water dispenser for the first time, you will need at least 15-30 minutes for the
hot water to reach the desired temperature and 1 hour for the cold water to reach the desired
temperature.
The water dispenser has 3 indicator lights on the front panel.
• When the right indicator light is on, the unit is in the process of cooling water inside the
cooling tank.
• When the left indicator light is on, the water dispenser is heating water inside the heated
water tank.
• When the middle power indicator on the front panel is on, there is no water left in the water
bottle. Replace the water bottle and close the door to reset the unit. The water dispenser will
work again and the indicator will turn off.
Using the Water dispenser
• To dispense Hot water, slide the hot water safety handle to the left and then push the hot water
button down.
• To dispense Cold water, push the cold water button down.
• To dispense Room Temperature water, press the room temperature button down.
8
Page 9

MACHINE MAINTENANCE
WARNING: Before cleaning, turn the power switch off and disconnect the power cord from
the wall.
1. Before the first use and after a long period of not using the appliance, the water tank and
water pipes should be cleaned. It is recommended to wash and disinfect the system
every 3-6 months.
2. To begin cleaning, all water must be drained from the unit (Put the heating switch to
OFF while draining the system).
3. To clean, rinse the unit and its parts several times with boiling or purified water. After
rinsing, tilt the dispenser to drain any remaining water. Once this is done, dry the unit
with a rag or soft cloth.
4. If the appliance is not going to be used for a long period of time, unplug it and drain all
water in its interior.
5. To avoid electric shock, do not clean the outside of the appliance with water. Clean it
with a soft cloth.
6. If the power cable suffers any damage, contact the manufacturer, service representative
or qualified personnel. Do not attempt to repair the cable yourself.
7. If you are not using the appliance for a long period of time or during the night, you can
turn it off to save energy.
9
Page 10

TROUBLESHOOTING
In case of problems, turn off the water dispenser and disconnect from the source of electricity.
Symptom Solutions
• Check to see if the unit is unplugged.
Unit is not dispensing water
Unit does not dispense cold or
hot water
Unit is noisy during operation
Leaking • Tighten the top threaded portion of the faucet.
The water being dispensed has a
strange taste
Power indicator is not lit
Not heating or cooling • Check the electrical connections and make sure they are not loose.
• Check to see if the main power supply is on.
• Tighten the water bottle cap and make sure that it is attached properly to the
connector on the water dispenser.
• Overconsumption of cold or hot water can cause this problem, so wait a moment for
the water to cool or heat.
• Space the unit from the wall by more than 15 cm (5.9”) so that ventilation around the
unit is sufficient.
• The temperature of the water bottle may be too high, so place the water bottle in a
cool location out of direct sunlight.
• Place the unit on a flat, level surface.
• Make sure that the unit is not touching any other objects.
• Make sure the hose connector is properly connected.
• Tighten the drain cap. If the sealing silicon material inside the drain cap is torn or
damaged, then contact Royal Sovereign to be replaced.
• Check the water container, water pipe and faucet for damages. If broken a
replacement must be made.
• This is not uncommon with new water coolers. Do not worry, this is not dangerous to
your health.
• Clean the hose in the dishwasher (top rack only) or let it soak in dish soap. The
strange taste usually goes away after a full bottle of water is dispensed.
• Make sure that the power switch is ON and the plug is connected to the outlet
correctly.
• The heating and cooling switches may need to be replaced.
• The heating tank may need to be replaced, because it may be burnt out.
10
For all replacements and repairs that need to be made, contact Royal Sovereign Customer Service at +1) 800-397-1025
NOTE:
Page 11

SPECIFICATIONS
MODEL RWD-1600B
Voltage - Frequency 115V – 60 Hz
Heating Power / Cooling Power 500W / 85W
Hot Tank Capacity / Cold Tank Capacity 2 L (0.53 gal.) per hour / 5 L (1.32 gal.) per hour
Bottle Size 3 / 5 Gallon
Temperatures Hot / Room / Cold
Cooling Type Compressor
Dimensions
Weight 31.30 lbs. / 14.20 kgs
12.2”W x 14.41”D x 40.71”H
310 mm x 366 mm x 1,034 mm
11
Page 12

ONE YEAR LIMITED WARRANTY
Royal Sovereign International, Inc. warranties this product to be free from defects in material and workmanship
for a period of one (1) year. This warranty is extended to the original purchaser only.
This warranty only covers products that are properly installed, properly maintained, and properly operated in accordance
with the instructions provided. This limited warranty does not cover any failures or operating difficulties due to normal wear
and tear, accident, abuse, misuse, alteration, misapplication, improper installation, or improper maintenance and service by
you or any third party.
Returned product will not be accepted without a Return Authorization number. To request a Return Authorization number,
please visit us at www.royalsovereign.com. All transportation costs for the return of damaged product or parts will be the
responsibility of the purchaser. Return defective product, in original packaging, to the address below.
Royal Sovereign International, Inc. requires reasonable proof of your date of purchase from an authorized retailer or
distributor. Therefore, you should keep your receipt, invoice, or canceled check from the original purchase. The limited
warranty shall be limited to the repair or replacement of parts which prove defective under normal use and service within
the warranty period.
Royal Sovereign International, Inc. (and its affiliated companies) SHALL HAVE NO LIABILITY WHATSOEVER TO
PURCHASER OR ANY THIRD PARTY FOR ANY SPECIAL, INDIRECT, PUNITIVE, INCIDENTAL,OR CONSEQUENTIAL DAMAGES.
Some states do not allow the exclusion or limitation of incidental or consequential damages so the above exclusion and
limitations may not apply to you.
ROYAL SOVEREIGN INTERNATIONAL, INC.
2 Volvo Dr., Rockleigh, NJ 07647 USA
TEL: +1) 800-397-1025
Email: info@royalsovereign.com
For product support and warranty questions, please visit us at
12
RS INTERNATIONAL CANADA INC.
191 Superior Blvd, Mississauga Ontario L5T 2L6 CANADA
TEL : +1) 905-461-1095 TF # : +1) 866-961-6673
FAX : +1) 905-461-1096
www.royalsovereign.ca
www.royalsovereign.com/CustomerSupport
 Loading...