

Page 1
Multistage Air Filtration Systems
Instruction Manual
• Be sure to read through this manual for proper use and safety.
• You must be familiar with the Safety Instructions before using
this product.
• Please keep this Instruction Manual where it is easily accessible.
• This product is designed for in-home use.
• Design and product development may be upgraded without a
public notice.
Page 2

CONTENTS
Safety Instructions
Installation ...................................................................................... 3
Power Supply ................................................................................. 4
Operation .....................................................................................5-6
Cleaning .......................................................................................... 7
Introduction
Components ................................................................................... 8
Filtration Stages .............................................................................. 9
Main Controller and Indicator ..................................................... 10
Button Explanations ..................................................................... 10
Remote Controller ........................................................................ 11
Operation
Airow Control ............................................................................ 12
Auto Operation Mode .................................................................. 13
Sleep Mode ..................................................................................13
Filter Cleaning Indicator .............................................................. 14
Filter Replacement Indicator ........................................................ 14
Cleaning and Maintenance
Cleaning the Exterior ................................................................... 15
Cleaning the Dust Sensor ............................................................. 15
Accessing the Filters .................................................................... 16
Cleaning the Filters ...................................................................... 17
The Replaceable Filter Units ....................................................... 18
When Should I Replace a Filter? ................................................. 18
Product Information
Troubleshooting ........................................................................... 19
Product Specications .................................................................. 20
Product Warranty ......................................................................... 21
2 | PureAmbience™
Page 3

SAFETY INSTRUCTIONS
Please read all of the Safety Instructions before using this product to insure
safe and proper use.
INSTALLATION
Warning
Do not use the product to eliminate natural gas odor.
Explosion or re may result.
Be sure to install the product away from direct sunlight, heating
appliances, and moisture.
Malfunction and/or loss in efciency may result.
Do not use the product to eliminate industrial oil smoke and/or metallic
dust.
Explosion or re may result.
Do not install the product on a pitched surface. It should be level.
A malfunction and/or loss in efciency may result.
Be sure to install the product with at least four inches clearance on all sides.
A malfunction and/or loss in efciency may result.
Do not obstruct or cover the unit.
A malfunction and/or loss in efciency may result.
PureAmbience™ | 3
Page 4

SAFETY INSTRUCTIONS
POWER SUPPLY
Warning
Do not plug or unplug the product using wet hands.
Electric shock and re may result.
Do not twist the power cord or place heavy objects on it.
Electric shock and re may result.
Do not use with a damaged power cord, plug, or loose-tting outlet.
Electric shock and re may result.
Do not plug into an overloaded outlet or multi-plug adapter.
Electric shock and re may result.
Do not turn unit off by pulling out the power plug.
This may cause damage to the power cord and/or electric shock.
In the event of a unusual noise and burning smell, or smoke emitting from
the product, turn unit off and unplug immediately.
Electric shock and re may result.
Please contact the Service Center if your product needs repair.
Attempting to repair the product yourself may cause electric shock or re.
Please unplug product when not in use.
This conserves energy and reduces the risk of a short circuit and re.
4 | PureAmbience™
Page 5

SAFETY INSTRUCTIONS
OPERATION
Warning
Do not use aerosol sprays or powders on or near product.
Electric shock and re may result.
Do not tamper with the air inlet or outlet of this product.
Malfunction, electric shock or re may result.
Do not allow unattended small children near the product.
Malfunctions and accidents may result.
Do not alter or modify this product in any way.
This may cause malfunction and electric shock and re.
Please contact the Service Center if your product needs repair.
Do not open the lter box or insert any foreign object into the product
during operation.
This may cause malfunction or accidents.
Do not use product as a substitute for a ventilation fan or range hood.
This may shorten the life of the product.
Do not get liquids inside of the product.
Electric shock and re may result.
Do not subject the product to impact.
Malfunctions and accidents may result.
PureAmbience™ | 5
Page 6

SAFETY INSTRUCTIONS
OPERATION
Warning
Do not place anything containing liquid on or near product.
This may cause electric shock and malfunction.
Do not use product near an open window or door.
This may affect its efciency.
Operate only when the lters are installed properly.
Otherwise product efciency may be affected negatively.
Please contact the Service Center if the product is ever immersed.
Electric shock and re may result.
6 | PureAmbience™
Page 7

SAFETY INSTRUCTIONS
CLEANING
Warning
Be sure the power supply is disconnected and the fan has stopped moving
before cleaning.
Not doing so may cause electric shock and accidents.
Dry the Pre-Filter in the shade after washing.
Direct sunlight may cause the Pre-Filter to fade.
Do not clean product using benzene, paint thinner, alcohol-based cleaners,
etc.
This may cause product to fade. This may also cause electric shock and re.
Replace lters when indicated by the lighted display.
Dirty lters reduce the efciency of the product.
PureAmbience™ | 7
Page 8

INTRODUCTION
Components
Suction Inlet
Air Outlet
Handle
Main Controller and Indicator
Front Cover
Power Supply Plug
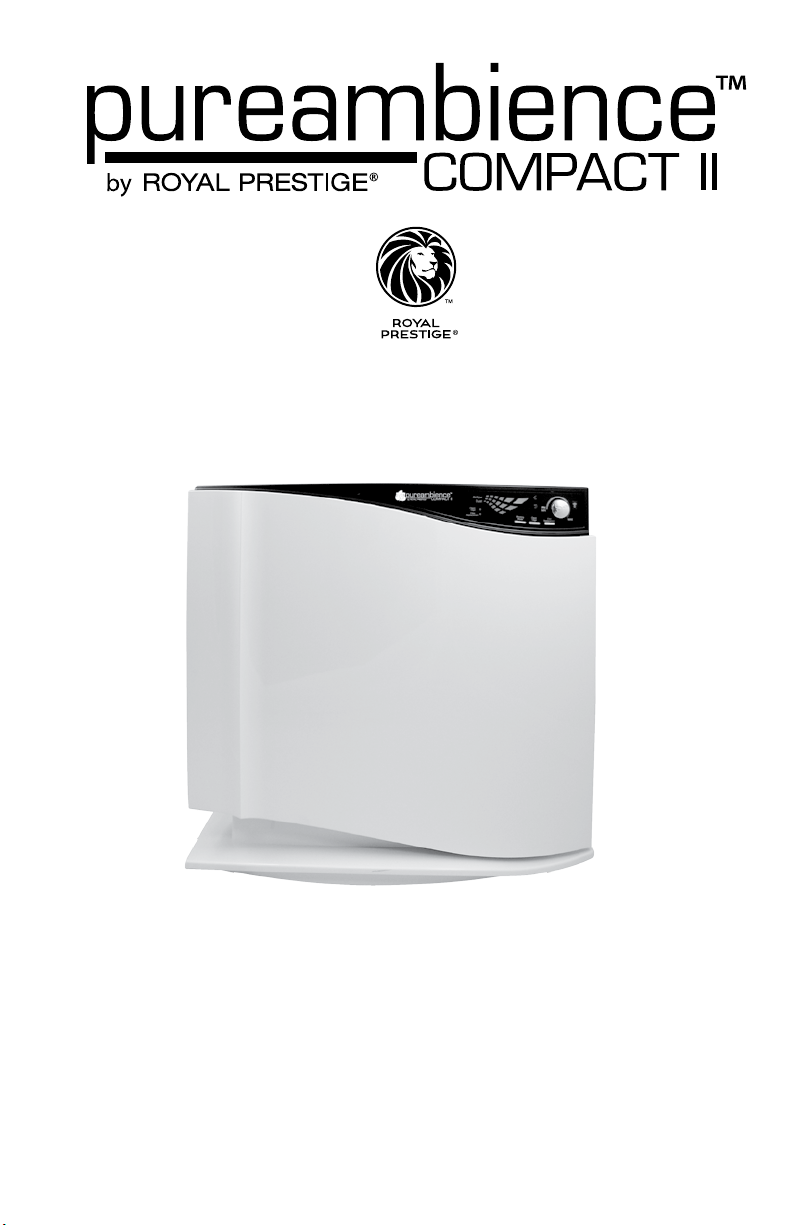
Compact II
Air Outlet
Handle
Main Controller and Indicator
Deluxe II
8 | PureAmbience™
Front Cover
Power Supply Plug
Suction Inlet
Page 9

INTRODUCTION
Negative Ion
Filtration Stages
The PureAmbience™ Compact II and Deluxe II ulitize the same
Filtration Stages. The Deluxe II offers twice the ltration of the
Compact II.
Pre-Filter - Helps to remove large dust particles and animal hair from
your home’s air.
Deodorization Filter
Pre-Filter
SKYBIO Filter
Dust Collection Filter
(HEPA)
Antimicrobial
Fan
Silver Ion Filter
Deodorization Filter - Helps to eliminate unwanted household odors
through Carbon ltration.
SKYBIO Filter - Removes additional mold and dust, and helps to prevent
the propogation of bacteria bonded with that mold or dust.
Dust Collection Filter (HEPA) - Further removes micro dust, mold fungus
and other small-particle potential allergens
from your home’s air.
Antimicrobial Fan - Treated to prevent the growth of mold fungus and
bacteria within the unit.
Silver Ion Filter - Helps to kill remaining dangerous bacillus by damaging
the cell membranes and DNA of bacteria that survive the
other stages.
PureAmbience™ | 9
Page 10

INTRODUCTION
Main Controller and Indicator
Indicator
Light
for Filter
Cleaning
Airflow
Dust
Clean
-Sign
Filter
Replacement
Indicator
Light
for Filter
replacement
Button Explanations
Operation
Mode
Button for
Operation
Mode
Knob for Power Supply /
Filter
Cleaning
Replacement
Button
for Filter
Cleaning
Replacement
Airow speed
Filter
Button
for Filter
Indicator Light
for Filter
Cleaning
Indicator Light
for Filter
replacement
10 | PureAmbience™
Power/Airow
Operation
Mode
Filter
Cleaning
Filter
Replacement
Push the Power/Airow knob in to turn the unit on/
off. Turn the knob to control airow speed.
Press the Operation Mode button to switch between
Auto and Sleep modes.
When the Filter Cleaning light is blinking, please
clean the lters, then press and hold the button for
approximately three seconds to reset.
When the Filter Replacement light is blinking,
please replace the lters, then press and hold the
button for approximately three seconds to reset.
Page 11

Remote Controller
Power
Button
POWER
SPEED
AUTO
INTRODUCTION
Airow
Button
SLEEP
Sleep Mode
Button
Auto Mode
Button
PureAmbience™ | 11
Page 12

OPERATION
Control of Airow
Push the Power/Airow knob to turn the unit on/off. Turn the knob to
control airow speed.
Turn the Power/Airow knob to set the airow to the desired speed.
Turn the knob clockwise to increase airow speed, counter-clockwise to
decrease airow speed.
Indicator
Light
for Filter
Cleaning
Indicator
Light
for Filter
replacement
Airflow
Dust
Clean
-Sign
Filter
Replacement
Operation
Mode
Button for
Operation
Mode
Knob for Power Supply /
Filter
Cleaning
Replacement
Button
for Filter
Replacement
Cleaning
Airow speed
Filter
Button
for Filter
Airow
WEAK STRONG
Dust
Airow
Dust
12 | PureAmbience™
Airow Display
Airow
WEAK TURBO
Dust
Airow
Dust
Page 13

OPERATION
Auto Operation Mode
Push the Power/Airow knob to turn the unit on.
Use the Operation Mode button to select Auto Operation. You can also use
the Auto Mode button on the remote.
More About Auto Operation Mode
In Auto Operation Mode, the proper airow speed is determined by the
Dust Sensor.
Auto Operation is canceled by manually adjusting the Power/Airow knob.
Indicator
Light
for Filter
Cleaning
Airflow
Dust
Clean
-Sign
Filter
Replacement
Operation
Mode
Knob for Power Supply /
Airow speed
Filter
Filter
Cleaning
Replacement
Indicator
Light
for Filter
replacement
Button for
Operation
Mode
Button
for Filter
Cleaning
Button
for Filter
Replacement
Sleep Mode
Use the Operation Mode button to select Sleep Mode. You can also use the
Sleep Mode button on the remote
More About Sleep Mode
In Sleep Mode, the airow speed will be set to the minimum setting for
quiet operation.
PureAmbience™ | 13
Page 14

OPERATION
Filter Cleaning Indicator
When the Filter Cleaning indicator light is blinking, please clean the
lters, then press and hold the Filter Cleaning button for approximately
three seconds to reset.
For detailed cleaning instructions, please refer to page 17.
Indicator
Light
for Filter
Cleaning
Indicator
Light
for Filter
replacement
Airflow
Dust
Clean
-Sign
Filter
Replacement
Operation
Mode
Button for
Operation
Mode
Knob for Power Supply /
Filter
Cleaning
Replacement
Button
for Filter
Replacement
Cleaning
Airow speed
Filter
Button
for Filter
Filter Replacement Indicator
When the Filter Replacement indicator light is blinking, please replace
the lters, then press and hold the Filter Replacement button for
approximately three seconds to reset.
Regarding the lter replacement cycle, please refer to page 18.
14 | PureAmbience™
Page 15

CLEANING AND MAINTENANCE
Cleaning the Exterior
Be sure the product is unplugged before cleaning.
Wipe the unit with a clean damp cloth.
CAUTION
Do not wipe the Main Controller and Indicator with alkaline
detergent or other harsh chemicals.
Do not wipe the surface of the unit with sulfuric acid,
hydrochloric acid, organic solvent (thinner, kerosene etc.) or other
harsh chemicals.
Cleaning the Dust Sensor
The Dust Sensor determines the pollution level of ne dust and large dust
particles in the air.
The efciency of the unit can be optimized by periodically cleaning the
Dust Sensor.
PureAmbience™ | 15
Page 16

CLEANING AND MAINTENANCE
CAUTION
Unplug unit before removing lters
Accessing the Filters
1. Pull and lift from the bottom to remove the
Front Cover.
2. After removing the Front Cover, take out the
Pre-Filter, Deodorization Filter, SKYBIO
Filter, and the Dust Collection Filter.
Deodorization Filter
Pre-Filter
SKYBIO Filter
16 | PureAmbience™
Negative Ion
Dust Collection Filter
HEPA
Antimicrobial
Fan
Silver Ion Filter
(Biometal)
Page 17

CLEANING AND MAINTENANCE
Cleaning the Filters
Be sure to unplug the unit before cleaning.
Clean the Pre-Filter and Deodorization Filter every two months or according to the
condition of the lter as indicated on the Main Controller.
1. Carefully remove the lters after opening the Front Cover.
2. The Pre-Filter can be washed with warm water. If the Pre-Filter is
heavily polluted, wash the net with a soft brush in warm water mixed
with a small amount of dish soap.
3. Brush dust off the Deodorization Filter*.
Dust on surface of this lter may affect efciency. Cleaning may result
in the release of a black powder (activated carbon). Small amounts of
this powder are harmless and can be washed off hands and clothing with
soap and water.
* CAUTION
The Deodorization Filter should not get wet. In the event that
it does get wet, allow the lter to air-dry completely before reinstalling. Failure to dry this lter completely may cause damage
to the Dust Collection Filter and may cause undesirable odors.
PureAmbience™ | 17
Page 18

CLEANING AND MAINTENANCE
The Replaceable Filter Units
Deodorization Filter
SKYBIO Filter
Dust Collection Filter (HEPA)
When Should I Replace a Filter?
FILTERS REPLACING TIME
Deodorization Filter 1 year - 1.5 years
(Replacement time varies
according to method and place
of operation).
SKYBIO Filter 1 year - 1.5 years
(Replacement time varies
according to method and place
of operation).
Dust Collection Filter (HEPA) 1 year - 1.5 years
(Replacement time varies
according to method and place
of operation).
Genuine Royal Prestige® Replacement Filters may be purchased from your
Independent Royal Prestige™ Representative.
For purchase information you may also call the Royal Prestige® Customer
Service Center at 1-800-279-3373.
18 | PureAmbience™
Page 19

PRODUCT INFORMATION
Troubleshooting
Please refer to chart below before requesting service.
Symptoms Check Points Solutions
Please conrm that the
Is the outlet switched off?
Is the power supply plug
connected?
Unit does not work.
Are the lters and Front
Cover installed properly?
Is the electric outlet faulty?
Is the unit being used in a
smoke-lled environment?
A strange odor is detected.
Are the lters clean?
outlet/power source is
turned on.
Please conrm that the unit
is plugged in properly.
Please remove and replace
Front Cover and lters
according to this instruction
manual.
Please try a different
electric outlet.
The unit’s air cleaning
efciency can be affected
by environments where
smoke is frequently
present.
Please clean lters as
indicated on page 17.
The Filter Cleaning / Filter
Replacement indicators
won’t stop blinking.
Did you push and hold the
Filter Cleaning / Filter Replacement button for three
seconds after cleaning/
replacing lter?
Please push and hold
the Filter Cleaning / Filter
Replacement button
for three seconds after
cleaning/replacing lter.
PureAmbience™ | 19
Page 20

PRODUCT INFORMATION
Product Specications
Model Name PureAmbience™ Compact II
Power Supply AC 110-120 V
Consumption Electricity 23W
Electric current for
Operation
Weight 6kg
Size (W × D × H) 454 × 273 × 430 (mm)
Design and specications may be changed without notice to improve
product quality.
0.25A (turbo)
H
PureAmbience™ Compact II PureAmbience™ Deluxe II
20 | PureAmbience™
H
W
D
W
D
Page 21

Product Warranty
FOR DETAILED WARRANTY INFORMATION,
PLEASE VISIT ROYAL PRESTIGE® ON THE WEB AT
For warranty service, send the product to our Service Center:
PRODUCT INFORMATION
www.royalprestige.com
Hy Cite Corporation
Royal Prestige® Service Center
2115 Pinehurst Drive
Middleton, WI 53562
1-800-279-3373
R06-13
PureAmbience™ | 21
 Loading...