

OWNER’S MANUAL
ROUSSEAU COMPANY
Miter Saw Super Stand
Model SS2875
IMPORTANT
Read all safety guidelines and all
instructions before operating.
ROUSSEAU COMPANY
1712 13th Street - Clarkston, WA 99403
Phone: 1-(509)-758-3954
1-(800)-635-3416
Fax: 1-(509)-758-4991
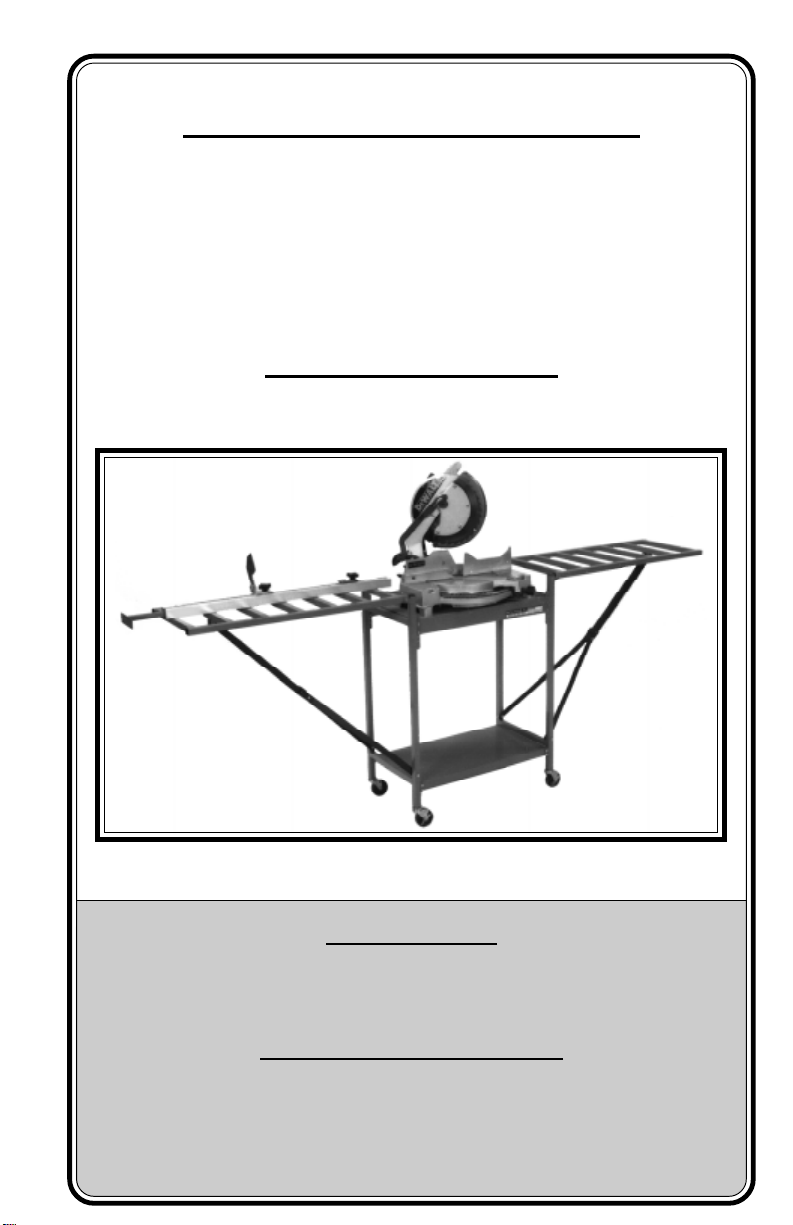
GENERAL INFORMATION You have purchased a ROUSSEAU MITERSAW SUPER
STAND SS2875. This unit is especially useful to the finish carpenter, cabinet or furniture
builder. This stand supports stock while you cut. With optional stops system, it features stops
up to 84”, is collapsible, easy to store, is mobile with locking casters, has instant set up time
and is portable. It fits most 10” - 15” saws up to 27 1/4” wide.
WARRANTY This product has a lifetime warranty to the original purchaser. The warranty
applies to defects in materials and workmanship only. We will repair or replace the product or
part(s) at our discretion. This warranty does not apply to product failure or defects due to
direct or indirect misuse, abuse, negligence, accidents, alterations, repairs or lack of maintenance. The item must be shipped prepaid to our Clarkston, WA location and will be returned
by standard shipment via carrier of our choice.
SAFETY GUIDELINES Pay special attention to the following section headed by this symbol:
WARNING
equipment is not used properly. Please read the following instructions carefully.
They contain important safety information concerning a hazard that may
cause serious injury or death, and/or damage to mitersaw and/or stand if
WARNING
WARNING
WARNING
WARNING
WARNING
WARNING
WARNING
Always operate on flat level surface with casters locked. Failure to do so
could result in tipping or rolling table which could cause kickback and/or
loss of fingers.
Be sure saw is bolted in securely. Failure to do so could result in injury to
self or saw.
Make sure top of saw base is level with arms. Failure to do so could
result in kickback, causing injury to self and/or saw.
When using adjustable stops, always hold work tight to table at a safe
distance from blade, until saw has come to a complete stop. Failure to do
so could result in kickback, causing injury to self, saw, or work piece.
When cutting small pieces use a hold down stick to hold work in place
until saw has stopped. Failure to do so could result in kickback, causing
injury to self, saw, or work piece.
Allow saw to stop at bottom of travel before raising. Failure to do so
could result in kickback, causing injury to self, saw, or work piece.
Keep fingers clear of hinge mechanisms when dropping table arms.
Failure to so so could result in pinching or loss of fingers.
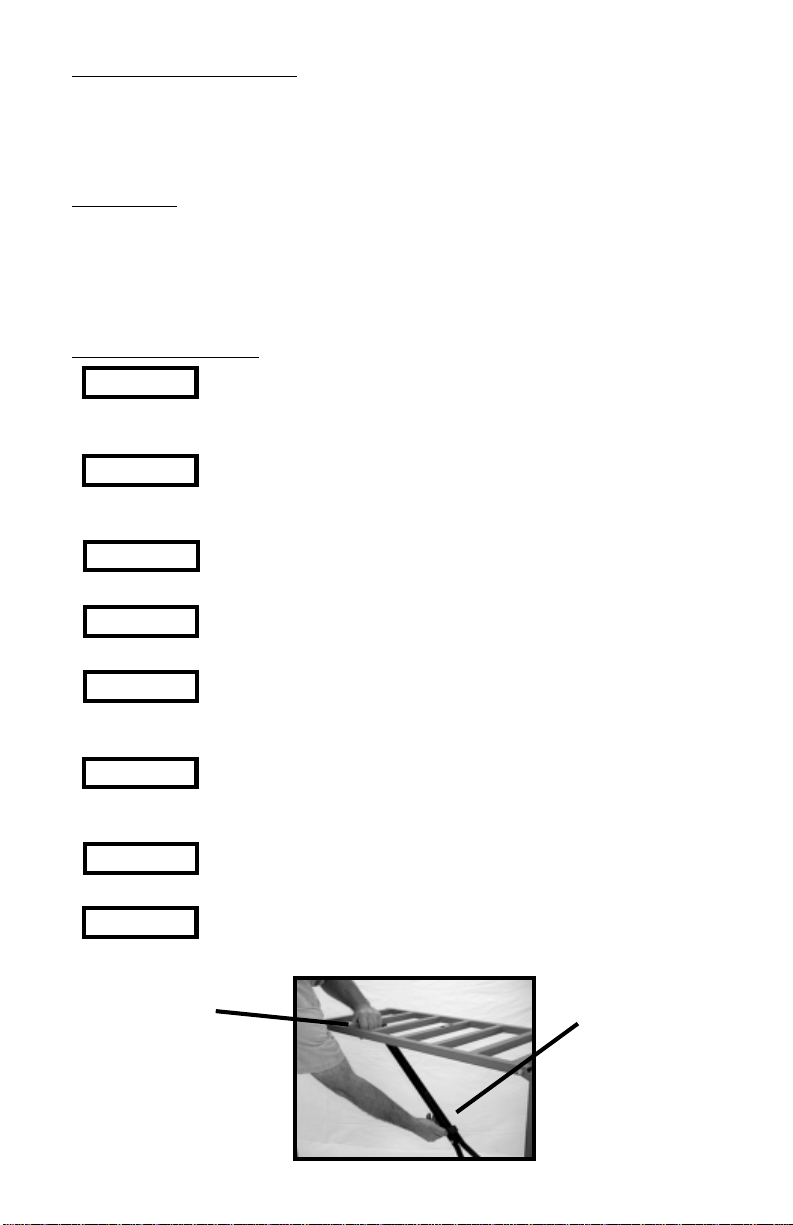
HOLD WING WITH
ONE HAND...
...WHEN
RELEASING
CATCH.
RECOMMENDED TOOLS FOR ASSEMBLY
n 7/16” wrenches (2) n Tape Measure
n Bolts, nuts, washers* n Needle nose pliars
n Drill & drill bit** n Safety glasses
n Hammer or mallet n Phillips screwdriver
*size & quantity determined by model of saw
**bit size slightly larger
than bolt
UNASSEMBLED UNIT
1 - SS3800 Stop System
(optional)
2a - top shelf
b - bottom shelf
3a - left side
b - right side
4 - 3” locking casters
5 - 10’ tape measure
6 - hardware
(16 nuts & 16 bolts)
3a
1
2a
4
5
6
2b
3b
NOTE: WHEN STAND IS FULLY ASSEMBLED SLOTS ON
WINGS ARE TO THE REAR.
STEP 1) Fasten side
frames to bottom shelf
using bolts & nuts
provided. Finger
tighten.
STEP 2) Measure base
height of saw.
STEP 3) Using tape
measure & straight edge,
set top shelf below wings
equal to base ht. of saw .
Insert bolts & finger
tighten nuts.
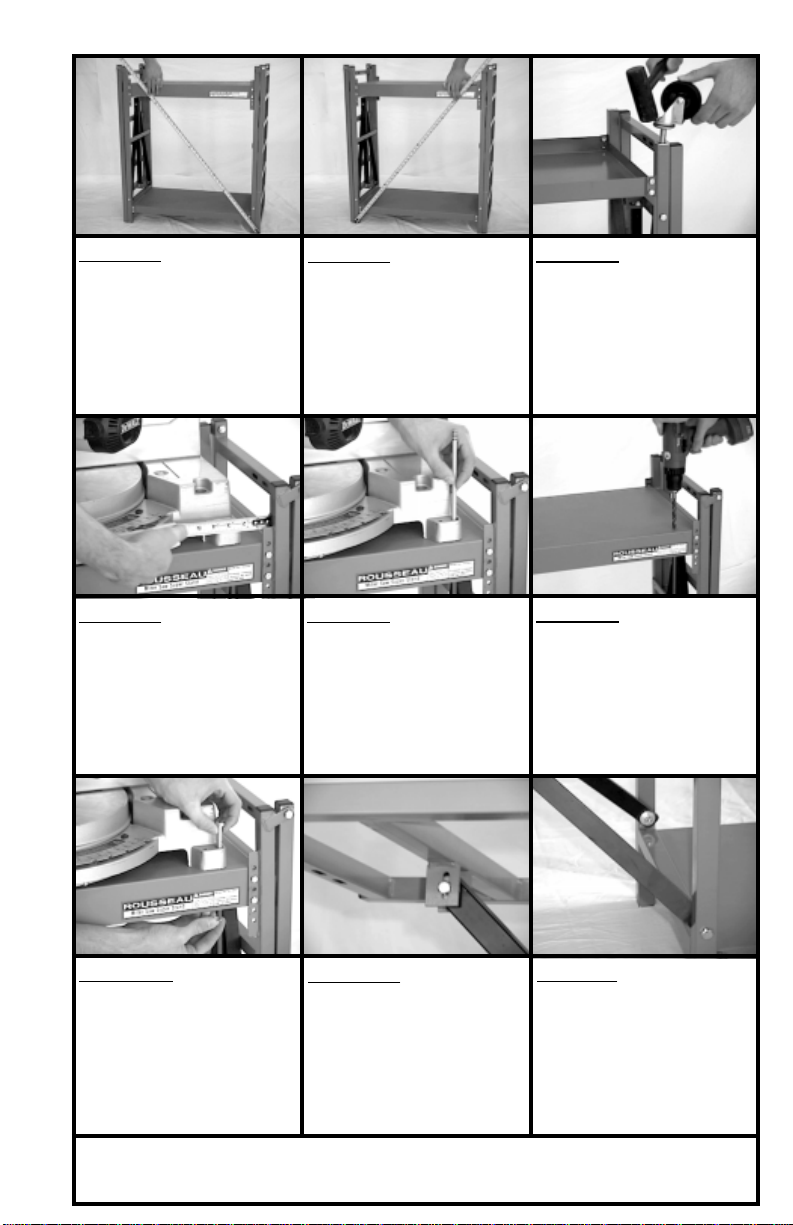
STEP 4) Set stand to
square by measuring
diagonally.
STEP 5) Adjust until
both measurements are
equal then tighten
bolts.
STEP 6) Flip stand
upside down and insert
3” casters with rubber
mallet or hammer and
block of wood.
STEP 7) Return stand
to upright position.
Place saw to the rear of
shelf (for maximum
support area) and
center from side to
side.
STEP 10) Secure saw
to stand with bolts,
nuts, and washers(you
provide).
If you have any questions please call us at:
STEP 8) Mark sites for
drilling.
STEP 11) Adjust wing
height as needed to
bring level with
mitersaw base. This is
the only adjustment for
wing height.
1-(800)-635-3416
STEP 9) Remove saw
from stand. Drill holes
in top using slightly
oversized bit.
NOTE!! Do not
tighten bolts at bottom
of wing supports.
Wing supports need to
be able to move freely.
 Loading...