

Rotary 1000 SERIES, Y12, YA12 Operation & Maintenance Manual
Y12/YA12
SURFACE AND FLUSH MOUNTED LIFT
(1000 SERIES)
12000 lb. Capacity
(6000 lbs. per axle)
O
O
P
P
E
E
R
R
A
A
T
T
I
I
O
O
N
N
&
&
M
M
TABLE OF CONTENTS:
Owner/Employer Responsibilities ...................................................... 2
Safety Instructions ............................................................................... 2
Operating Instructions ......................................................................... 4
Maintenance Instructions ................................................................... 6
Trouble Shooting ................................................................................... 7
Manual Raising & Lowering Runways .............................................. 12
Calibration Procedure .......................................................................... 15
Lift Lockout/Tagout Procedure ........................................................... 18
Operating Conditions ............................................................................ 19
Approved Accessories......................................................................... 19
LP20576
© April 2013 By Vehicle Service Group. All rights reserved. CO8571.1
OM20215
Rev. C 4/11/2013
A
A
I
I
N
N
T
T
E
E
N
N
A
A
N
N
C
C
E
E
M
M
A
A
N
N
U
U
A
A
L
L

TheOwner/Employer:
• TheOwner/Employershall ensure that lift operators are qualified and that they are trained in the safe use and operation of the lift
using the manufacturer’s operating instructions; ALI/SM 93-1, ALI Lifting it Right safety manual; ALI/ST-90 ALI Safety Tips card;
ANSI/ALI ALOIM-2008, American National Standard for Automotive Lifts-Safety Requirements for Operation, Inspection and Maintenance; ALI/WL Series, ALI Uniform Warning Label Decals/Placards; and in the case of frame engaging lifts, ALI/LP-GUIDE, Vehicle
Lifting Points/Quick Reference Guide for Frame Engaging Lifts.
• TheOwner/Employershall establish procedures to periodically inspect the lift in accordance with the lift manufacturer’s instructions or ANSI/ALI ALOIM-2008, American National Standard for Automotive Lifts-Safety Requirements for Operation, Inspection and
Maintenance; and The Employer Shall ensure that lift inspectors are qualified and that they are adequately trained in the inspection
of the lift.
• TheOwner/Employershall establish procedures to periodically maintain the lift in accordance with the lift manufacturer’s instructions or ANSI/ALI ALOIM-2008, American National Standard for Automotive Lifts-Safety Requirements for Operation, Inspection and
Maintenance; and The Employer Shall ensure that lift maintenance personnel are qualified and that they are adequately trained in
the maintenance of the lift.
• TheOwner/Employershall maintain the periodic inspection and maintenance records recommended by the manufacturer or ANSI/
ALI ALOIM-2008, American National Standard for Automotive Lifts-Safety Requirements for Operation, Inspection and Maintenance.
• TheOwner/Employershall display the lift manufacturer’s operating instructions; ALI/SM 93-1, ALI Lifting it Right safety manual; ALI/
ST-90 ALI Safety Tips card; ANSI/ALI ALOIM-2008, American National Standard for Automotive Lifts-Safety Requirements for Operation, Inspection and Maintenance; and in the case of frame engaging lifts, ALI/LP-GUIDE, Vehicle Lifting Points/Quick Reference
Guide for Frame Engaging Lifts; in a conspicuous location in the lift area convenient to the operator.
• TheOwner/Employershall provide necessary lockout/tagout means for energy sources per ANSI Z244.1-1982 (R1993), Safety Requirements for the Lockout/Tagout of Energy Sources, before beginning any lift repairs.
• TheOwner/Employershallnot modify the lift in any manner without the prior written consent of the manufacturer.
SAFETY INSTRUCTIONS
•Daily inspect your lift. Never operate if it malfunctions or if it
has been broken or damaged parts. Use only qualified lift service
personnel and genuine Rotary parts to make repairs.
•Thoroughly train all employees in the use and care of lift and
wheels free device, using manufacturer’s instructions and “Lifting
It Right” and “Safety Instructions” supplied with the lift.
•DONOT permit employees or customers on lift when it is either
being raised or lowered.
•Neverallow unauthorized or untrained persons to operate lift or
wheels free device.
•Prohibit customers or non-authorized persons from being in
shop area while lift is in use.
•DONOTstand in front or behind lift while vehicle is being driven
onto or backed off the lift.
•DONOT allow rear tires or portion of vehicle to interfere with
ramp/chocks.
•Never allow front wheels to strike the front wheel stops.
•Never raise or lower the lift while the vehicle is supported by the
wheels free device. Only raise or lower the lift when all 4 tires of
the vehicle are supported by the runway.
•Always stand clear of lift when raising or lowering and observe
“Pinch Points” Warning.
•Never overload lift: capacity of lift is 12,000 lbs. (6,000 lbs. per
axle.) CAPACITY SHOULD NOT BE EXCEEDED.
•Always engage parking brake and use the rear wheel chocks to
keep the vehicle from rolling freely on the runways.
•Always lower lift on locks before working on vehicle.
•Loadvehicle on lift carefully, align vehicle with runways before
driving on.
CAUTION
raised high enough for locking latches to engage.
2
If you are working under vehicle, lift should be
SAFETY INSTRUCTIONS
•Alwayskeep area around lift clean of tools, debris, grease, and
oil.
•Always keep runway clean.
•Replace all caution, warning, or safety related decals on the lift
when unable to read or missing.
•ForWheelsFreeDeviceSafetyInstructions see Wheels Free
Device Installation, Operation and Maintenance Instructions in
the wheels free device box.
•Neveruse work step while lift is in a raised position.
•DONOT perform any maintenance on the power unit, control
valves, air or fluid lines, hydraulic cylinders, or check fluid level
until lift has been fully lowered and all pressure has bee released
from system. Follow OSHA Lockout/Tagout procedures as they
apply, reference ANSI Z244.1.
•DONOT block open or override self-closing lift controls, they are
designed to return to the off or neutral position when released.
•Cleanarea if vehicle is in danger of falling.
•Remove tools, and other equipment from on or below lift before
lowering lift.
CAUTION
Lowering lift legs onto an obstruction may cause
damage to lift.
SAFETY
INSTRUCTIONS
Read operating
and safety manuals
before using lift.
CAUTION
?
?
?
Lift to be used
by trained operator
ONLY.
WARNING
SAFETY
INSTRUCTIONS
Do not operate
a damaged lift.
©
WARNING
Remain clear of lift
when raising or
lowering vehicle.
©
SAFETY
INSTRUCTIONS
Proper maintenance
and inspection
is necessary
for safe operation. ©
©
WARNING
Keep clear
of pinch points
when lift is moving.
©
WARNING
Clear area if vehicle
is in danger of falling.
WARNING
Keep feet
clear of lift
while lowering.
©
CAUTION
Authorized personnel
only in lift area.
©
WARNING
Do not override
self-closing
lift controls.
©
©
©
Chock wheel
to prevent
vehicle movement.
©
3

OPERATINGINSTRUCTIONS
WARNING
WARNING
WARNING
WARNING
WARNING
WARNING
To avoid personal injury and/or property dam-
age, permit only trained personnel to operate lift.
IMPORTANT
raise just one end, corner or one side of vehicle.
After reviewing these instructions, get familiar with lift controls by
running the lift through a few cycles before loading vehicle on lift.
til adjustments or repairs are made by a qualified lift service
technician.
Observe and heed SAFETY and WARNING labels on the lift.
NOTE: This lift was designed for 121-1/2” or longer wheelbase at
the rated 12,000 lb.
1. Loading:
A. Lift must be fully lowered and service bay clear of all
personnel before the vehicle is brought on lift. Do not
stand in front of a moving vehicle.
B. If lift is equipped with wheels free device, it must be fully
lowered and the rear wheels free device pushed toward
center of lift to provide under car clearance.
C. Stop vehicle when it contacts the front wheel stops.
At all times, be sure rear wheels are forward of
the ramp/chocks and the ramp/chocks will clear tires
when the lift is raised, Fig. 1. Driver and passengers
must exit before raising.
Always lift vehicle using all four tires. Never
If lift is not operating properly, DONOT use un-
WARNING
above the runway by the wheels free device.
3. BeforeLoweringLift:
A. Be sure no one is in the lift area and that all tools, tool
trays, etc. have been removed from under the lift and
vehicle.
B. If lift is equipped with wheels free device, it must be fully
lowered and the rear wheels free device pushed toward
center of lift to provide under car clearance.
4. ToLowerLift:
A. Raise lift off locking latches by pushing the “RAISE”
button, Fig. 2.
Note: If actuator on air valve is released, the latches will auto-
matically reset to the engaged position.
B. Push the “Lowering” button to lower lift, Fig. 2.
C. Observe lift and vehicle to be sure lift is level while being
lowered. If not, STOP raise lift by pressing the “Raise”
button until runways are level and repeat the lowering
process.
D. Fully lower lift, remove the triangular wheel chocks and
check to be sure area is clear before removing vehicle
from lift, Fig. 1.
Never raise lift while vehicle is supported
Observe pinch point warning decals, Fig. 3.
D. Place triangular wheel chocks on each side of one of the
rear tires, Fig. 1.
2. ToRaiseLift:
A. Push the “RAISE” button on the control panel. Release
button at desired height, Fig. 2.
B. Lower lift to locking latches by pushing the “LOWERTO
LOCKS” button until light turns off, Fig. 2.
IMPORTANT
ment readings are measured.
C. For Wheels Free Device Operating Instructions see
Wheels Free Device Installation, Operation and Mainte nance Instructions in the wheels free device shipping
carton.
CAUTION
are not engaged.
Always lower lift on locking latches before align-
DONOT go under vehicle or lift if locking latches
Keep hands clear of linkages while the lift is
being raised or lowered, Fig. 3.
Never lower lift while vehicle is supported
above the runway by the wheels free device.
Before attempting to lift pick-up trucks or other
truck frame vehicles, be sure that:
A. Vehicle individual axle weight does not exceed one-half
lift capacity.
B. Adequate overhead clearance is provided to raise
vehicles to desired height.
Note: Allow 2 seconds between motor starts. Failure to comply
may cause motor burnout.
*Maximum operation pressure is:
3250 psi for Y12/YA12
4
OPERATINGINSTRUCTIONS
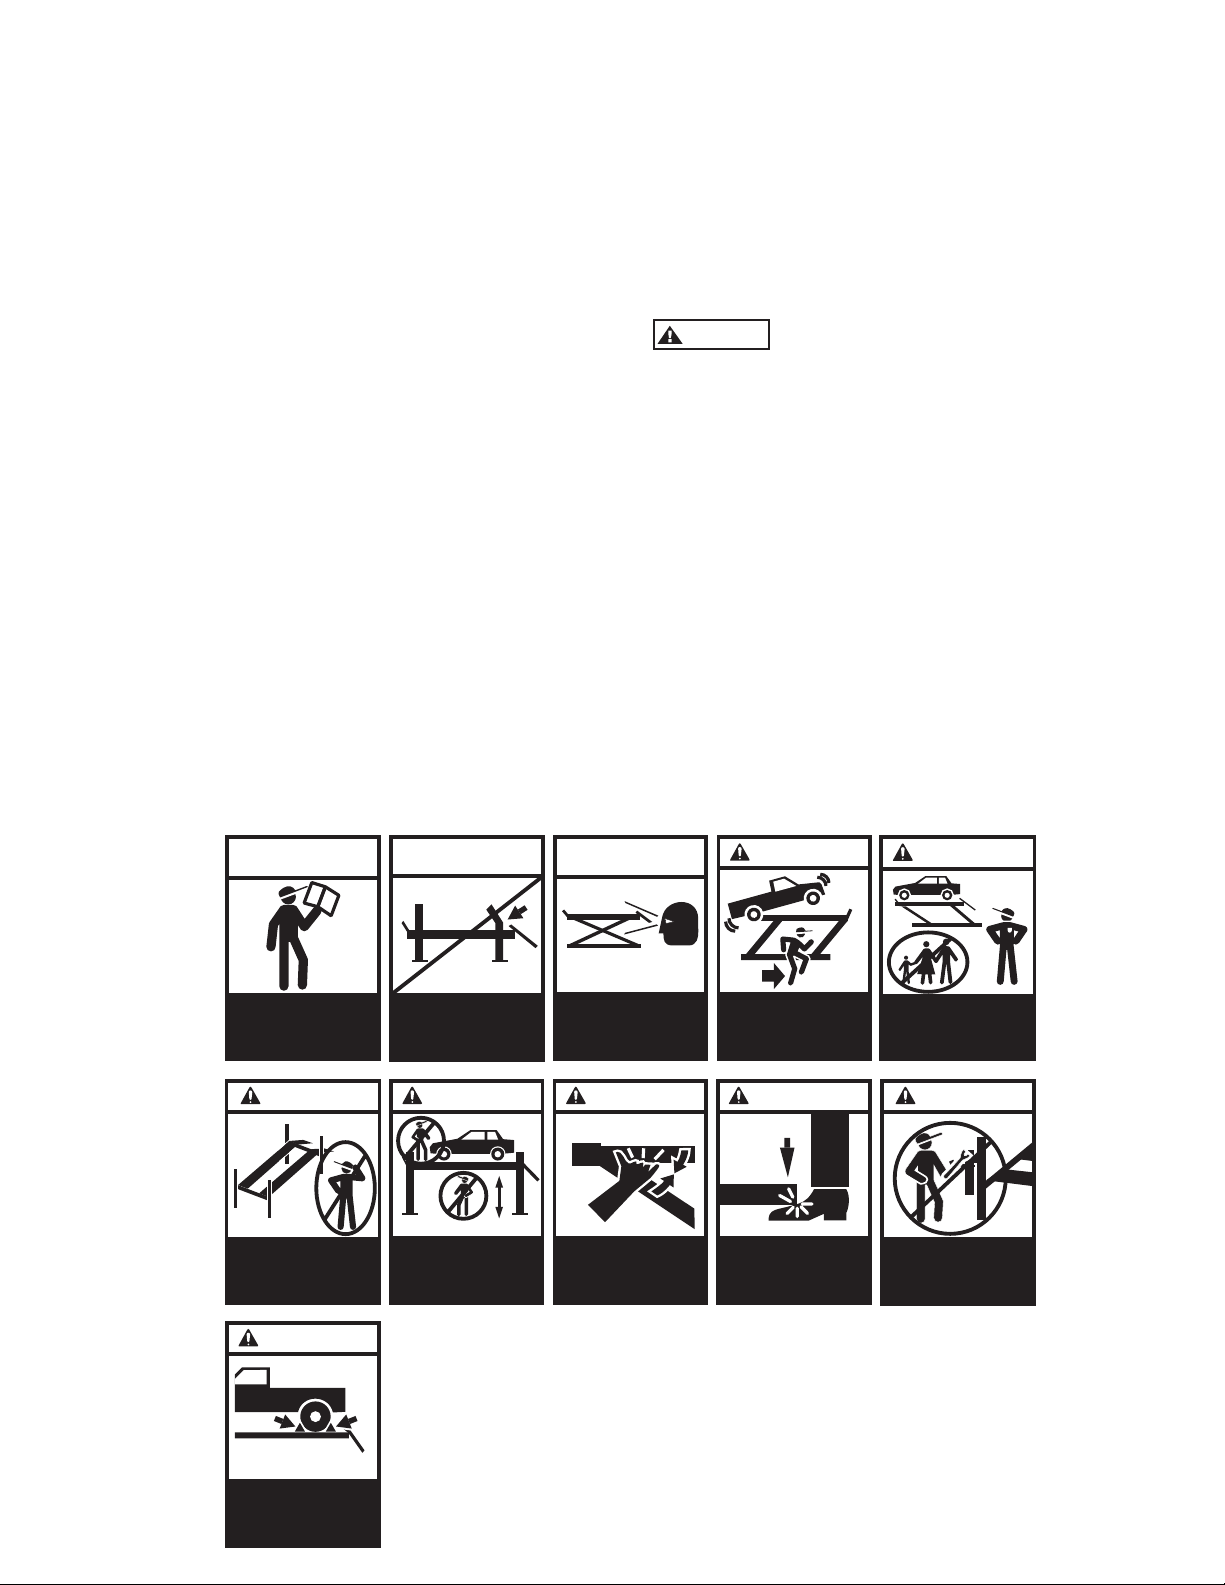
Triangular
Wheel Stops
Raise Button
Control Fault
Beeper
Rear Wheel
Chock
Fig. 1
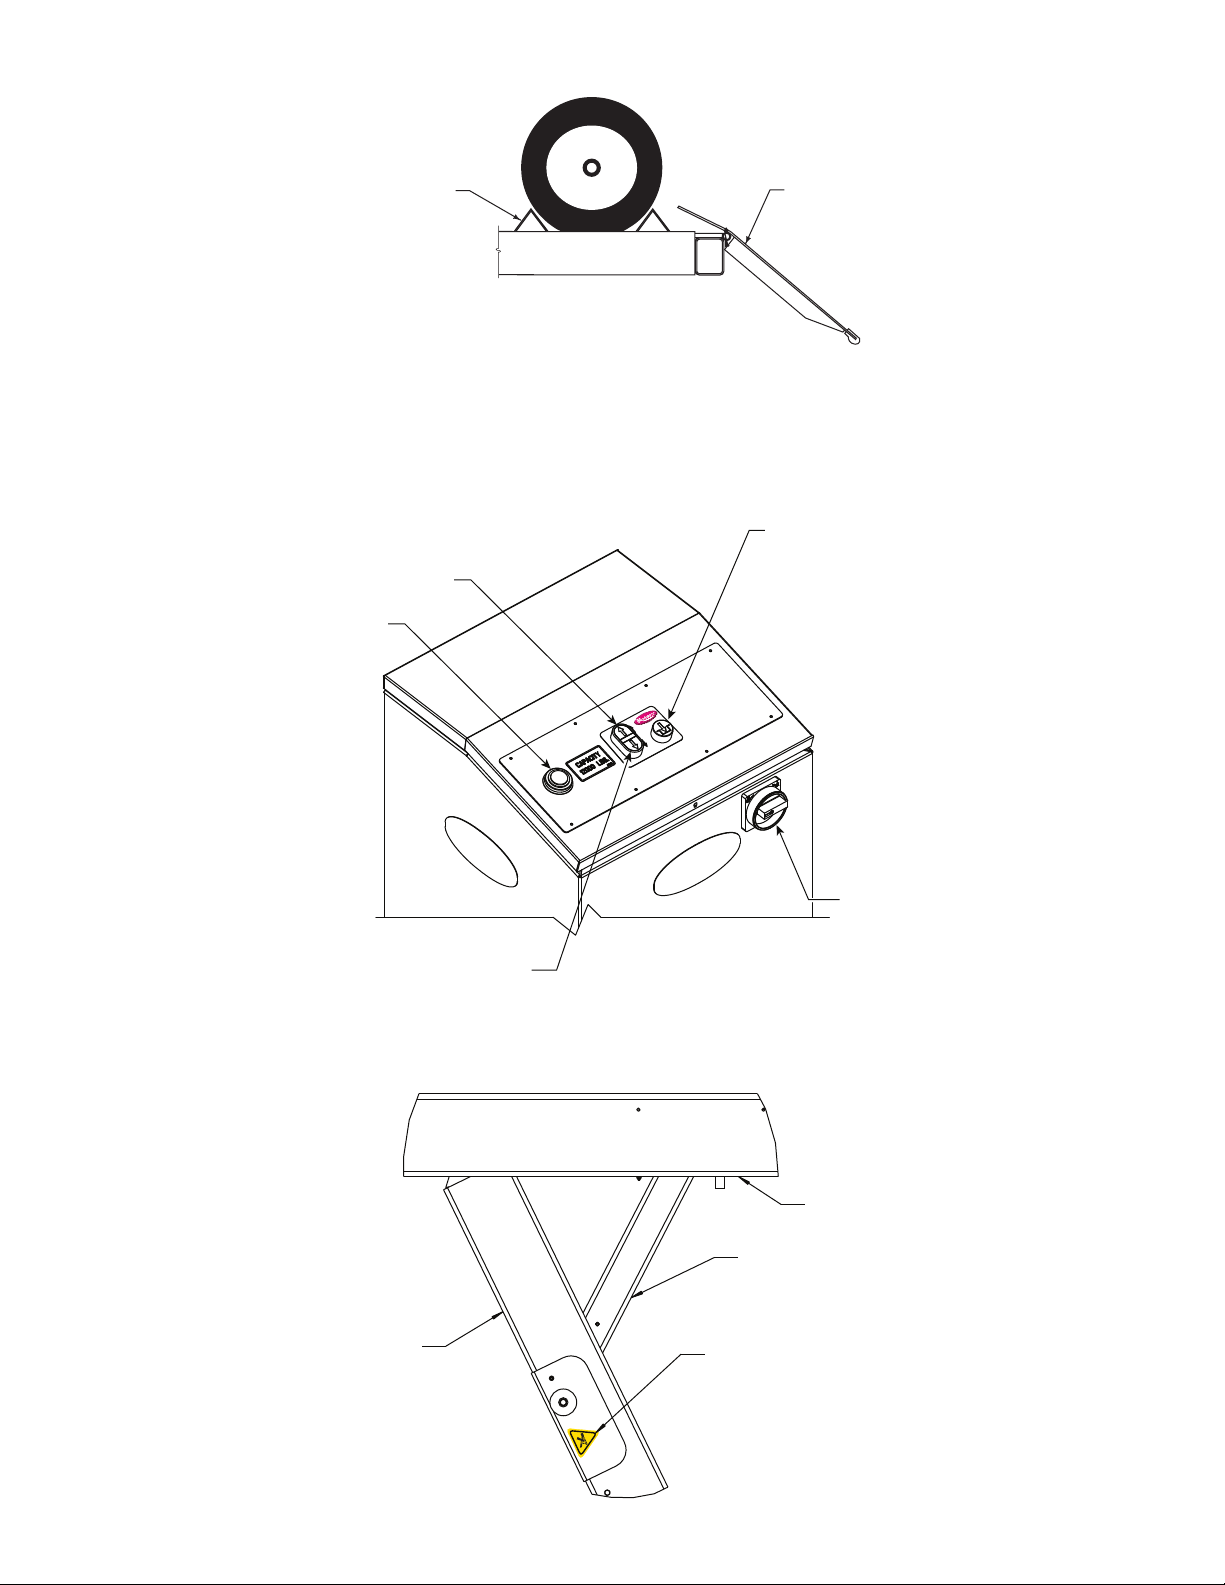
Lower To Locks Button
(Blinks When Lift Is Not
Resting On Locks)
LIFT ON
LOCKS
WHEN LIT
LOWER TO LOCKS
Leg Link
Lower Button
Disconnect Switch
Fig. 2
Runway
Arm Link
Hands Clear Warning
NP945 REV.-
Fig. 3
5

WARNING
MAINTENANCEINSTRUCTION
If you are not completely familiar with automotive lift maintenance procedures, STOP. Contact factory for
instructions.
ToAvoidPersonalInjury, permit only qualified lift service personnel to perform maintenance on this equipment.
•Always: Keep attaching bolts tight.
•Always: Keep locking latches free and oiled.
•Always: Raise lift when cleaning floor area with solvents and/or cleaning compounds.
•Always: Always keep runways and linkages clean. In salt belt or other corrosive environments, the lift must be washed down
weekly.
•Daily: Inspect front wheel stops and ramp/chocks for damage or excessive wear. Replace as required with genuine Rotary Lift
parts.
•Daily: Check locking latch operation and reset. Adjust per instructions or repair if required with genuine Rotary parts.
If locking latch is not heard when lift is raised:
A. Lower loaded lift onto lock, to check if lock is functioning. If lock is functioning, stop. If not, continue on
to “Step B”.
B. Check locking latch for damage or air line problem.
C. Repair and lubricate locking latch pivot points.
D. Lower lift about half way. Then raise lift and watch locking latch operation.
E. The air cylinder should allow locking latch to pivot in and out of the latch bar.
F. Push the “LOWER” button. This should retract air cylinder and locking latch from latch bar in-order to lower
lift.
•Weekly: Clean foreign debris from rear wheel slip plates and turning radius gauges by blowing out with shop air. DONOTGREASE
BALLBEARINGS.
•Monthly: Check anchor bolts to ensure they are torqued to 65 ft. lbs .
•Monthly: Check level of runway. Adjust per instructions.
•Monthly: Check position sensor cables. Replace if damaged.
•Monthly: Lubricate Guide on each turning radius with a dry film lubricant. Clean and lubricate more often as conditions warrant.
•Semi-Annually: Check fluid level of lift power unit and refill if required. If fluid is required, inspect all fittings, hoses and seals. Repair
as required.
•Semi-Annually: Spray inside of slider and lock tracks with Teflon (PTFE) lubricate with a paraffin wax additive. Clean and lubricate
more often as conditions warrant.
•Semi-Annually: Lubricate ramp/ chock hinge pins.
•ForWheelsFreeDeviceMaintenance Instructions see Wheels Free Device Installation, Operation and Maintenance Instructions in
the wheels free device box.
•Replaceall caution, warning, or safety related decals on the lift if unable to read or missing. Reorder labels from Rotary Lift - see
parts breakdown.
•OilFilterControlManifold: Replace filter after the first 6 months of operation and every 2 years thereafter. Installation torque is hand
tight.
6
 Loading...