

Rosières RMO200CRB User Manual [fr]
Operation Manual
Microwave
Mode d’Emploi
Micro-ondes
Instrucciones de Uso
Microondas
Instruções de Uso
Microondas
Bedienungsanleitung
Mikrowelle

1

ENGLISH
Dear Client,
Above all, we would like to thank you for choosing our product. We are sure that this modern, functional
and practical microwave oven, manufactured from the best materials, will satisfy your requirements.
You are advised to read our operation manual carefully and the enclosed pamphlet to enable you to get
the best results from your Microwave oven.
PLEASE KEEP THESE DOCUMENTS FOR FUTURE REFERENCE.
NOTE
To benefit from our guarantee, it is vital to present the “Guarantee Certificate” and the receipt of the
purchase, dated and stamped by the selling establishment when you request technical assistance.
Without this requirement the guarantee will not be valid.
The parts of this appliance t hat may come into contact with foodstuffs comply with the provisions of
ECC Directive 89/109.

Contents
Installation Instructions................................................................................................................3
Important Information...................................................................................................................4
Description of the Microwave Oven..............................................................................................5
The advantages of a microwave oven:.............................................................................................. 5
How the microwave oven works........................................................................................................5
Why does the food heat up?..............................................................................................................5
Operating Instruction ....................................................................................................................7
Microwave function............................................................................................................................ 7
Functioning Time................................................................................................................................ 8
While Working ....................................................................................................................................8
Using the Browning Plate...................................................................................................................9
Advice for Good Usage of the Oven............................................................................................10
Working with microwaves ................................................................................................................10
Advice on the use of Cookware ..................................................................................................11
Metal .................................................................................................................................................11
Glass..................................................................................................................................................11
Porcelain...........................................................................................................................................11
Glazed Ceramic Dishes....................................................................................................................11
Plastic................................................................................................................................................11
Wood .................................................................................................................................................11
Recipient Test...................................................................................................................................12
Lids....................................................................................................................................................12
Oven Maintenance...................................................................................................................... 13
Cleaning ............................................................................................................................................13
Light Replacement ...........................................................................................................................13
Official Technical Assistance Service (T.A.S.) ............................................................................14
Solving Problems..............................................................................................................................14
Cord Replacement............................................................................................................................14
PRODUCT SERIAL NUMBER Where it is?........................................................................................14
2

Installation Instructions
Remove oven from packing
Remove all packing materials and accessories from the oven cavity.
Check whether the following parts are in good condition:
- door and hinges;
- front of the oven;
- inside and outside of oven.
Should you find any faults DO NOT USE THE OVEN, and contact your dealer.
Place the oven on a flat stable surface able to support its weight.
To allow efficient cooling of the apparatus, it is recommended to:
- Leave a free space of 20 cm above the upper part of the microwave oven.
- If it is preferred to install the microwave oven in fitted kitchen furniture, observe the fitting instructions
of the fitting frame, which is sold separately, respecting the opening in the upper part of the unit.
The oven should be kept away from heat and vapour sources (electric oven, toasters, etc.).
The oven has been supplied with a mono-phase power supply cord. The appliance must be earthed.
The manufacturers and dealers are not responsible for any breakdowns or personal accidents should
these installation instructions not be followed by the purchaser.
WARNING: THIS APPLIANCE MUST BE EARTHED.
3

Important Information
WARNING: If the door or the door hinges are damaged, the oven should not be switched on until
repaired by a qualified technician.
WARNING: It is dangerous for anyone, except a qualified technician, to tamper with the apparatus or try
to repair it in any way by removing any lid or covering which assures protection against the exposure to
microwave energy.
WARNING: Liquids and other food should not be heated in airtight recipients as these can explode.
WARNING: Children should only be allowed to use the oven without adult supervision if they have been
given the appropriate instructions so that they can use the oven safely and understand the dangers of
its incorrect use.
When heating food in plastic or paper recipients, check the oven frequently in case they ignite.
If any smoke is detected, then switch off the oven or disconnect it and keep the door closed in order for
any flame to die out.
After warming up baby bottles or baby food jars, stir or shake its contents and check the temperature
before feeding, to avoid burns.
Warming up drinks in the microwave oven may result in a delayed eruptive boiling, therefore one should
be careful when handling the recipient.
Eggs with their shell and whole boiled eggs shouldn’t be warmed up in microwave ovens as they may
explode.
Do not use any metal utensils inside the oven unless they were supplied with the oven and for that
purpose.
Do not warm up liquids or other food in closed recipients as they may explode.
Do not warm up pure alcohol or alcoholic drinks. DANGER OF FIRE.
When in doubt, choose short periods to cook, heat or defrost food with microwaves. With long cooking
periods the food may become dry and even begin to burn.
Do not use the oven for anything other than warming, cooking or defrosting food.
Do not operate the oven without its tray nor when empty.
Keep the oven ventilation holes open. Never cover any air vents or openings.
4

Description of the Microwave Oven
The advantages of a microwave oven:
In a conventional oven the heat radiated by the resistances or gas burners, slowly penetrates the food
from the outside to the inside. There is, therefore, a great loss of energy in the heating of the air, oven
components and recipients.
On the other hand, in microwave ovens the heat is generated in the interior of the food itself, heating it
from the inside outwards. There is therefore no loss of energy as the air, interior walls of the oven and
recipients (when adequate) do not heat up with microwaves.
In short, microwave ovens have the following advantages:
1. Save on cooking time: in general there is a 3/4 reduction of the cooking time than with conventional
methods.
2. Ultra-quick defrosting which prevents bacteria development.
3. Electricity saving.
4. Maintaining the nutritive value of the food due to the cooking time reduction.
5. Easy cleaning.
How the microwave oven works
In the microwave oven there is a high voltage valve called "Magnetron" that converts electric energy to
microwave energy. These electromagnetic waves are conducted to the inside of the oven cavity by means
of wave-guide and spread by a mode stirrer or by a turntable.
Inside the oven the microwaves spread out in all directions and are reflected by the metallic walls,
penetrating the food evenly.
Why does the food heat up?
Most food contains water, whose molecules vibrate with microwaves.
The friction between the molecules generates heat, which causes a temperature rise in the food,
defrosting it, cooking it or keeping it warm.
As the heat is formed inside the food:
- It may be cooked with little or no liquid or fat;
- Defrosting, heating or cooking in the microwave oven is quicker than in a conventional oven;
- Vitamins, minerals and nutritive substances are preserved;
- There is no change in the natural food colour and aroma.
5
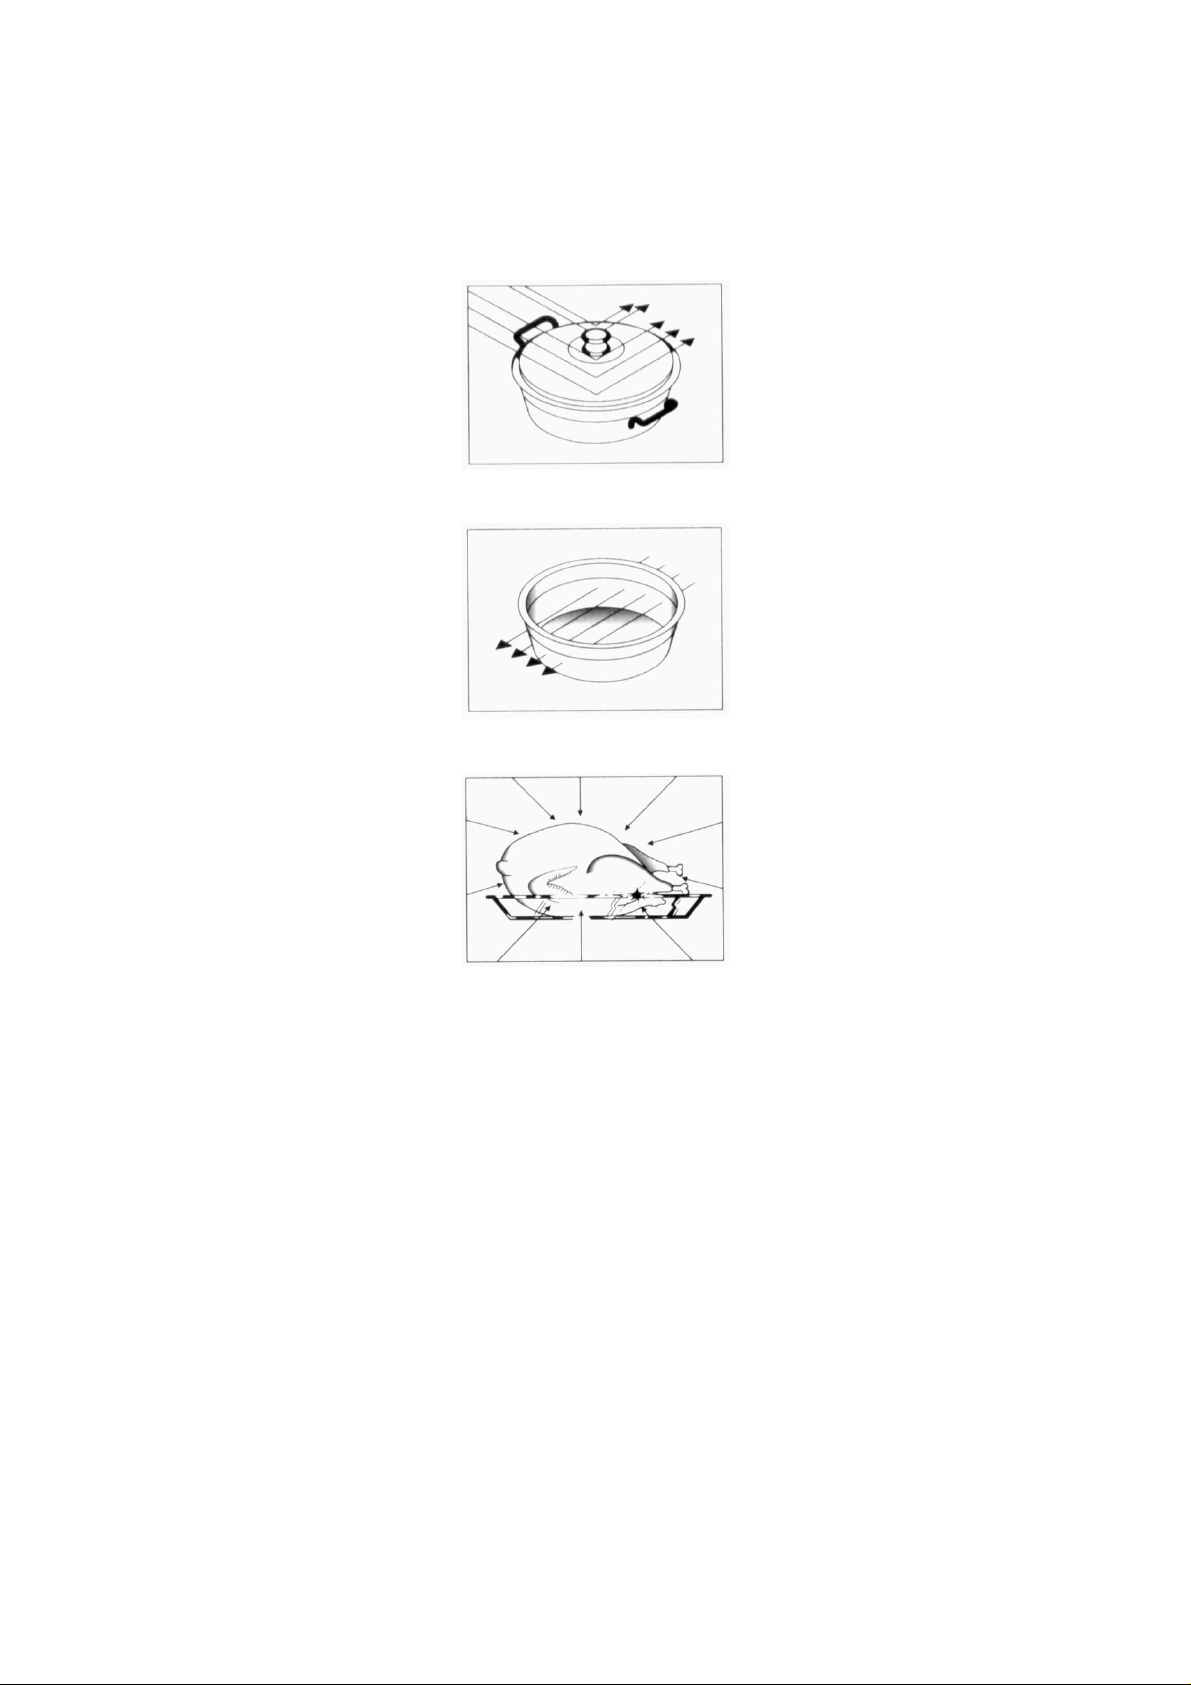
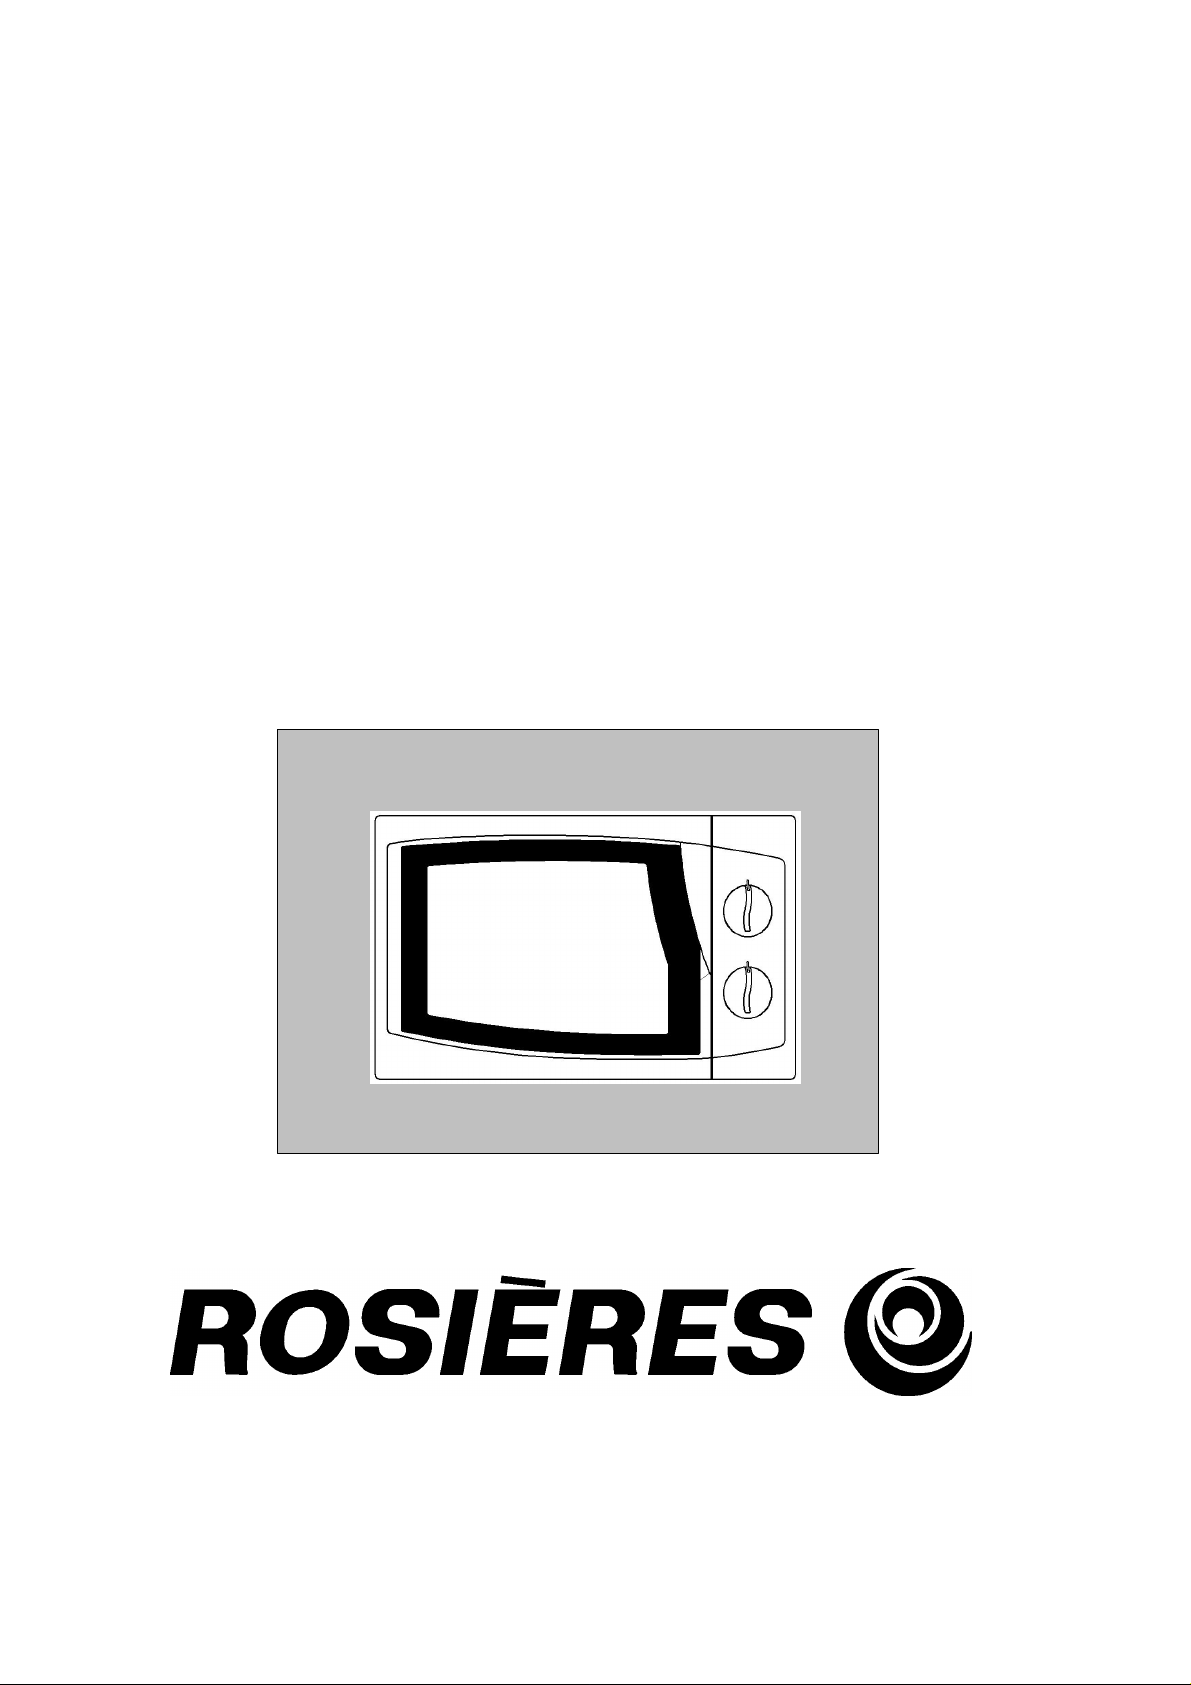
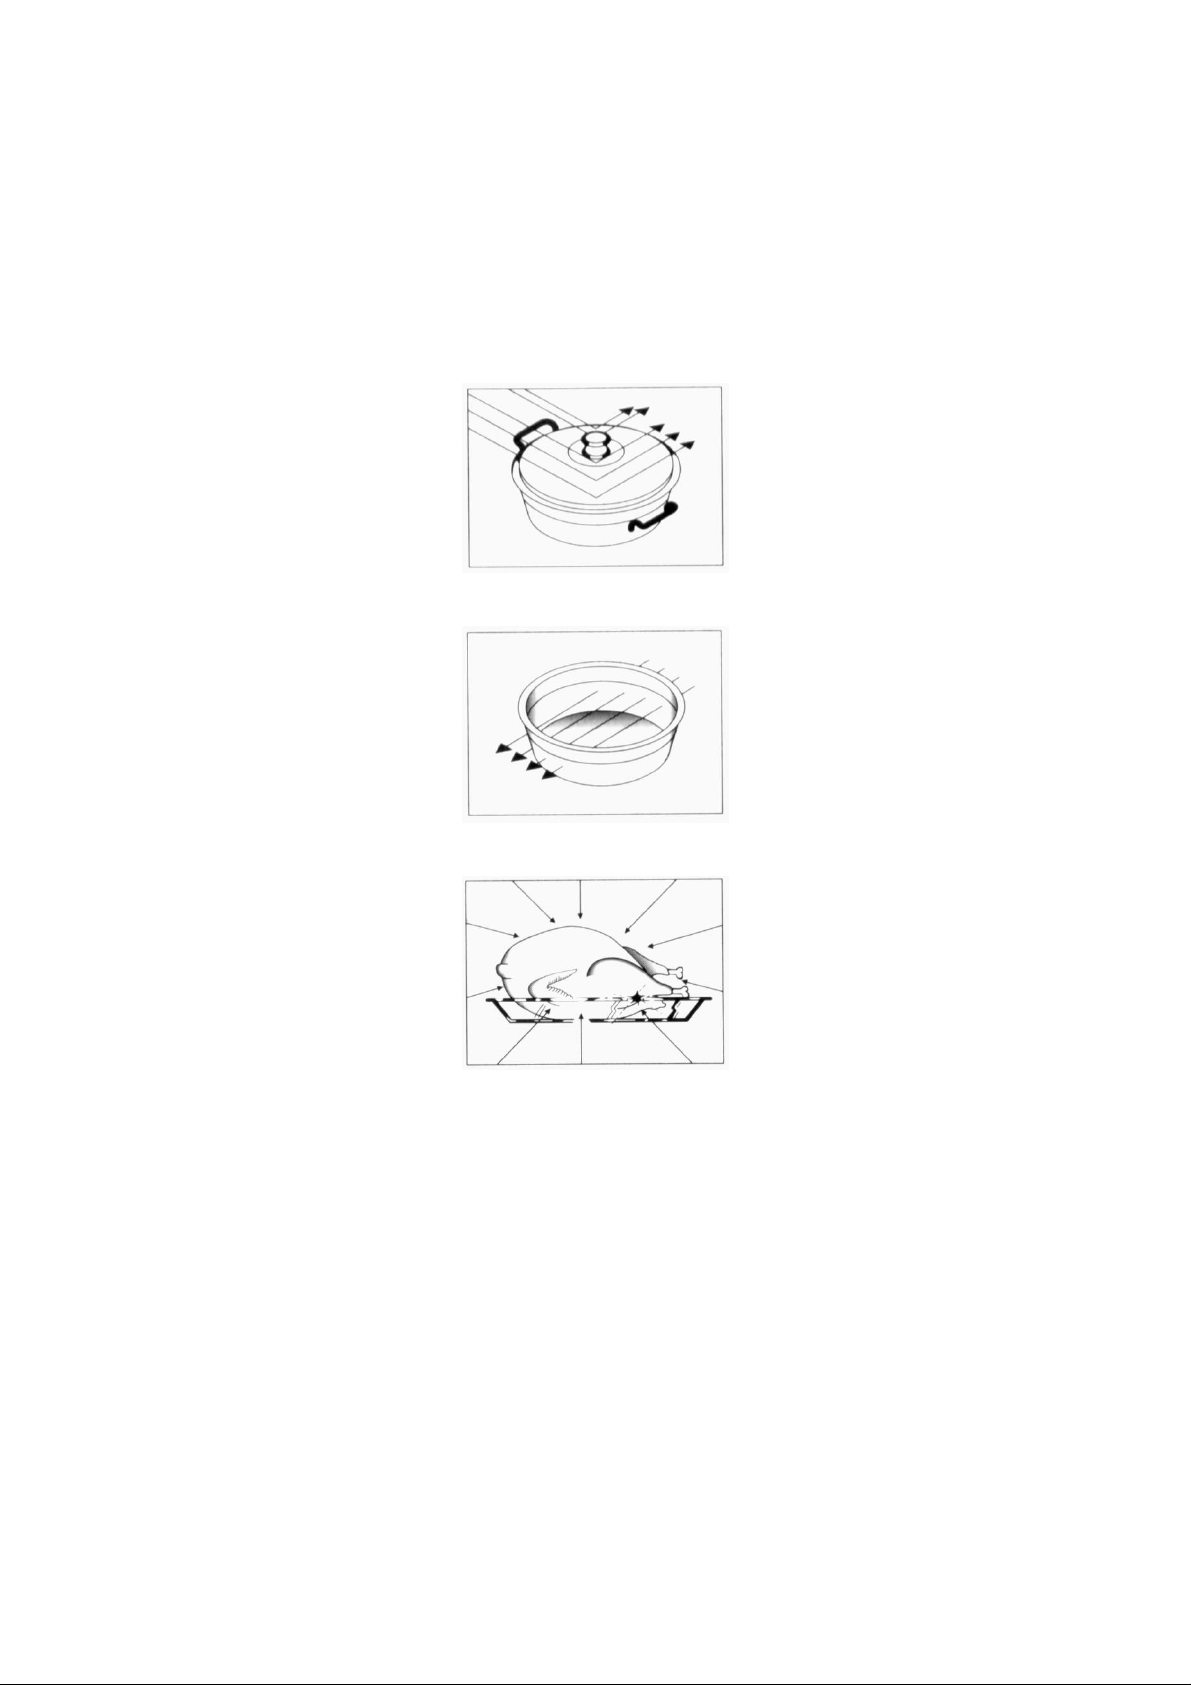
The microwaves travel through porcelain, glass, cardboard or plastic but not through metal. Therefore,
recipients made of or containing metal should not be used in the microwave oven.
The microwaves are reflected by the metal
They travel through glass, porcelain…
They are absorbed by the food.
6

Operating Instruction
See picture in enclosed leaflet and do as follows:
1. Plug the microwave oven into a suitable outlet (see installation instructions).
2. Open the door by pressing the Door Open Button (7). In models without this button, you need only pull
the door. The oven light should switch on.
3. Place food in a dish on the tray or on the grill rack.
4. Select function and cooking time according to the following chapters.
5. Shut the door. Models with Start Button (6), press this button.
6. The oven will start working.
Microwave function
Set Function Selector (3) in position corresponding to the required power level in agreement with the
following table.
Position Power Level
A Maximum
B Medium
C Minimum
D Defrost
E Keeping warm
Note: In order to know the numerical value of the different power levels, consult the leaflet.
7

Functioning Time
Desired functioning time is selected by rotating the Timer Button (5).
For periods shorter than 2 minutes adjust the timer to a higher position and then back to the required
time.
Whenever the timer is in a position other than zero then the oven light should switch on.
When the time is up, the timer will emit a sound signal and oven will automatically be switched off.
While Working ...
The oven door may be opened at any time while in use:
- THE PRODUCTION OF MICROWAVES IS IMMEDIATELY INTERRUPTED;
- The grill will be switched off, however, remaining very hot;
- The timer will stop automatically, indicating the time left.
You may then, if you wish:
- Stir or turn the food, to improve even heating;
- Select another function by setting the Function Selector (3) on another position;
- Change the remaining functioning time by turning the Timer Button (5).
Close the door again and press the Start Button (6) in the models with this button. The oven will start
working.
CAUTION: at the end of the cooking process turn the Timer Button (5) to zero, otherwise the oven will
start when the door is closed.
Note:
1. To stop the oven before the programmed time, rotate the Timer Button (5) to zero or open the door.
2. While the oven is working, you may change the timer, the power level or the function, by rotating the
respective buttons.
8

Using the Browning Plate
Normally when cooking food, such as pizzas or pies, on a grill or in a microwave oven, the dough or pastry
becomes soggy. This can be avoided by using a browning plate. As a high temperature is reached quickly
on the bottom of the browning plate, the crust turns crisp and brown.
The browning plate can also be used for bacon, eggs, sausages, etc.
VERY IMPORTANT NOTES:
- Use oven gloves at all times as the browning plate will become very hot.
- Never place the browning plate in the oven without the glass plate.
- Do not place any recipients on the browning plate that are not heat-resistant (plastic bowls for
example).
How to cook with the browning plate:
1. Preheat the browning plate by selecting the Microwave function for 3 to 5 minutes with a 70%
microwaves power level.
2. Brush the plate with oil in order to brown the food nicely.
3. Place the food on the browning plate. You can place defrost food (like frozen pizza) without a previous
defrosting.
4. Place the browning plate on the glass turntable in the microwave oven.
5. Select the MICROWAVE function and the cooking time as described above.
Food Weight Cooking Time
200 g 5 min ---
Pizza
Quiches and
Pies
Hamburgers --- 5 min --- Turn the hamburgers over once or twice to
Oven chips 400 g 6 min --- Stir the chips often to avoid burning them.
300 g 6 min --400 g 7 min ---
200 g 5 min 2 min
300 g 6 min 2 min
400 g 8 min 2 min
Standing
Time
Recommendation
This cooking time applies for pizzas with
thin dough.
For pre-cooked pizzas increase the time by
1 minute
The standing time will allow temperature
evenness.
achieve even browning on both faces.
How to clean the browning plate
The best way to clean the browning plate is to wash it with hot water and detergent and rinse off with
clean water. Do not use a scrubbing brush or a hard sponge otherwise the top layer will be damaged.
VERY IMPORTANT NOTES:
- As the browning plate has a Teflon layer, if you use it incorrectly, it can be damaged.
- Never cut the food on the plate. Remove the food from the plate prior to cutting.
- Turn the food over preferably with a plastic or wooden spatula.
9

Advice for Good Usage of the Oven
Working with microwaves
Before using any dish, make sure that it is appropriate for use in microwaves (SEE ADVICE ON THE USE OF
UTENSILS AND RECIPIENTS).
Always make a slit in the food's shell before cooking it.
Whenever heating liquids use a recipient with a large opening to allow the vapour to escape.
Remember that:
1. Larger quantities of food require more cooking time.
2. The lower the food temperature the more cooking time is needed.
3. Less dense foods cook faster.
4. An even distribution of the food in the oven guarantees better results. The cooking of different types
of foods simultaneously is possible by placing the dense food in an outside circle and the less dense
in the centre of the plate.
5. Better results are achieved by allowing the food to stand before serving because it continues to cook
for some time after the oven is switched off.
6. The cooking time may be shortened and the liquids preserved (the food doesn't dry out) by covering
the food. The lids should be transparent to allow the microwaves through and they should have a
small opening for the vapour to escape.
10

Advice on the use of Cookware
Metal
Do not use metal dishes, tinned food, food wrapped in tin foil and cutlery inside the microwave oven. The
metal reflects the microwaves and food is not heated.
The food should be removed from its tin foil containers and placed in dishes that are appropriate for use in
the microwave oven. As microwaves don't penetrate tin foil, the food heats only on the surface. By using
appropriate dishes, the heat is evenly distributed throughout the food.
EXCEPTIONS:
To cook or defrost pieces of meat of irregular sizes, you may cover the thinner parts with tin foil, which
should be kept at least 2 cm away from the oven walls, otherwise these may cause an electric arc.
Metal spits may be used as long as they are smaller than the pieces of meat.
Glass
All heat proof glass containers may be used.
Crystal contains a percentage of lead, which may cause it to crack if used in the microwave oven. The
same may happen to glass dishes with jagged edges.
Porcelain
Porcelain dishes may be used but they should not have hollow handles. Humidity may be formed inside
the hollow handles, which will causes an increase in pressure that may cause them to break.
Glazed Ceramic Dishes
This type of dish may heat considerably.
Painted glazed ceramic dishes may be used if the painting is done under the glaze.
Many glazes and colours contain metallic substances. If this is the case they should not be used in the
microwave as they may be damaged.
Recipients with silver and gold glazes may go dark.
Plastic
Plastic dishes should be heat resistant (at least 180° C) or they may be deformed when used in the
microwave. Melamine dishes are not suitable for use in the microwave as they heat up too much.
To cook or heat food in plastic bags, they should be perforated to allow vapour to escape thus preventing
the bag from bursting.
Wood
Wooden recipients should not be used in the microwave. Wood contains water which evaporates and may
cause the recipient to crack.
11

Recipient Test
If in doubt about the use of glass, glazed ceramic or porcelain dishes in the microwave oven, do the
following test:
1. Place the empty dish and a glass of water inside the microwave oven;
2. Close the door;
3. Set the Power Level Selector at maximum power;
4. Adjust the timer to 1 minute;
Note: the oven starts
If during this test you hear any noise along with sparks, turn off the oven immediately.
Any kind of cookware that has this kind of behaviour or is very hot when removed from the oven should
not be used in the microwave oven.
EXCEPTIONS:
Glazed ceramic dish recipients contain many water molecules and heat a lot, but can be used in the
microwave oven.
If in doubt, contact the supplier of the cookware, and make sure that they are appropriate for microwaves.
Lids
The use of glass lids, plastic lids or plastic film is advisable because:
1. They prevent the release of excessive vapours especially when cooking for longer periods.
2. They increase the speed of heating food.
3. They prevent the food from drying up.
4. They prevent the loss of the food aroma.
The lids should have holes to avoid pressure. Plastic film should be perforated.
Baby bottles, baby food jars and other similar recipients should be warmed up without lids as they can
burst.
12

Oven Maintenance
Cleaning
MAKE SURE THAT THE OVEN IS UNPLUGGED BEFORE CLEANING THE OVEN.
DON'T USE ABRASIVE CLEANING PRODUCTS.
OUTSIDE
1. Clean the outside surface with a neutral detergent, warm water and dry it with a damp cloth.
2. Avoid water from entering the oven ventilation holes.
INSIDE
1. Clean the oven walls with a damp cloth after each use.
2. Avoid water from entering the ventilation holes in the oven's interior.
3. If some time has passed by since the last cleaning and the oven's interior is dirty, place a glass of
water on the tray and switch on the oven for 4 minutes on the highest setting. Moisture will form on
the oven walls which will be easily cleaned.
4. The tray can be washed with regular dish washing detergent or in the dishwasher.
DOOR, DOOR SEAL, AND OVEN FRONT
1. These parts should always be clean, especially the contact surface between the door and the oven
front, to prevent microwave leakage.
2. Use neutral detergent, warm water and dry the surface with a soft cloth.
Light Replacement
In some models the light may be replaced by the user. These ovens have a lid on the left-hand side.
To replace the light, do as follows:
1. Unplug the oven;
2. Remove the lid from the light compartment;
3. Replace the light bulb for a new one (25 W);
4. Replace the lid.
WARNING: in the models without the lid to replace the light bulb, this should be done by the Technical
Assistance Service because special tools are required.
13

Official Technical Assistance Service (T.A.S.)
Solving Problems
Repairs or interventions carried out by an unqualified serviceman can cause dangerous situations.
Every and any kind of repair or intervention should be done by the manufacturer, authorised agents or
qualified technicians.
If you detect any abnormalities in the oven, check the following before you contact T.A.S:
1. Check if the outlet into which the oven is plugged has power. To do so, plug another appliance into the
same outlet and check if it works.
2. If the oven lamp switches on, but the food does not heat up, check if the door is well closed (if the
door is not properly closed, no microwaves will be produced).
Cord Replacement
If the cord is damaged, it should be replaced by the manufacturer, authorised agents or qualified
technicians in order to avoid any dangerous situation and also because special tools are required.
PRODUCT SERIAL NUMBER Where it is?
Before calling the Service Center remember to meake note of the product name and the serial number
(16 numbers beginning with number 3) that can be found on the serial number specification
platelocated on the left face of the control panel. This will reduce the need for unnecessary and
chargeable visit of our technicians.
TXT17 – 12 - GB
14

FRANÇAIS
Chère Cliente,
Nous tenons, tout d’abord, à vous remercier de votre préférence pour notre produit. Nous sommes sûrs
que ce Four Micro-ondes moderne, fonctionnel et pratique, fabriqué avec des matériaux de première
qualité, vous satisfera pleinement.
Afin de tirer le meilleur usage et la plus grande satisfaction de cet appareil, nous vous recommandons de
lire attentivement les instructions contenues dans ce mode d’emploi et la notice ci-jointe, celles-ci vous
permettront de connaître toutes les caractéristiques du four et d'éviter des incidents dus à une mauvaise
utilisation.
CONSERVEZ CETTE DOCUMENTATION, ELLE POURRA VOUS ÊTRE UTILE ULTÉRIEUREMENT.
ATTENTION
Pour bénéficier de notre GARANTIE, il est indispensable de présenter le Certificat de Garantie avec la
facture qui portera le cachet du vendeur et la date d'achat.
À défaut de ces documents, vous ne pourrez bénéficier de notre GARANTIE.
Les composants de cet appareil qui sont en contact avec les aliments sont conformes aux exigences
de la directive ECC 89/109.
15

Index
Instructions pour l’Installation ....................................................................................................17
Indications Importantes..............................................................................................................18
Description du Four à Micro-ondes............................................................................................19
Quels sont les avantages du four à micro-ondes?.........................................................................19
Comment fonctionne le four à micro-ondes?.................................................................................19
Pourquoi les aliments chauffent-ils?...............................................................................................19
Instruction de Fonctionnement ..................................................................................................21
Fonction Micro-ondes.......................................................................................................................21
Temps de Fonctionnement..............................................................................................................22
Pendant le Fonctionnement ............................................................................................................22
Utilisation de l’assiette à griller.......................................................................................................23
Fonctionnement du Micro-ondes ....................................................................................................24
Conseils sur L’utilisation de la Vaisselle....................................................................................25
Métal .................................................................................................................................................25
Verre..................................................................................................................................................25
Porcelaine.........................................................................................................................................25
Vaisselle en Grès émaillé.................................................................................................................25
Plastique ...........................................................................................................................................25
Bois....................................................................................................................................................26
Test de la Vaisselle...........................................................................................................................26
Couvercles.........................................................................................................................................26
Entretien du Four ........................................................................................................................27
Nettoyage..........................................................................................................................................27
Remplacement de la Lampe............................................................................................................27
Service d’Assistence Technique (S.A.T.) ....................................................................................28
Résolution de Problèmes.................................................................................................................28
Remplacement du Câble d’Alimentation........................................................................................28
NUMÉRO DE SÉRIE DU PRODUIT. Où se trouve-t-il?.....................................................................28
16

Instructions pour l’Installation
Retirez le four de l'emballage.
Retirez tous les matériaux d'emballage et les accessoires de l'intérieur du four.
Vérifiez si les pièces suivantes se trouvent en bon état:
- porte et charnières;
- le devant du four;
- la partie intérieure et extérieure du four.
Si vous trouvez un défaut dans ces pièces N'UTILISEZ PAS LE FOUR, et contactez le vendeur.
Placez le four sur une surface plane et capable de supporter son poids.
Il est indispensable de laisser un espace libre de 15cm au-dessus de la partie supérieure du four.
Le four devra rester éloigné de toute source de chaleur ou de vapeur (four électrique, grille- pain, etc).
Le four est équipé d’ un câble électrique et d’une prise de courant (monophase). Le branchement devra
être fait à une PRISE de TERRE.
Le fabricant et le fournisseur n'acceptent aucune réclamation de pannes ou d'accidents personnels
causés par la non éxécution de ces instructions.
ATTENTION: CE FOUR DOIT ÊTRE BRANCHÉ À UNE PRISE DE TERRE.
17

Indications Importantes
ATTENTION: Si la porte ou le joint de la porte sont endommagés, le four doit être débranché jusqu’à ce
qu’il soit réparé par un technicien dûment qualifié.
ATTENTION: Il est dangereux, pour toute personne, à l’exception d’un technicien qualifié, d’effectuer
toute intervention ou réparation concernant le changement de tout couvercle ou revêtement assurant la
protection contre l’exposition à l’énergie des micro-ondes.
ATTENTION: Les liquides ou autres aliments doivent être chauffés dans des récipients hermétiques pour
éviter tout risque d’explosion.
ATTENTION: Les enfants ne devront être autorisés à utiliser le four sans surveillance, que s’ils ont reçus
préalablement les instructions adéquates et s’ils sont capables de l’utiliser en toute sécurité,
conscients des dangers d’une utilisation incorrecte.
Quand les aliments sont chauffés dans des récipients en plastique ou en papier, surveillez le four
fréquemment en raison de la possibilité d’ignition.
En cas de fumée, éteignez le four ou débranchez la prise et maintenez la porte fermée pour étouffer les
flammes éventuelles.
Après avoir réchauffé des biberons ou des petits pots de bouillie pour bébé, agitez ou mélangez leur
contenu et vérifiez la température des aliments avant de les servir, afin d’éviter des brûlures.
Chauffer des boissons au Micro-ondes peut entraîner une ébullition éruptive retardée, par conséquent
manipulez le récipient avec précaution.
Les oeufs dans leur coquille ainsi que les oeufs cuits ne doivent pas être chauffés dans le four microondes car ils peuvent exploser.
Ne placez aucun ustensile métallique à l’intérieur du four, à l’exception de ceux fournis avec l’appareil,
dûment conçus à cet effet.
Ne chauffez jamais de liquides ou tout autre aliment dans des récipients fermés en raison d’un risque
d’explosion
Ne faites pas chauffer d’alcool pur ou de boissons alcoolisées. DANGER D’INFLAMMATION.
En cas de doute, sélectionnez des temps courts pour cuisiner, réchauffer ou décongeler des aliments au
Micro-ondes. Avec des temps très longs, les aliments pourront devenir très secs et même commencer à
brûler.
Ne pas utiliser le four pour d'autres fonctions qui ne soient pas celles de réchauffer, cuisiner ou
décongeler les aliments.
Le four ne doit pas fonctionner sans plateau ou à vide.
Ne pas boucher les ouvertures de ventilation du four.
18

Description du Four à Micro-ondes
Quels sont les avantages du four à micro-ondes?
Dans le four conventionnel, la chaleur irradiée par les résistances ou les brûleurs à gaz pénètre lentement
dans les aliments de l'extérieur vers l'intérieur. C'est pourquoi il existe une grande perte d'énergie lorsque
l'air, les composants du four et les récipients sont chauffés.
Dans le four à micro-ondes, bien au contraire, la chaleur est gérée de l'intérieur vers l'extérieur. Il n'existe
pas de perte d'énergie car l'air, les parois intérieures du four et les récipients (quand ils sont adéquats) ne
chauffent pas sous l'action des micro-ondes.
En résumé, les fours à micro-ondes présentent les avantages suivants:
1. Réduction du temps de cuisson: en général réduction de 3/4 du temps par rapport à la cuisson
conventionnelle.
2. Décongélation ultra-rapide des aliments, réduisant le danger du développement des bactéries.
3. Économie d'énergie.
4. Conservation de la valeur nutritive des aliments due à la réduction du temps de cuisson.
5. Nettoyage facile.
Comment fonctionne le four à micro-ondes?
Dans le four à micro-ondes, il existe une valve de haute tension appelée magnétron qui convertit l'énergie
électrique en énergie de micro-ondes. Les ondes électromagnétiques sont canalisées vers l'intérieur du
four grâce à un guide d'ondes et distribuées par un répartiteur d'ondes métalliques ou à travers un
plateau tournant.
À l'intérieur du four les micro-ondes se répandent dans tous les sens et sont refléchies par les parois
métalliques, pénétrant uniformément dans les aliments.
Pourquoi les aliments chauffent-ils?
La majorité des aliments contiennent de l'eau dont les molécules vibrent sous l'action des micro-ondes.
La friction entre les molécules est à l'origine de la chaleur qui fait monter la température des aliments, les
décongelant, les cuisant ou les maintenant chauds.
Comme la chaleur se forme à l'intérieur des aliments:
- Ceux-ci peuvent être cuits sans / ou avec peu de liquides ou de graisses;
- Décongeler, chauffer ou cuisiner dans le four à micro-ondes est plus rapide que dans un four
conventionnel;
19
- Les vitamines, les minéraux et les substances nutritives se conservent;
- La couleur naturelle et la saveur ne changent pas.
Les micro-ondes passent à travers la porcelaine, le verre, le carton ou le plastique mais ils ne traversent
pas le métal. Pour cette raison, dans votre four à micro-ondes, n’utilisez pas de récipients métalliques ou
composés de parties métalliques.
Les Micro-ondes sont réfléchies par le métal
Passent à travers le verre et la porcelaine...
Sont absorbées par les aliments
20

Instruction de Fonctionnement
Consultez la figure dans la notice ci-jointe et procédez de la manière suivante:
1. Branchez le four à une prise de courant appropriée (voir les instructions d'installation).
2. Ouvrez la porte en appuyant sur le bouton d'Ouverture de la Porte (7). Pour les modèles sans bouton,
il suffit d’ouvrir la porte. La lumière du four devra s'allumer.
3. Mettez le récipient avec les aliments sur le plateau ou sur la grille,
4. Sélectionnez la fonction et le temps de cuisson prétendus conformément aux instructions contenues
dans les chapîtres suivants.
5. Fermez la porte. Pour les modèles ayant un Bouton de mise en Marche (6), appuyez sur ce bouton.
6. Le four commencera à fonctionner
Fonction Micro-ondes
Mettez le Sélecteur de Fonctions (3) dans la position correspondant au niveau de puissance désiré
conformément au tabeau suivant.
Niveau de
Position
A Maximum
B Moyen
C Minimum
D Décongeler
E Maintenir chaud
Puissance
Obs. Pour connaître la valeur numérique des différents niveaux de puissance, consultez la notice.
21

Temps de Fonctionnement
La Sélection du temps de fonctionnement désiré est effectuée en tournant le Bouton du Temporisateur
(5).
Pour des temps inférieurs à 2 minutes tournez le bouton du temporisateur en le mettant sur un temps
supérieur et ensuite revenir au temps désiré.
Quand le bouton du temporisateur se trouve dans une position différente de zéro, la lumière du four doit
s'allumer.
Lorsque la cuisson est terminée, une sonnerie se fera entendre et le four s'éteindra automatiquement.
Pendant le Fonctionnement
Durant la cuisson des aliments, vous pouvez ouvrir la porte du four à n'importe quel moment:
- LE FOUR S'ARRÊTE AUTOMATIQUEMENT EN CESSANT LA PRODUCTION DE MICRO-ONDES;
- Le gril se débranchera automatiquement, mais se maintiendra encore très chaud;
- Le temporisateur s'arrêtera automatiquement, indiquant le temps de fonctionnement restant.
Vous pourrez alors, si vous le désiré:
- Mélanger et retourner les aliments, afin d’améliorer l’uniformité de cuisson;
- Changer le niveau de puissance des micro-ondes en intervenant sur le Régulateur de puissance (4);
- Sélectionner une autre fonction,en mettant le Sélecteur de Fonctions (3) dans une autre position;
- Changer le temps de fonctionnement restant, en tournant le Bouton du Temporisateur (5).
Refermez la porte et appuyez sur le Bouton de mise en Marche (6) pour les modèles munis de ce bouton.
Le four recommencera à fonctionner.
ATTENTION: Lorsque l’utilisation du four est terminée, tournez le Bouton du Temporisateur (5) et
mettez-le sur zéro. Si vous n’effectuez pas cette opération, le four recommencera à fonctionner, lorsque
la porte sera refermée.
Remarques:
1. Pour arrêter le fonctionnement du four avant la fin du temps programmé, tournez le bouton du
Temporisateur (5) et mettez-le sur ZÉRO ou bien ouvrez la porte.
2. Lorsque le four est en marche, vous pouvez changer le temps de fonctionnement, le niveau de
puissance ou la fonction, en utilisant les boutons respectifs du programmateur.
22
 Loading...